

")
")
")


WOODEN PAPER DOLL CHAIN GARLAND
January 9, 2014
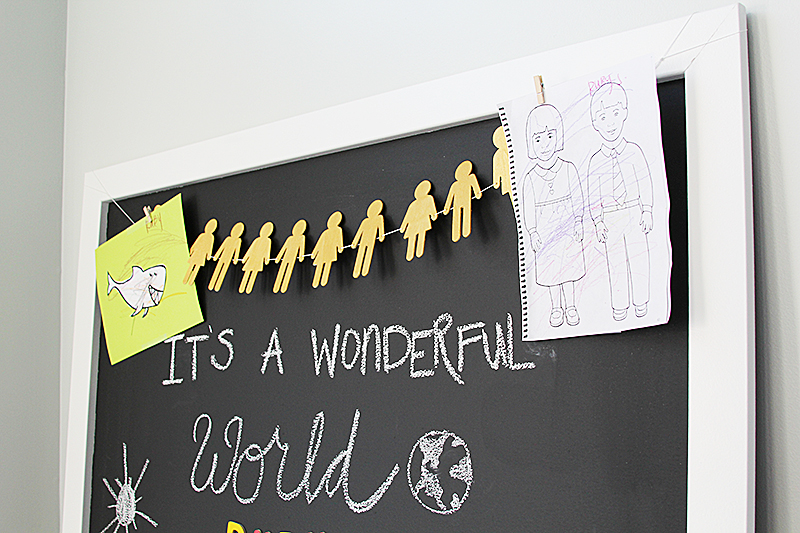
There are few things that get a little one more excited than seeing their artwork displayed. Ruby is no exception. She beams with pride when we hang up a picture she colors at story time or nursery, and I want her to know I think her handiwork is beautiful and special. But, I also don’t want it stuck all over my fridge. Not only is that not the most atheistically pleasing, it’s also not the safest place for her drawings. It can get splattered or torn in the kitchen. So, a place to display artwork was a must when designing Ruby’s playroom. That’s what this wooden paper doll chain garland is for.
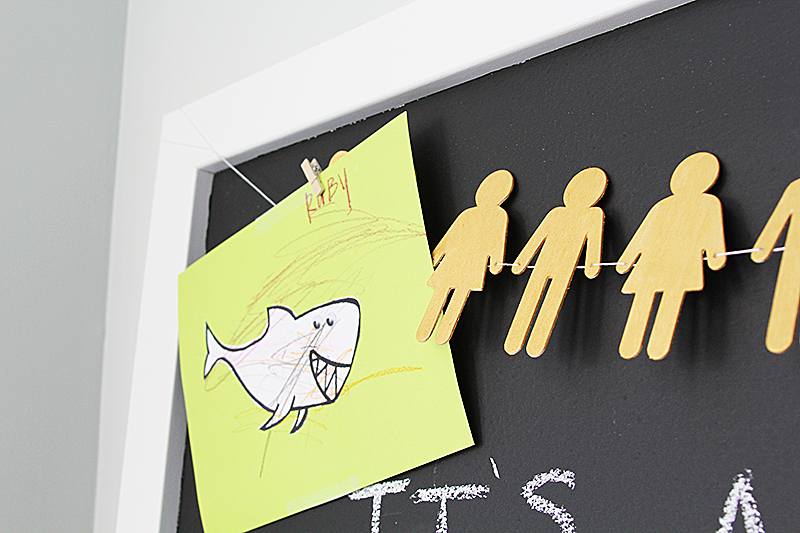
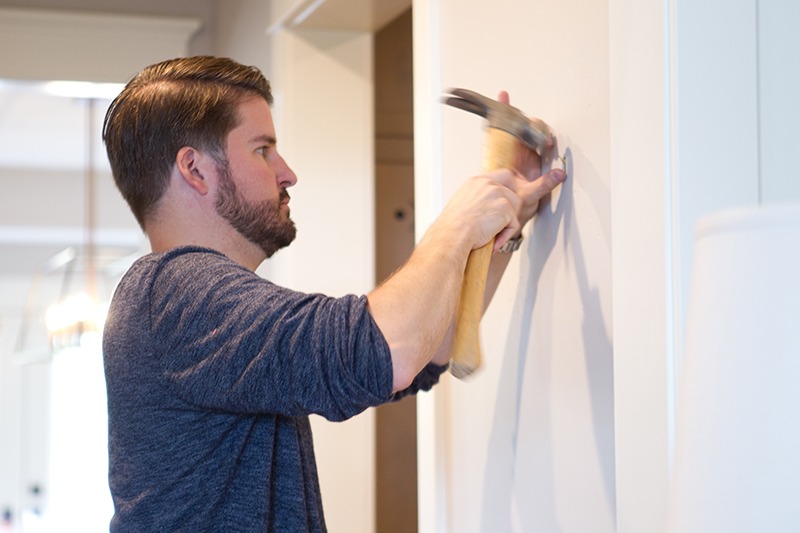
I spotted a package of thin wooden “paper” dolls at Michael’s and thought they would be so cute strung on a string, like they were holding hands. They were half girl, half boy in the package, and it was around $6. The project hung (I’m punny) on whether I could string them together so I pulled out my drill and my smallest itty bitty bit. I took it nice and easy and drilled a hole in each little hand.
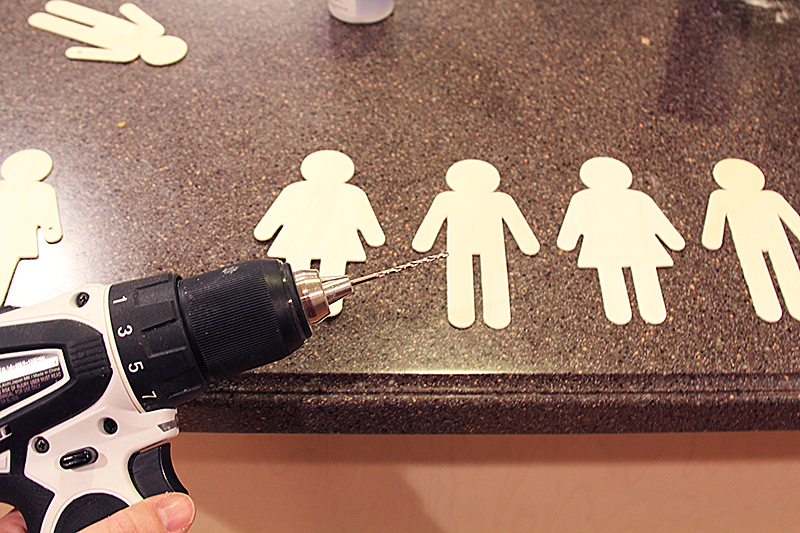
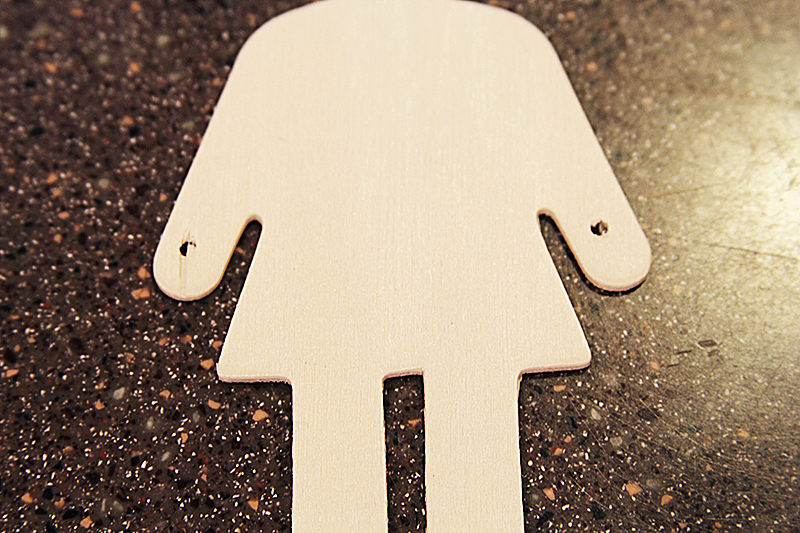
I was worried about the wood splitting, but as long as I went slowly, they held up great. I didn’t even split one– booyah!
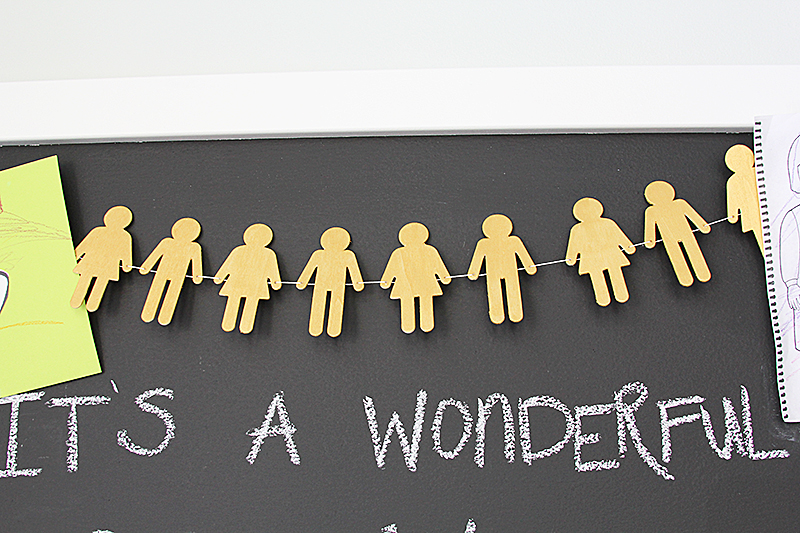
That process went surprisingly quickly. Then it was time to paint them. I used my favorite Martha Stewart craft paint line in Gold. I did two coats, then let them dry overnight.
I strung them onto embroidery thread through their hands, then behind the back. I alternated boy girl, boy girl. I then created a loop on each side of the garland and hung them onto the sides of the chalkboard.
I found some cute little mini paperclips at Walmart. And voila. Cute place to display Ruby’s art, up high, and visible. And it’s easy to switch it out for new art.
Simple, cute, easy to make and useful. Love all of those things, especially together.

Leave a Reply


back to top
@jenniferstagg
shop

We're a full-service design firm and home furnishings shop built around the philosophy that a well-designed home should be beautiful, personal, cohesive, and complete. We think home is the most important place on the planet and when you live in a home that is perfectly you, it changes your life. Don't believe us? Stick around. We're confident we'll change your mind.
hello there!
Follow Along
@jenniferstagg
Hey, let's be friends
Exclusive projects, discounts, and extra goodies all in your inbox. And don’t worry- your email is for our eyes only.

[…] I drilled some little holes in the tops of each star, just like I did the wooden paper dolls. I used my teeny tiniest drill bit, and used gentle pressure and it worked great. No […]