

")
")
")


DIY CLOUD AND STAR MOBILE
February 11, 2014
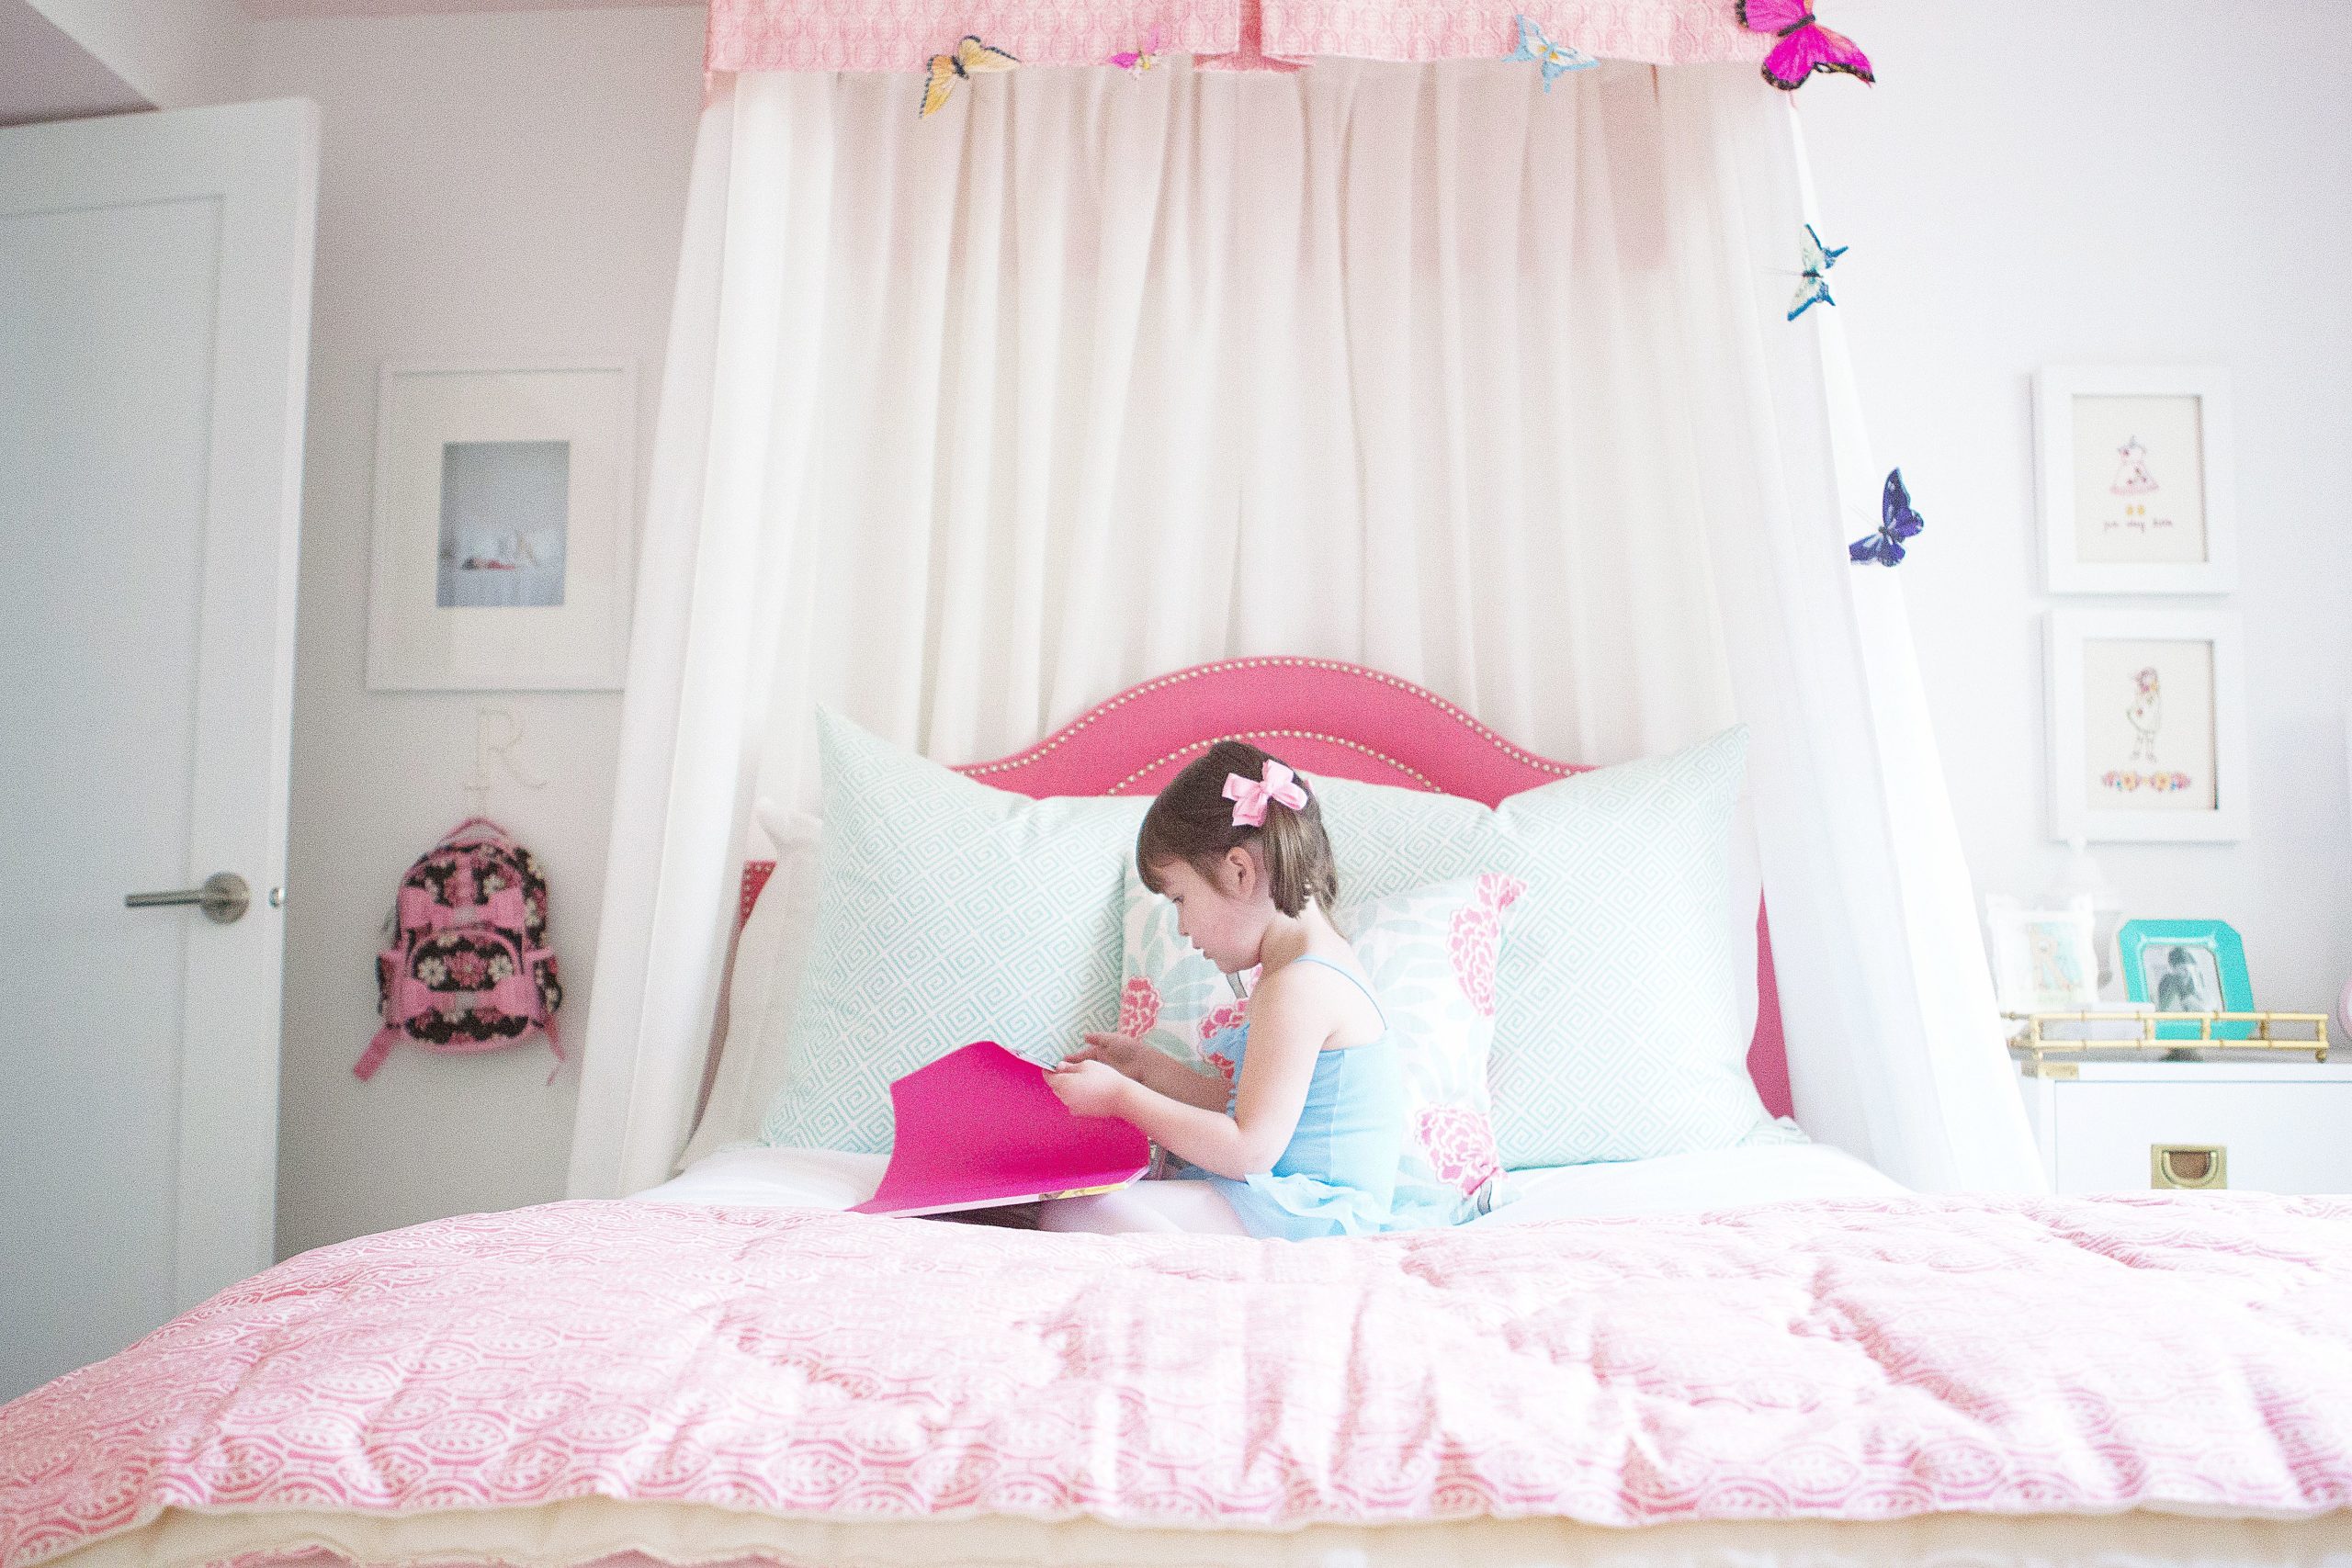
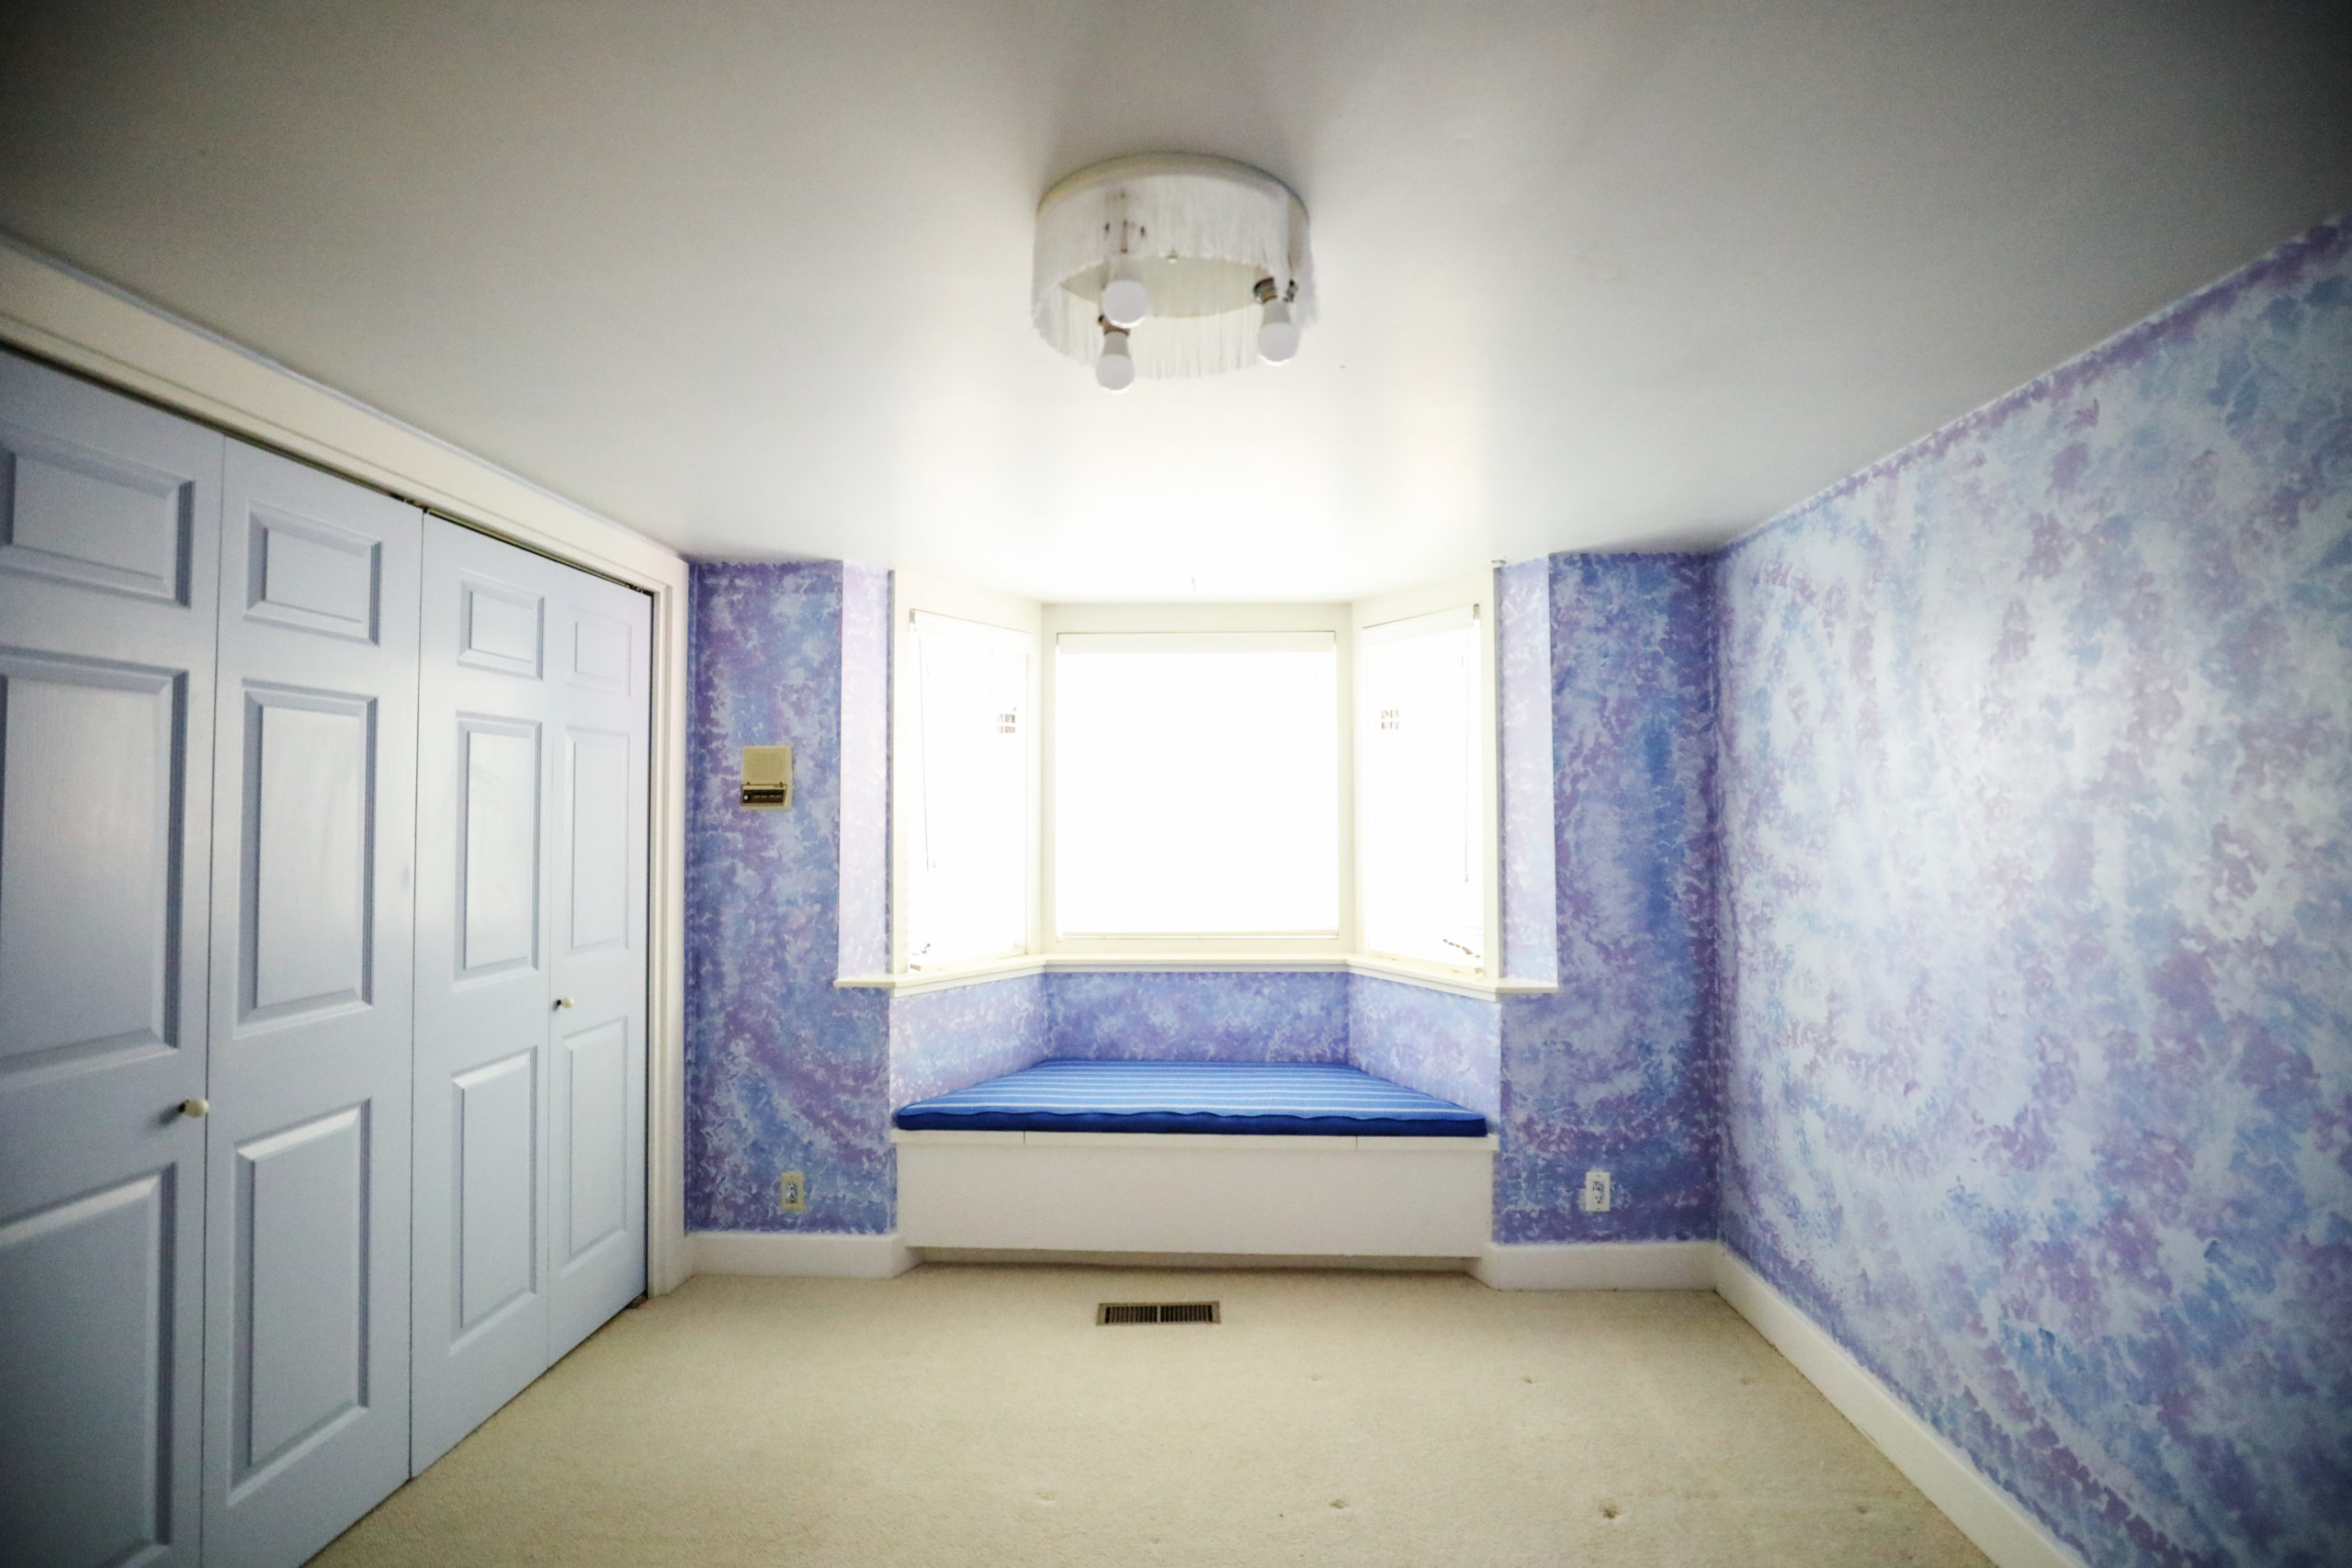
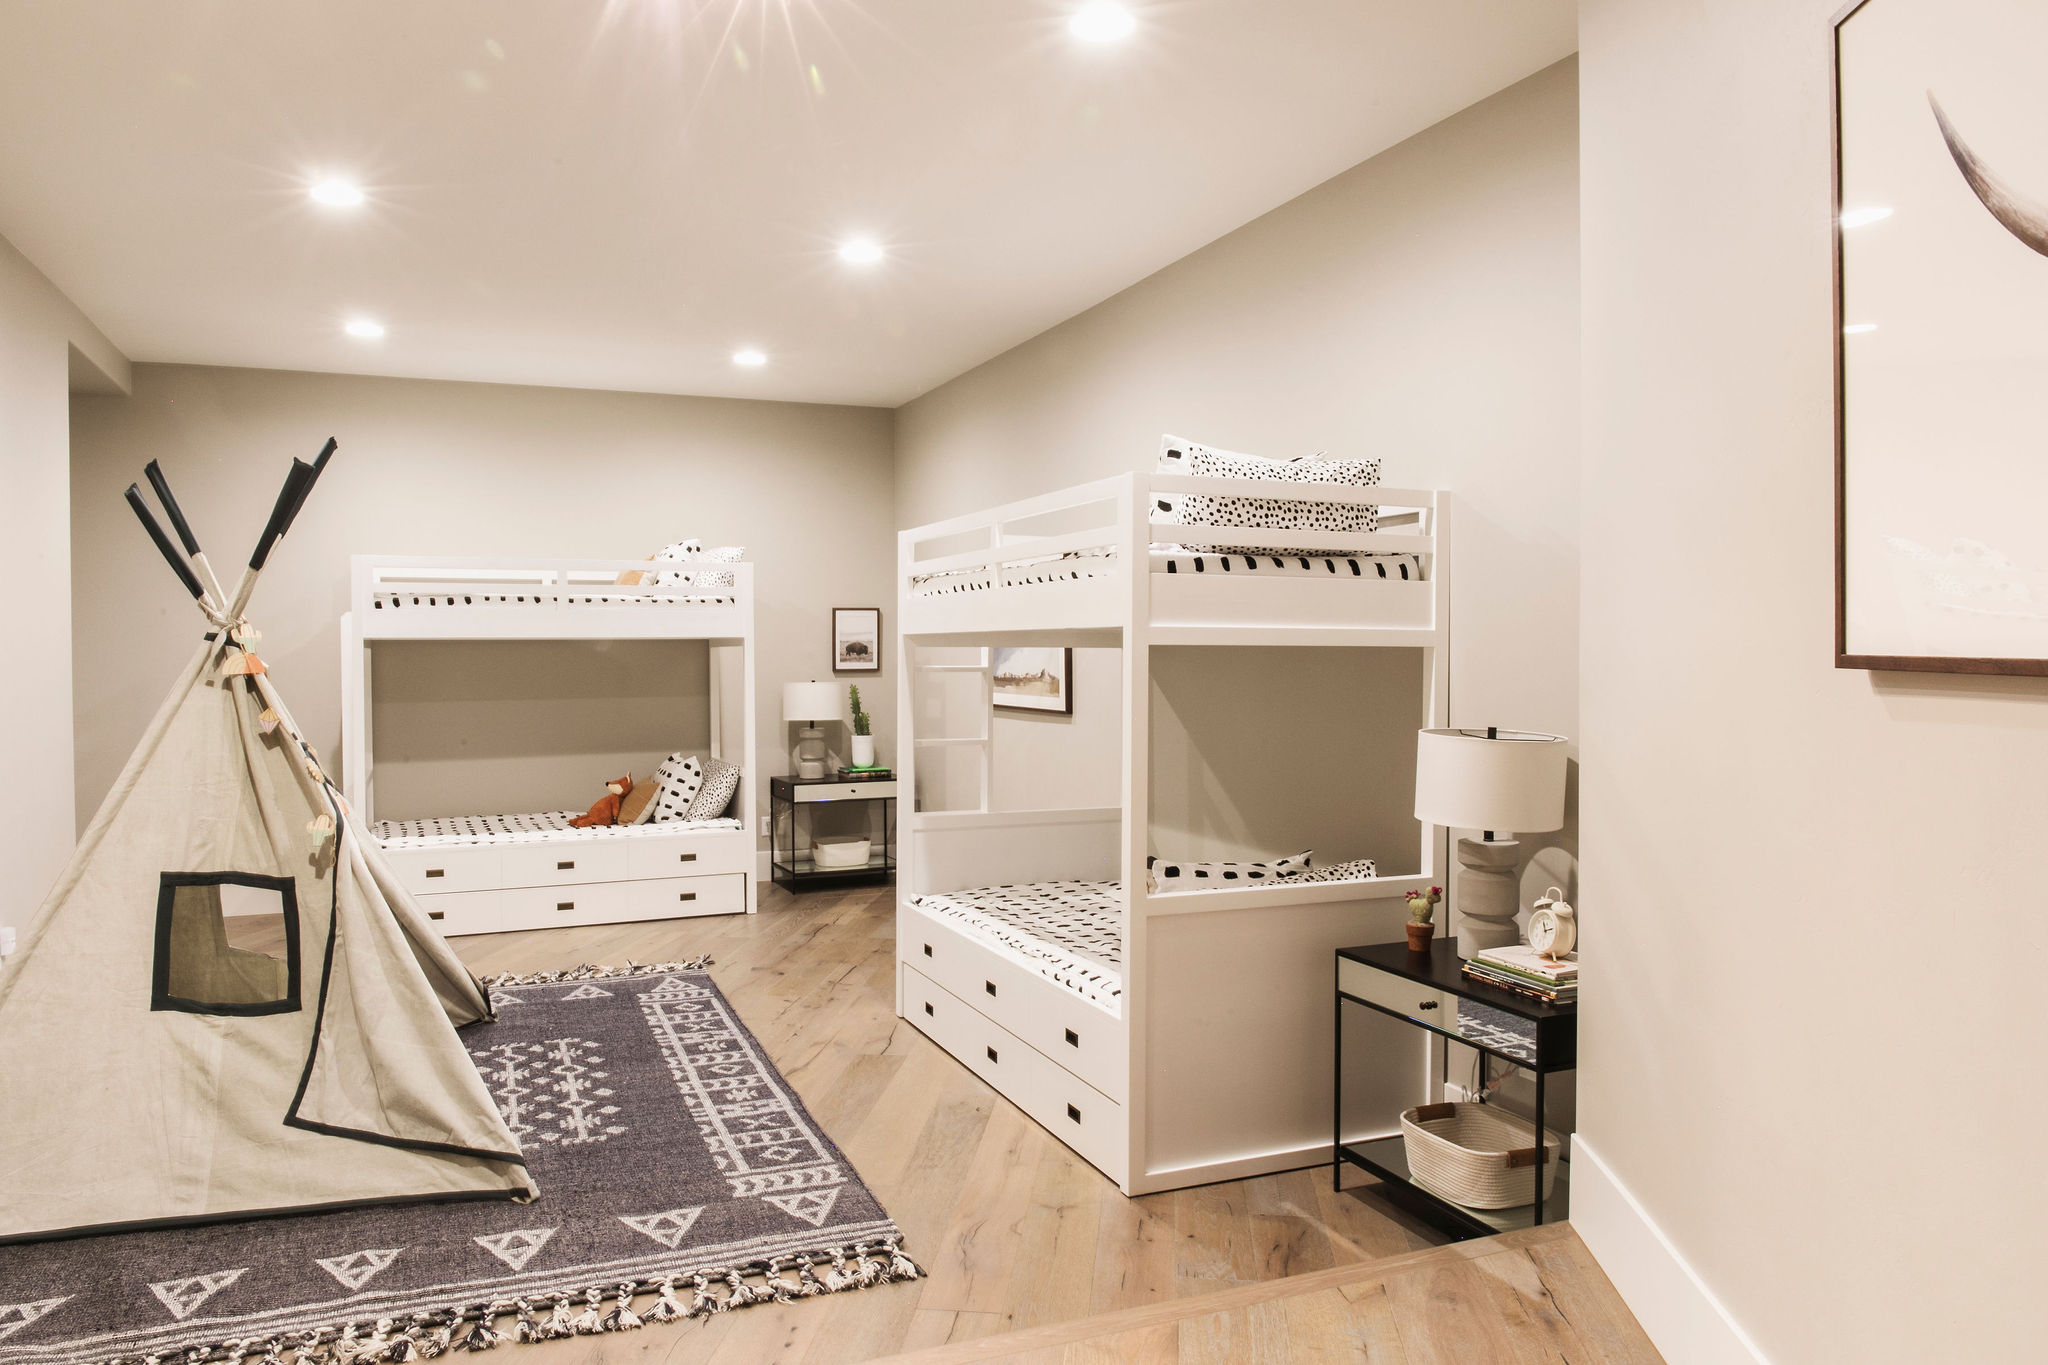
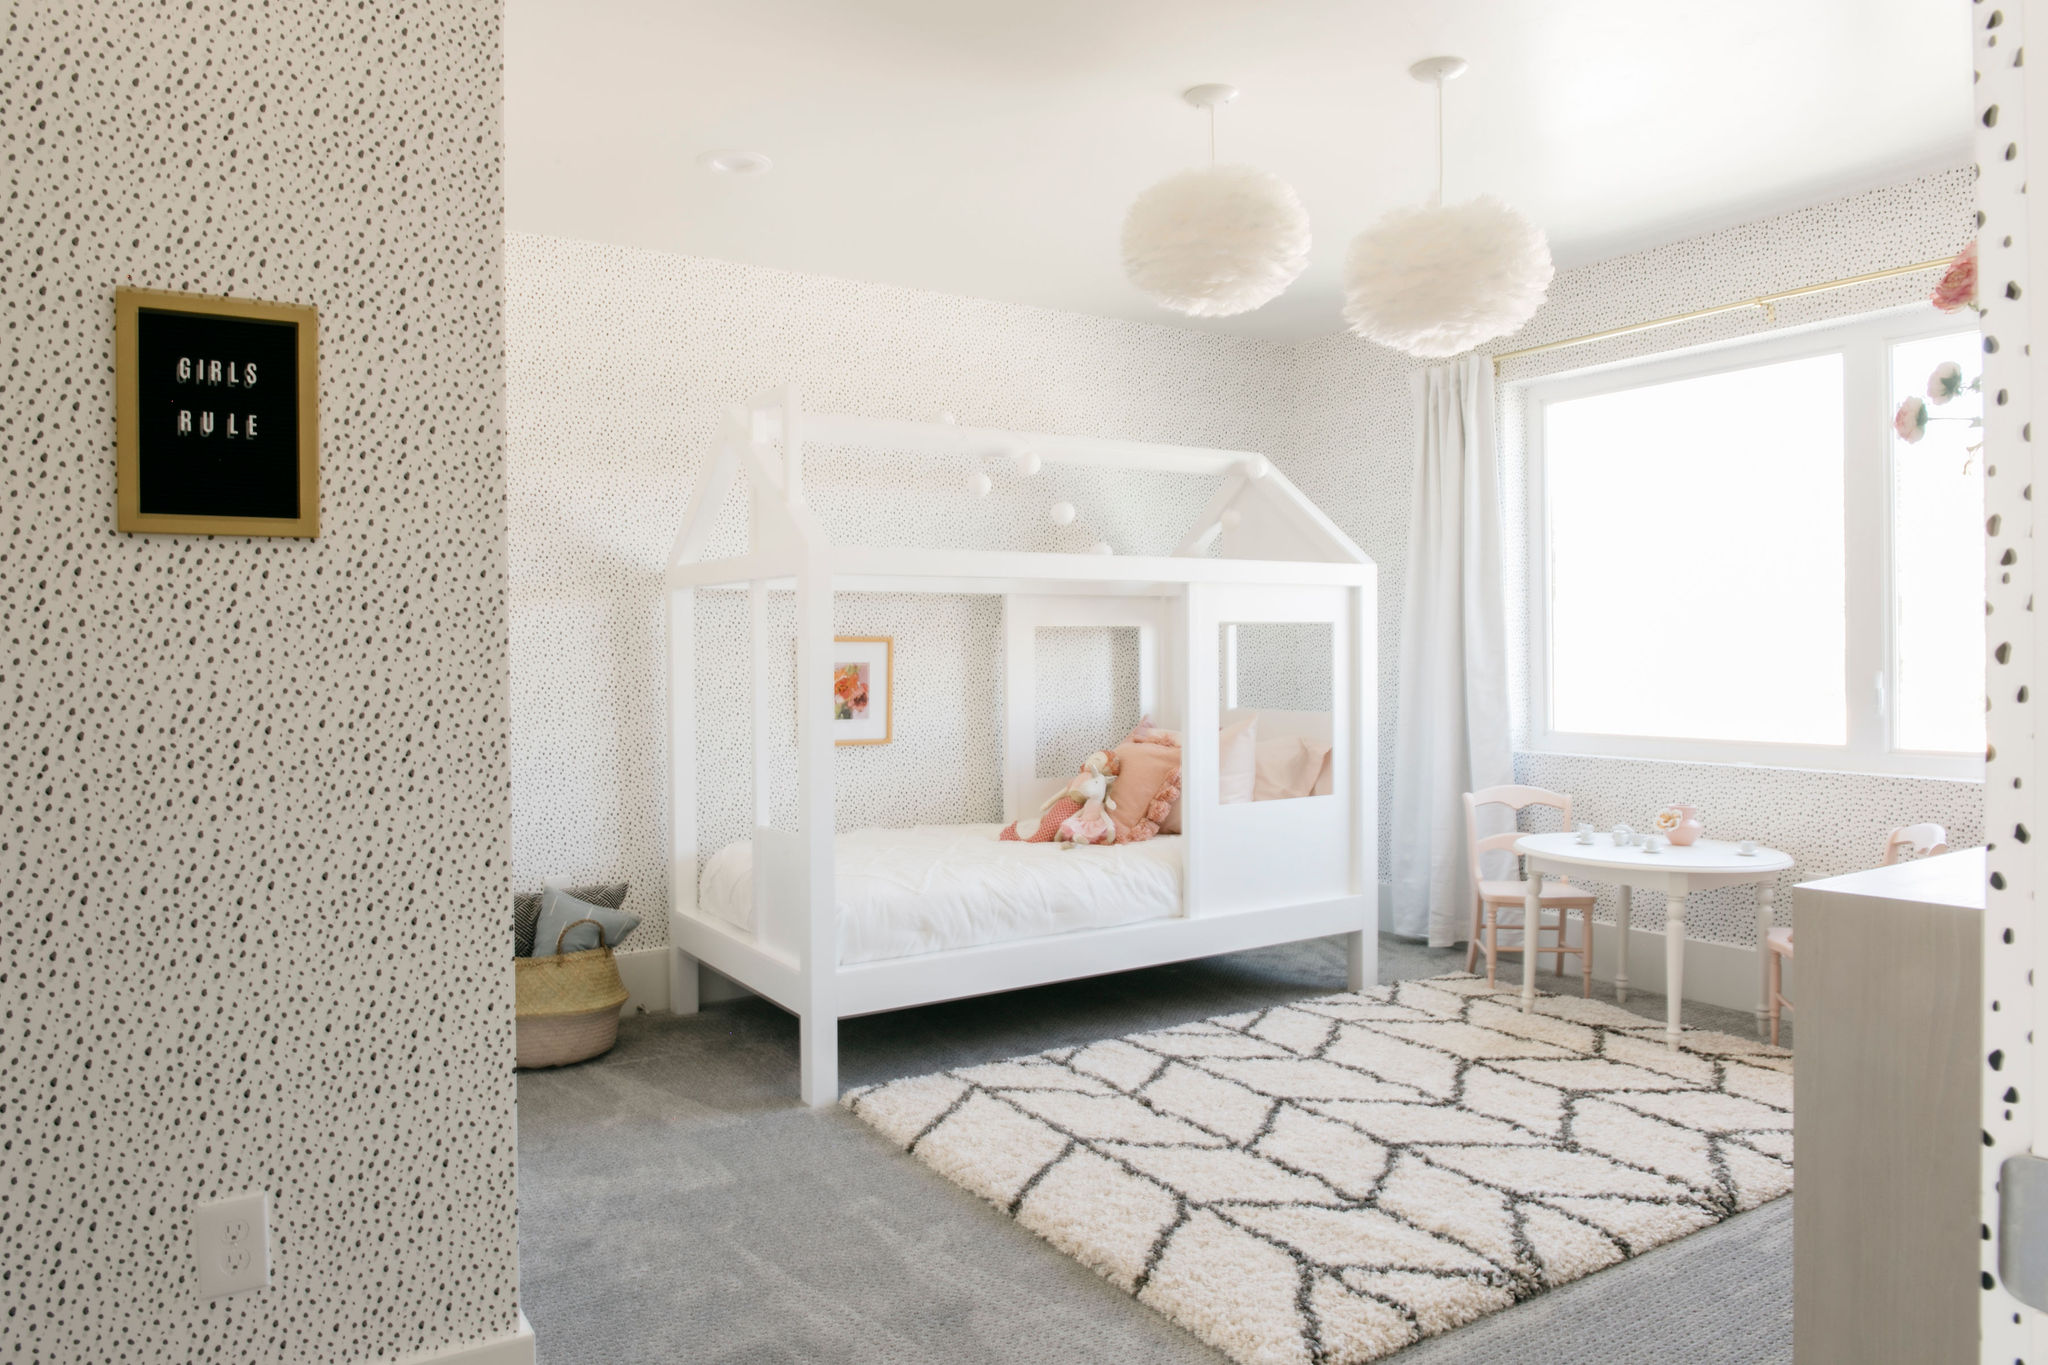
If one word describes the mood I was going for when I designed Ruby’s playroom, it would be dreamy. I wanted the space to be light, airy, imaginative, and creative. And what is more dreamy than clouds and stars? I dare say nothing. Except snuggles from Ruby herself. Now, those are dreamy people. But I digress…
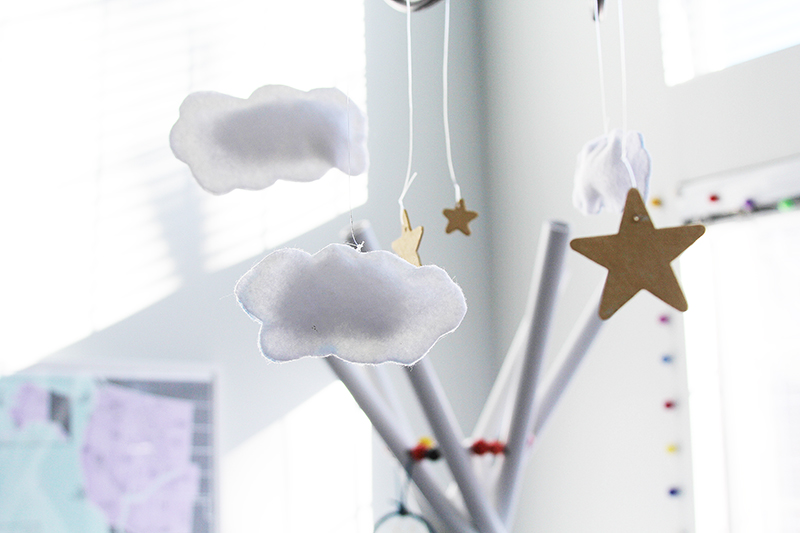
I knew the room wouldn’t be complete without incorporating some dream and clouds and stars into the room plan. Because her playroom is technically a formal dining room, it has a chandelier that hangs down in the middle of the space. I wanted to make it a little less dining and a little more, you guessed it, dreamy, so I had the idea to hang something from it. Seemed like the perfect place to put my clouds and stars.
I used very few supplies, and what I did buy was really inexpensive.
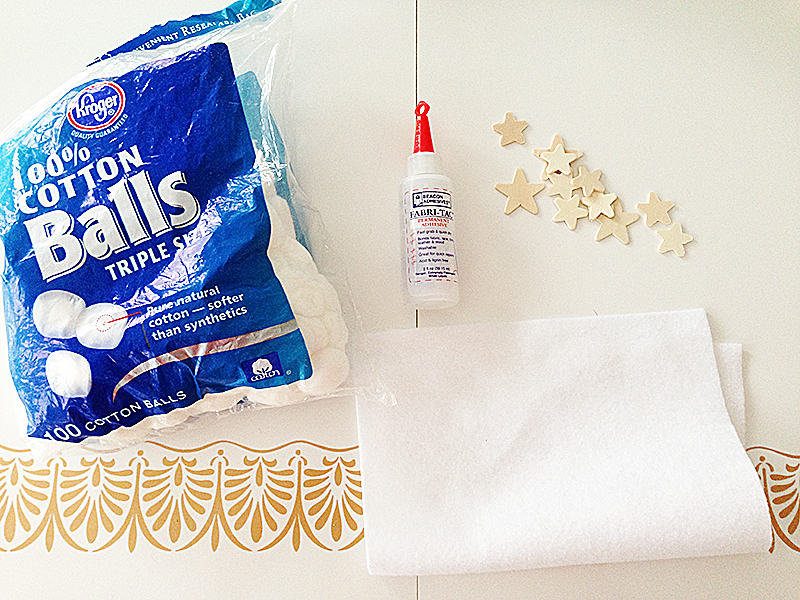
I found a package of little wooden stars at the craft store and thought they would be cute painted gold. So, paint them gold I did, using my favorite Martha Stewart craft paint in Gold. I did two coats.
Next, I drilled some little holes in the tops of each star, just like I did the wooden paper dolls. I used my teeny tiniest drill bit, and used gentle pressure and it worked great. No splitting.
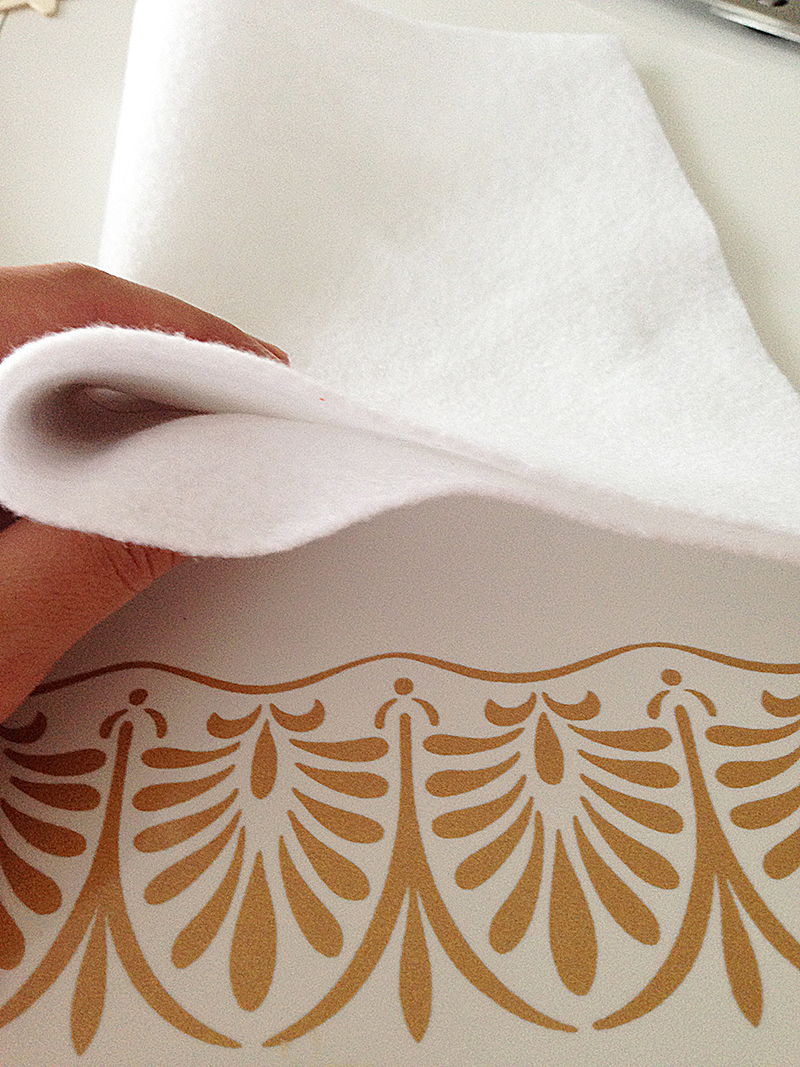
Next it was time for some clouds. This was literally one of the easiest things I have ever made (and the cheapest). I bought some white felt squares at the craft store for less than 50 cents a piece and some Fabritac glue. To make the cloud shape, I simply folded the felt in half so it doubled up the sheet, then cut it out into little cloud shapes.

I didn’t trace it, I just free handed it. I figured clouds weren’t meant to be perfectly shaped, right?
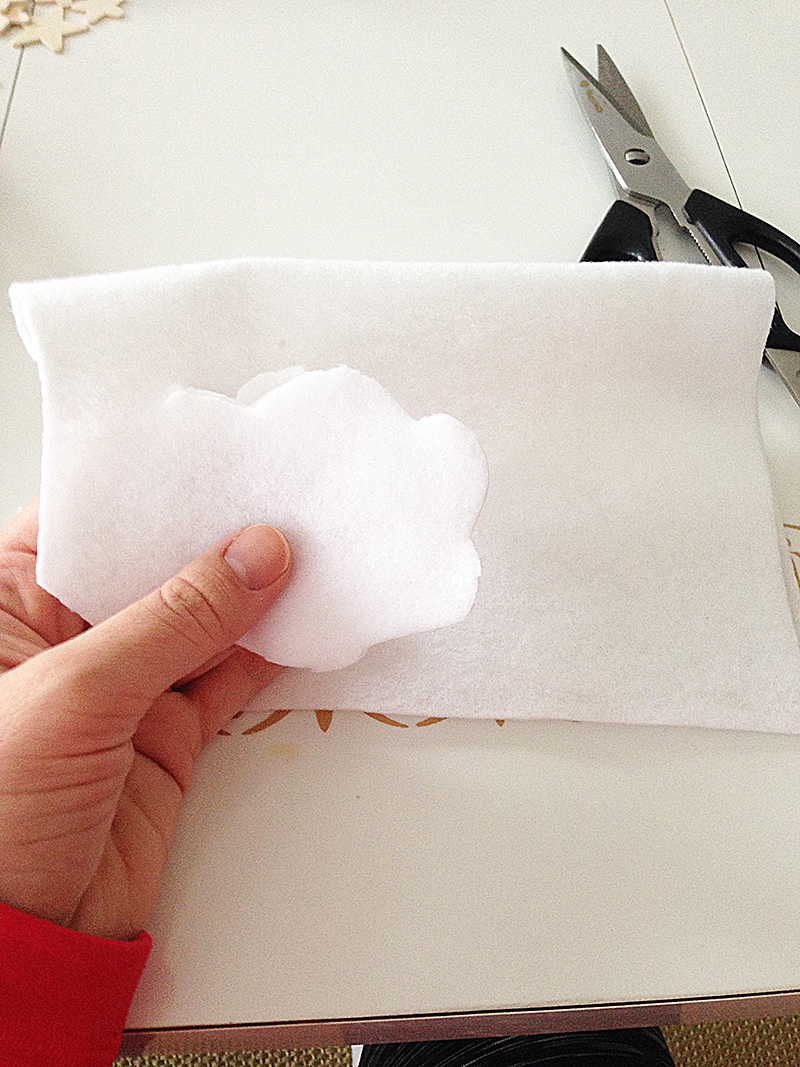

I then used the Fabritac gluing both sides together around the edges, leaving one part, or cloud puff, unglued. I used clothes pins to hold it all together, and let the clouds dry overnight.
The next day, I pulled some cotton balls apart a little, and stuffed them inside to make the clouds 3-dimensional. I used more Fabritac to seal it up, then another clothespin to hold it together. I let it dry for about an hour and it was all done.
I used clear jewelry string to hand them from my chandelier. I wanted them to look like they were really floating.
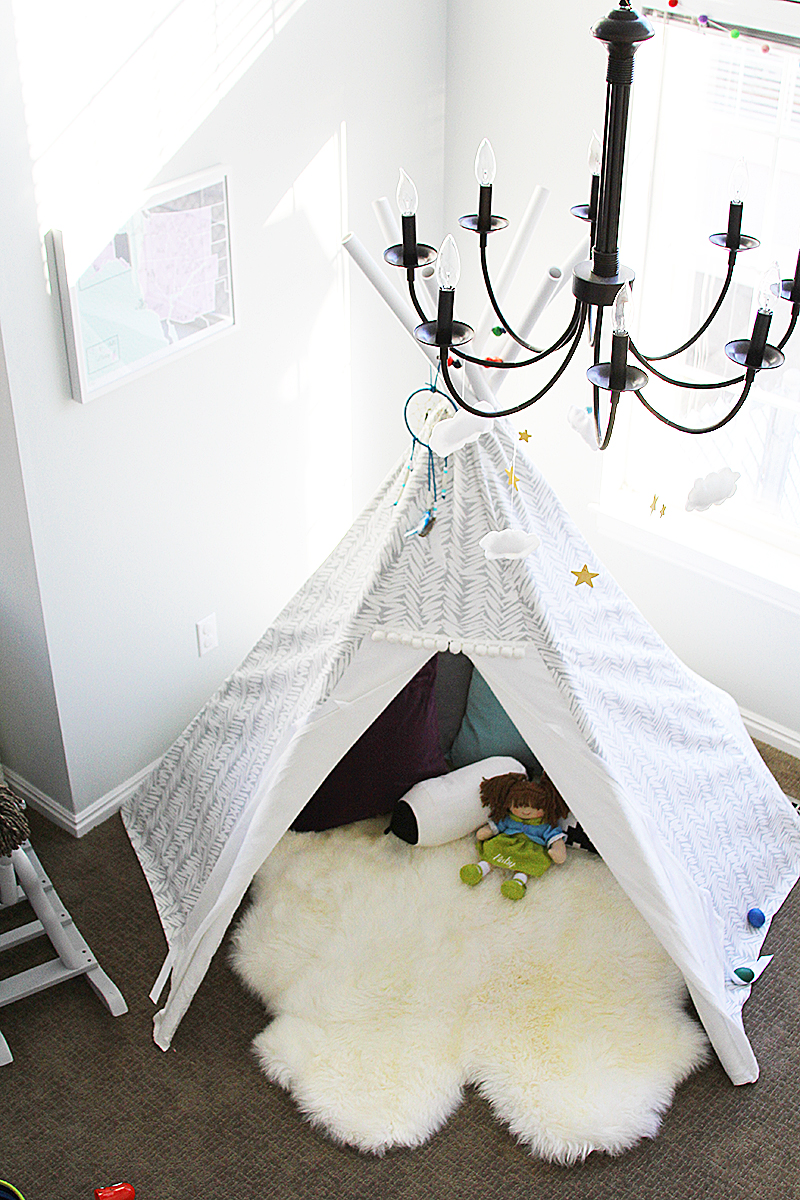
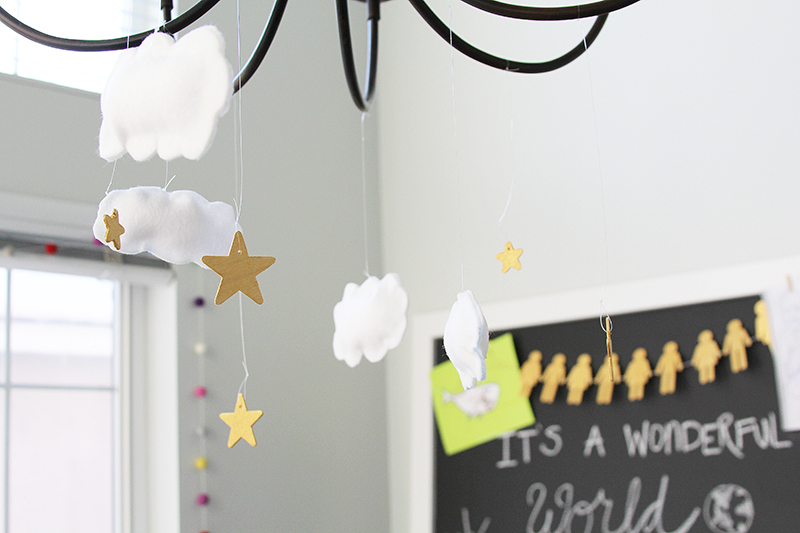
It’s such a sweet addition to the room, and children who come over to play always look up and point at it. And how sweet would this be in a nursery above a crib? You could totally attach it to a ring and hang it from the ceiling! I love my little DIY cloud and star mobile!
Hope you’re having a wonderful week!

Leave a Reply


back to top
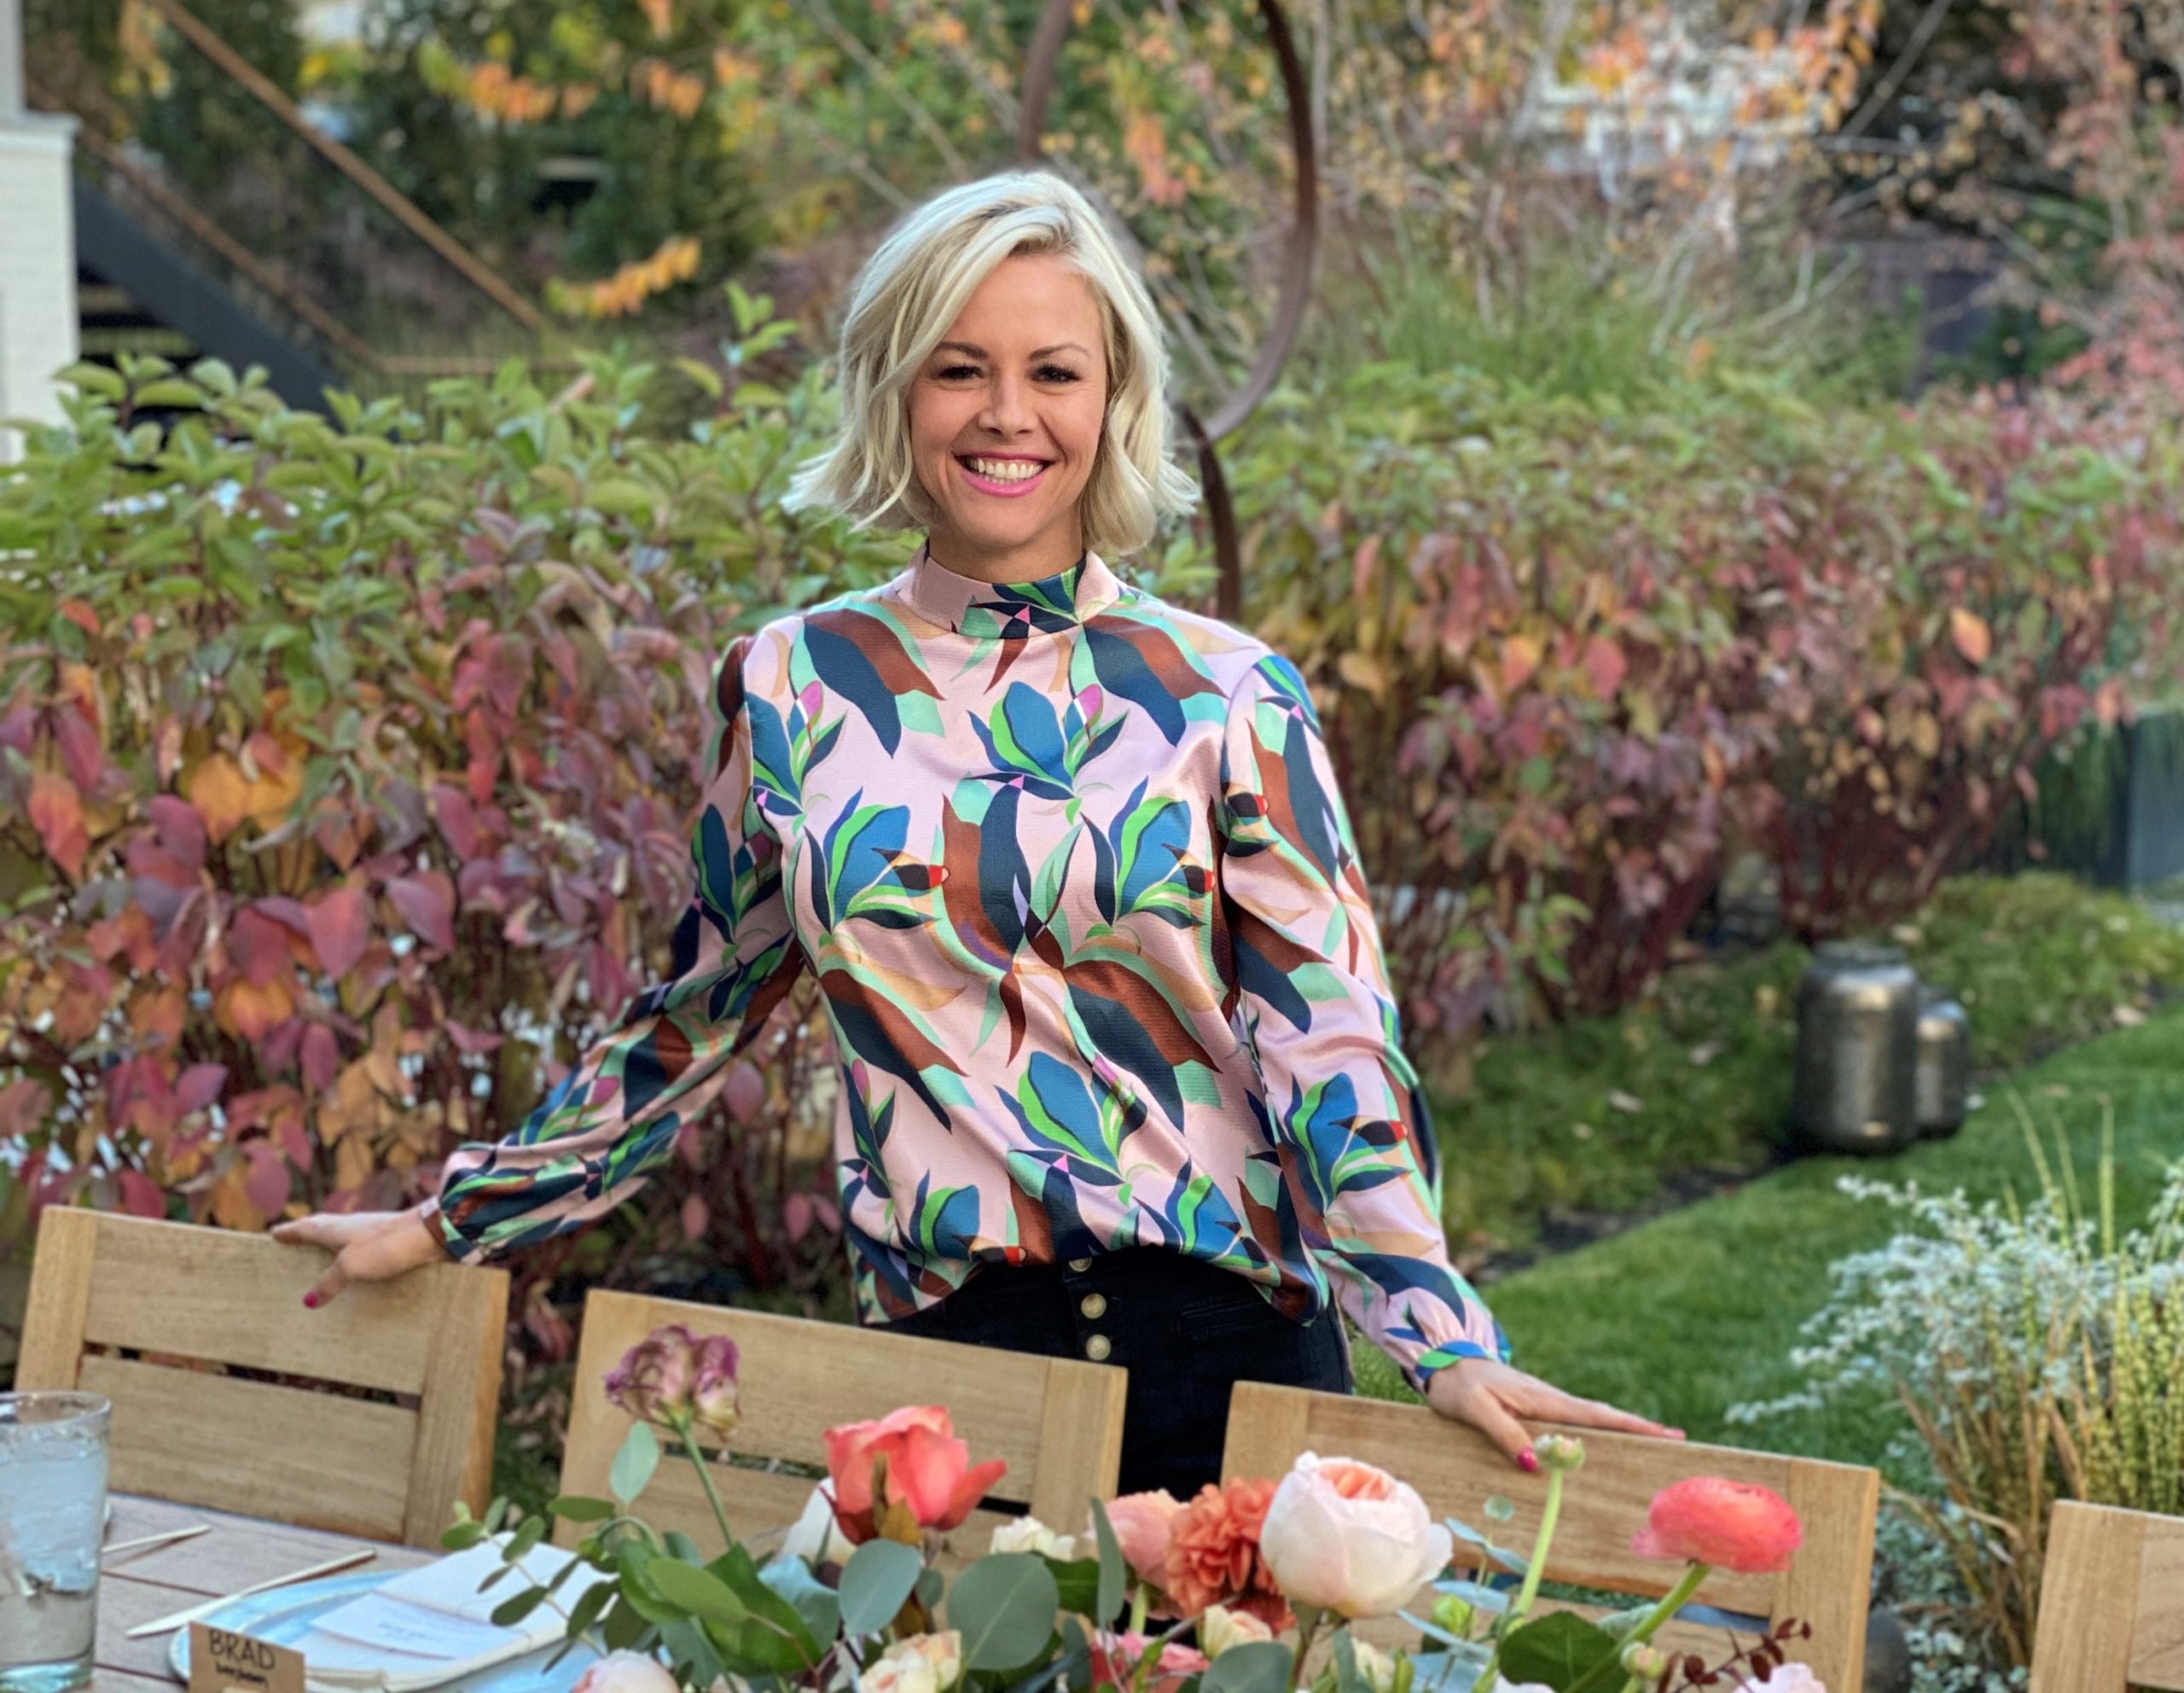
@jenniferstagg
shop

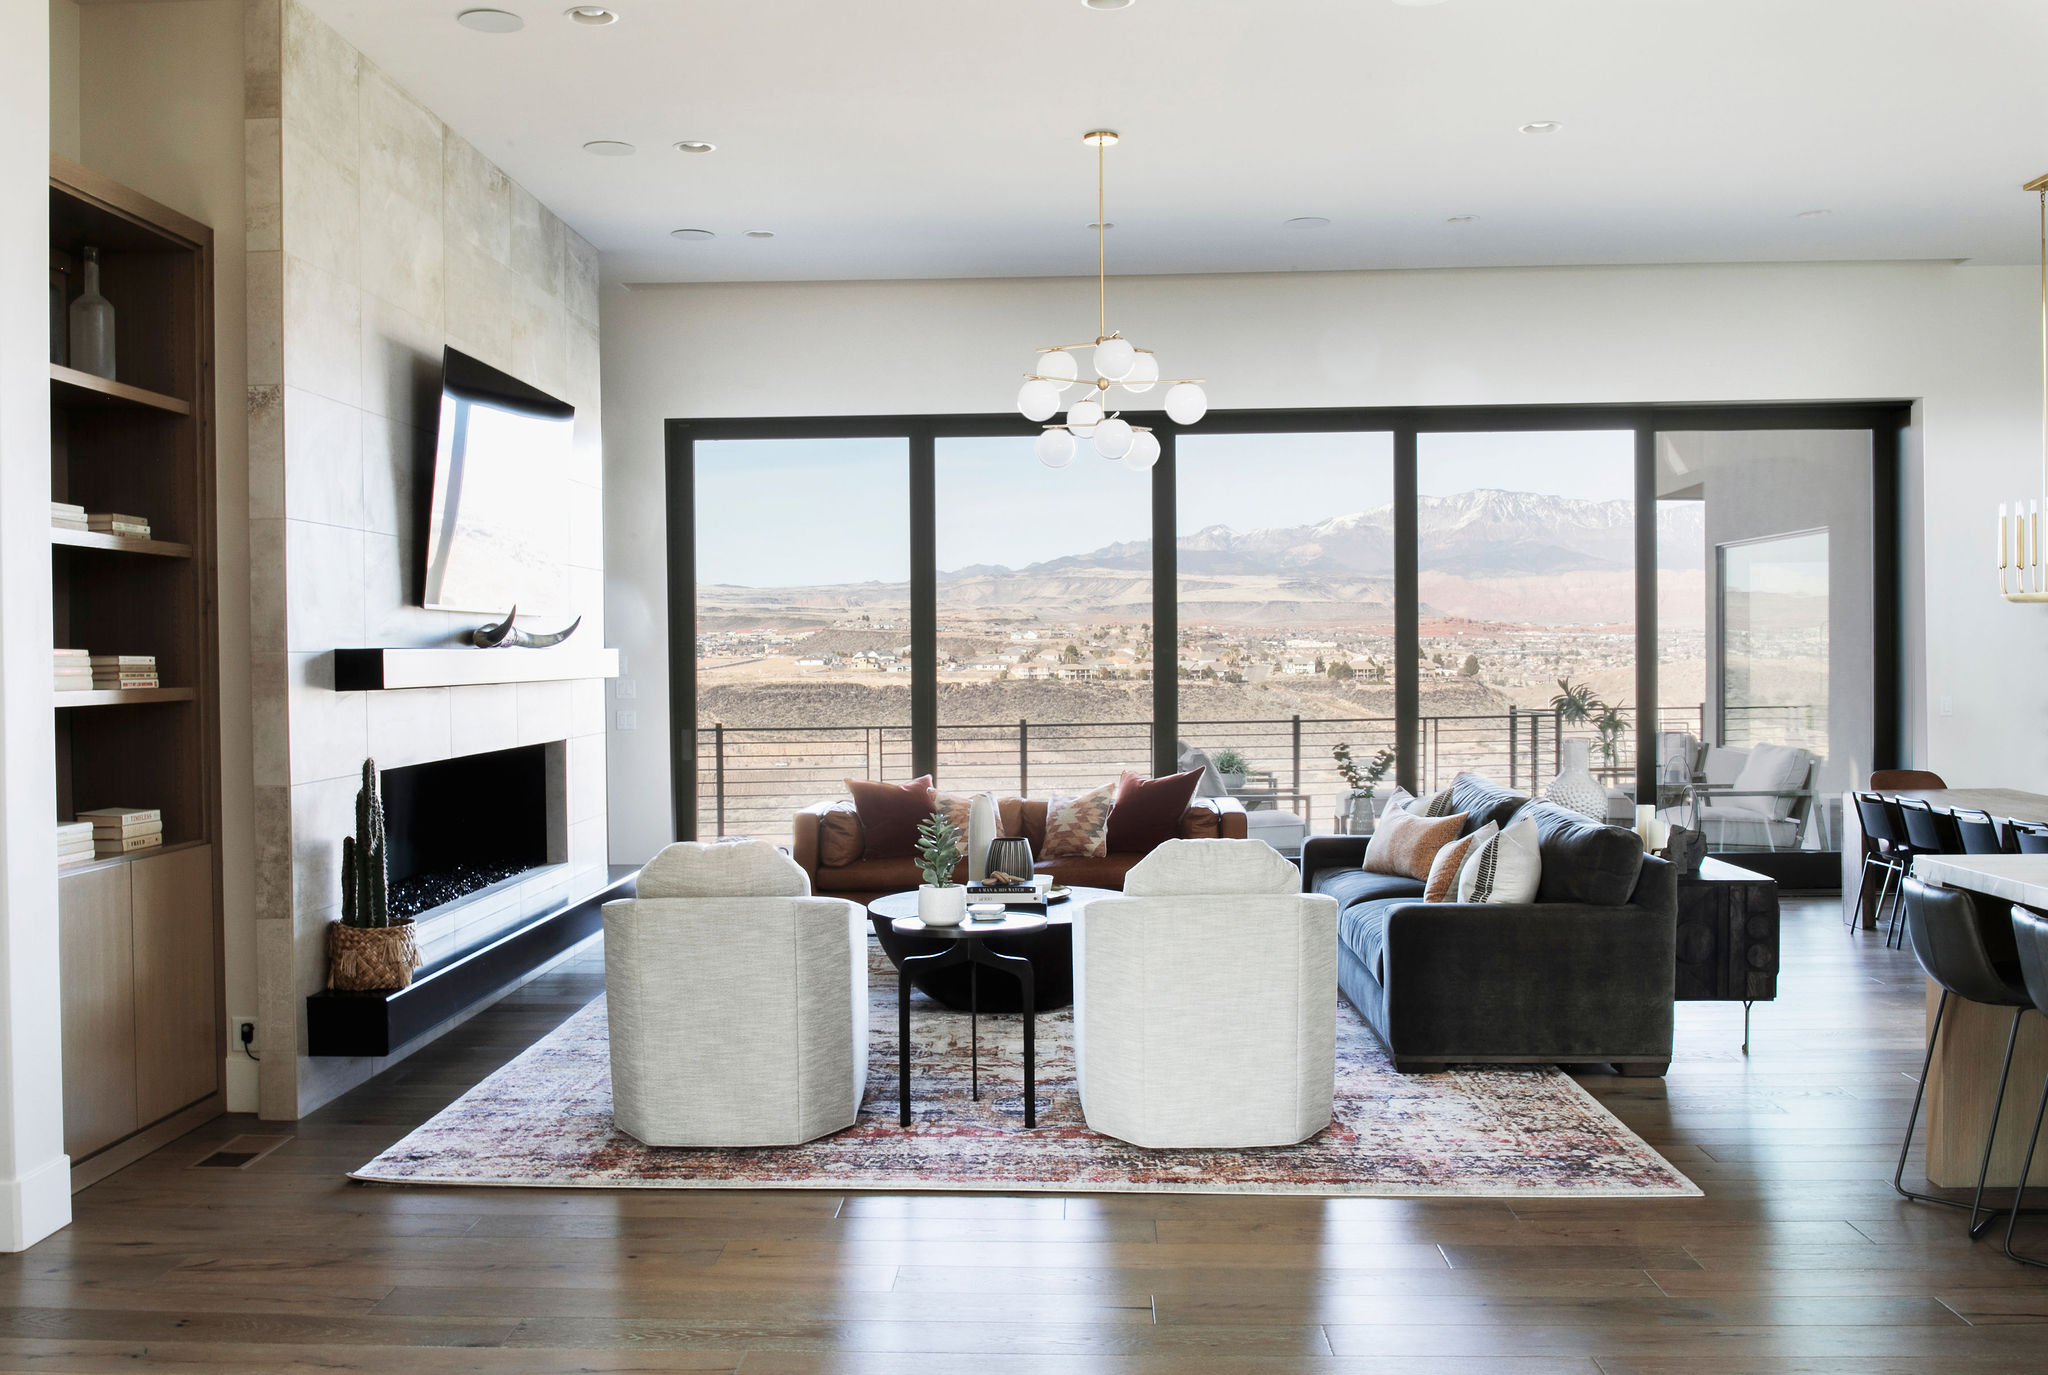
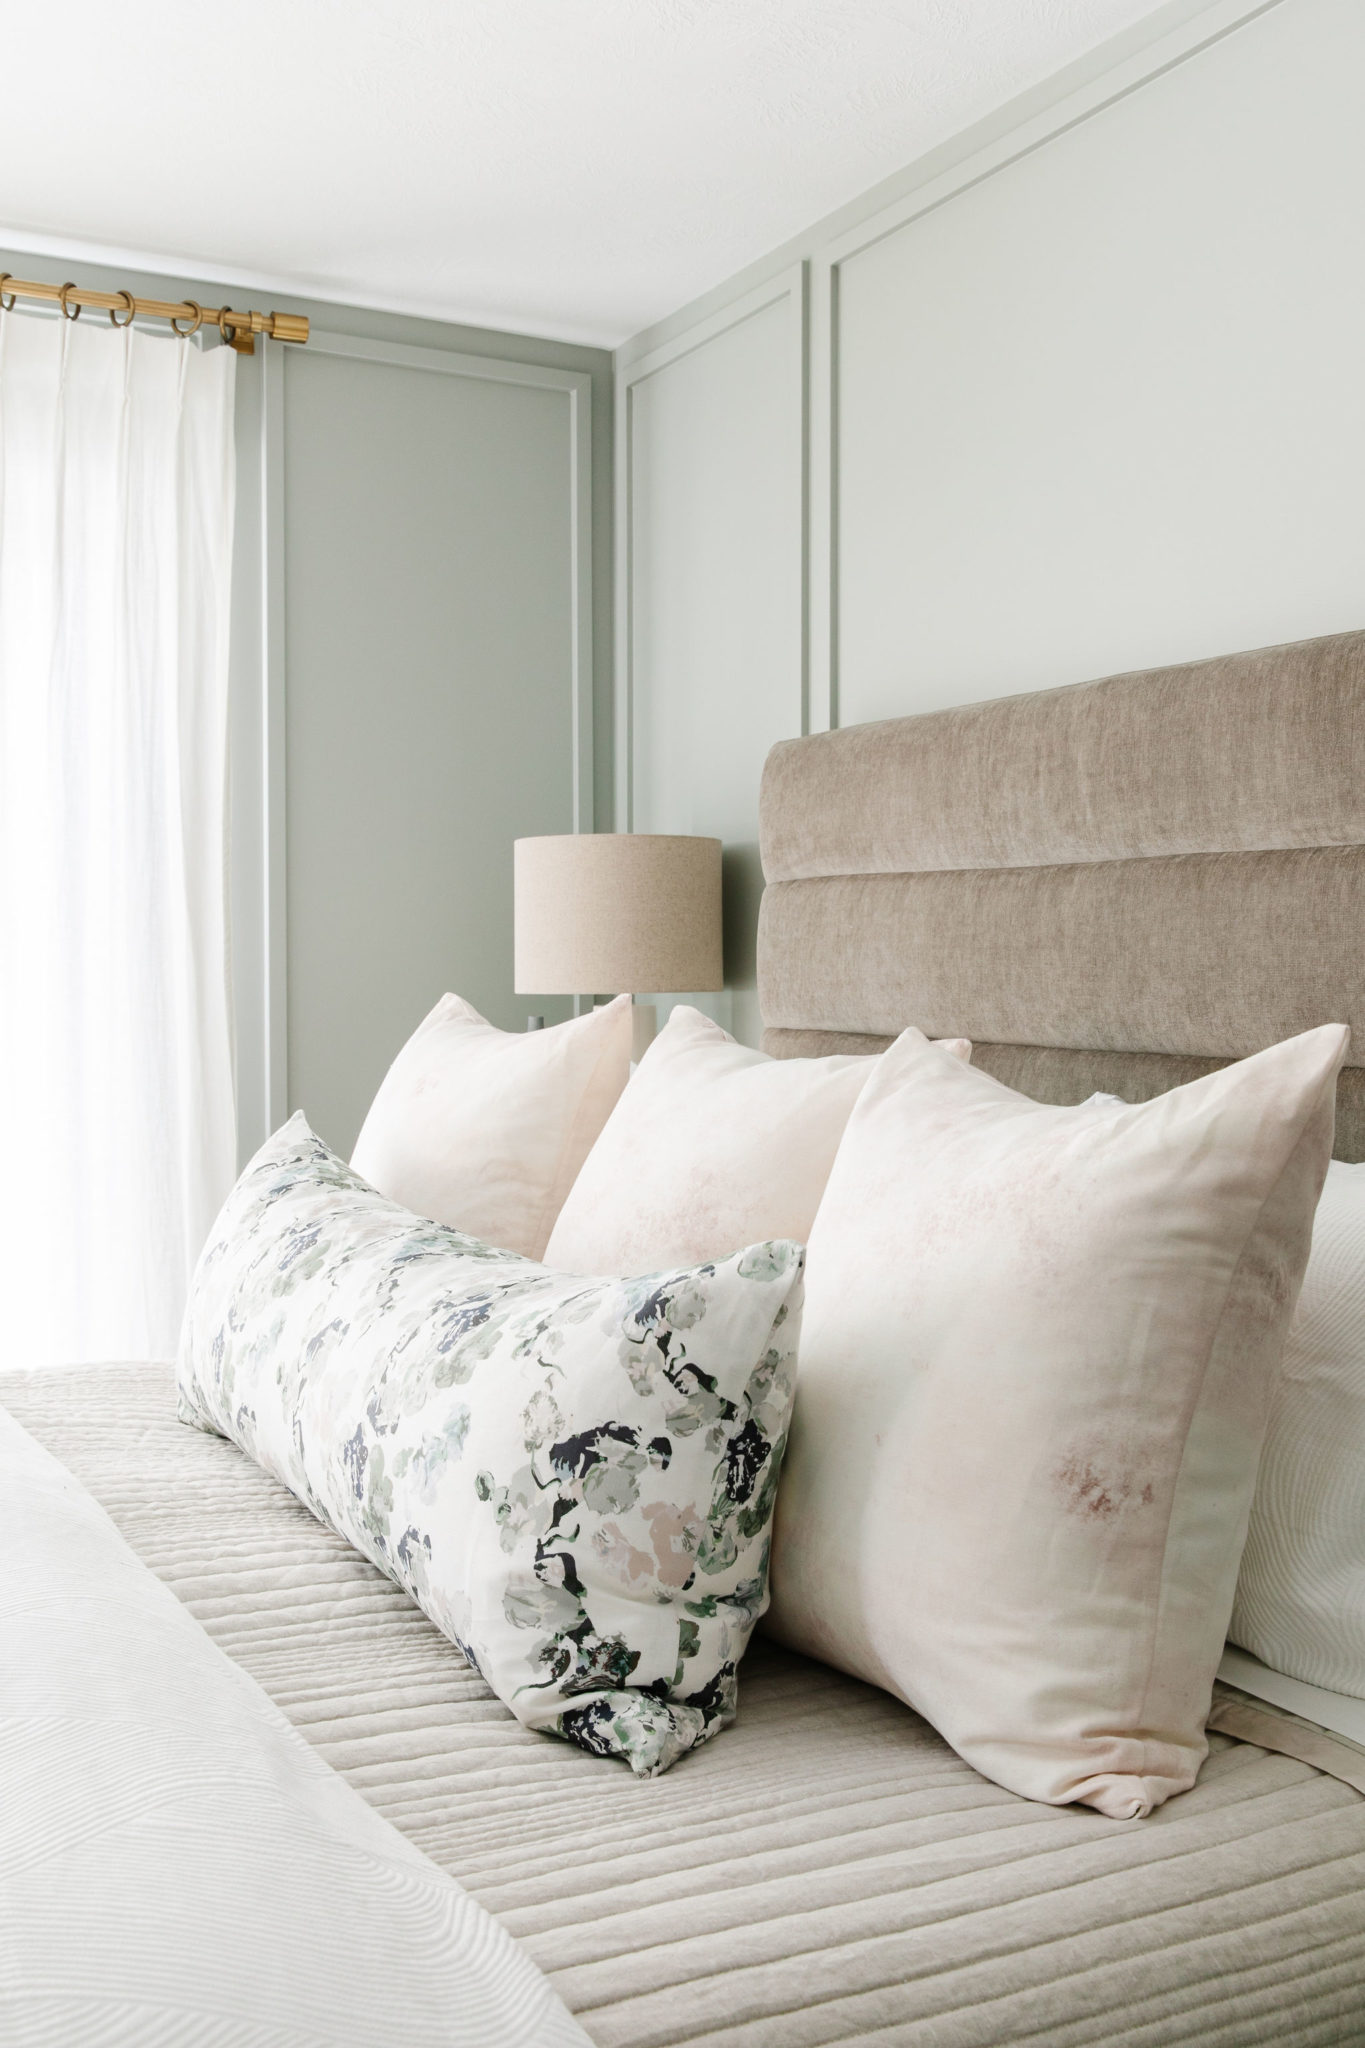
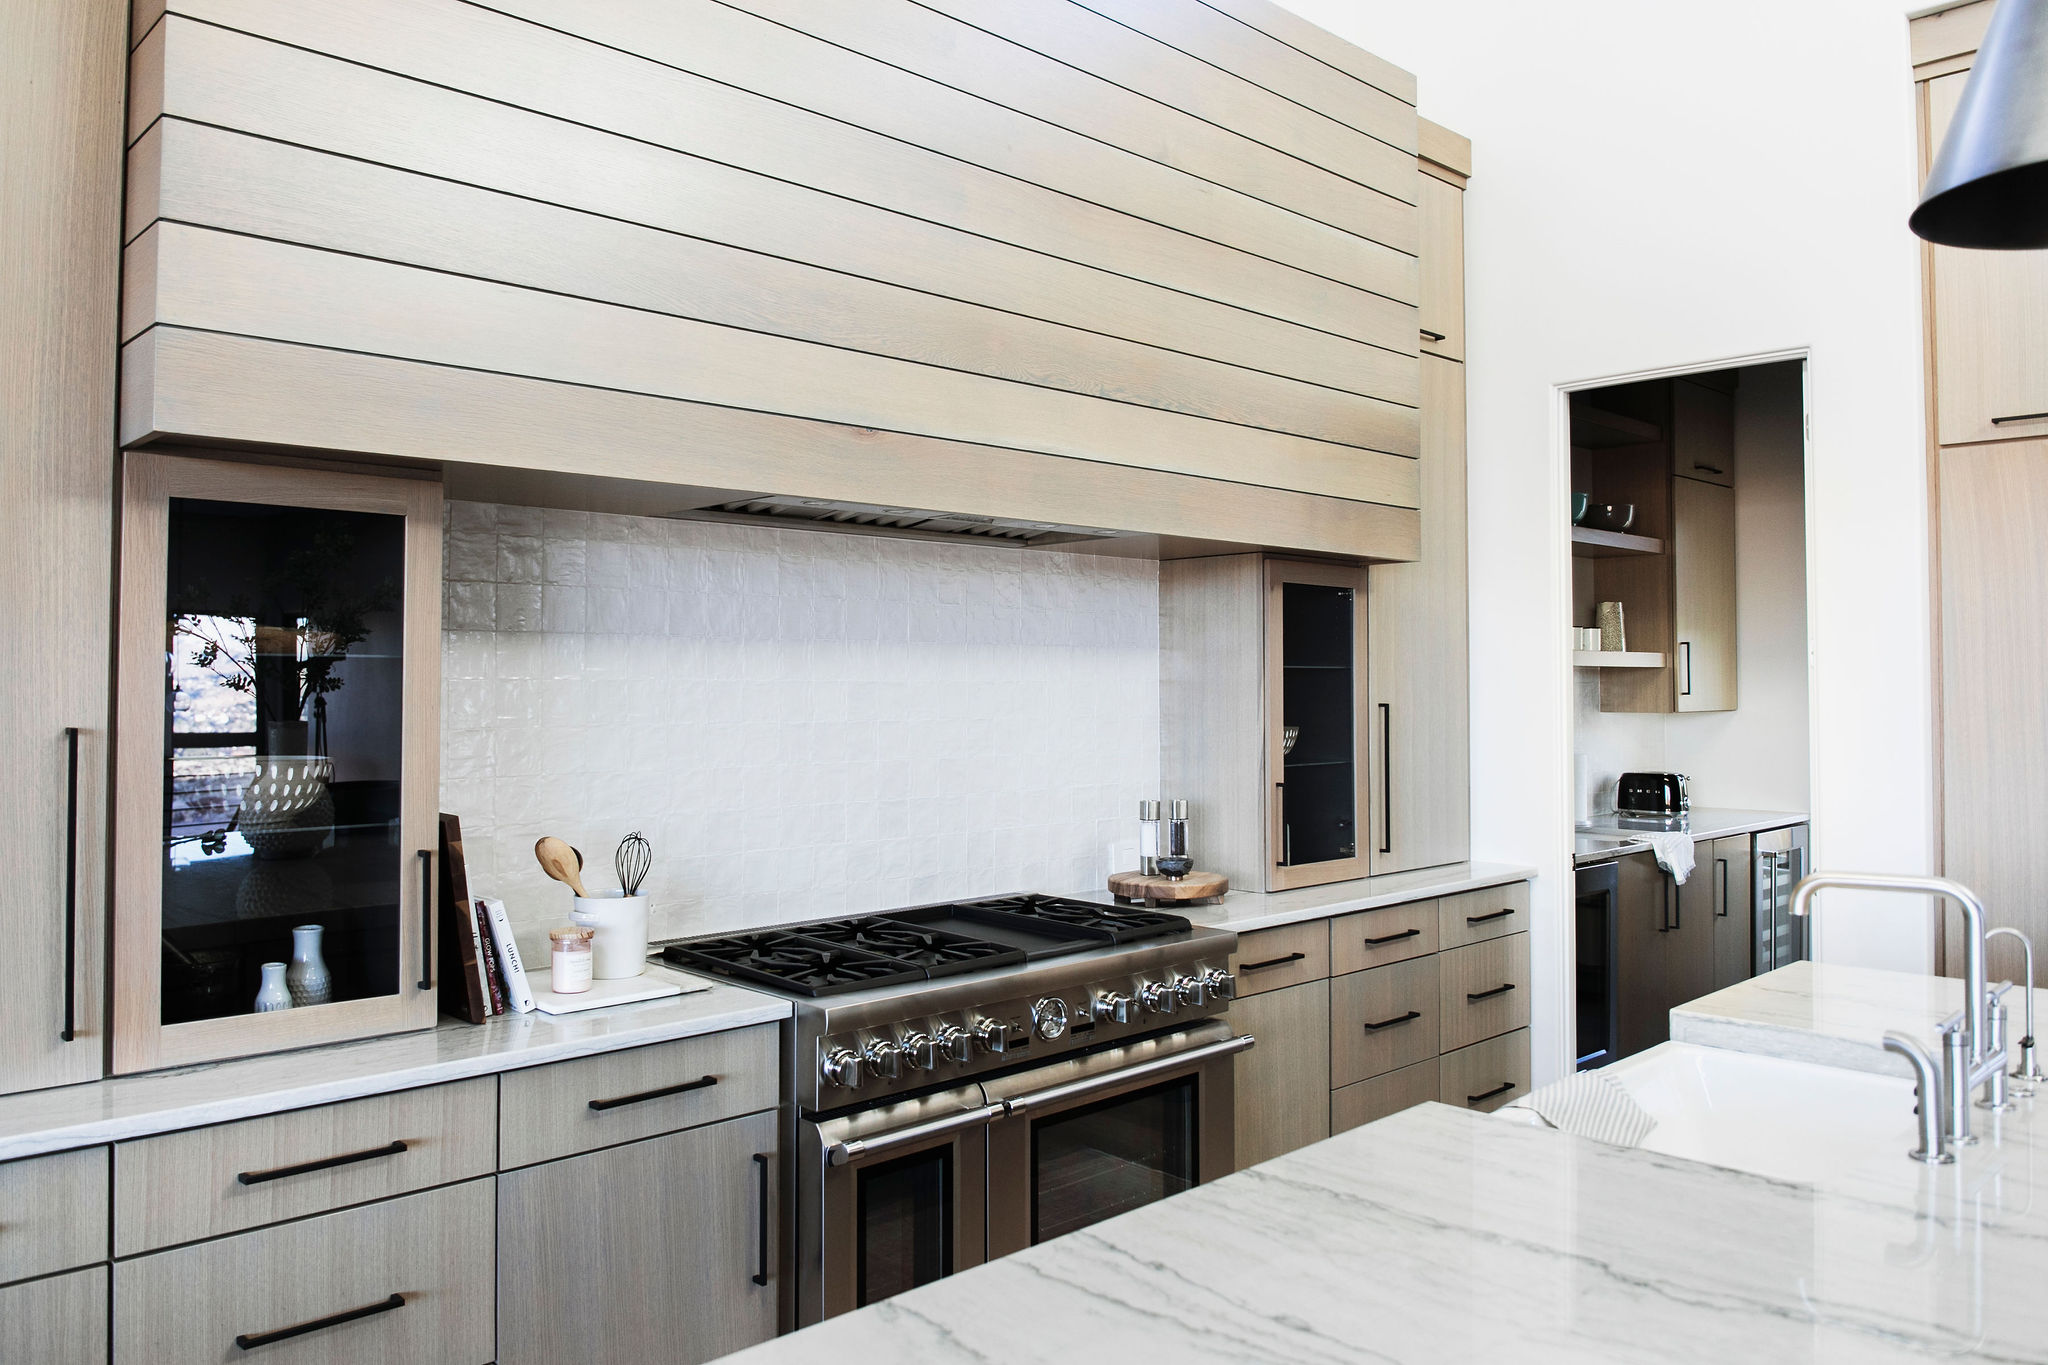
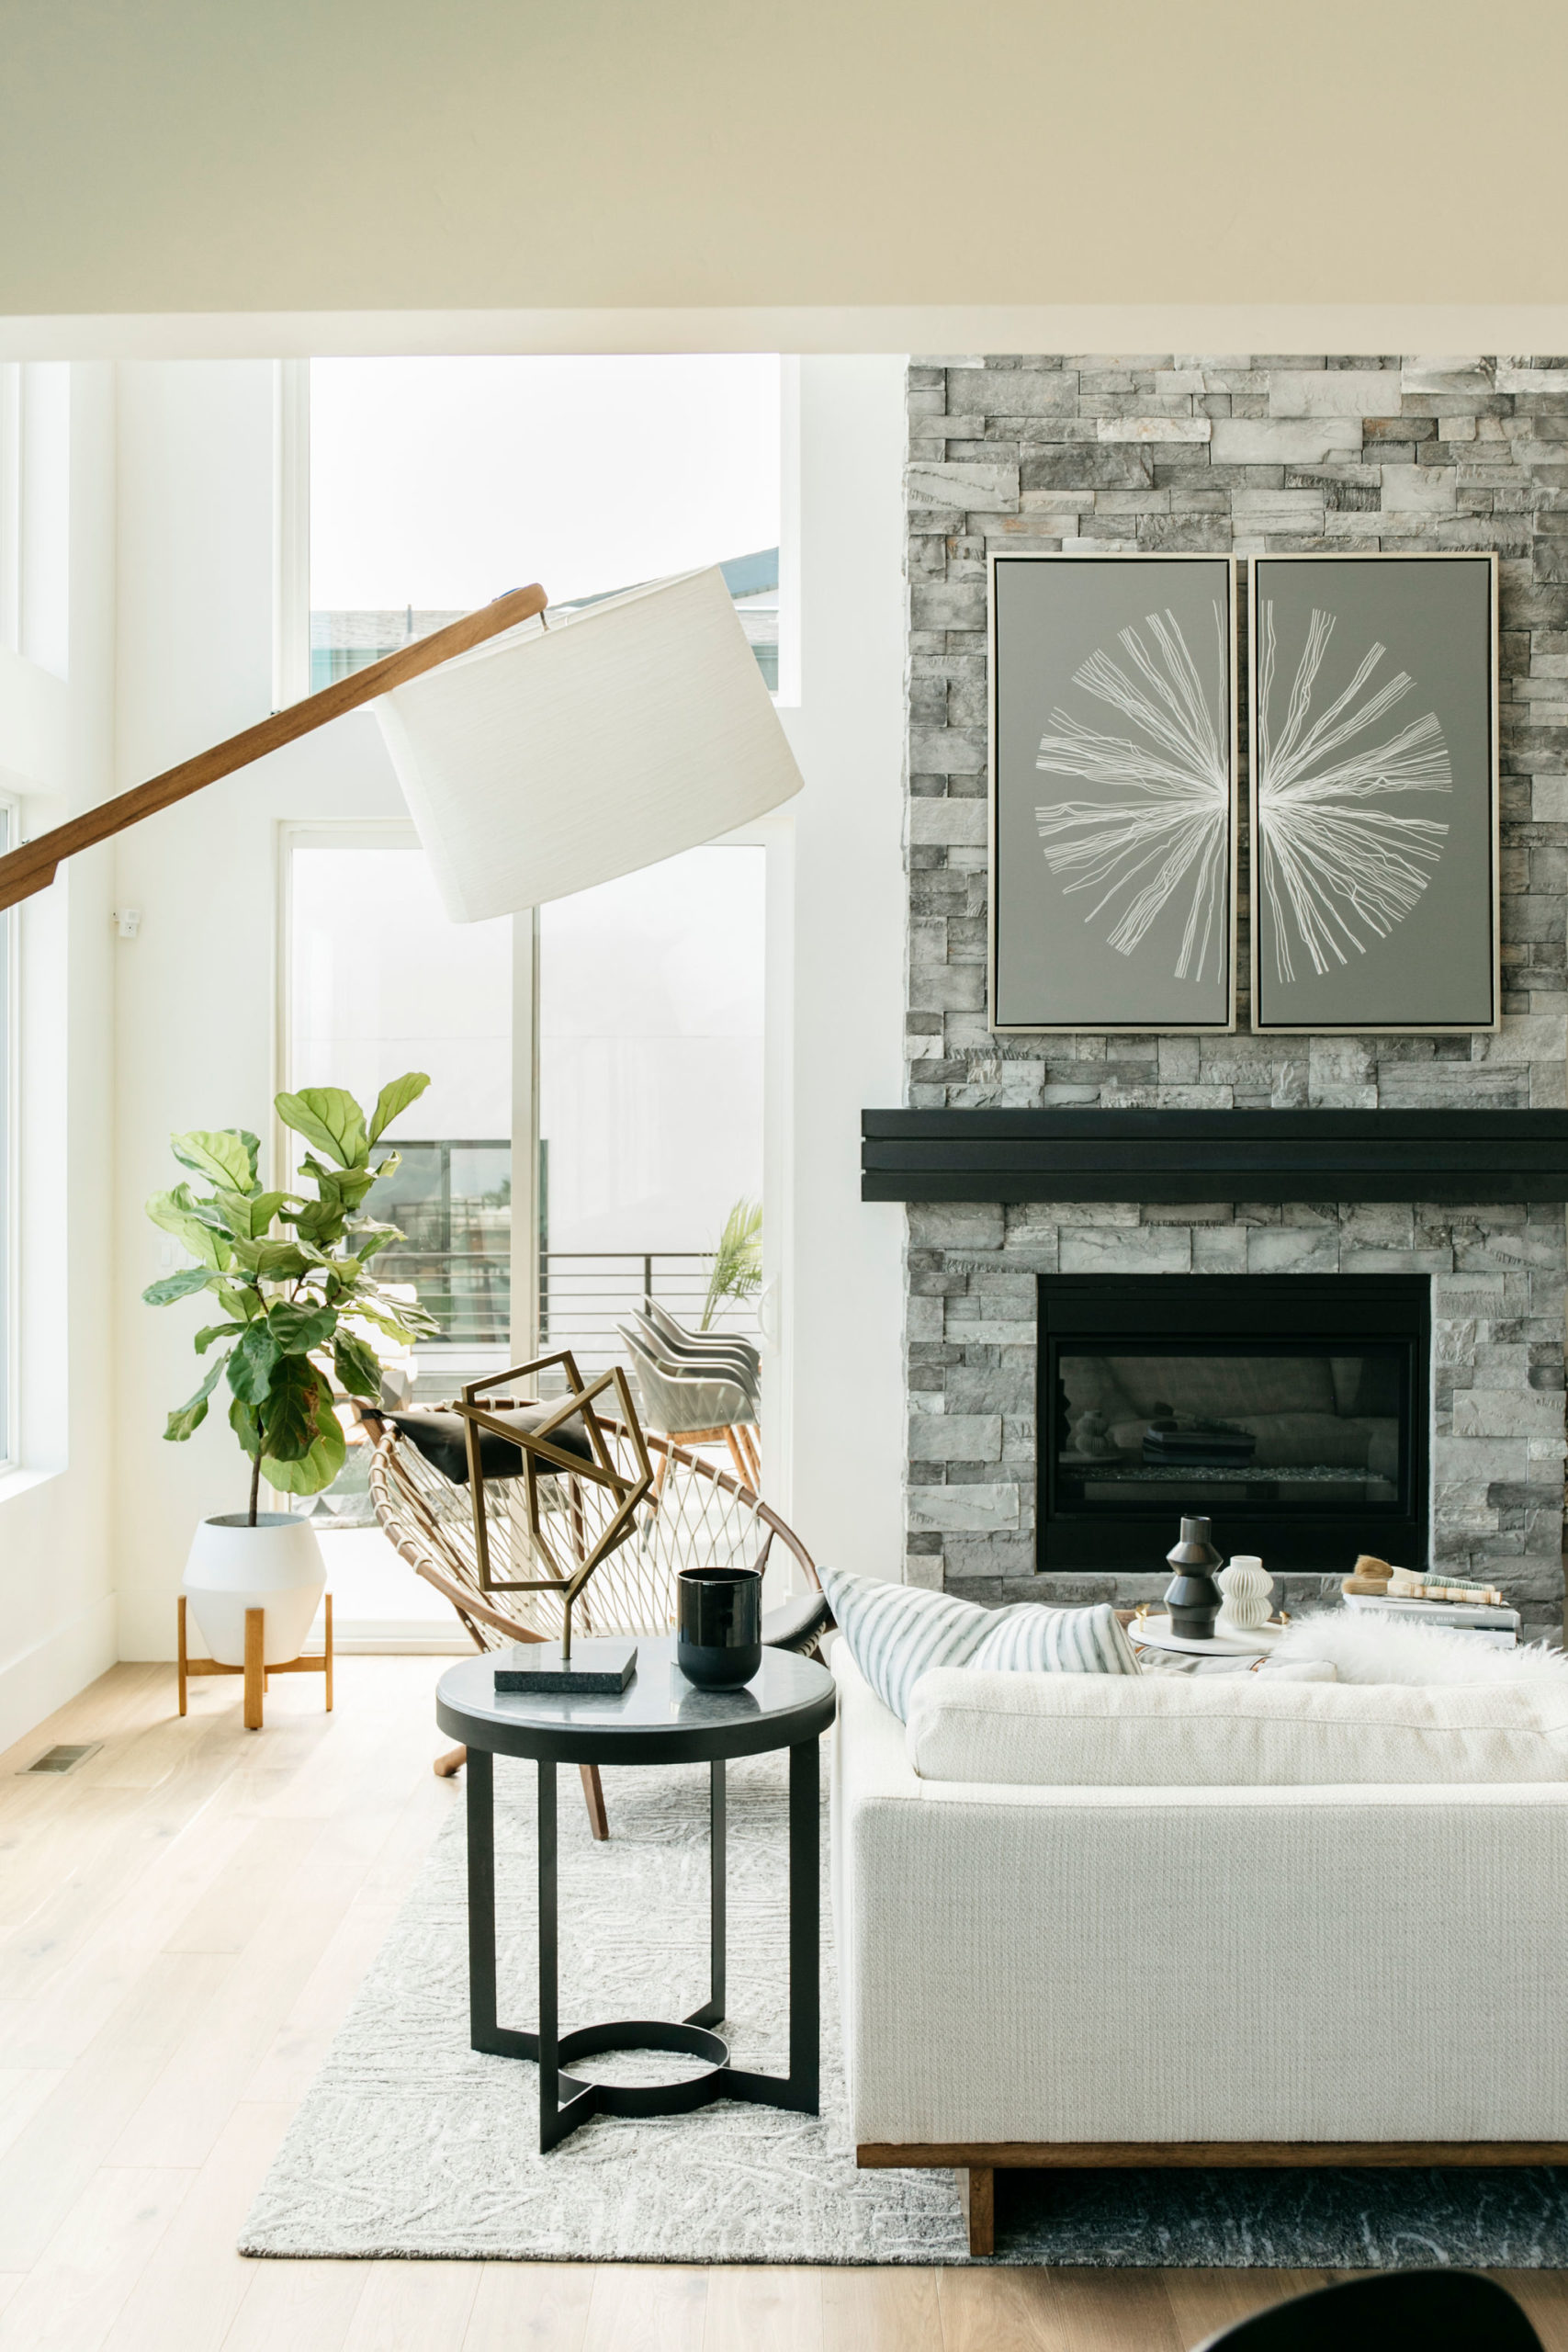
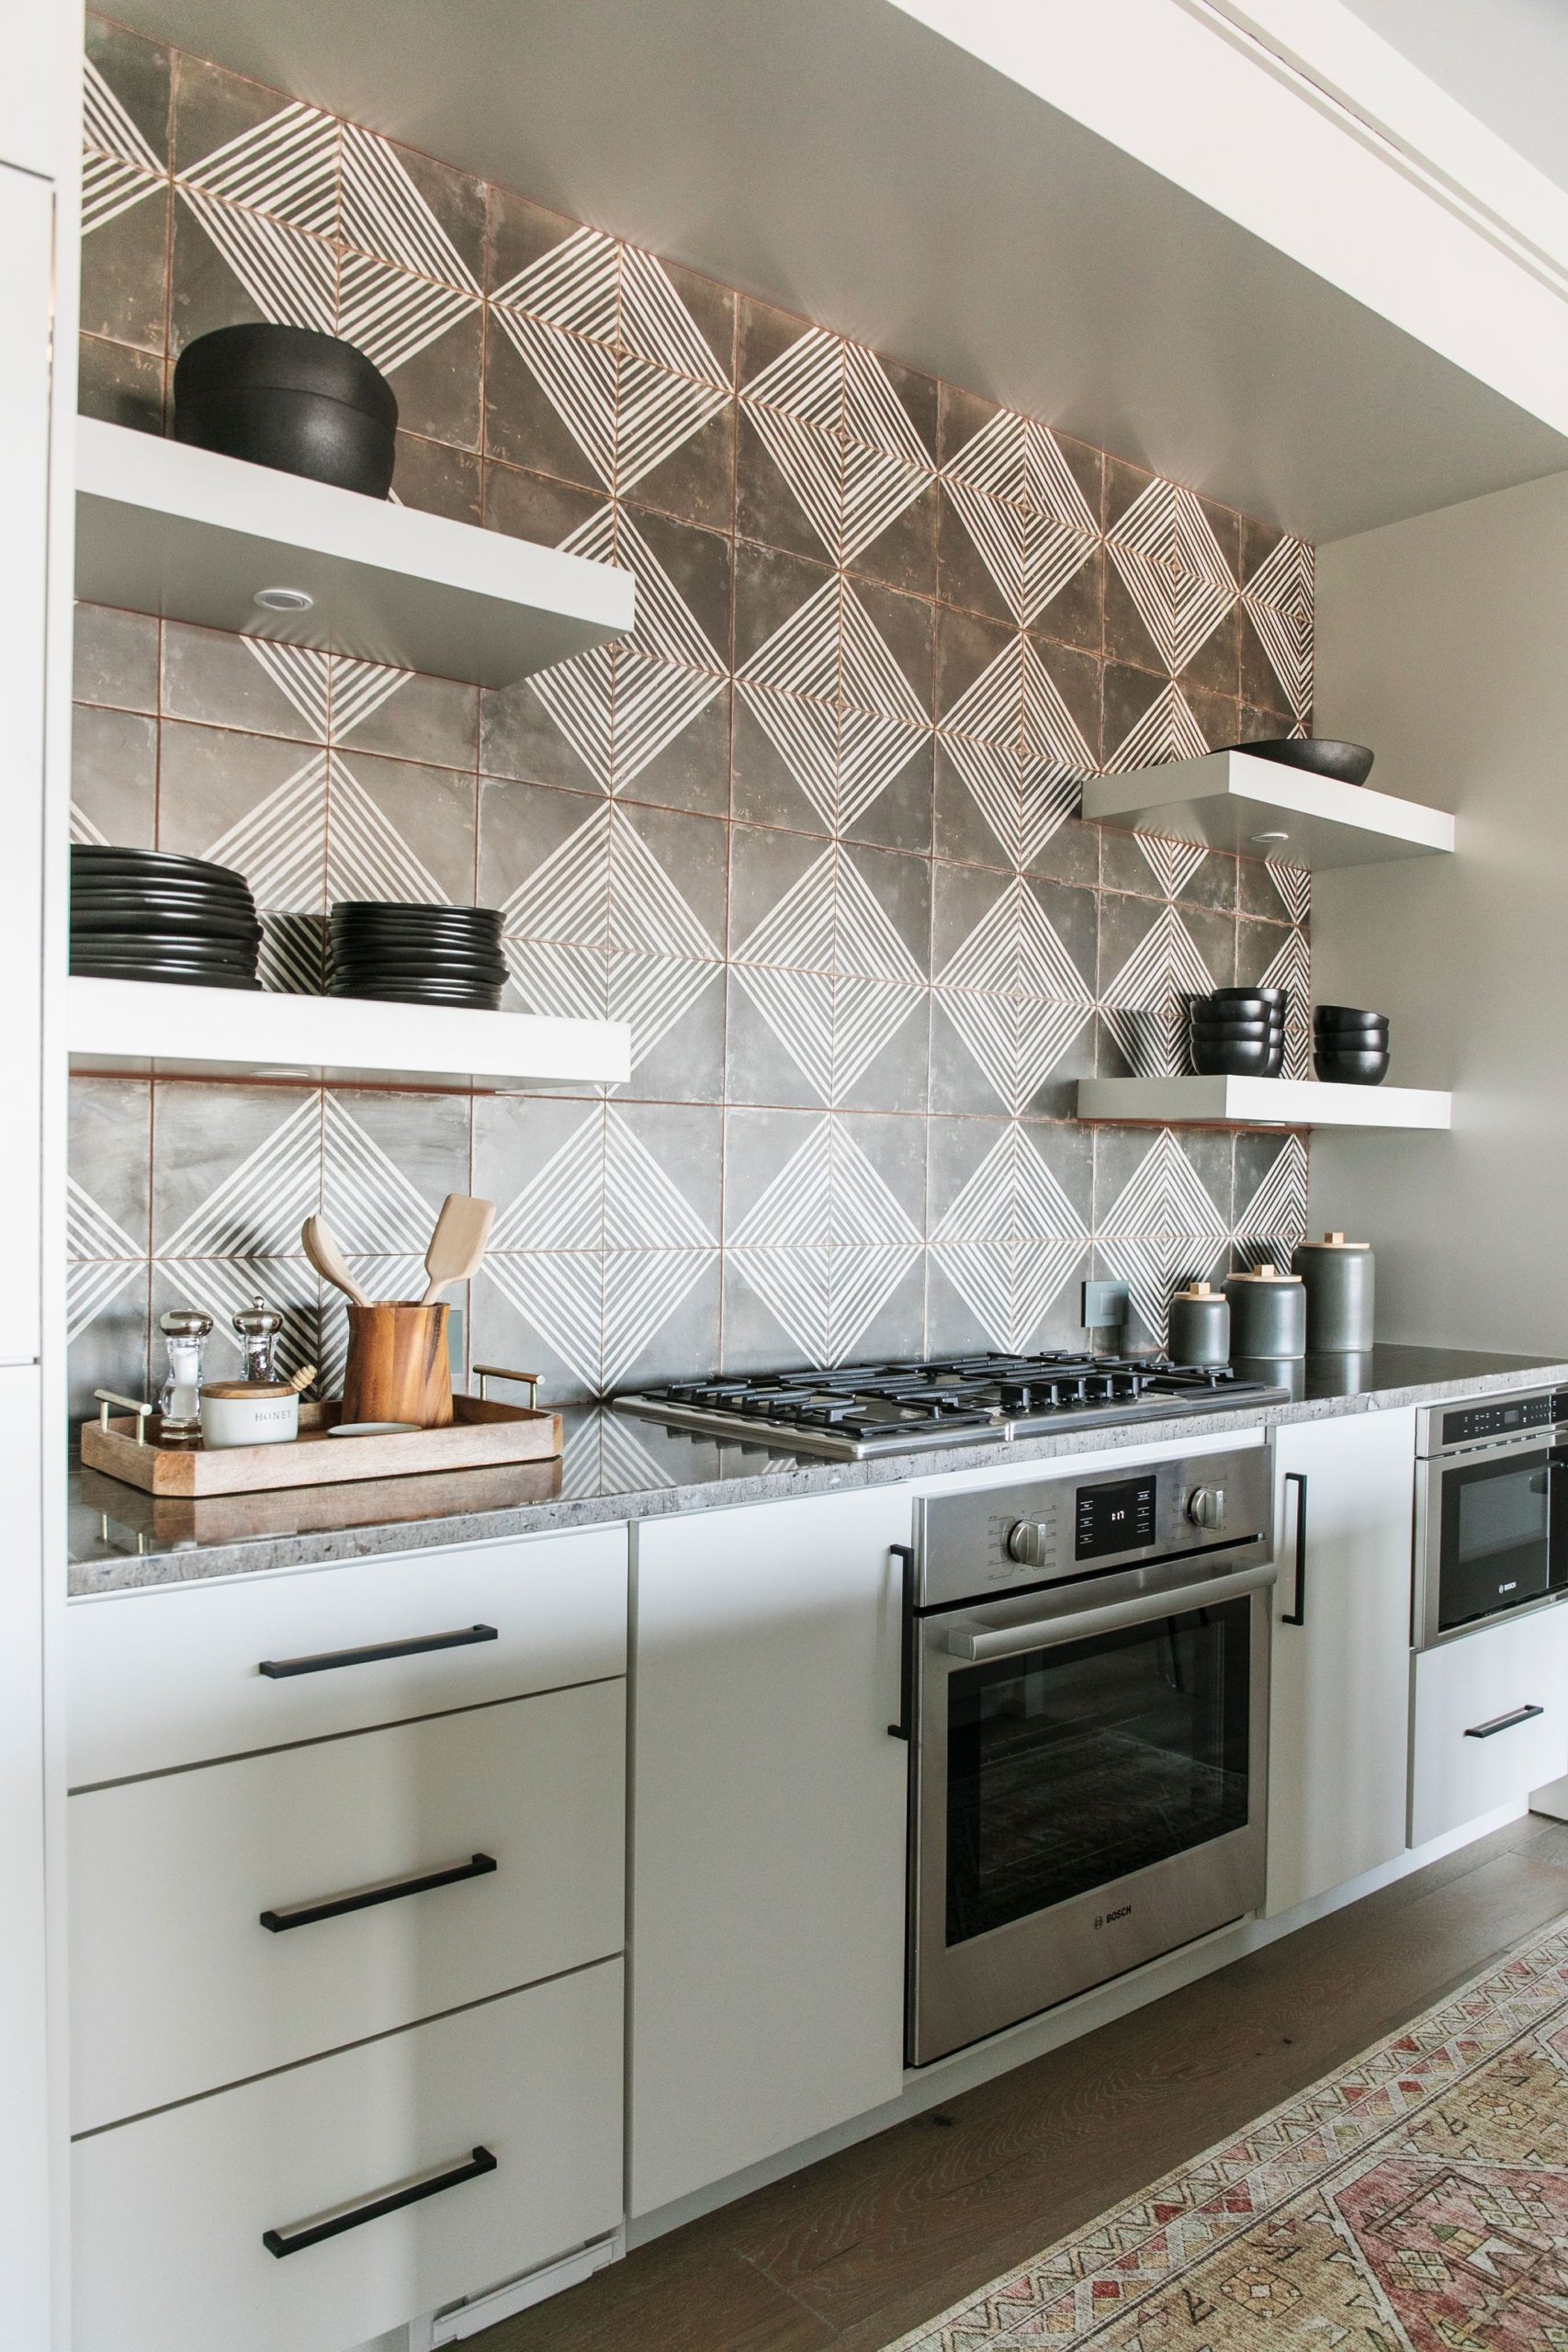
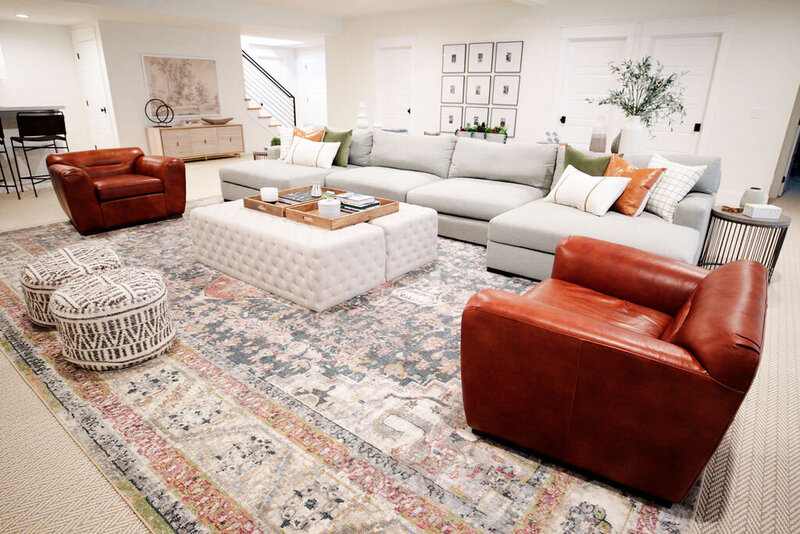
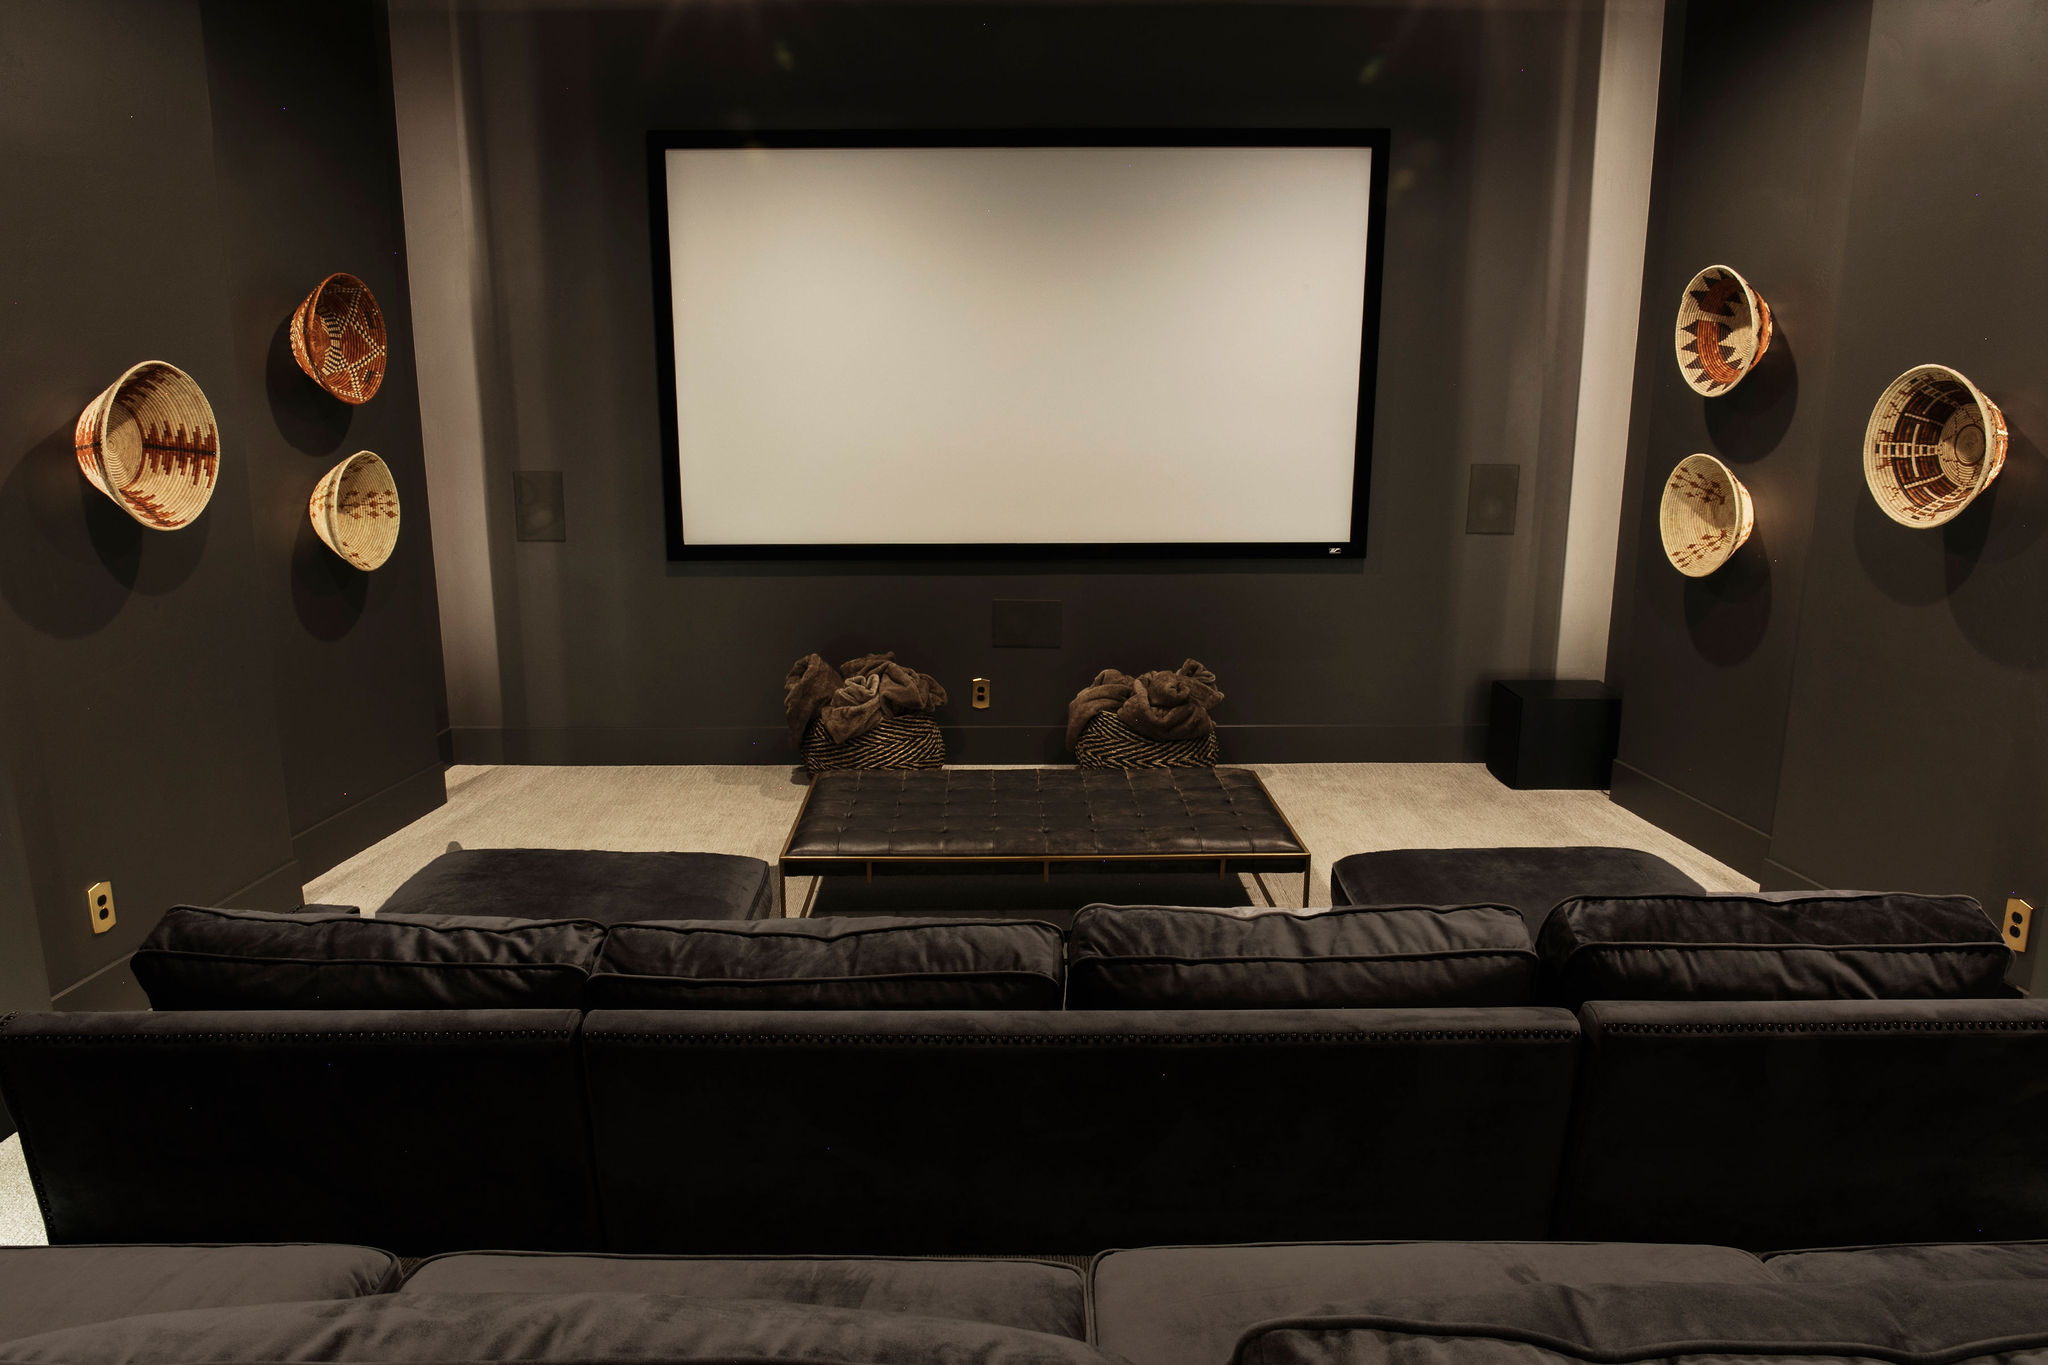
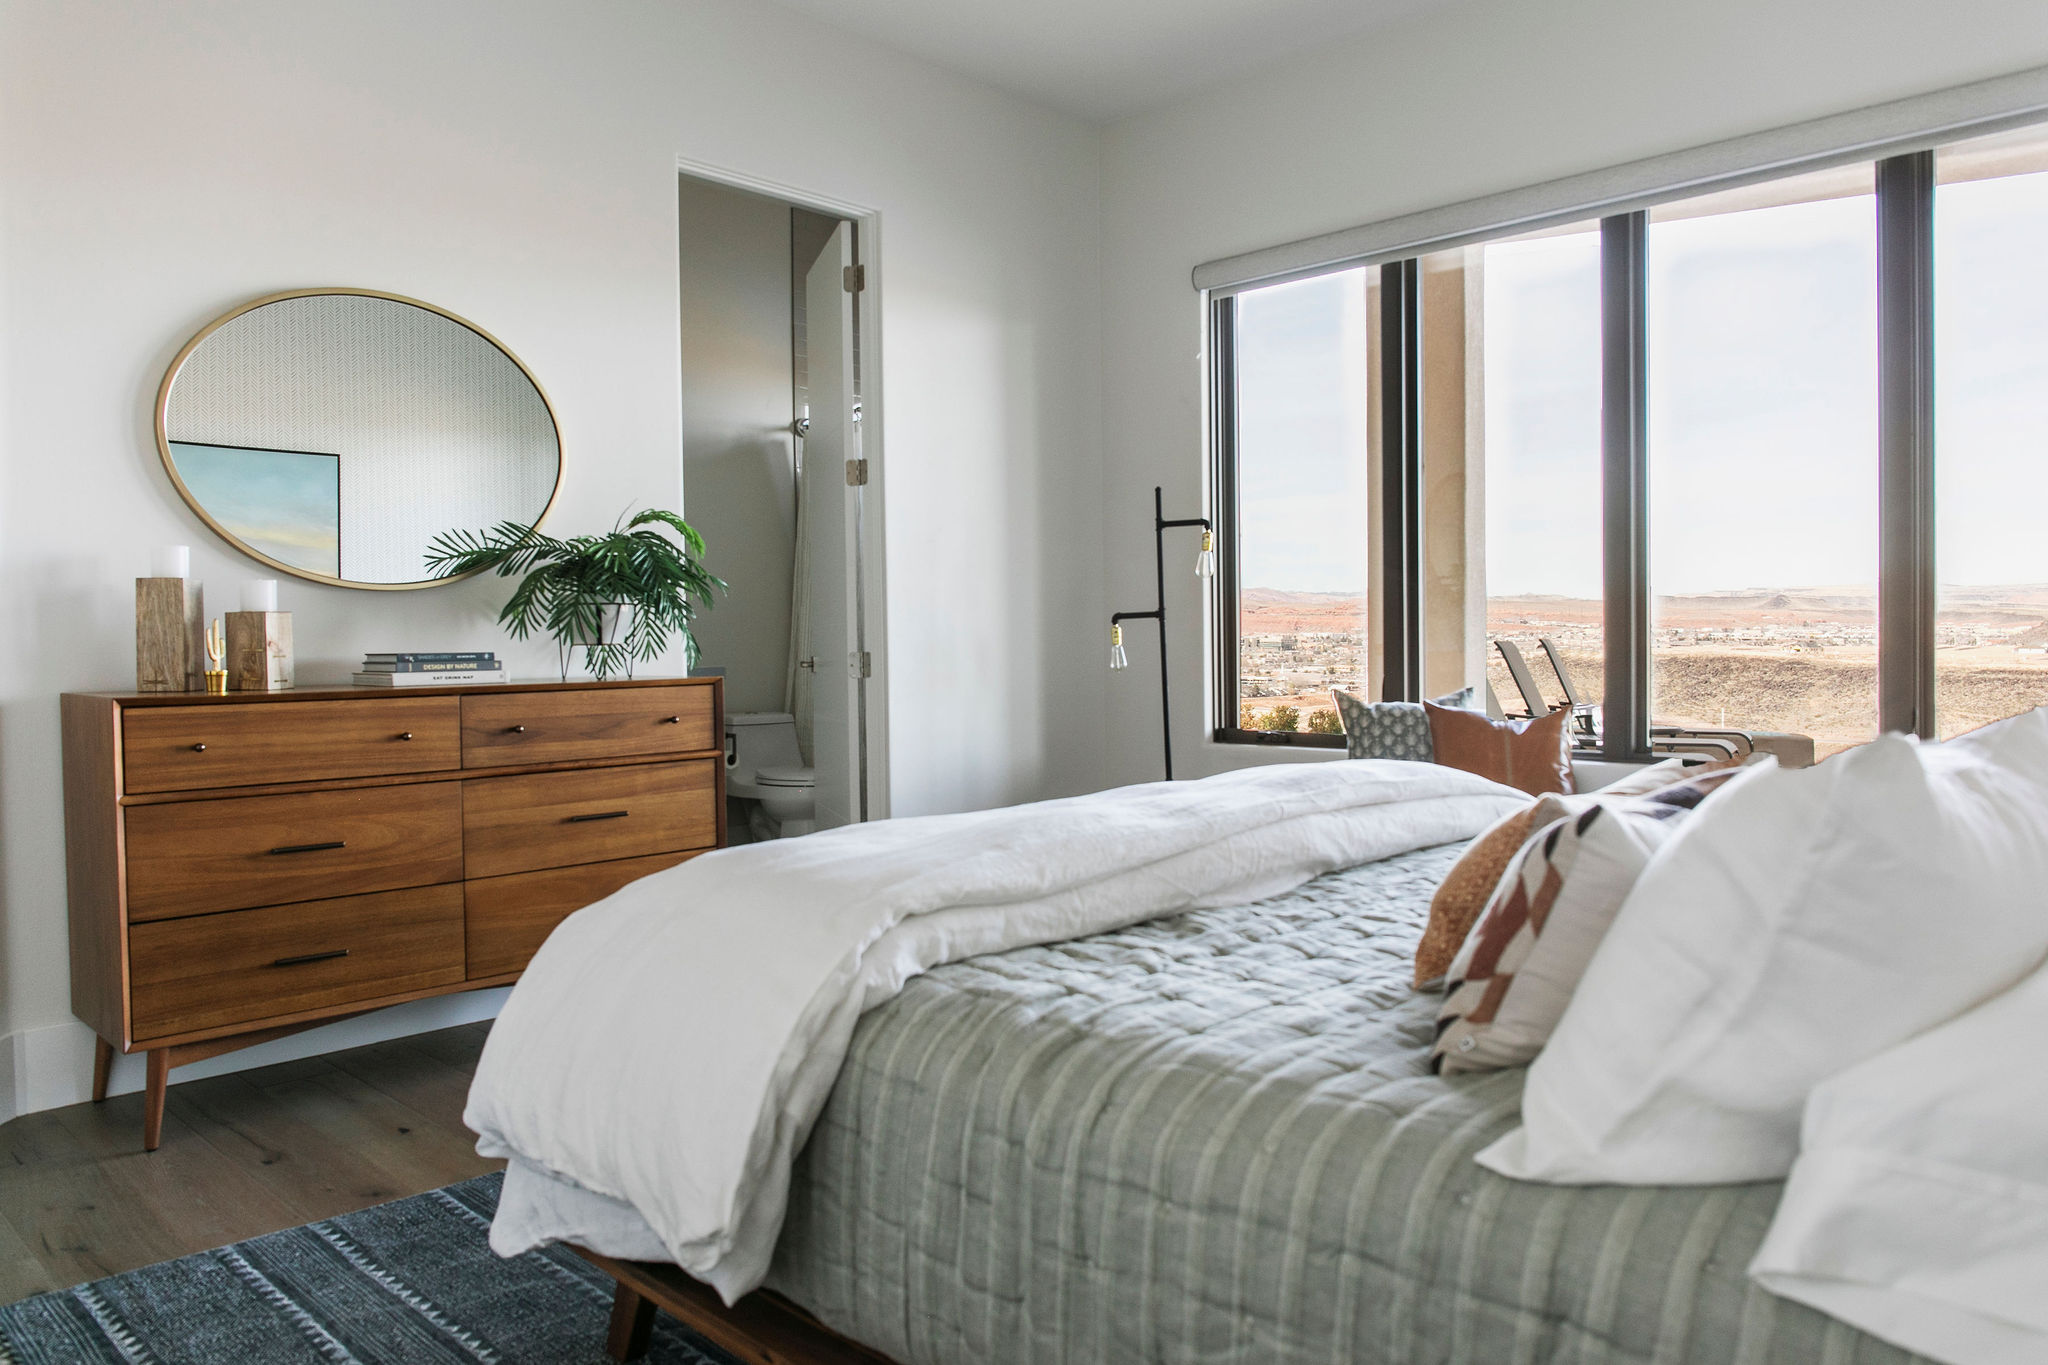
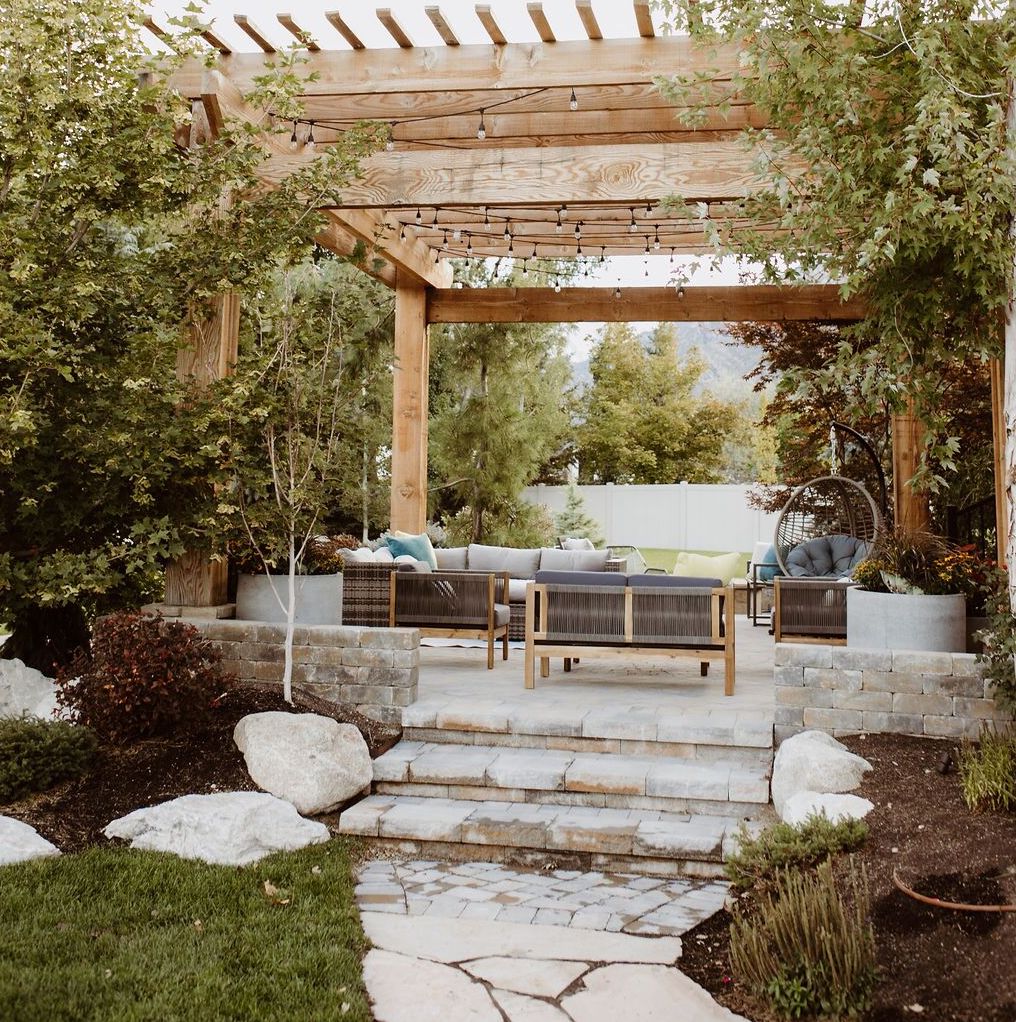
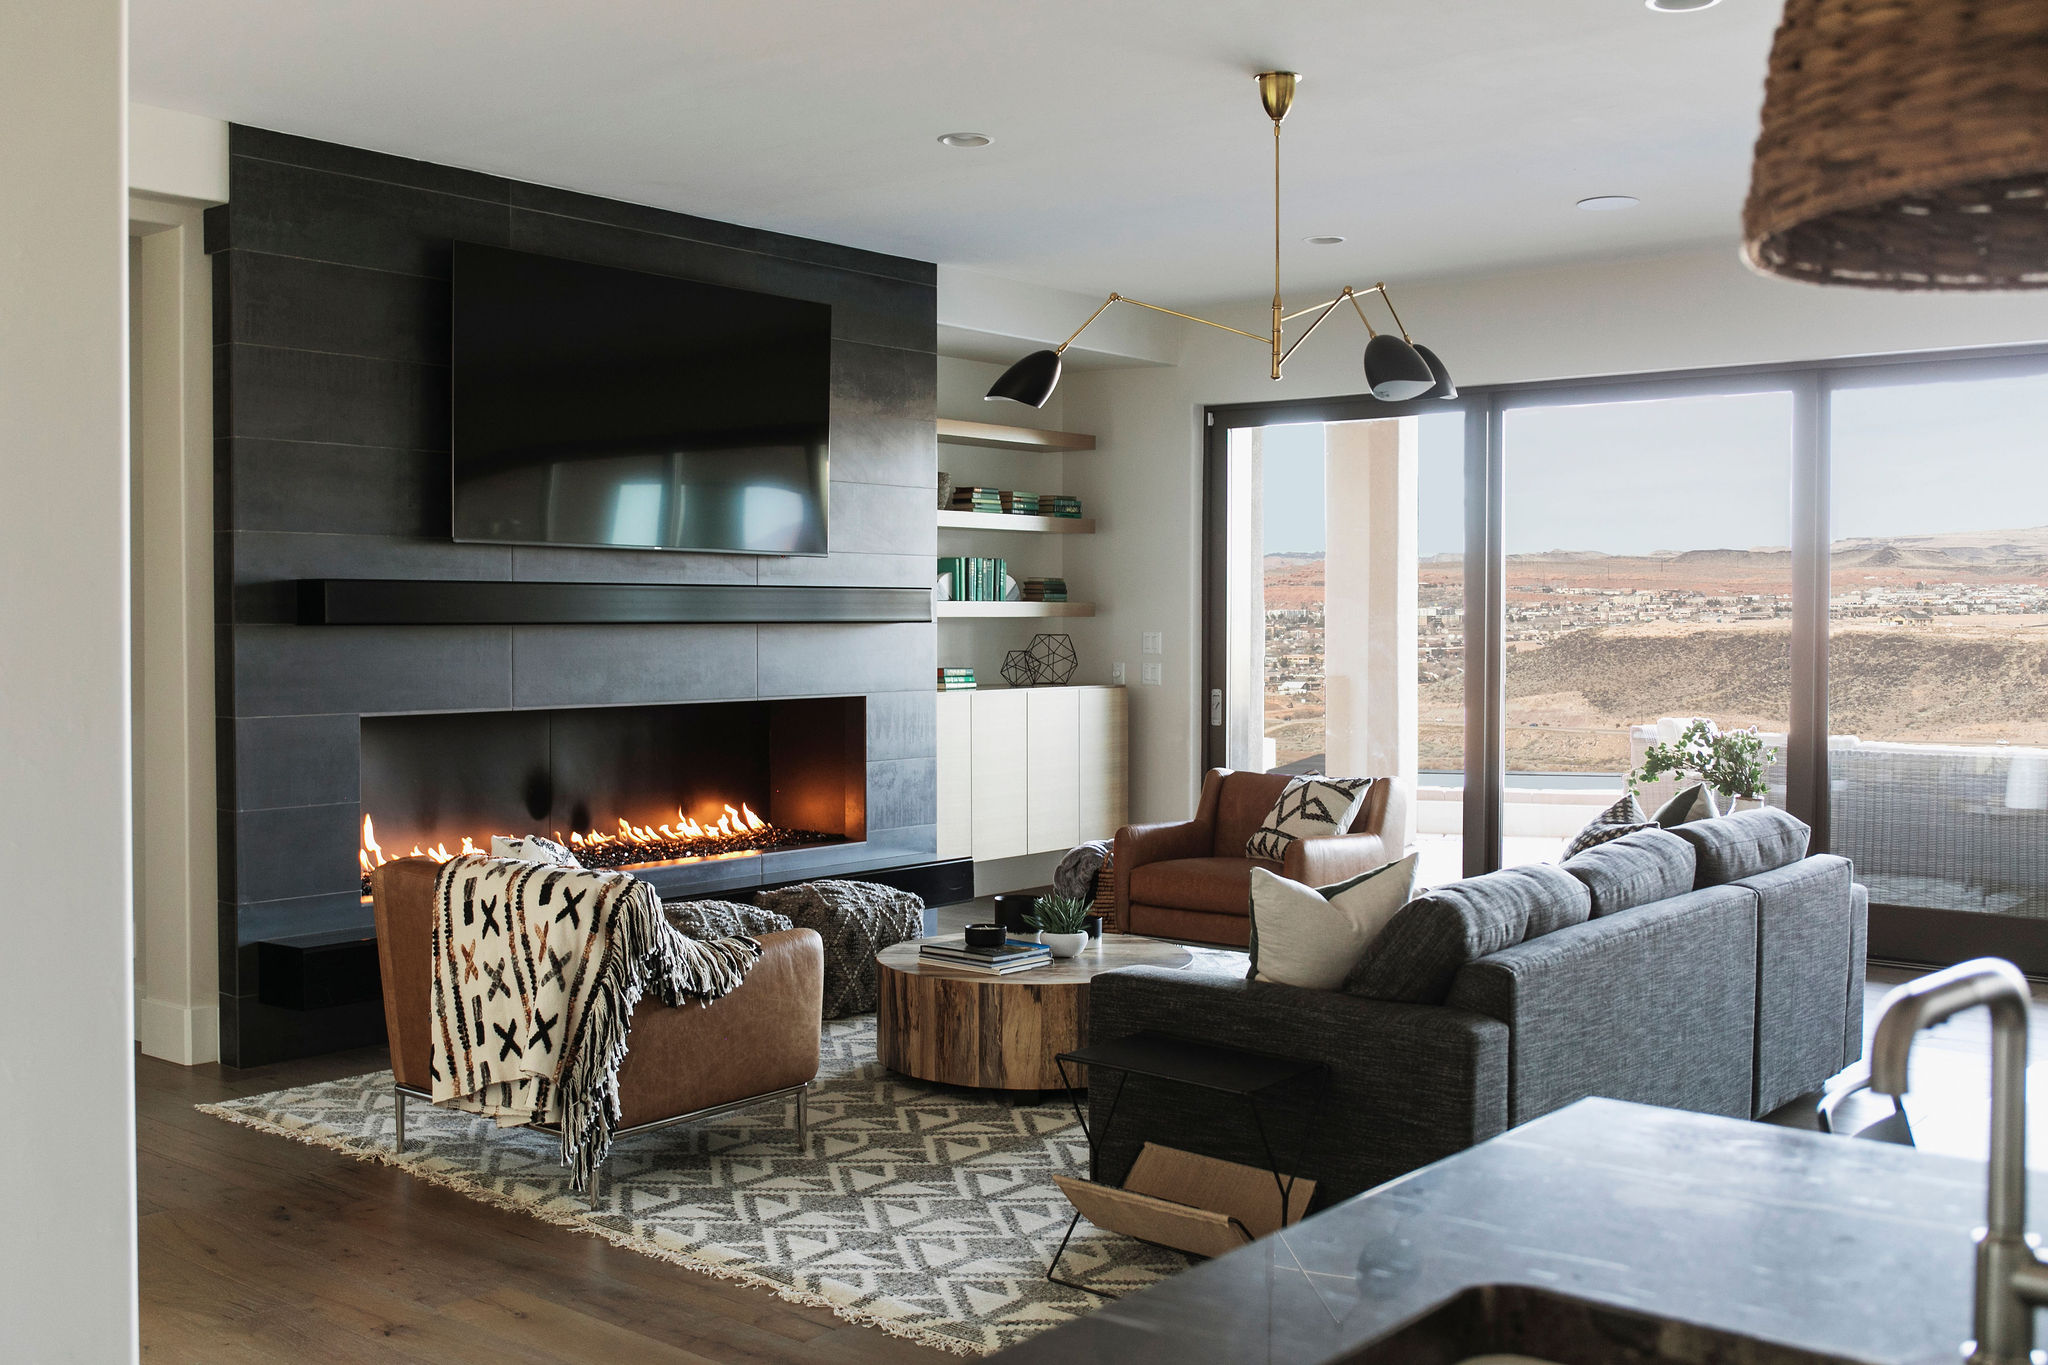
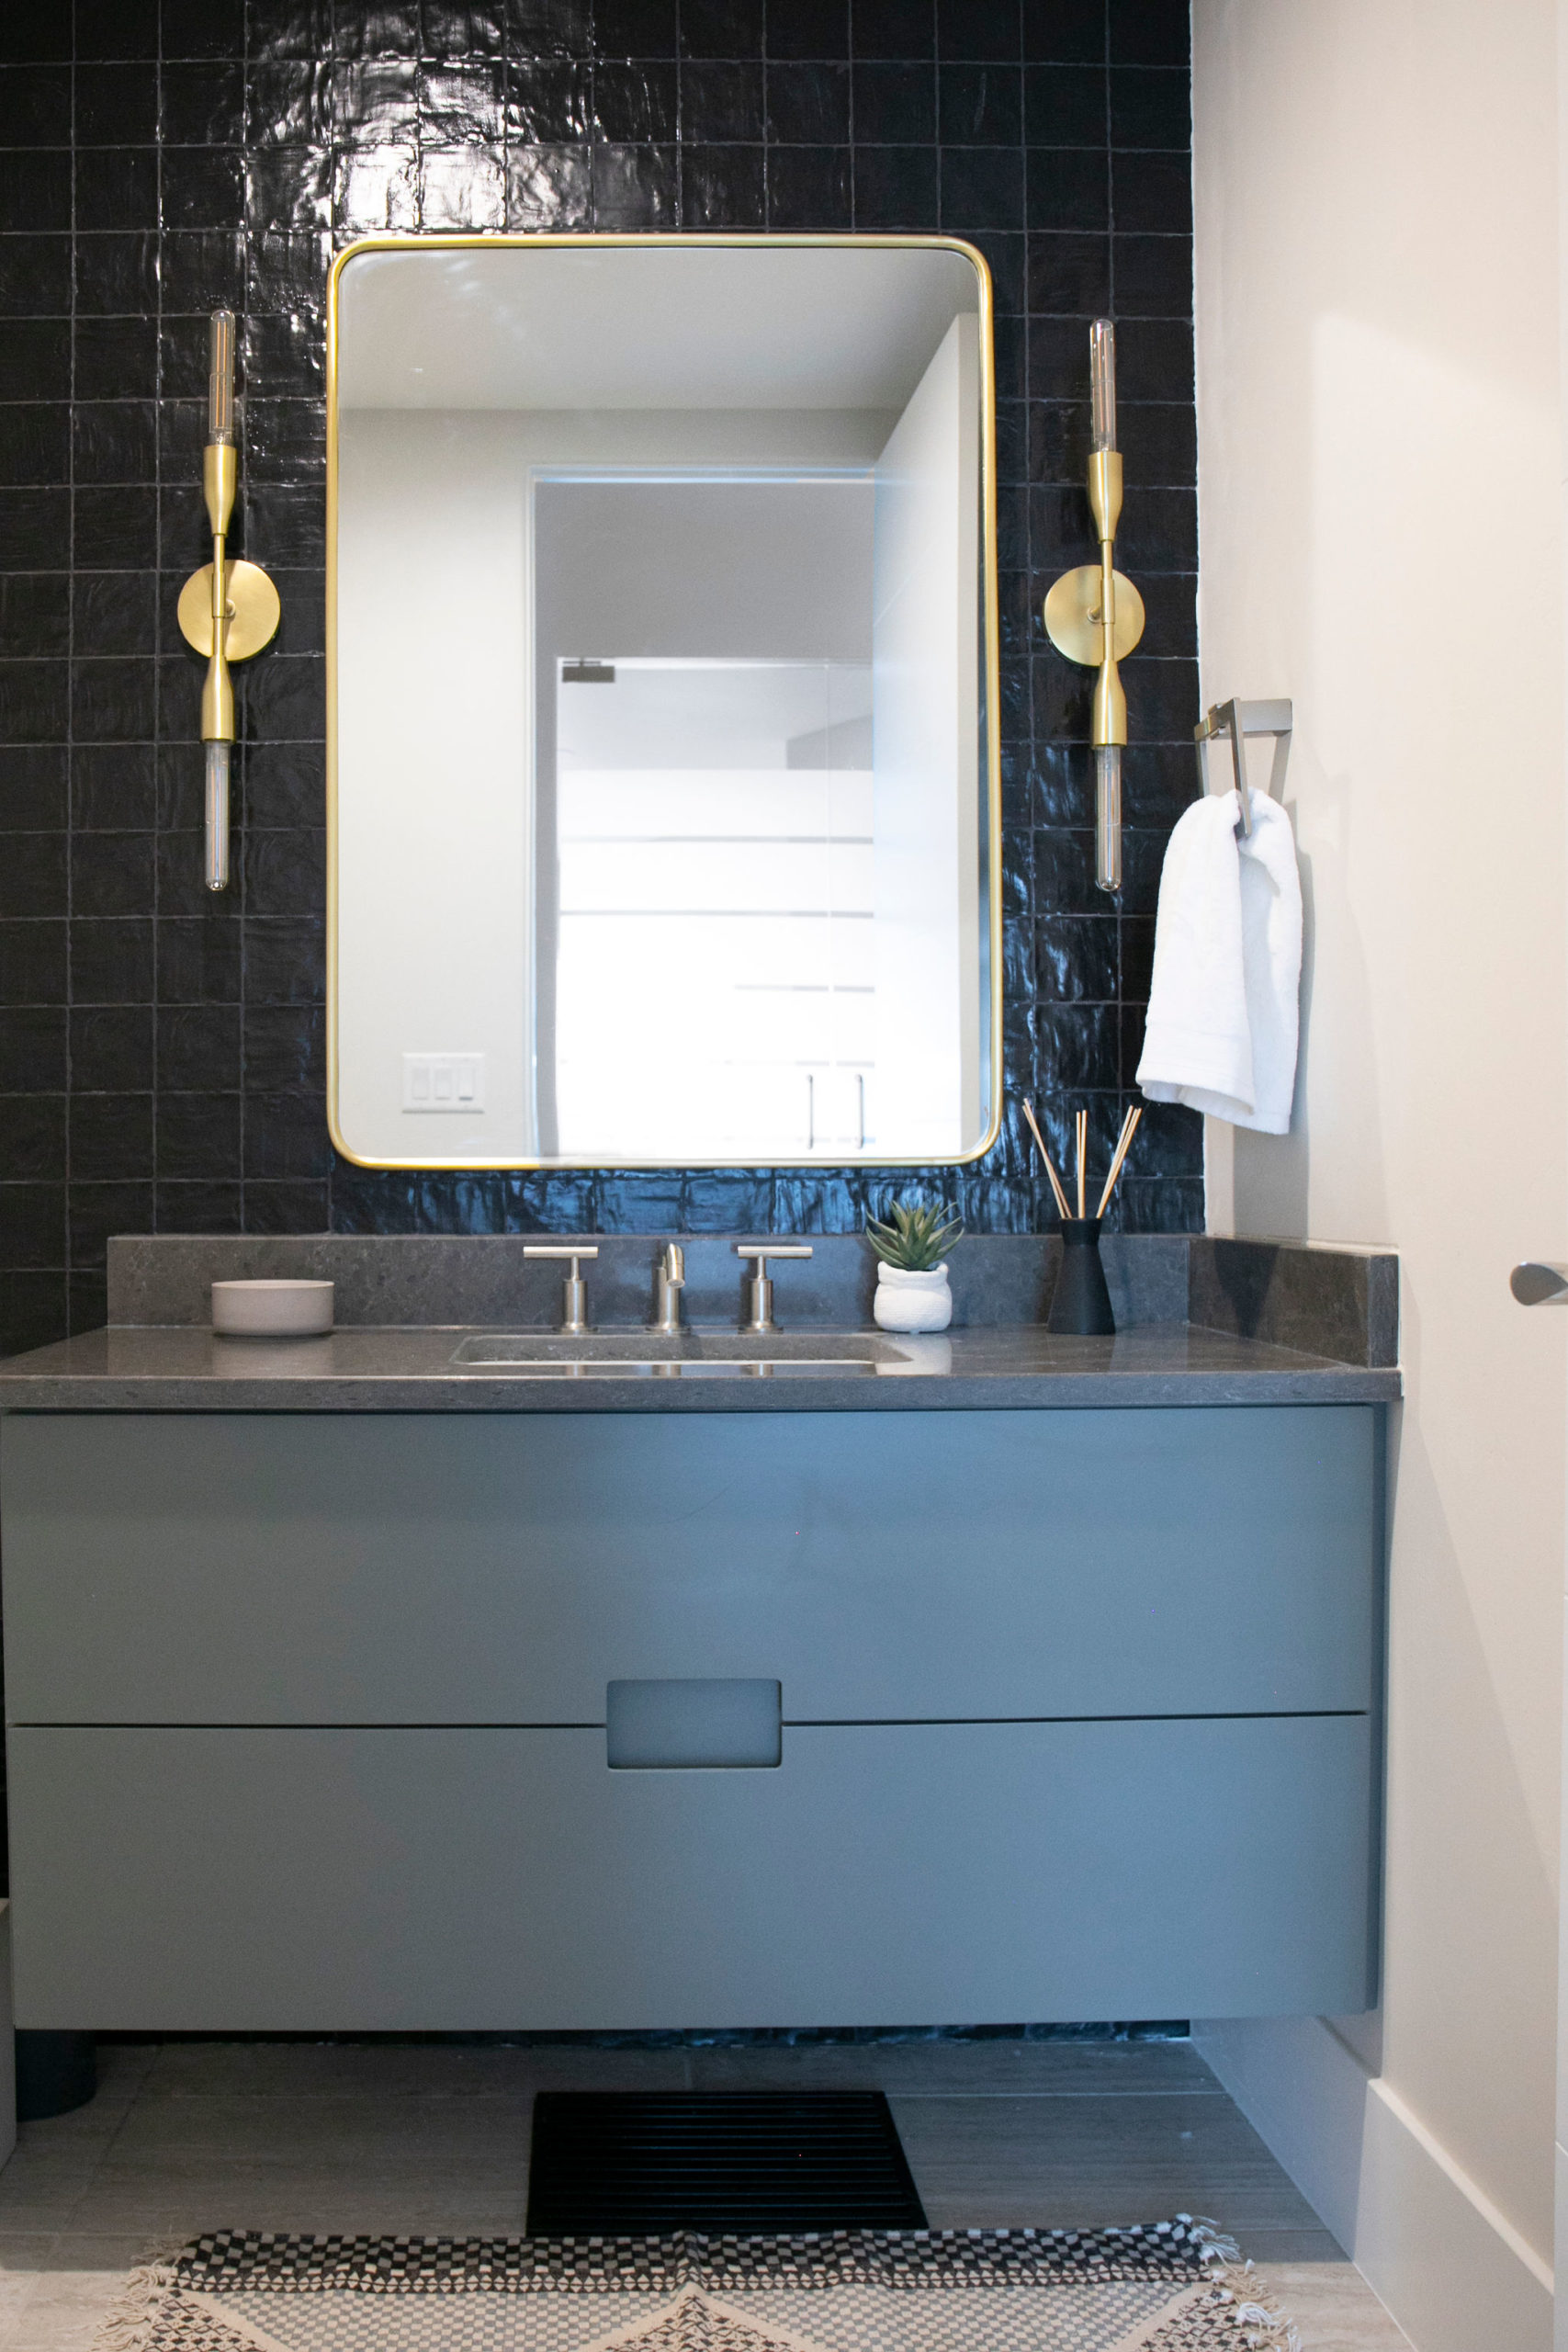
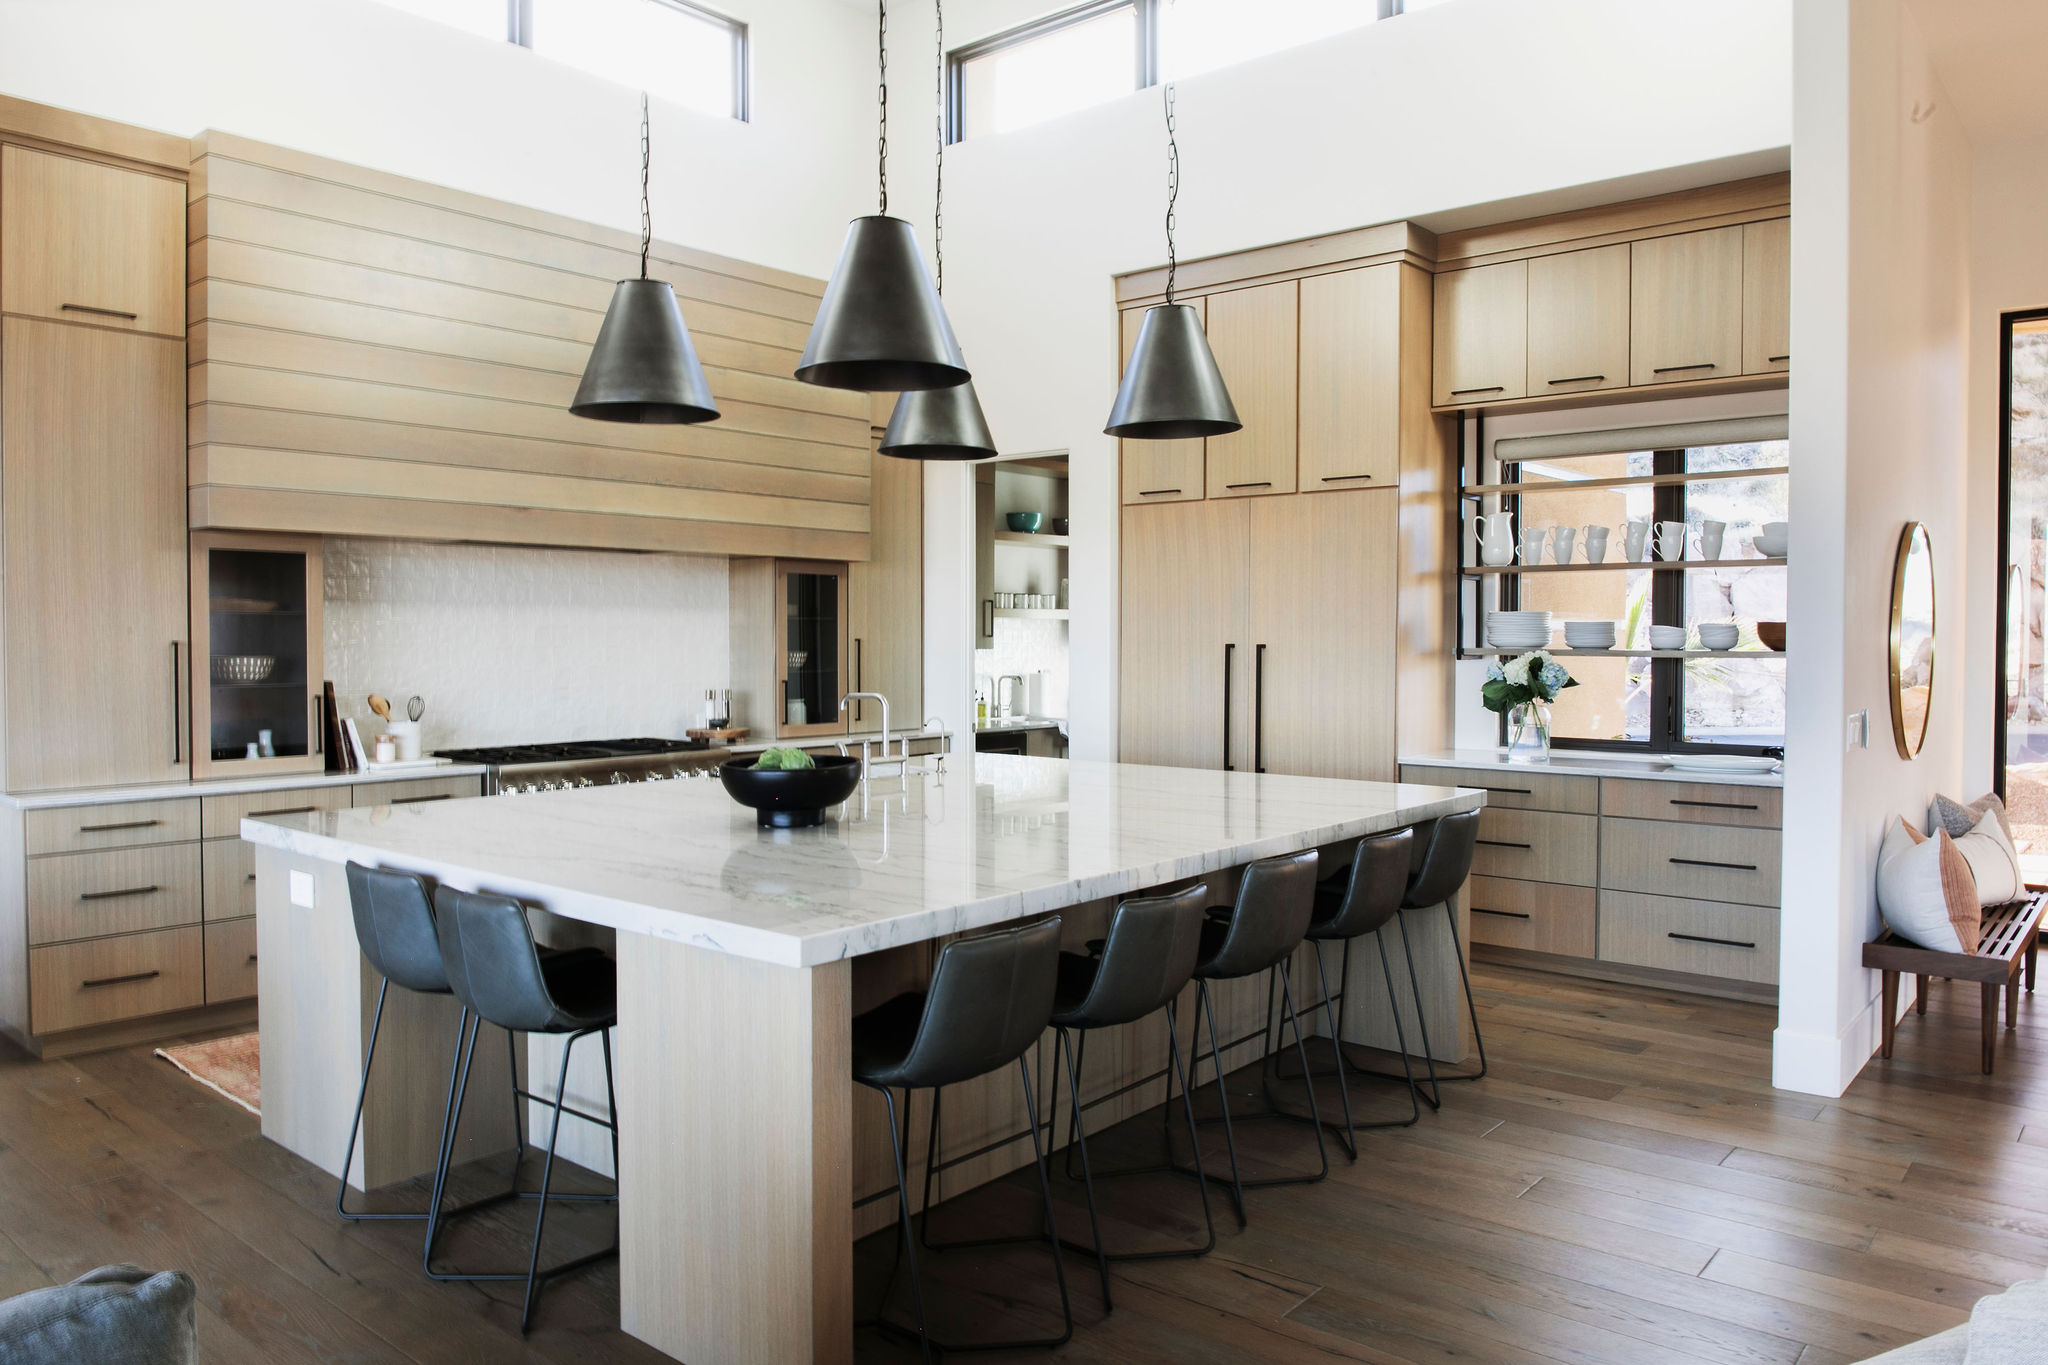
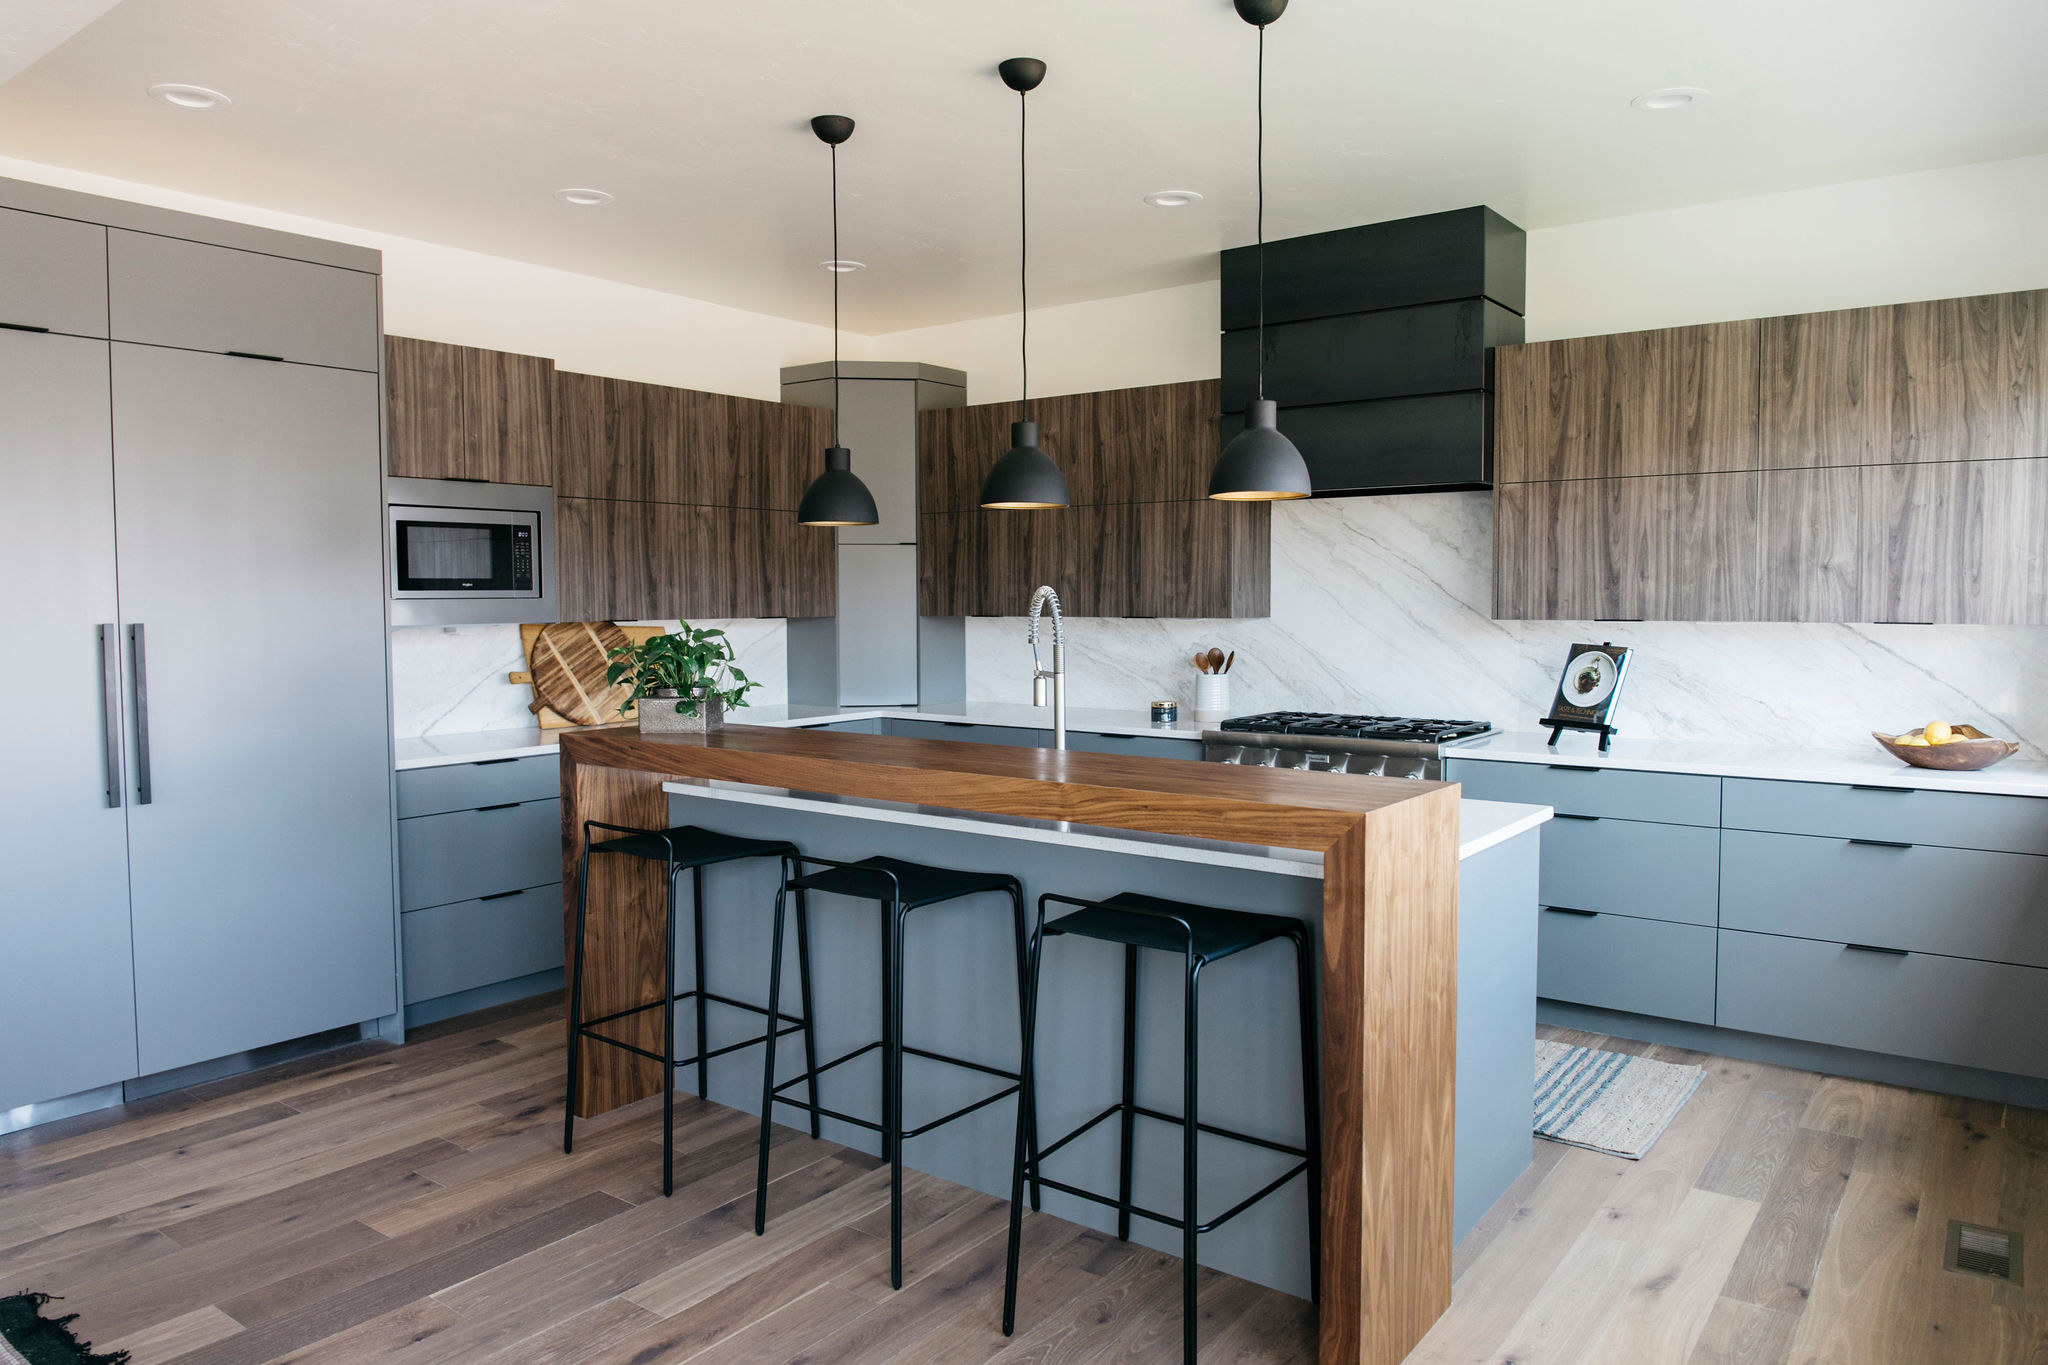
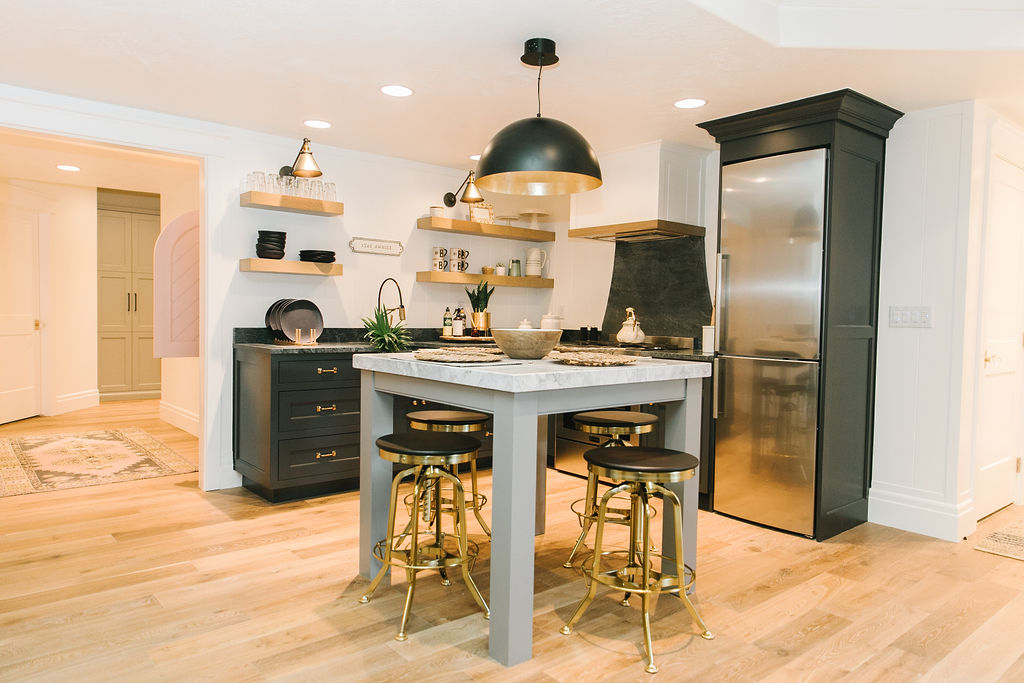
We're a full-service design firm and home furnishings shop built around the philosophy that a well-designed home should be beautiful, personal, cohesive, and complete. We think home is the most important place on the planet and when you live in a home that is perfectly you, it changes your life. Don't believe us? Stick around. We're confident we'll change your mind.
hello there!
Follow Along
@jenniferstagg
Hey, let's be friends
Exclusive projects, discounts, and extra goodies all in your inbox. And don’t worry- your email is for our eyes only.

Very beautiful and dreamy indeed!
Emory
helloscarlettblog.com
Thank you so much, Emory! xx