

")
")
")


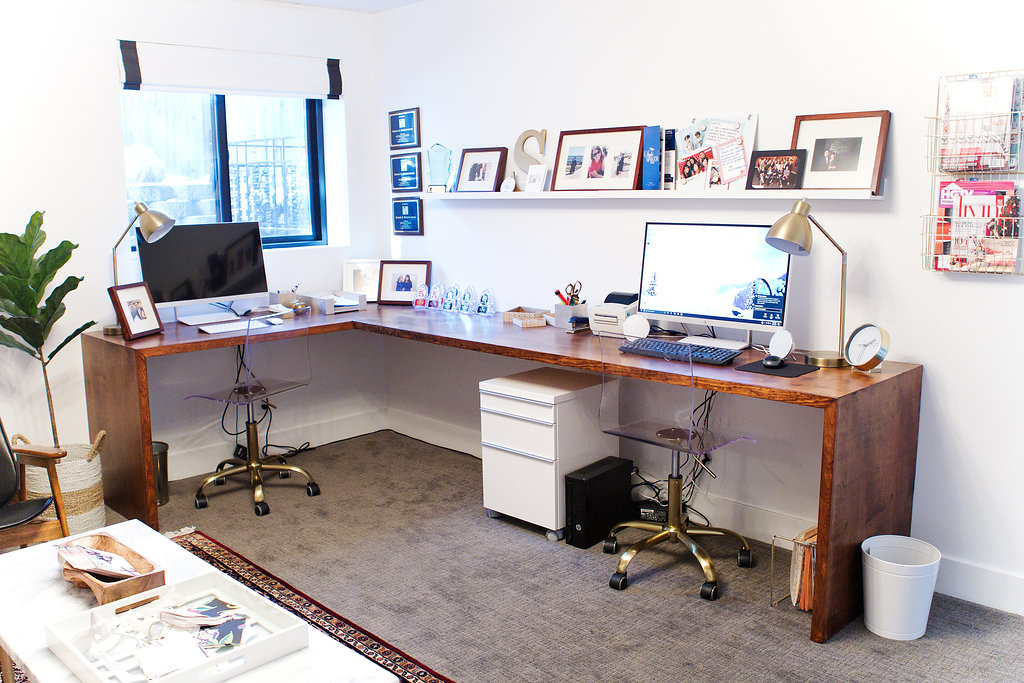
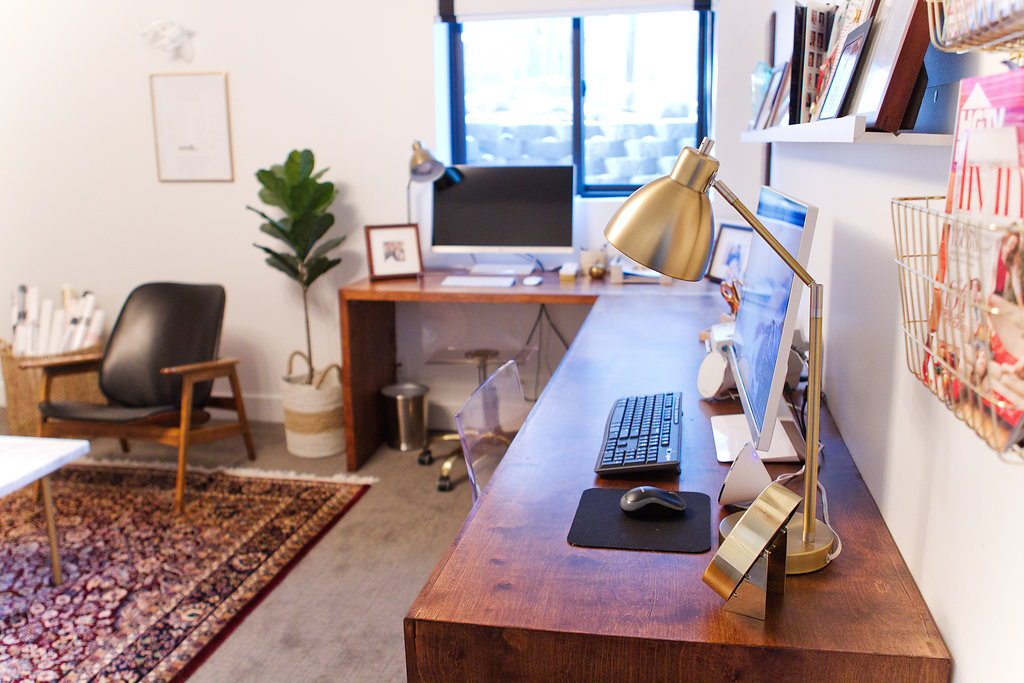
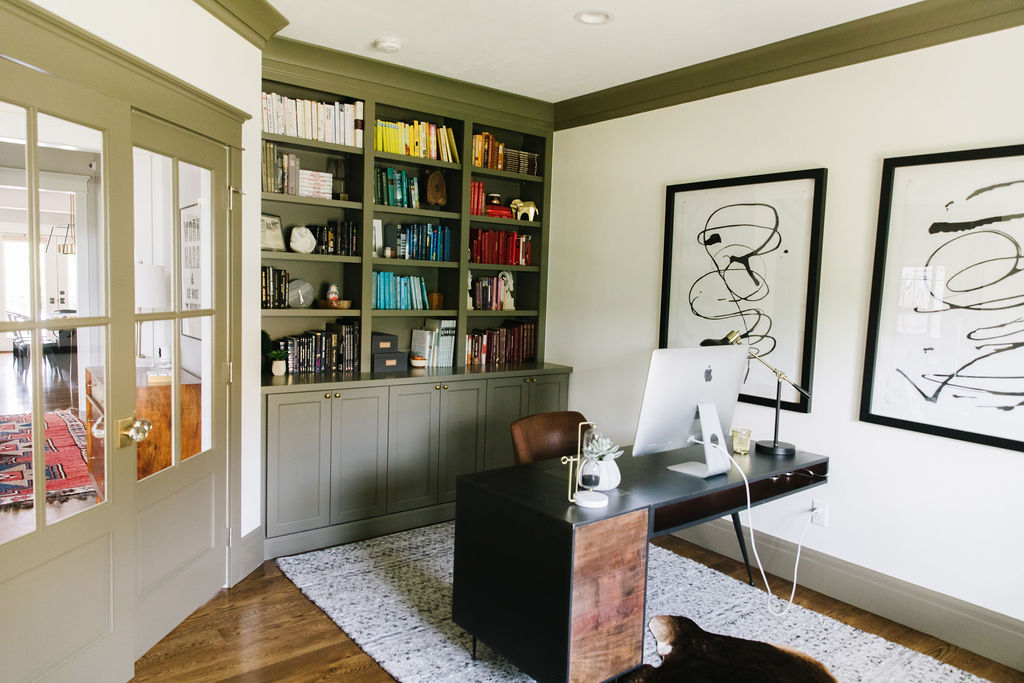
DIY Built-in Wood Waterfall Edge Desk
October 12, 2020
So, how’s that whole working from home thing going? Are you one of the brave warriors doing at-home learning? Gulp. I feel this all, HARD. Here at the Stagg Reno, we’ve been doing all the things at home and we’re bracing ourselves for more possible at-home learning, alongside at-home working.
Things are far from ideal right now but we, like all of you, are doing our best and trying to set ourselves up for success in the coming months, whatever that looks like.
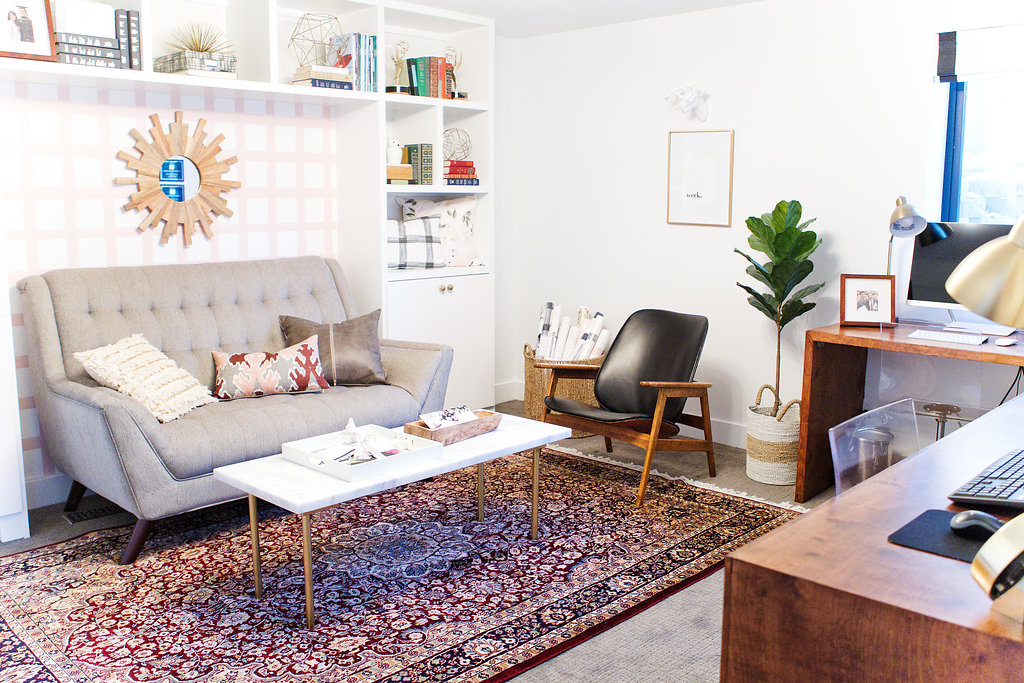
You know I’m a big believer in the power of your surroundings. Without an environment that suites your needs, whatever they are, you’re setting yourself up for frustration in an uninspiring space. Sales for desks have skyrocketed, and I’m sure you can imagine why. We all need designated spots for working and studying. Today I’m sharing the do-it-yourself desk we whipped up for the home office at the Stagg Reno a few years ago and if you’ve got an empty corner, you can have this desk. It’s simple and straightforward and inexpensive. And we’re sharing exactly how we made this DIY Built-in Wood Waterfall Edge Desk right here, right now. Buckle up, ya’ll. Let’s do this.

For this project, you’ll need some materials and tools.
Materials List:
Plywood for the desk top and waterfall edges
A wood face piece 1 1/2 inches x 3/4 inches
4 “L” Brackets
2 – 2×4’s
joining plates
inch long screws
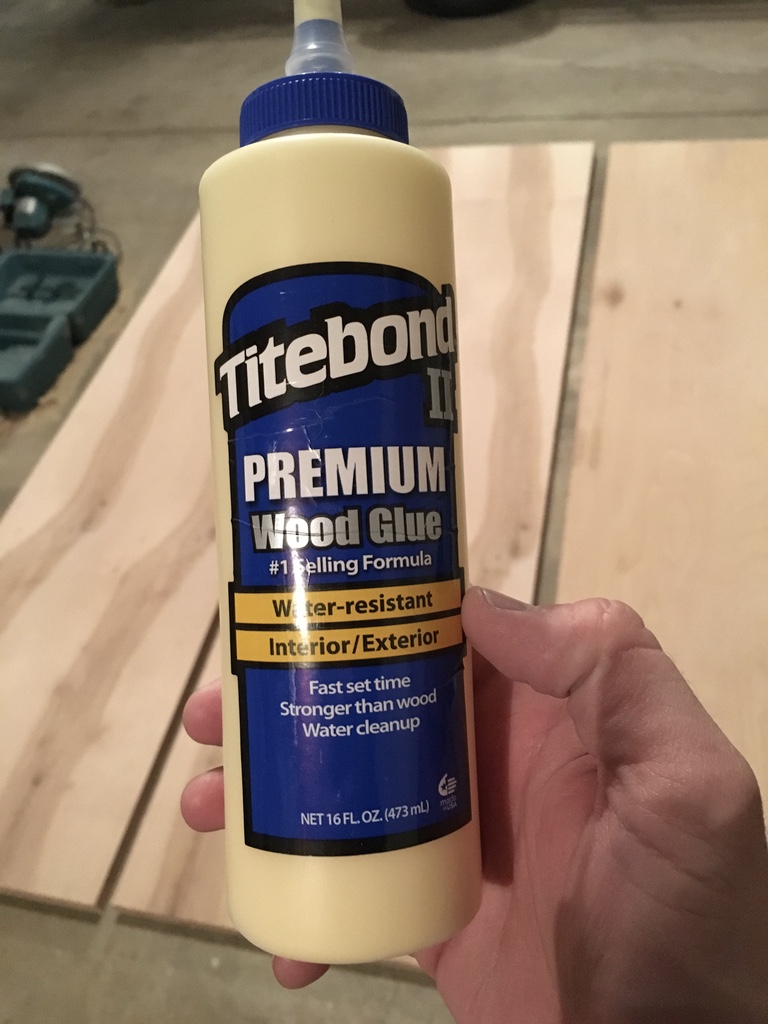
wood glue
wood filler
stain of your choice & polyurethane top coat
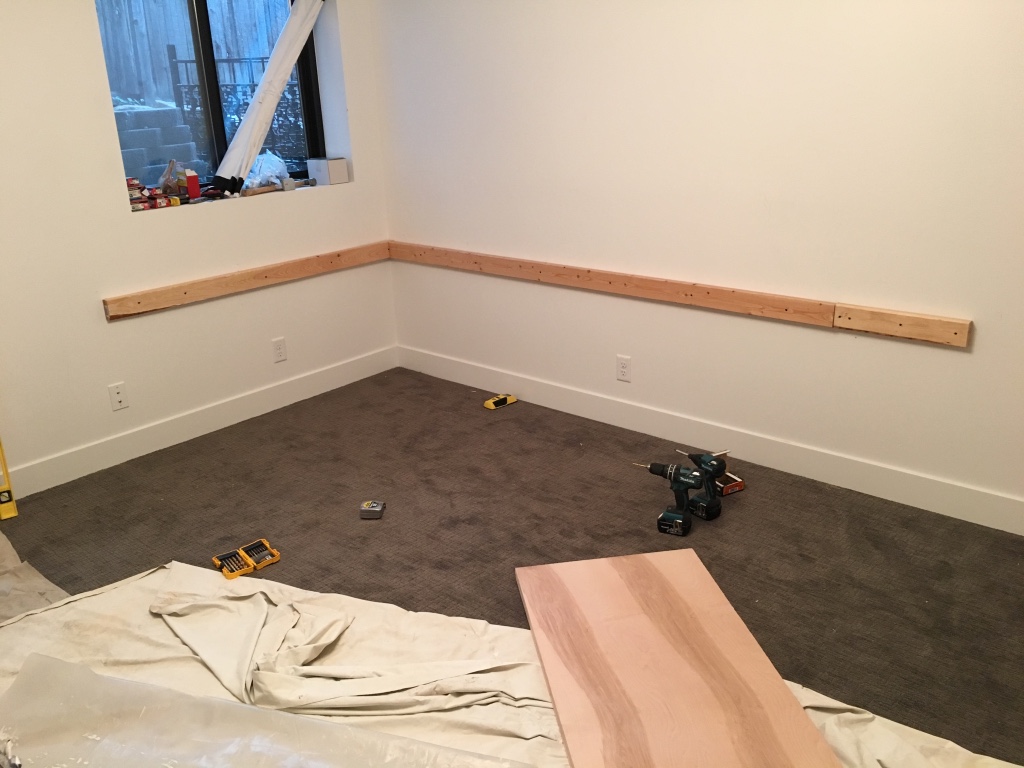
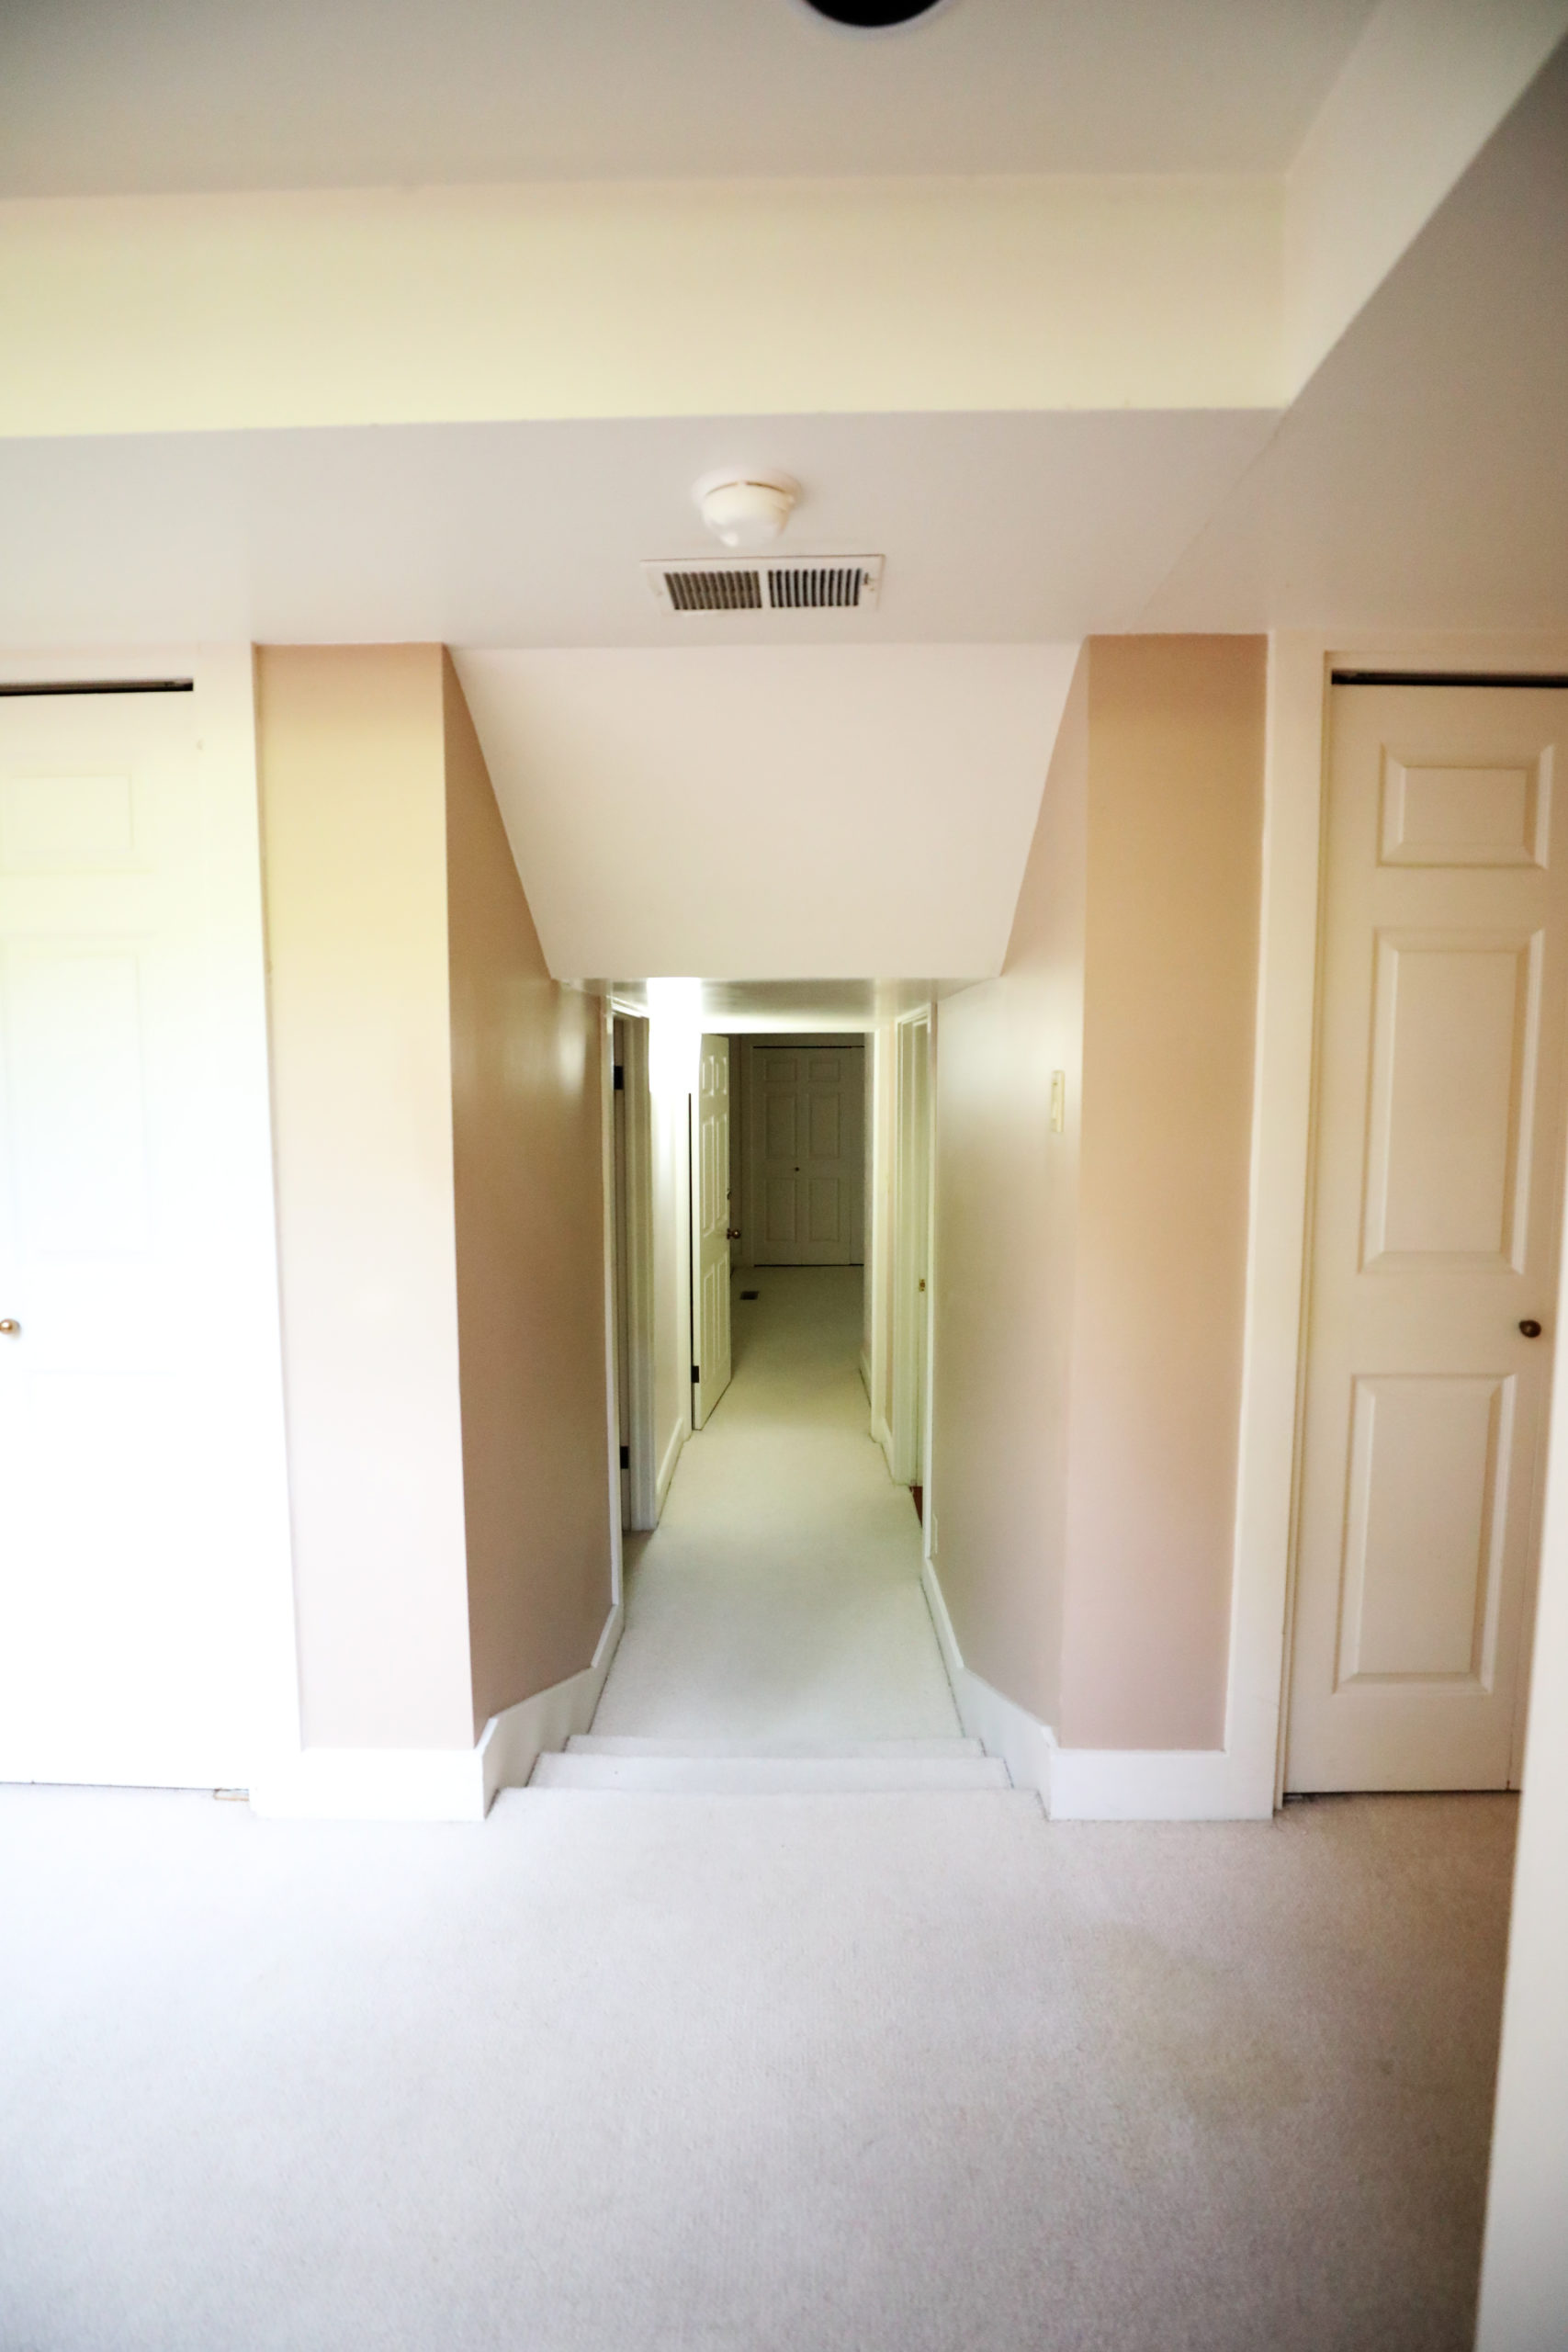
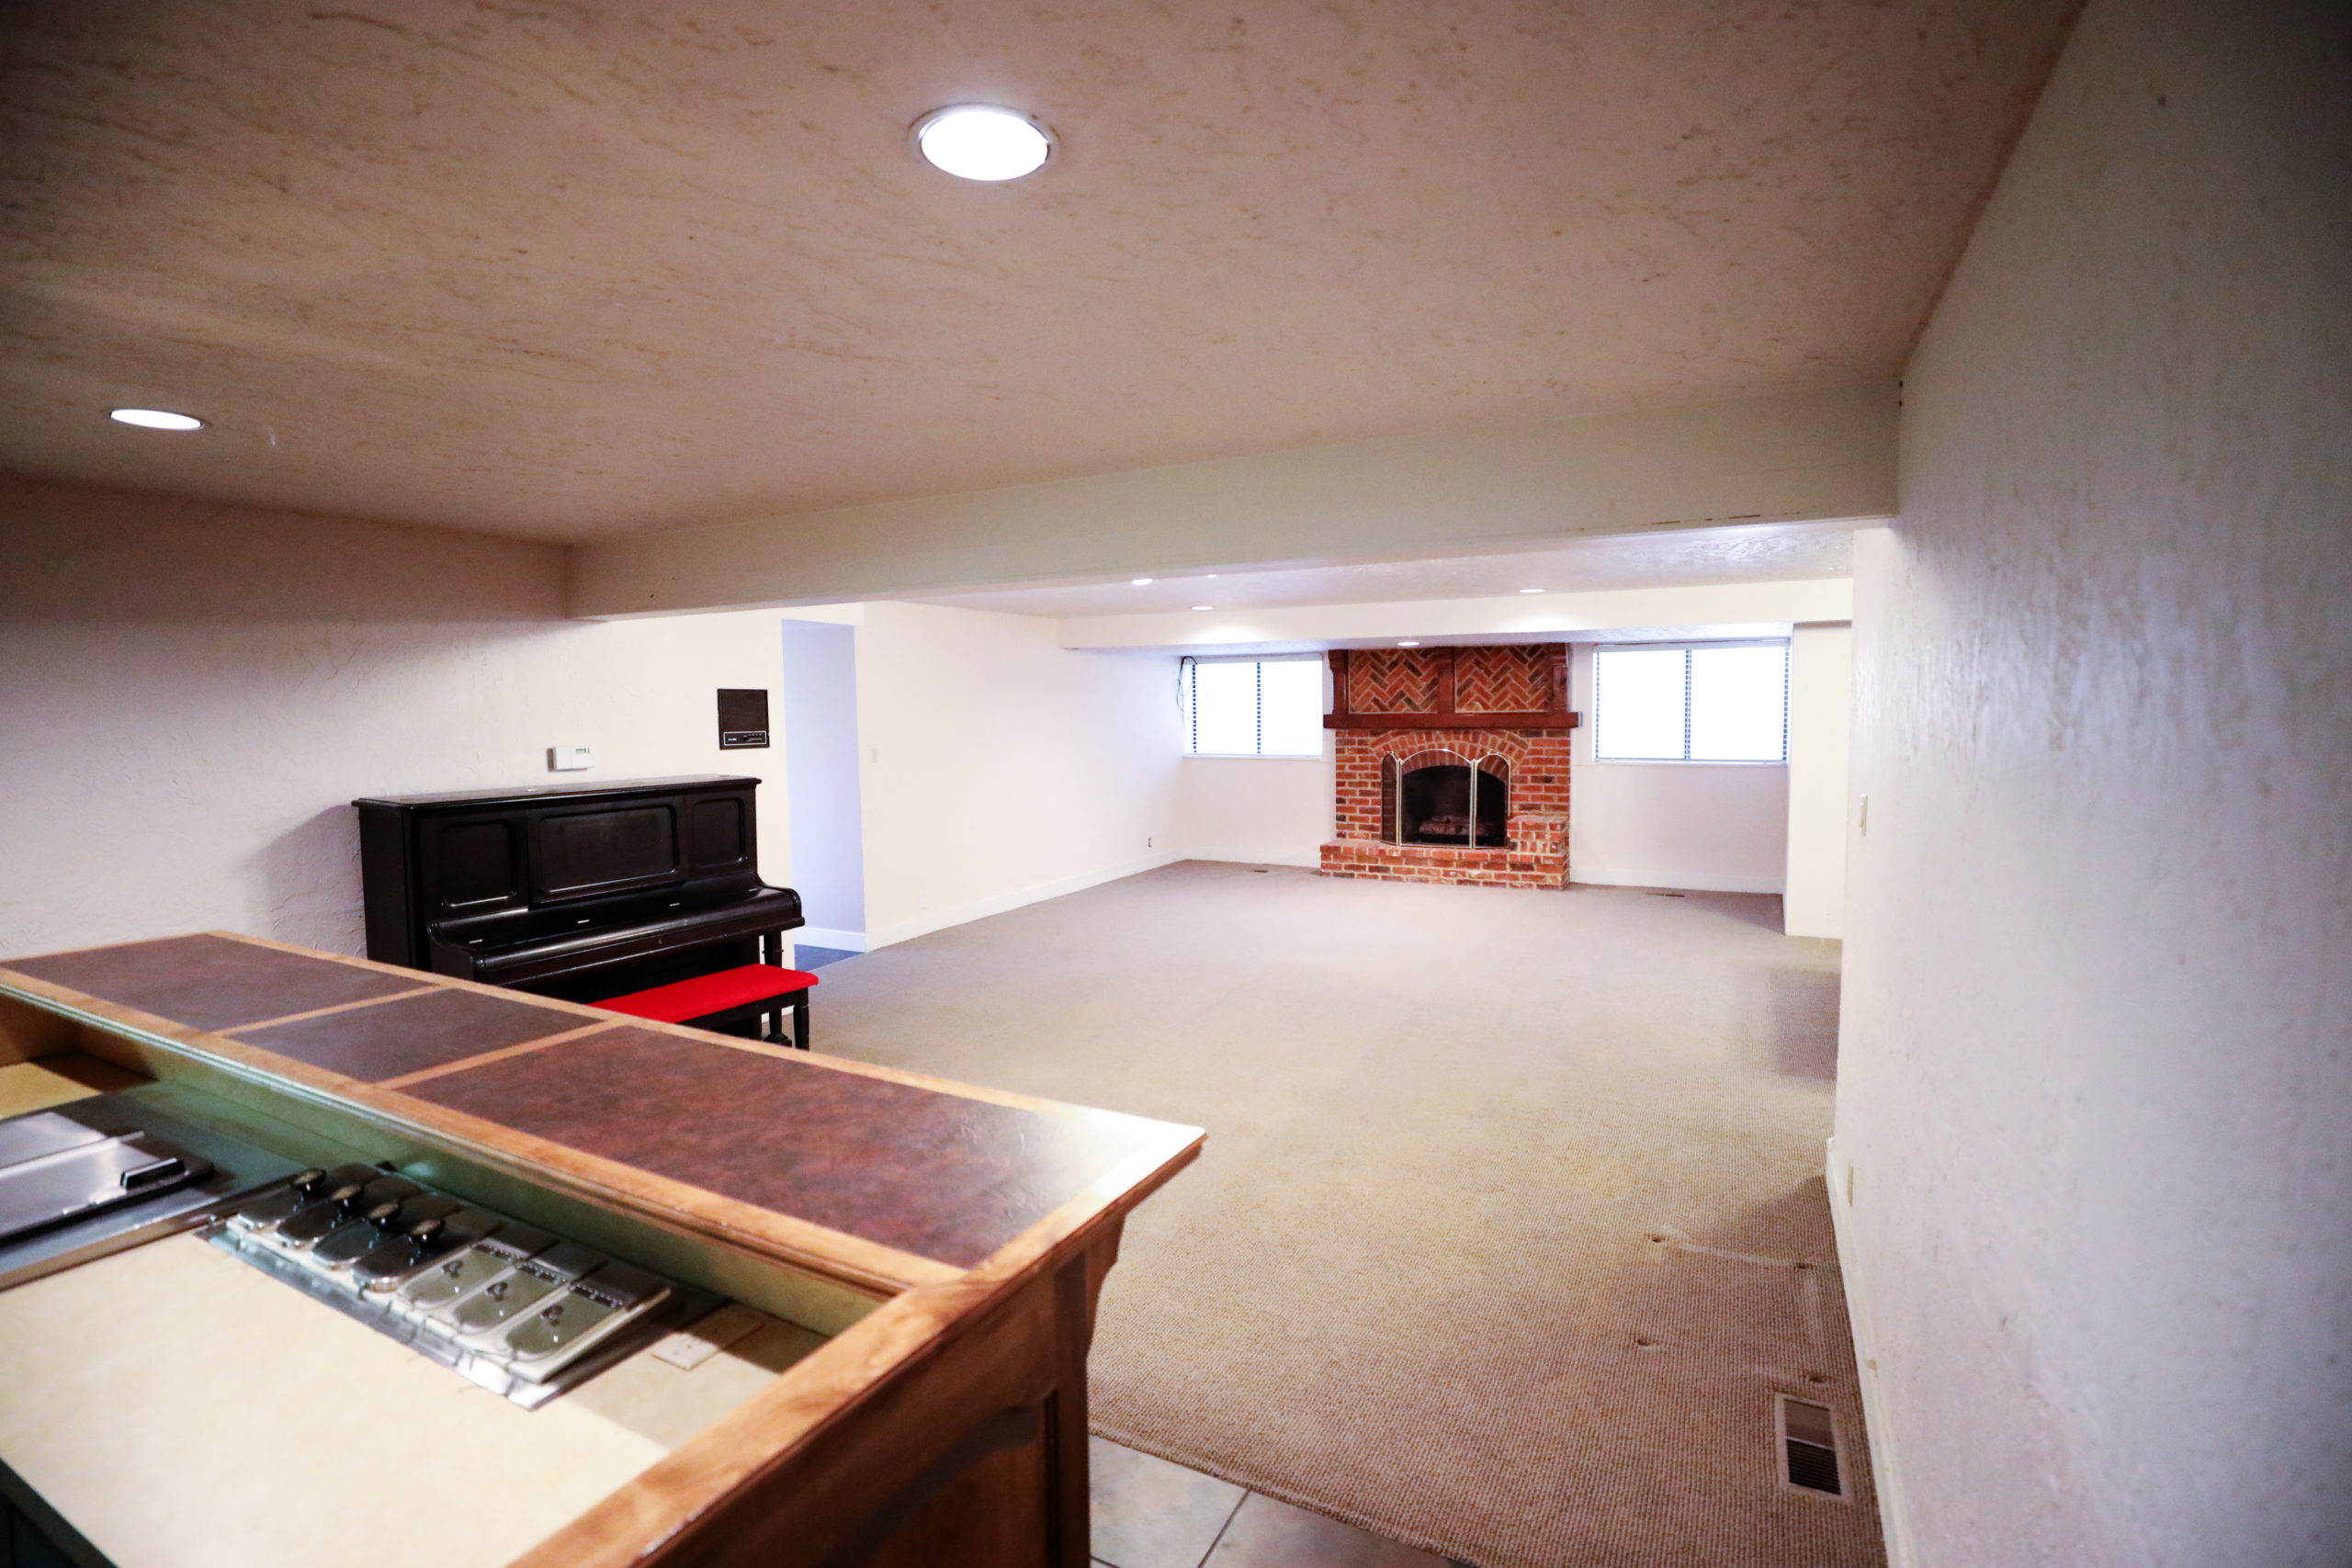
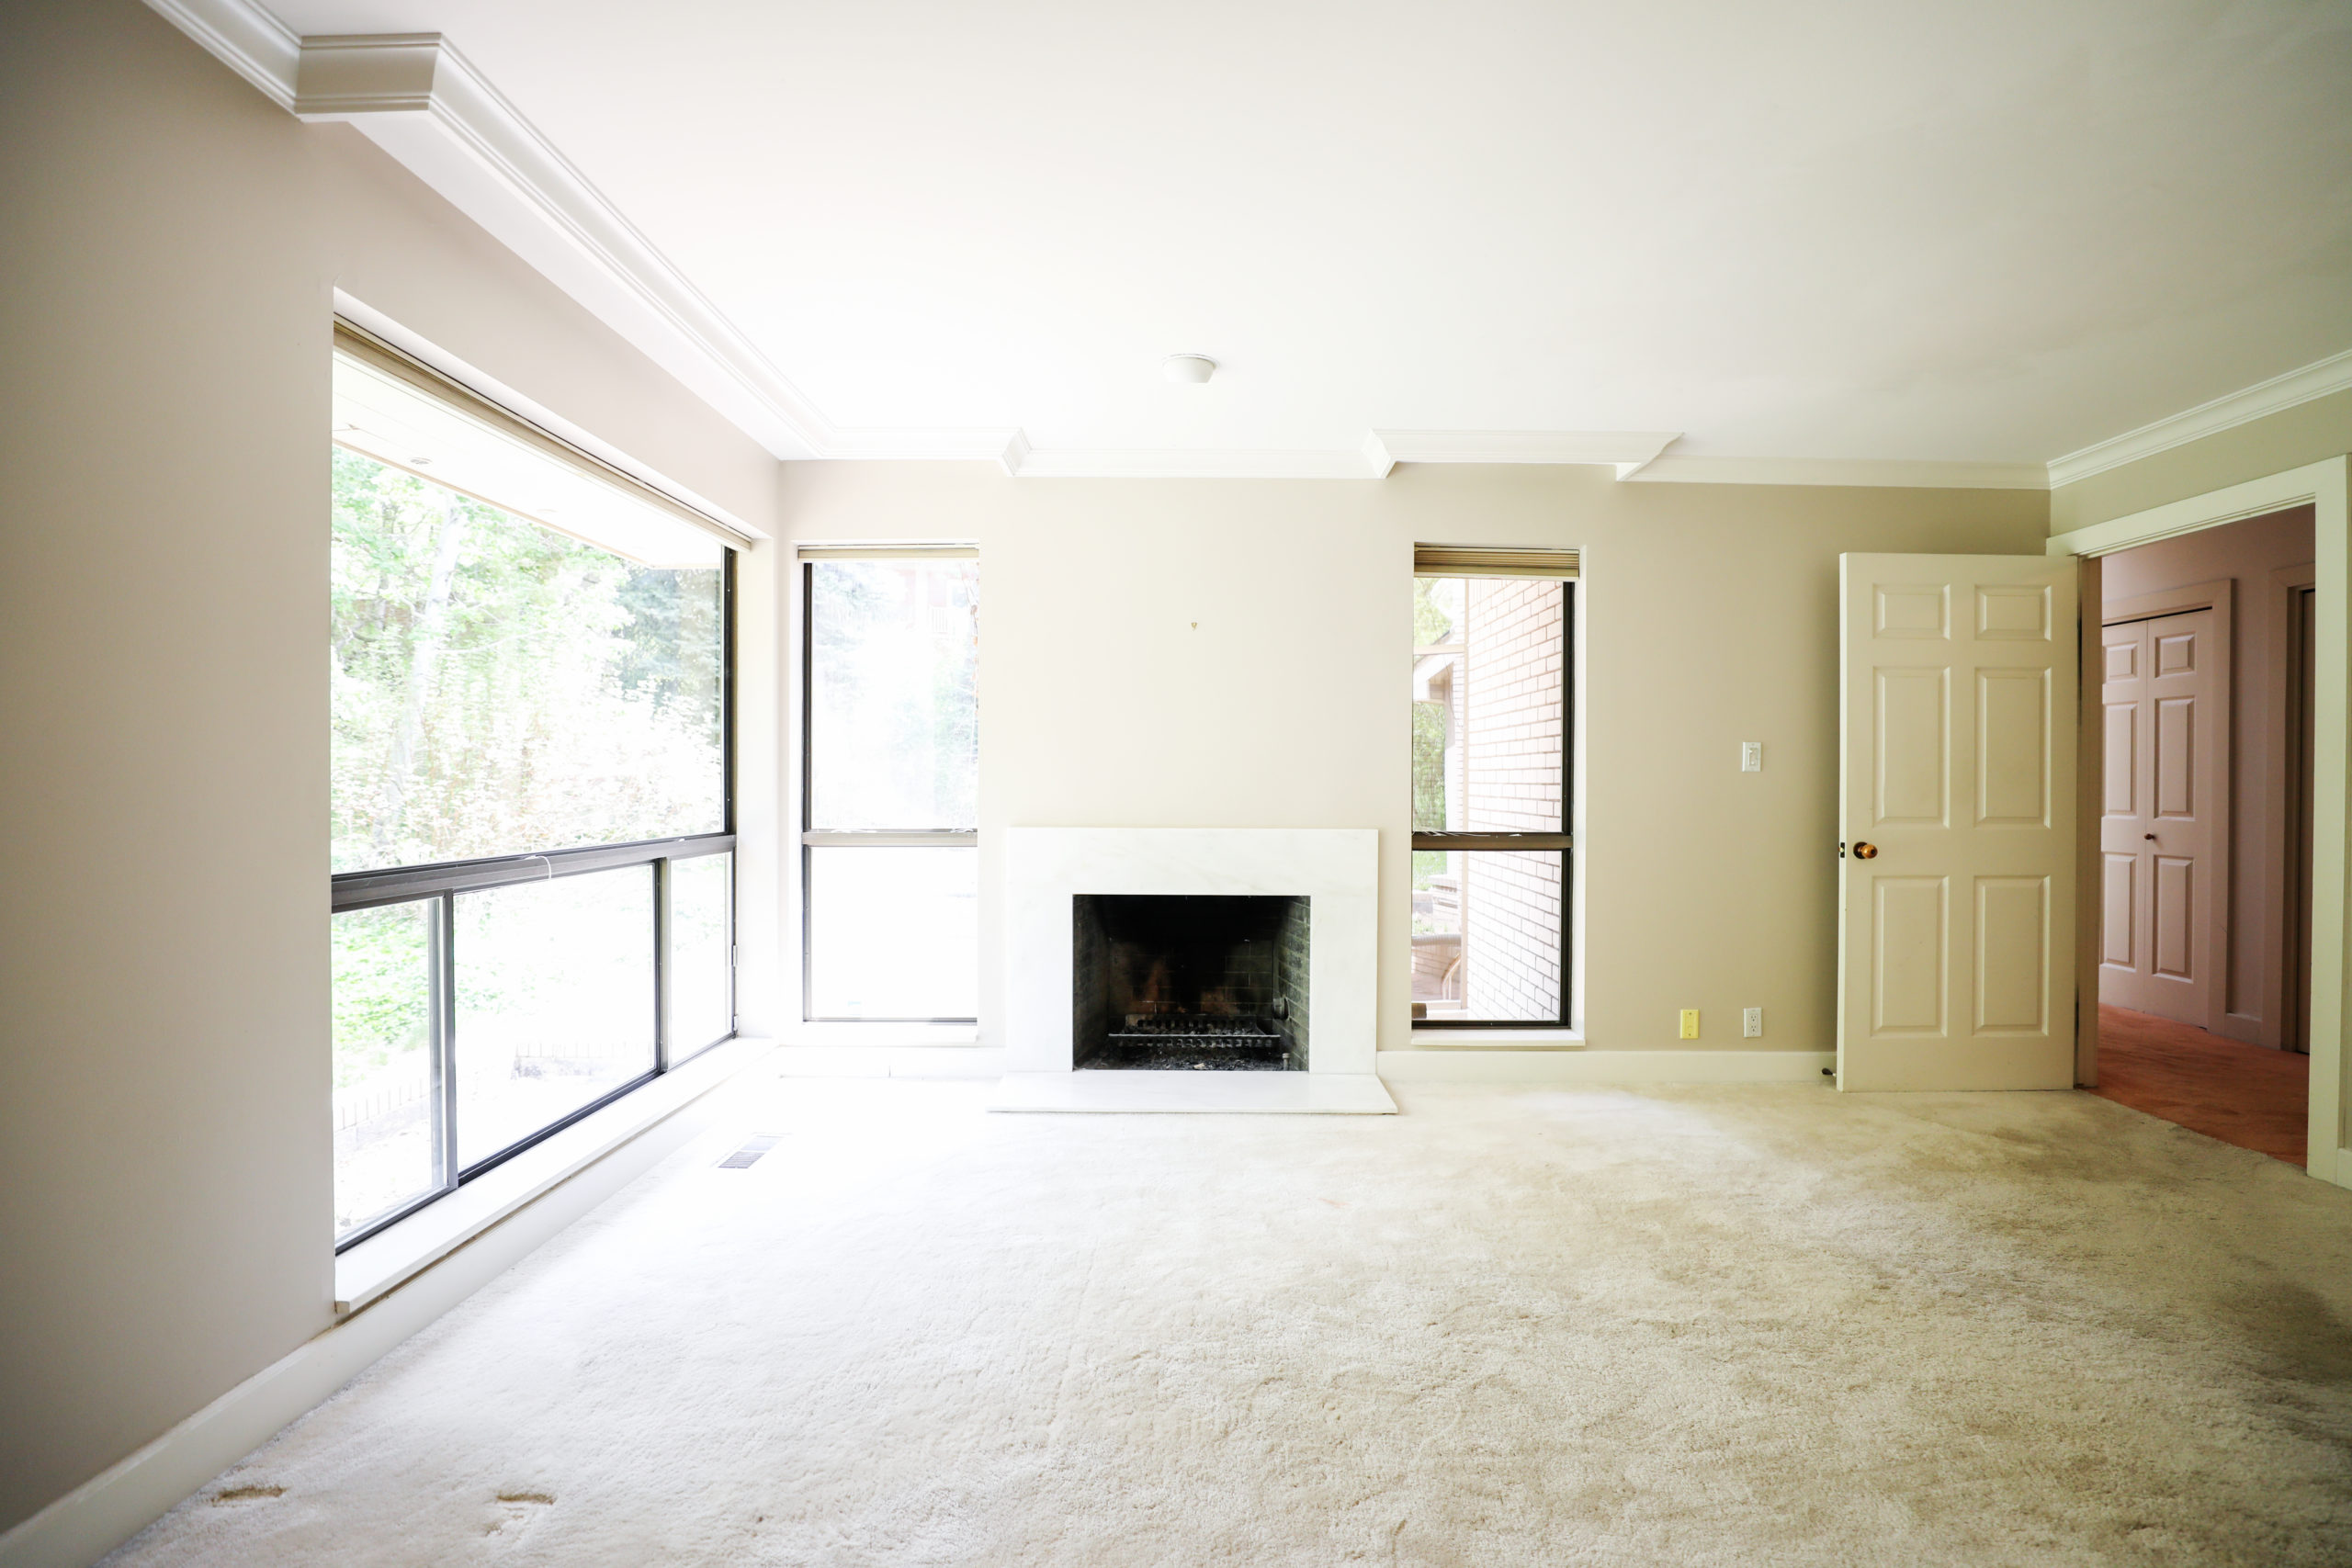
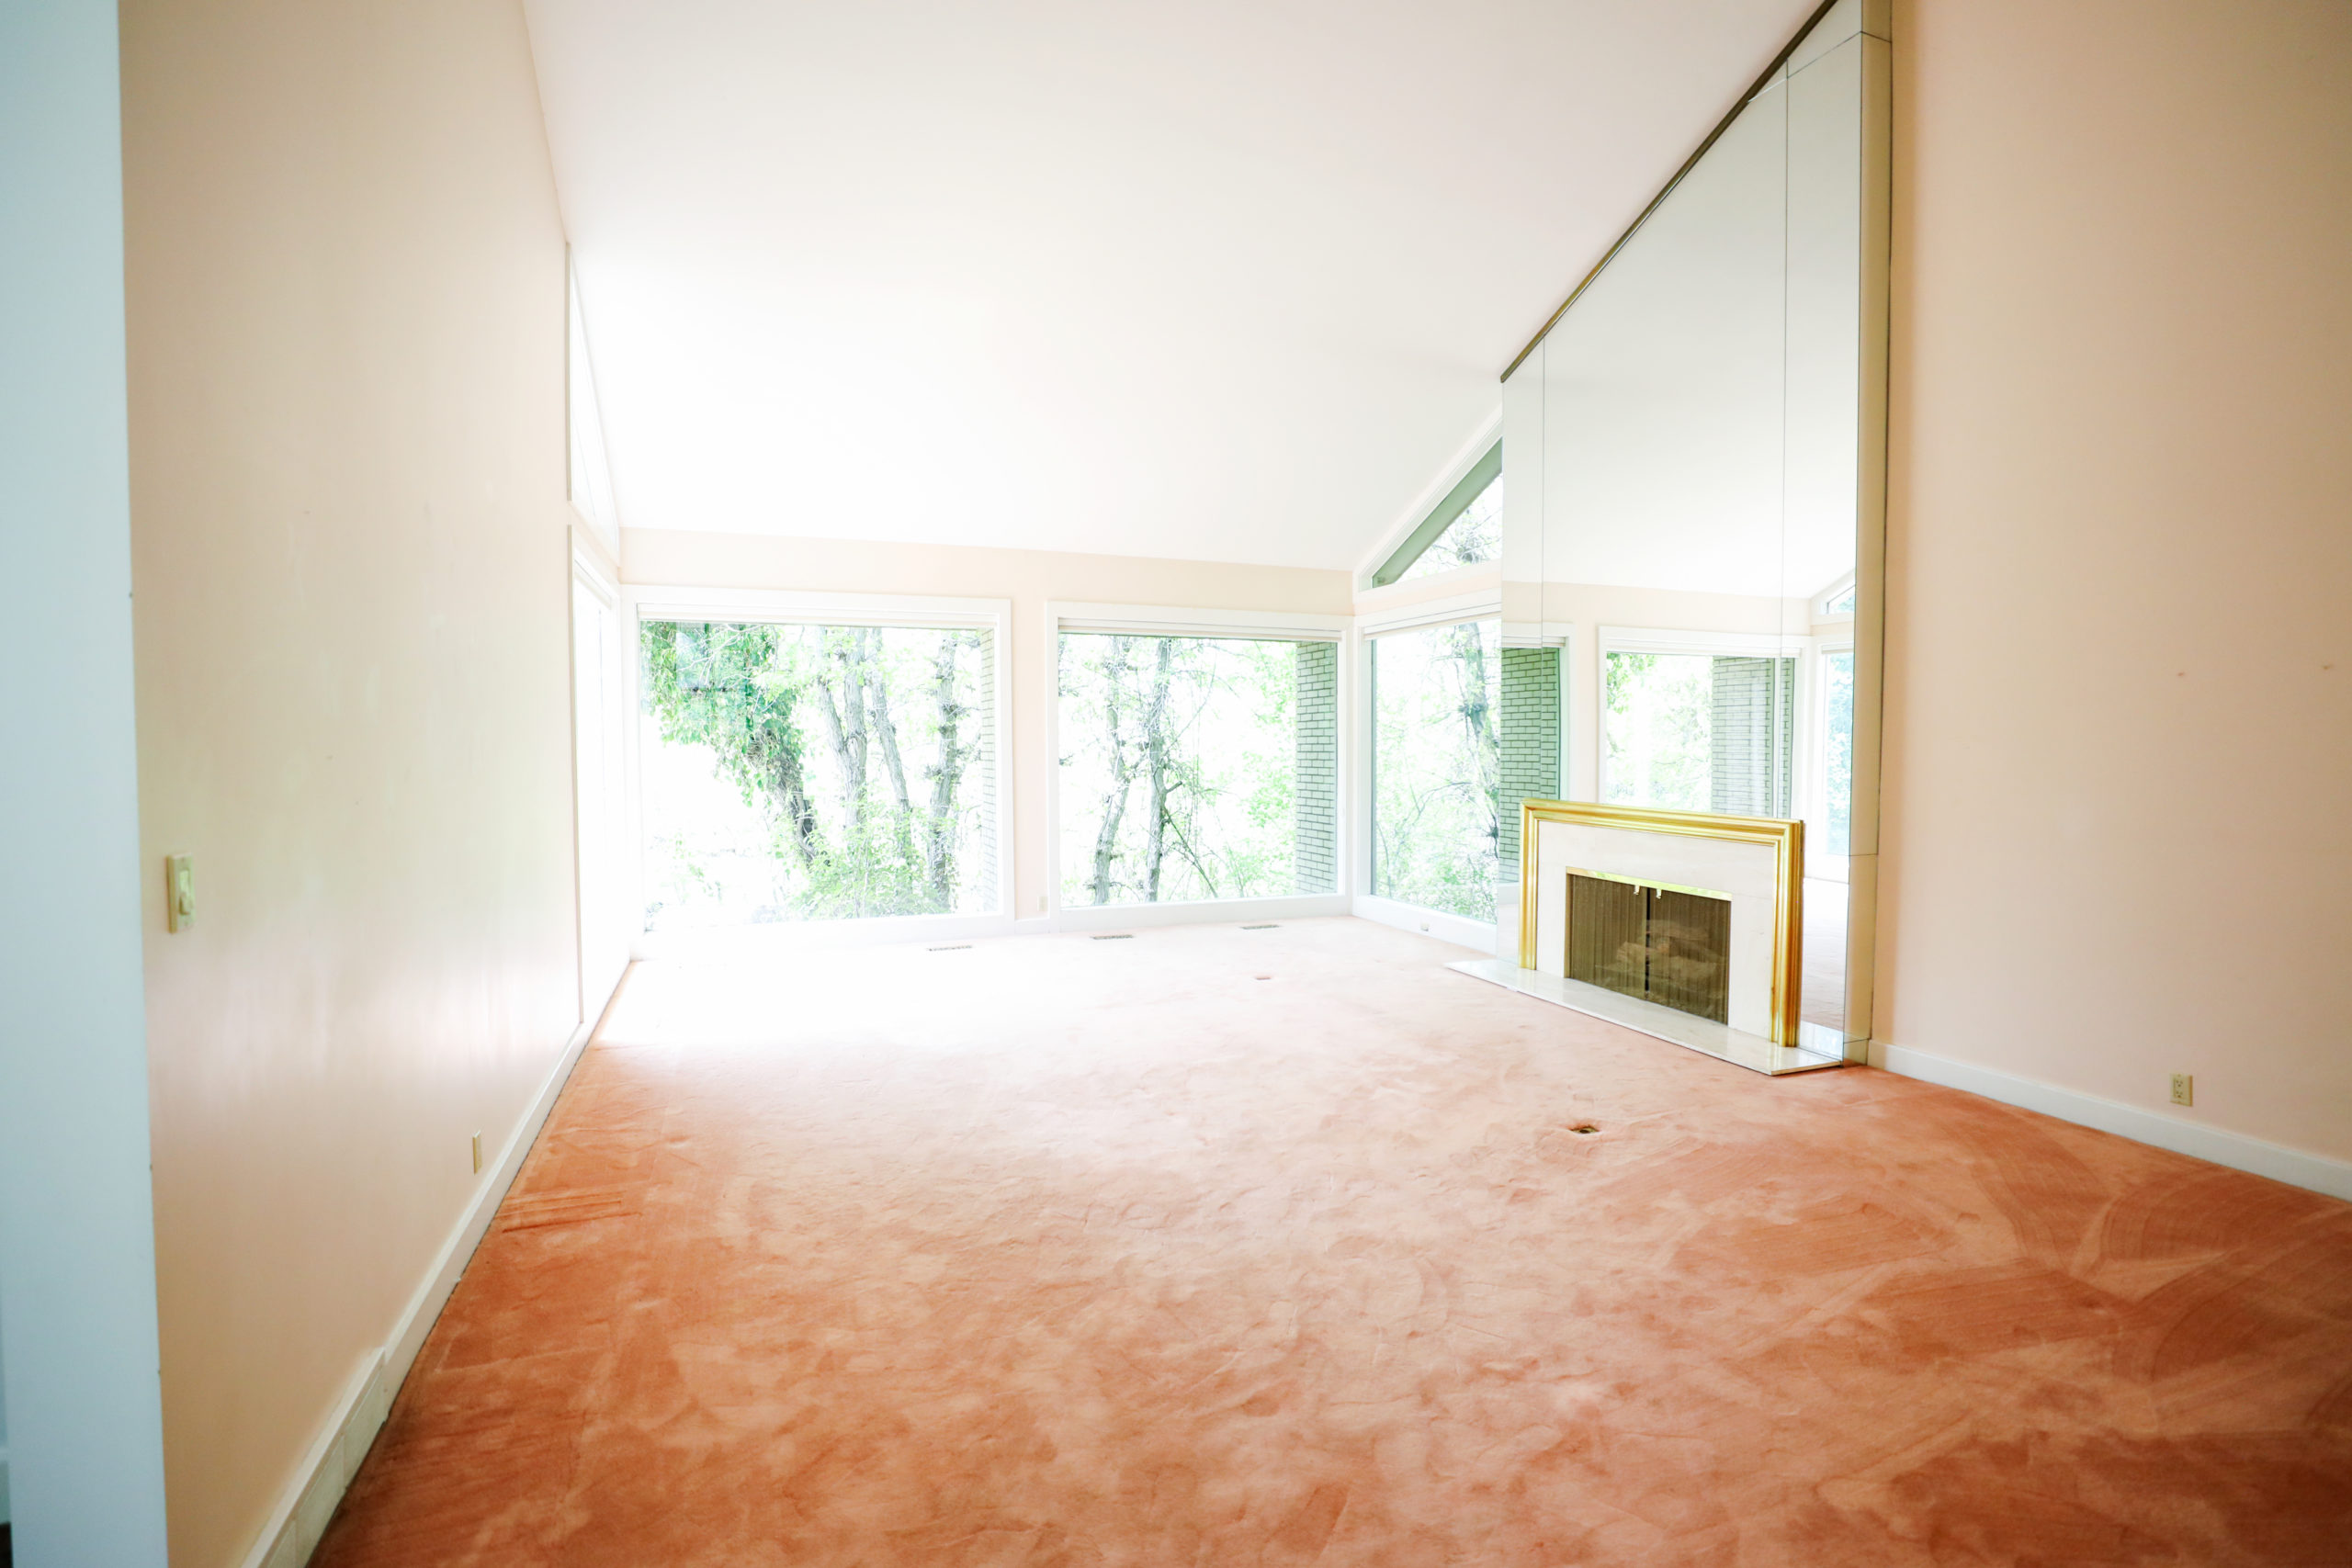
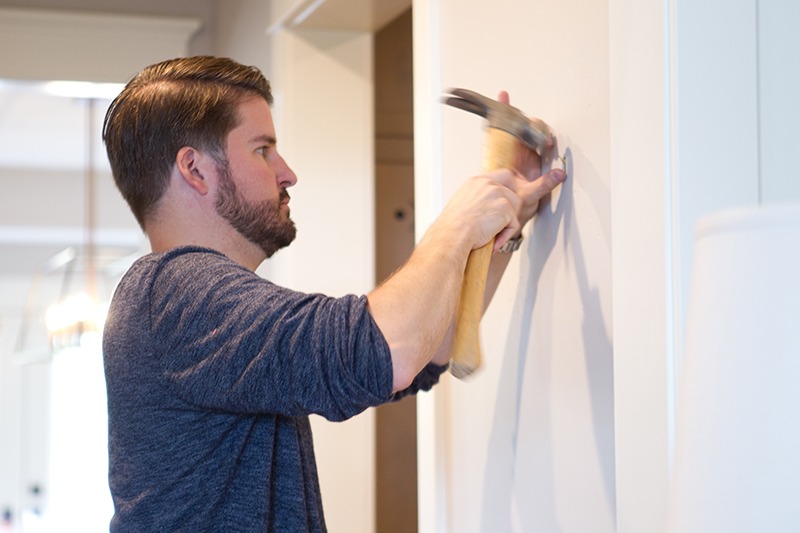
STEP 1: Find a Corner
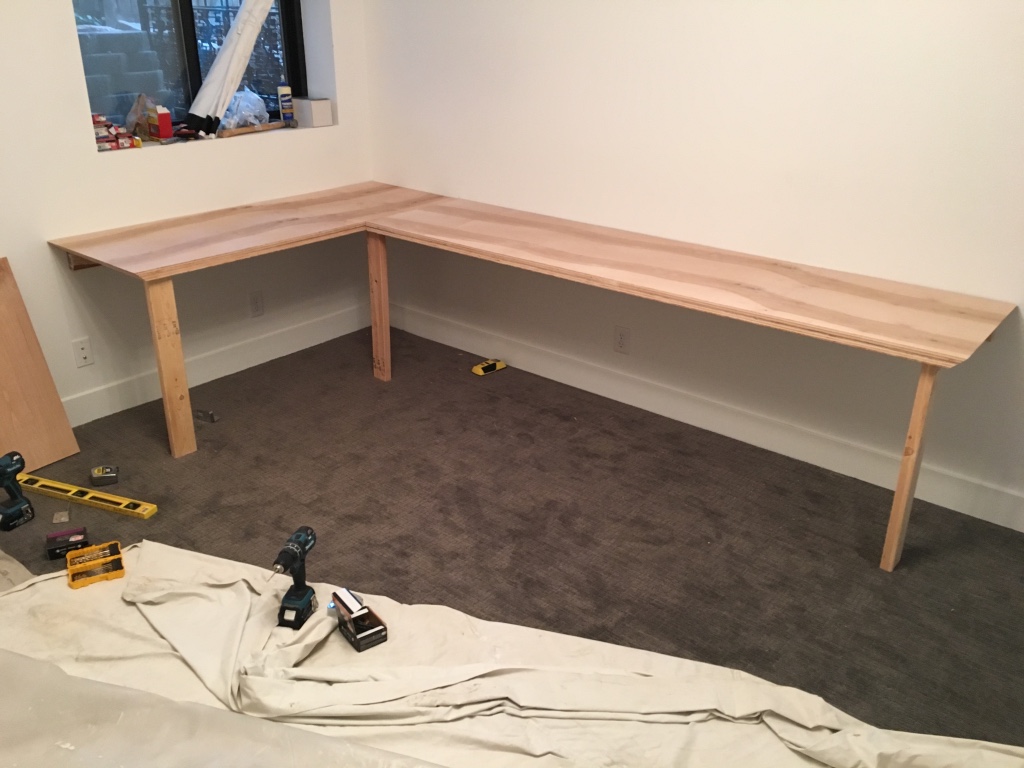
First order of business, you need a corner. Every home has them, so find a good one with enough space for a desk, and measure how wide you’d like to make your desk. We wanted plenty of room for 2-3 people to sit comfortably and more than one monitor. For reference, ours is 64 inches under the window by 117 inches on the long wall (that’s the entire length of the wood surface).
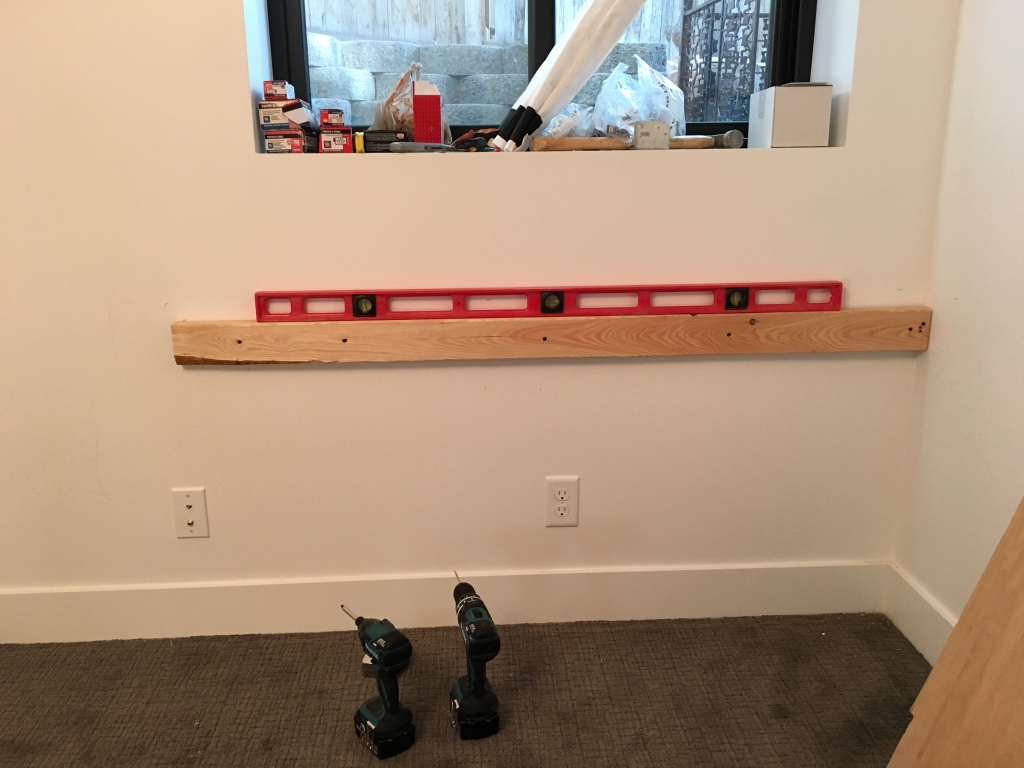
STEP 2: Install Ledger Boards
We wanted the desk to be 30 inches in height, so we installed the ledger boards at 28 1/2 inches off of the ground (allowing for the 1 1/2 inch width of the plywood). Aim to install the ledger boards into studs, and be sure to use a level so they are nice and straight.
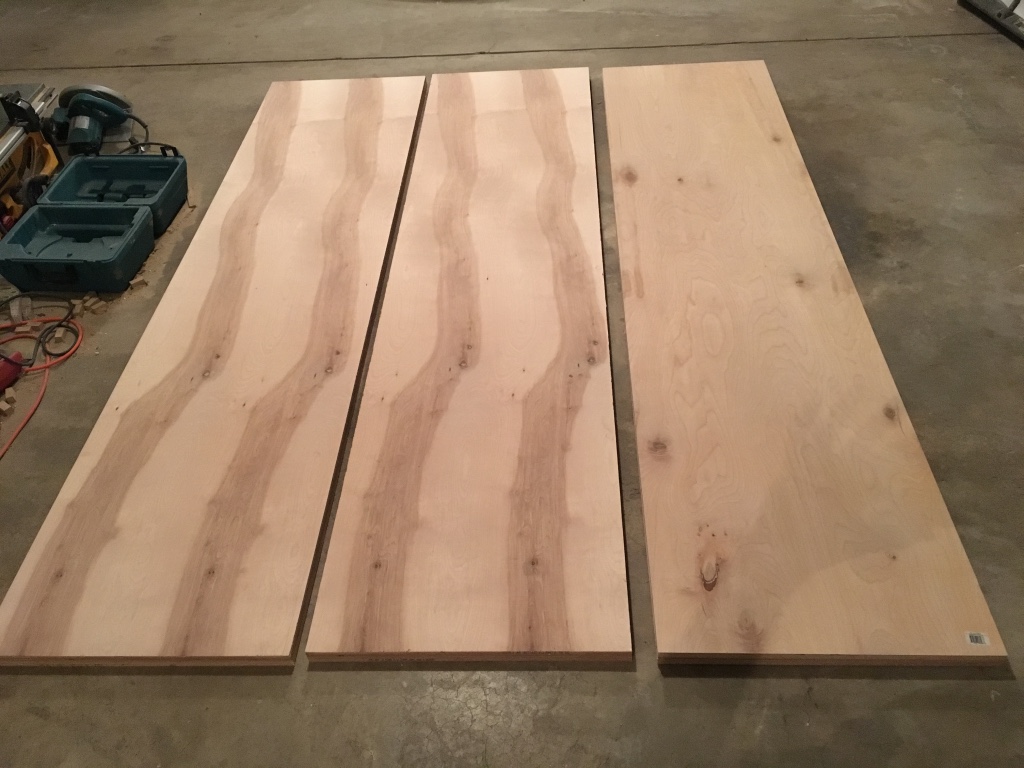
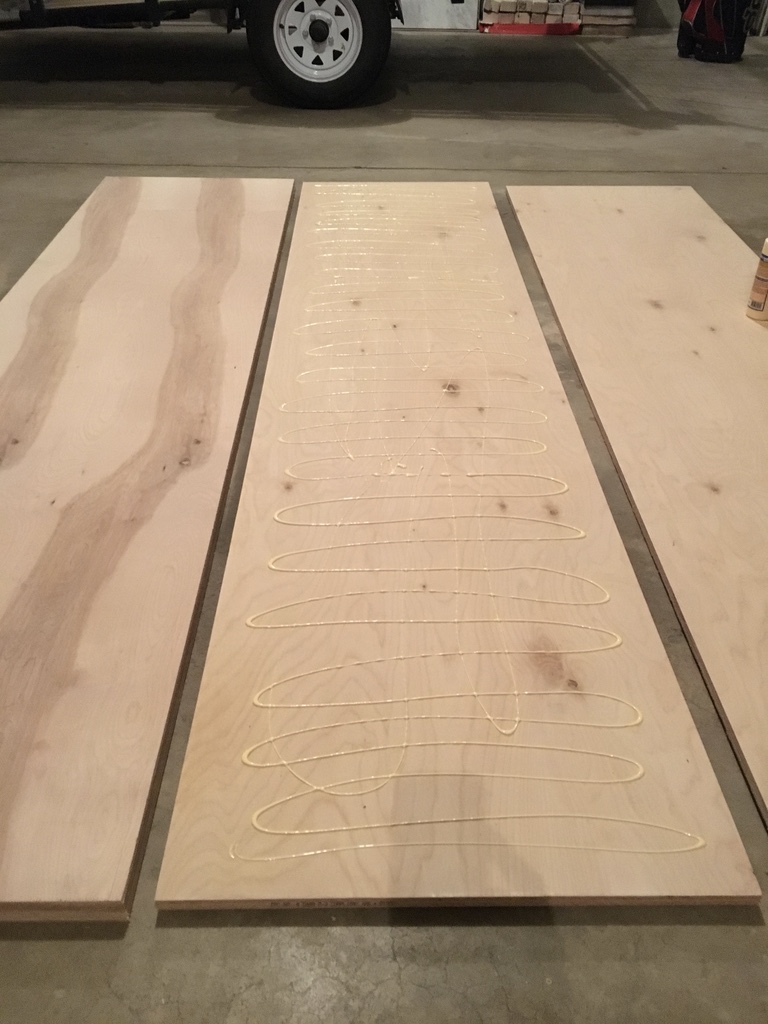
STEP 3: Prepare and Cut Plywood
We wanted the depth of the desk to be 24 inches, so we cut the plywood into 23 1/4 inch wide sheets (to allow for a 3/4 inch face piece). Double the thickness of the material by glueing two sheets together using wood glue. Once dry, cut the pieces to fit your space. Cut mitered edges (45 degree angles) to join the waterfall ends to the top pieces.
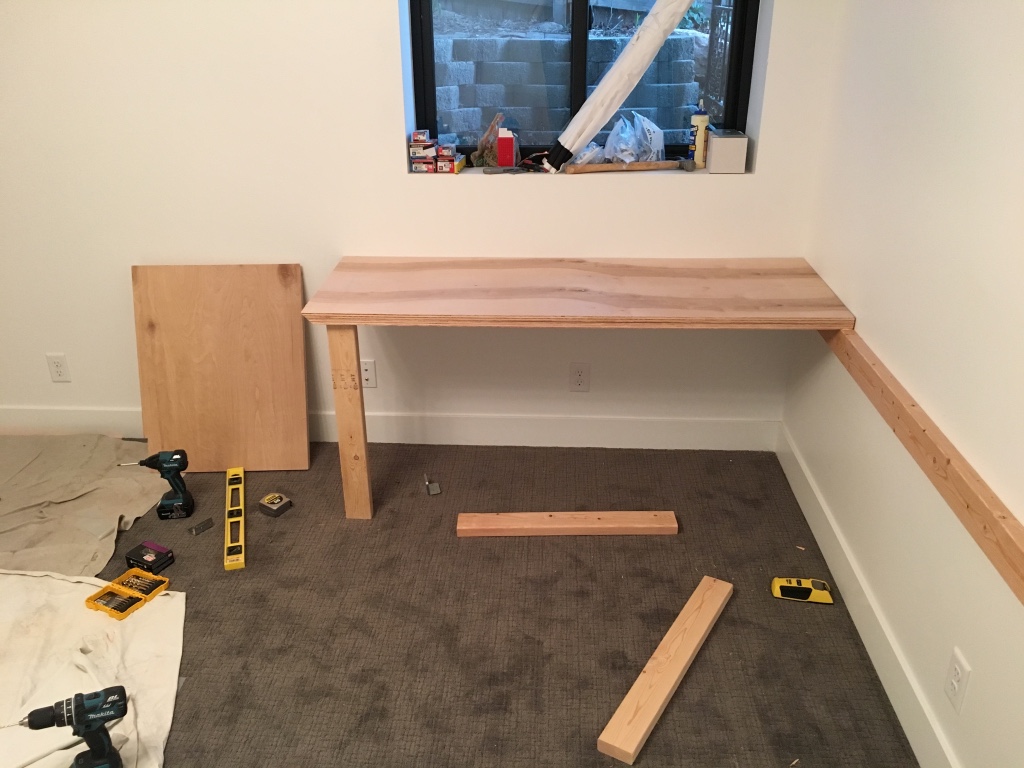
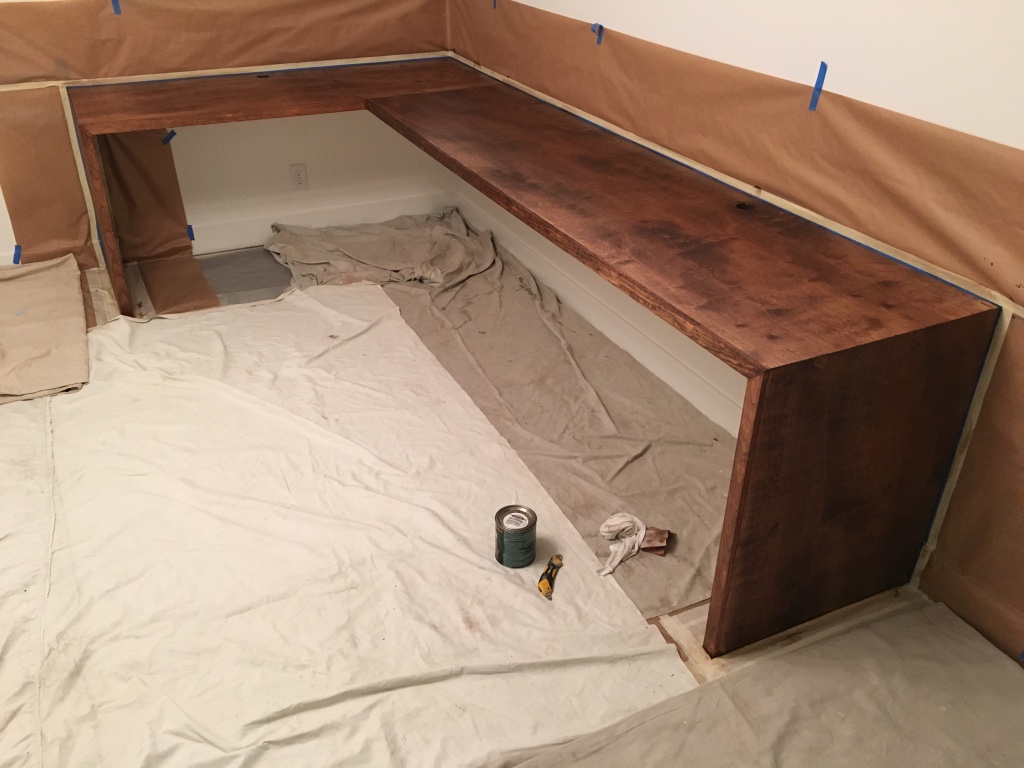
STEP 4: Install Plywood Sheeting
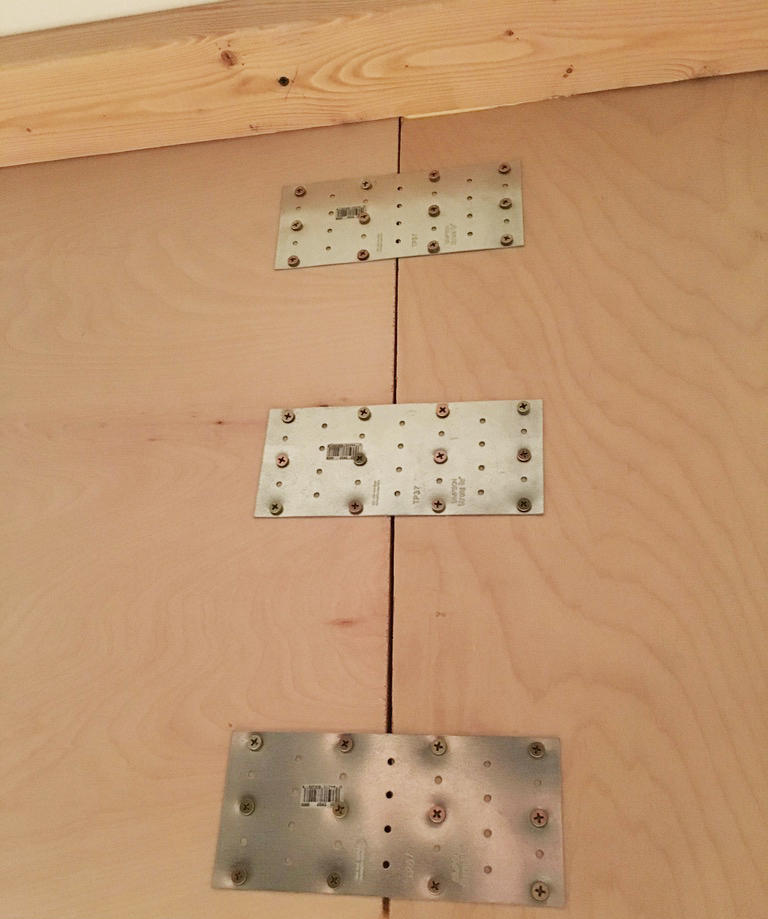
Apply wood glue to the top of the ledger board and set the plywood sheets in place. Add a few screws from the bottom of the desk up into the plywood sheeting, through the ledger boards at an angle. Use a temporary support to hold up the unsupported edges of the desk until the waterfall edges are installed (we used a piece of 2×4 cut to 28 1/2 inches long). Install waterfall edges using 2 L-brackets and 1 inch screws on each corner. Tie two sheets of plywood together in the “L” of the desk using joining plates and 1 inch screws.
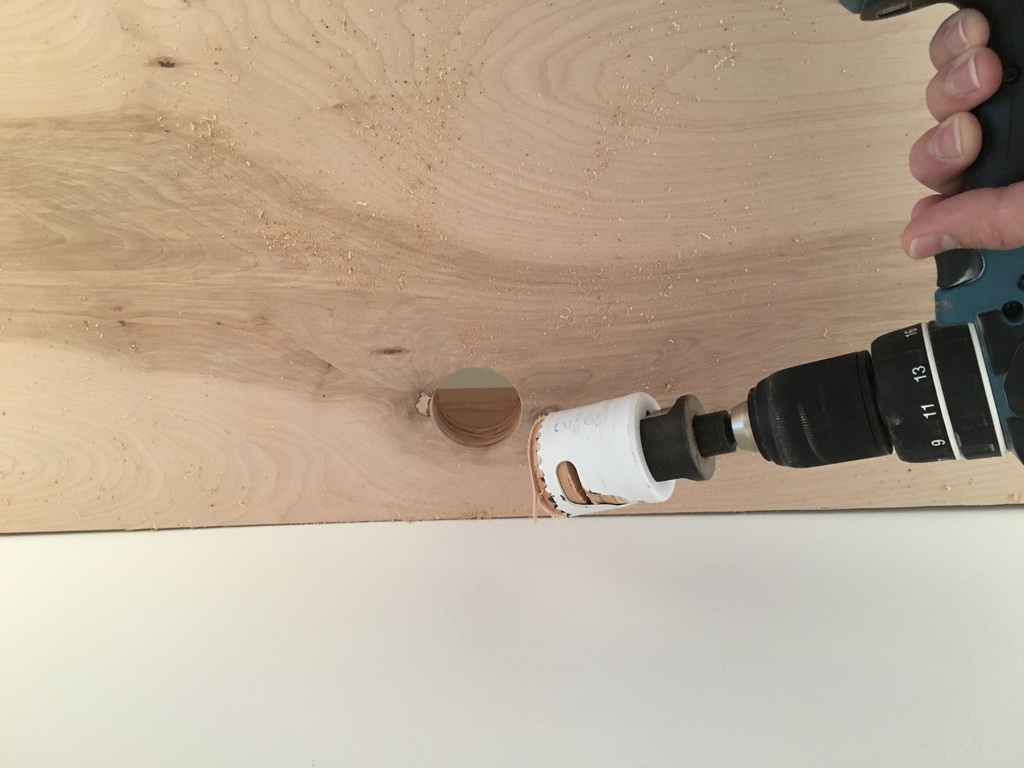
STEP 5: Cut Holes for Wiring
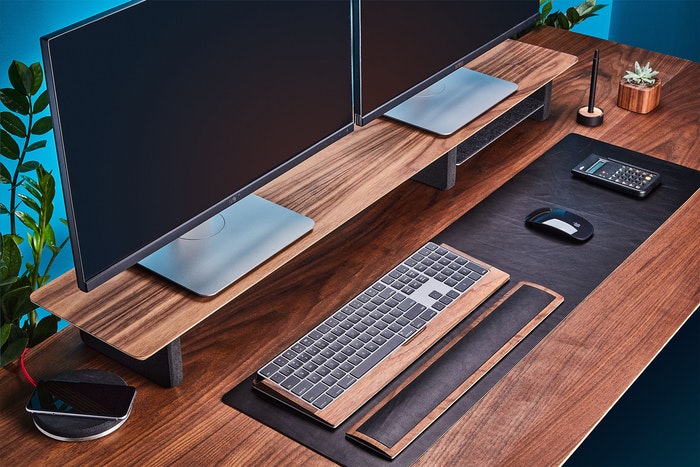
You’ll want to cut one or more holes in the top of the desk to feed wires from computer monitors, lamps, etc. to plugs underneath the desk. Choose where you would like the holes and cut holes using a hole saw drill attachment. We cut 1 1/2 inch holes in two places, to allow for plenty of cords.
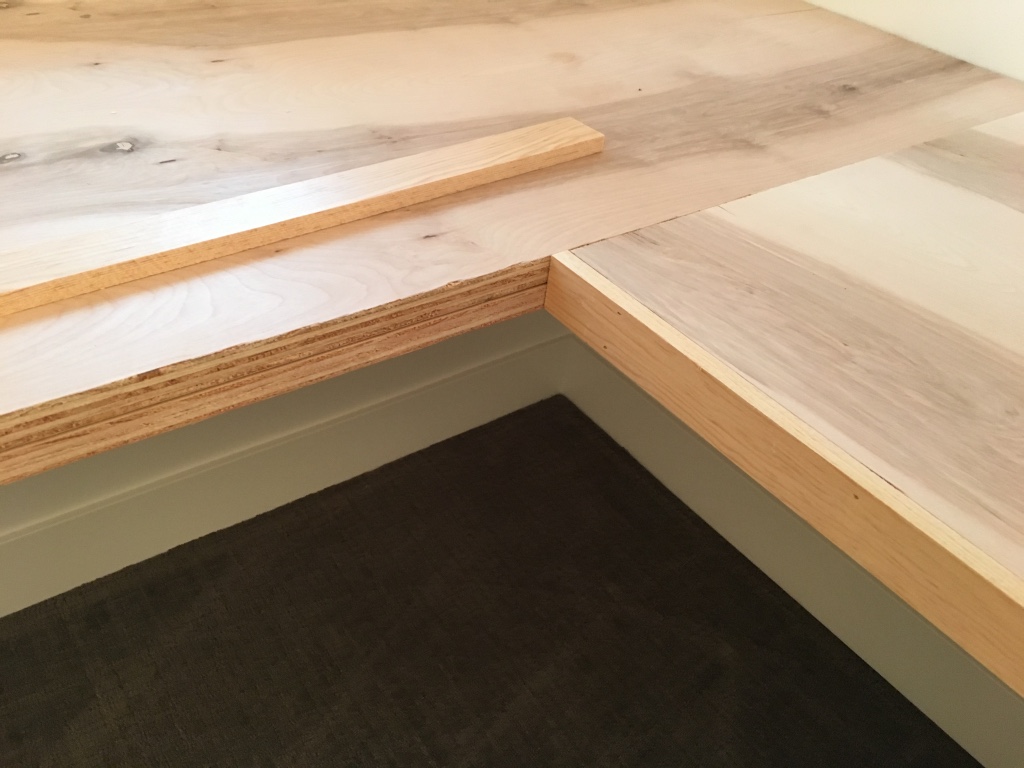
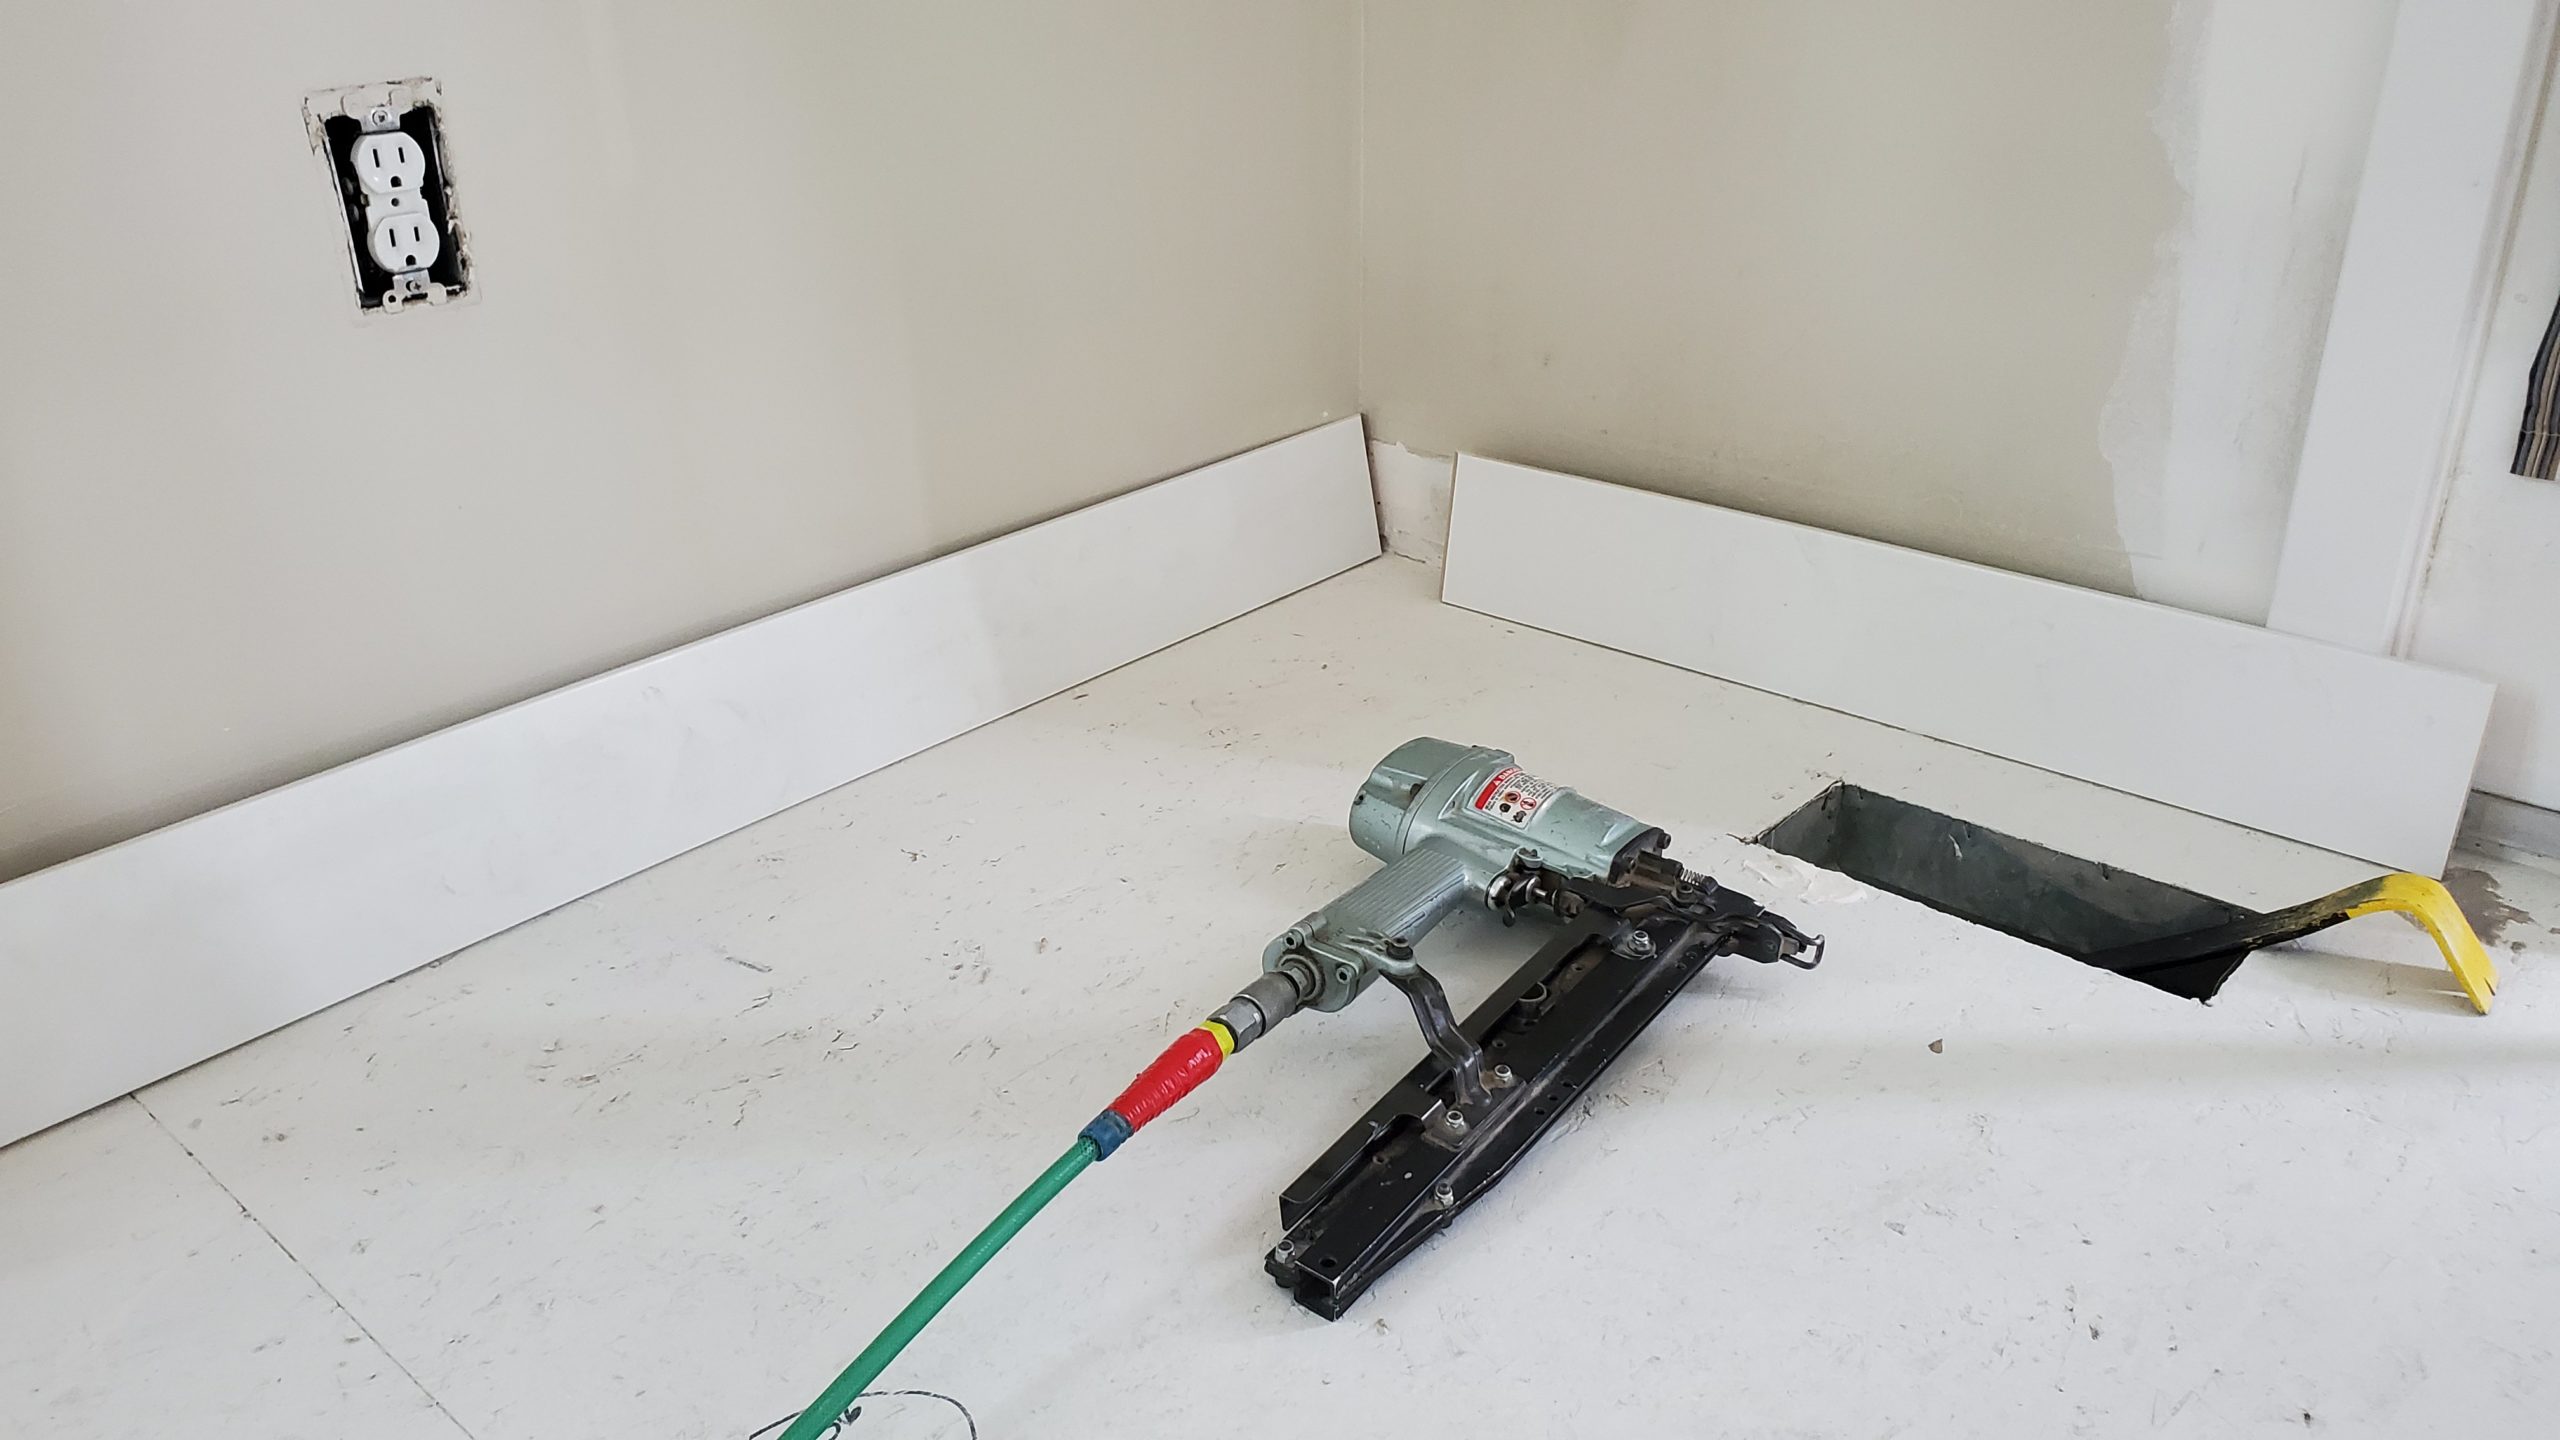
STEP 6: Install Face Pieces
Cover the exposed edges of the plywood using face pieces. Cut the face pieces to fit. Cut 45 degree angled cuts on waterfall edges to match mitered edges of the plywood. Install using wood glue and finish nails.

STEP 7: Prepare and Stain the Desk
Sand rough spots where needed, especially the waterfall edges. Use wood putty to fill finish nail holes, the seam along the waterfall edges, the seam where the plywood sheets are joined, etc. Tape off walls and flooring to protect them from the stain. Apply stain and polyurethane.
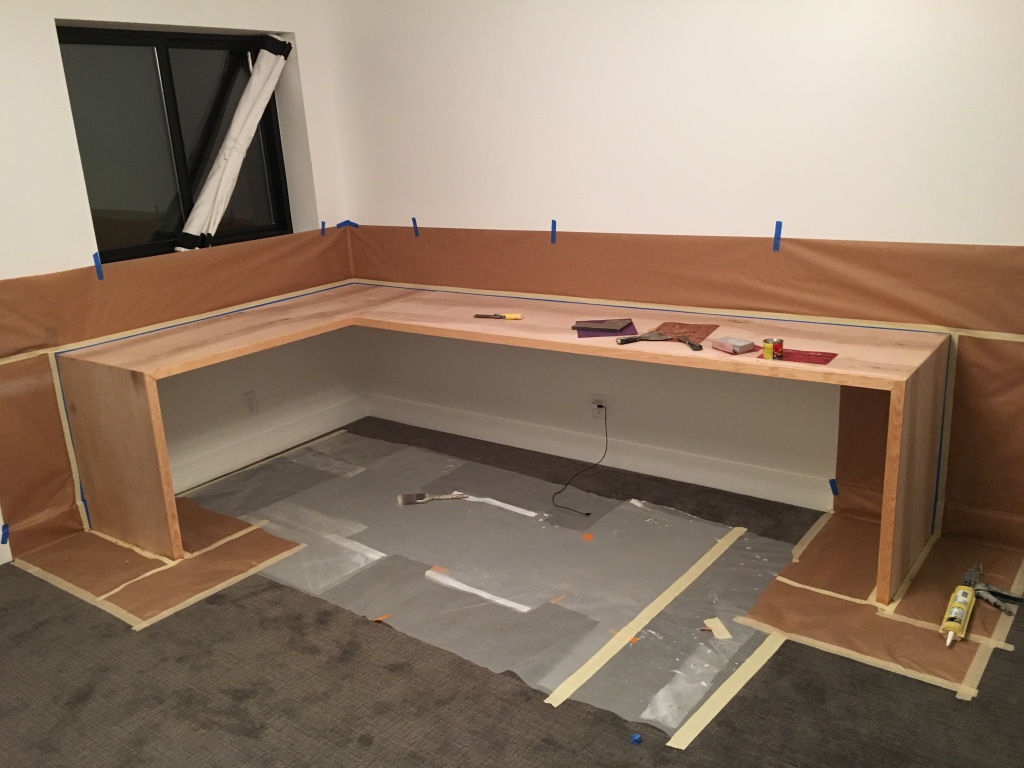
And now your desk is complete! We use this desk space daily and now after experiencing lockdowns, we’re even more grateful we have it.
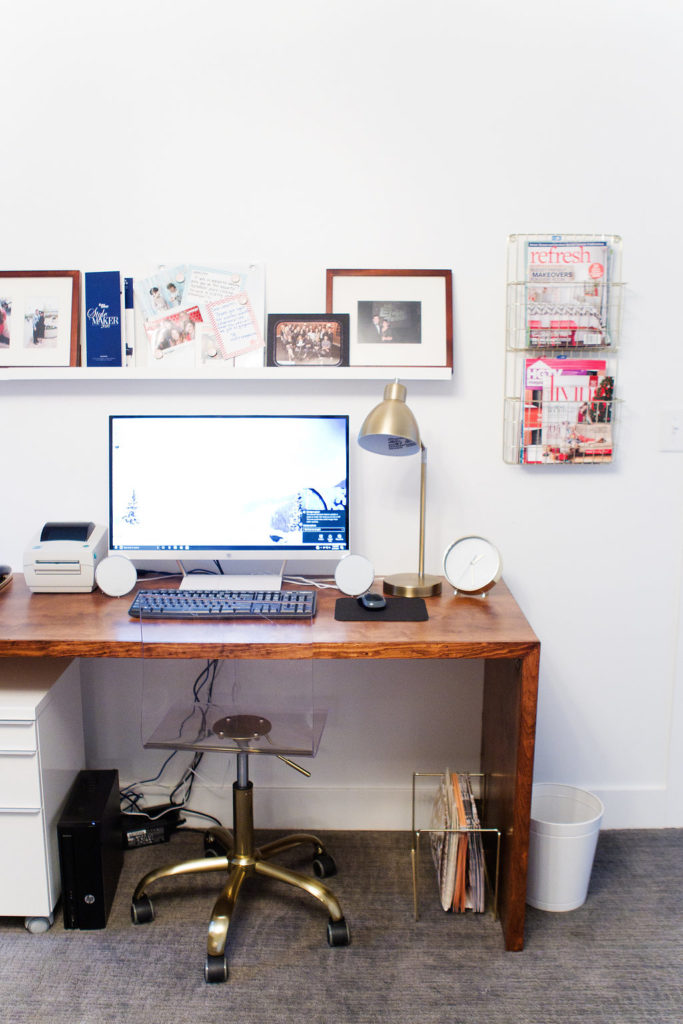
There you have it! This project is a great way to maximize your space and create a place to work or study where there wasn’t one before.
More ideas for workspaces coming up soon! Stay tuned!
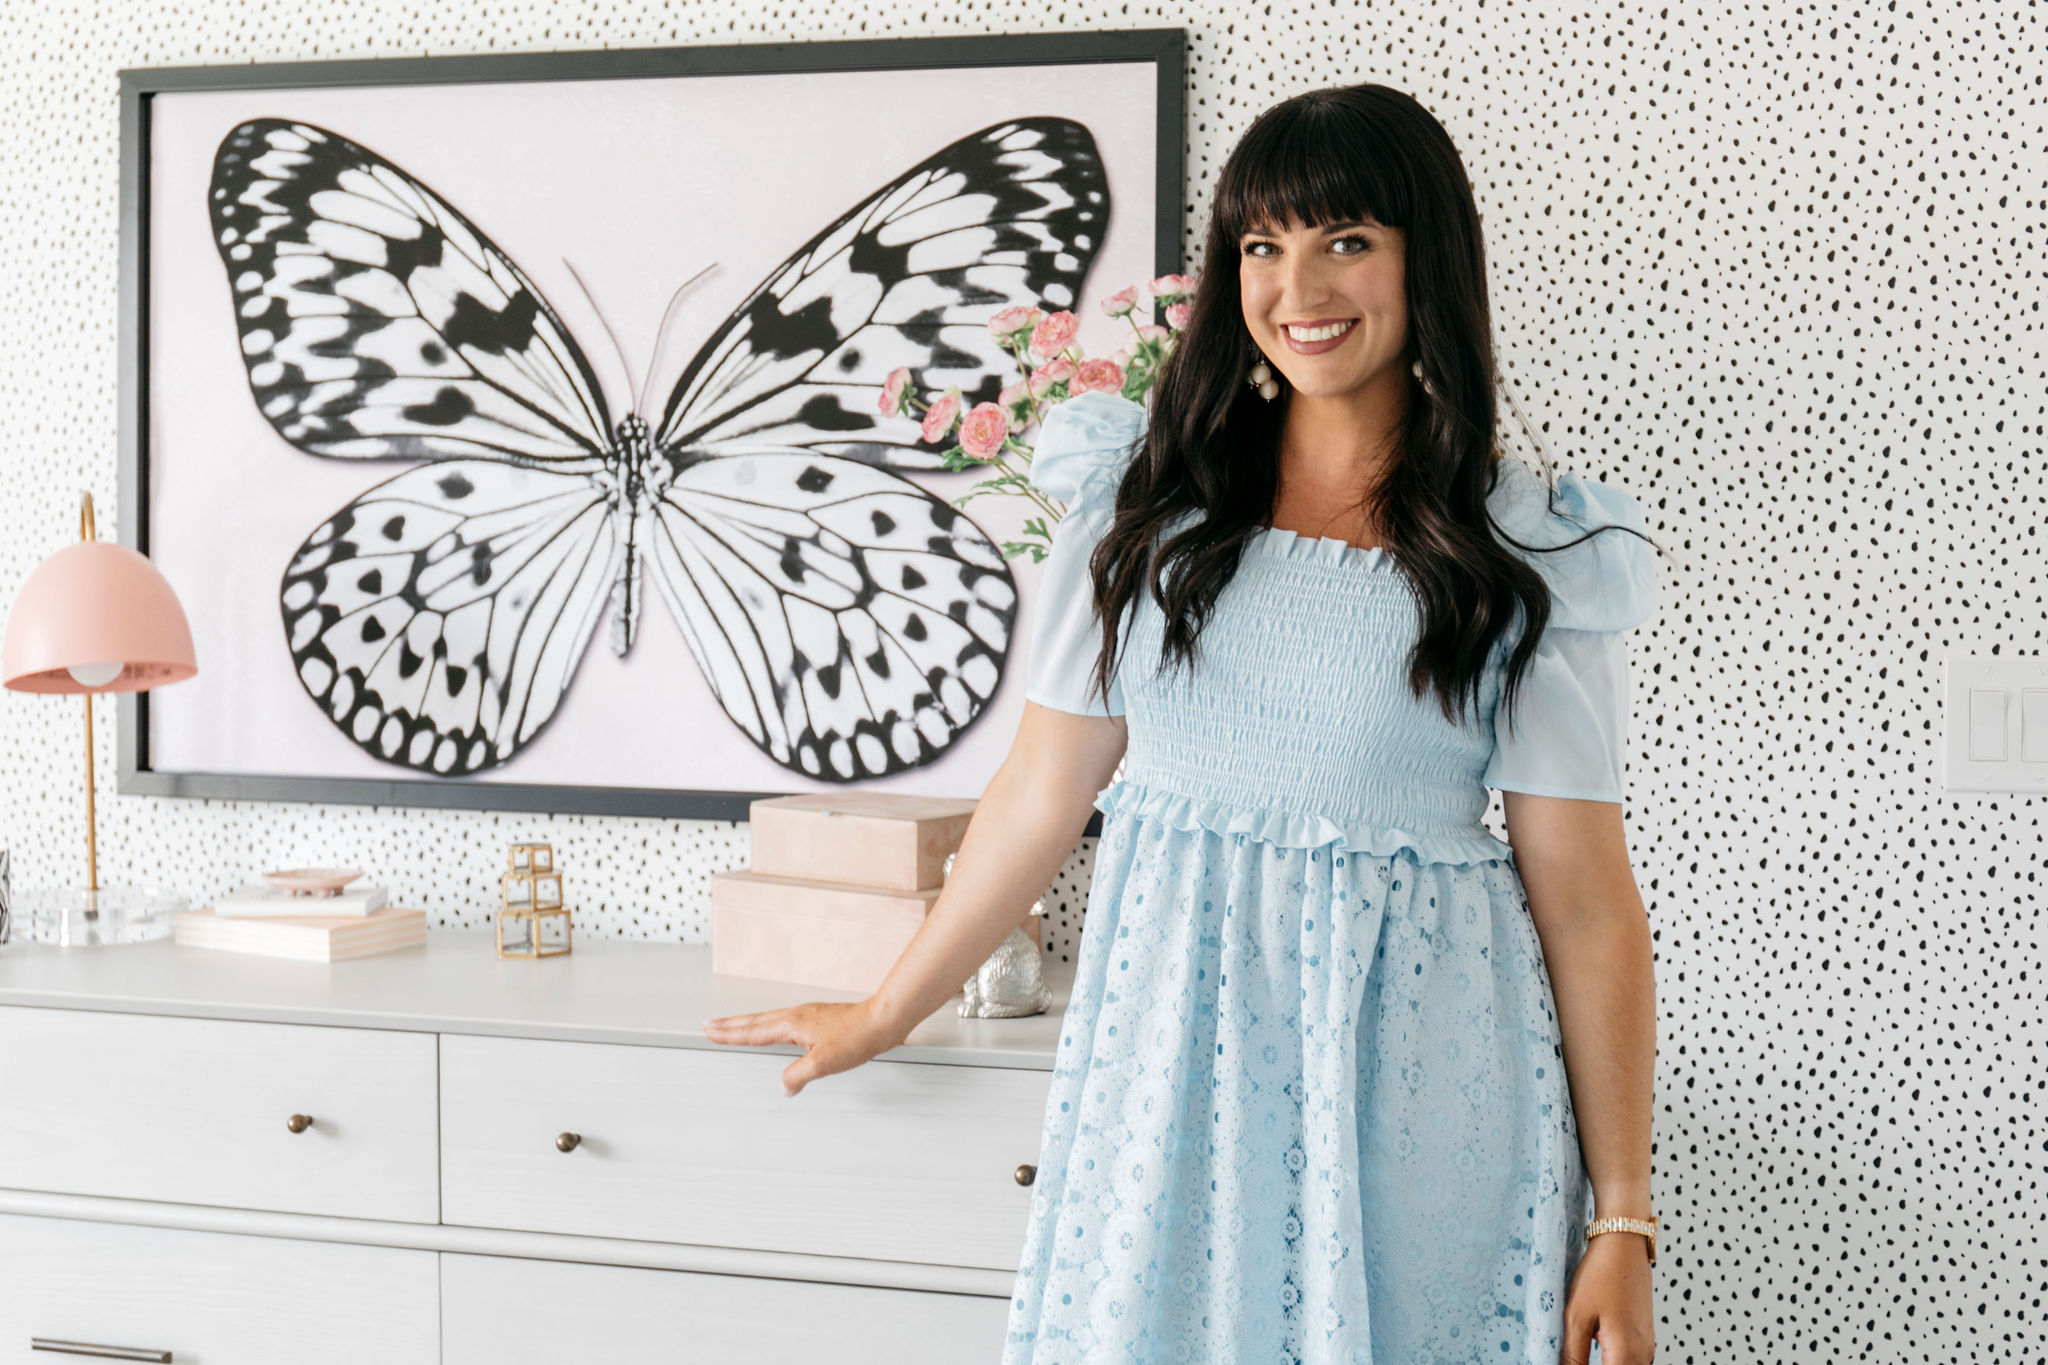
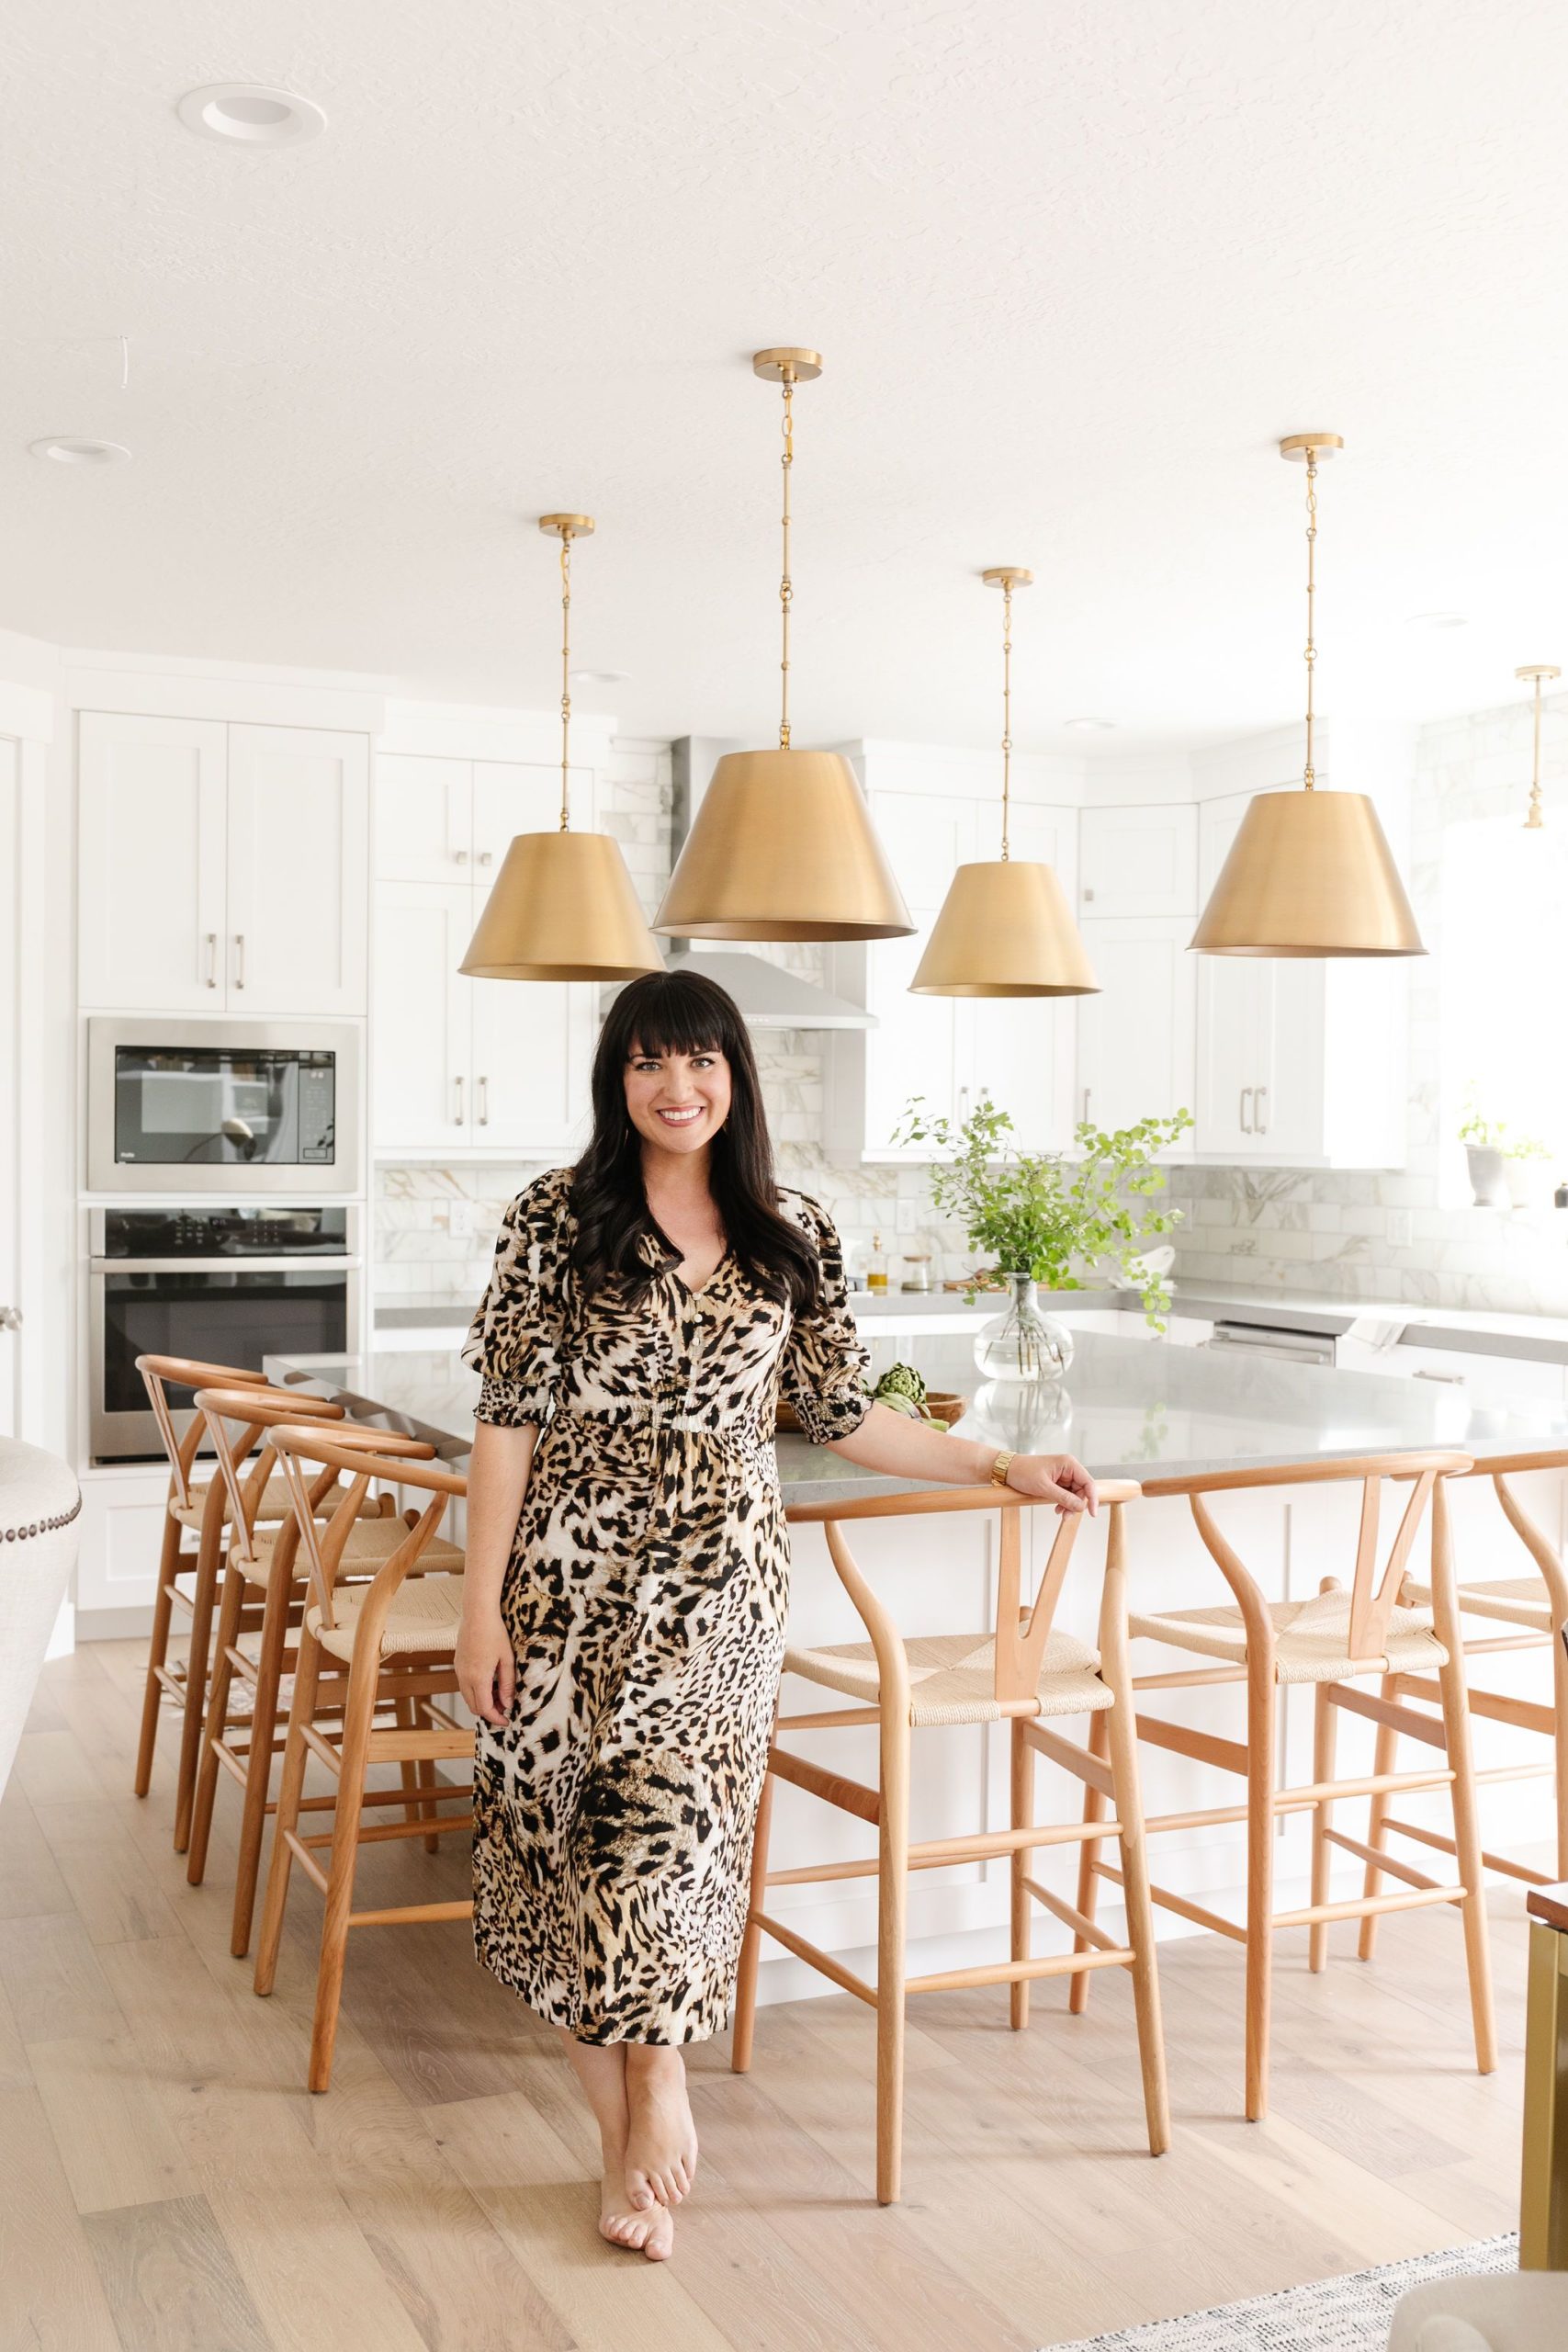
xx, Jen


back to top
@jenniferstagg
shop

We're a full-service design firm and home furnishings shop built around the philosophy that a well-designed home should be beautiful, personal, cohesive, and complete. We think home is the most important place on the planet and when you live in a home that is perfectly you, it changes your life. Don't believe us? Stick around. We're confident we'll change your mind.
hello there!
Follow Along
@jenniferstagg
Hey, let's be friends
Exclusive projects, discounts, and extra goodies all in your inbox. And don’t worry- your email is for our eyes only.
