SUBWAY TILE KITCHEN BACKSPLASH HOW TO
April 22, 2014
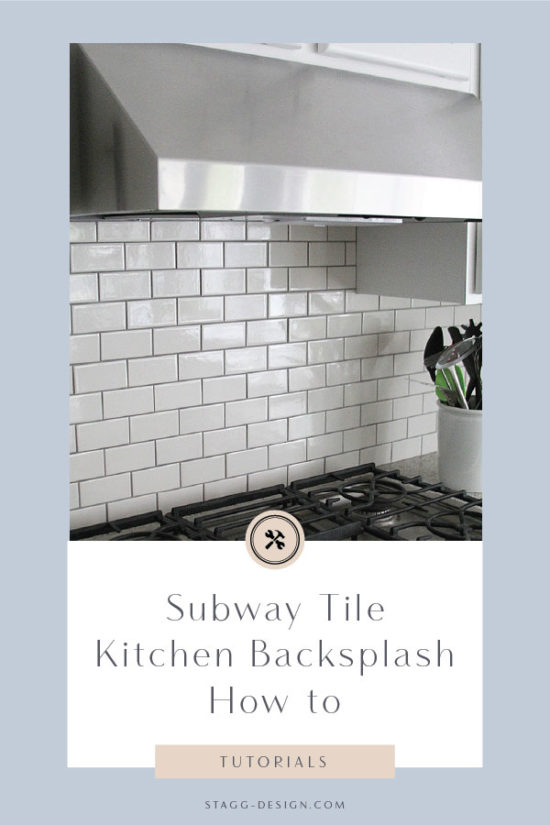
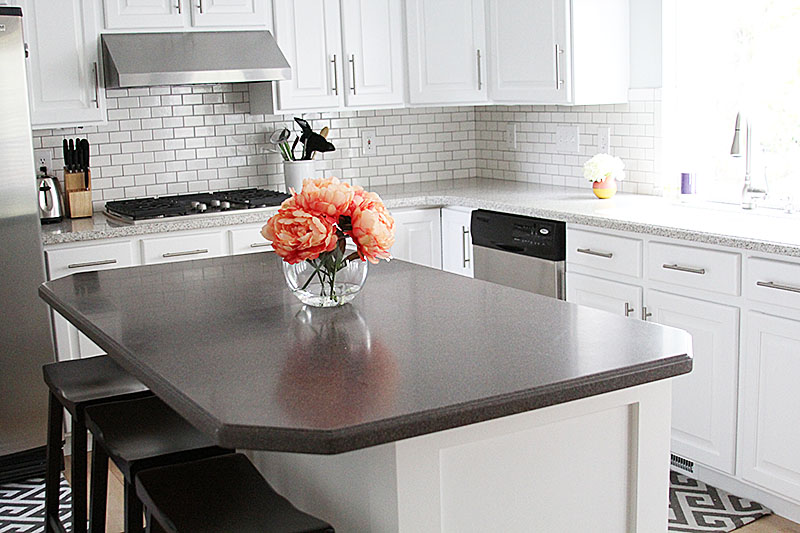
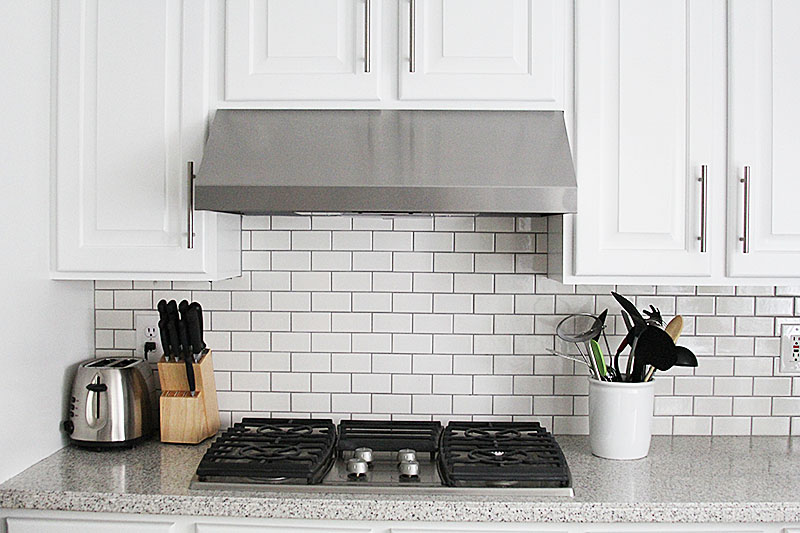
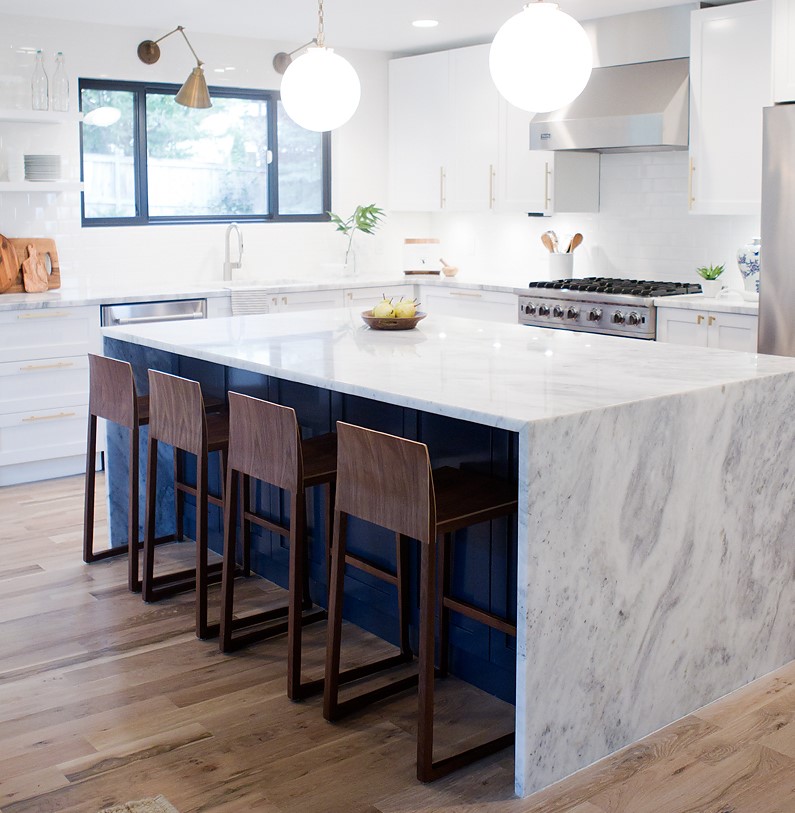
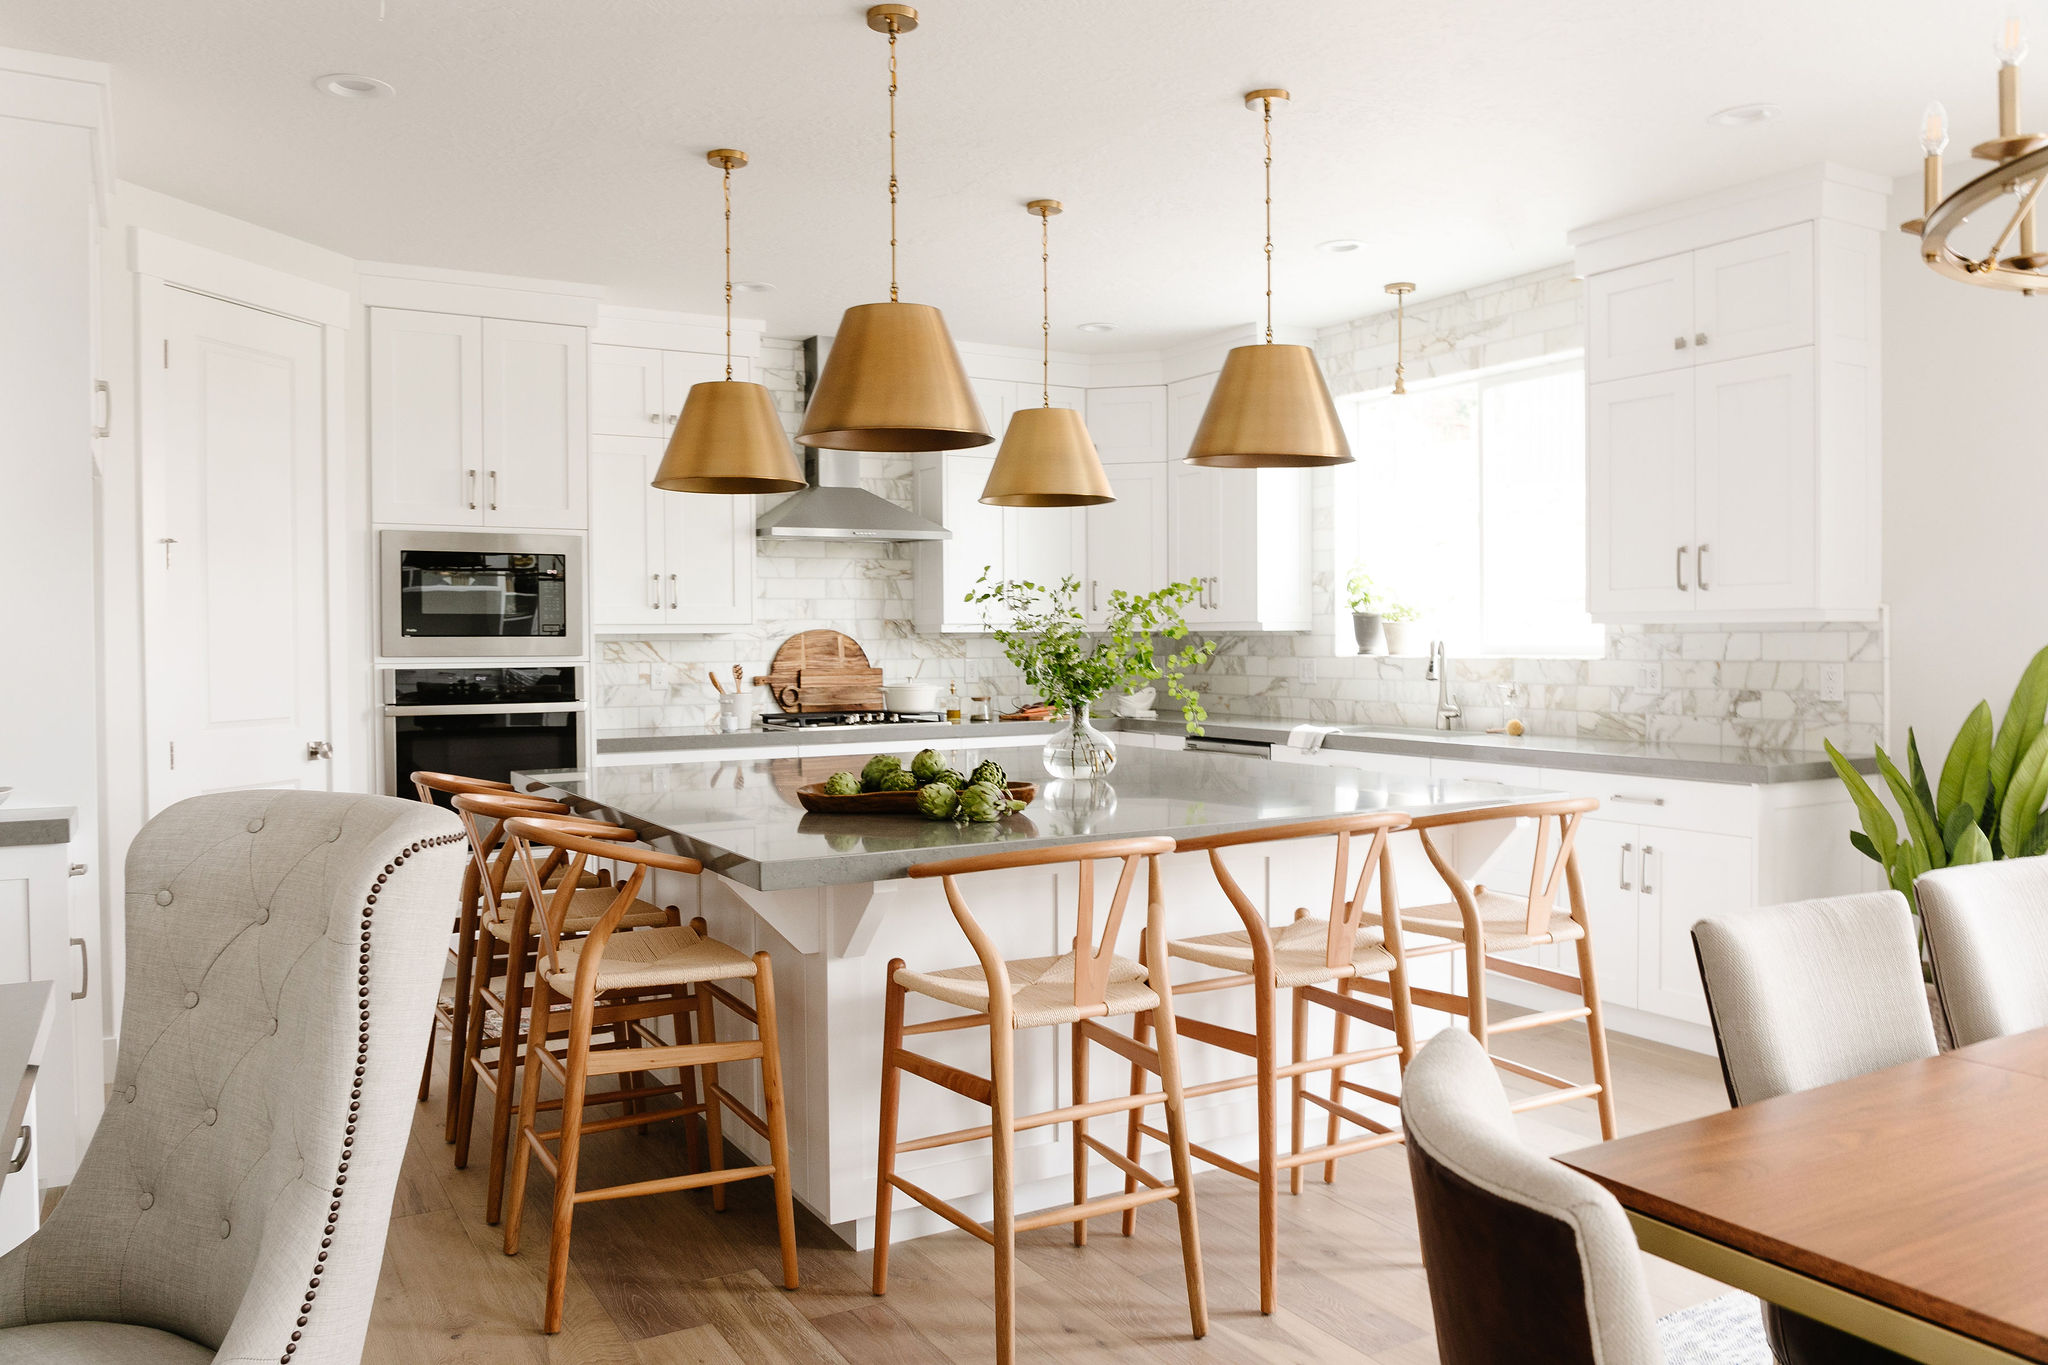
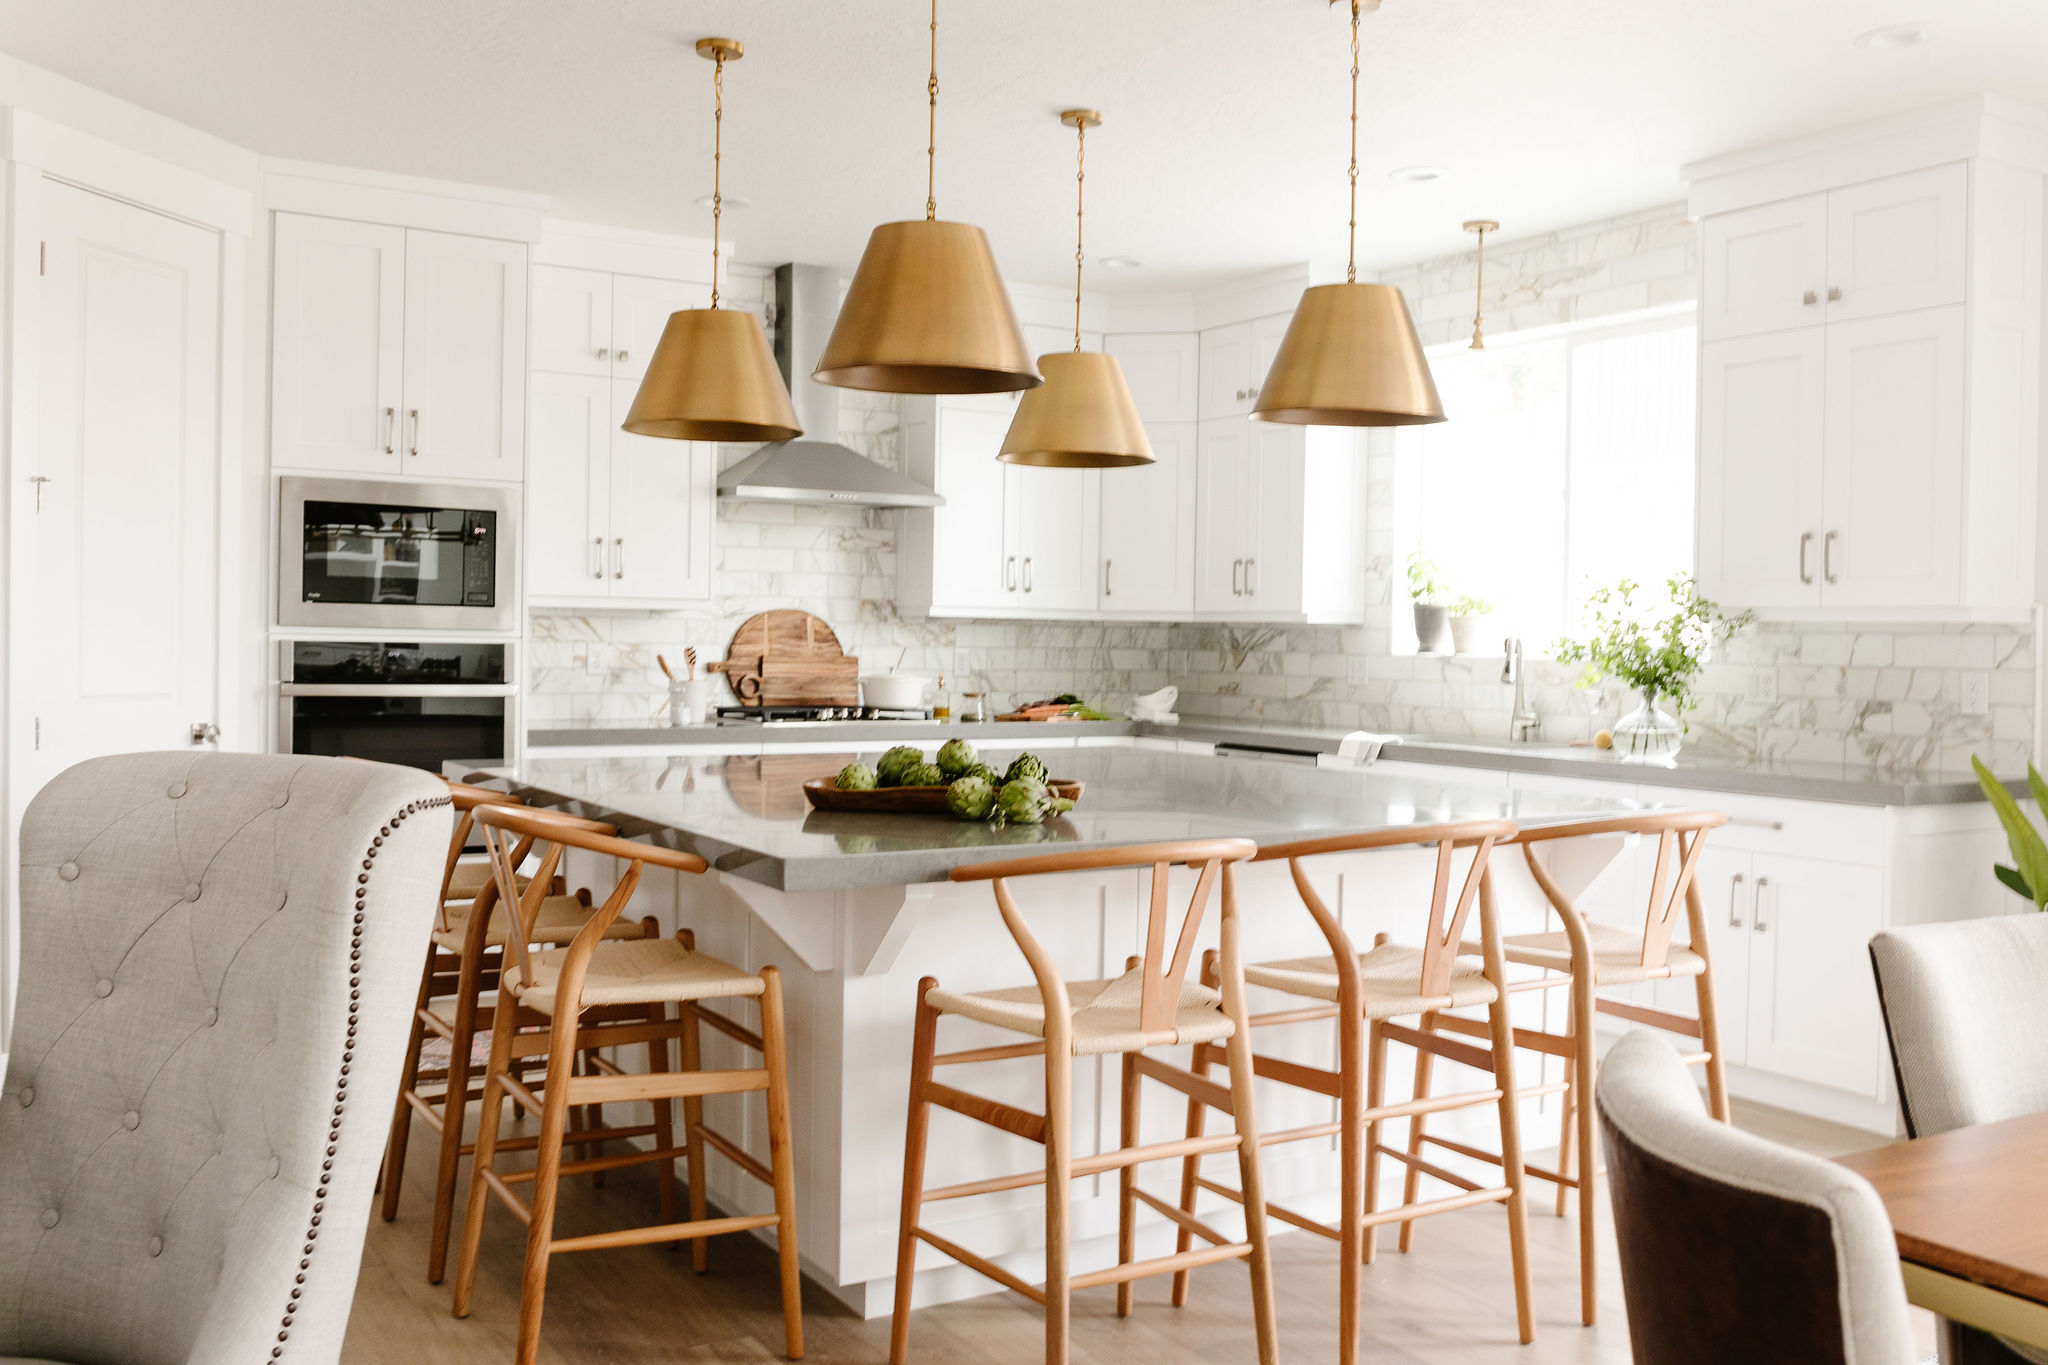
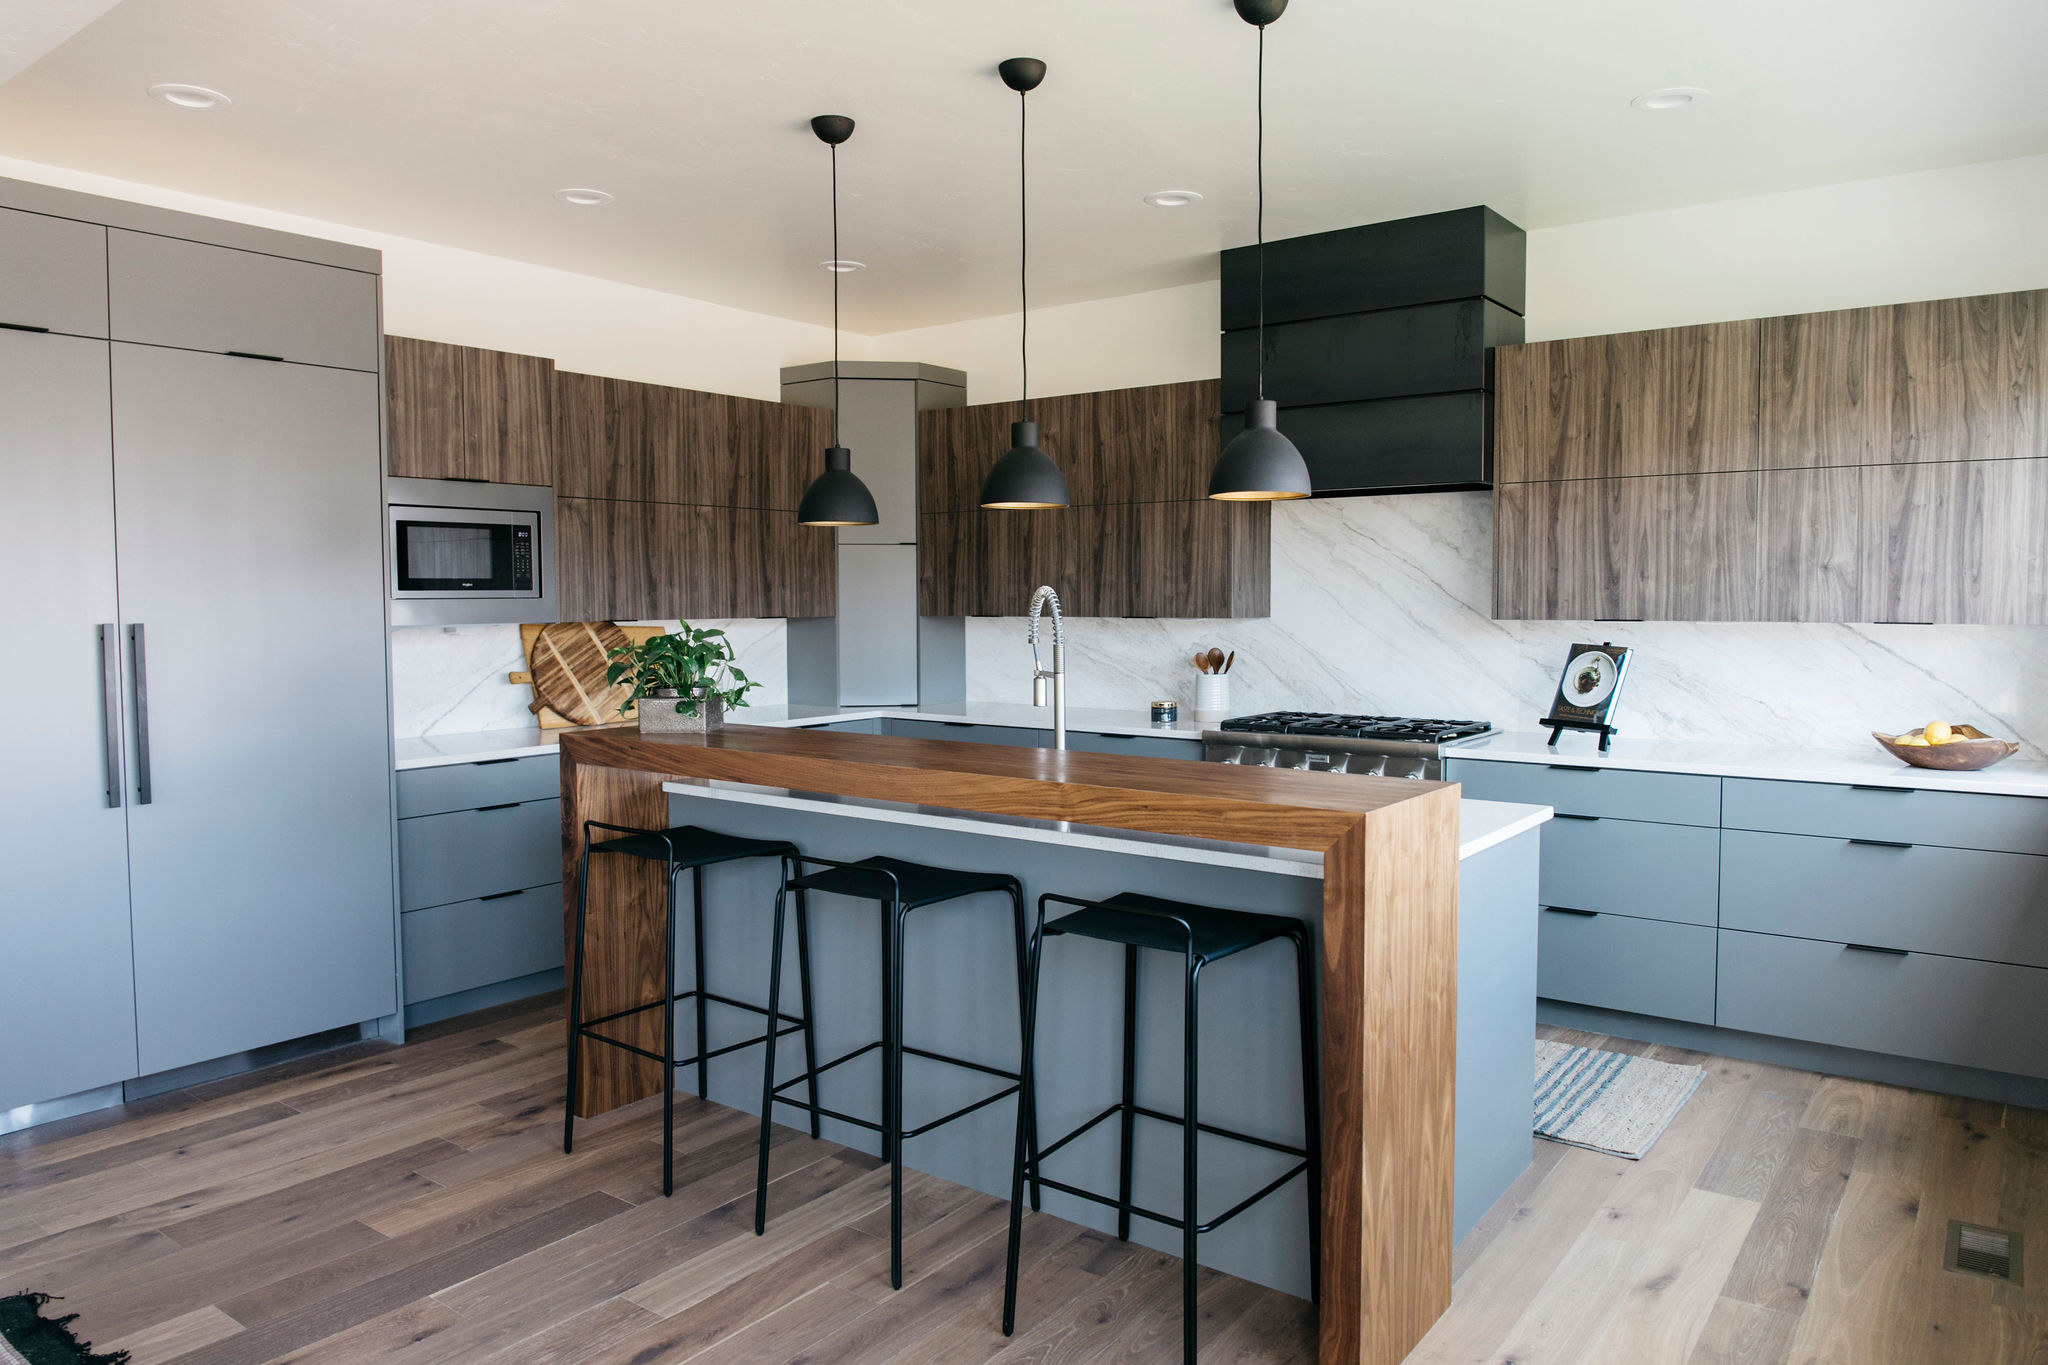
I always knew I wanted a subway tile backsplash in this kitchen. It’s classic and clean and simple and I just knew it would look fantastic after our cabinets were painted.
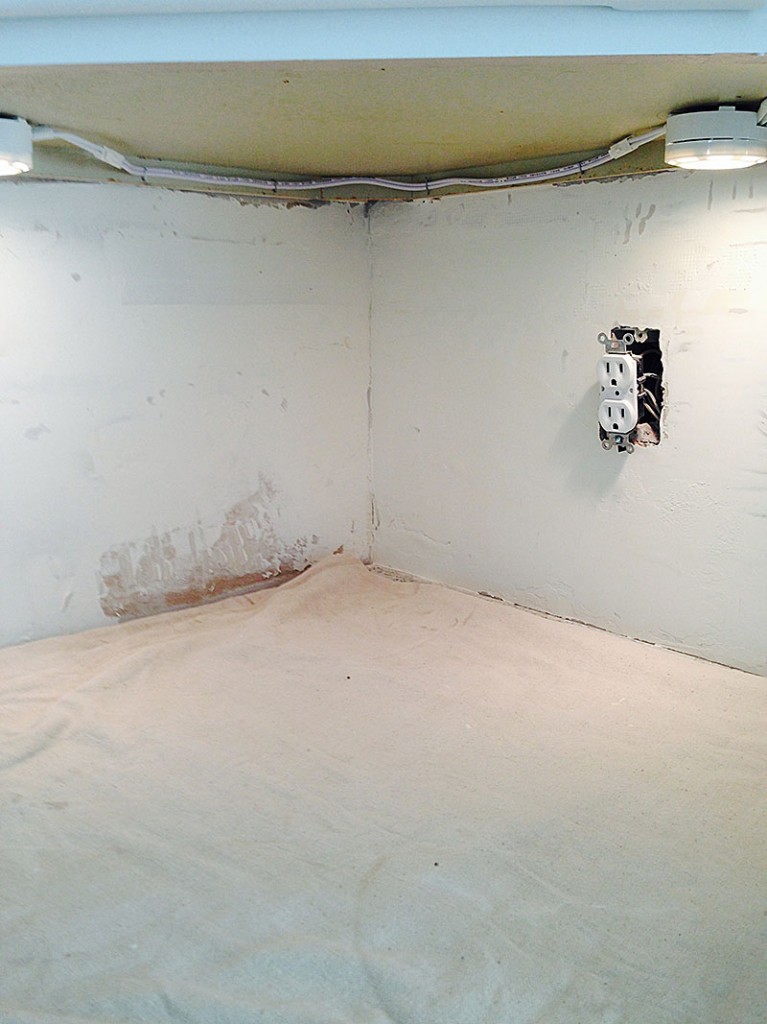
We had already removed our old backslash and prepped the wall. And by this point, our cabinets were all painted and the island detailing was finished. It was time to get the subway tile kitchen backsplash up.
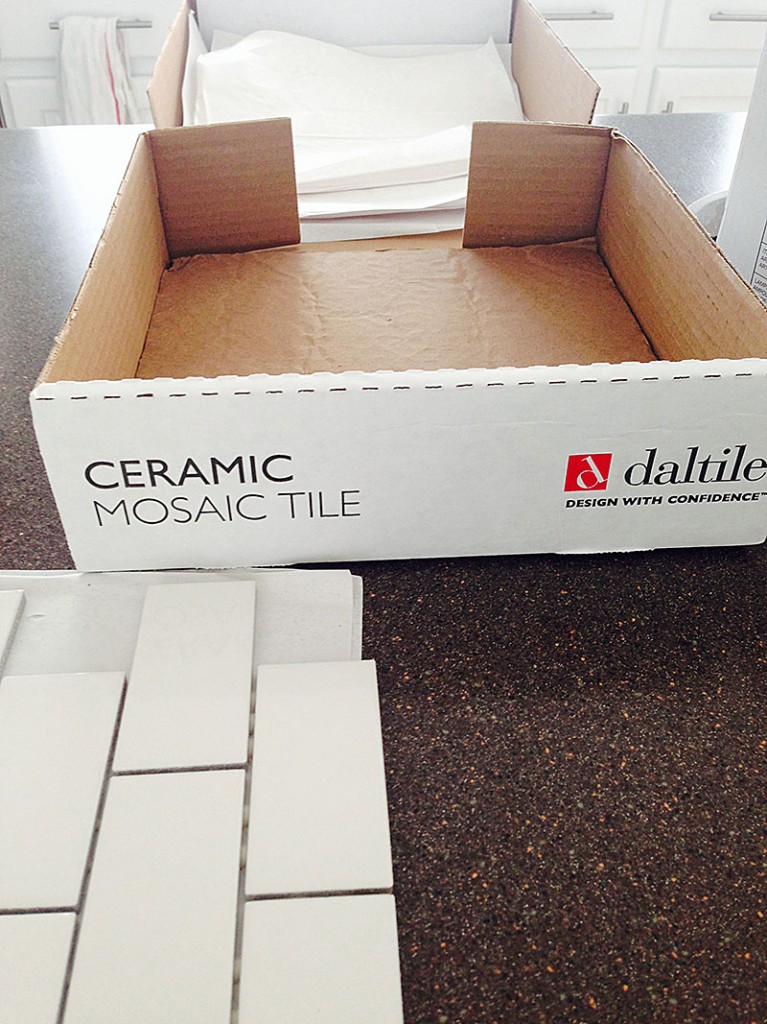
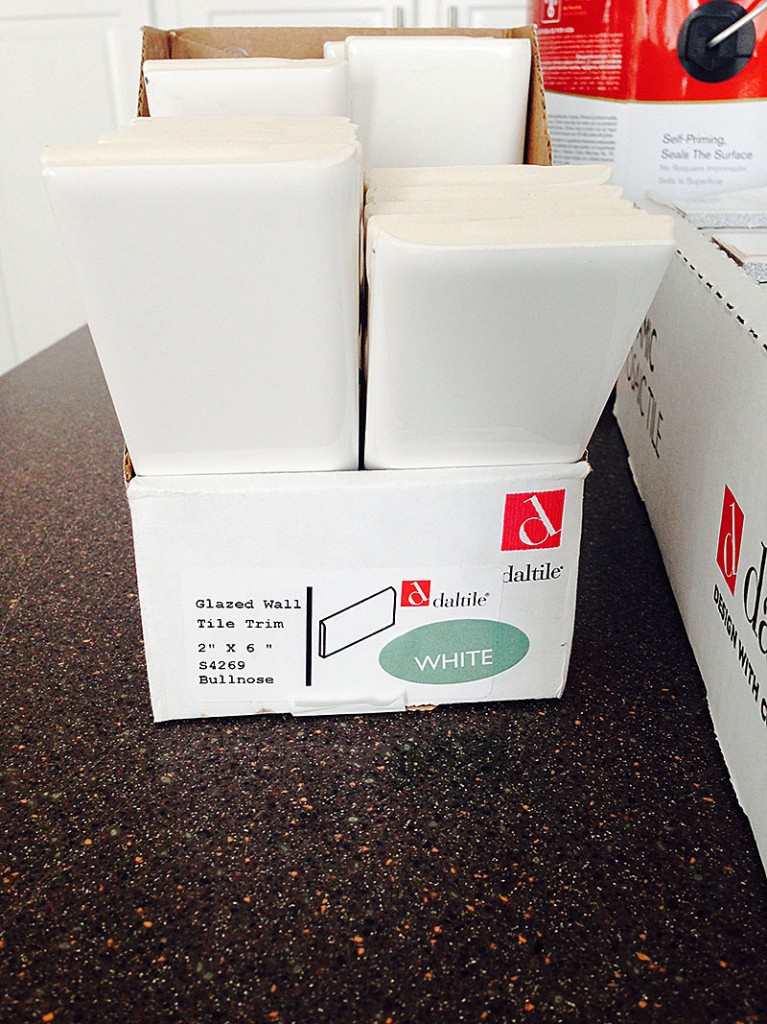
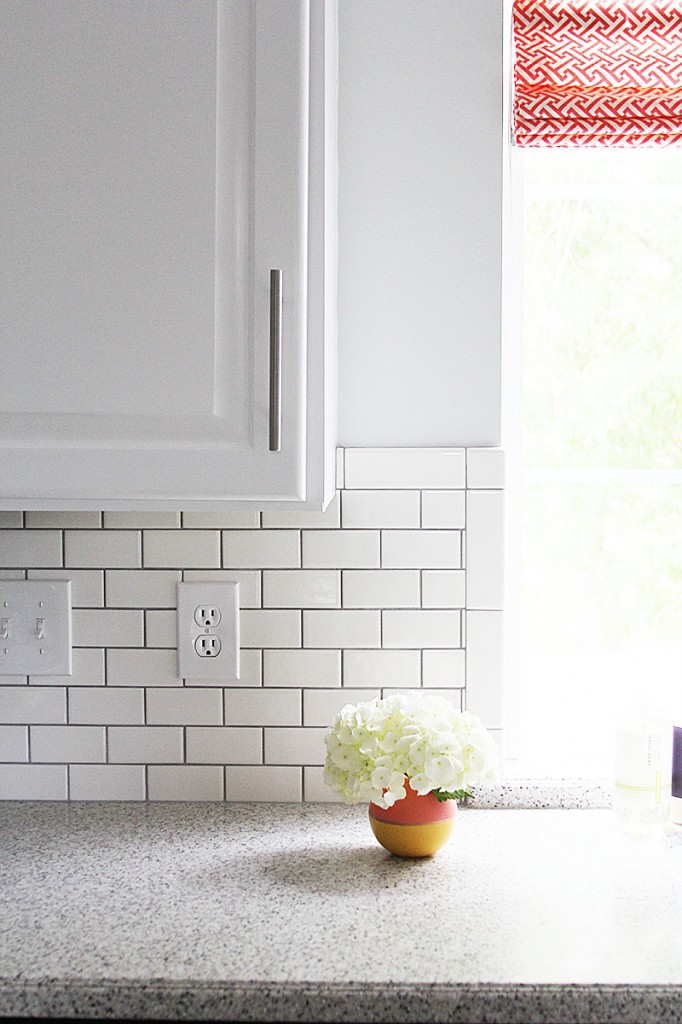
I found exactly what I was looking for at Home Depot: a mini subway tile pattern. The tiles came in sheets, already attached. Makes it so easy to install. I also picked up some pieces for the exposed edges around the window and wall. They have a bullnose, finished edge.
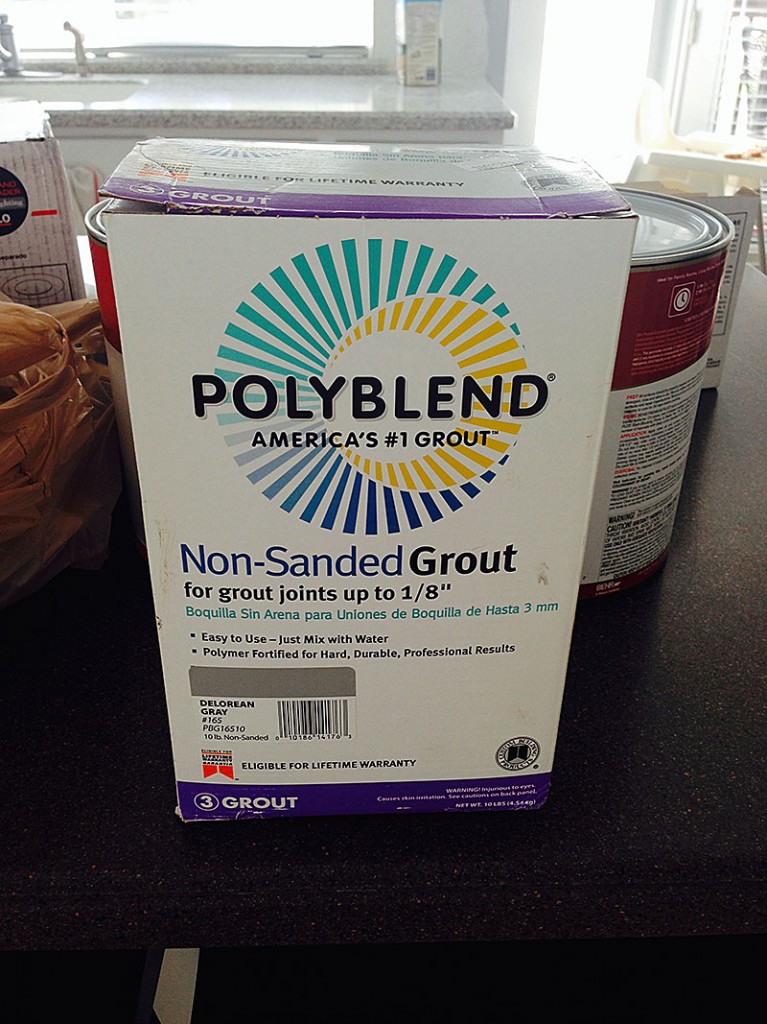
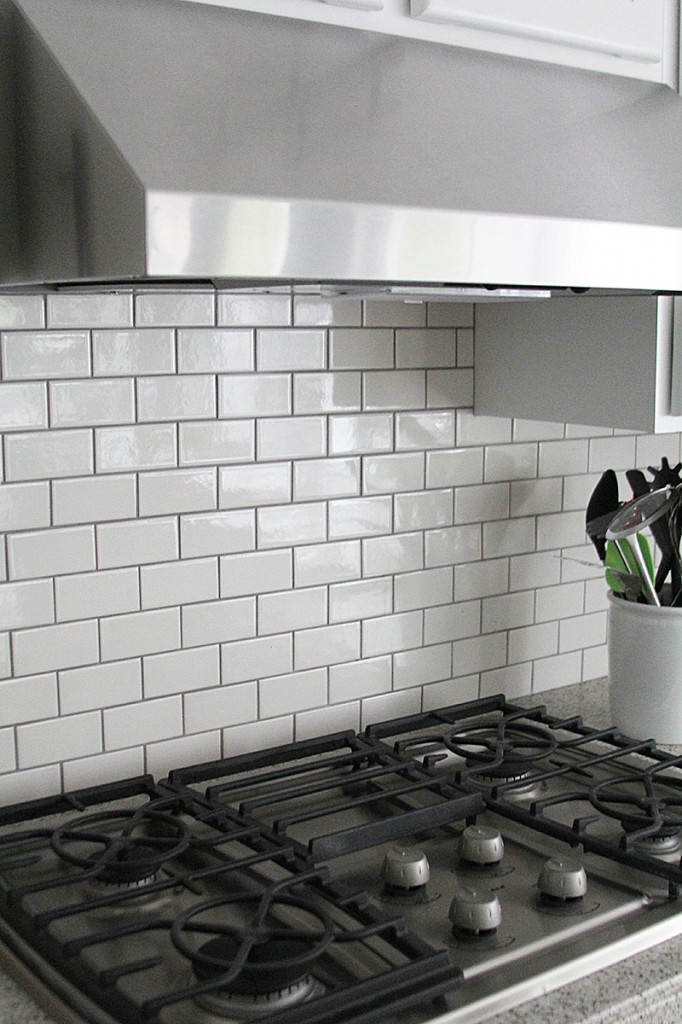
For the grout, I chose a non-sanded grout in Delorean Gray. It was the perfect gray color for the space. Not too dark, but just the right amount of contrast.
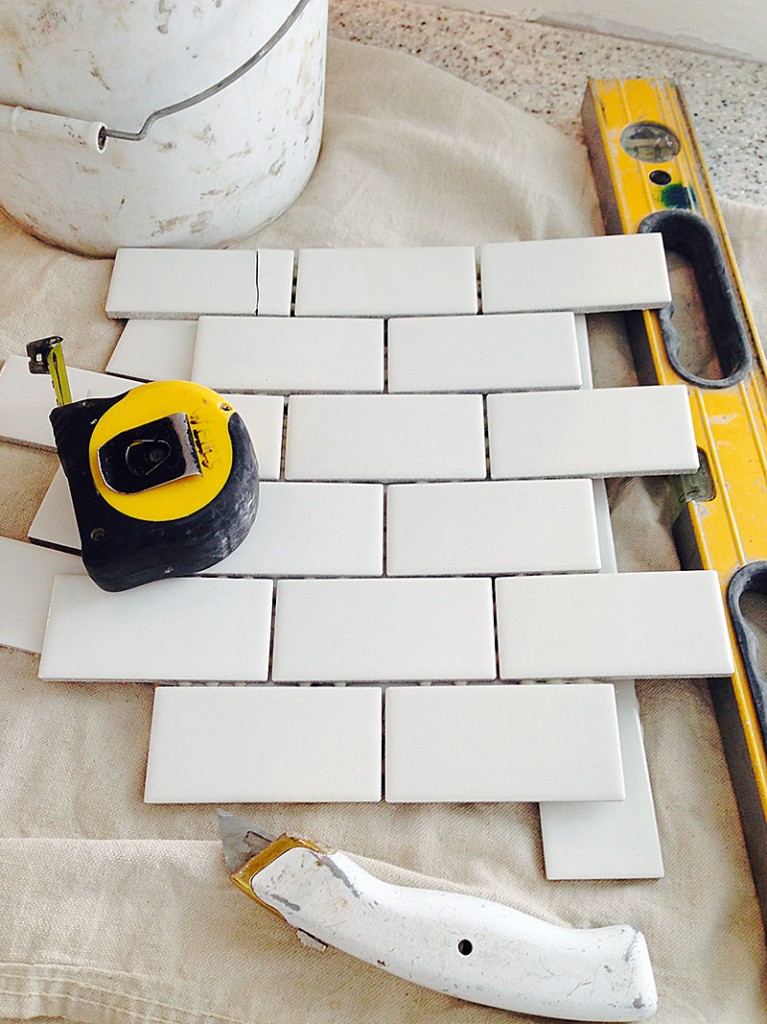
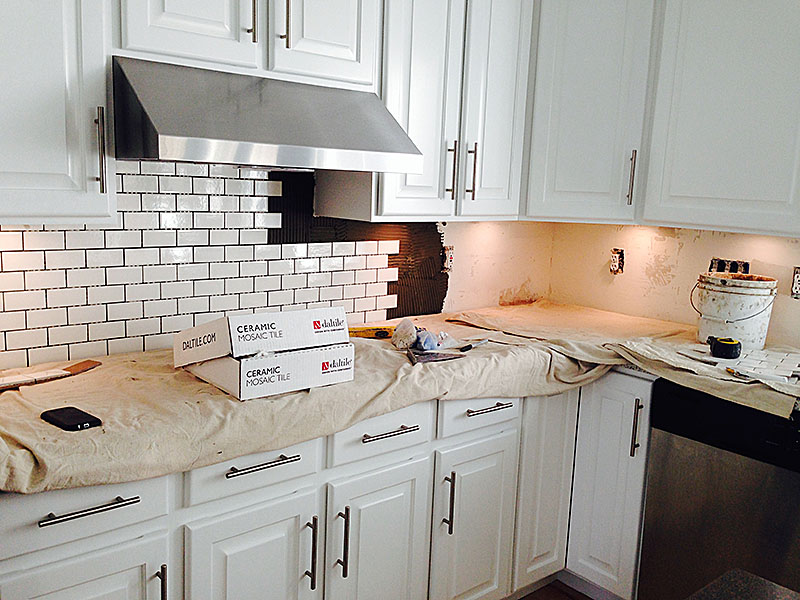
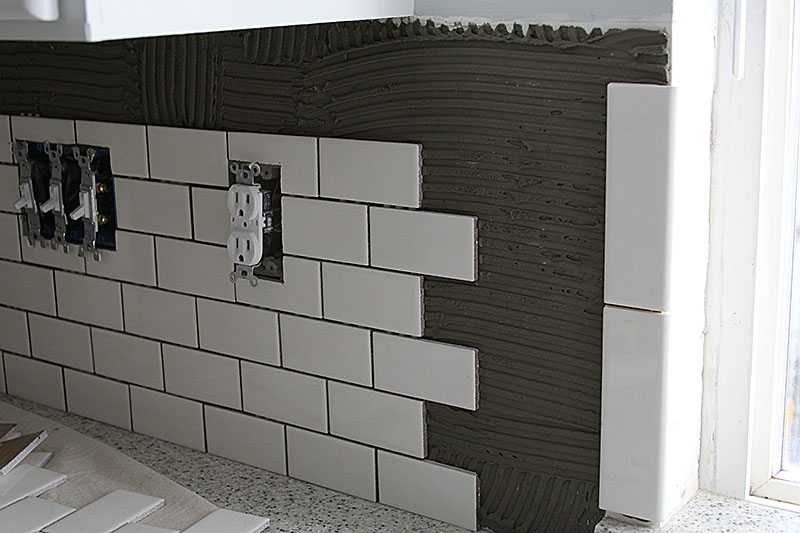
To apply the tile, spread a layer of thin set to the wall with a notched trowel, just like icing a cake. You want it to be thick, but not so thick that when you put the tile on it squishes out in excess. Apply a small section, then put the tile in place. You don’t want to apply all of the thin set to the wall, because it will dry before you can put all of the tile up.
While the tile squares make application easier, you’ll still need a tile saw on hand to cut out spaces for light switches and plugs, and the edges. It’s easiest to do this as you go along.
Once the tile is in place, let the thin set dry for about a day and it’s time to apply the grout. You’ll fill in the cracks with the grout, then use a thick sponge to wipe the rest away.
After the grout is finished, let it dry for about a day before you seal it. And wow, does it make a huge difference!
Home stretch, people, home stretch! Just a few more finishing touches and this room will be complete! Tomorrow I’m sharing one of my recent online classified finds. It was worth a 35 minute drive to another city 🙂
























































































Wow! This looks awesome, Jen 🙂 Where did you get those little lights that you have underneath your kitchen cabinets? We could use some of those!
So pretty! The subway tile looks amazing! Also, I love those cabinet pulls! I’m in the midst of a kitchen renovation myself and would love to know their dimensions so I can find some similar ones!
Great job and thanks for walking through the steps. Our kitchen is on our long list of projects and we plan on doing subway tile as well.
Jen,
I like how the grout gives the appearance of matching the stainless handles and appliances. KUDOS! the project looks great. Quick question, was there any particular reason you chose a thinset over a mastic to install?
Looks awesome!! Your kitchen is really beautiful
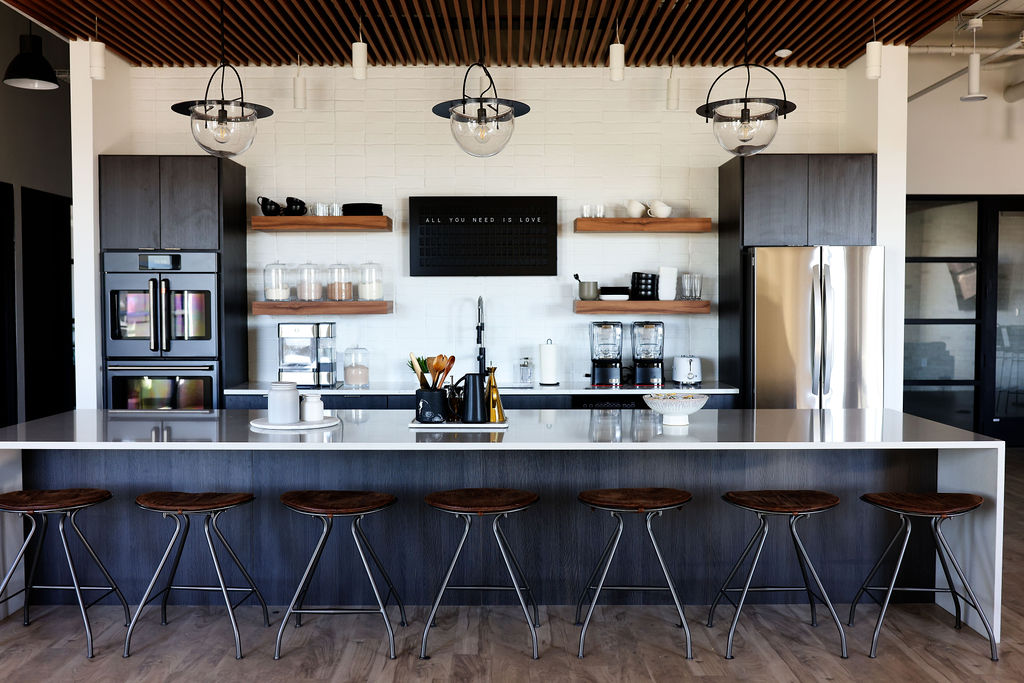
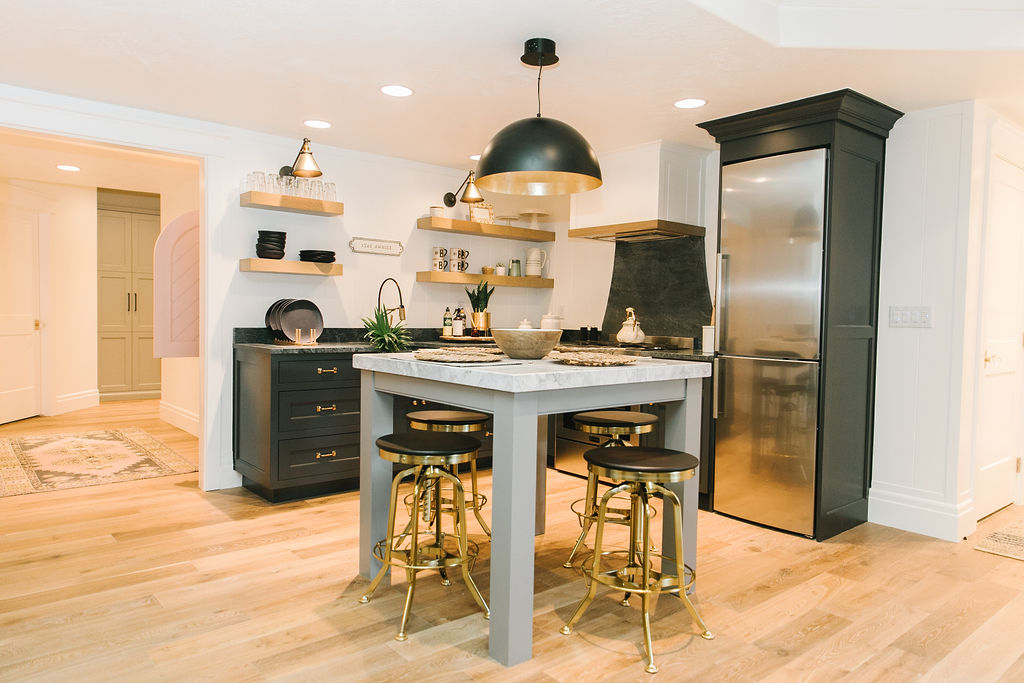
Where Did You Find The Barstools?
They are from Pottery Barn
[…] more about this kitchen here. m a s t e r b e d r o o […]
love it!
we want to do this same thing in our new kitchen. I’m having a hard time finding sheets of tile like this. can you provide a link to where I can purchase these tile sheets? or the exact name so I can find them?
Thanks!!!
Hi Hannah, thank you so much! We just got them at our local Home Depot. They came in 12×12 sheets. Hope that helps!
Do you remember exactly which mini subway tiles these are?…Home Depot has several sheets that look like this. Or maybe a price might help narrow my search. Are each tile a 3×6?
They are the 12×12 squares with mini tiles. Hope that helps!
They are Daltile brand and are about $2.50 per sheet. Each time is about 2″x4″.
How do you know where to start laying? Center and out or one end to the other. I’m not sure how to do inside corners, any suggestions?
How did you cut out electrical outlets? We have the same time and they keep splitting.
Hi Melissa, it’s tricky! We used a Dremel tool with a tile bit. I hope that helps!
Looks fantastic. Do you remember how thick the grout lines were? 1/8″? I’m planning a similar install and love the look here. Thanks!
Hi Jonah, the tile itself has a bevel, and we just filled in the gaps, so we didn’t have a specific grout line. Does that make sense? Hope that is helpful!
I couldn’t find a reply to the question about the index counter lights, where to start laying the tile, or why you didn’t choose nastily to,lay. Could you please respond and HELP me. Thank you.
Hi Sherry, I’m sorry– I don’t quite understand your question.
I was thinking mastic was the ideal base medium compared to thinset. Why did you choose thinset? Perhaps home depot recommended it?
We are also looking into Delorean Grey grout. Being that you used unsanded grout was there any “shrinkage” when it dried that formed little cracks?
Hi Andrew, we haven’t had any issues with shrinking or cracks. I’ve used both mastic and thinnest and either works great.
Looks great! I am about to embark on the same project, with the same products funny enough. How did you start placing the mosaic tiles? I have been told to start by placing a center line, but in the kitchen the center line would be where the window is, and that just seems like an awkward place to start. Did you start in the center of the largest tile area?
Thanks!
Thank you for your question. When deciding where to start laying tile I figure out what the focal point(s) will be on the wall, and place the tile so it lines up well against the focal point. For example, on the wall with the vent hood, I placed the tile so that the partial tiles were even on both sides. I hope that helps!
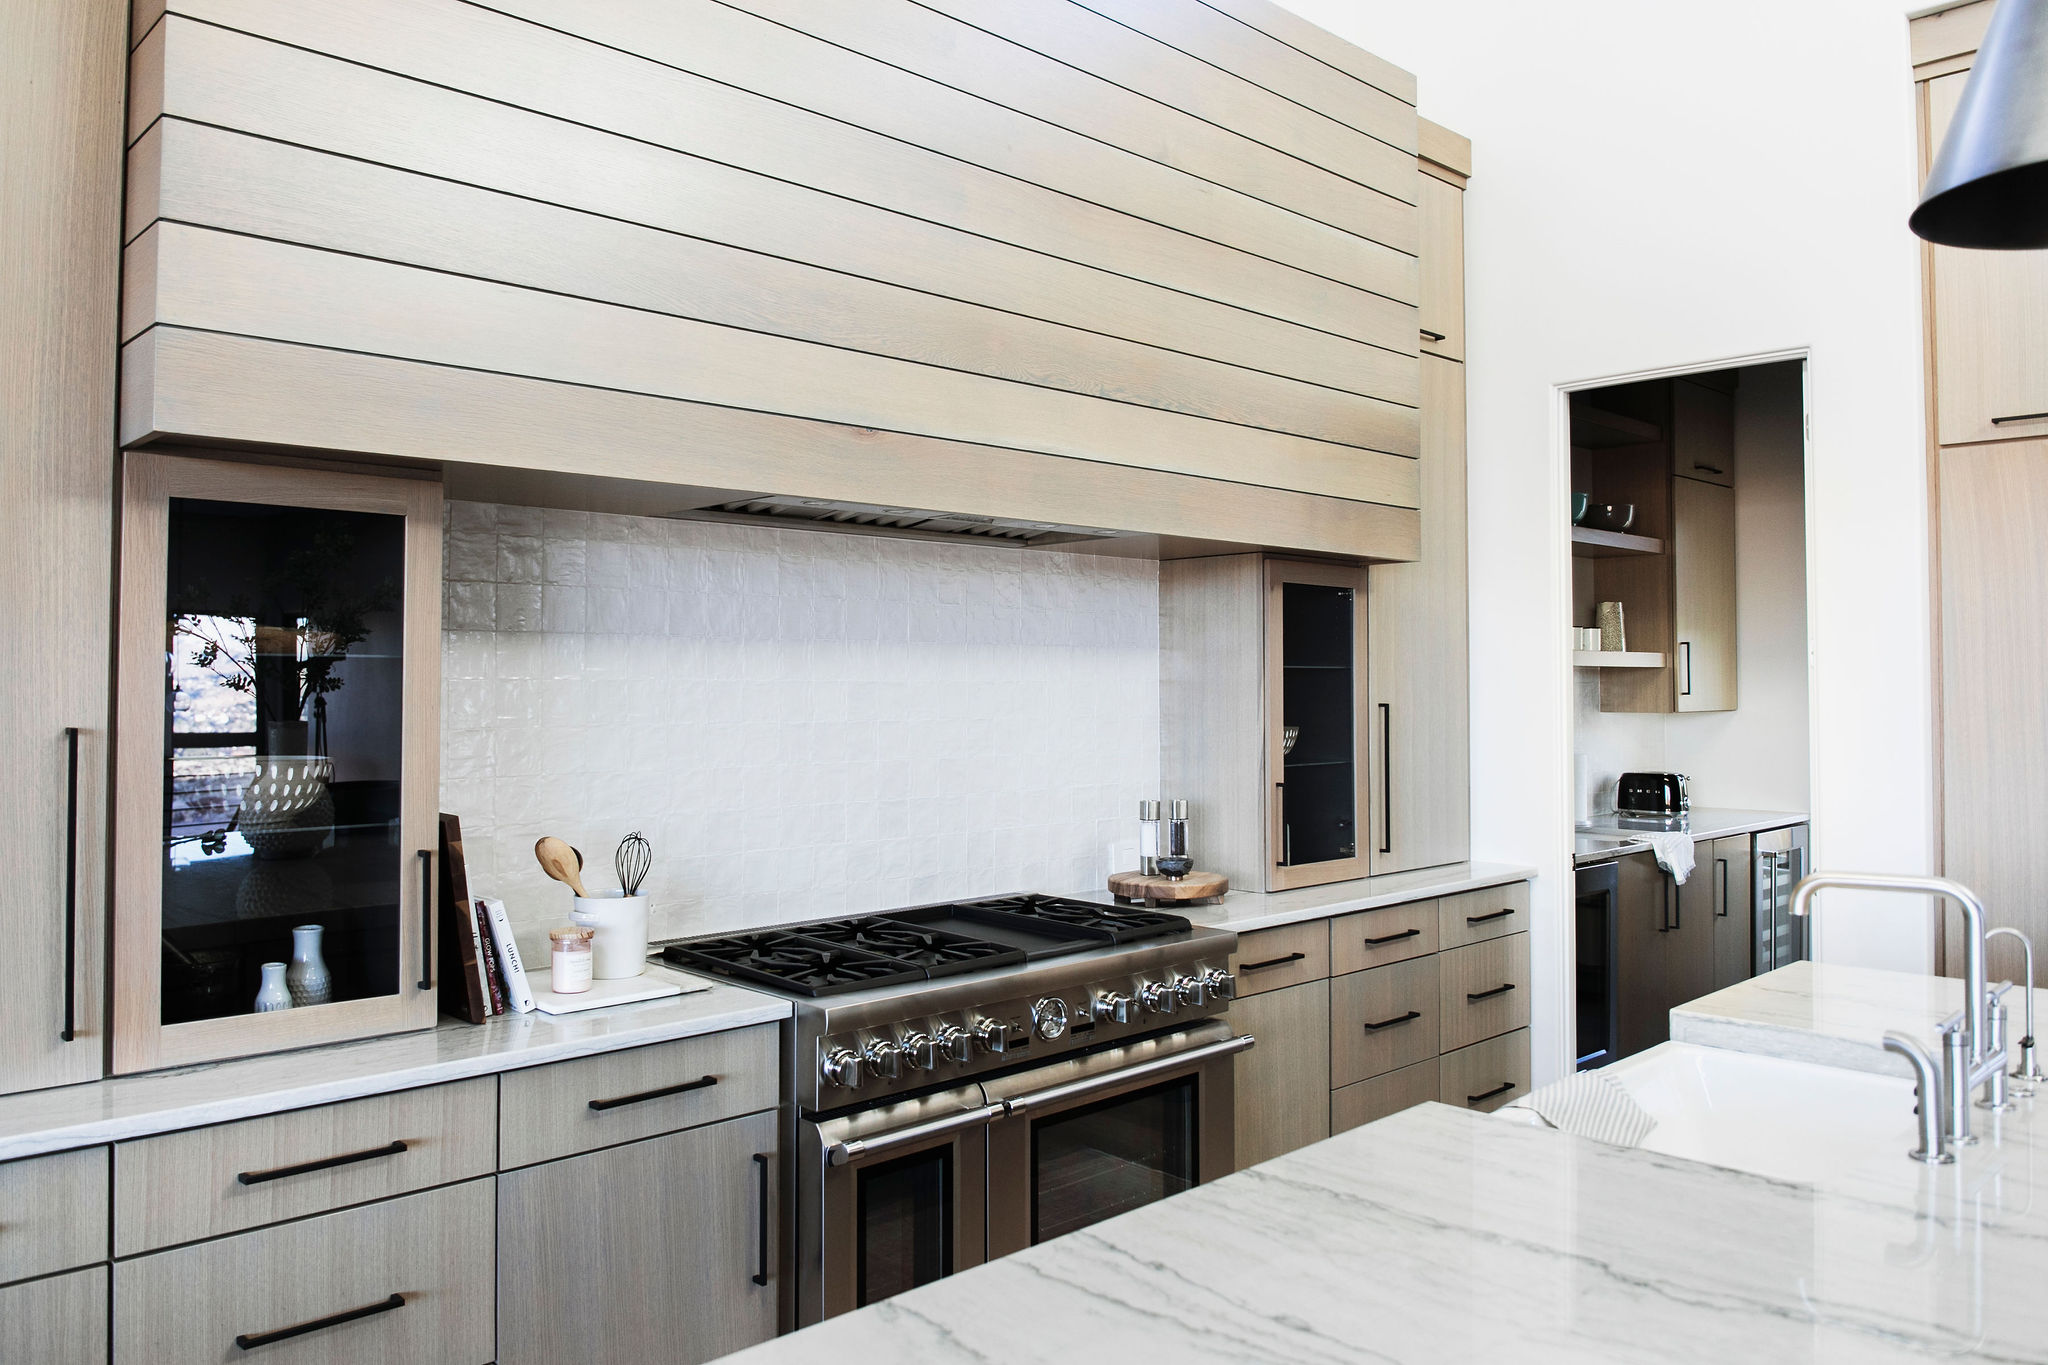
Beautiful kitchen! Do you happen to know where your hood range is from? Thanks! 🙂
Hello! We ordered it off Amazon, if you can believe it!
SO PRETTY! I can’t wait to get my backsplash up! I’ll be sharing your tutorial with my husband (my grunt laborer).
Thank you so much! Glad you found it helpful!
Hi, I love your kitchen!
Can you tell me the style and name of range hood you ordered on Amazon.
Thanks!
Hi there! Here’s a whole post about it! https://stagg-design.com/featured/kitchen-hood-and-cooktop/
[…] Source:We will use a very light gray grout. […]
What is the blue paint color?
Hi there! Do you mean the wall color?
What type of counter tops do you have? I am dreaming of quartz, but these are beautiful too! Your subway tile looks amazing. We have short-width/height tiles from the previous owner and they work for the space, but these longer and taller subway tiles are my dream.
Hi there! This countertop is quartz:)