

")
")
")


HOW TO ADD MOULDING TO A KITCHEN ISLAND
April 21, 2014
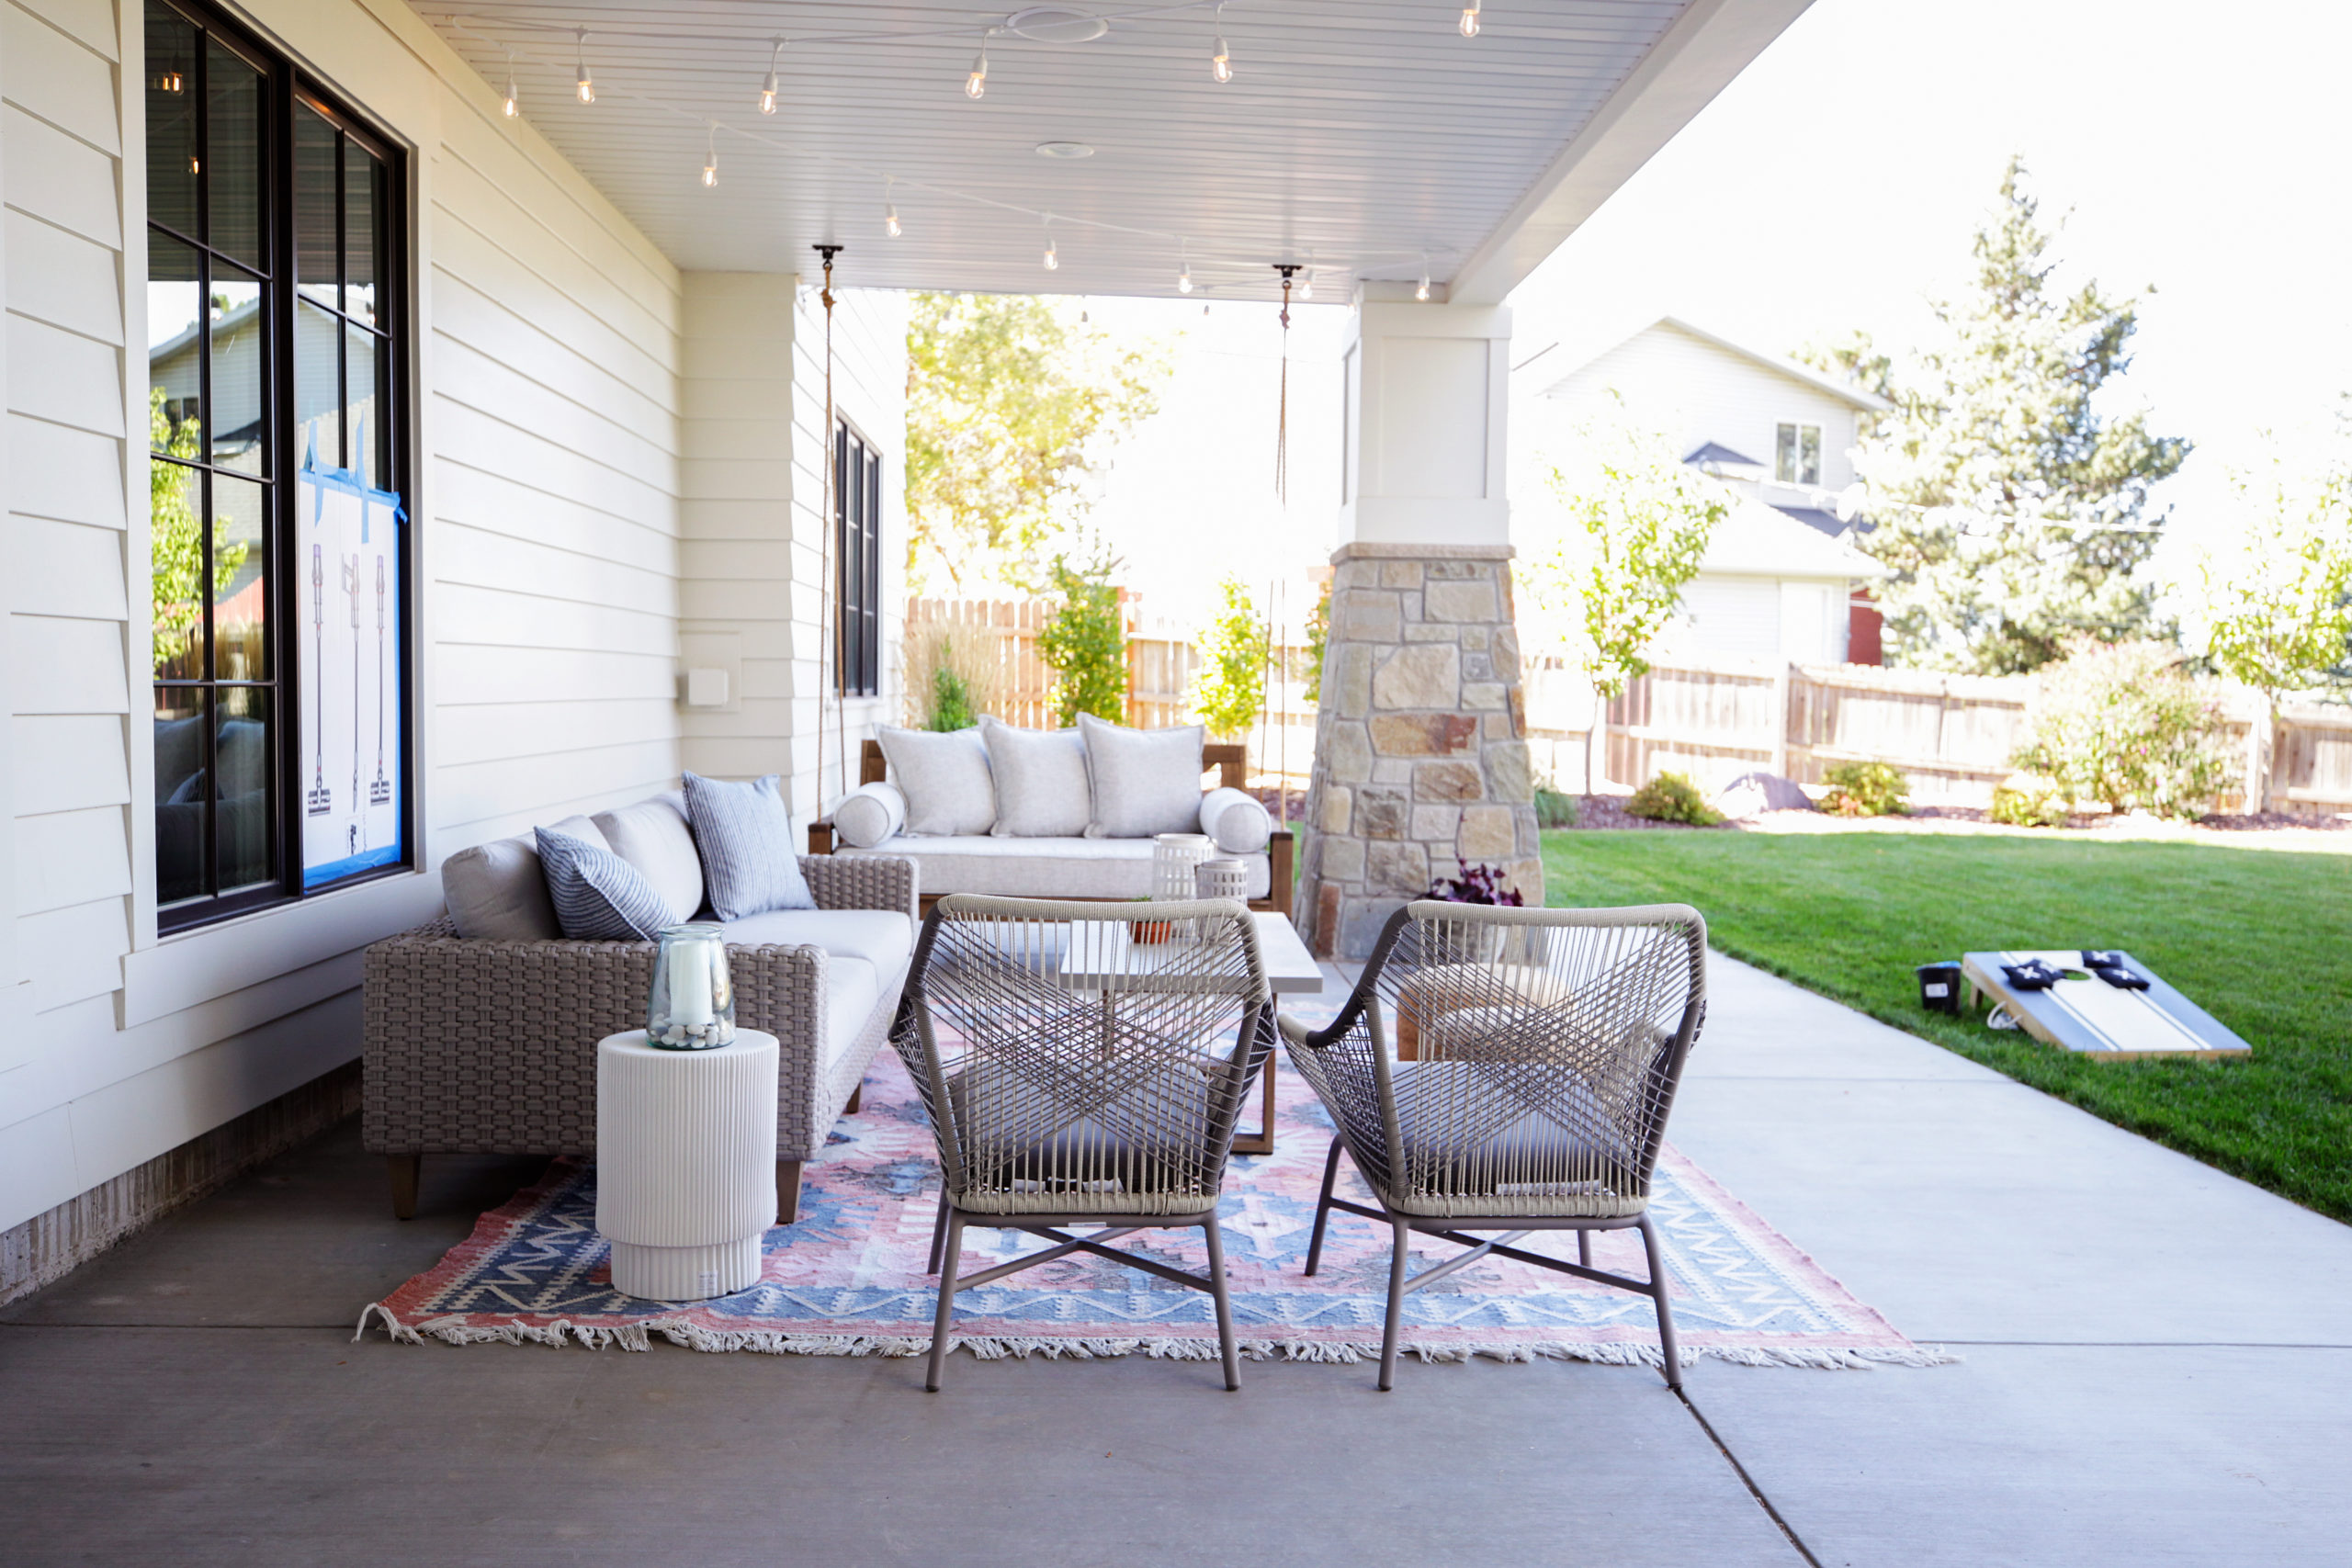
 I hope your Easter was as lovely as mine! We celebrated with a mini egg hunt in the backyard, lunch with the grandparents on our deck (heaven) and thinking of Christ. Ruby had so much fun and is coming off a jellybean high. Here’s to a week of healthy eating!
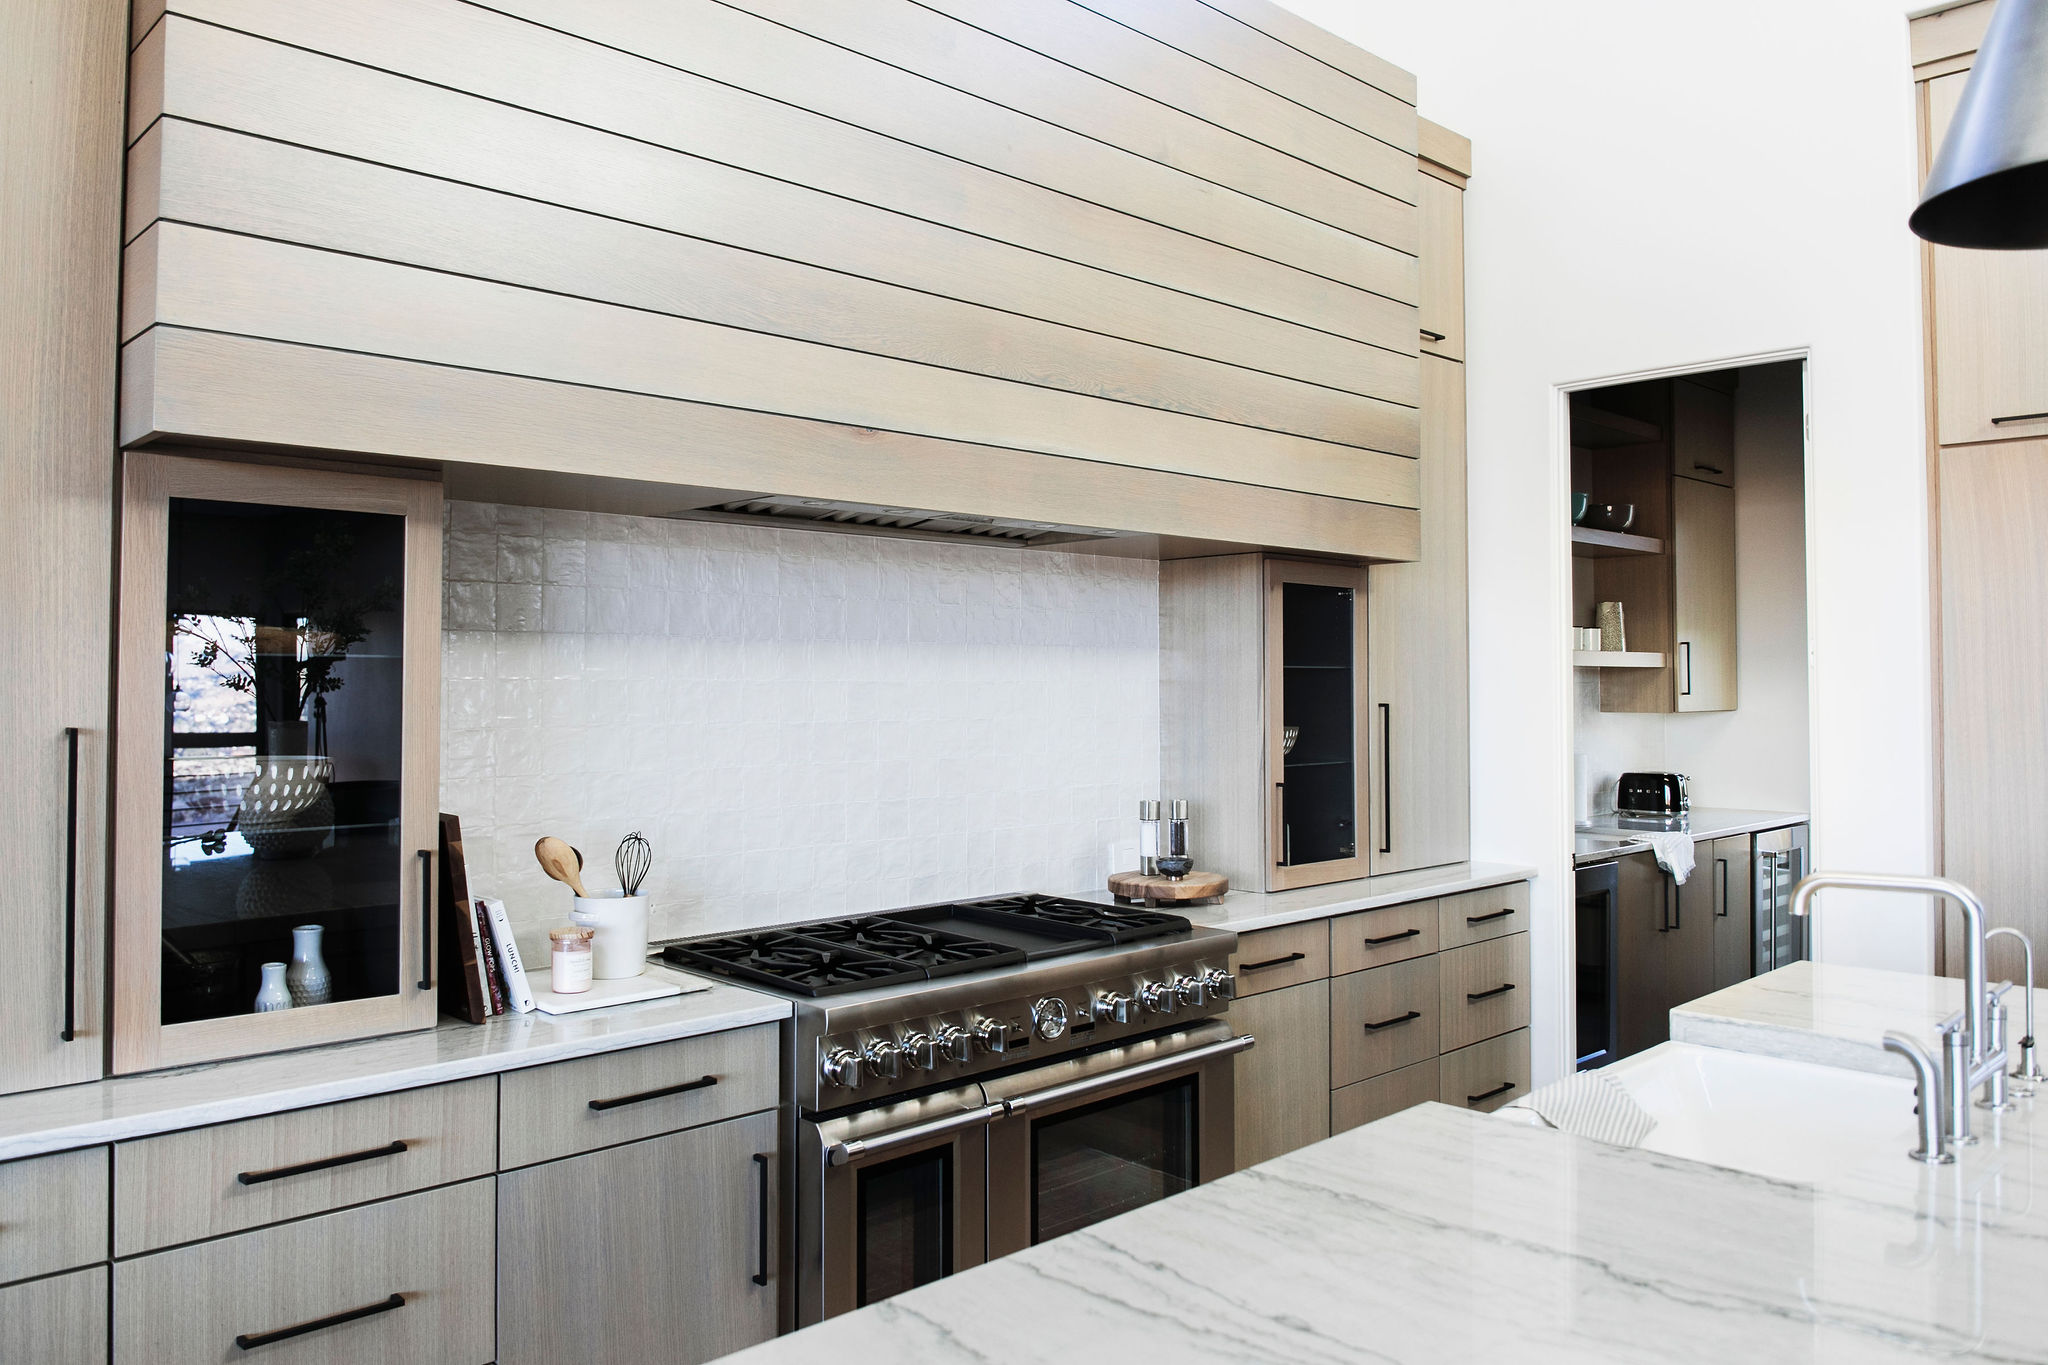
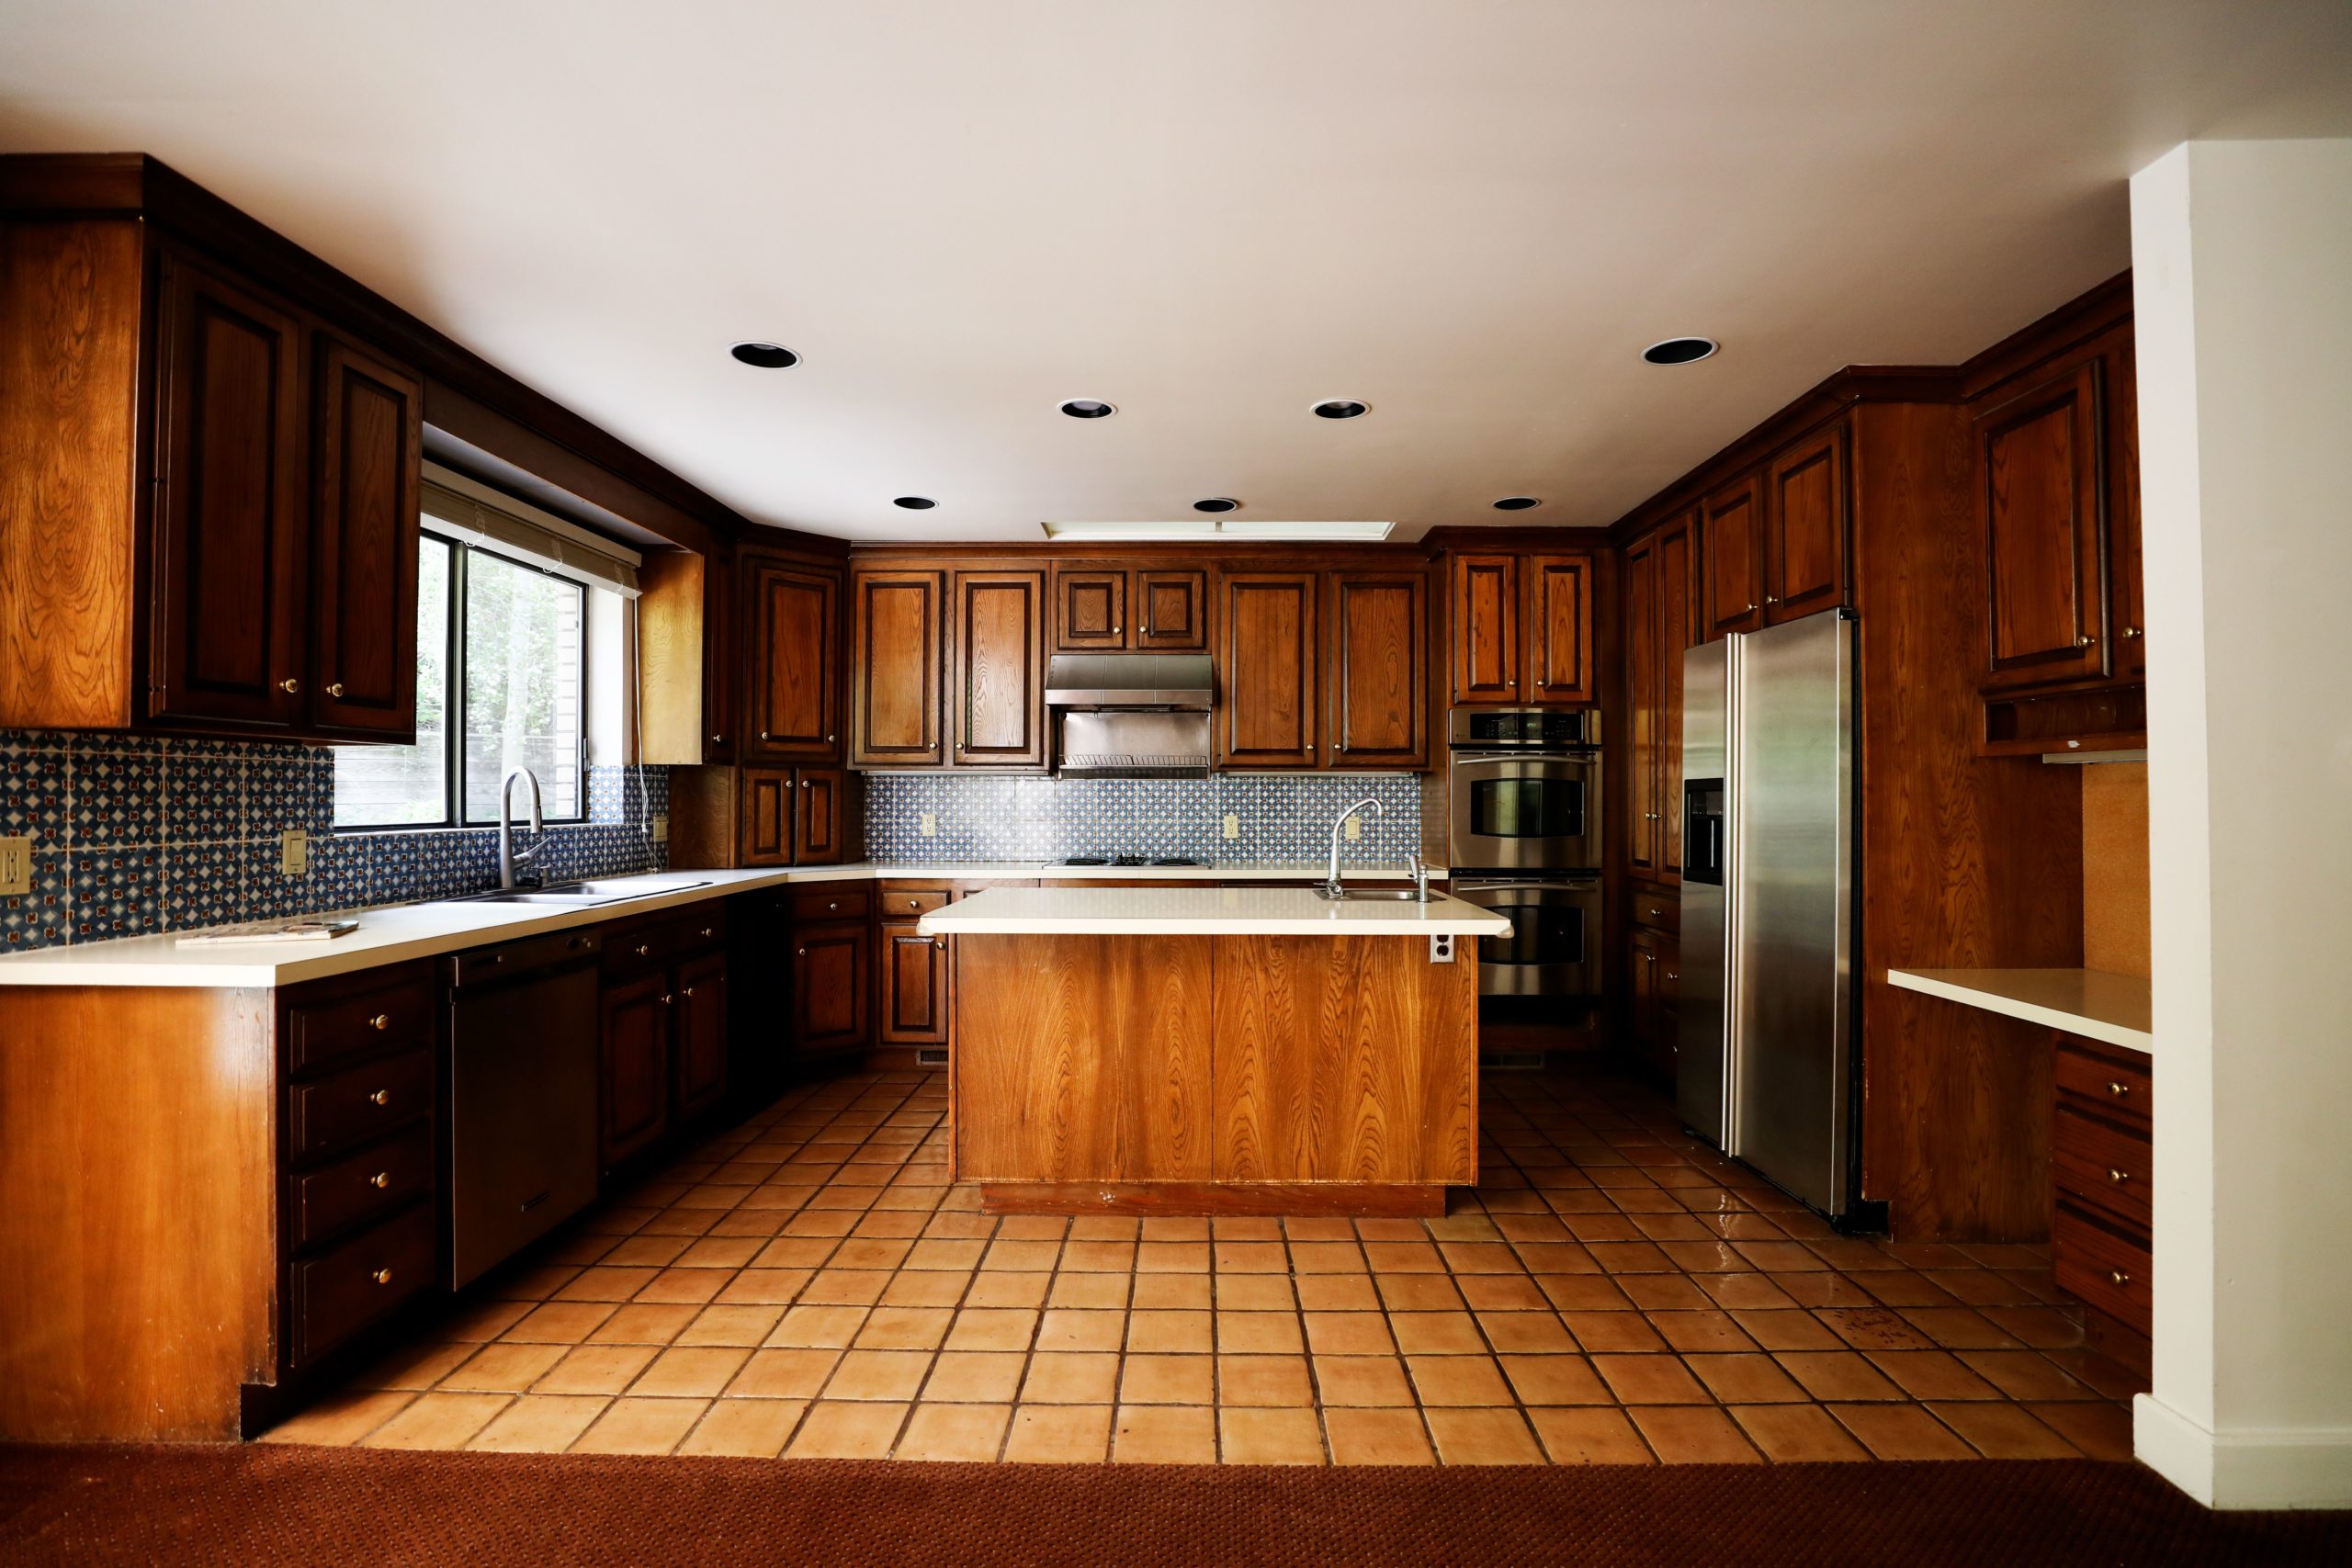
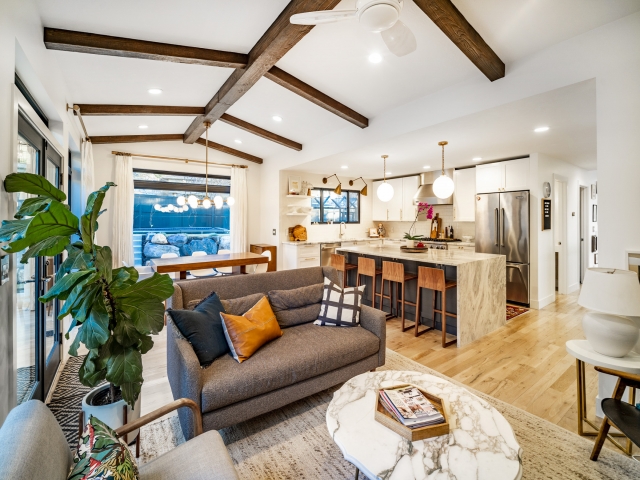
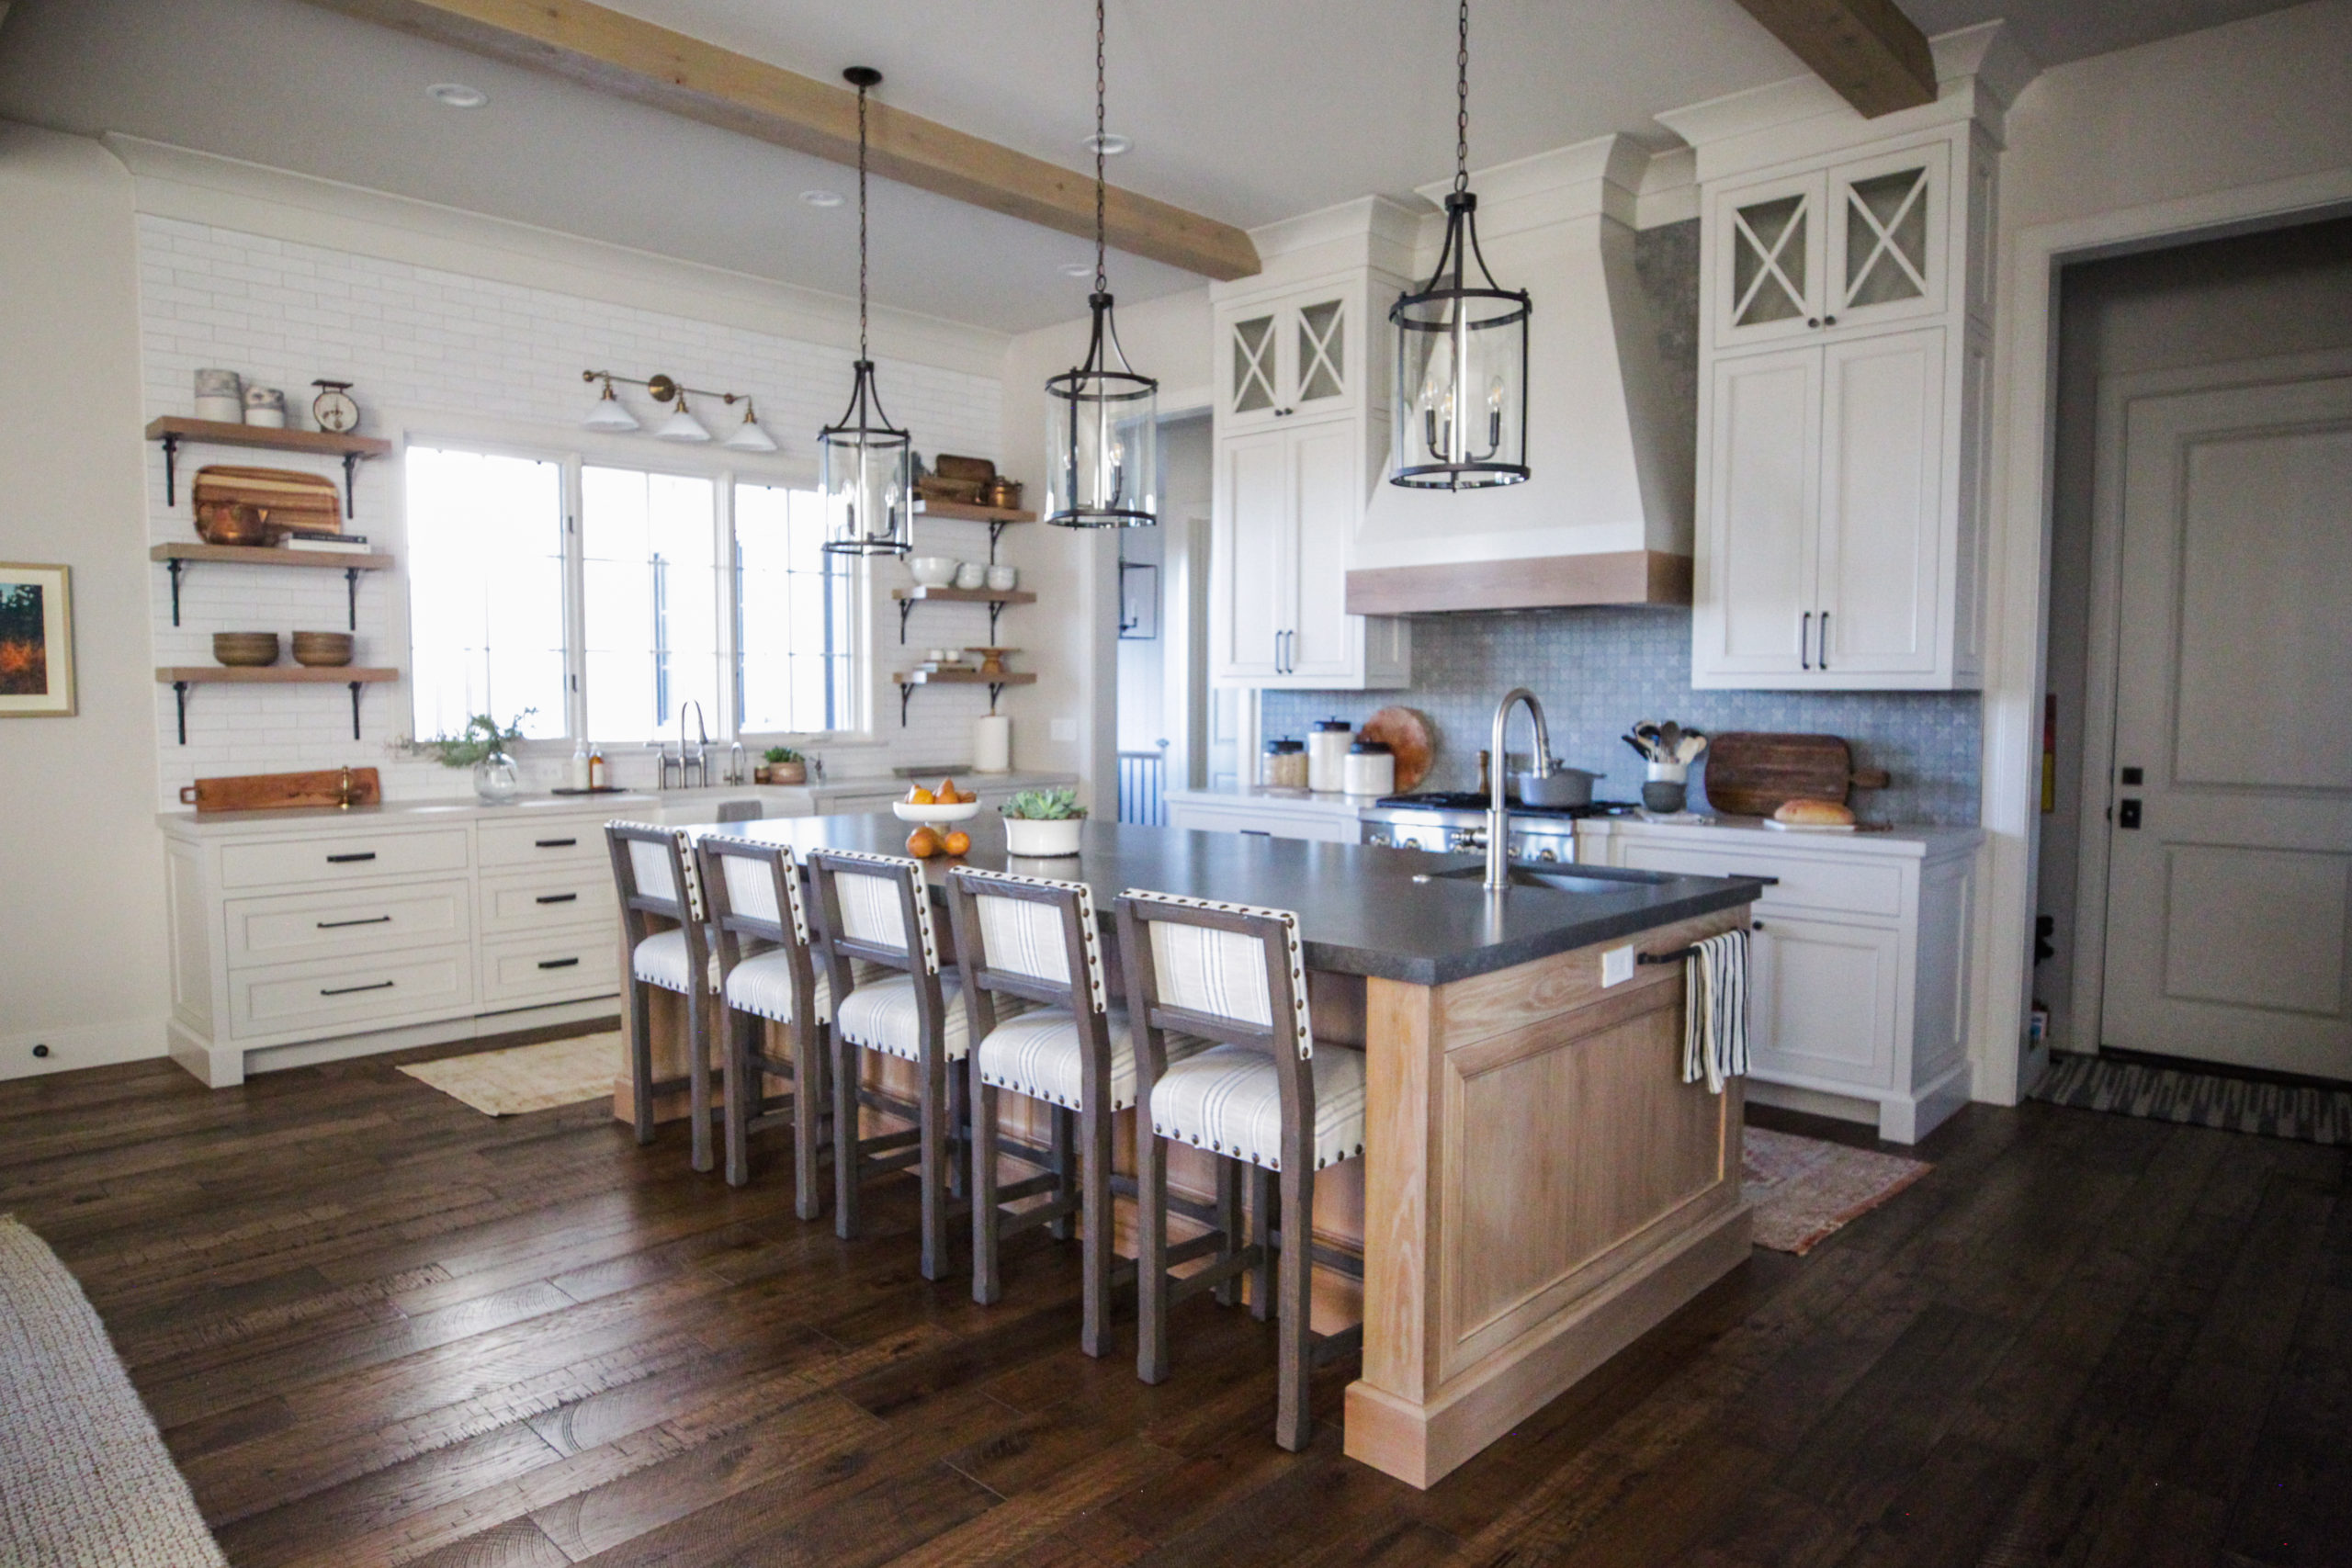
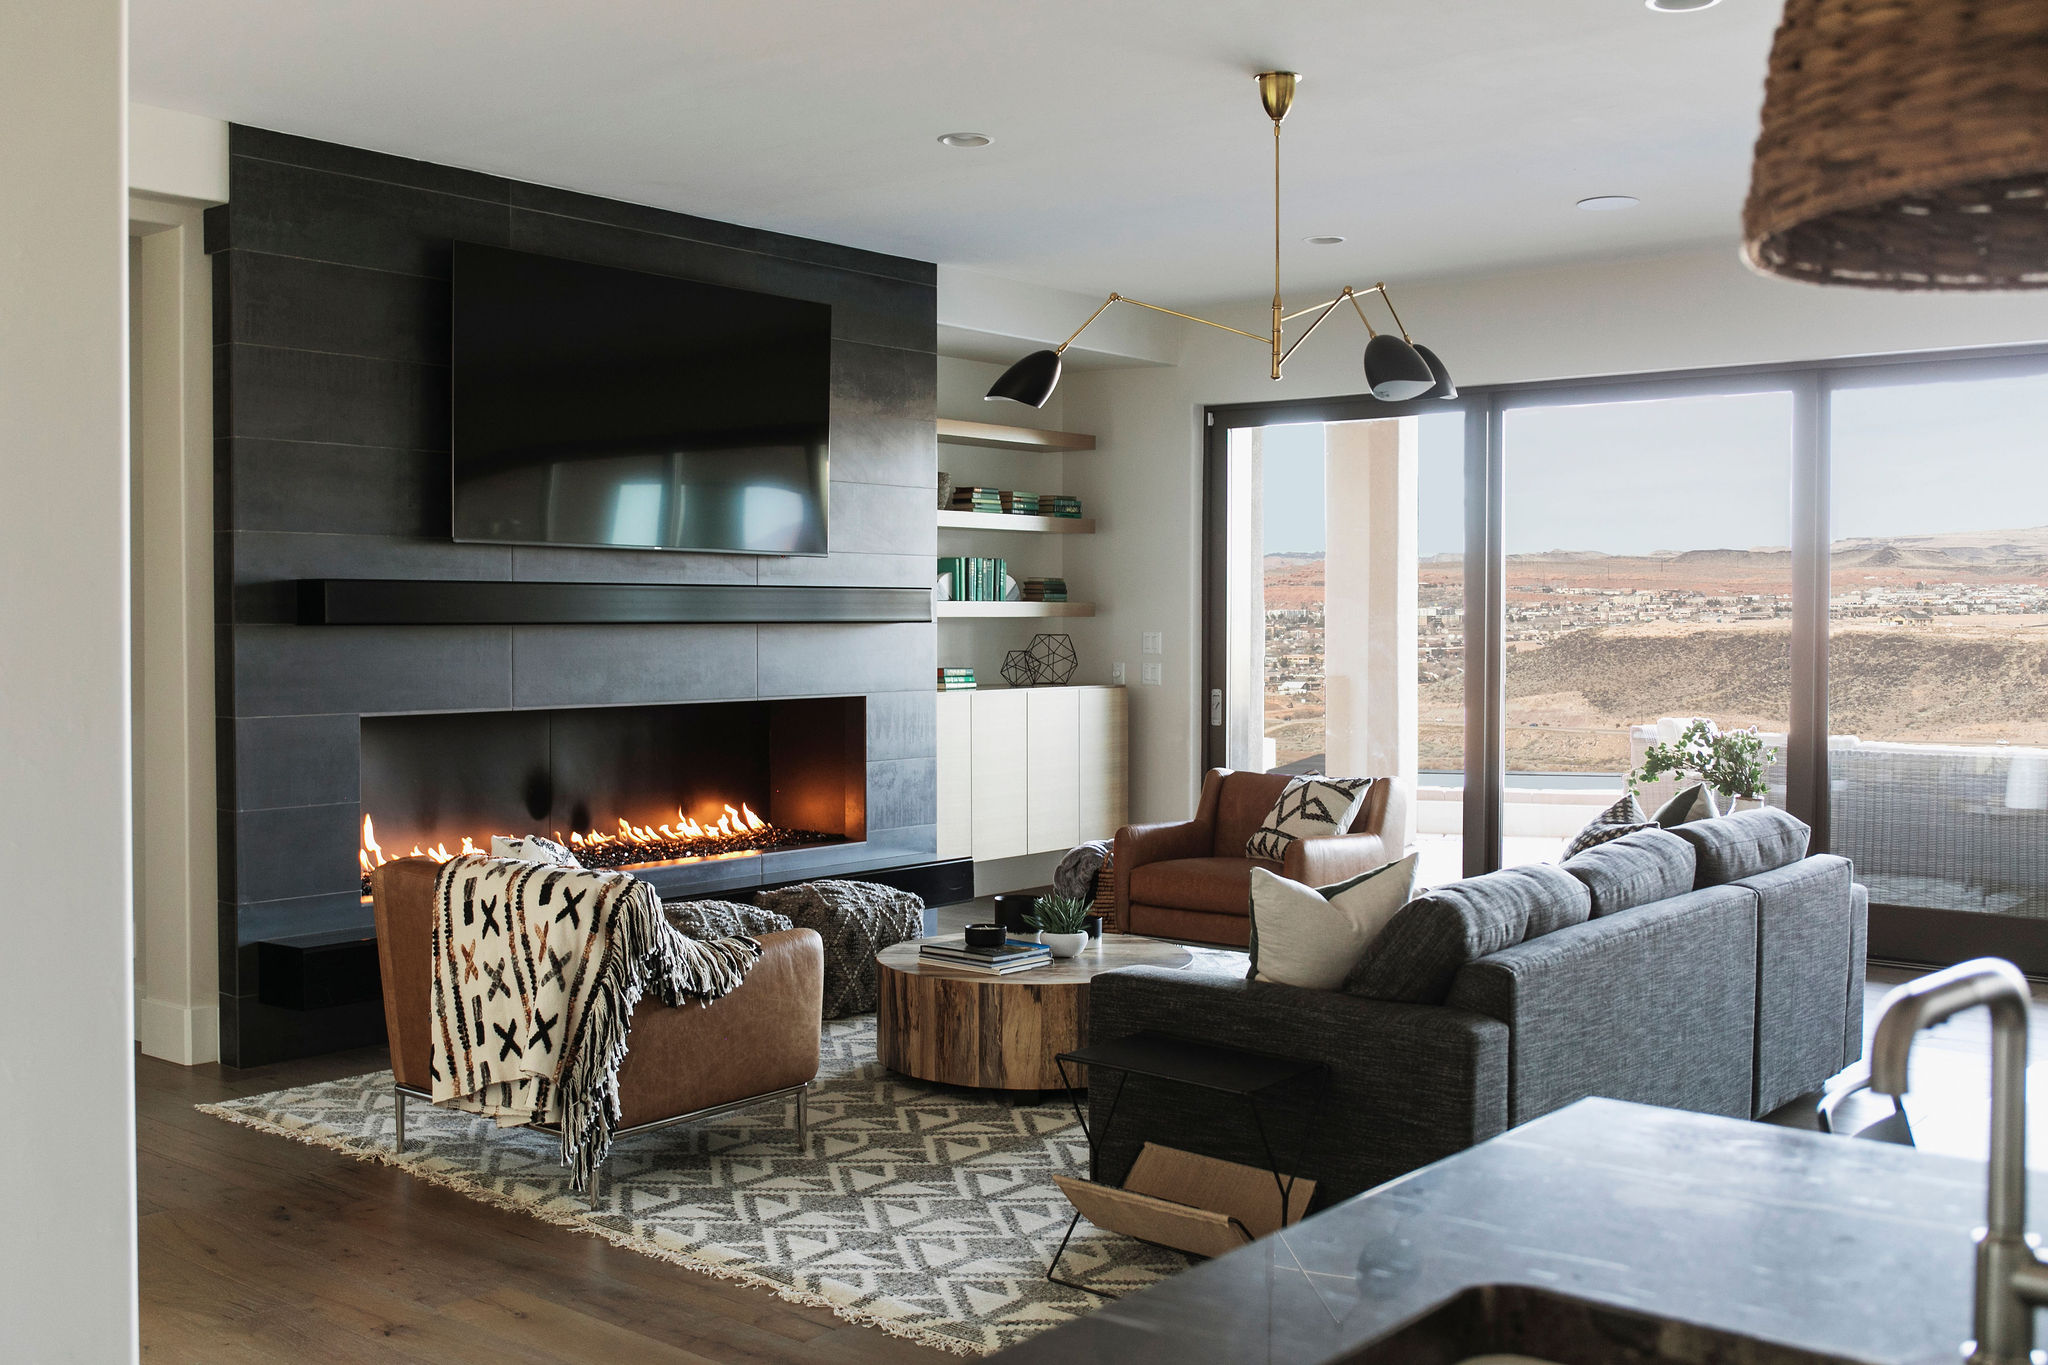
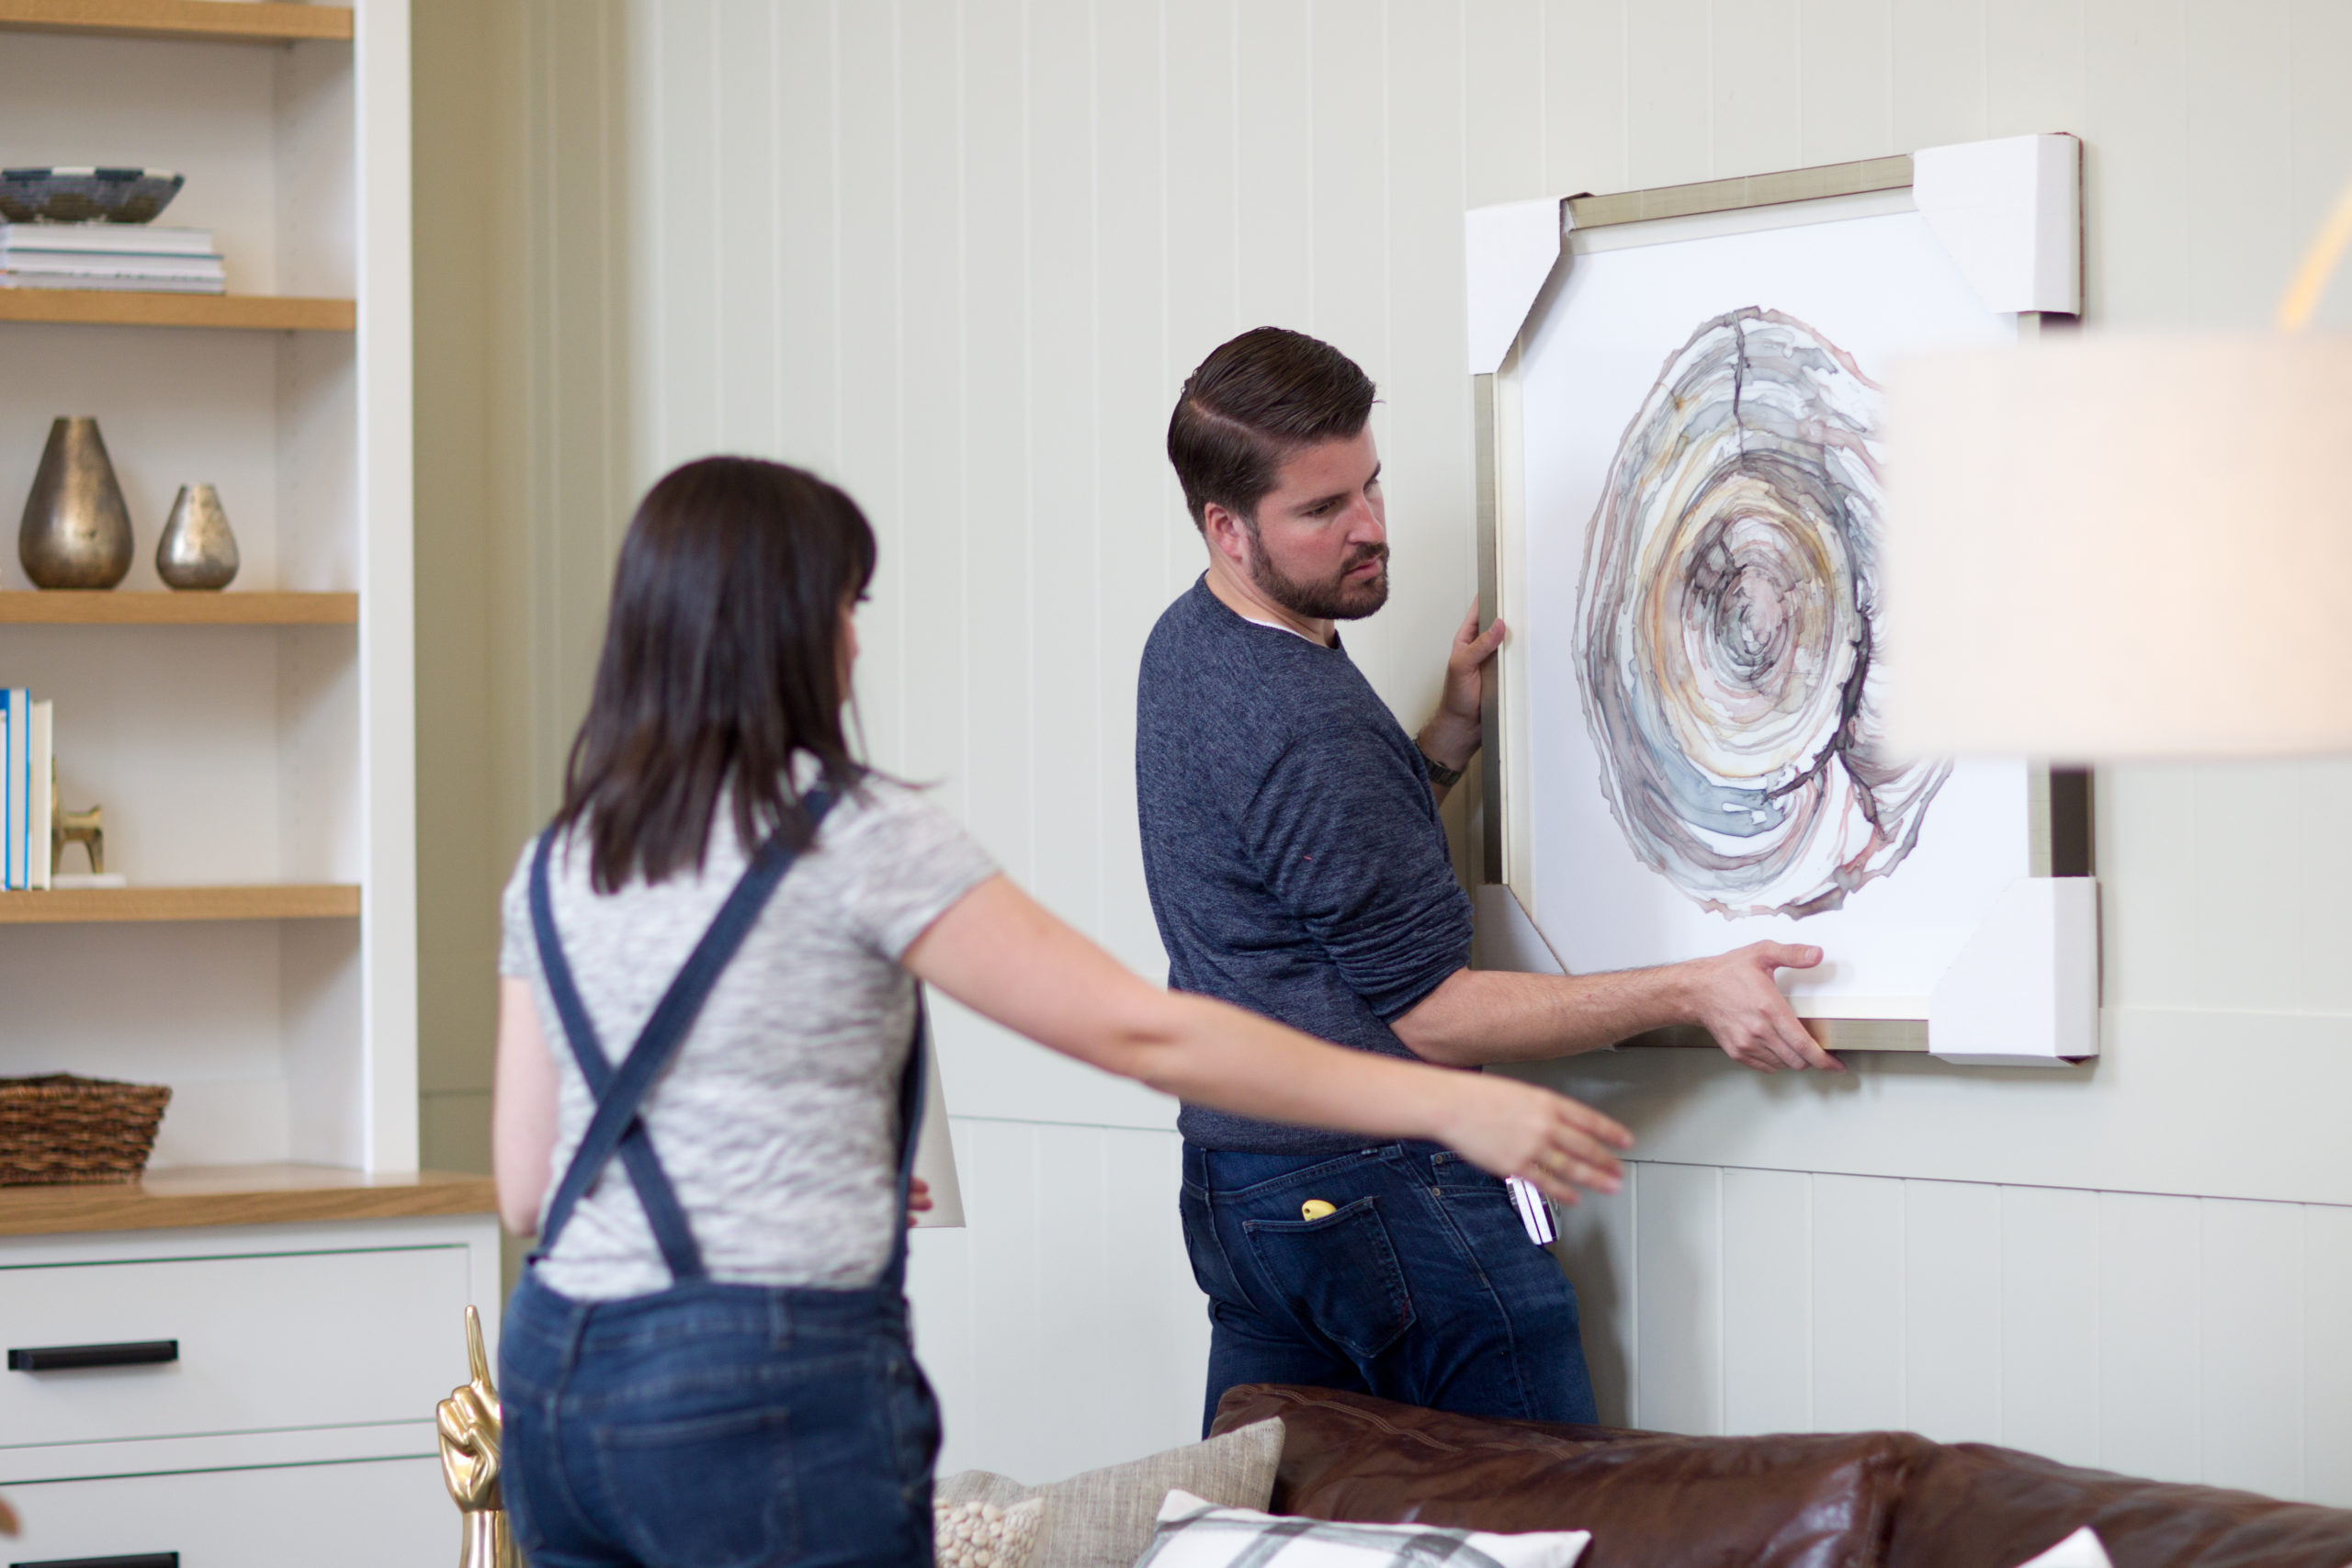
We have been making some major progress in the kitchen. It feels so good to get things moving in there! If you follow me on Instagram, you’ve probably seen some sneak peeks. Today I’m sharing a simple project that had a big impact– we added moulding to our kitchen island.
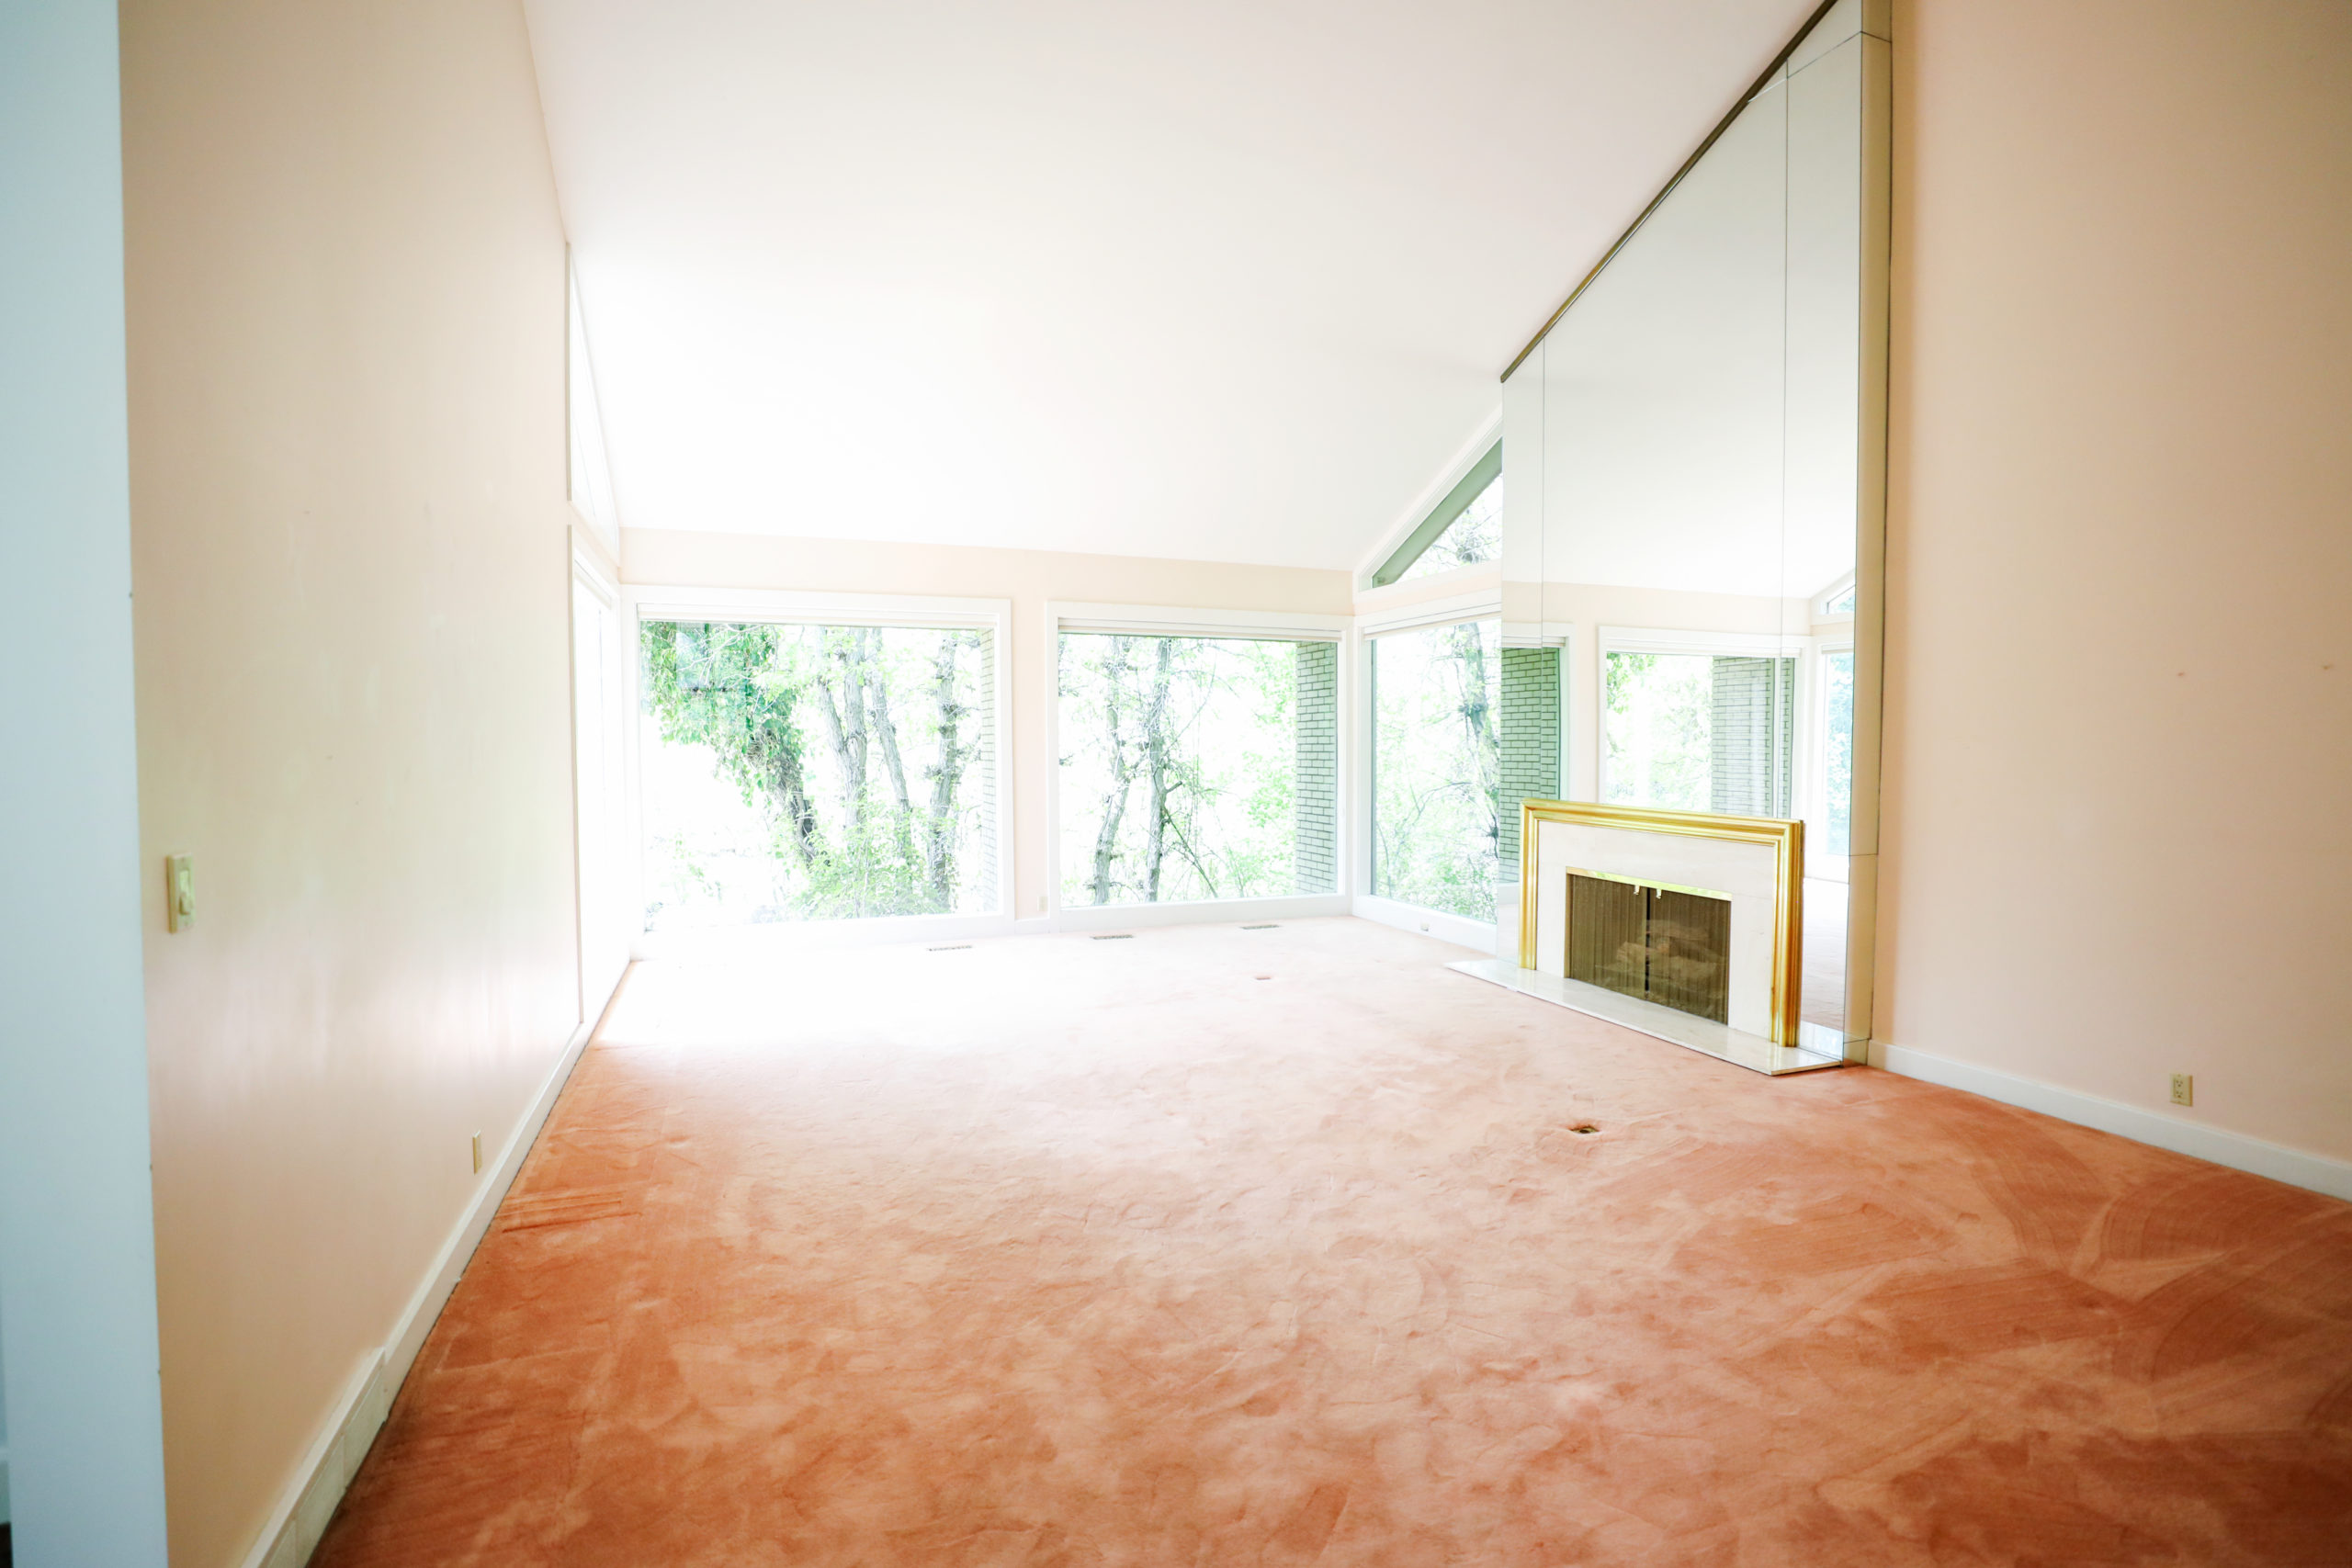
First, let’s look at some before photos. It was the definition of boring.
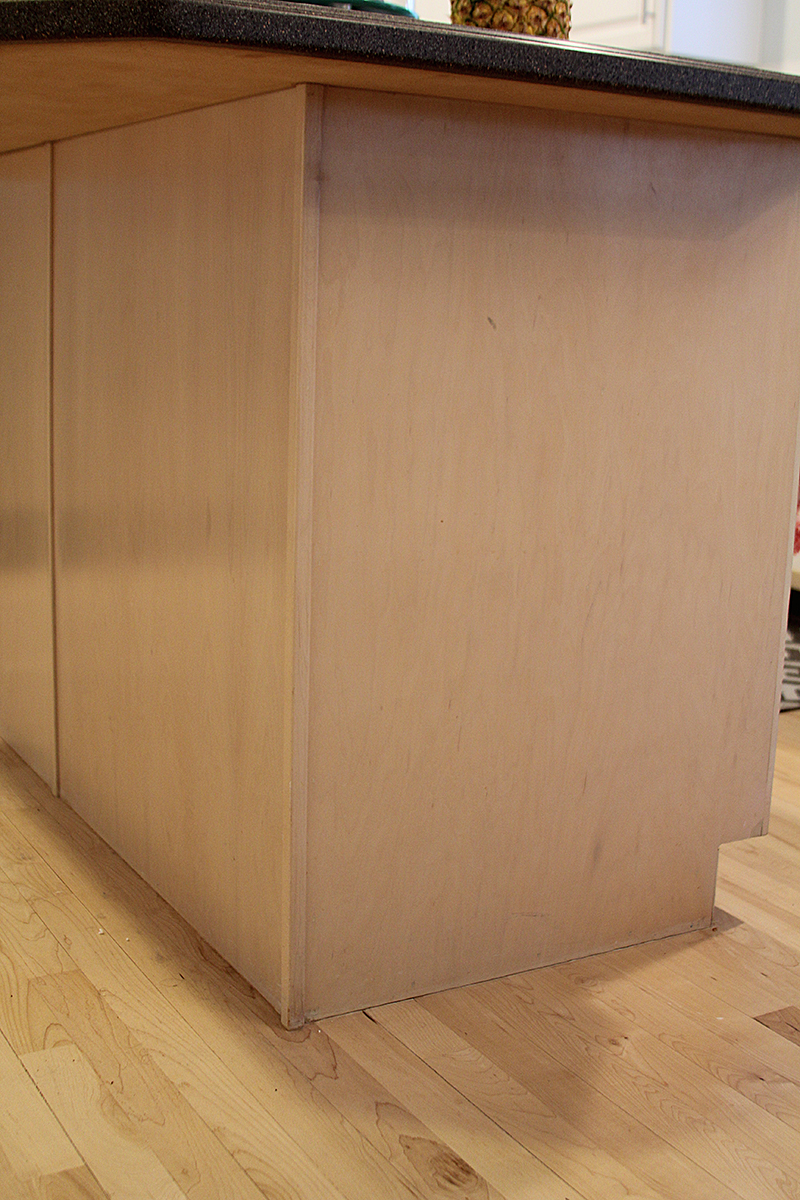
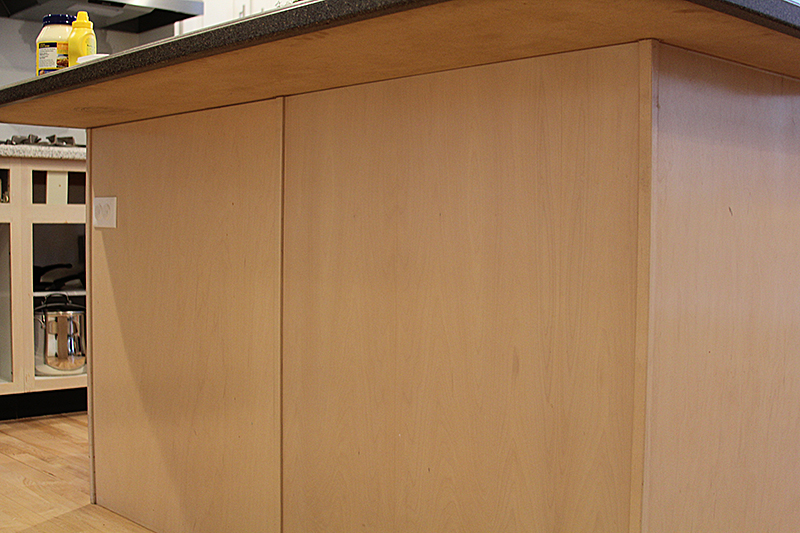
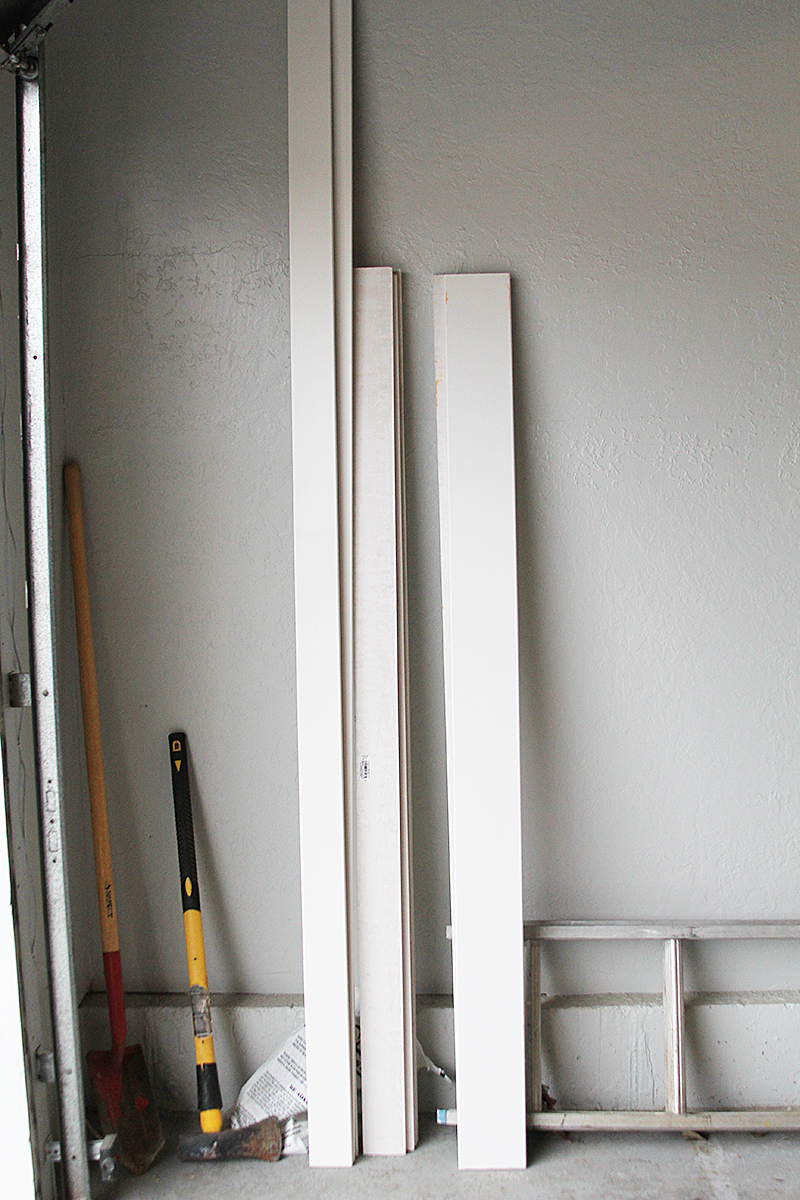
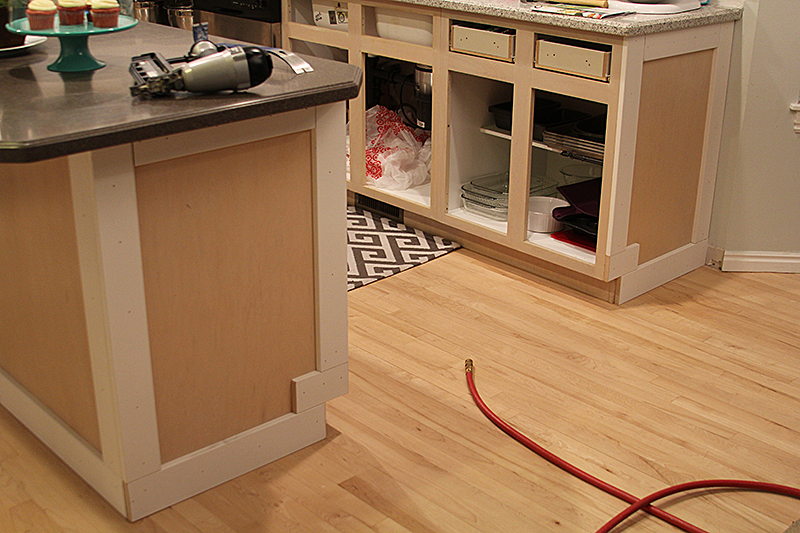
It blended in with the floor color, and had no interest or detail. We were ready to change that. First, we picked up the moulding. We used a combination of base boards and flat moulding.
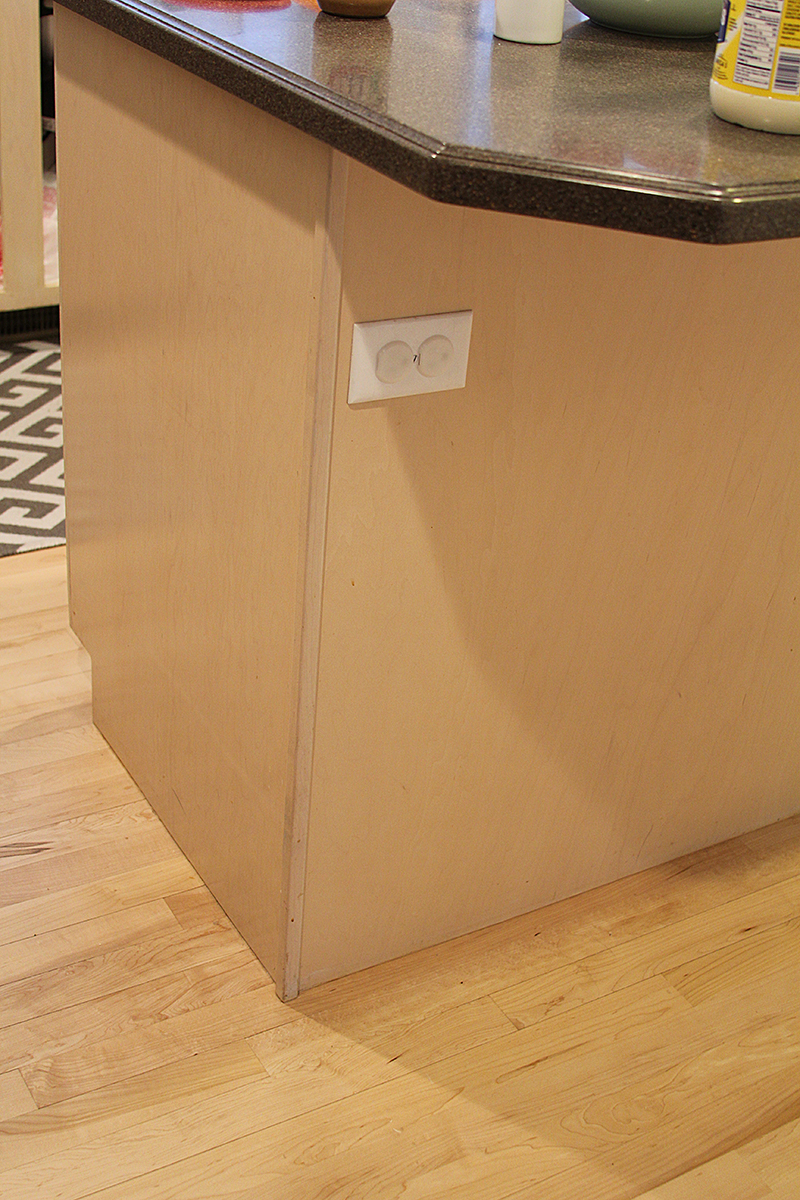
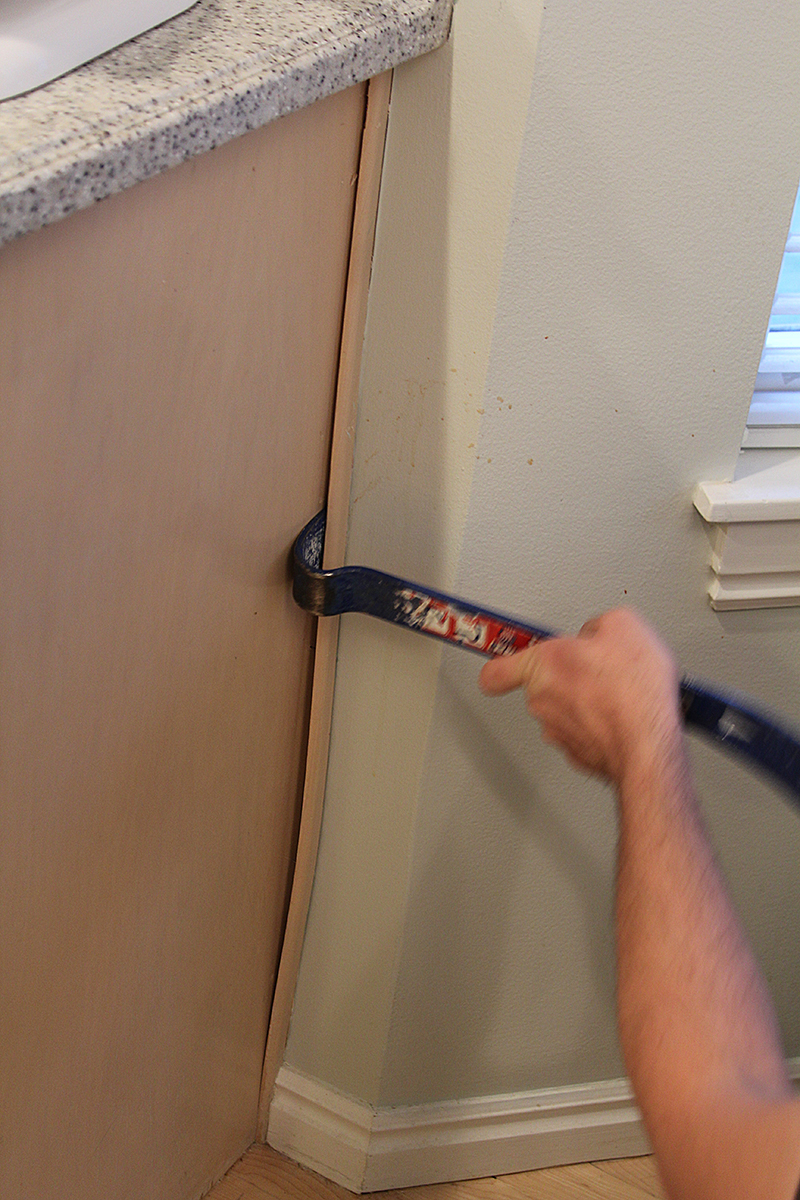
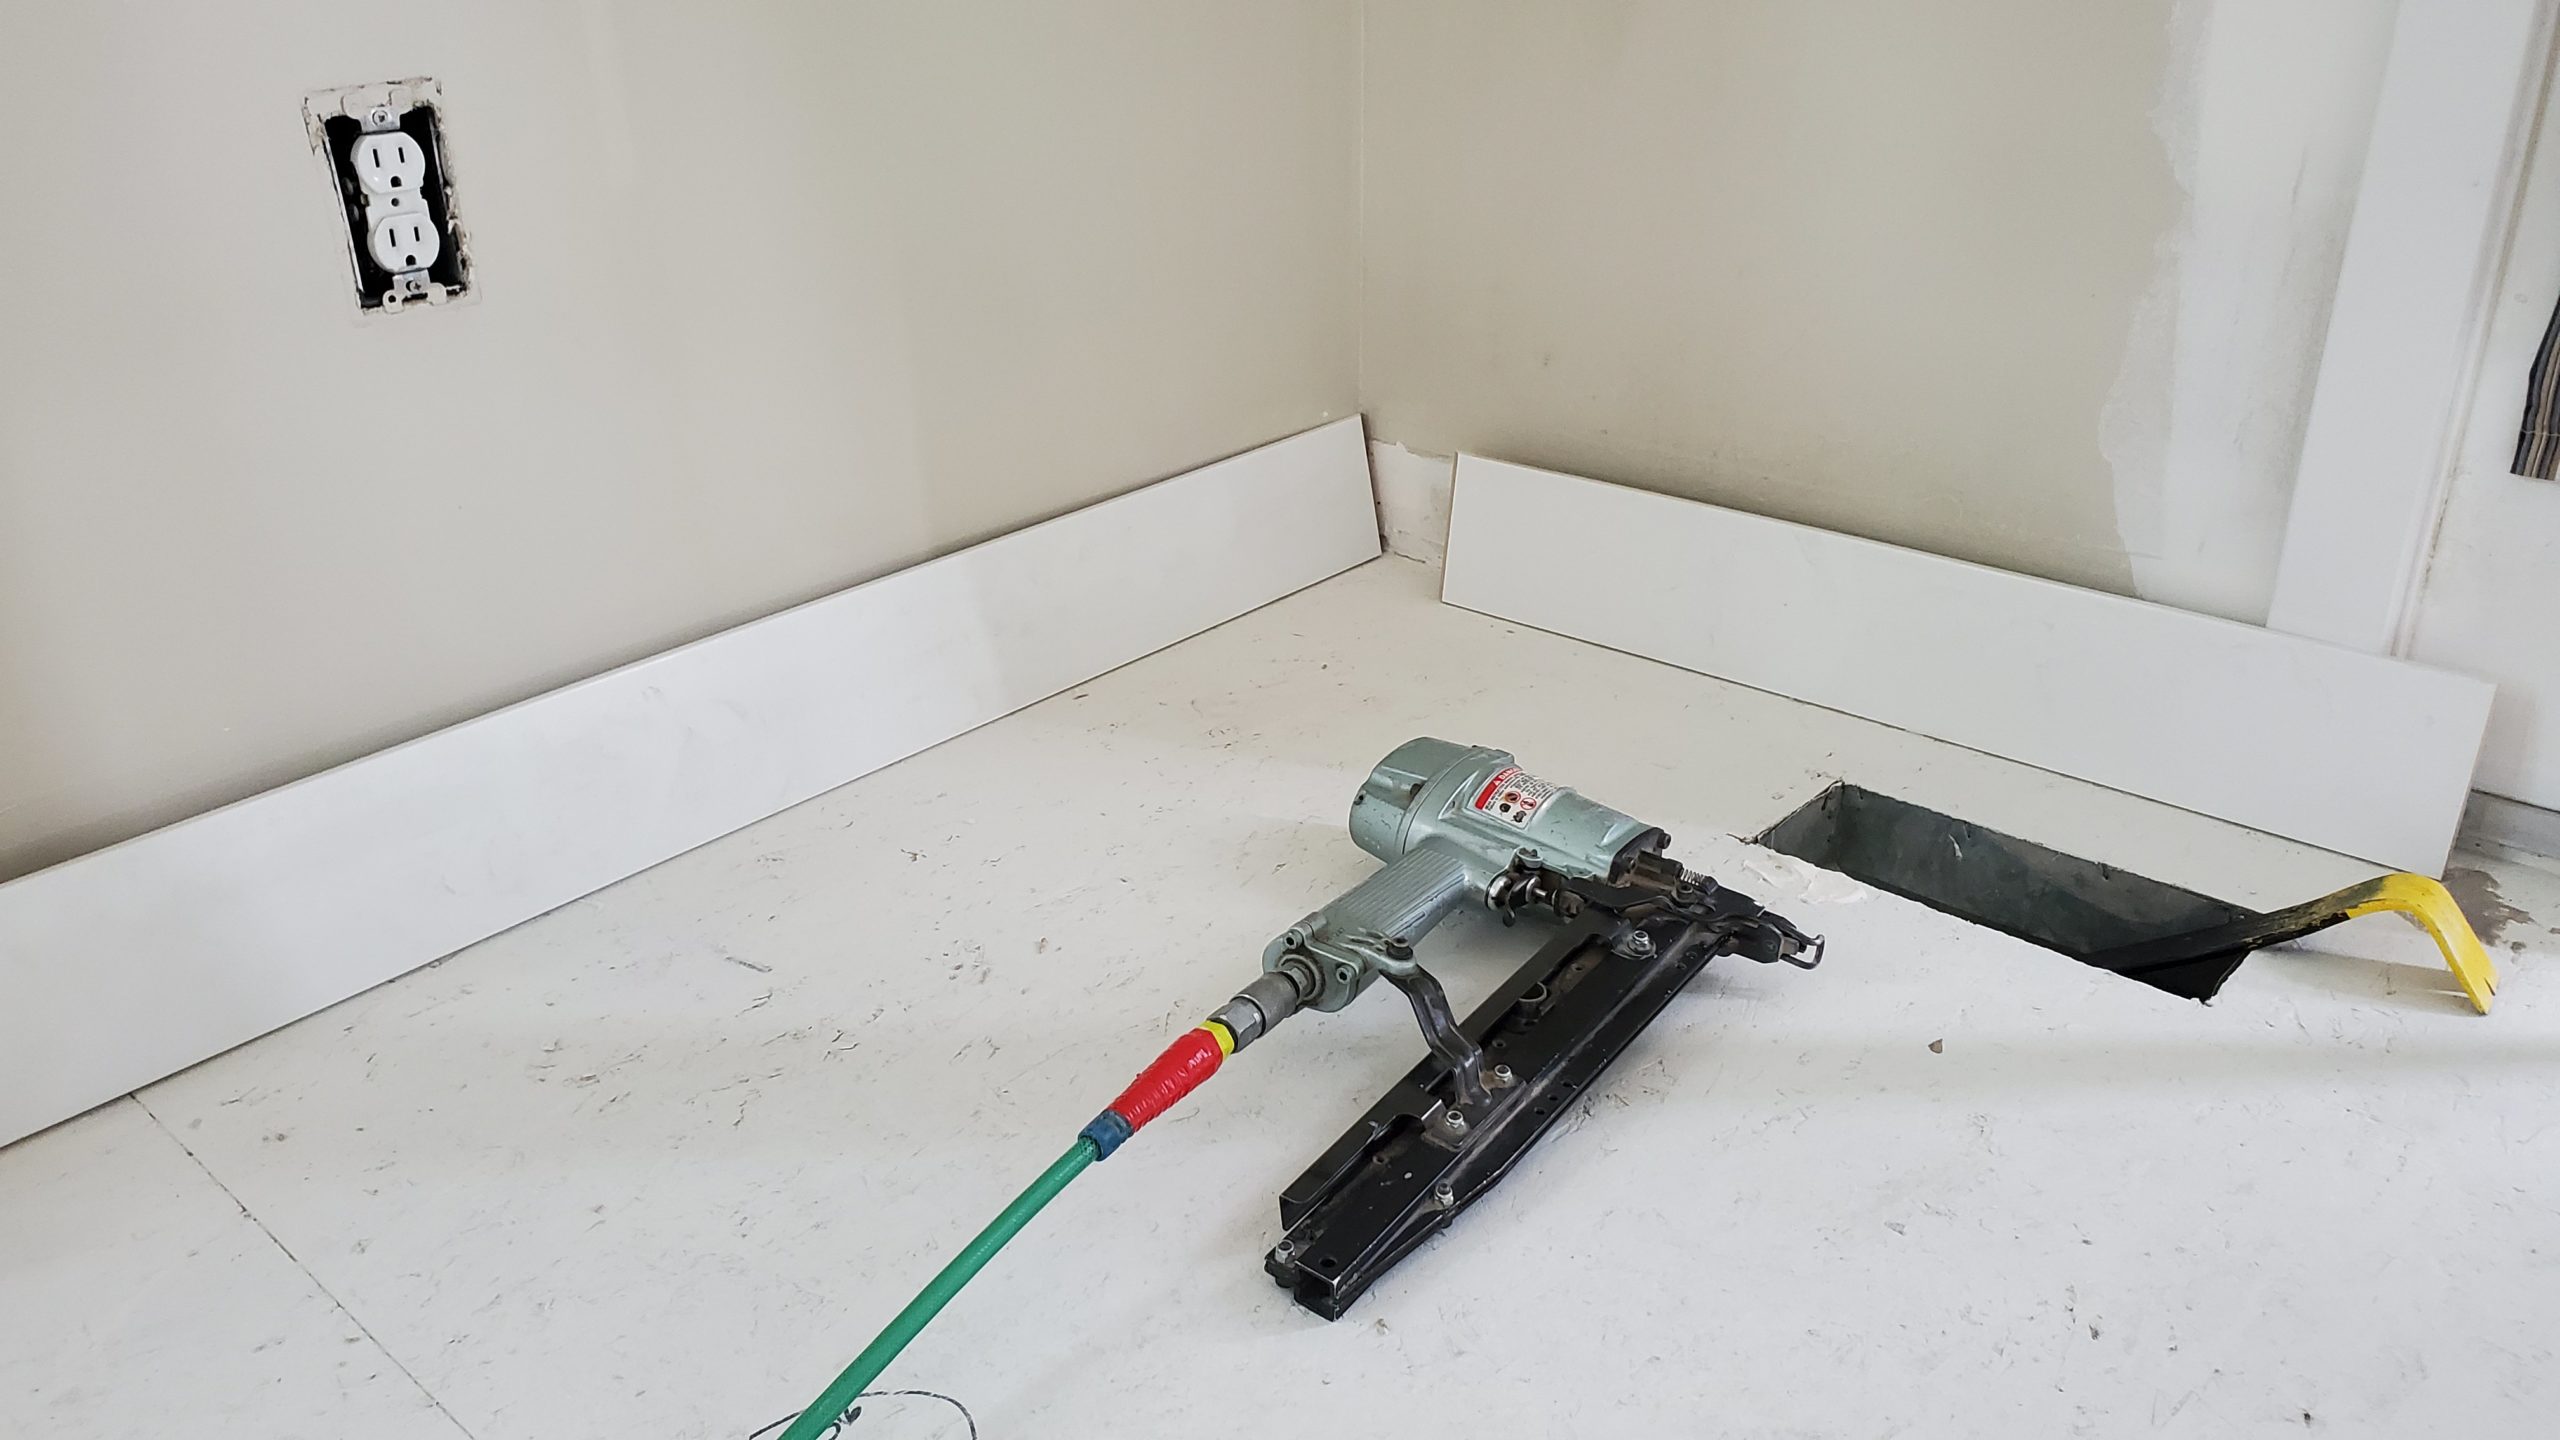
Next, we removed the cheap filler strips. They were thin and had a sort of rounded side.
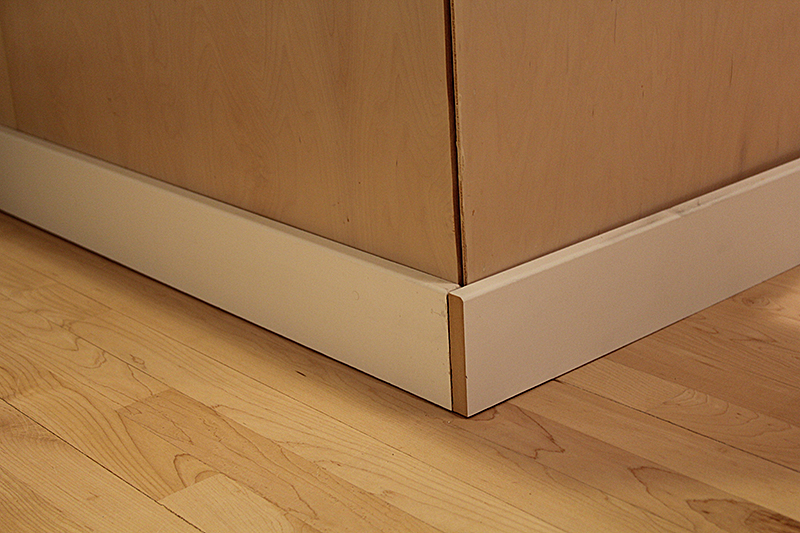
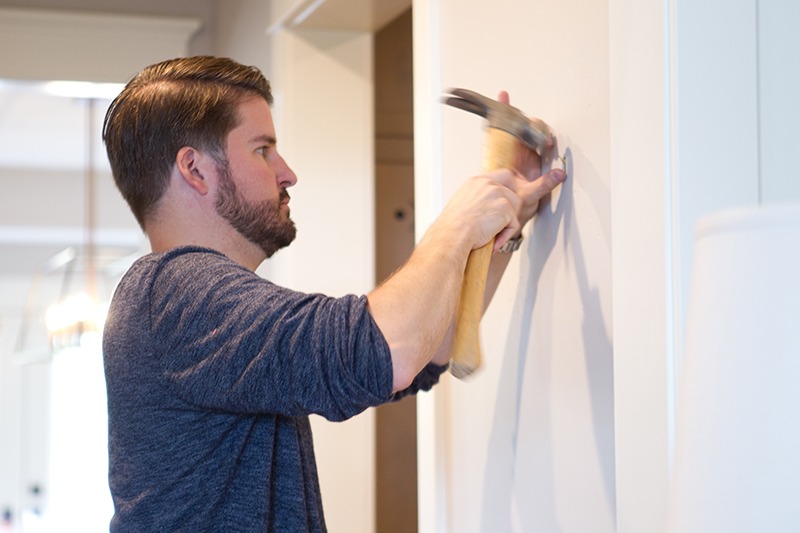
Once everything was off, it was time to put down the new moulding. We built a frame, with the wider pieces on the bottom.

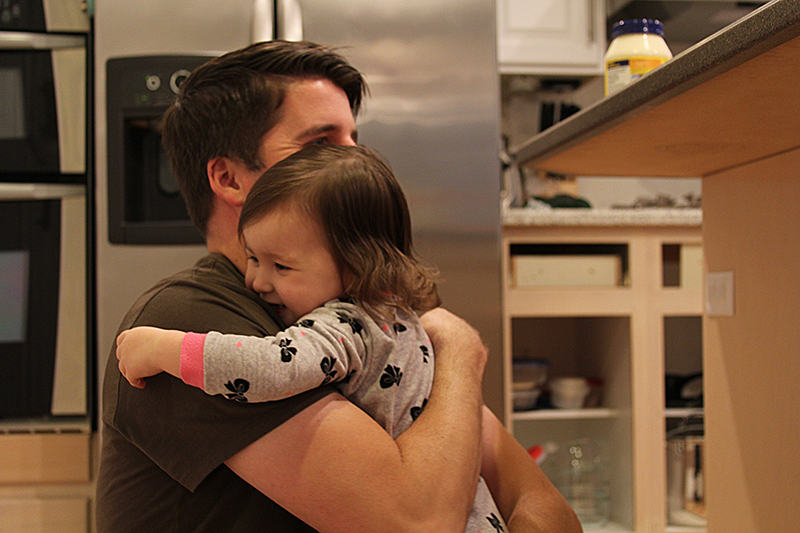
Quick toddler hug of encouragement before bedtime, then back to work on the moulding frame.
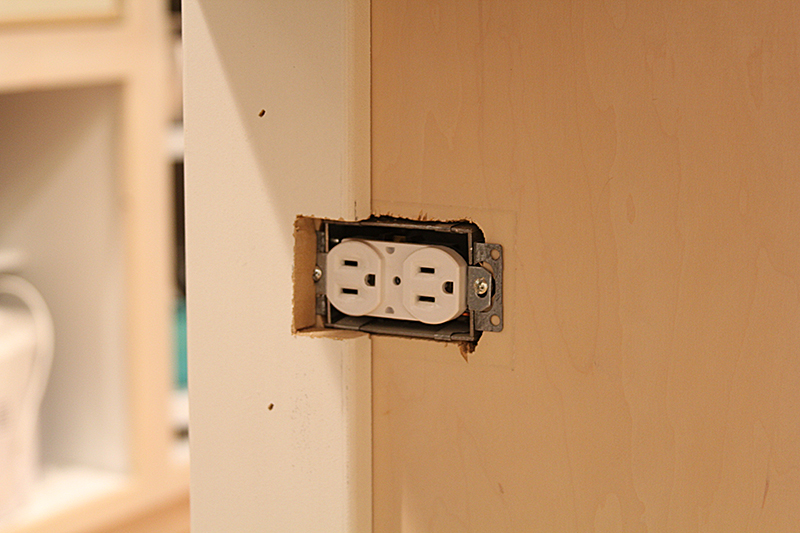
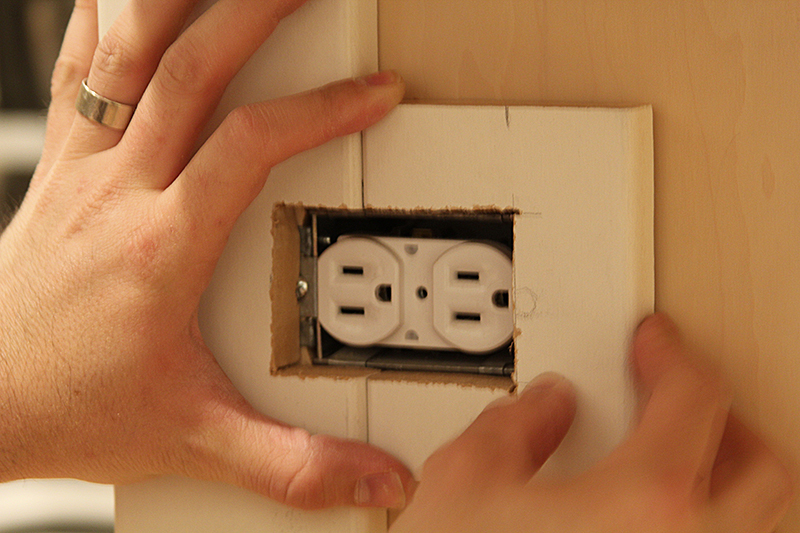
To get around the plugs, we cut a notch out of the moulding, then cut a small piece, also with a notch, to make a little frame around it.

Once the moulding was all in place, we used spackle to fill in the nail holes and seams. Then we used an electric sander to sand it all down. And in the process added a thick layer of dust everywhere. Sigh.
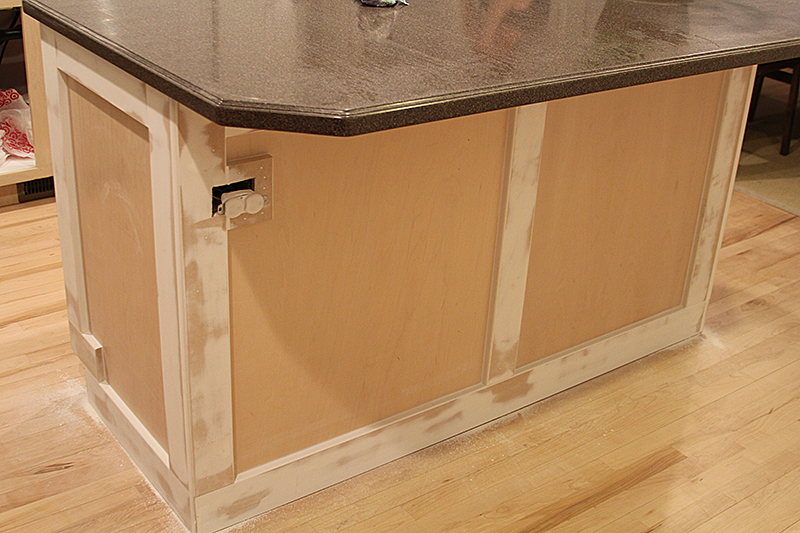
We wiped it all down with a towel, then I primed it using a flat Zinnser primer – it’s important to prime the moldings before you paint, so the paint ends up with consistent sheen. I then painted two coats using the same paint we used on our cabinets: Benjamin Moore Advance. I brushed the moulding, then rolled as much as I could of the inside, and brushed the corners. If you move quickly, and avoid letting the paint dry before one complete coat is done, you’ll avoid brush strokes and the paint will smooth out and give a sprayed look.

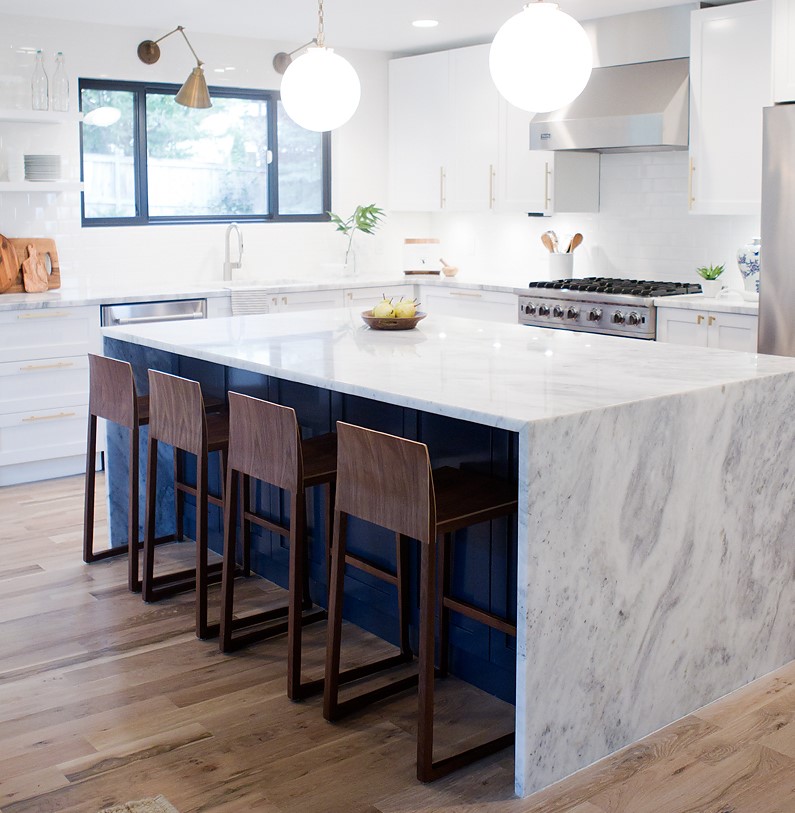
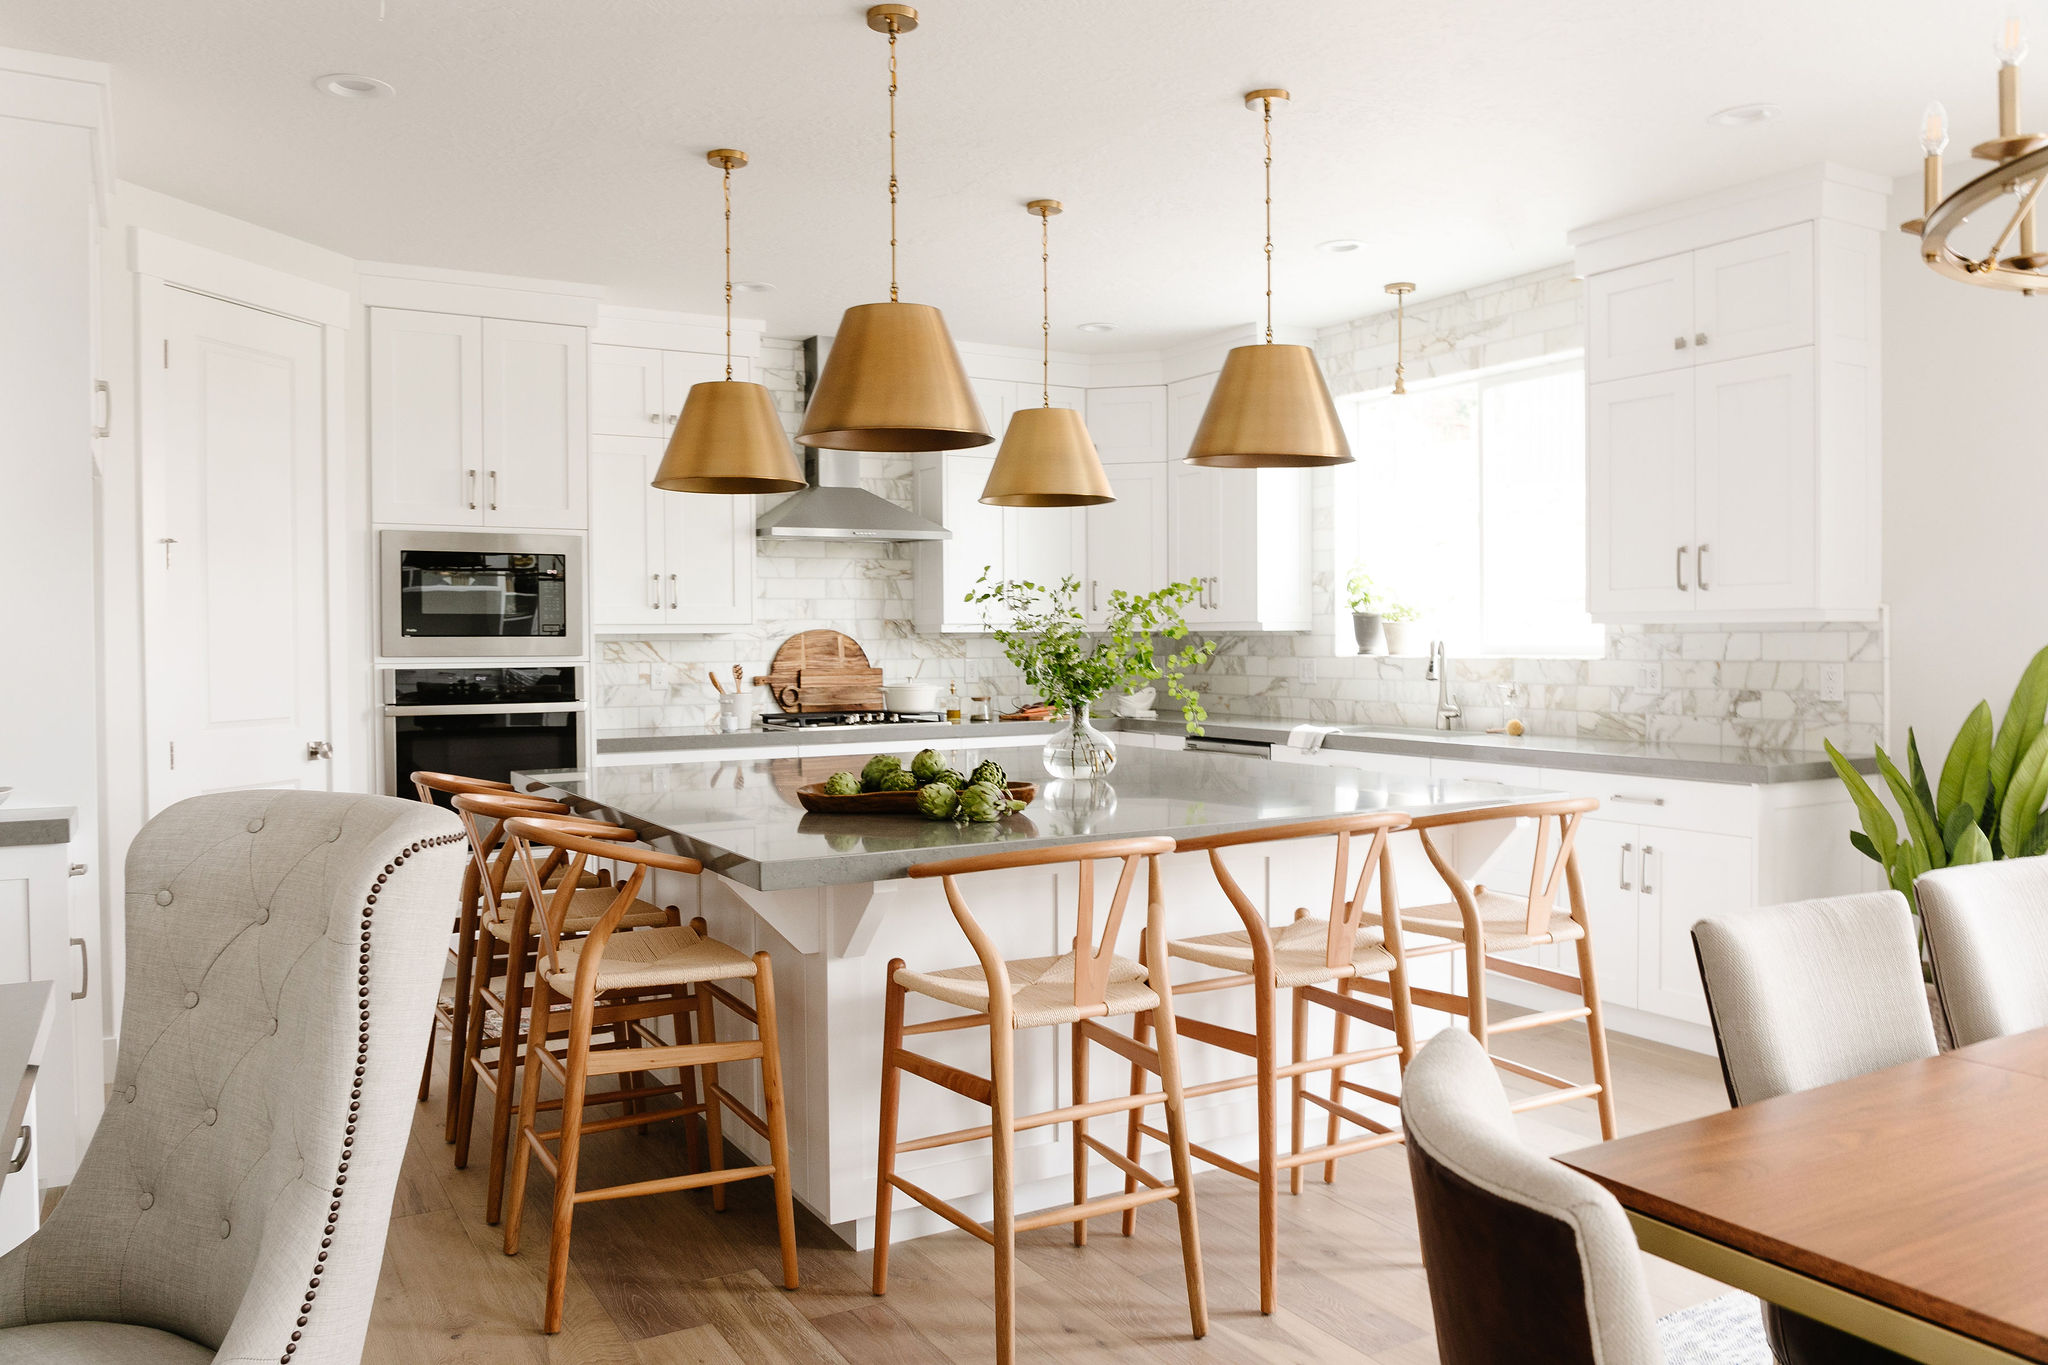
Check out the finished product:
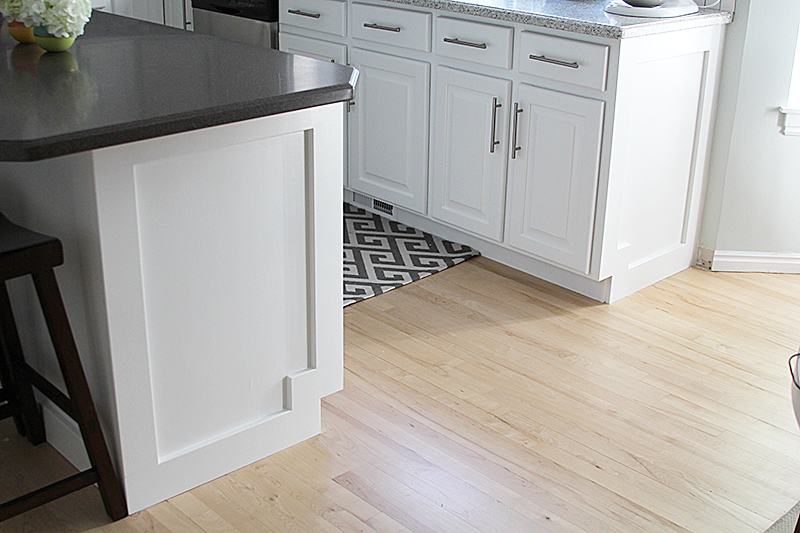
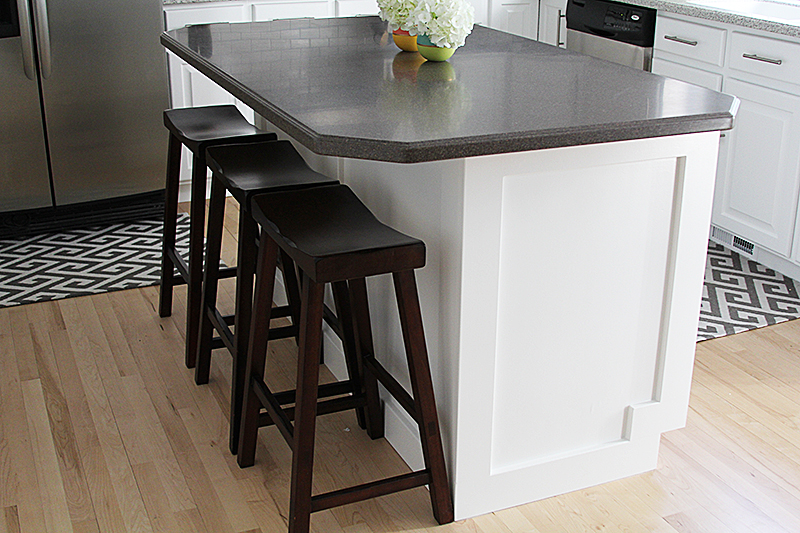
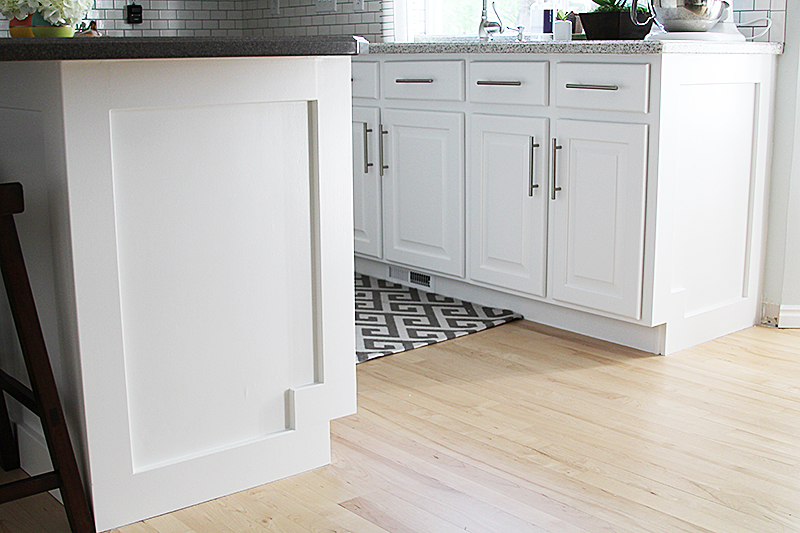
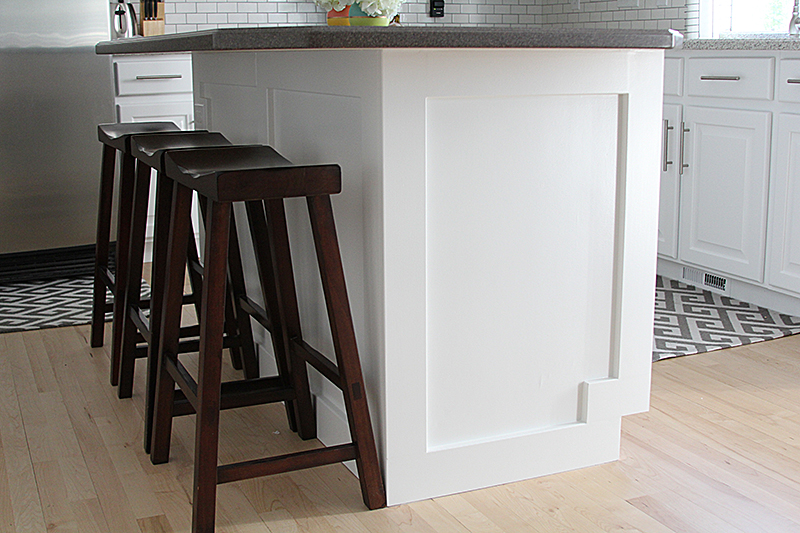
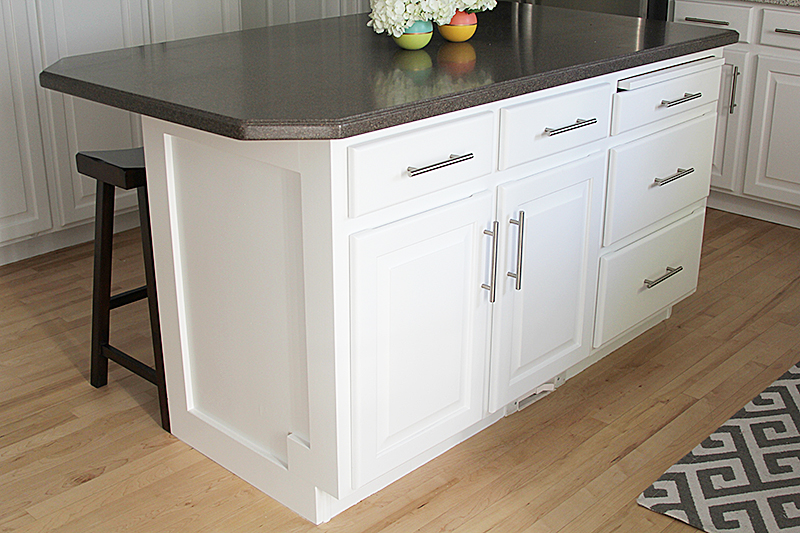
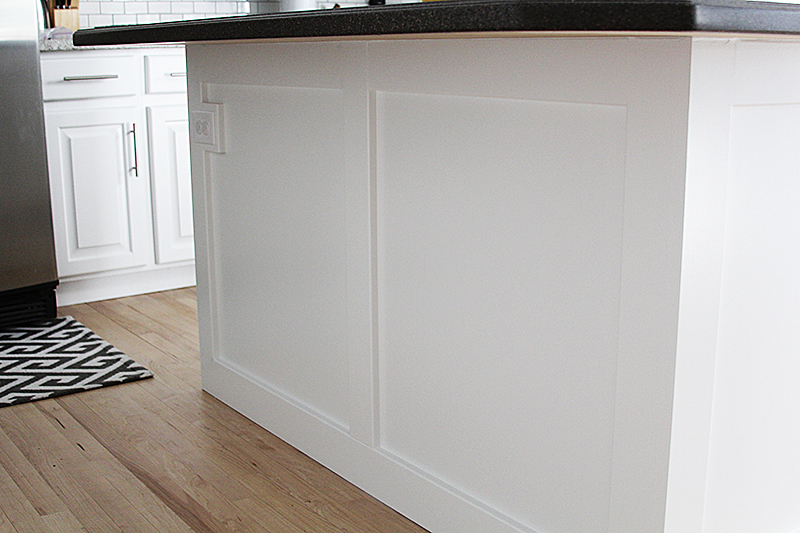
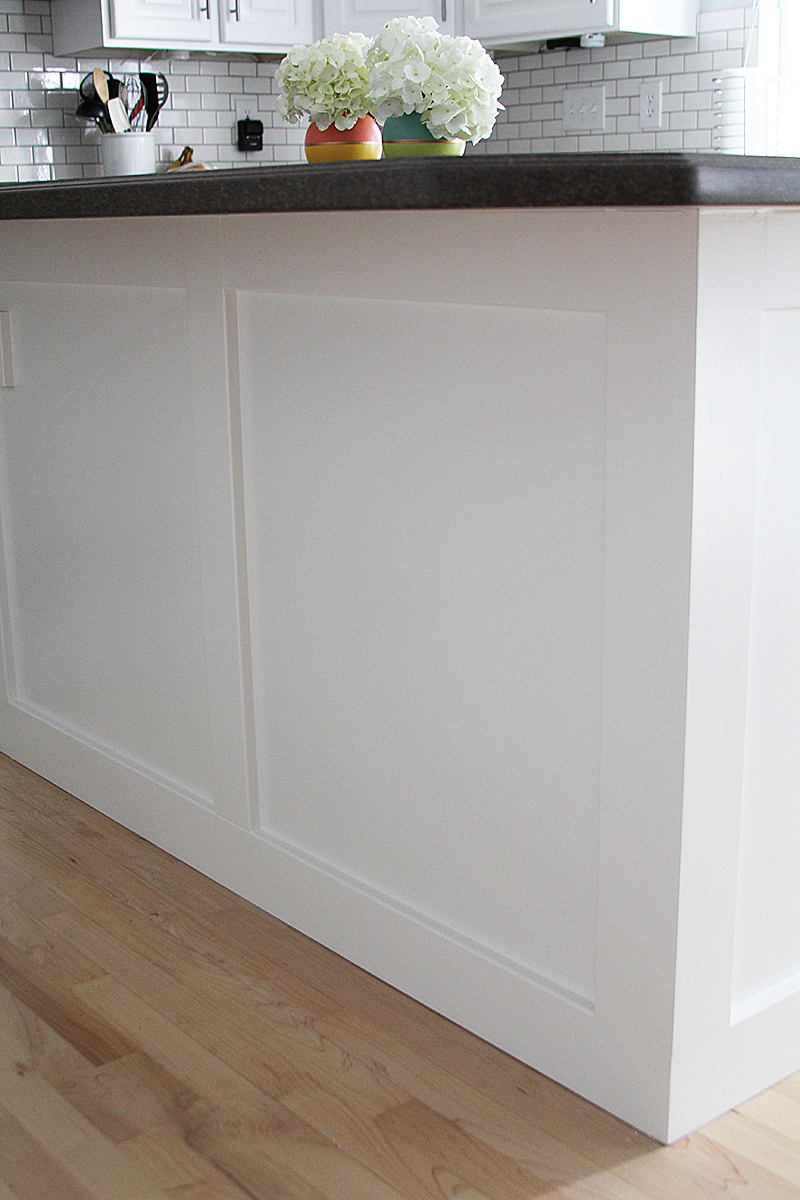
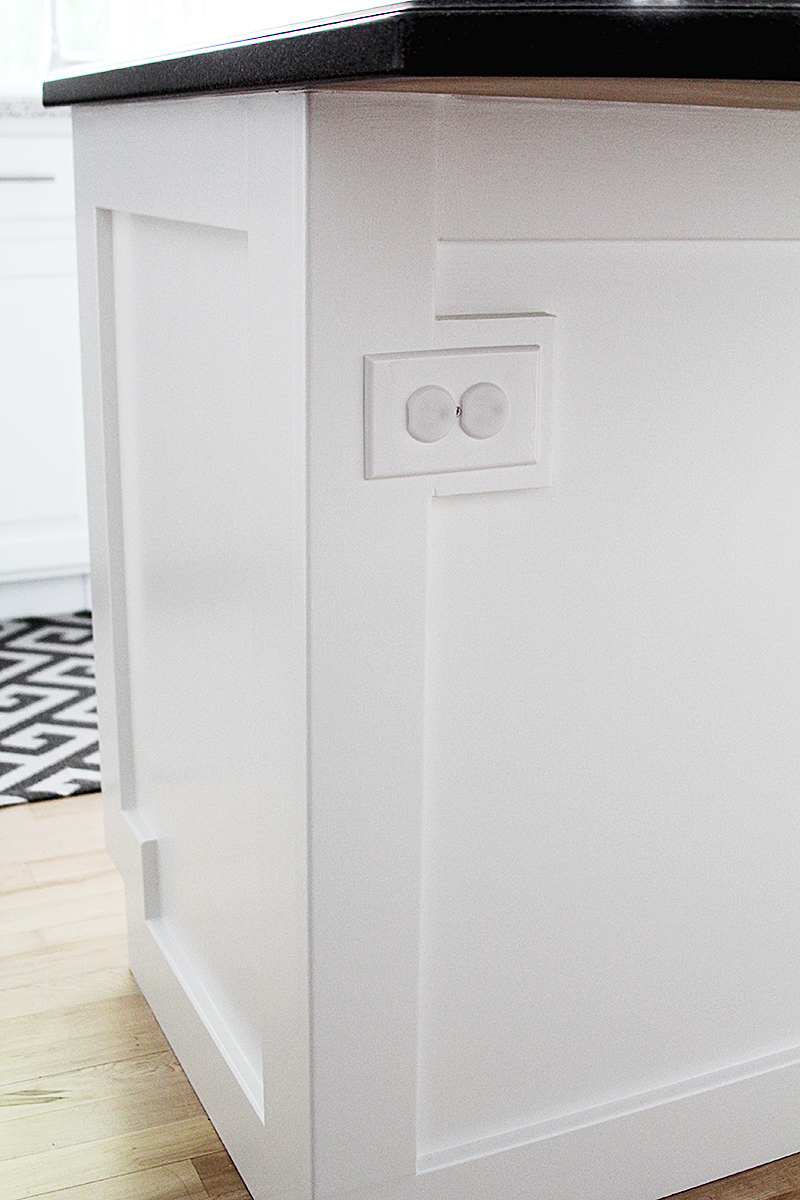
What a big impact for a relatively small project! It’s amazing how moulding can make a room look so much more finished and custom.
You may have caught a glimpse of the new backslash… it’s finished! Feels and looks sooooo good. Sharing all the details tomorrow!
Happy Monday,

Leave a Reply


back to top
@jenniferstagg
shop

We're a full-service design firm and home furnishings shop built around the philosophy that a well-designed home should be beautiful, personal, cohesive, and complete. We think home is the most important place on the planet and when you live in a home that is perfectly you, it changes your life. Don't believe us? Stick around. We're confident we'll change your mind.
hello there!
Follow Along
@jenniferstagg
Hey, let's be friends
Exclusive projects, discounts, and extra goodies all in your inbox. And don’t worry- your email is for our eyes only.

Looks great Jen! It adds such a polished and custom feel to it. 🙂
I love it! Your “before” is exactly what we have going on with our island, right down to the color-coordinated cabinets and floor. I had originally planned to fill in the toe kick area before trimming it out, but I love the way yours looks so much that I might change my mind!
This looks fantastic! What a difference it makes!
What material is the baseboard and flat moulding, mdf, oak, pine? Love your results! Just what we are aspiring to do in our kitchen makeover.
Hi Michelle, Thank you so much for reading! Baseboards and moulding are all pre-primed mdf. It’s so easy to work with and fairly inexpensive. Good luck!
Your cabinets are beautiful and exactly what my husband and I were planning to do within the next year to ours. Can you tell me what material the sides and back of your island are? Are they wood? The picture before being painted looks like they are a “faux” wood of some sort and that is what ours are too. My concern is painting that area. Thank you!!
Hi Kathy, the cabinets are wood, but the island is more of a thin wood, if that makes sense. We didn’t have a problem painting it, and you shouldn’t either. Just lightly sand the area and do a test spot (with really high quality paint). If it dries weird, you need a shellac based primer first, then the paint and it should work great! The shellac based primer will help paint adhere to anything that has a pre-treated surface. We didn’t need it at all on our cabinets. Hope that is helpful! Good luck!
Great looking cabinets! On the island what is the size of the MDF boards you used as far as width and thickness? I want to trim around our toe kick like you did but curious on the sizes that work out.
Thank you so much! We used a standard sized base board and cut it down to a size that would fit under the toe kick. Hope that helps! Thanks for reading!
what was the thickness of the trim you used
Love the cabinet color! What color is that?
Hi there! Benjamin Moore Super White!
What part did you use the smaller baseboard?
As the moulding design around the sides and back.
Can you tell me where you used what board. Where did you use the big ones and where did you use smaller ones.
So sorry– not sure I understand your question. Can you clarify so I can help?
Hello what sheen did you use? Satin? Semi-gloss?
Hi there! For moulding and woodwork, we recommend a semi-gloss finish.
This helped me so much! I used it to plan our project. We had thin wood on our island and replaced the back panel (where people sit) with a strong solid oak panel. Over a year later we finally finished our trim with this design. We used oak and stained it. The sides & cabinet door area is the original paint because it wouldn’t be pretty stained, but somehow the two-tone totally works. Now to get some unique pulls & a quartz top (that will be several years 🙂 ) Thank you for your inspiration!
This makes me so happy! So glad you found inspiration!
Hello awesome job. It looks amazing.
Please tell me what materials and tools was needed for this project.
Thank You
Hi there! We used a lot of different tools, including a drill and table saw.
What size is the thickness like 3/4 or1/2
Hello! It’s 3/4
Did you use a nail gun to afix the pieces
Hello! Yes we did, then filled the holes and painted.
Hello! Beautiful project! I see that these are 3/4 think but how wide are the boards and is the one that goes vertically in the middle in the back less wide? Appears so! Thanks!
Hi there! Thank you so much! We’ve since moved from this home, and I can’t quite remember! I would just get a couple samples and test out what looks best in your space!
Great makeover. Exactly the same cabinets that we have and exact makeover you have done. Thank you for your really good step by step photos.
May I post a before and after pic when our worn is complete?
Have a great day,
Yes, we’d love to see it! Glad you found some inspiration! Thanks!
I have the same type end panels, I am going to use your method. I have looked at so many ideas,what I wanted didn’t have the same shaped end panels. Yours looks 100 % better, I will take a before,during and after and hopefully I can share mine w you.:)
How did you transition the trim to toe kick side?