

")
")
")


DIY BUILT-INS PART 1 (video)
August 6, 2014
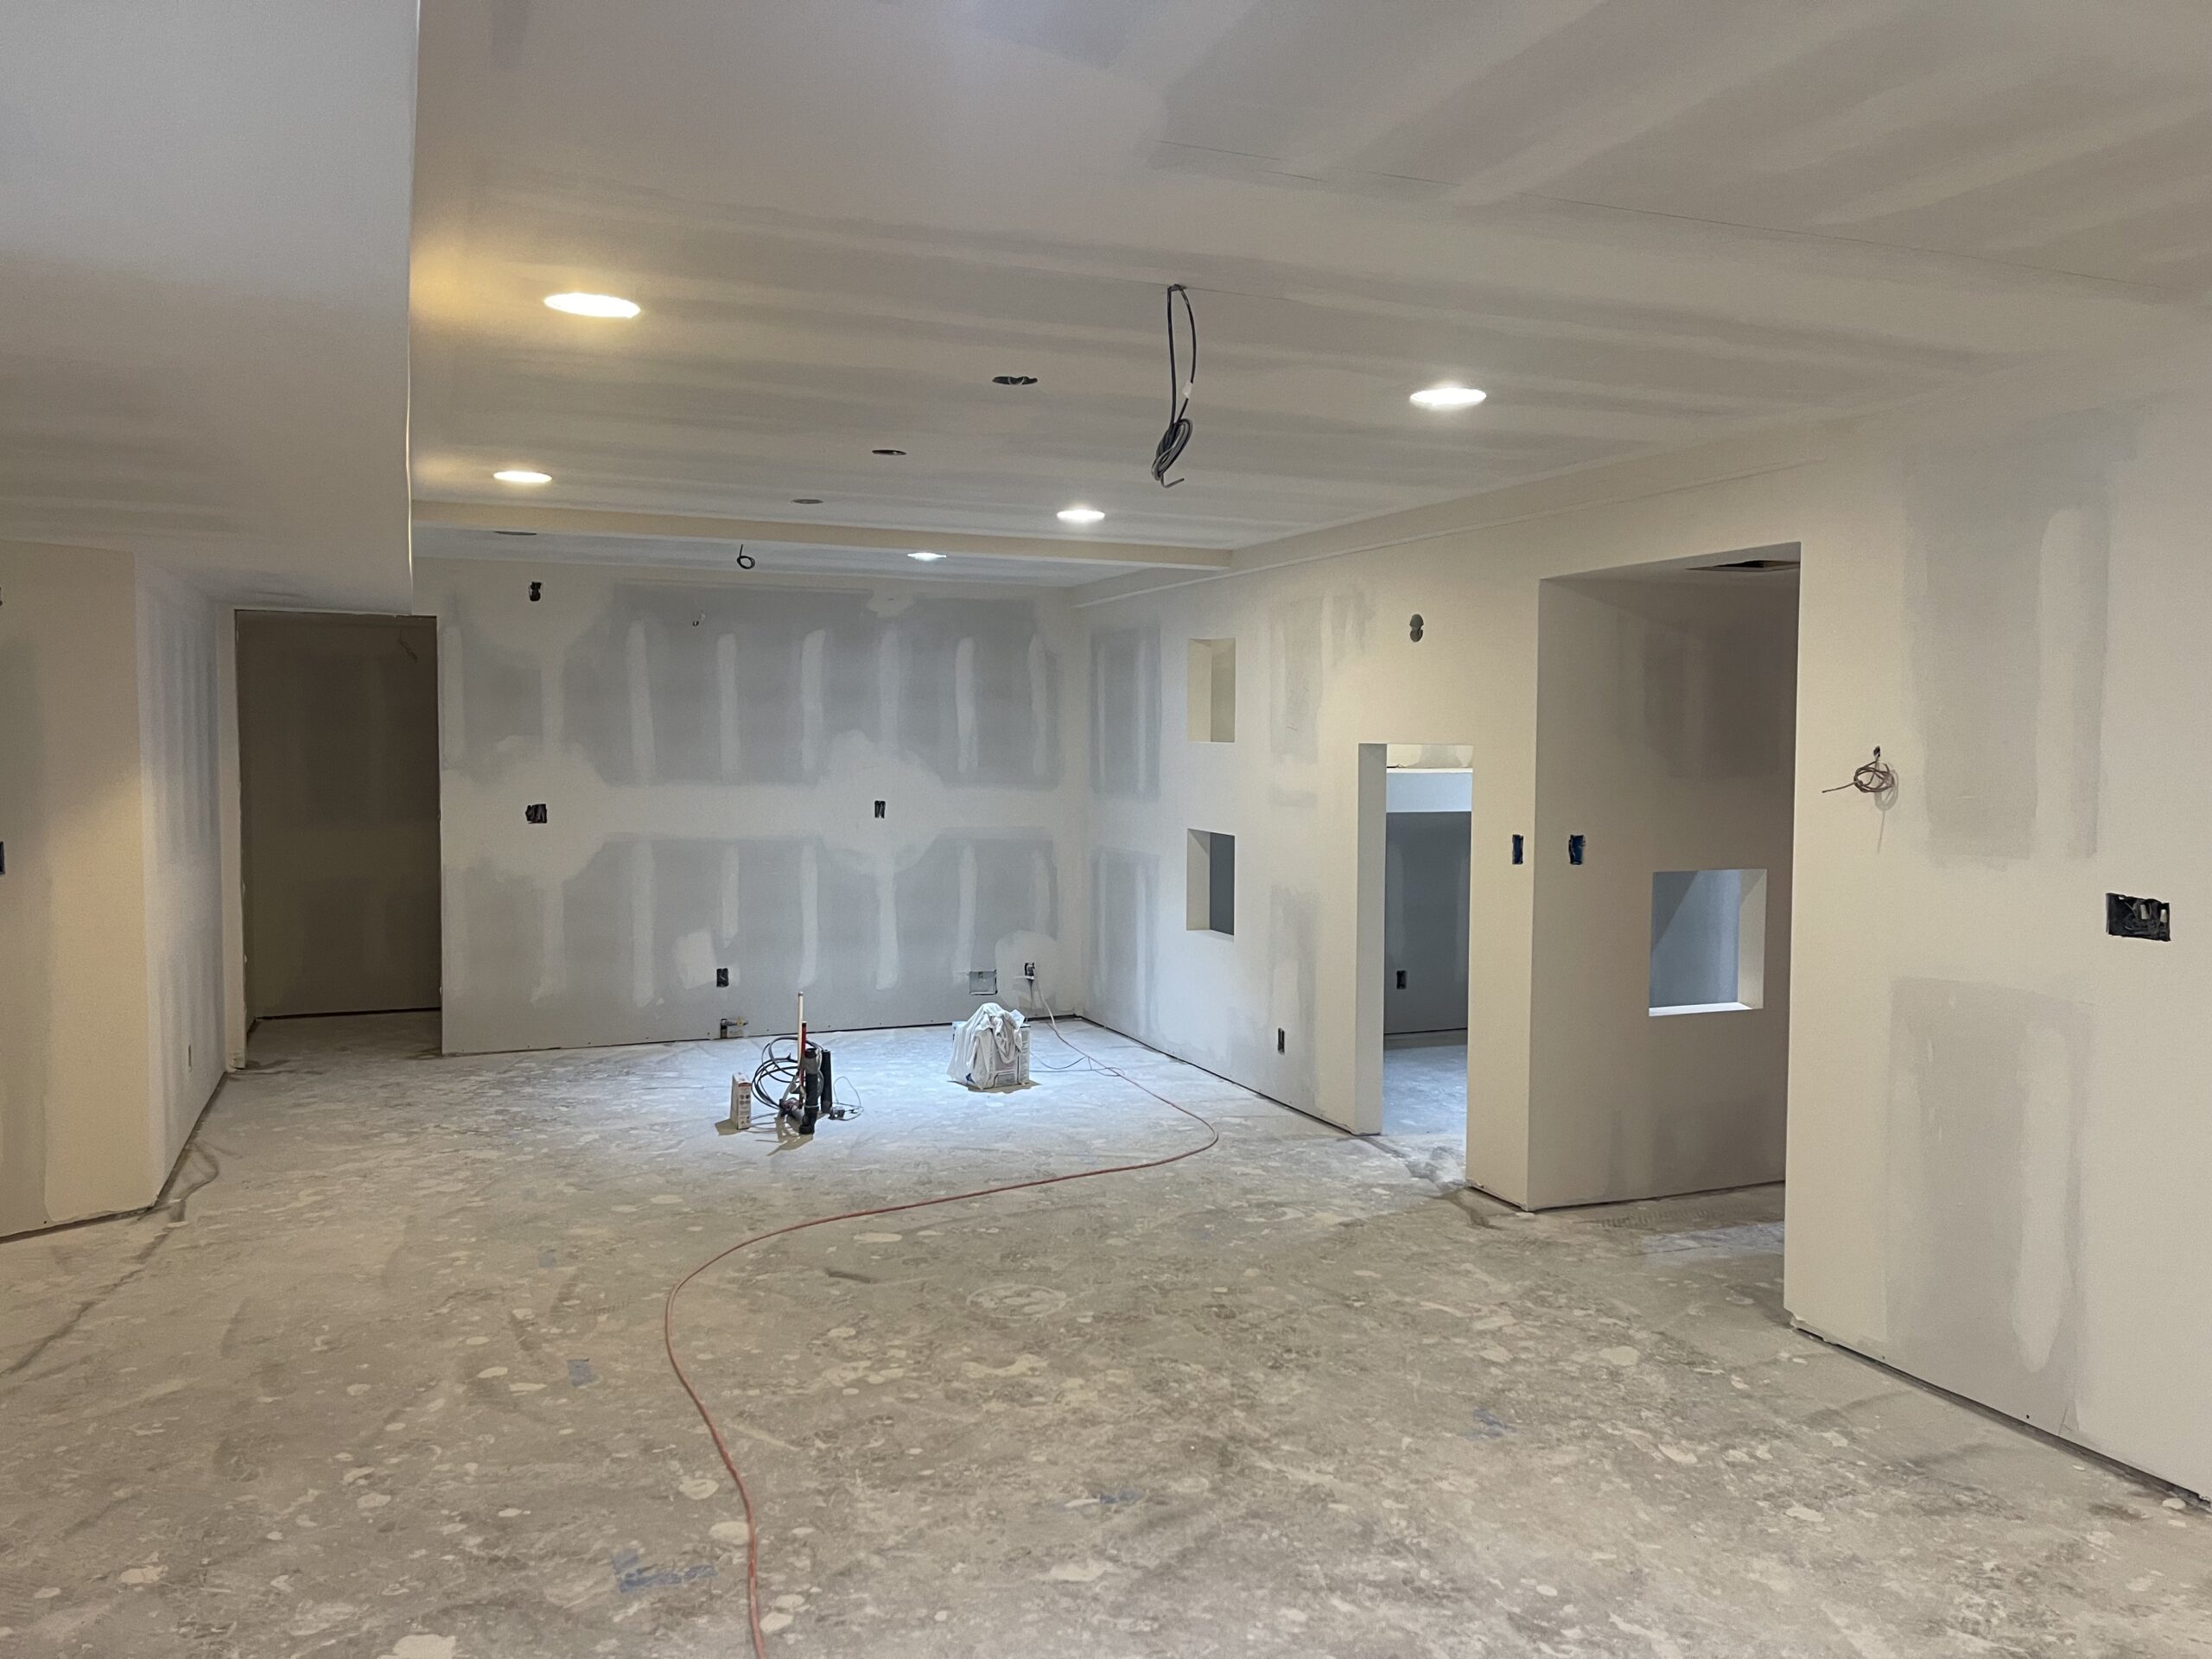
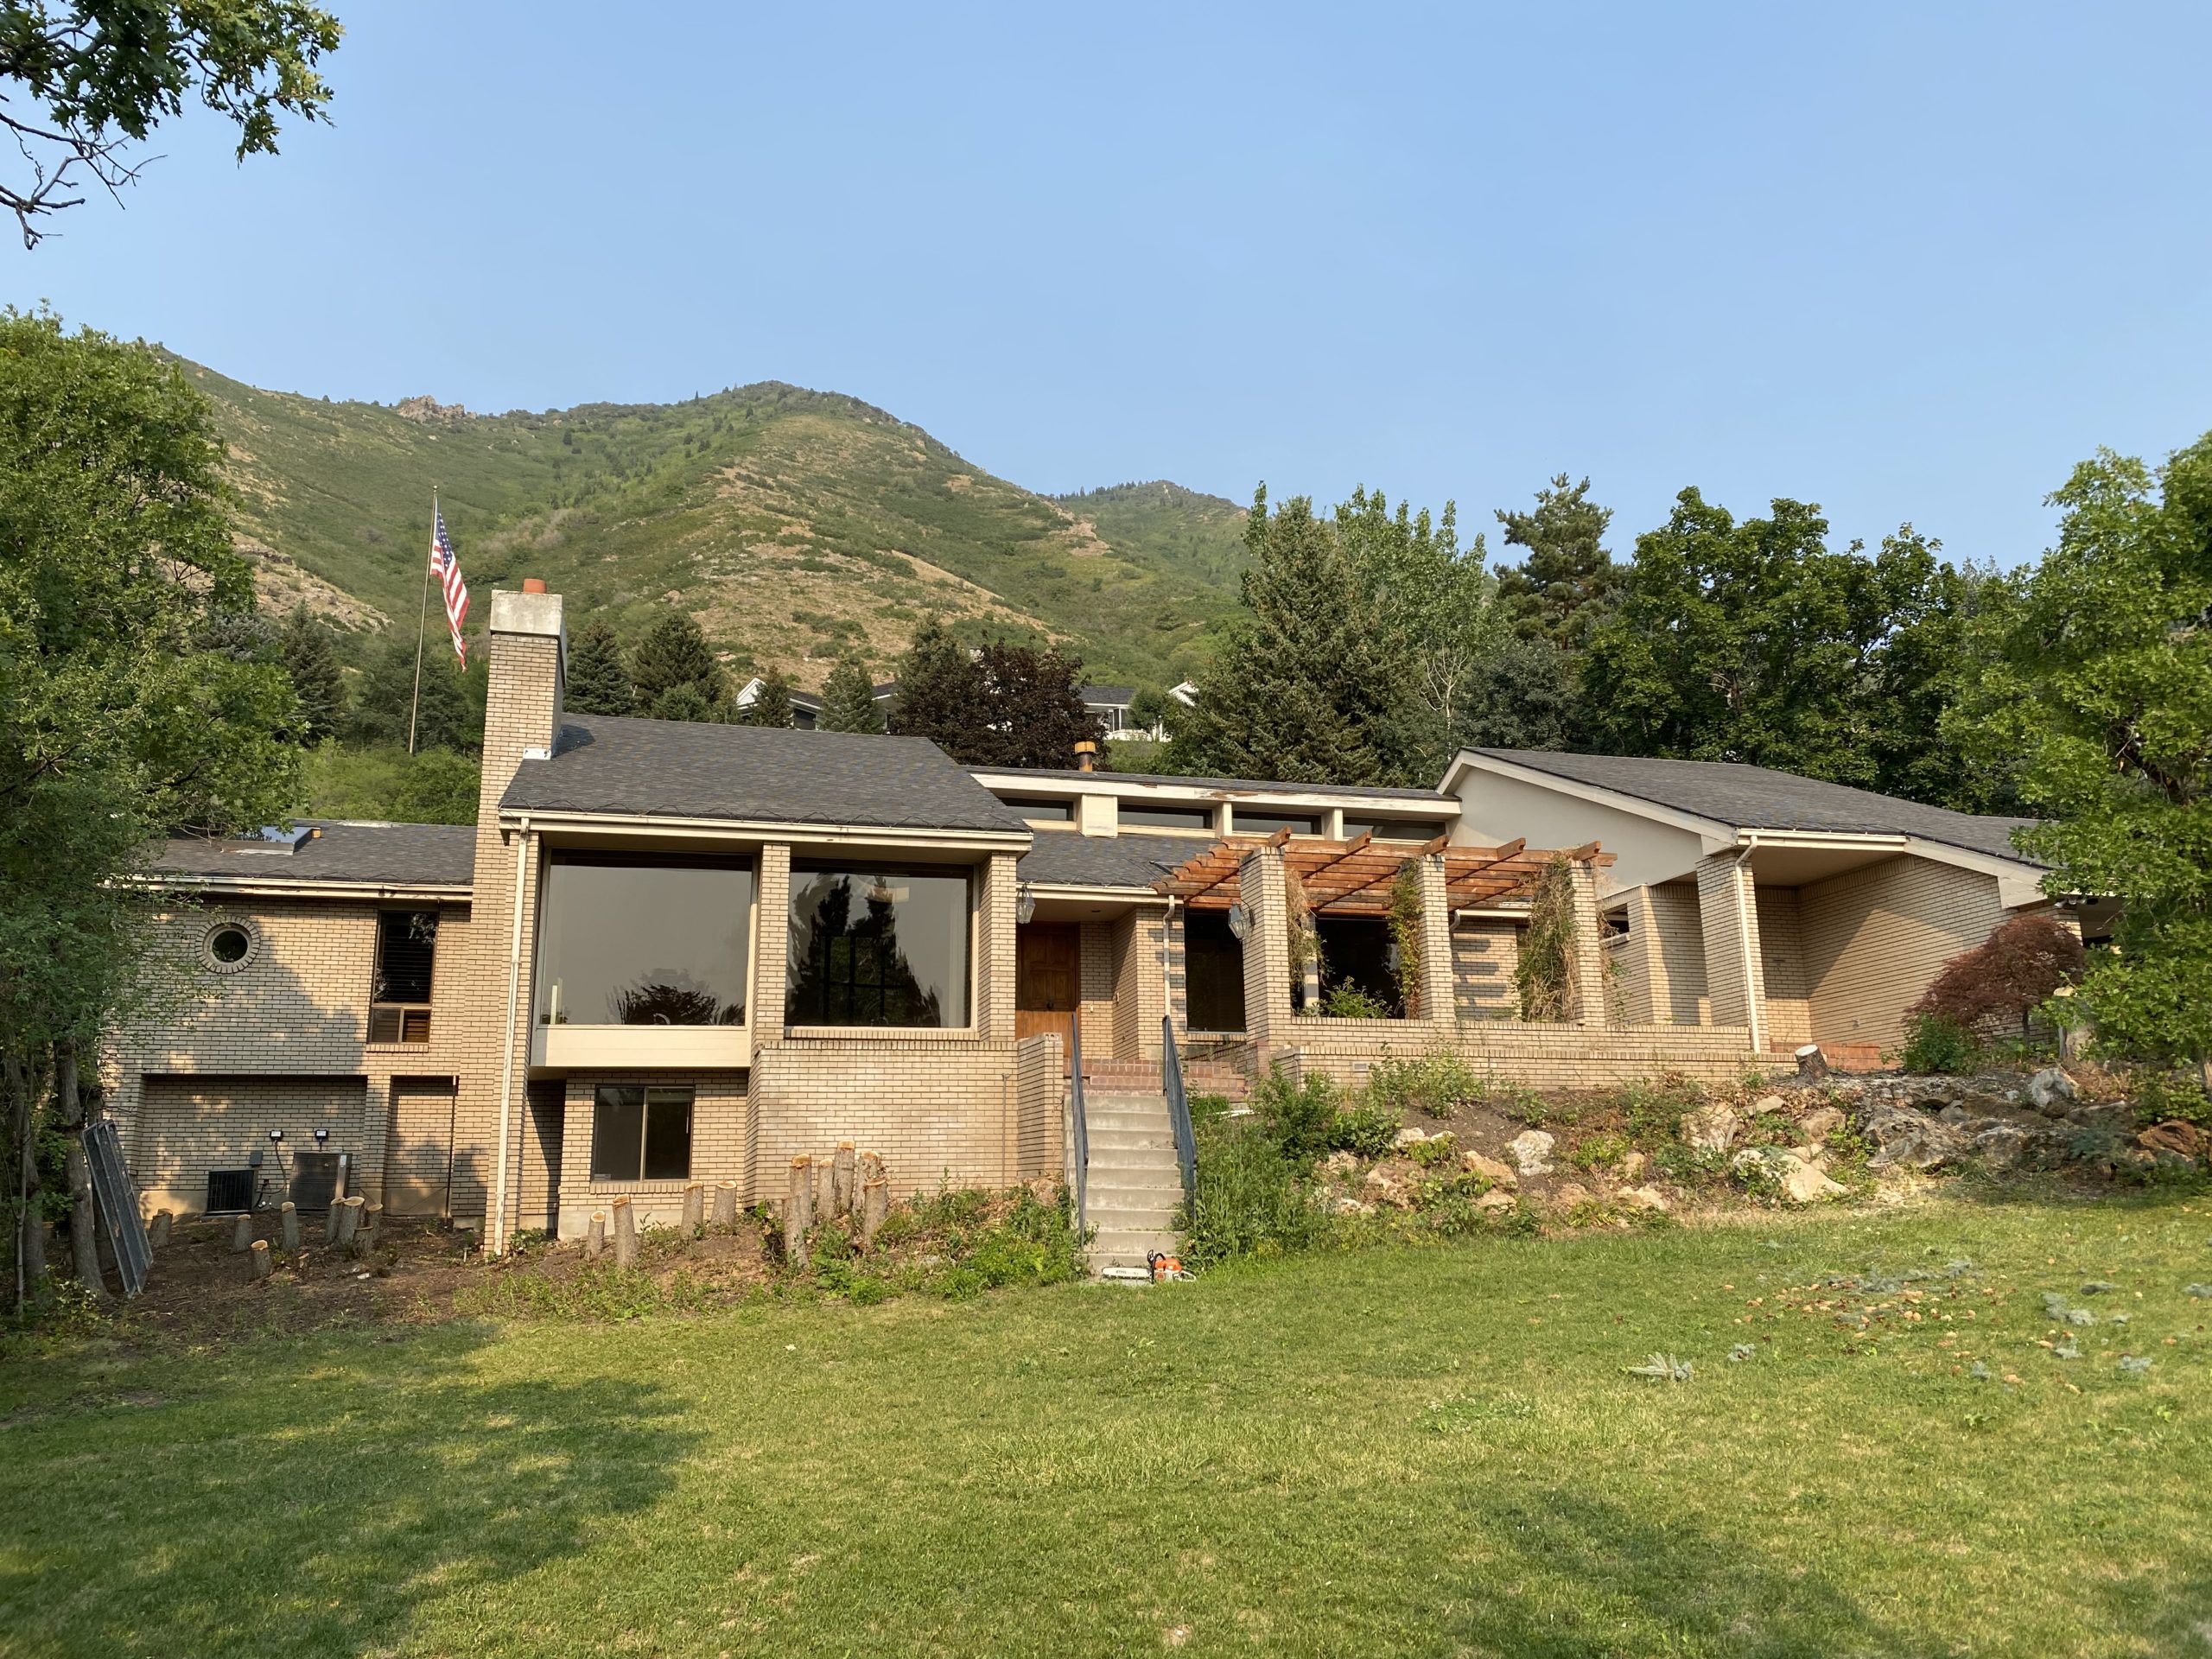
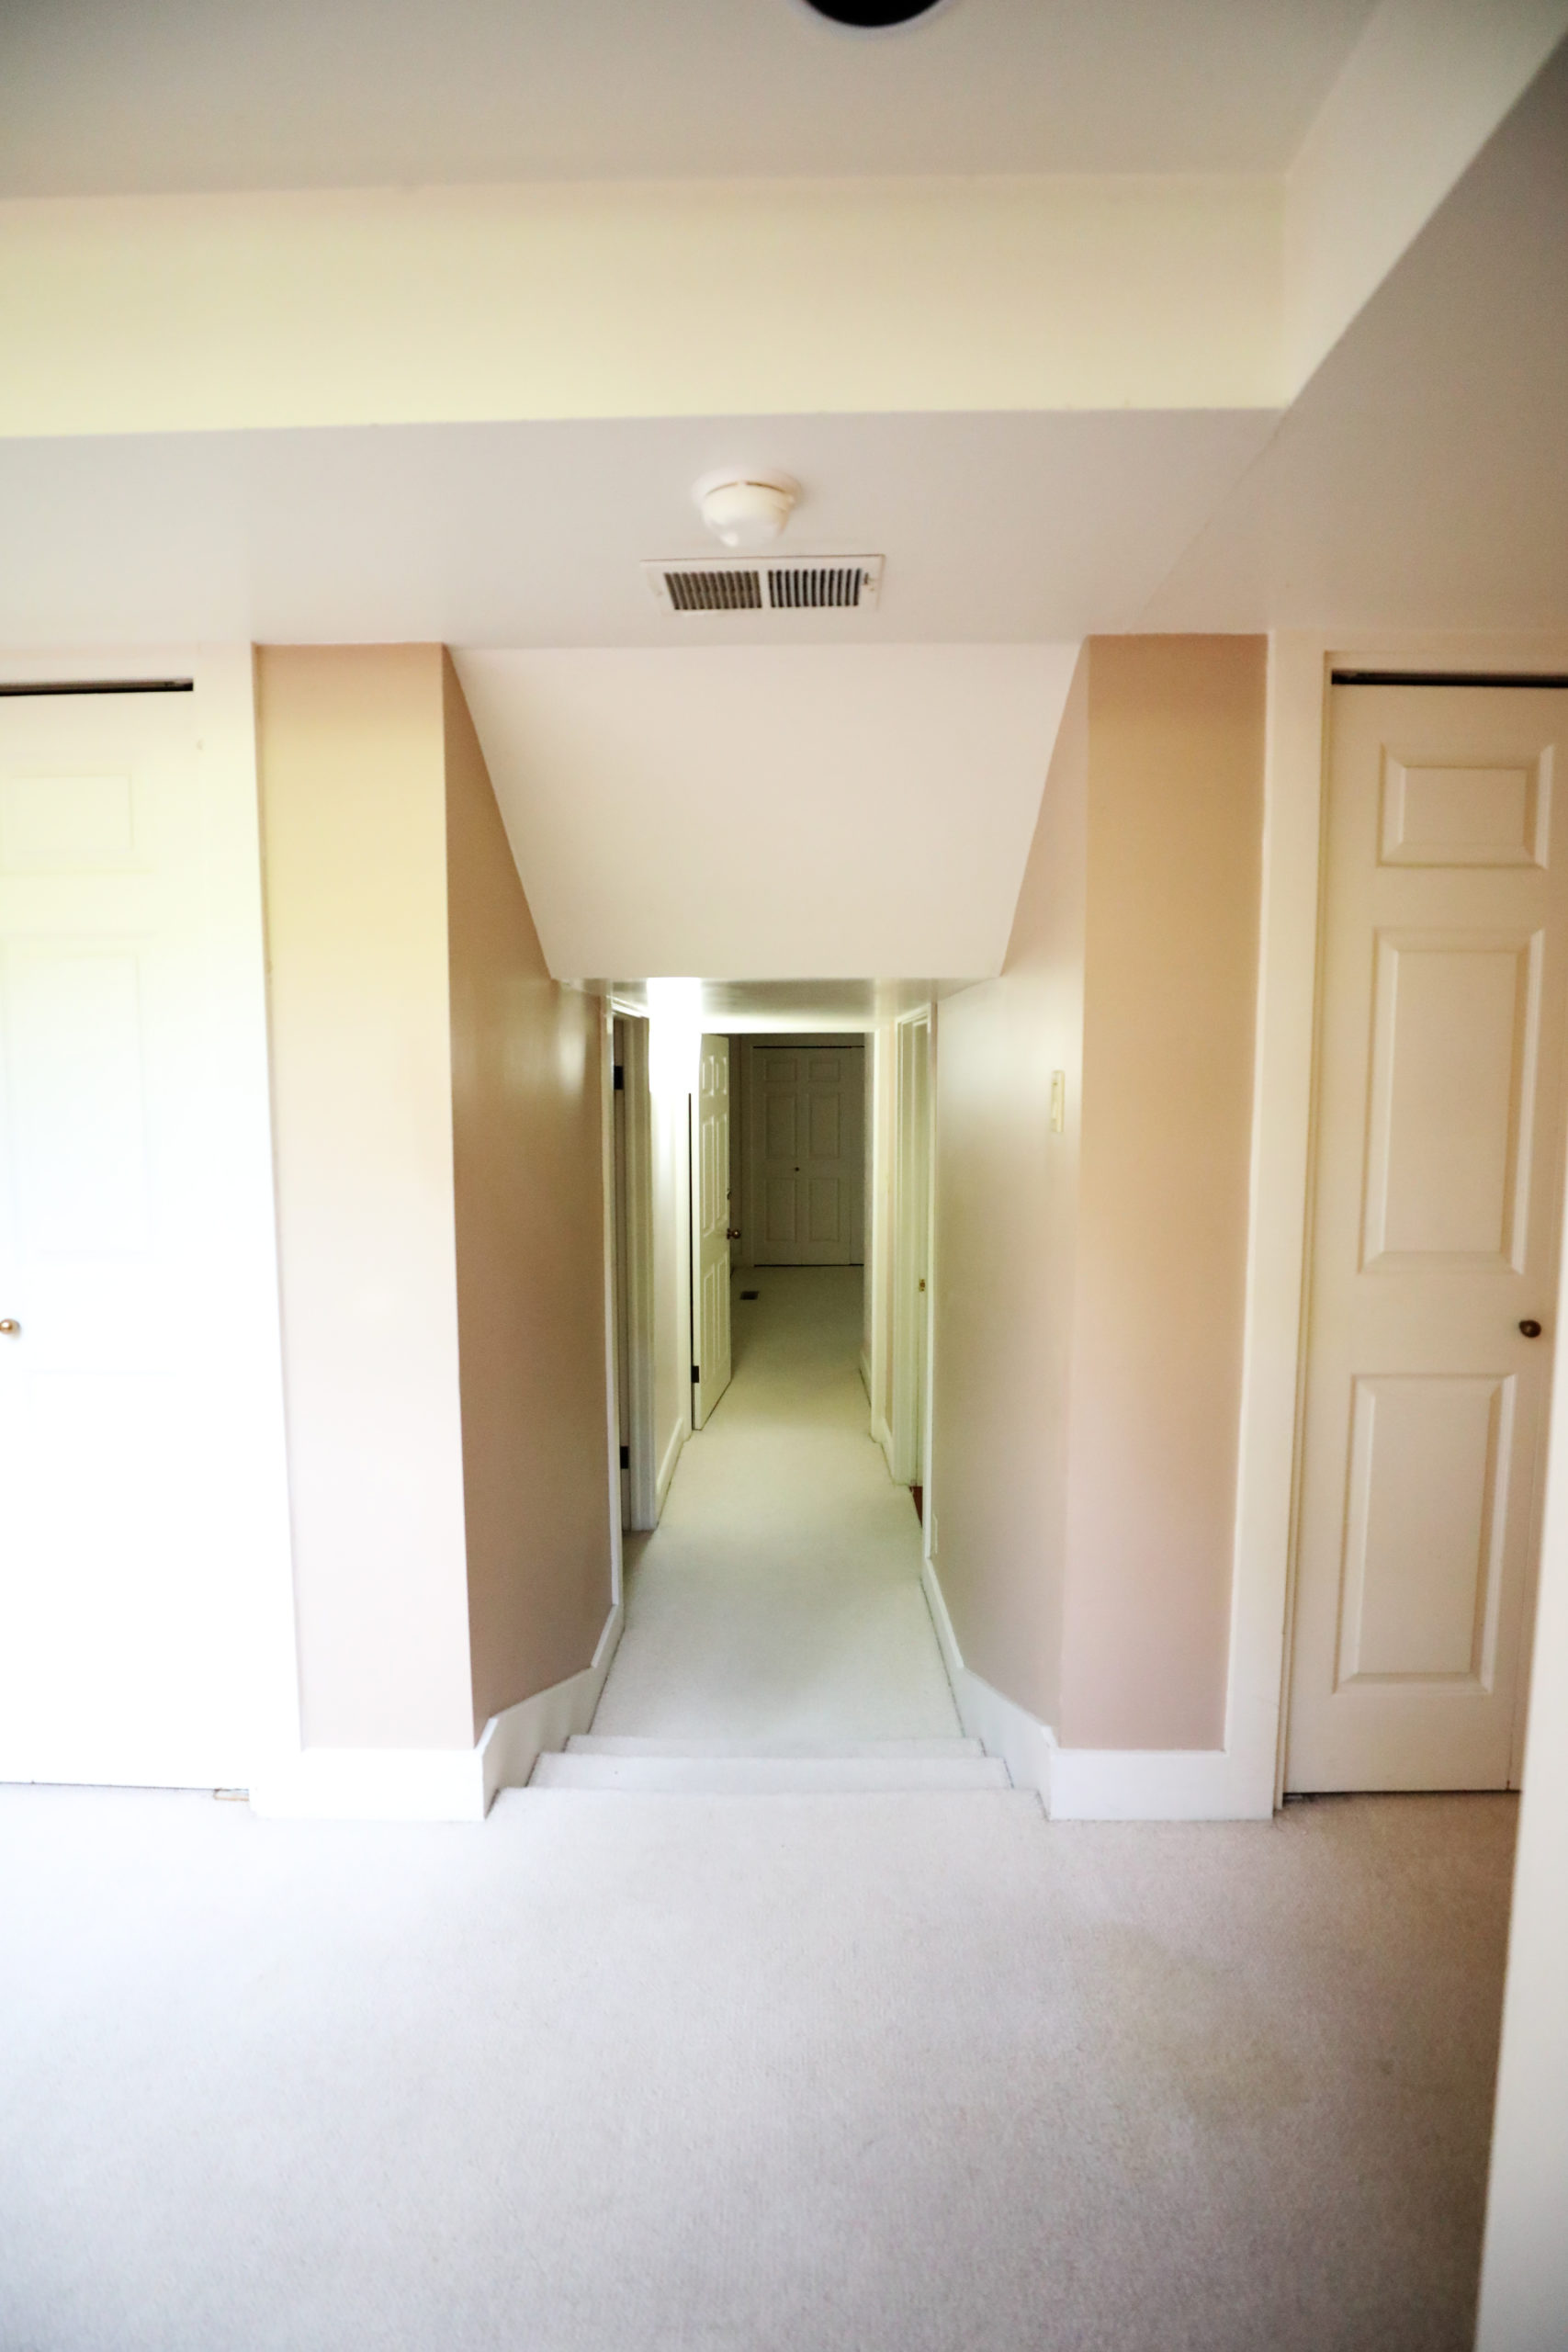
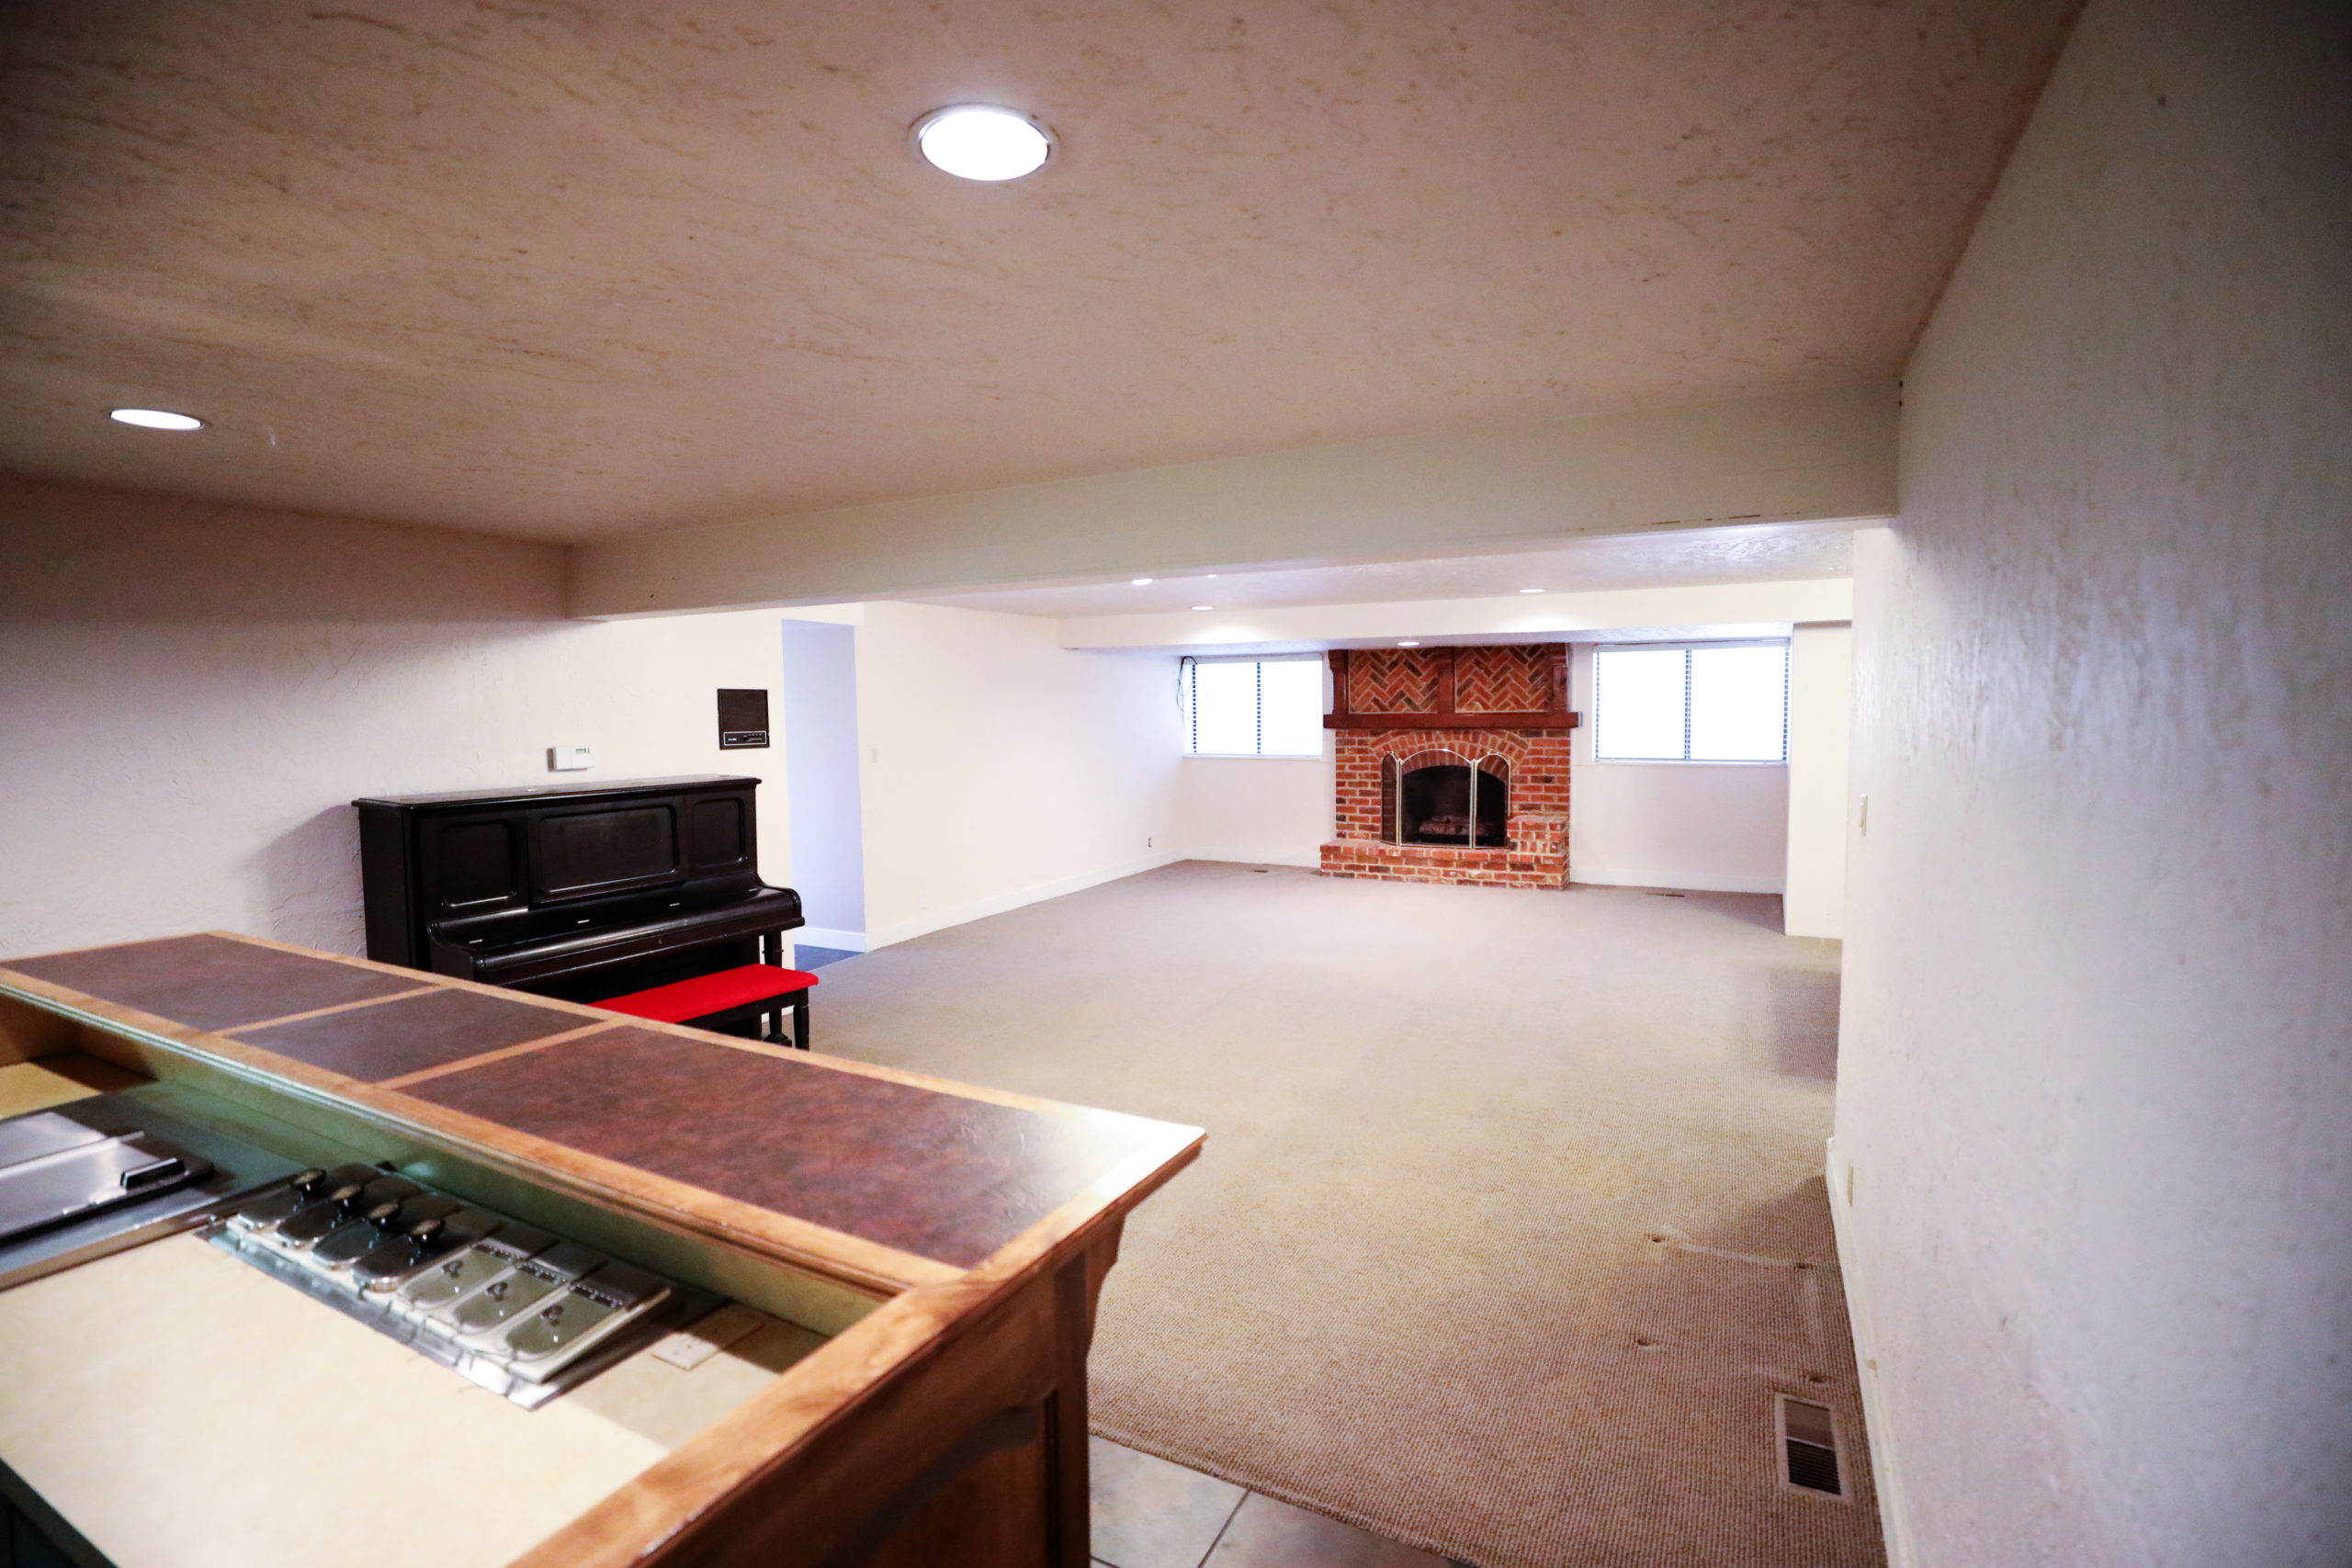
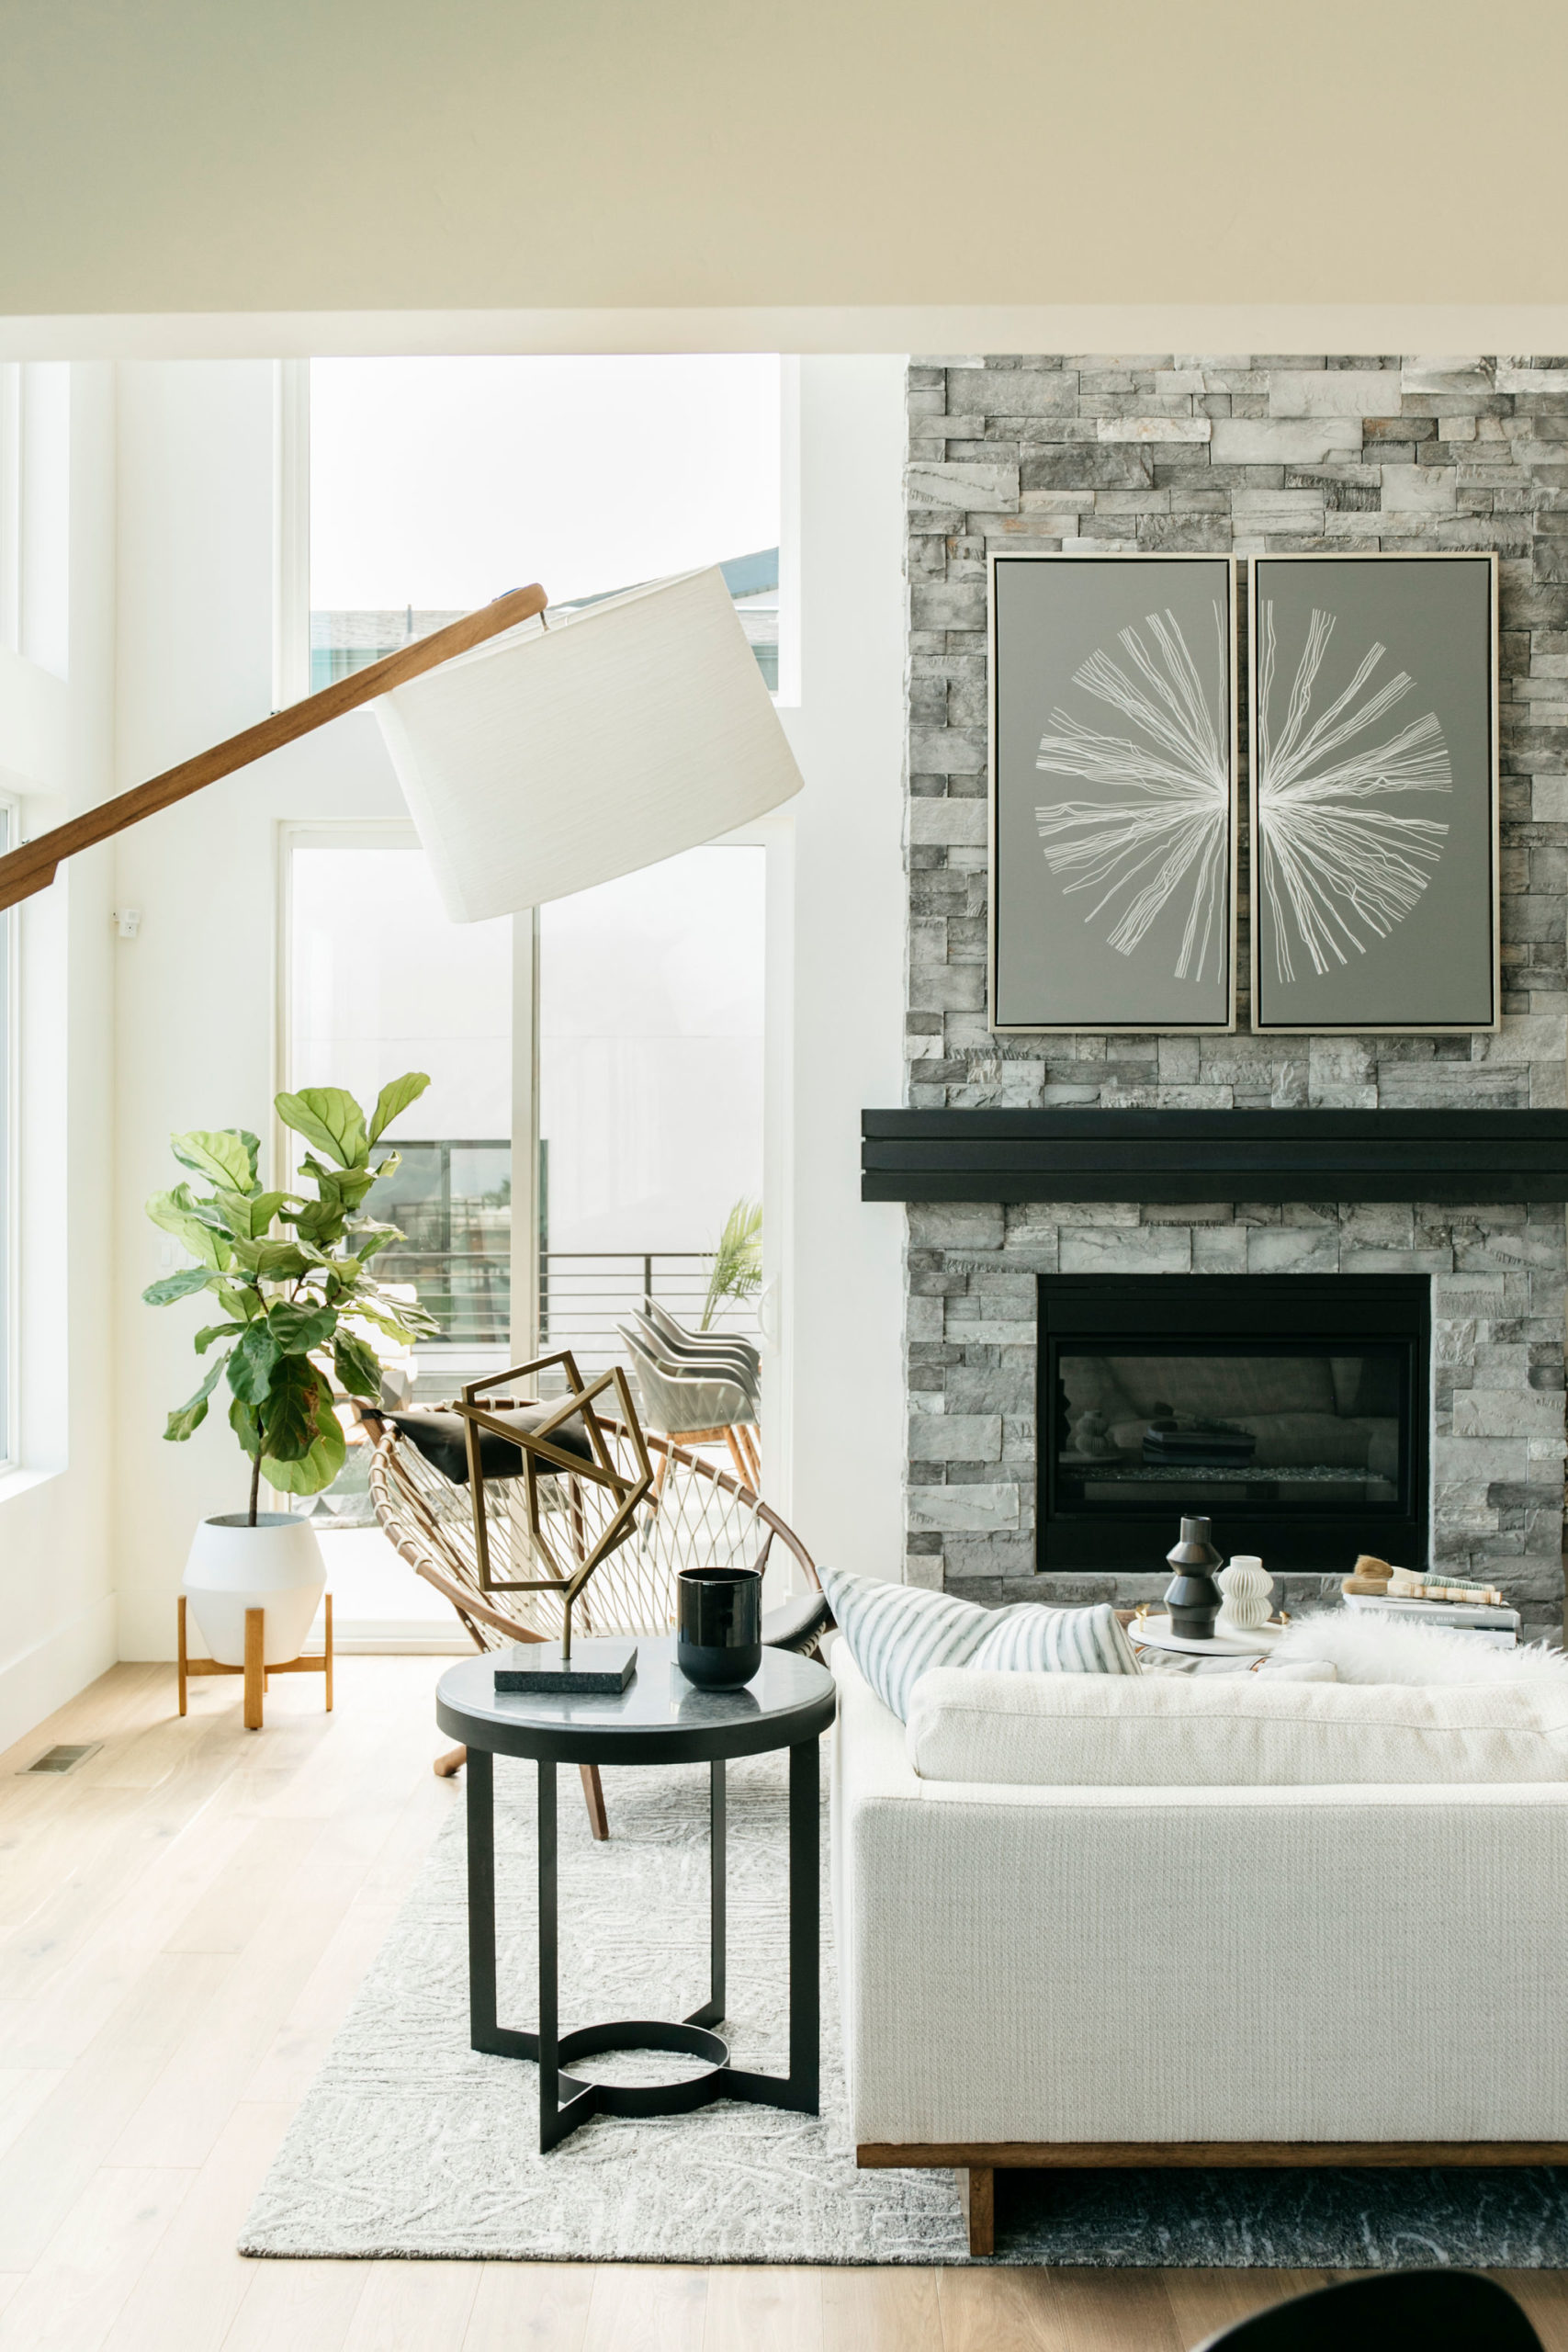
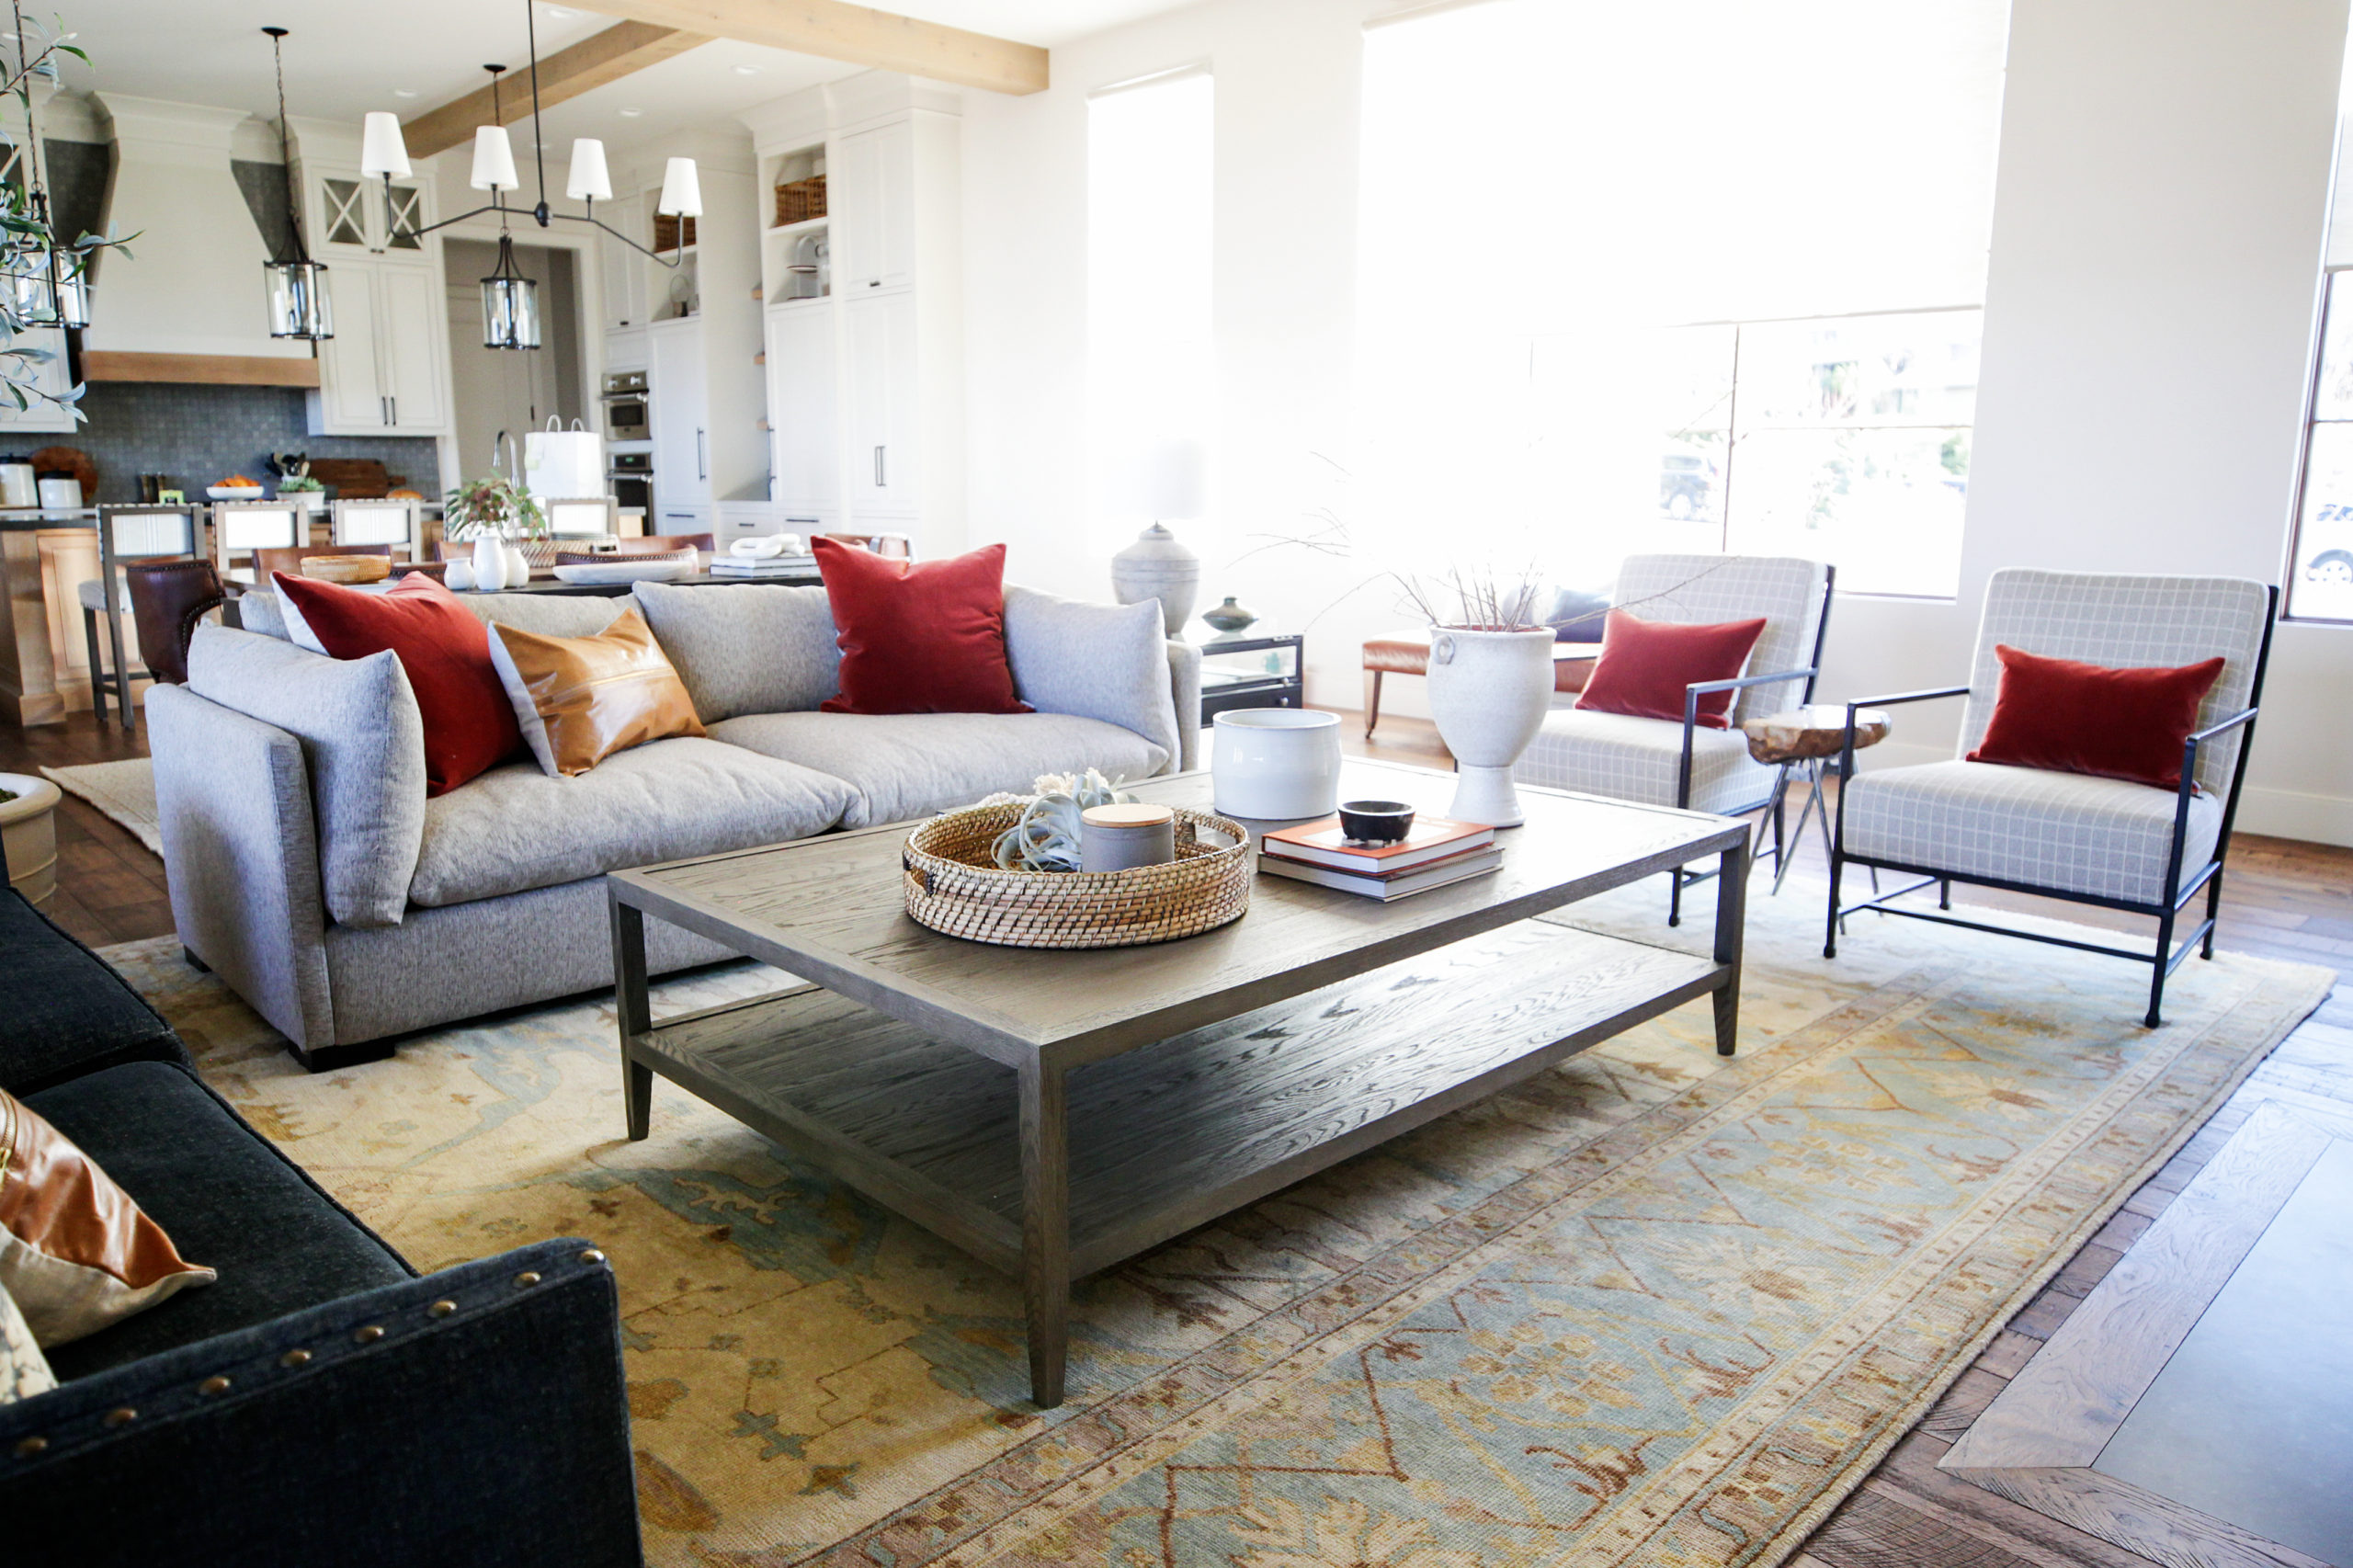
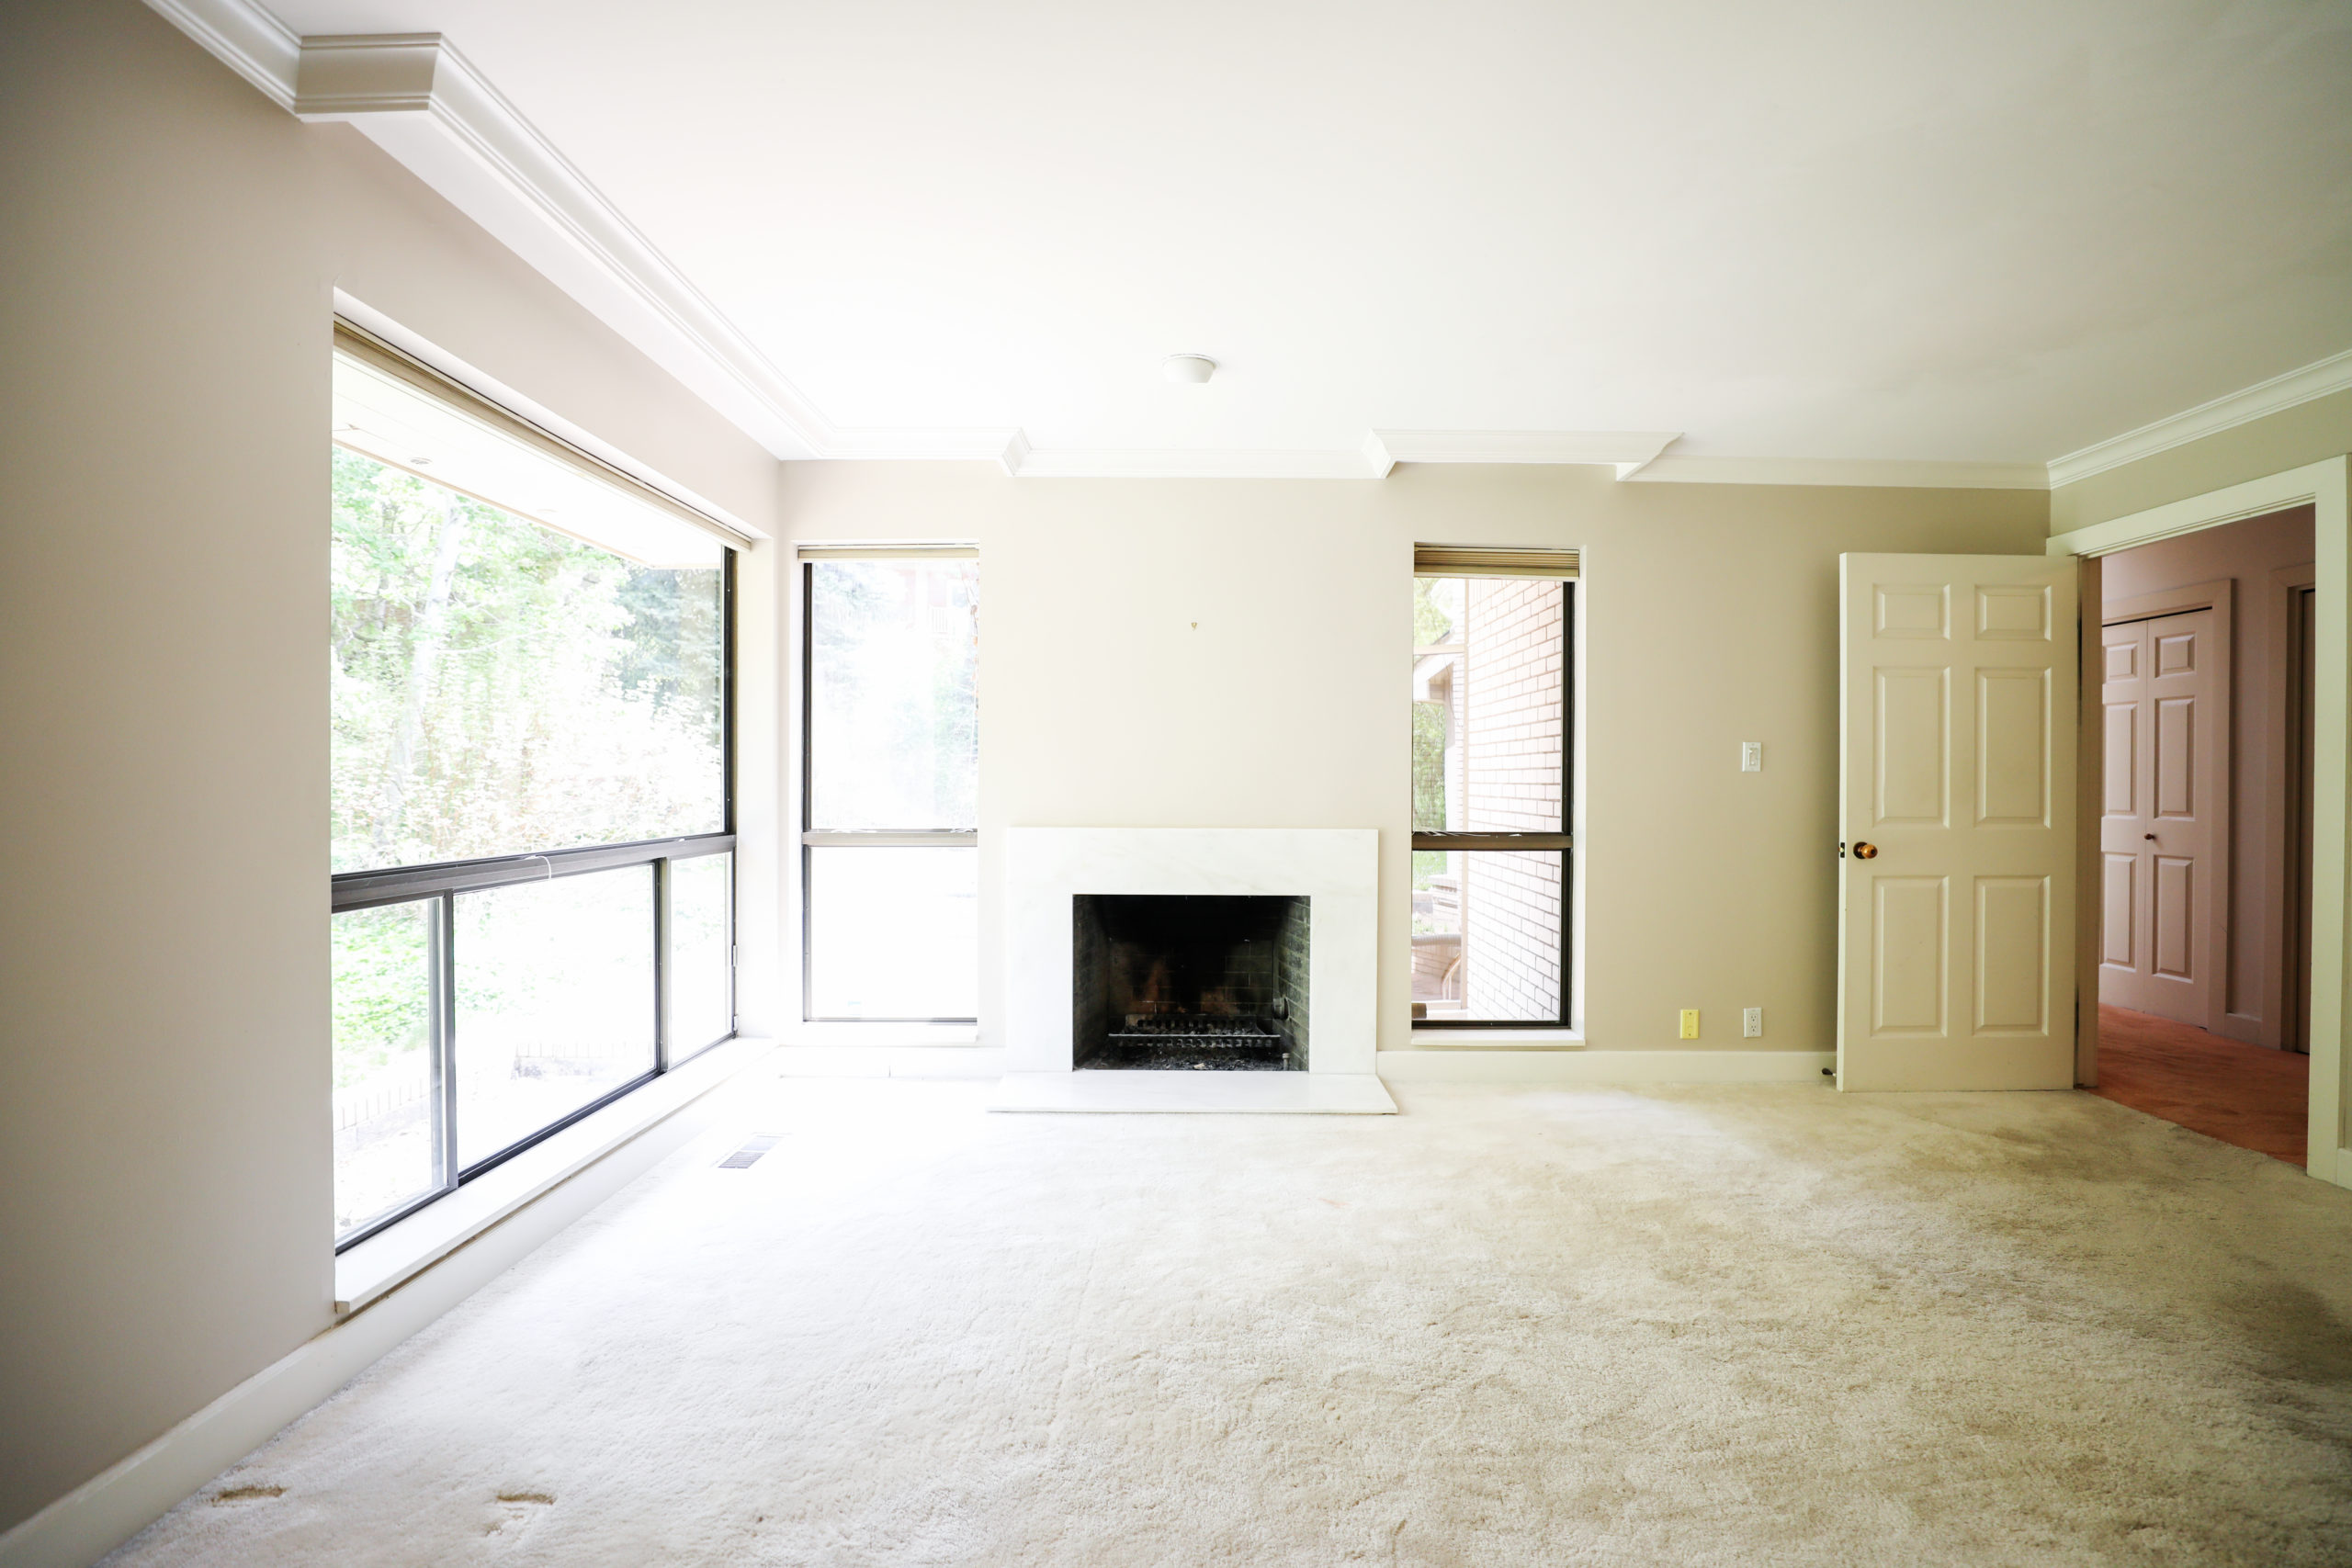
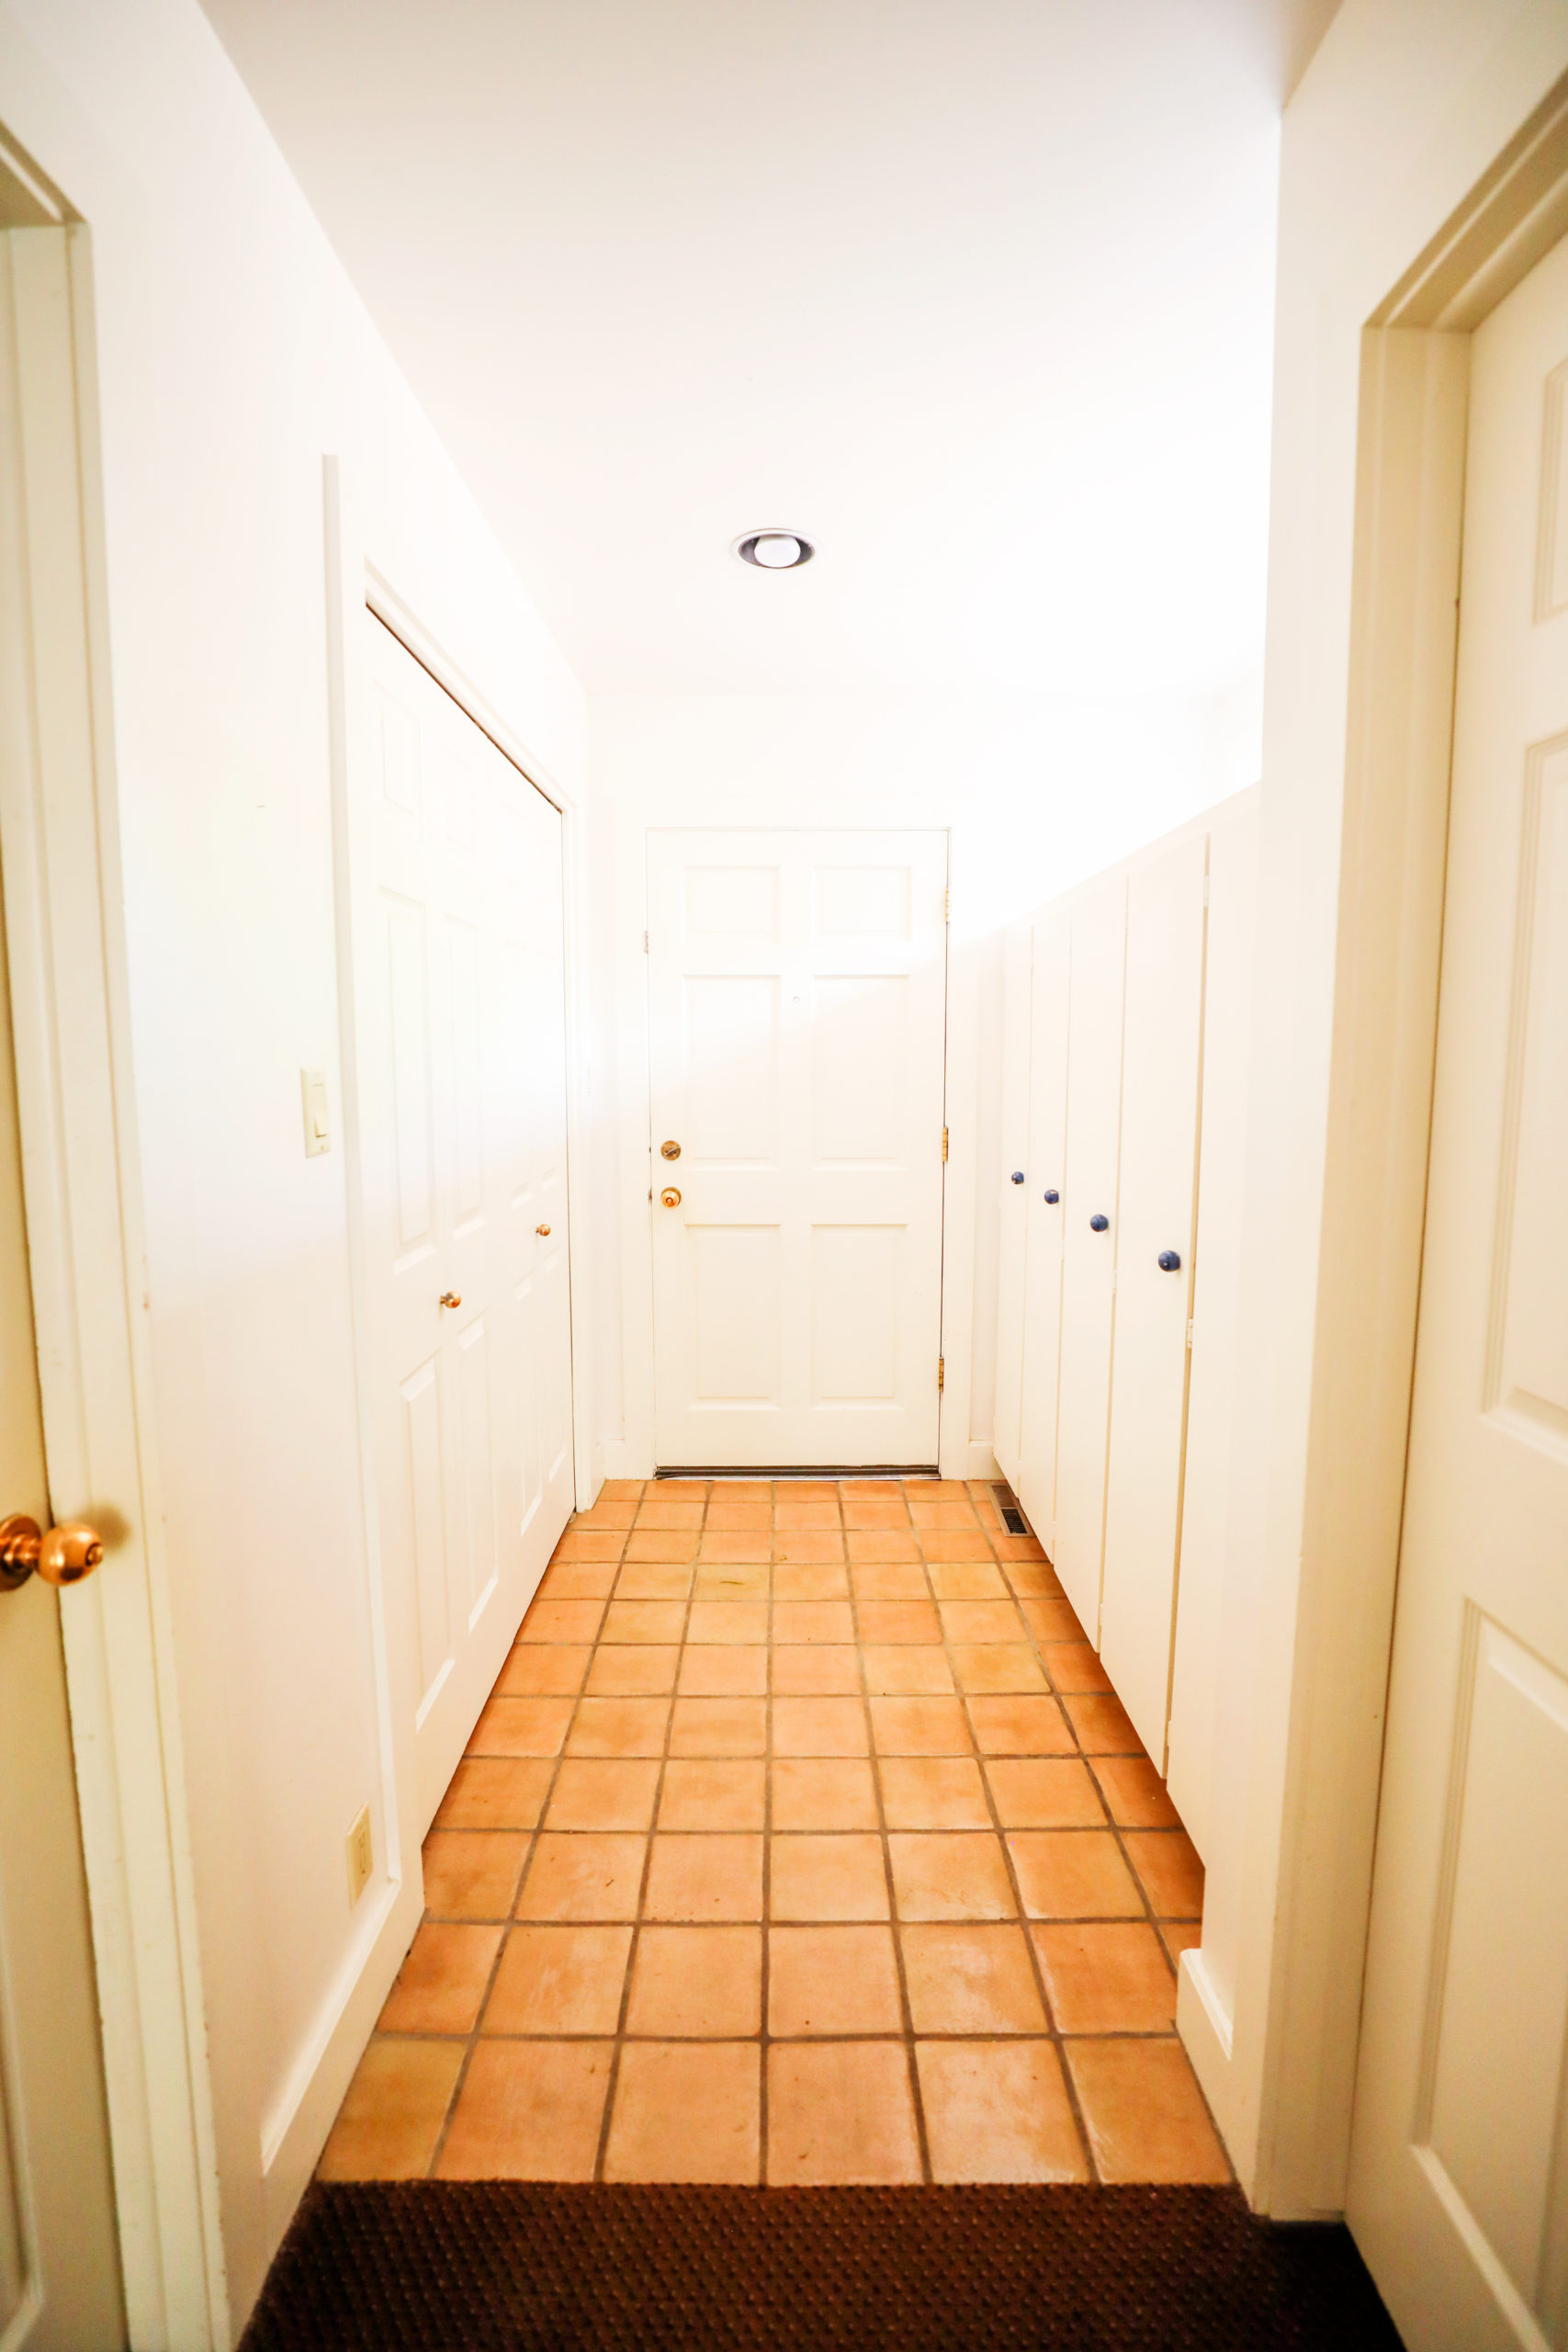
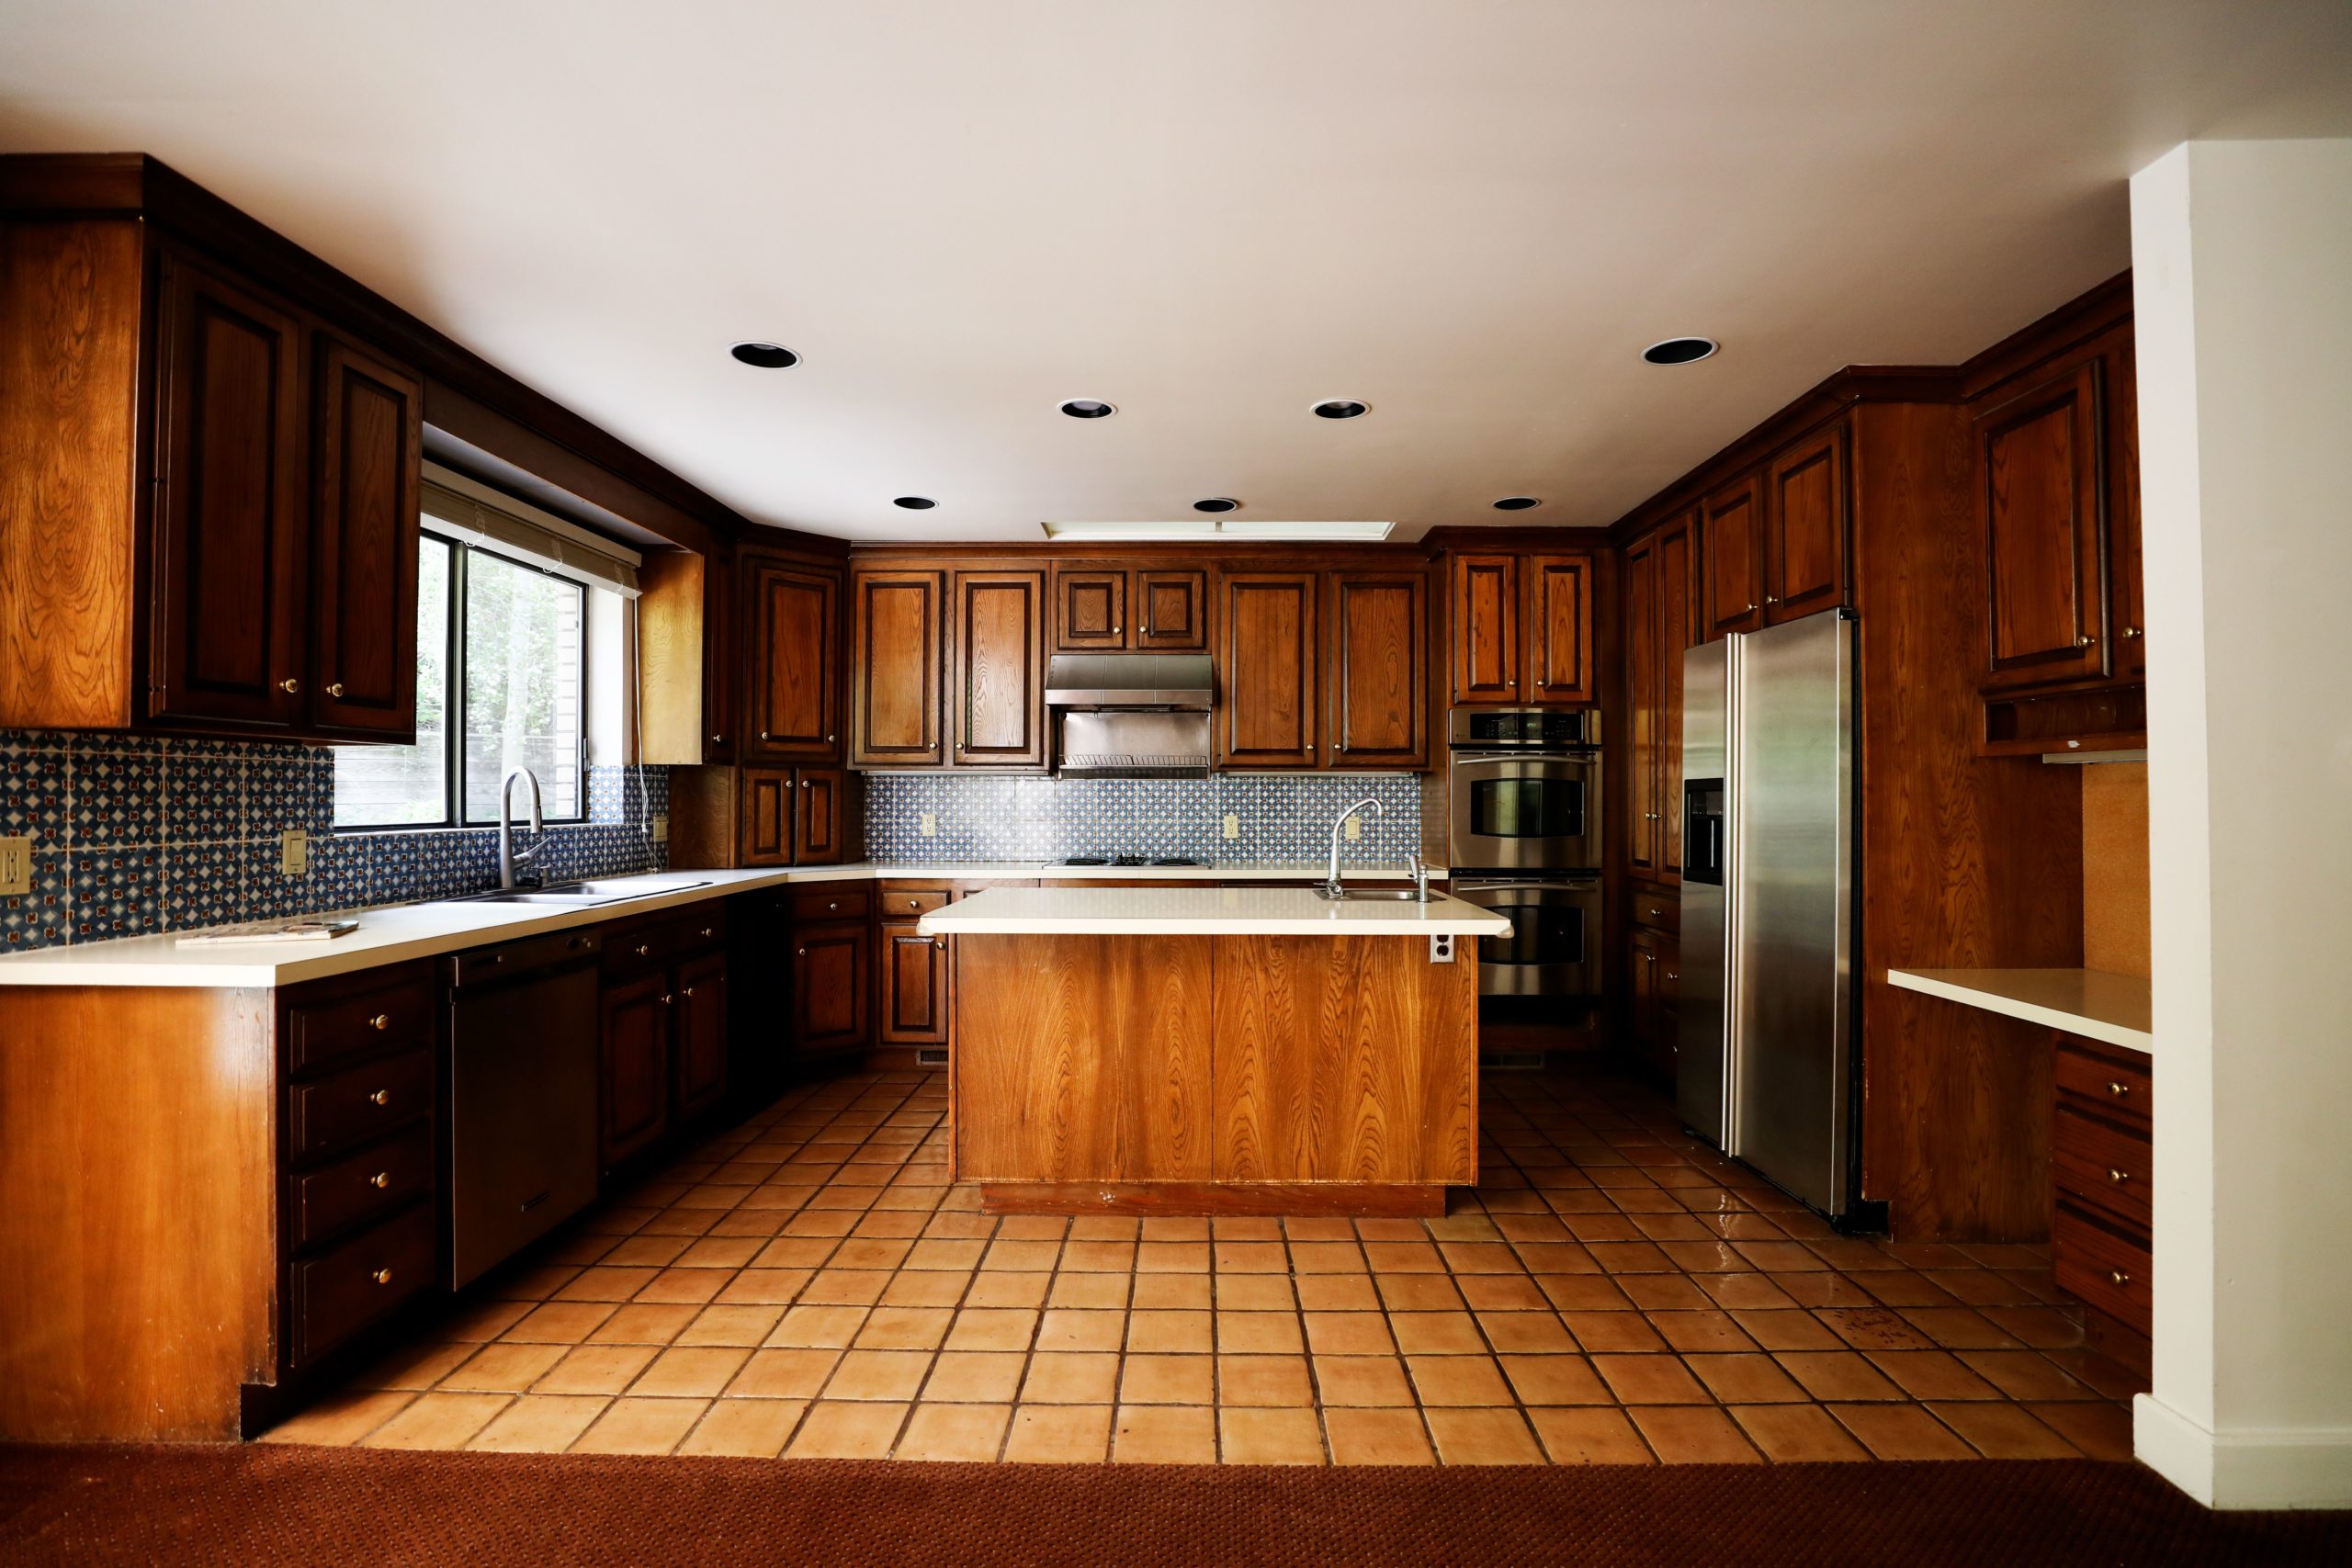
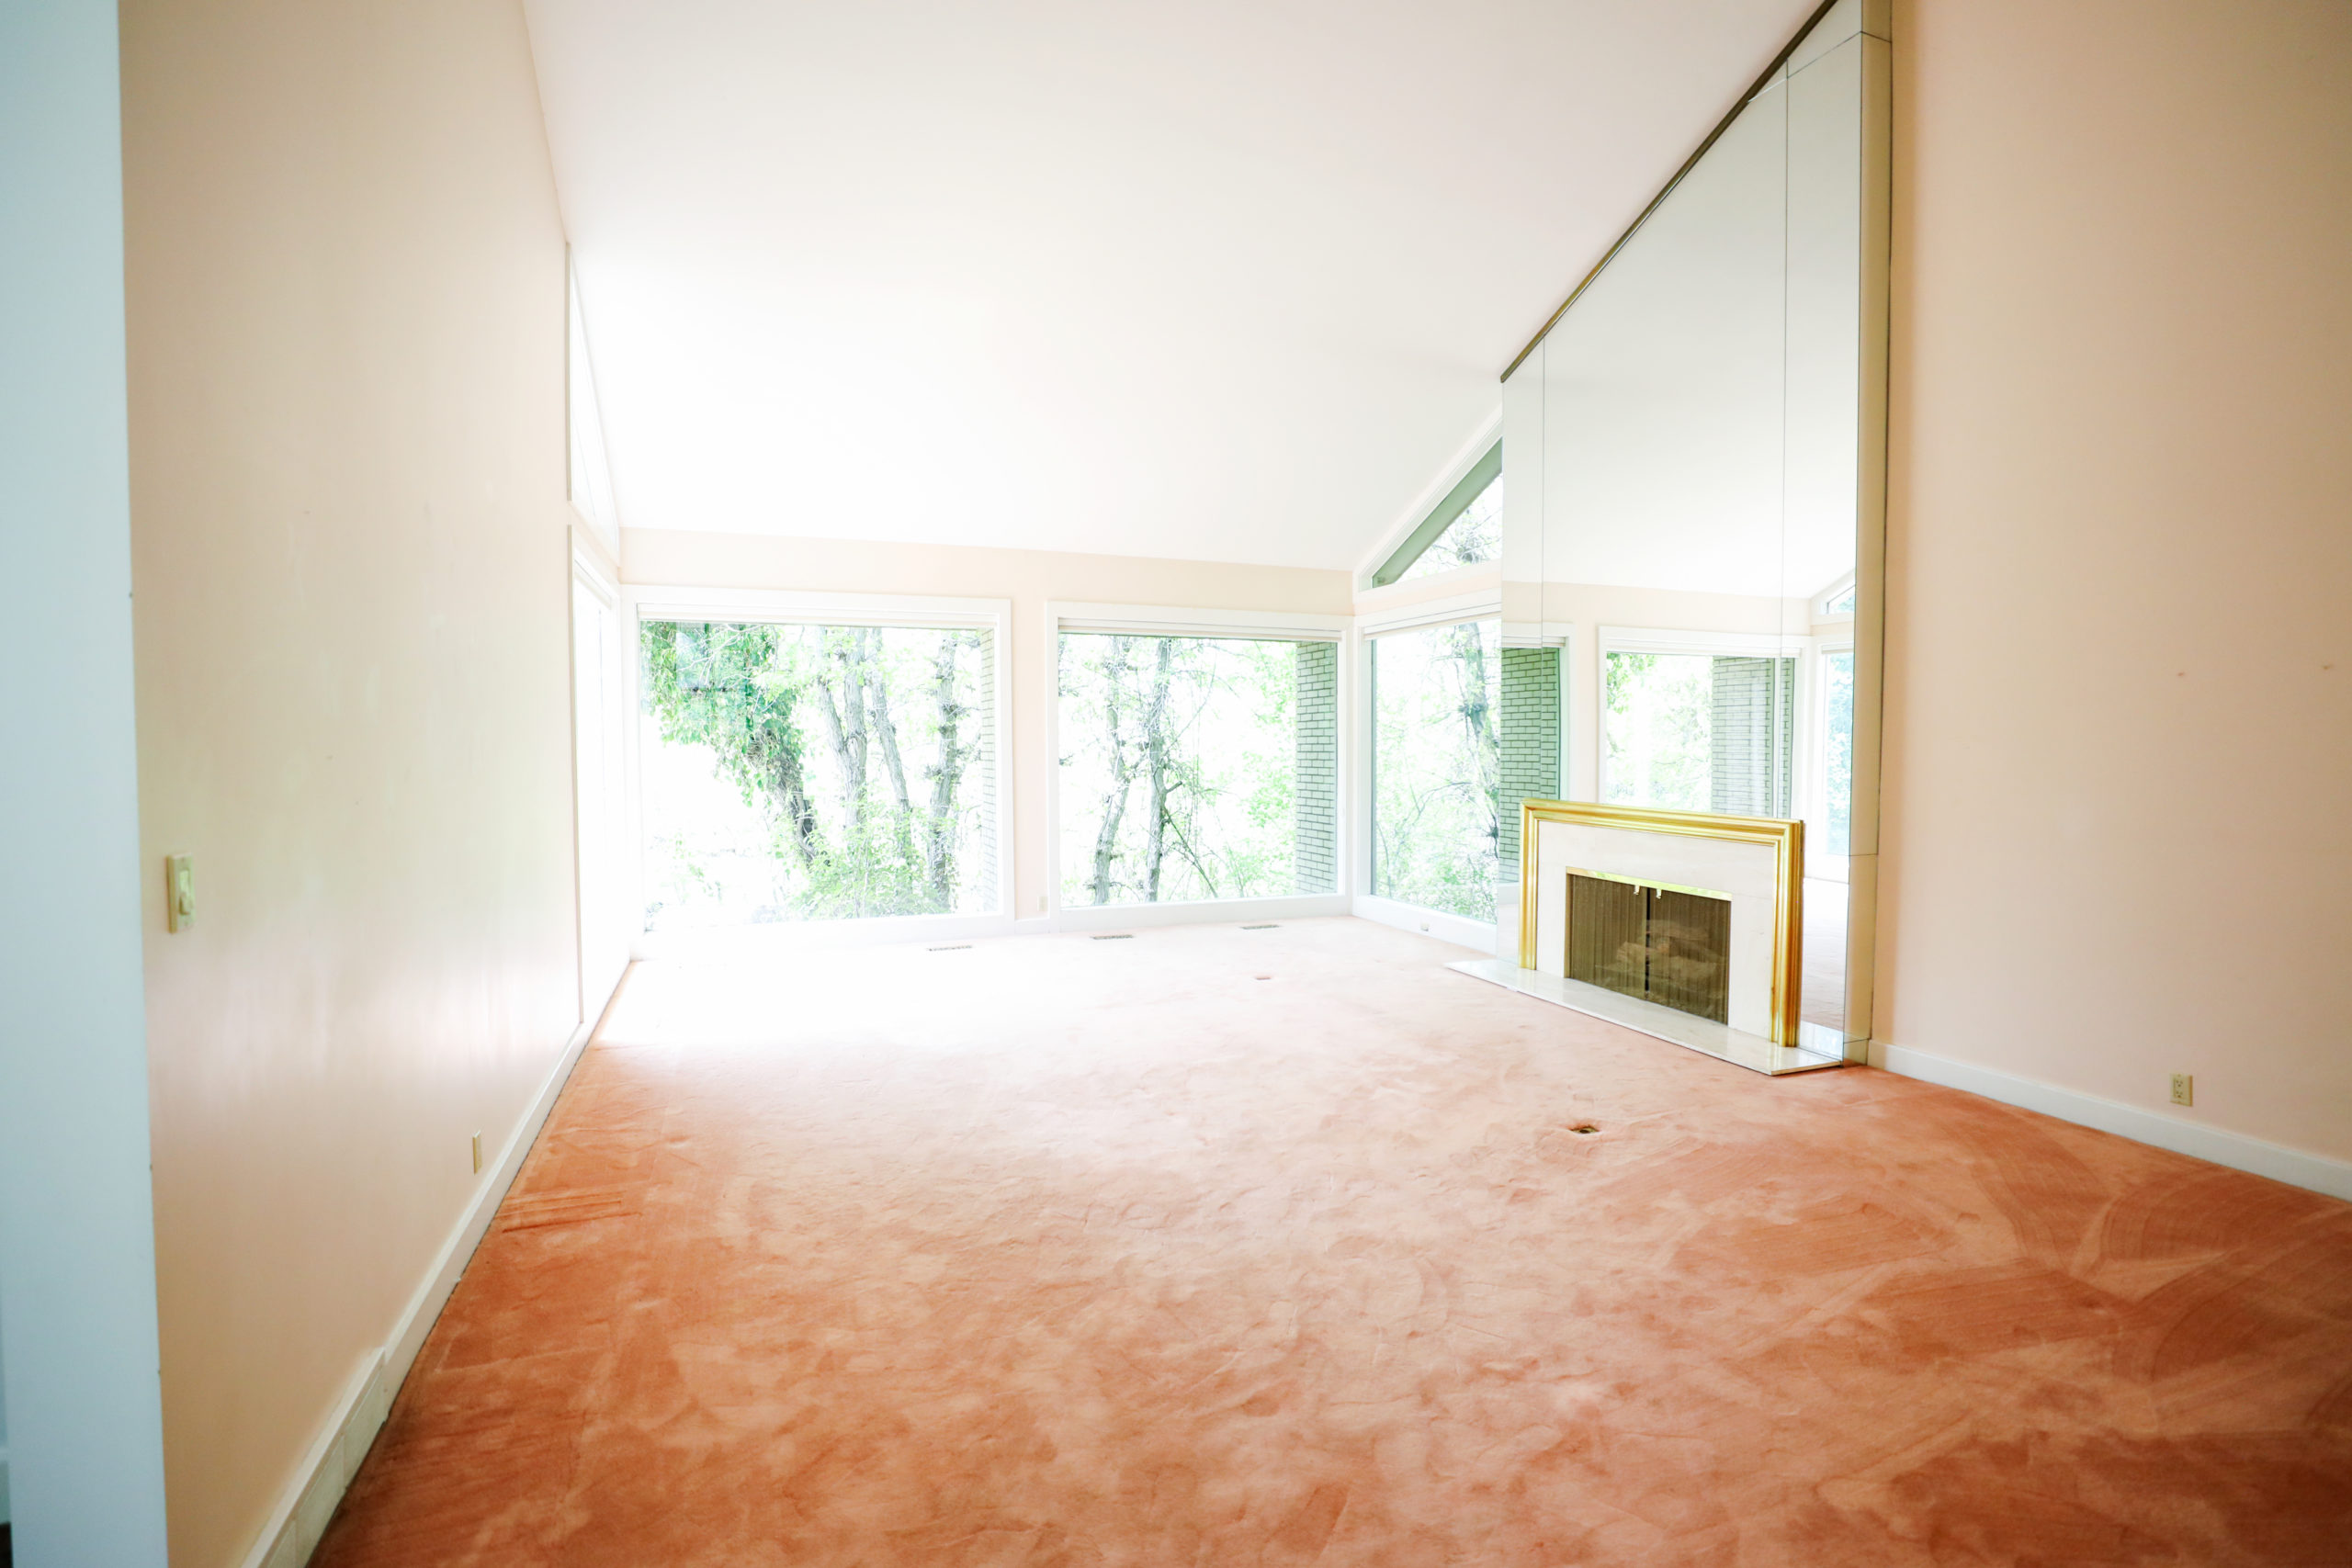
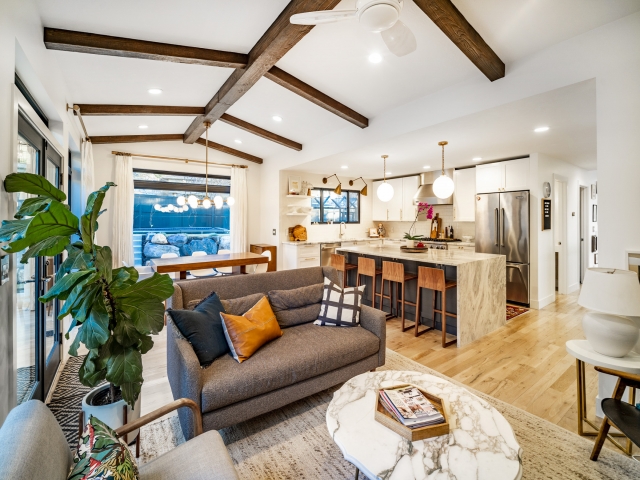
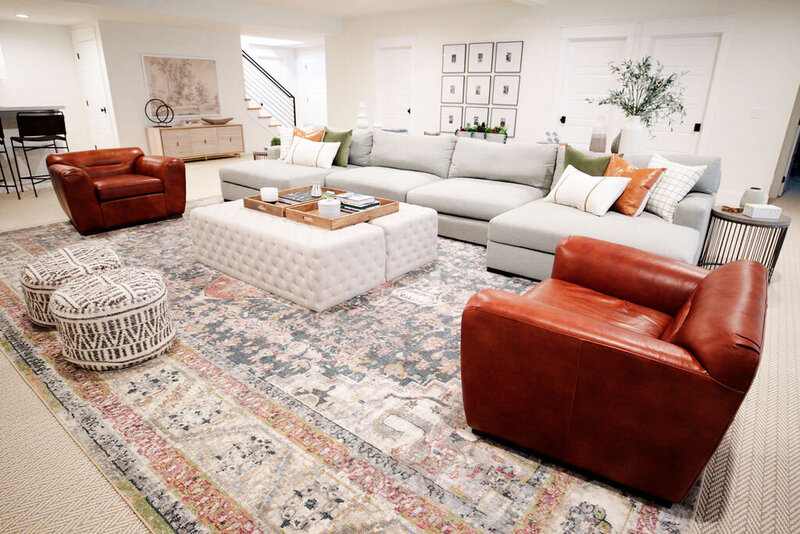
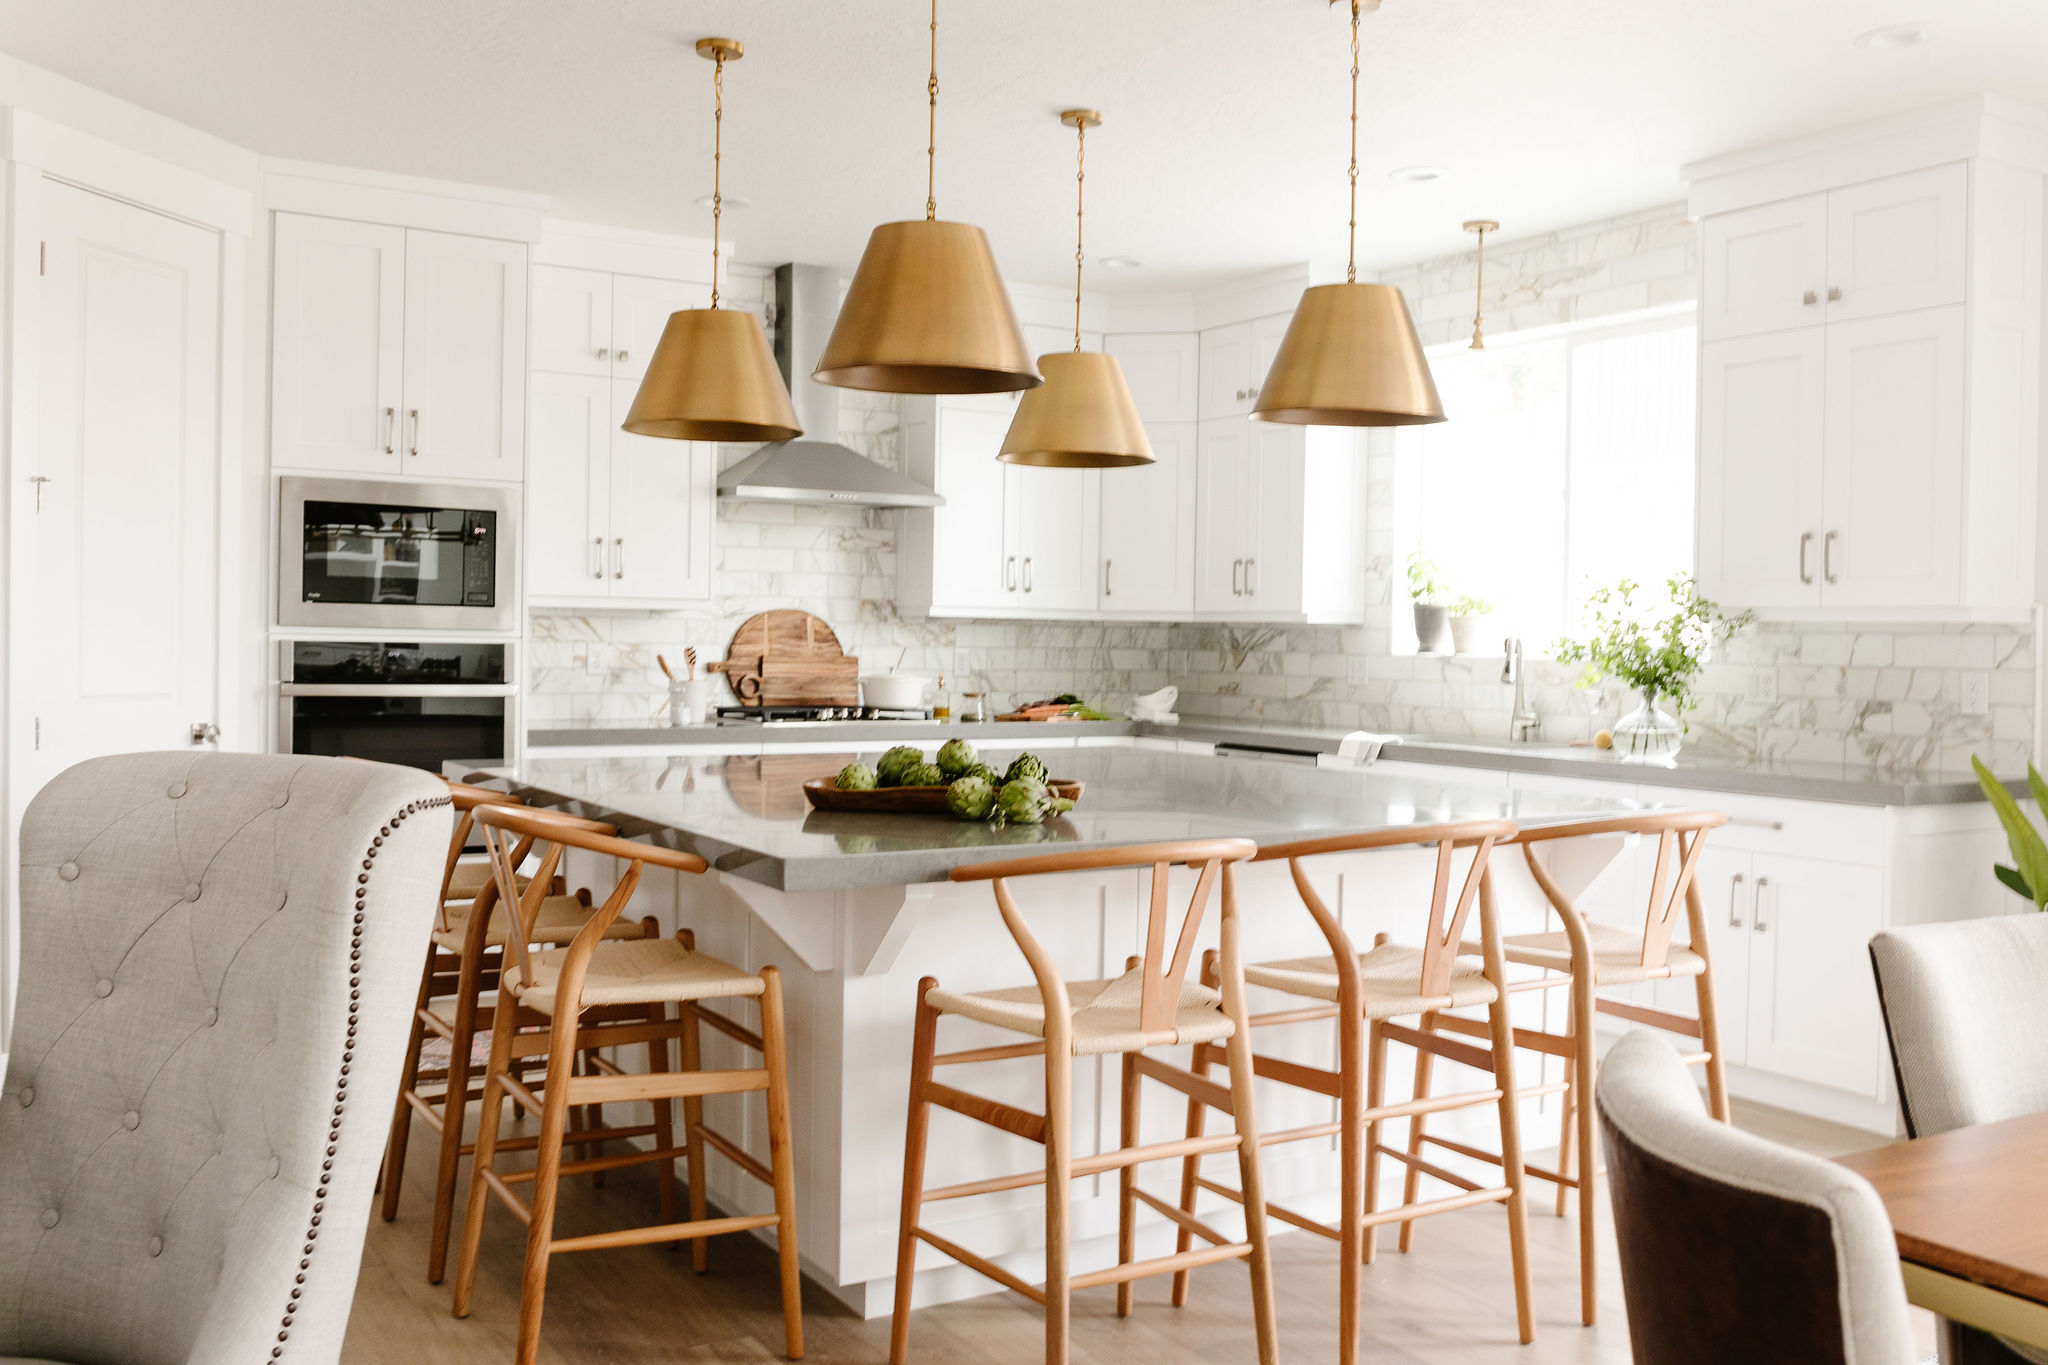
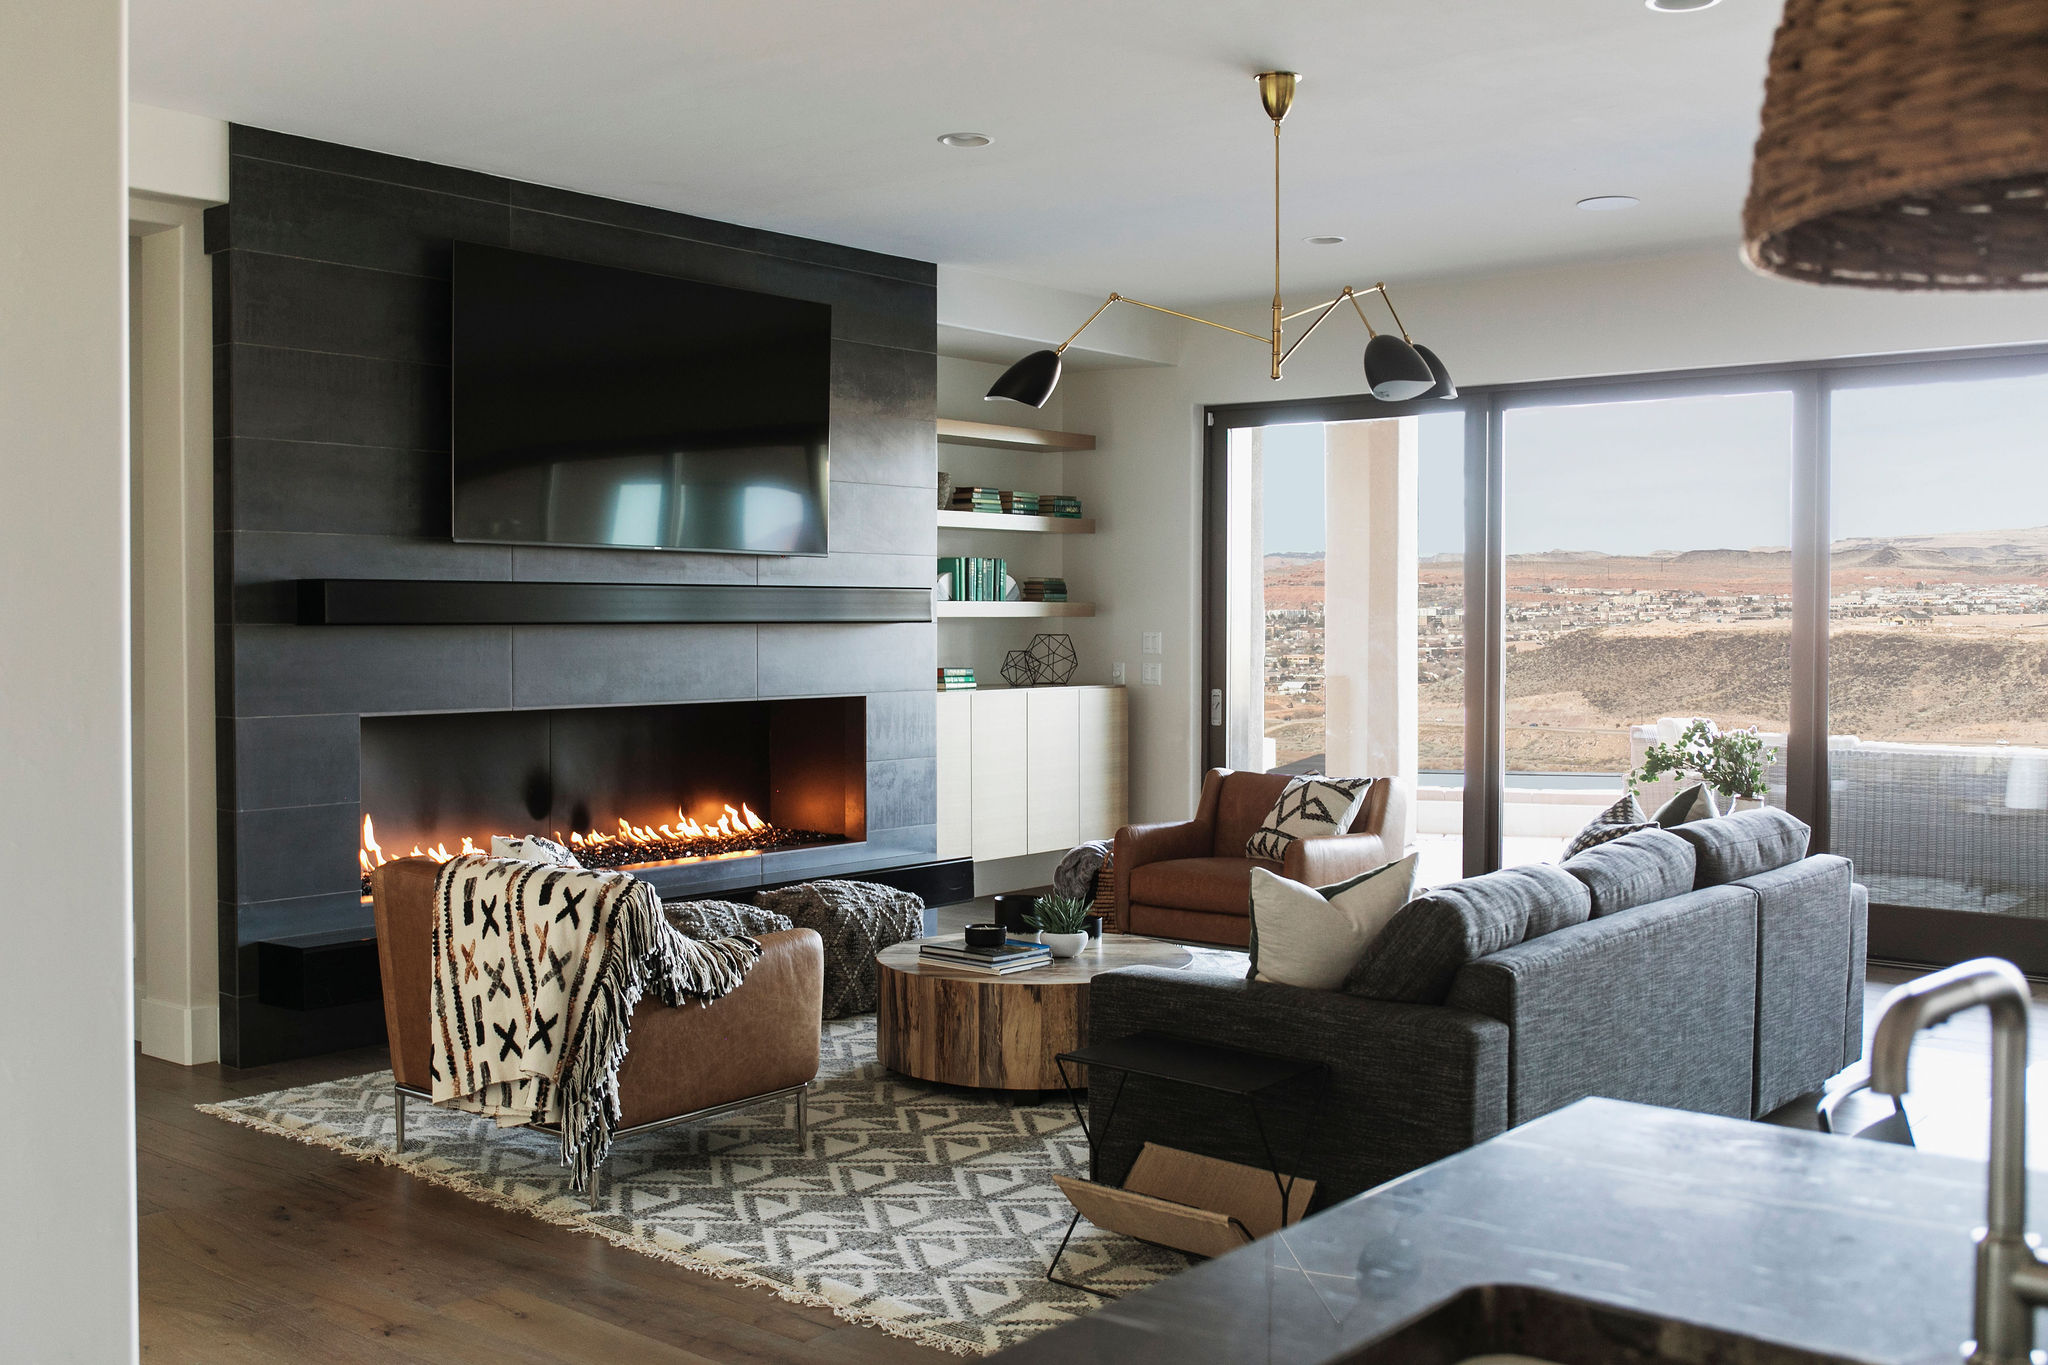
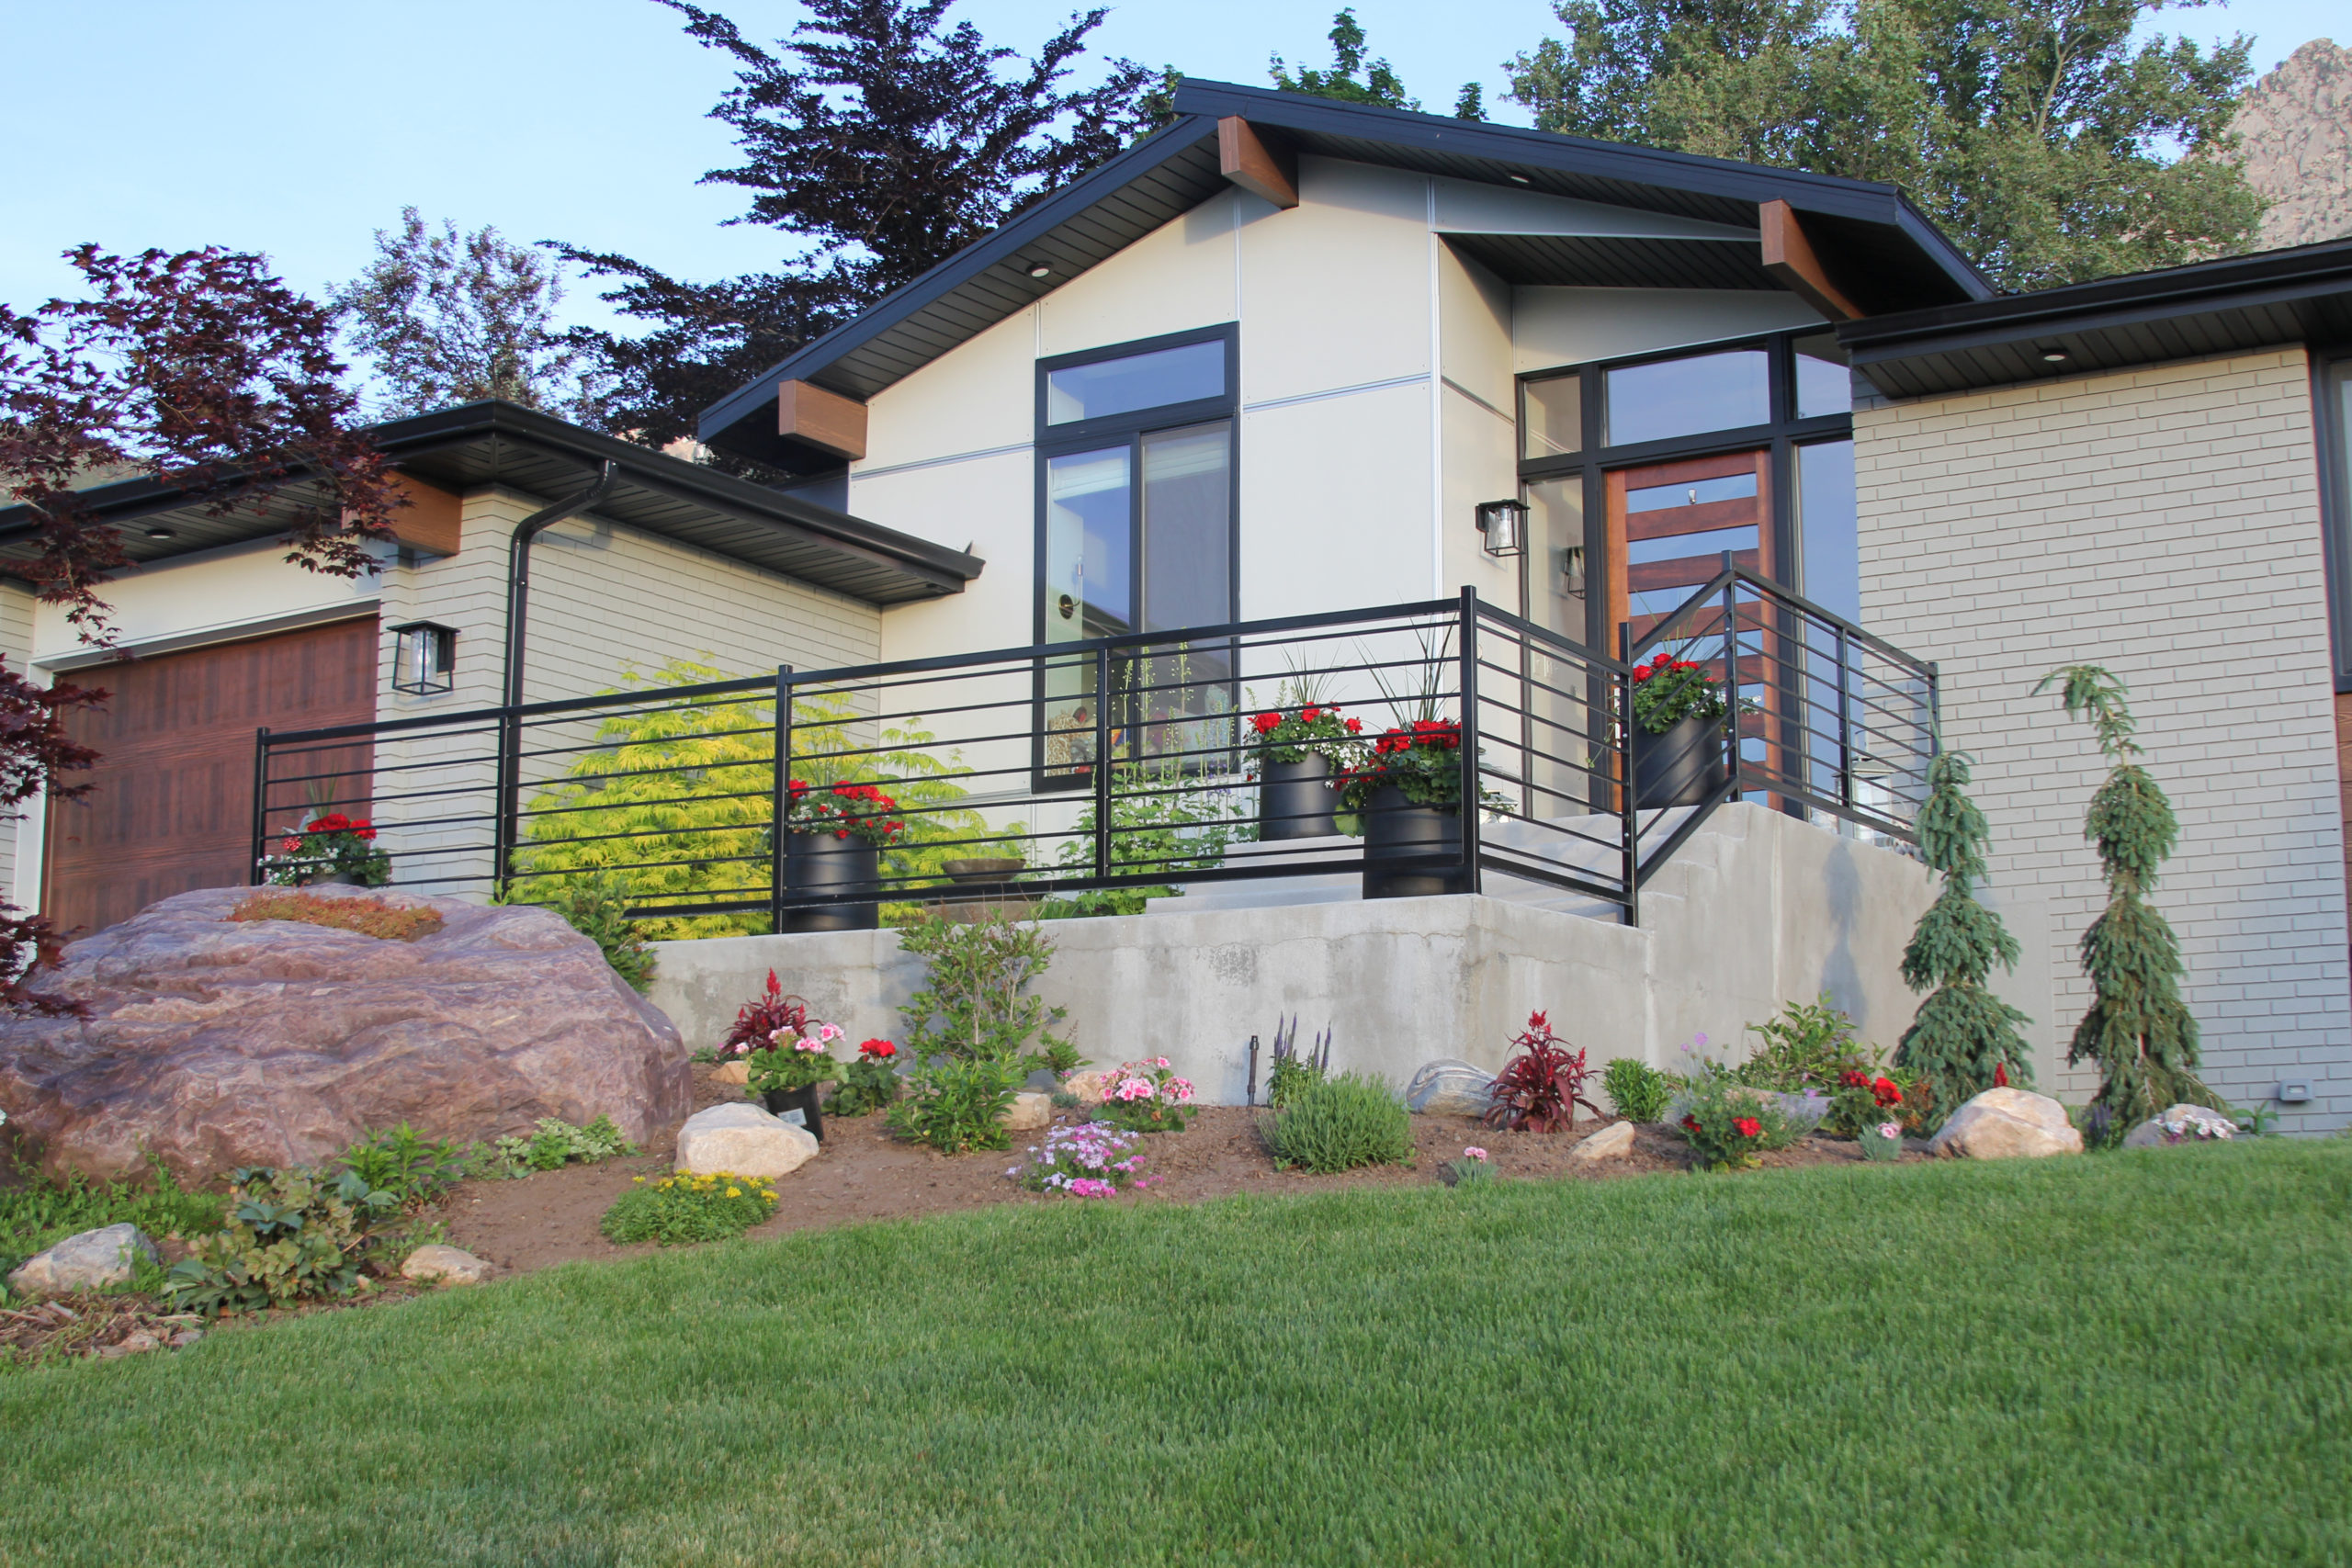
Our family room has gone through quite the remodel. Here’s a little before action from when we were walking through the house to refresh your memory…
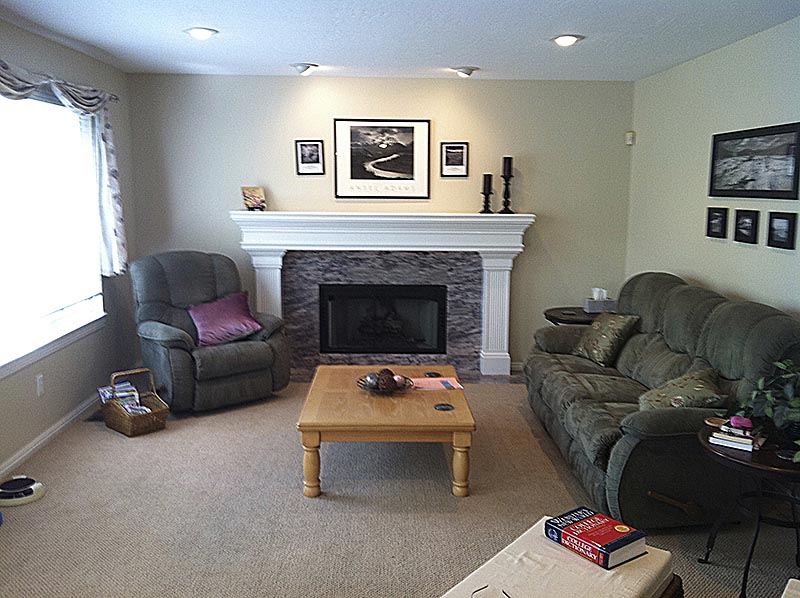
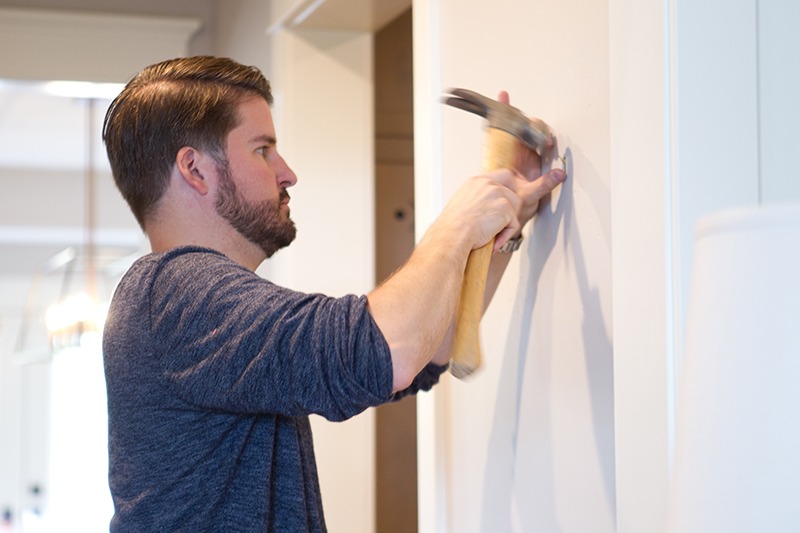
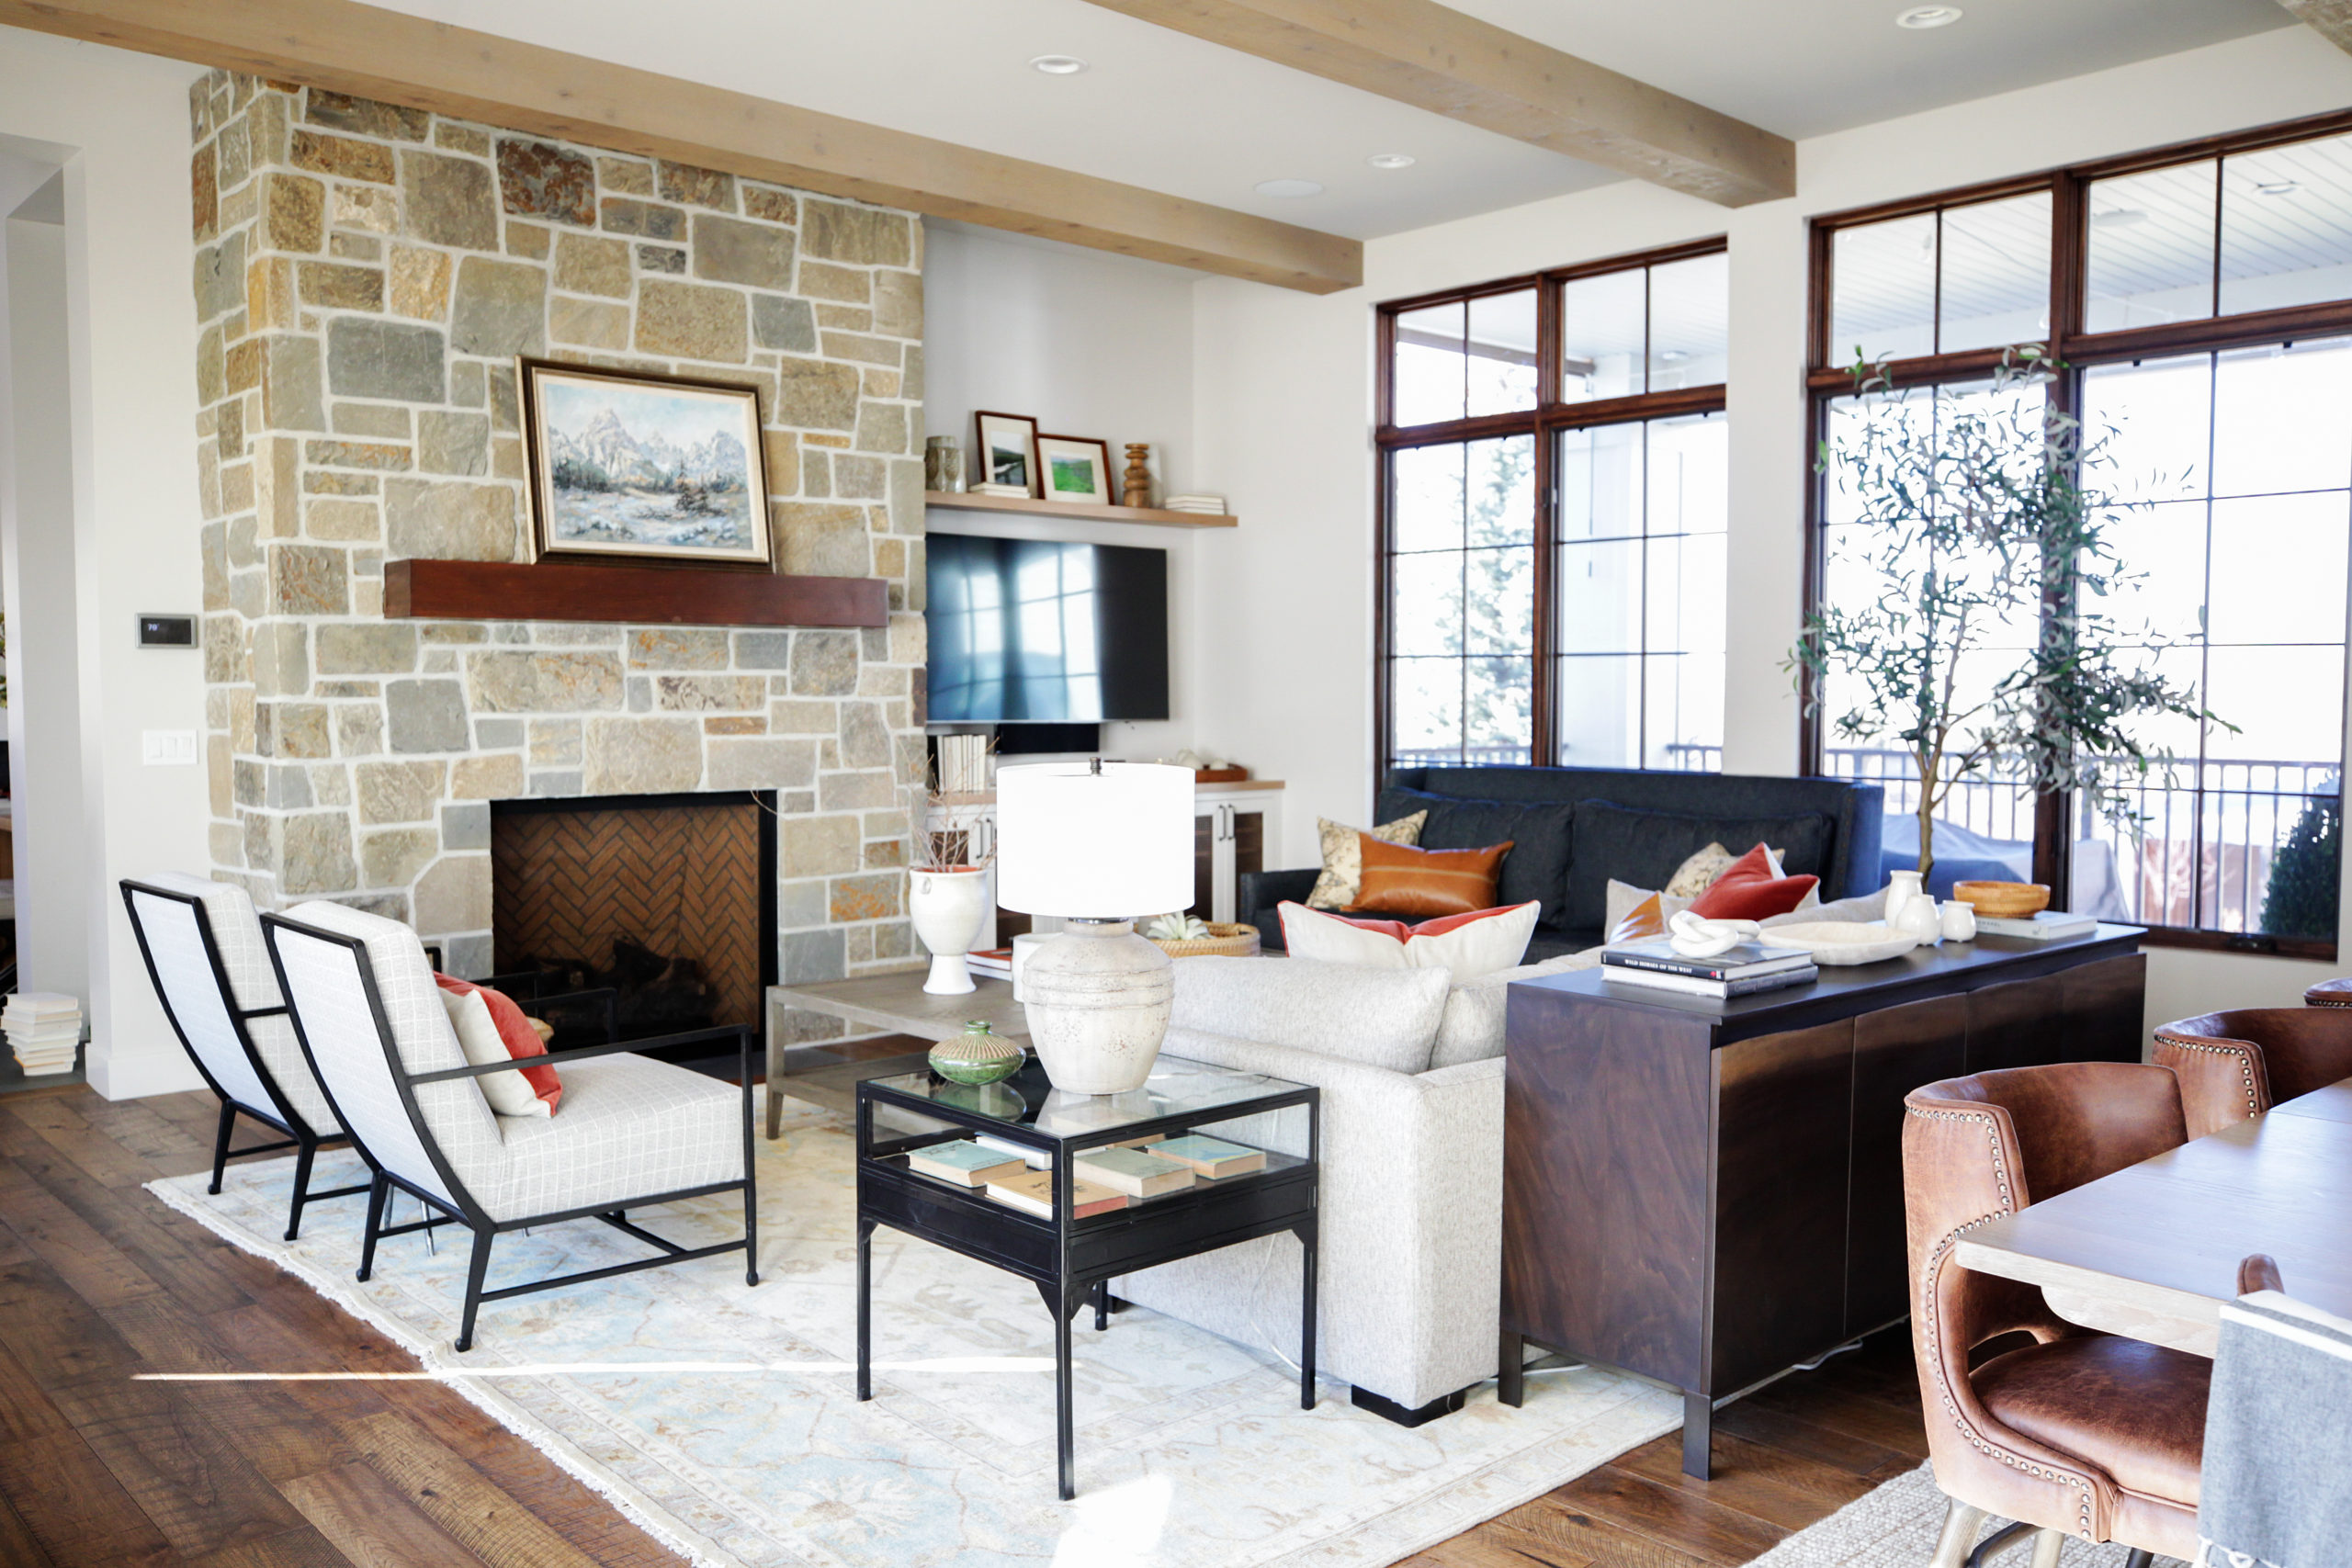
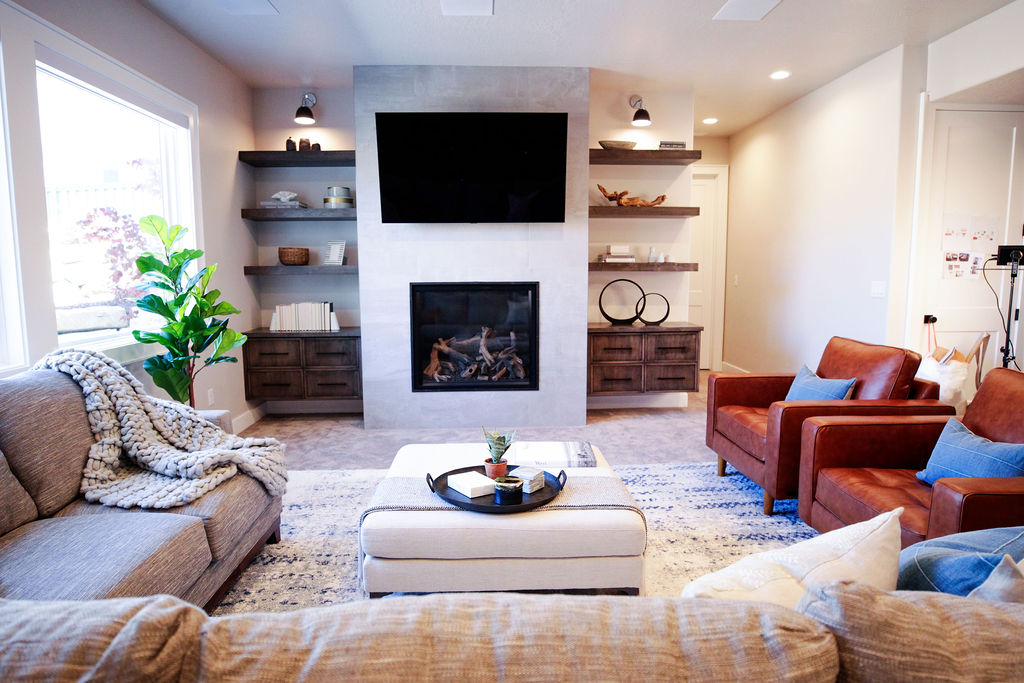
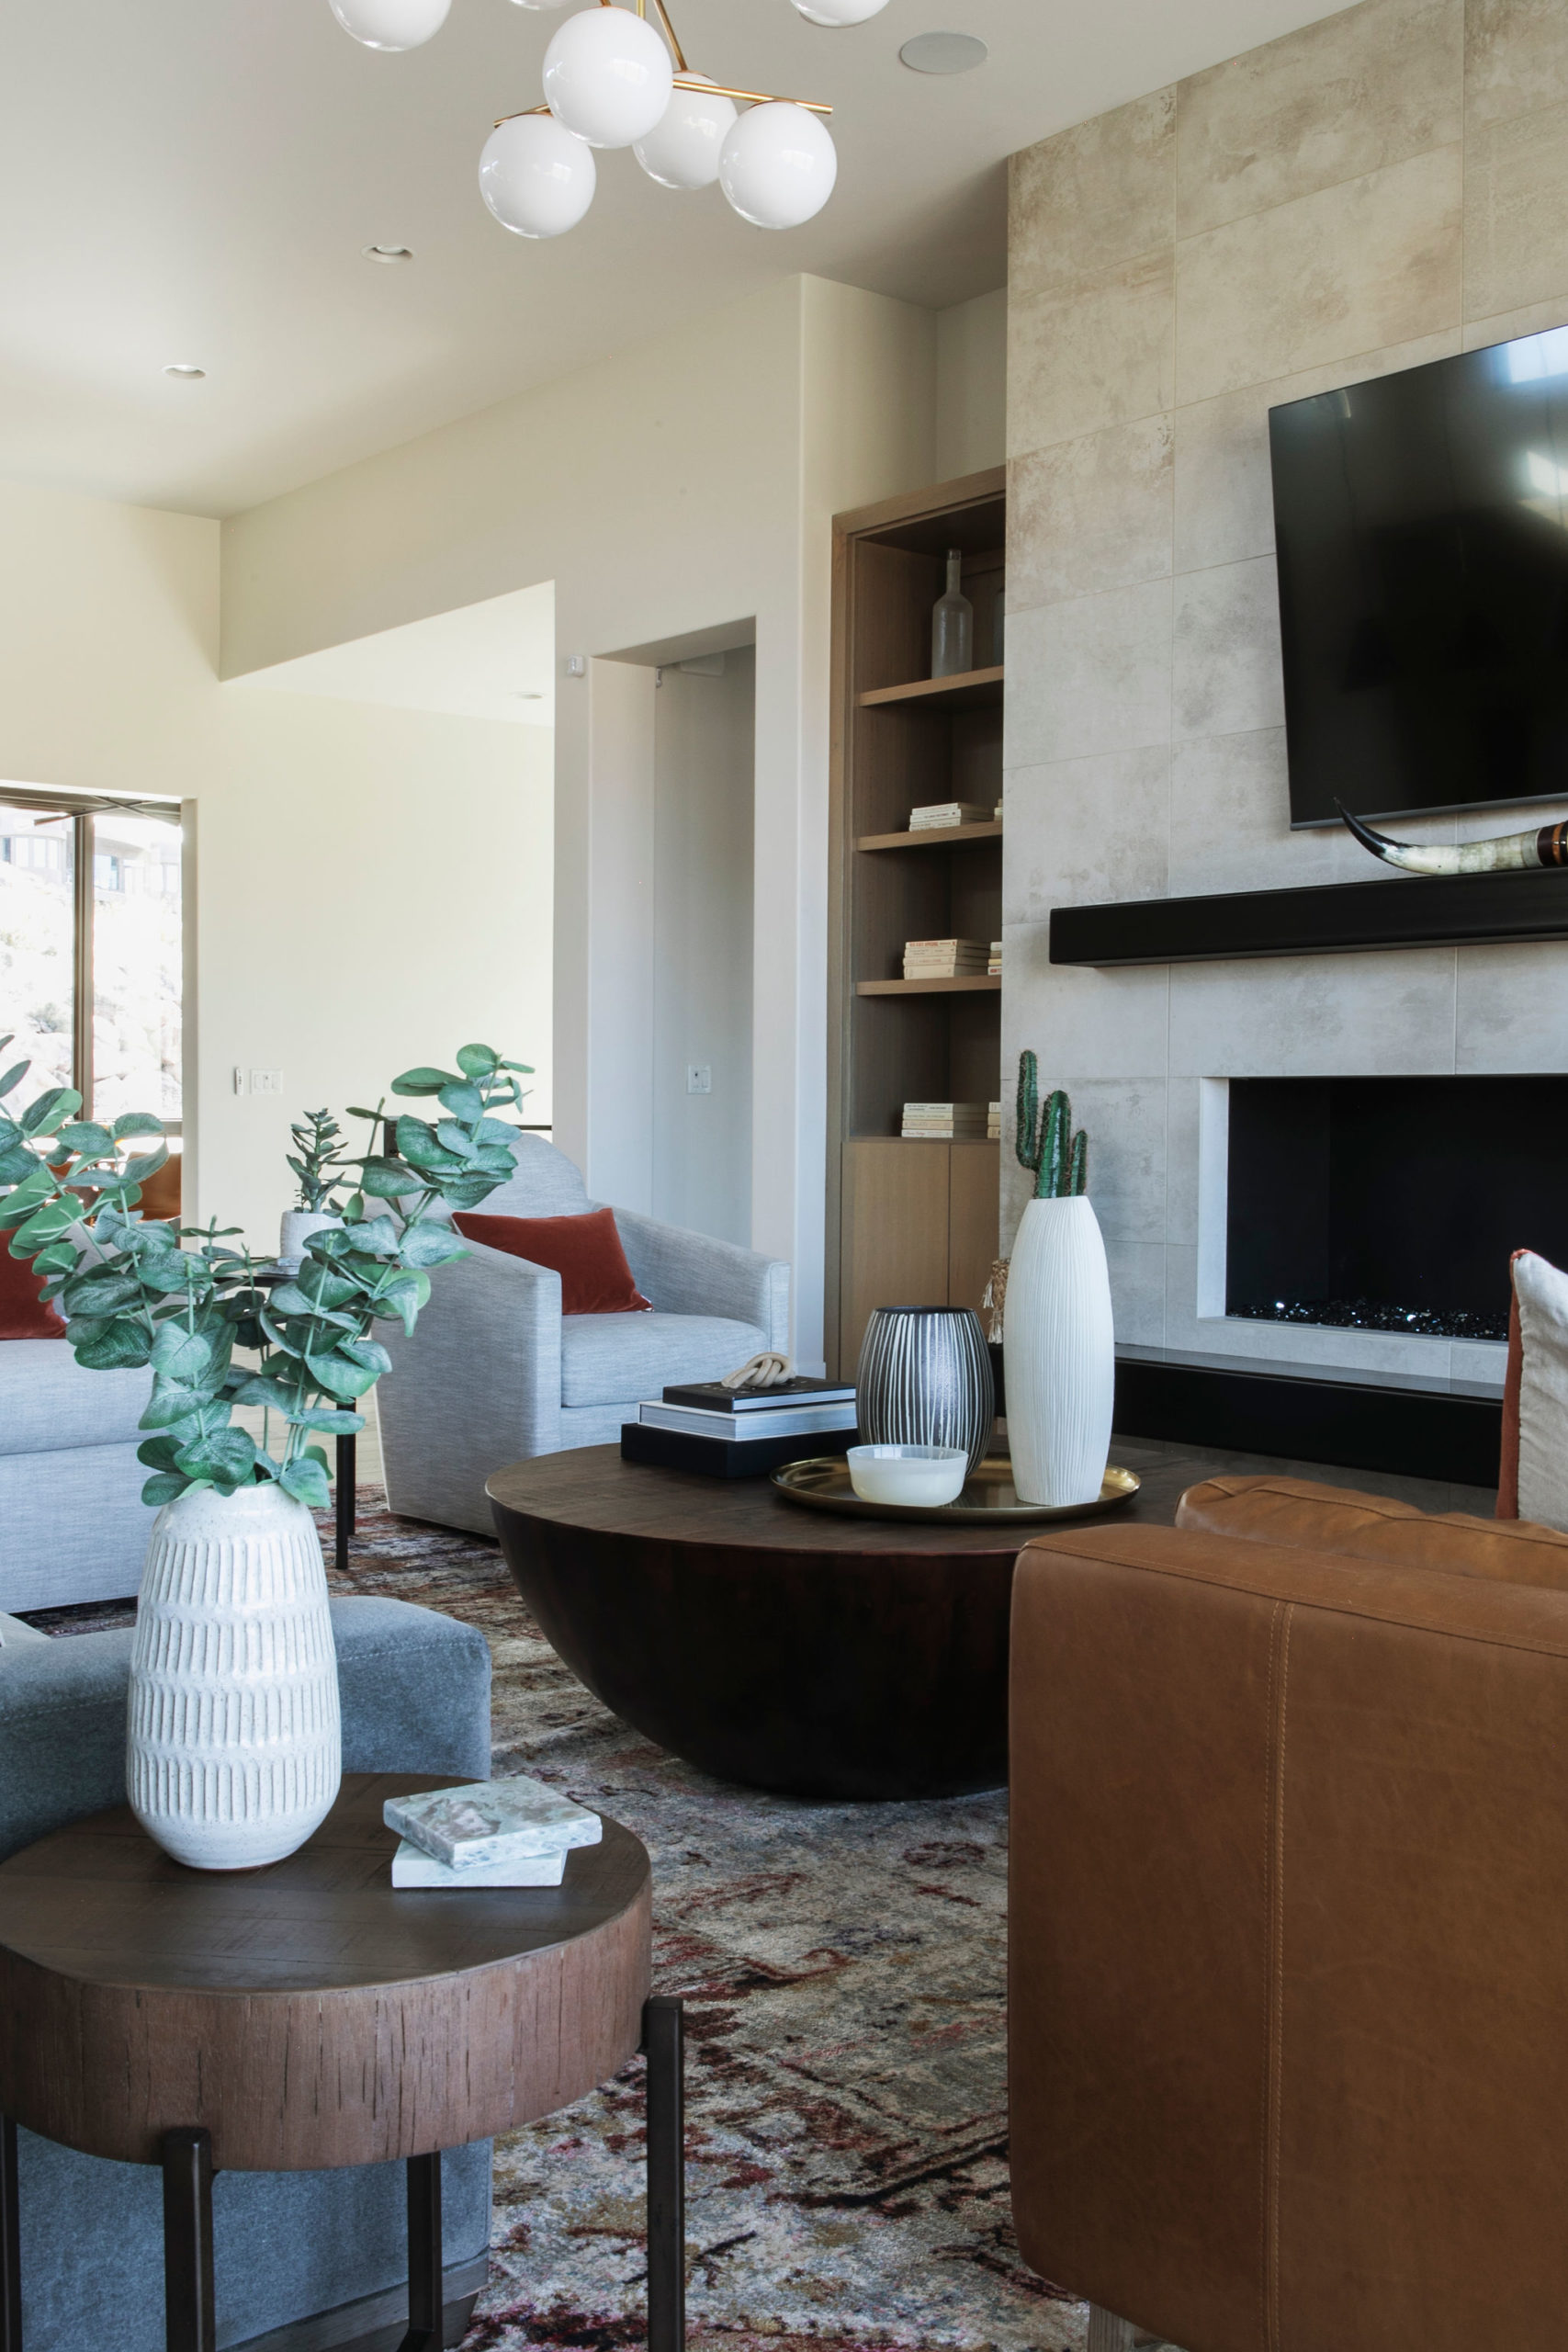
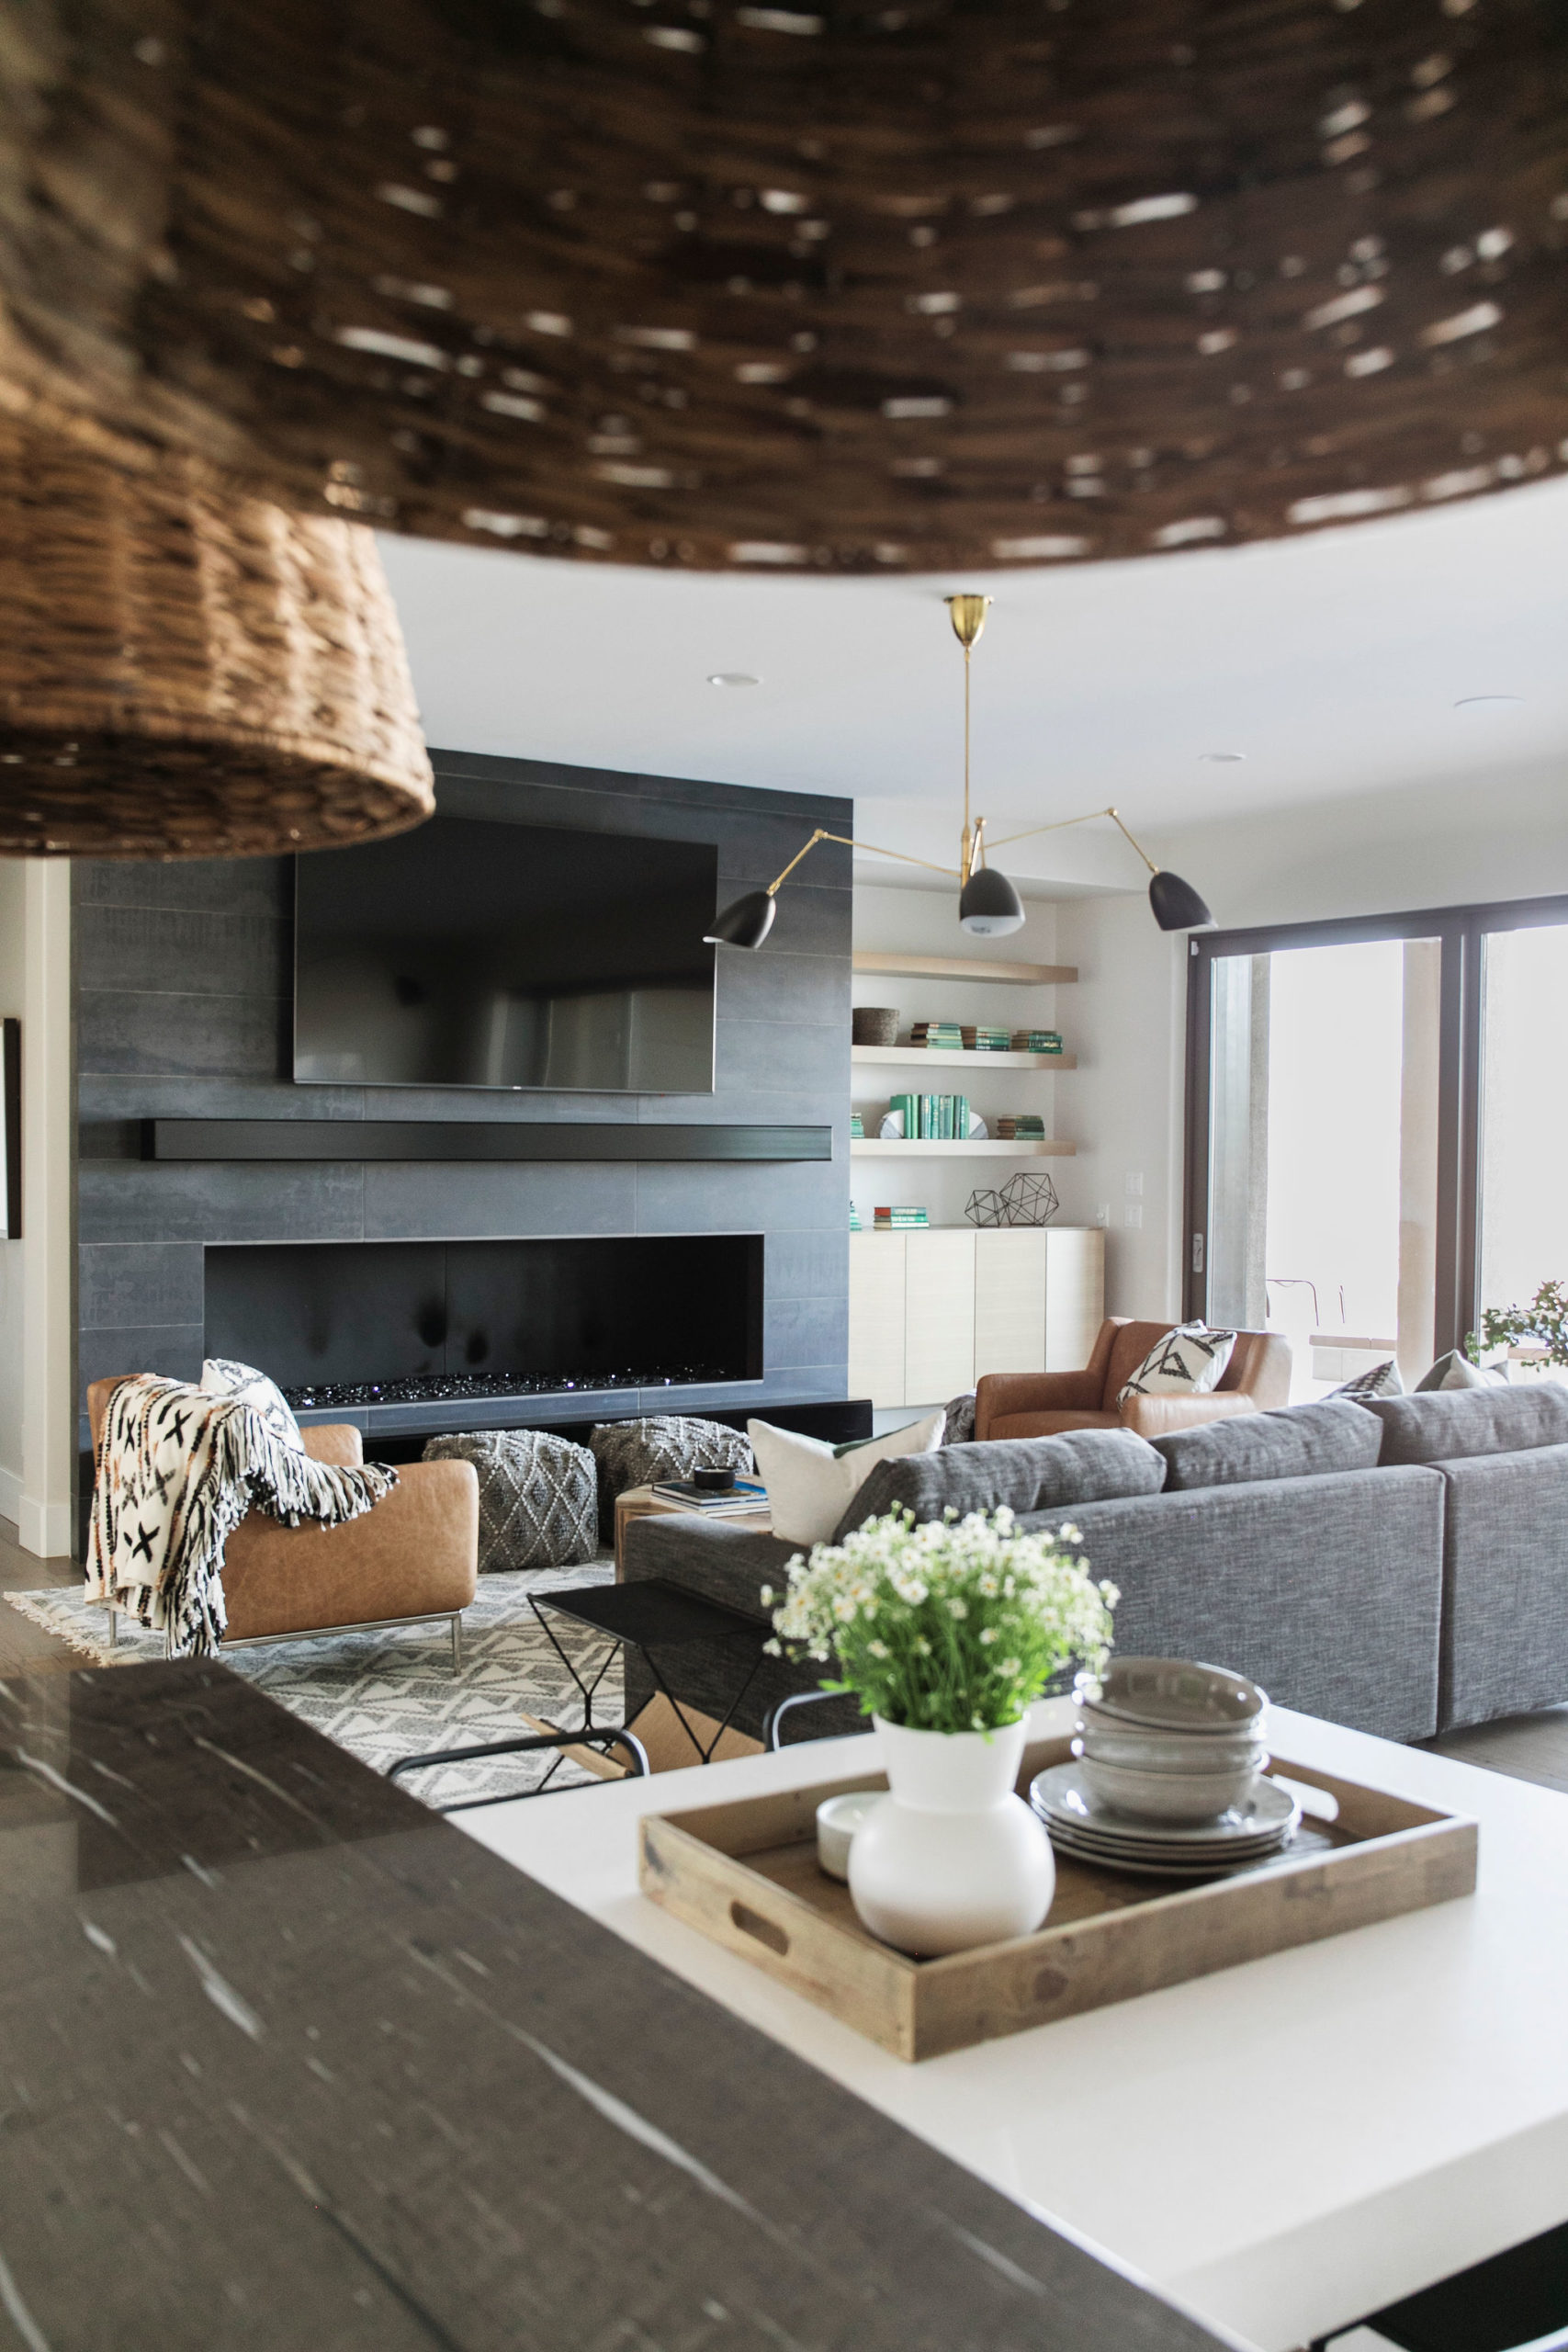
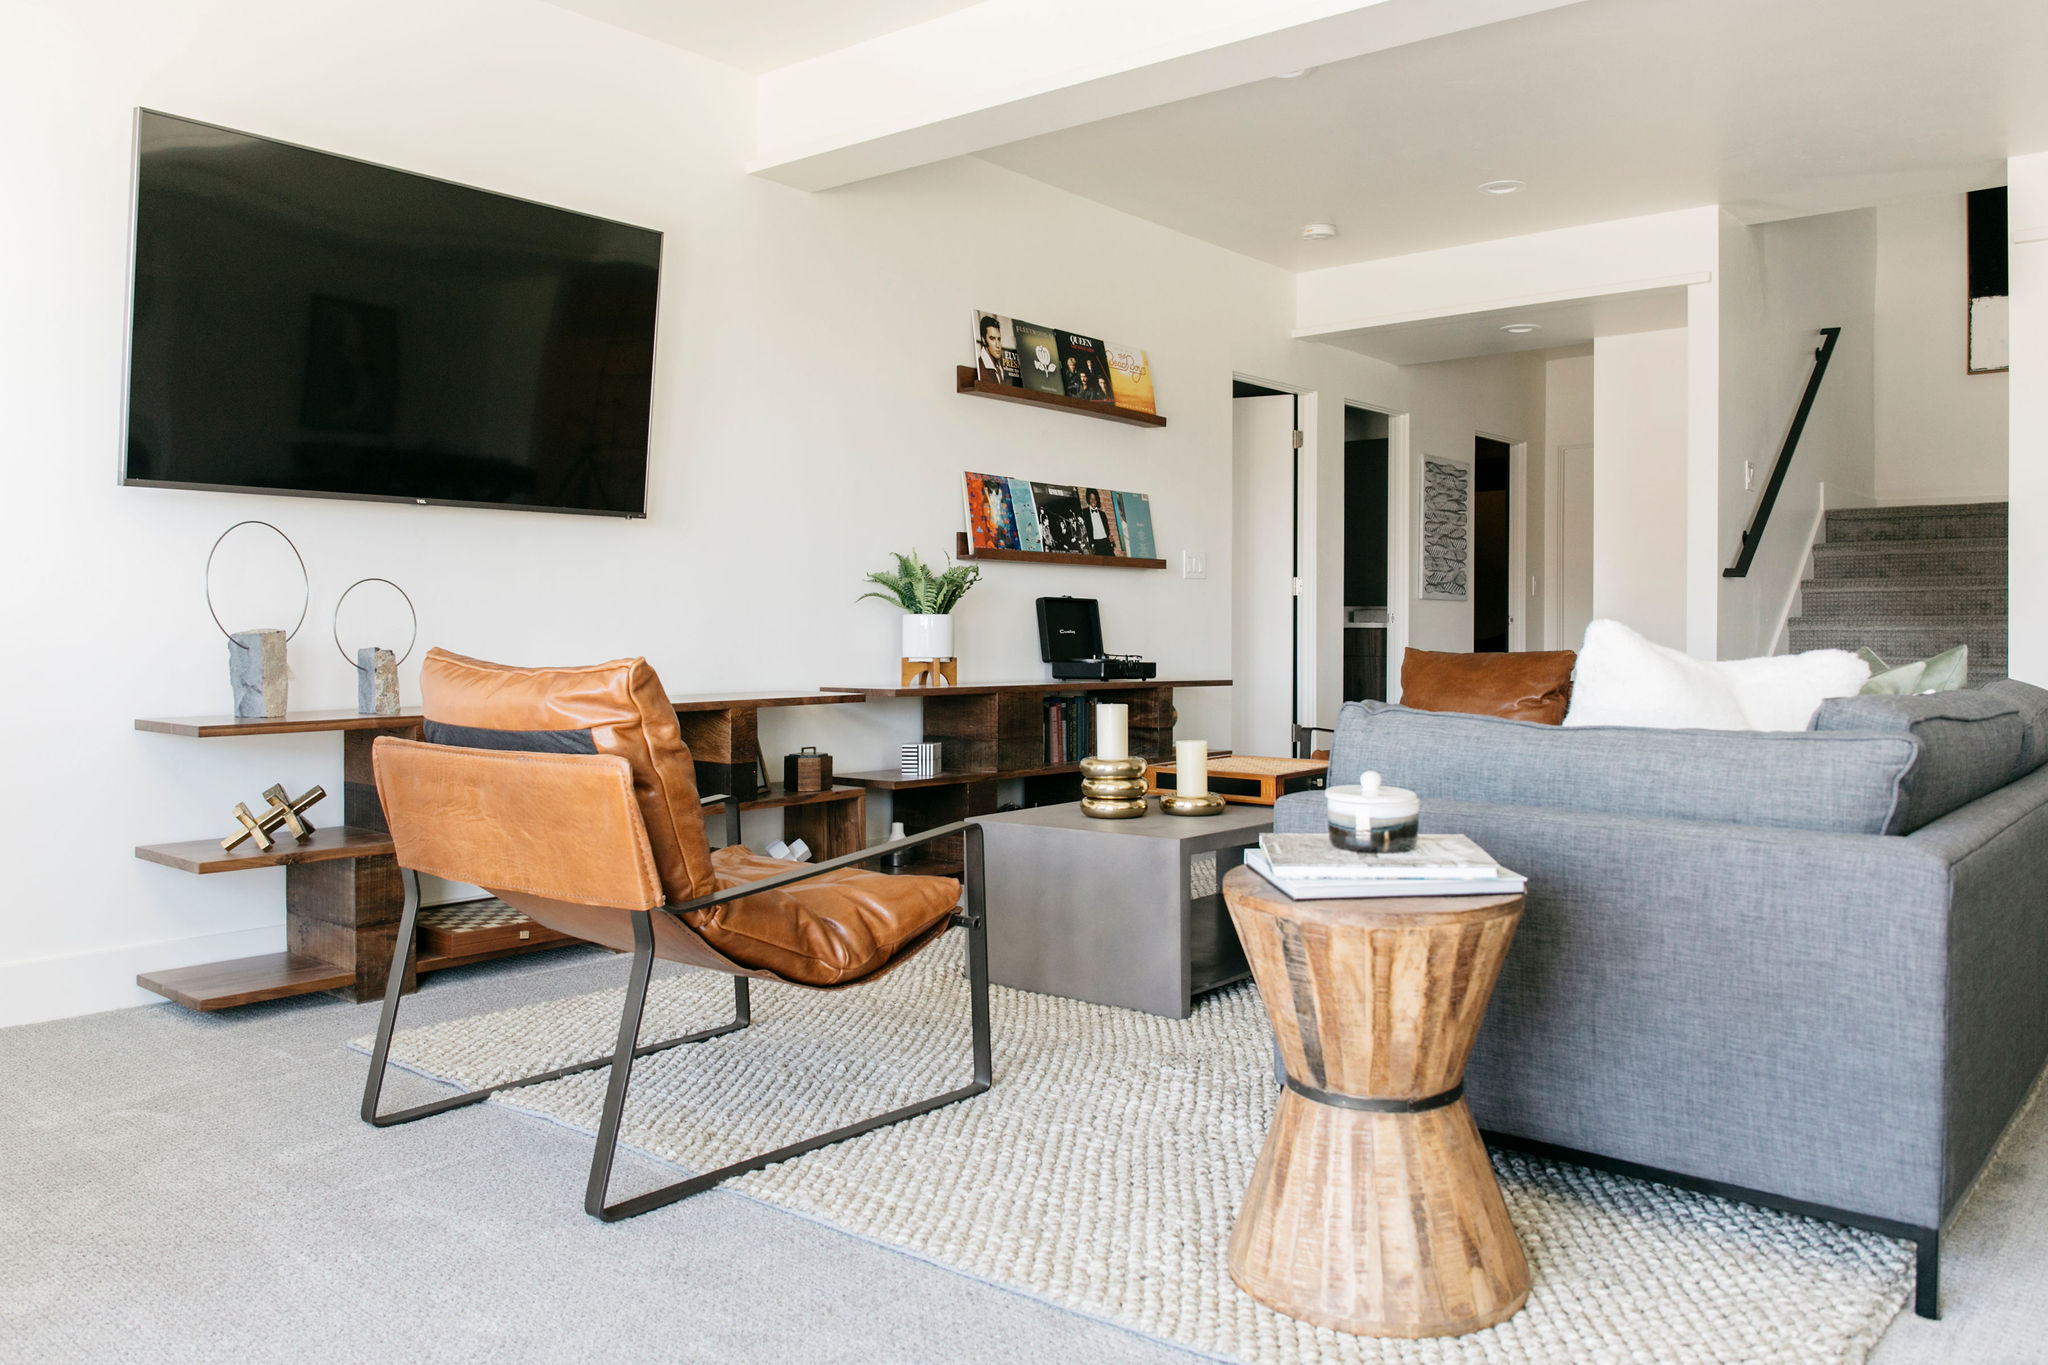
The room just felt so closed in, dysfunctional, boring, and blah. I always envisioned built-in shelves around the fireplace, with our television mounted above, but I reallllly didn’t want to hire it out. But there was a problem– we had never built shelves before. Not that it has ever stopped us before. We are an ignorantly confidant bunch around here. So, we naturally dove right into DIY Built-ins (and they include an IKEA hack!).
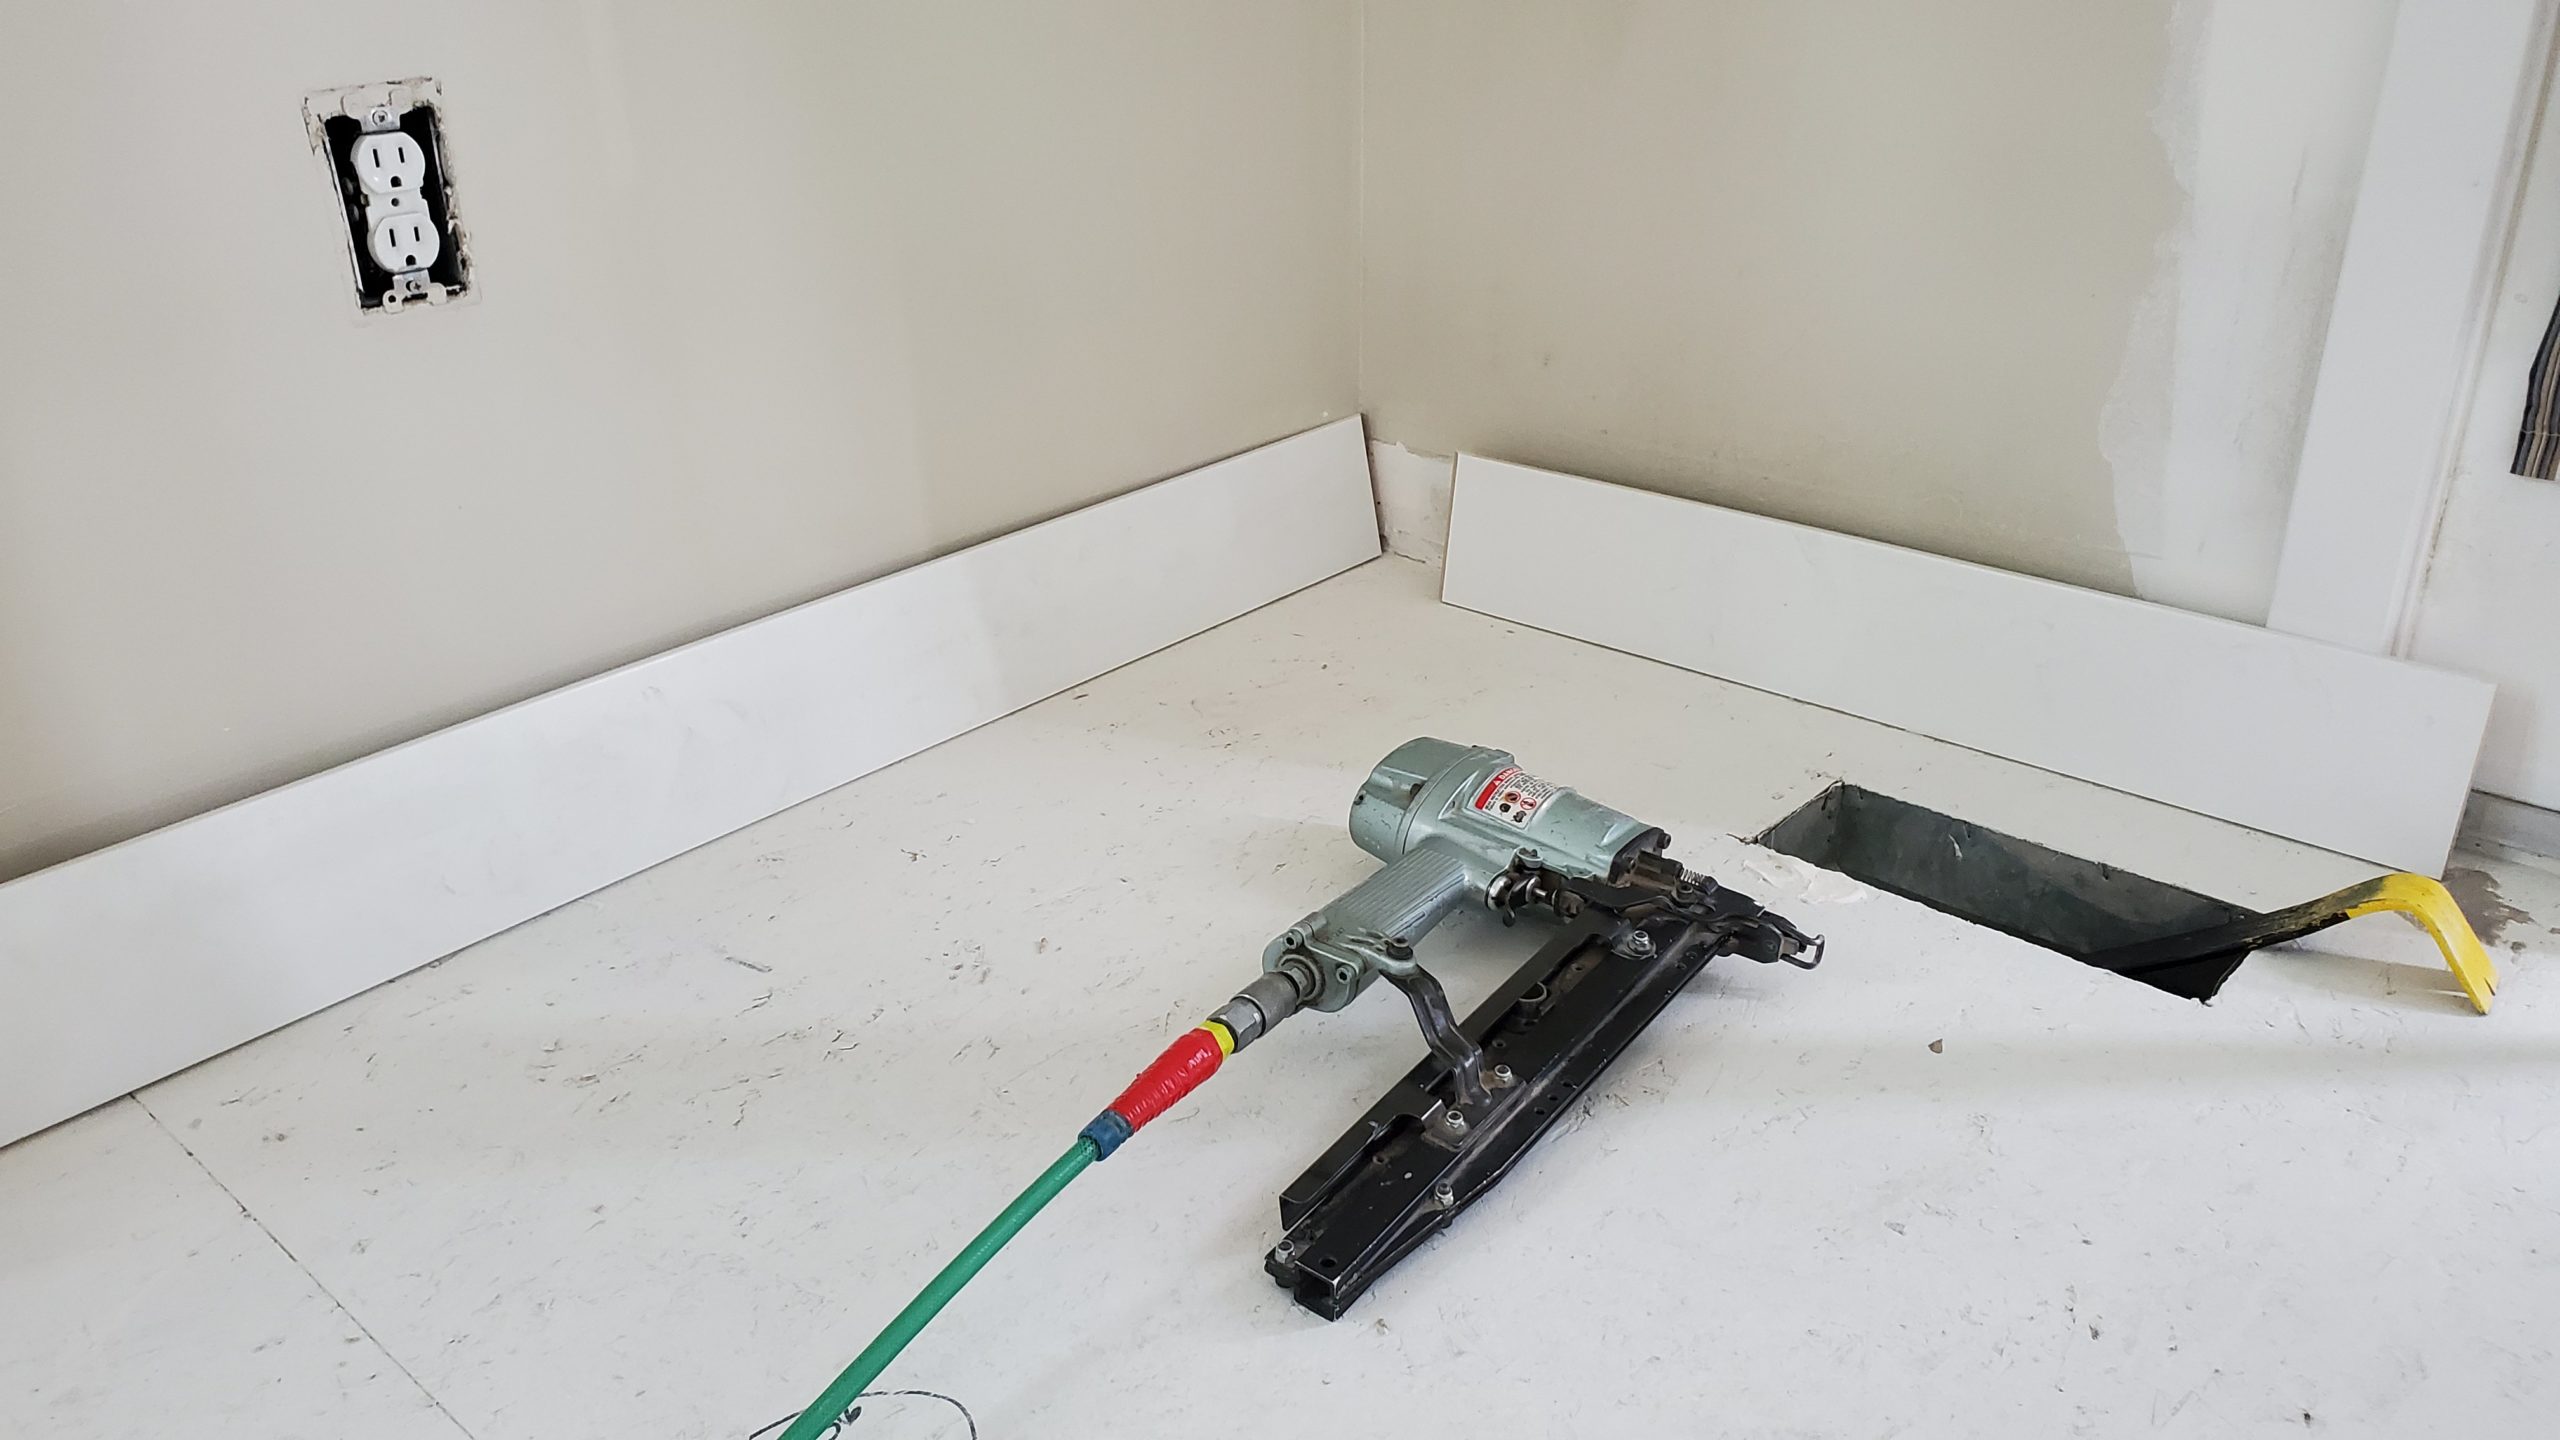
After much scheming and planning and thinking, our hesitance came down to one big problem: the cabinet bases.
Building cabinets is super tricky. Trying to get the doors to function properly and line up exactly right is extremely difficult. Then while walking through IKEA, I had an epiphany: use Ikea cabinets as the base.
I originally thought kitchen cabinets, but once I started looking around, I knew two IKEA Besta Units would be purrrrfect. We purchased doors for them, and they were the launching pieces for the project.
Building built-ins, a mantle, adding moulding detailing, painting, and styling them took many steps, so I’ve broken this project into three parts: this first part is demo and building the skeleton. the mantle, and the wood detailing above the fireplace. I think video teaches in a way that still images just can’t– you can actually see us putting this project together which if you’re wanting to do it yourself, is invaluable. I did most of the shooting for these videos, as we were often working on them late at night. James rounded out the shooting and edited it all together. Thanks James!
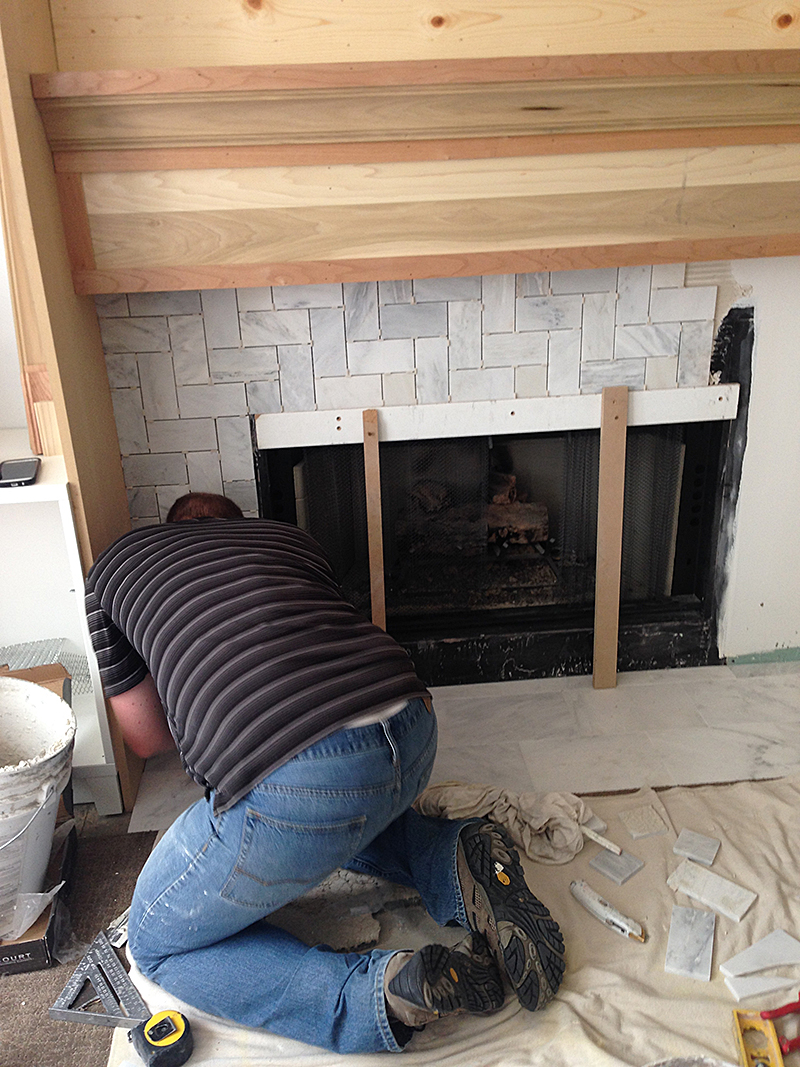
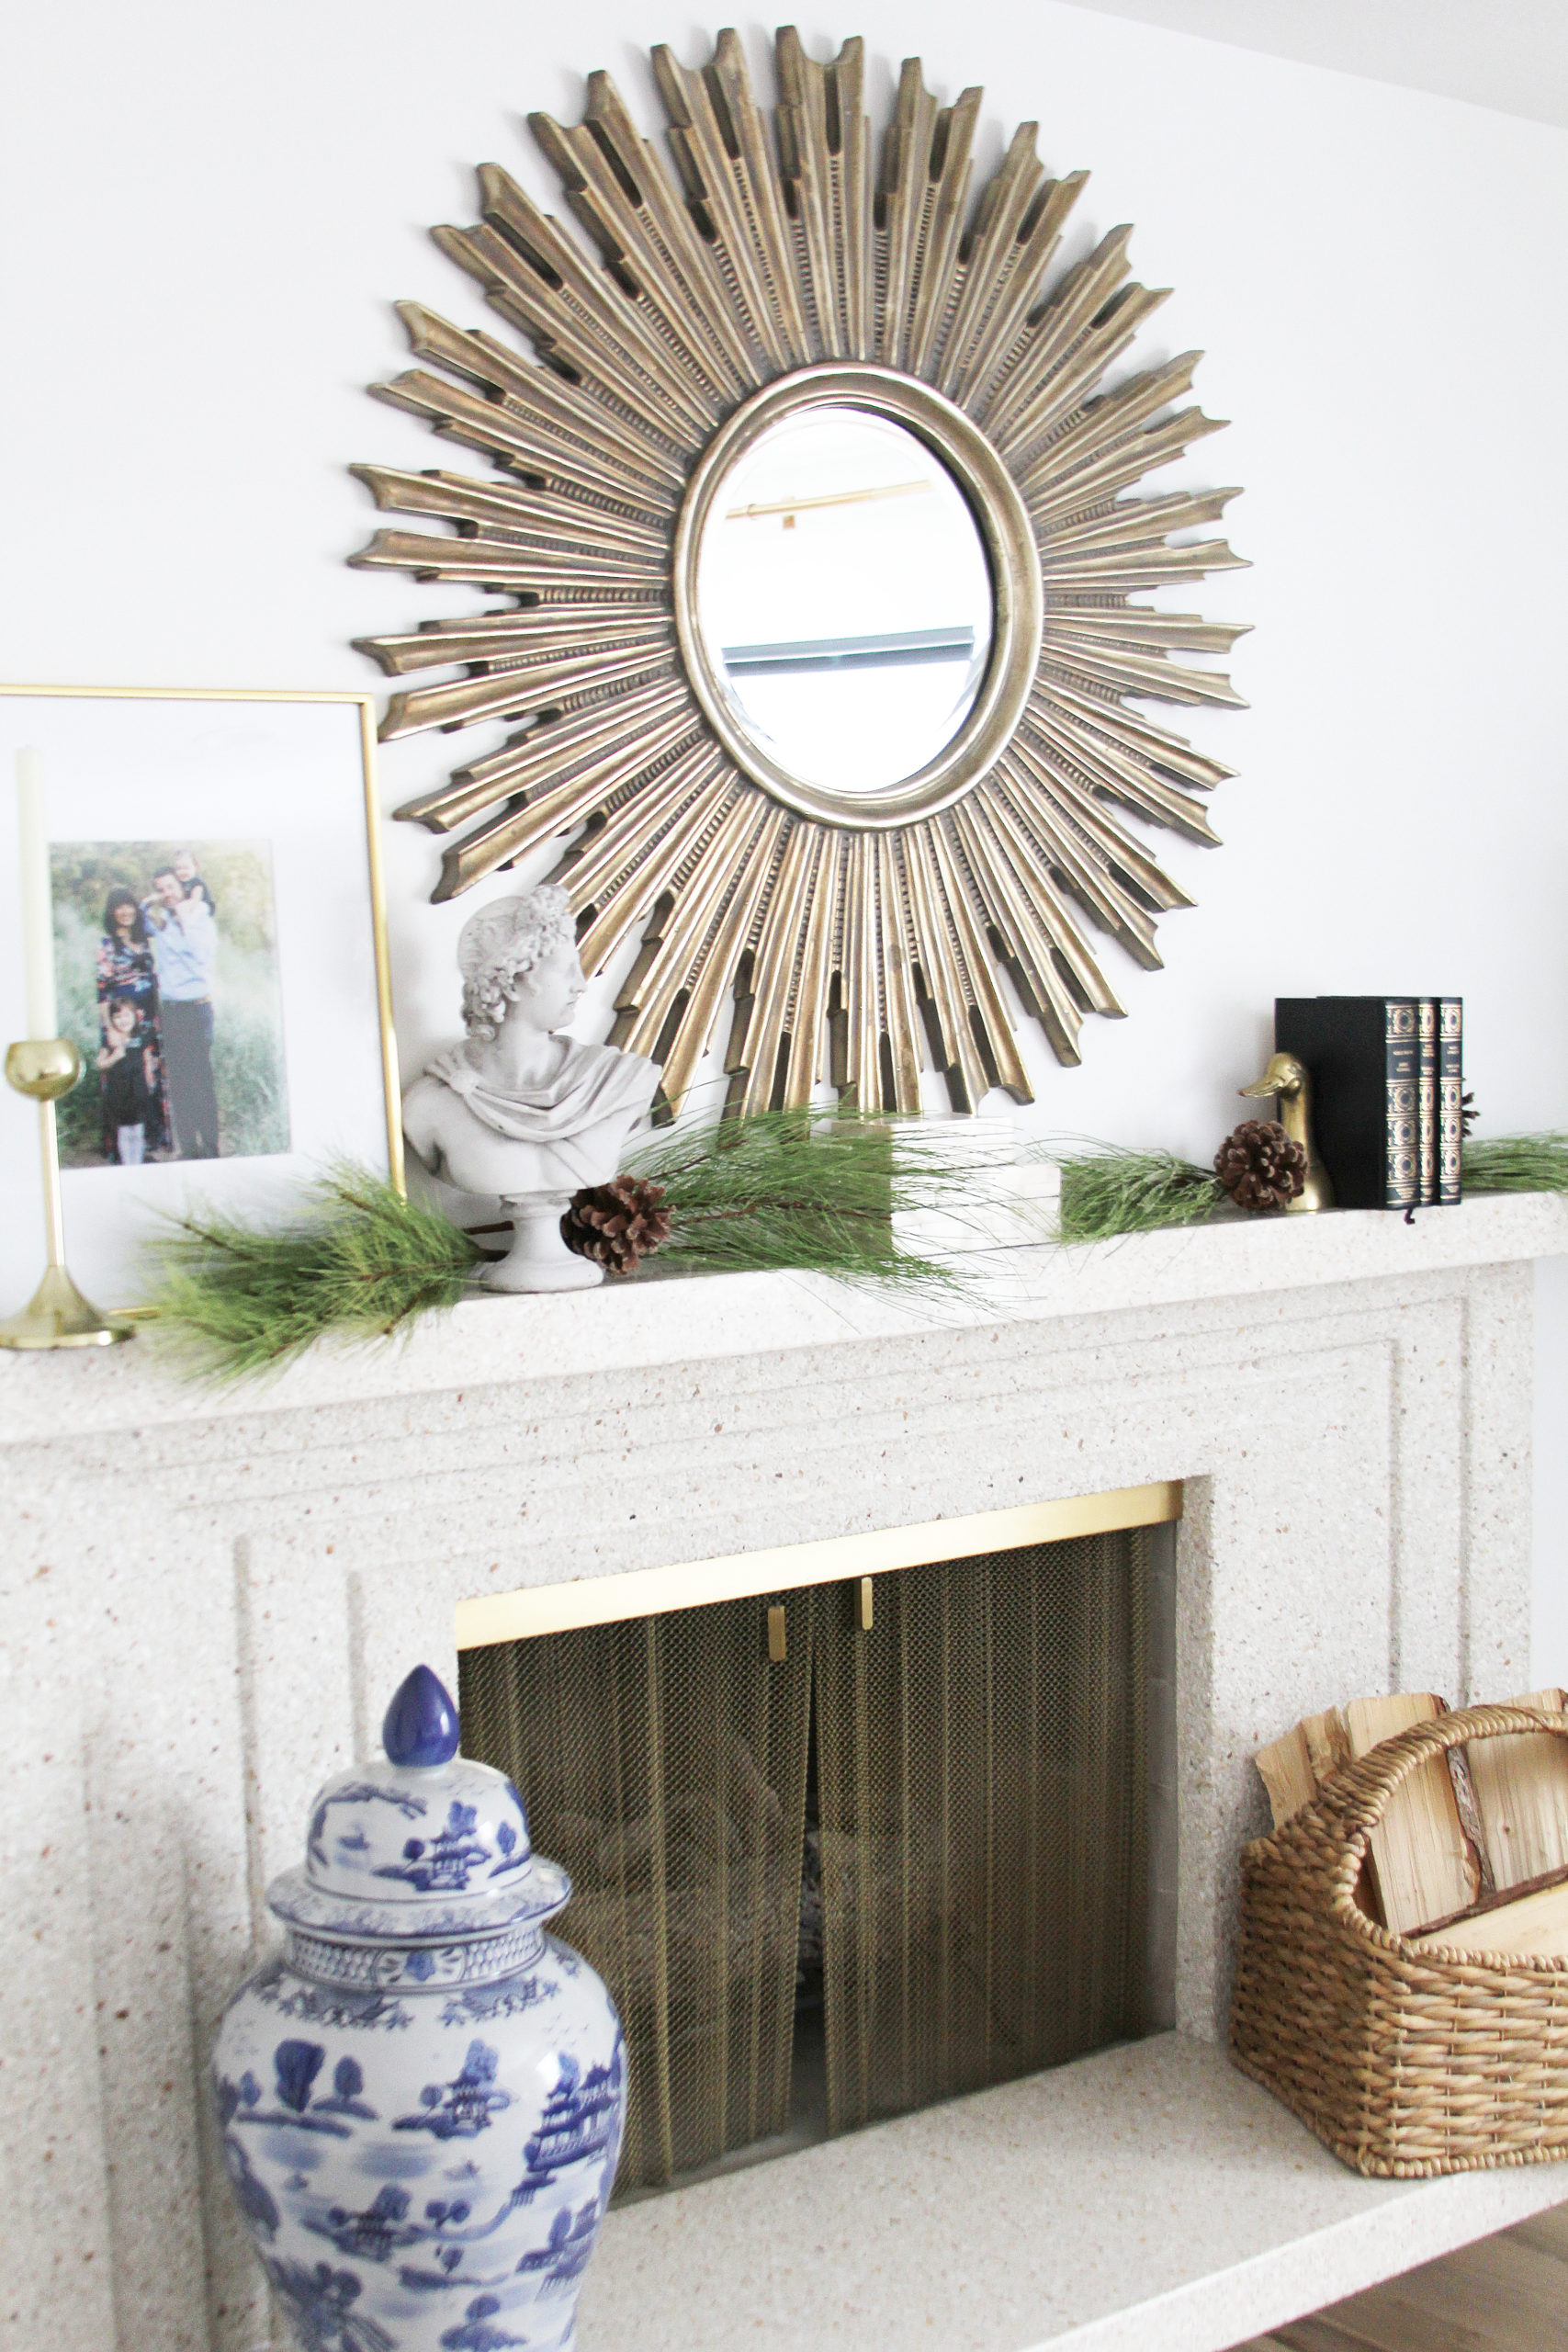
A few more tips: building the mantle was actually a bit easier than we anticipated. We essentially built out a wood box, then added moulding detail to it.
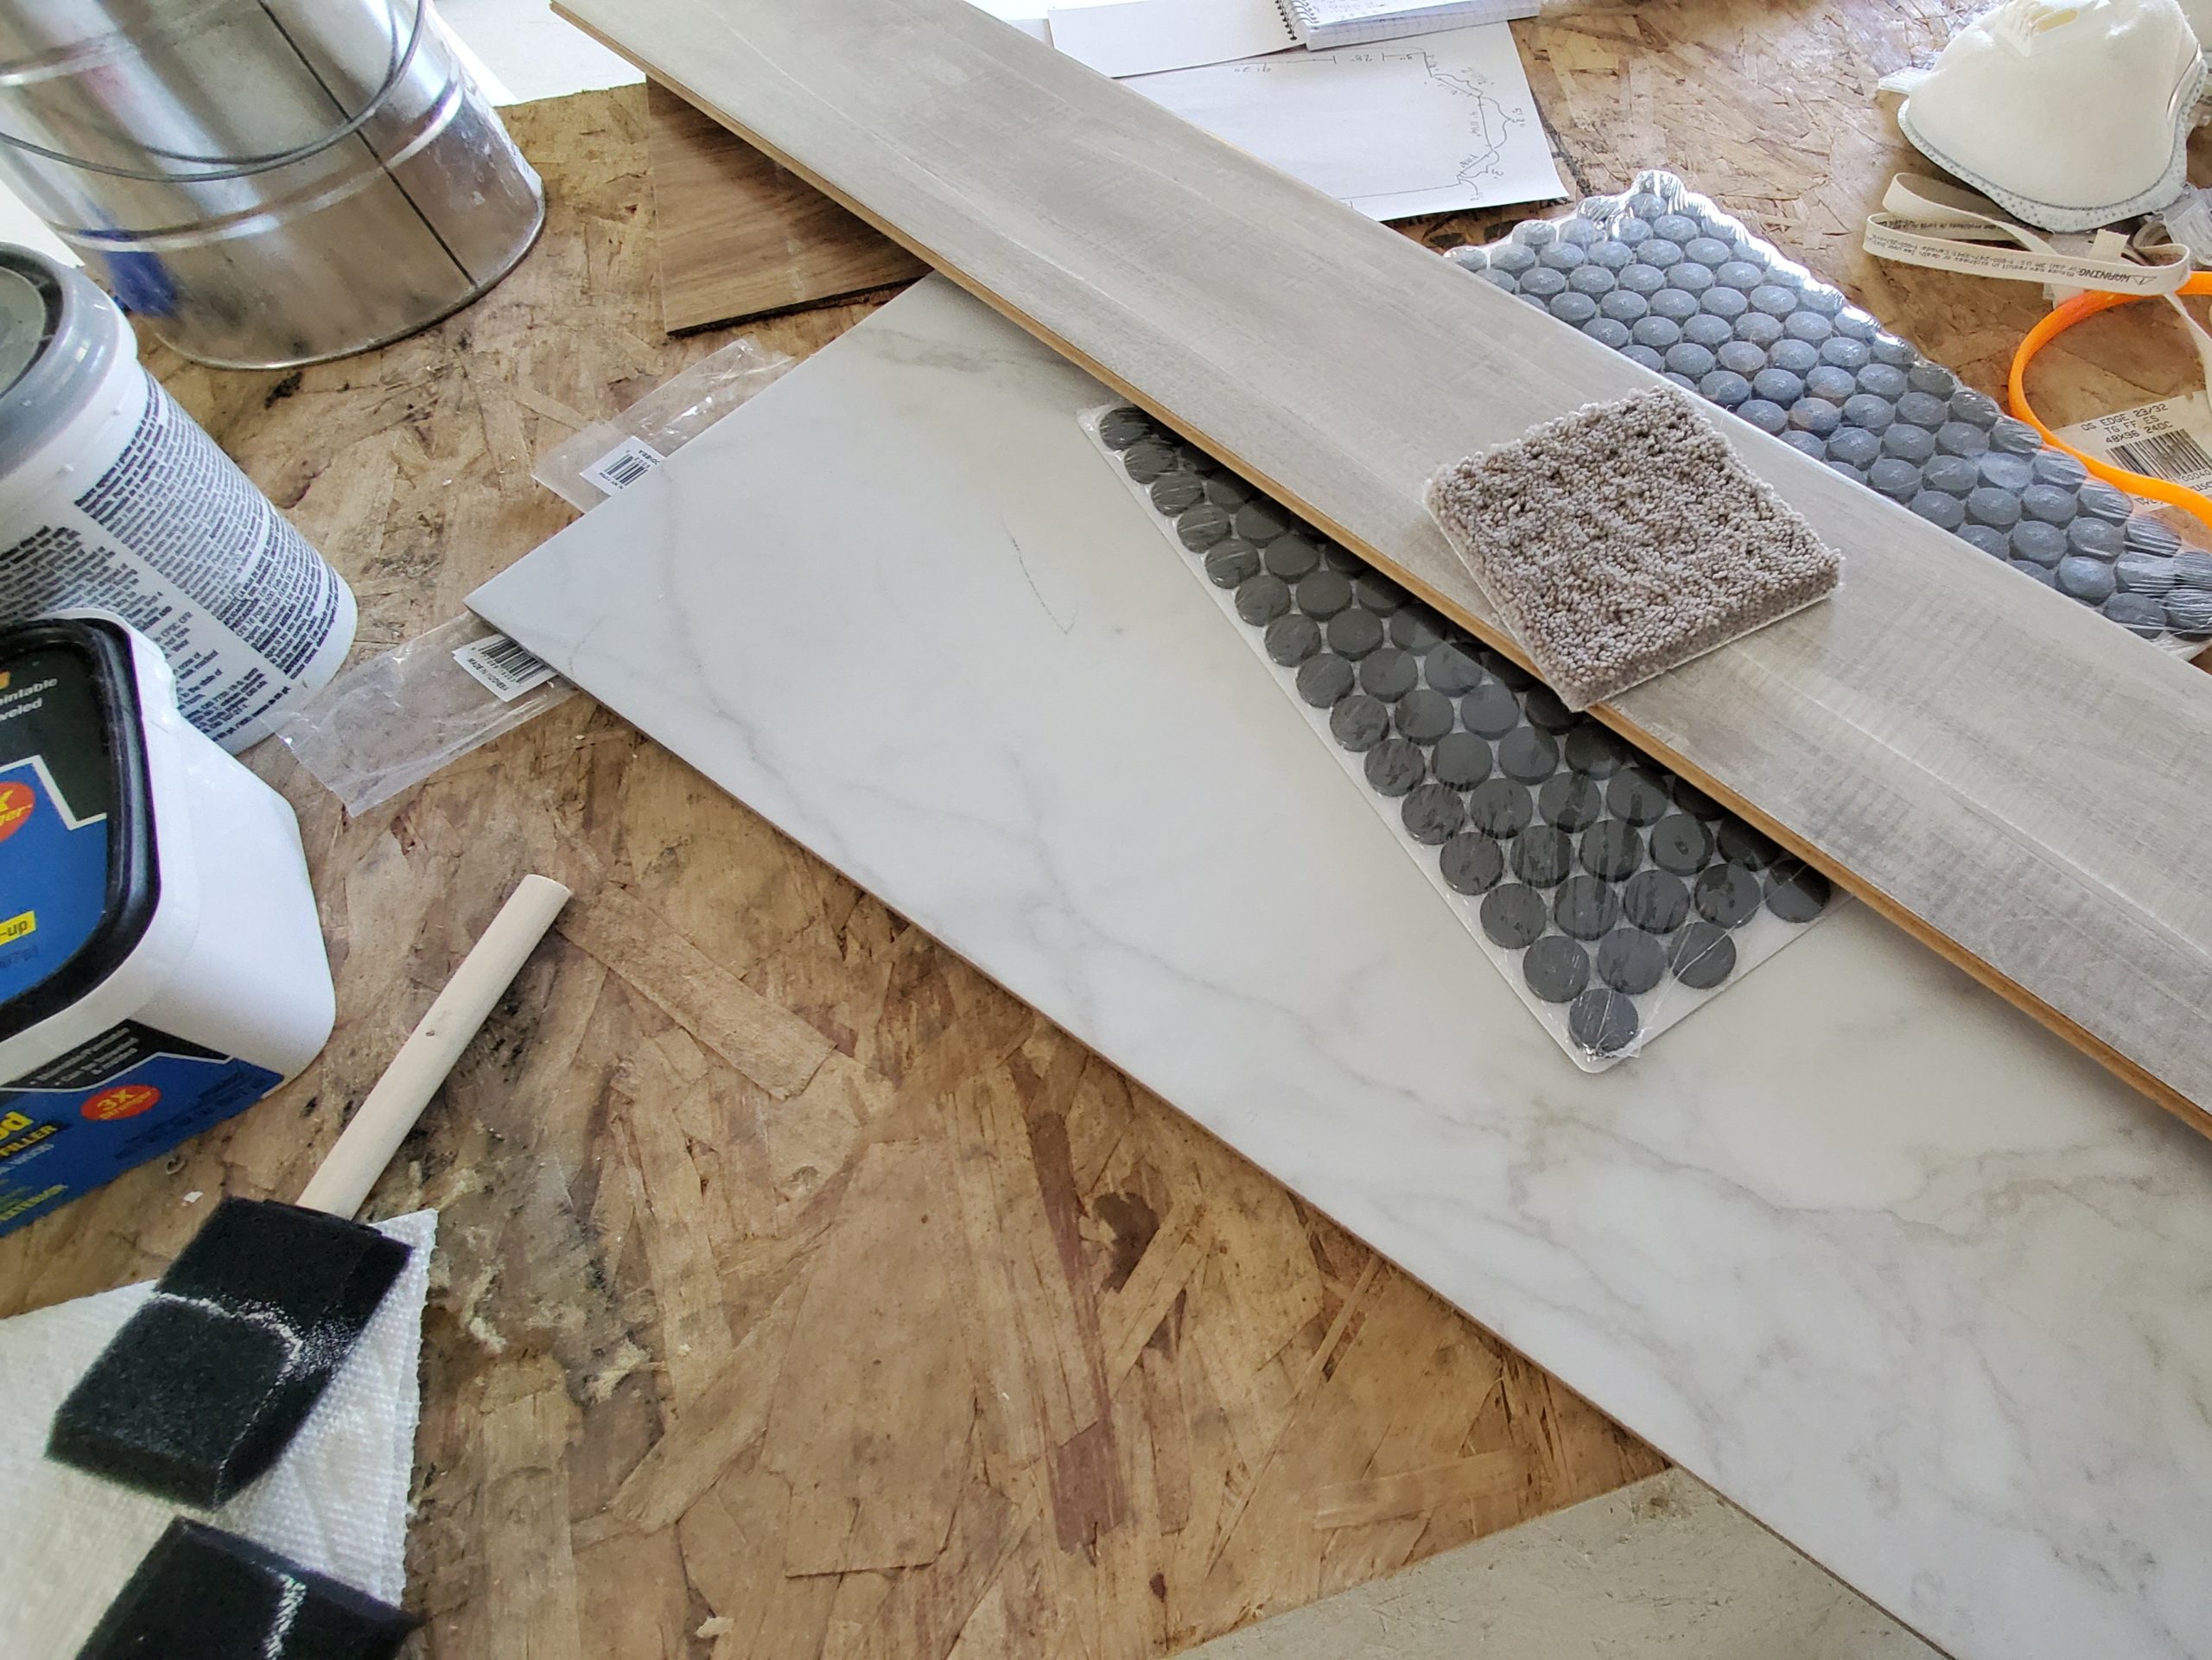
All of the lumbar was purchased at Home Depot, with the exception of the crown moulding. We bought that at a wood mill called Heutter Mill. We wanted something a little beefier, and a specialty wood mill has a bigger selection.
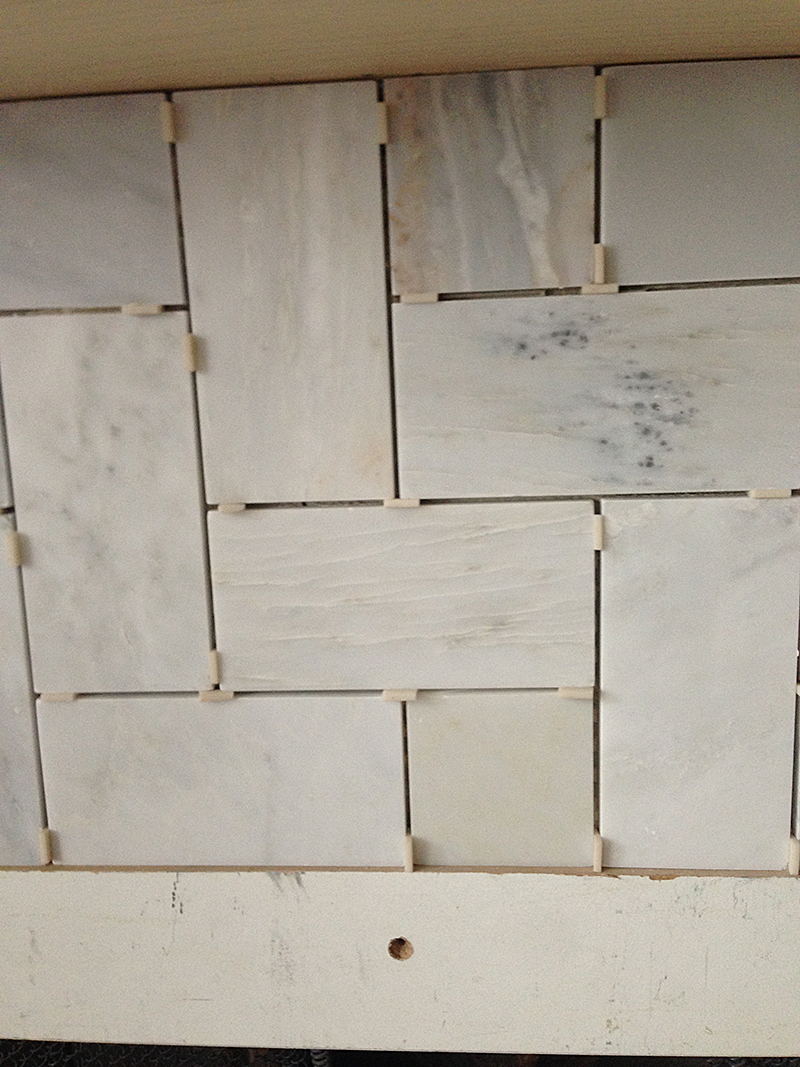
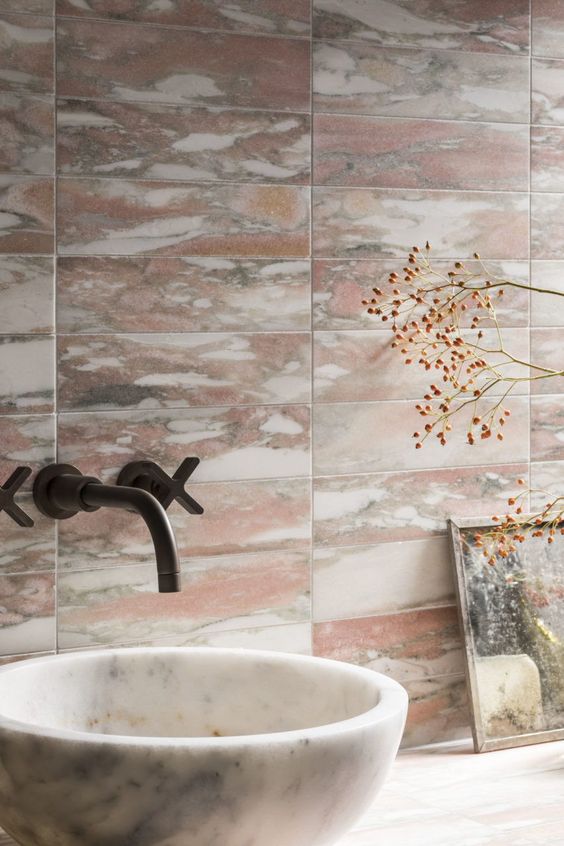
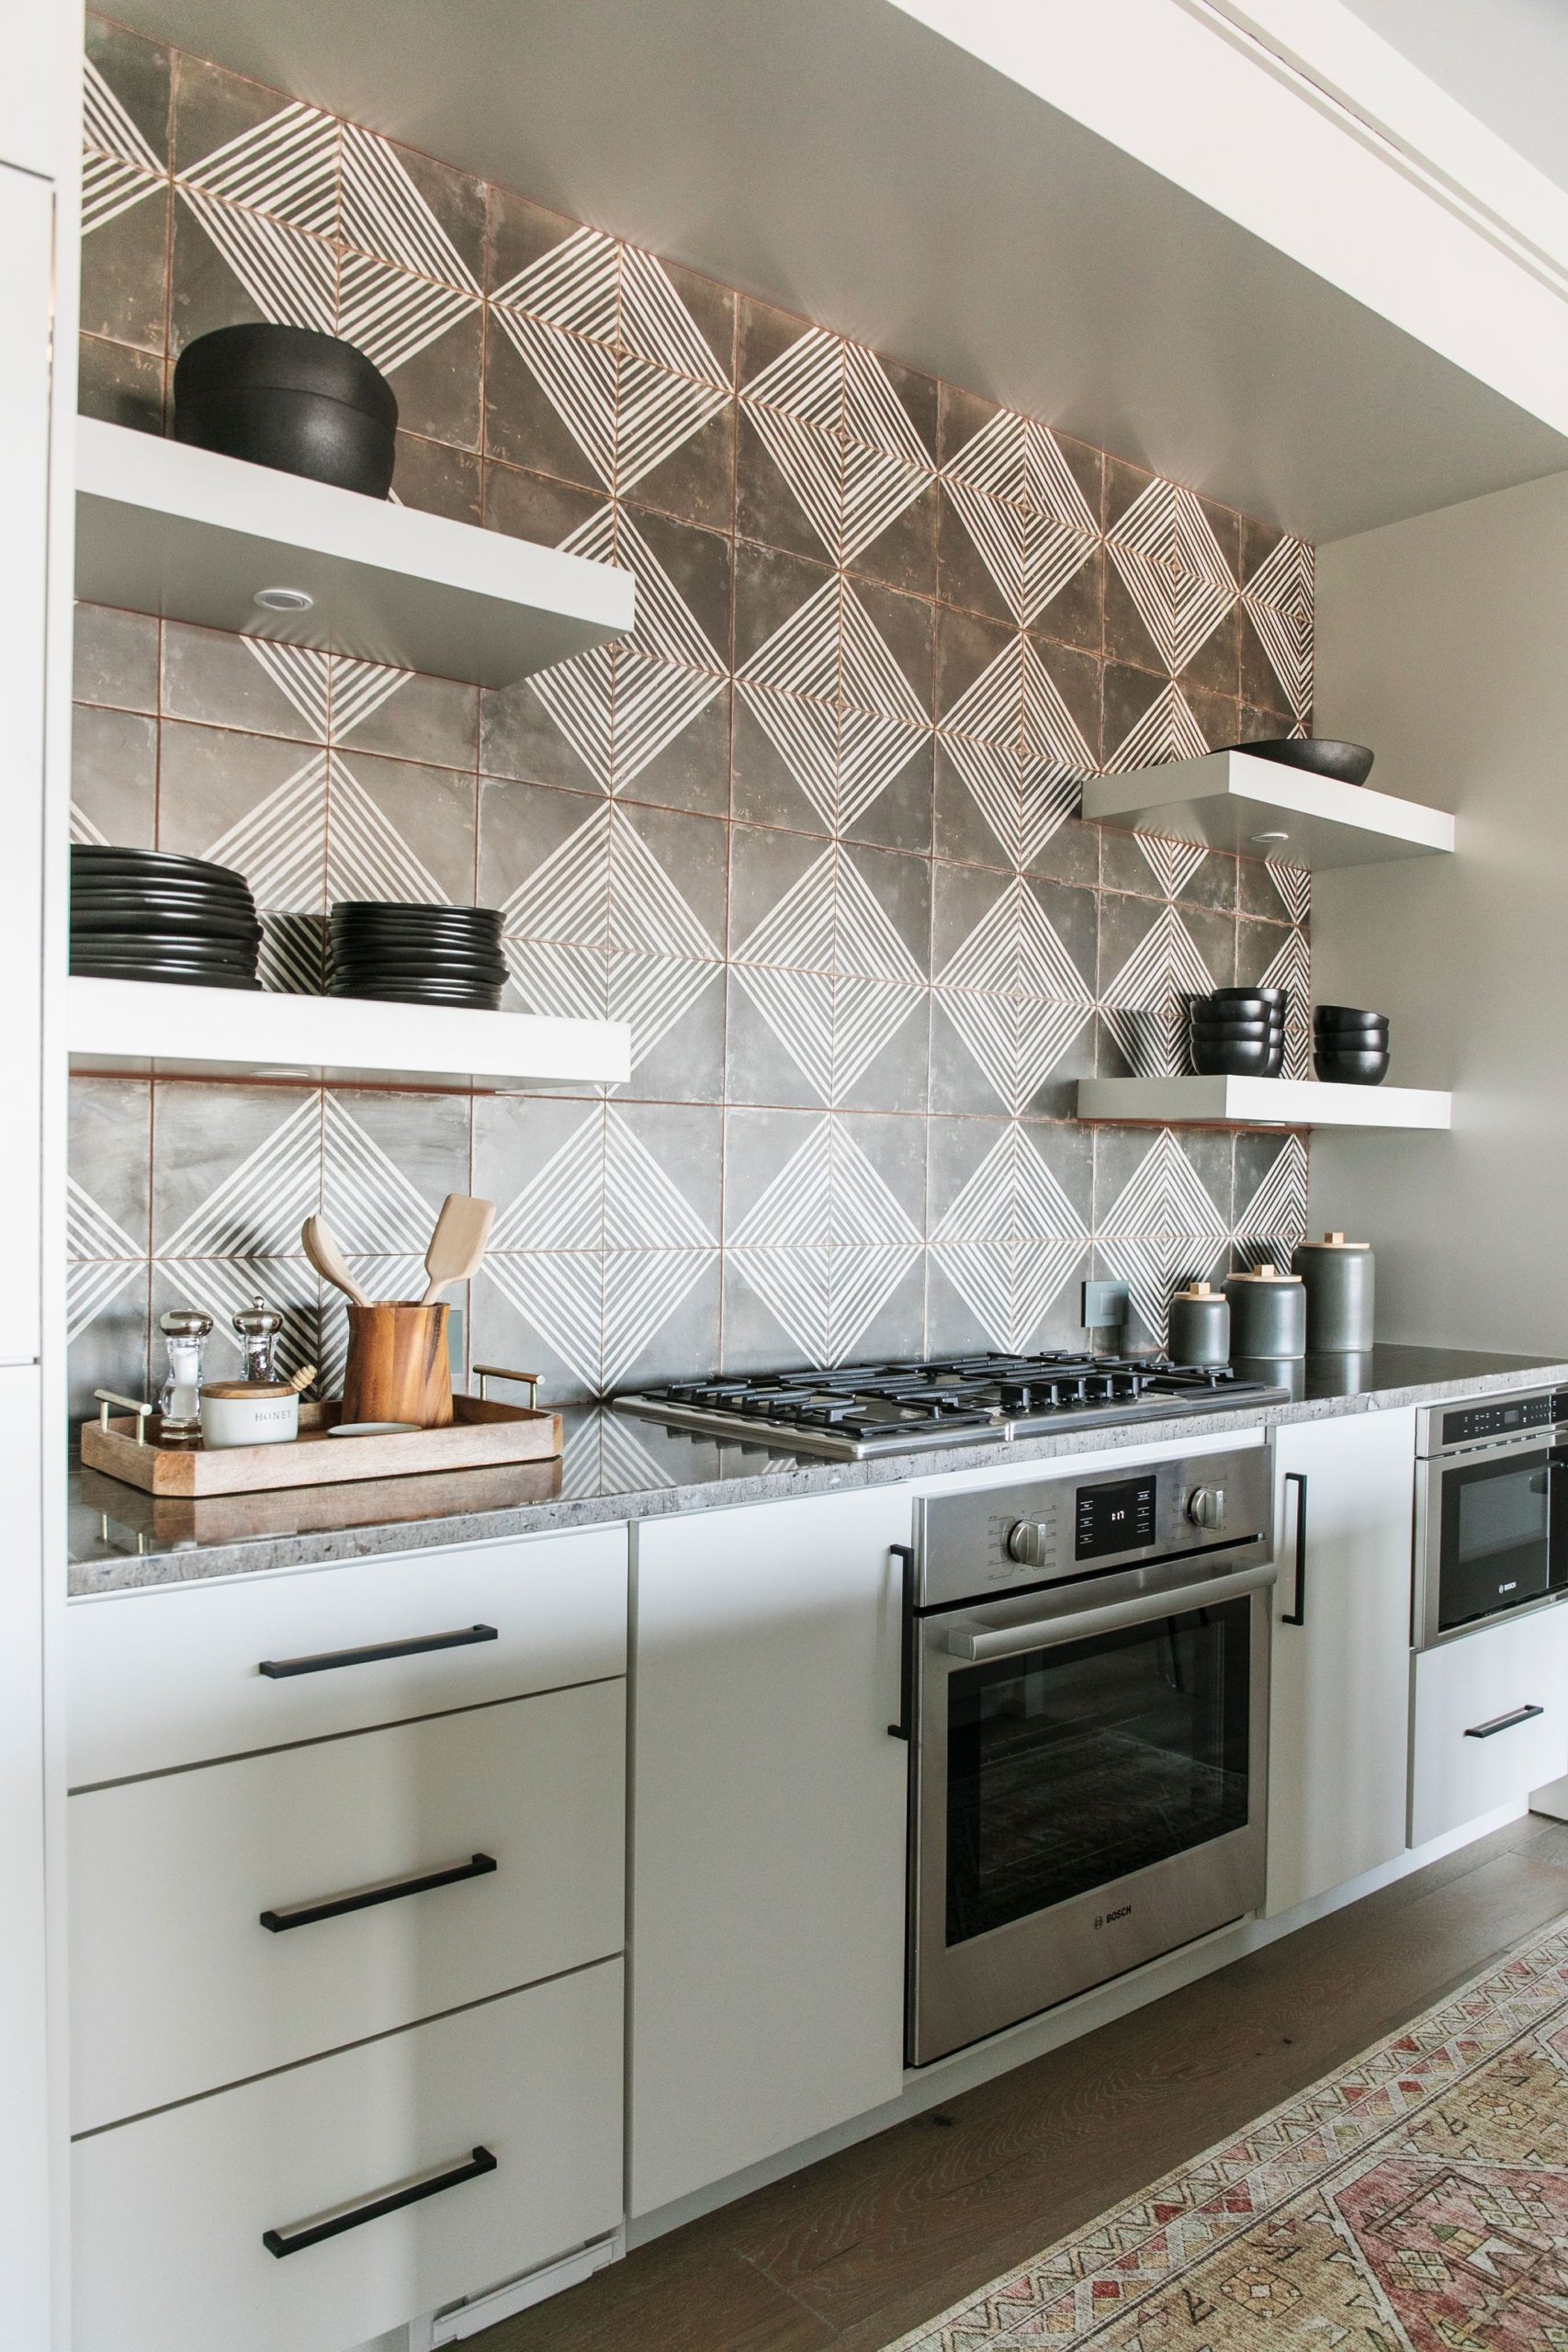
We hired out the tile work on this job because we were frankly just too swamped to do it ourselves. I chose this marble subway tile from Home Depot, and we laid it in a herringbone pattern on the angle. If I’m being honest, I was gone when it was installed and the angle is not what I thought was happening, but I actually liked it a lot once it was in. I think it looks fresh and modern. What a happy accident.
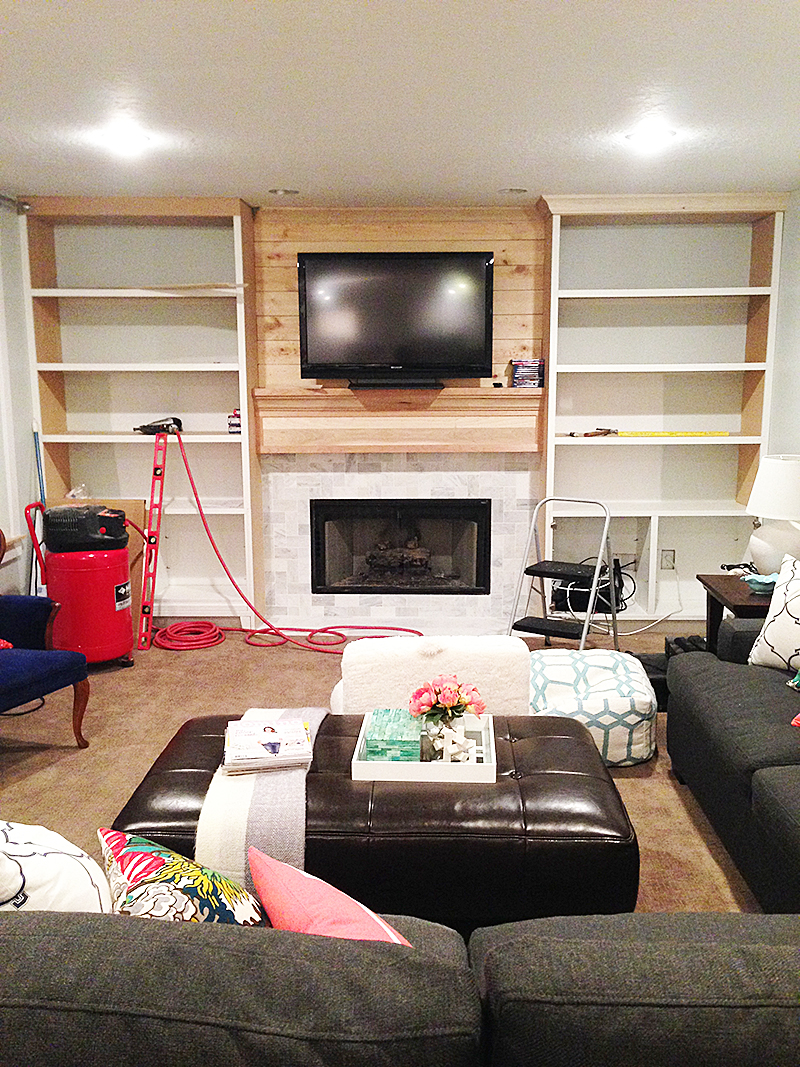
Watch for part two of this project next week!

Leave a Reply


back to top
@jenniferstagg
shop

We're a full-service design firm and home furnishings shop built around the philosophy that a well-designed home should be beautiful, personal, cohesive, and complete. We think home is the most important place on the planet and when you live in a home that is perfectly you, it changes your life. Don't believe us? Stick around. We're confident we'll change your mind.
hello there!
Follow Along
@jenniferstagg
Hey, let's be friends
Exclusive projects, discounts, and extra goodies all in your inbox. And don’t worry- your email is for our eyes only.

I looooove it Jen! The herringbone is gorg! Im planning a herringbone tile installation for our kitchen backsplash and I cant wait. Leave to Ikea to be the base of yet another amazing built in situation. Cant wait to see it all done:)
Thank you so much, lady!
And omg Ruby is the cutest!!!
Wow you’re brave! I think the mantle looked pretty good before, but that herringbone-patterned subway tile… that is just so beautiful! Can’t wait to see the finished look!
I love it ! I’m sure it’ll turn out great !
Thank you!!
[…] details in this space, including sharing the second part to building those built-ins (you can see part 1 here) and all of the room specifics– what’s new, what’s repurposed, […]
Was curious if the doors for the Besta units were also purchased from Ikea?
They are indeed! The hardware is from Home Depot though. Thanks for reading/watching!
[…] excited to share DIY Built-ins Part 2 today with another video tutorial. (Here is Part 1 in case you missed it) As I’ve mentioned before, this was certainly an involved project, […]
[…] all of the built-in construction (see part 1, part 2, the room reveal and the design details), I found myself saying over and over “I […]
[…] had seen the built-ins Jon and I constructed in our family room (tutorial here and here) and wanted to do something similar. I helped them draw up a plan and my client’s […]
Which besta unit are these? there are 100’s of besta options. Also, which doors?
Thank you!
Hello, it’s this one I think: http://www.ikea.com/us/en/catalog/products/80294503/ We just went with the one that fit our space the best. The doors are this style: http://www.ikea.com/us/en/catalog/products/60291845/ again, choose the size that fits the unit you select. Hope that is helpful! Thanks for reading!
Do you know how much this project cost you all in? It’s beautiful and I would love to do this in our living room!
I can’t remember exactly, but I want to say about $4,000 including all supplies, the tile, units, etc. That’s on the high estimate side. Hope that helps!
Were the besta units depth and the long sides the same width? can you give any more detail on the mantel, ie. depth of box and also the top piece?
Hi Cindy, the units are wider than they are deep. The dimensions are available on Ikea’s website. We basically built out the area surrounding the mantel to fit the unit, if that makes sense. Hope that is helpful!
We did something similar. We took a cabinet with doors. We removed the doors and cut the depth from 18″ to 12″ to accommodate our electric fireplace. We mounted our large screen tv, made a shelf below for components. Then we slipped the fireplace in and made 3 shelves on each side for Native American pots.
I am so glad I found your project and am hoping to do something similar! Thank you for including your Ikea besta links in the comment above. It looks like you have an additional trim or decorative foot on the corners of each unit. Could you tell me what you used for that? Thank you so much!
Hi Julie, we bought it at ikea. It was an option they had available. We found them on an end cap. Hope that helps!
are the shelves on top of the cabinets an Ikea unit as well, or did you build those out with wood?
Hello! No, the shelves are built in, if you watch the videos you can see how we did it. Thanks!
How wide is your centre section? We are trying to copy your tutorial but we are concerned that the centre section will be too wide in our space. Thanks for the great tutorial!
Hi there! I can’t remember, but it was basically built around our existing fireplace. That dictated the size. I hope that helps!
[…] used one of our most used DIY tutorials, our DIY Built-ins (here’s part 1 and part 2 of the tutorial), and modified them slightly so they worked with Ashley’s space. […]
[…] some built ins, so we commissioned my brother in law to help us build these! (here’s part 1 and part 2 of the tutorial) The products we loved most in our home were the […]
Hi there! Just watched your video on the built-in shelves you built. We have purchased the Besta cabinets already and we are in the process of doing shelves, however, I am wondering what the colour of was of your white paint. You did mention it was Benjamin Moore, but, it matched the IKEA cabinets so beautiful, I’d like to know what the name of the white was that was used. Thanks in advance! Lori
Hi there! It’s Benjamin Moore Super White!
I have a fireplace that is flat against the wall too. How deep were the cabinets that you utilized? I do not want the fireplace to look odd being further back against the wall compared to the shelving……