

")
")
")


DIY Built-ins Part 2 (video)
September 21, 2019
This post is from our Stagg Design project archives and originally posted in August 2014. We hope it gives you inspiration and some tips for tackling that next project! xx- Team Stagg
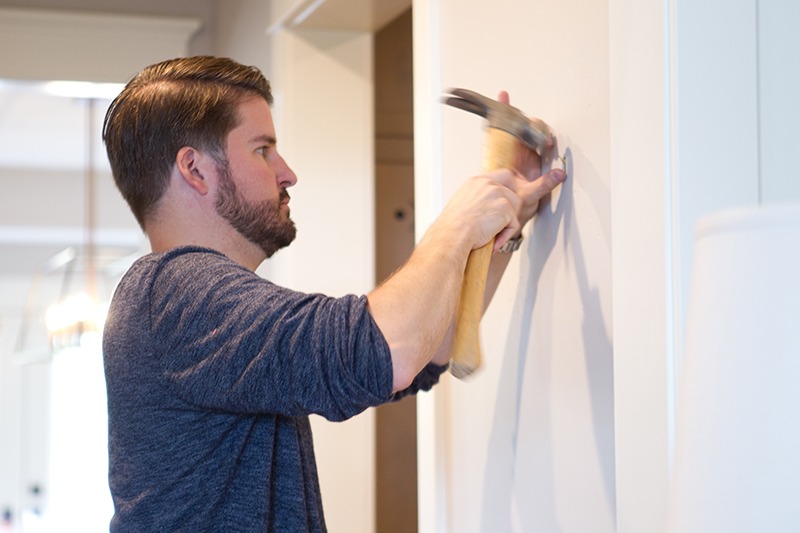
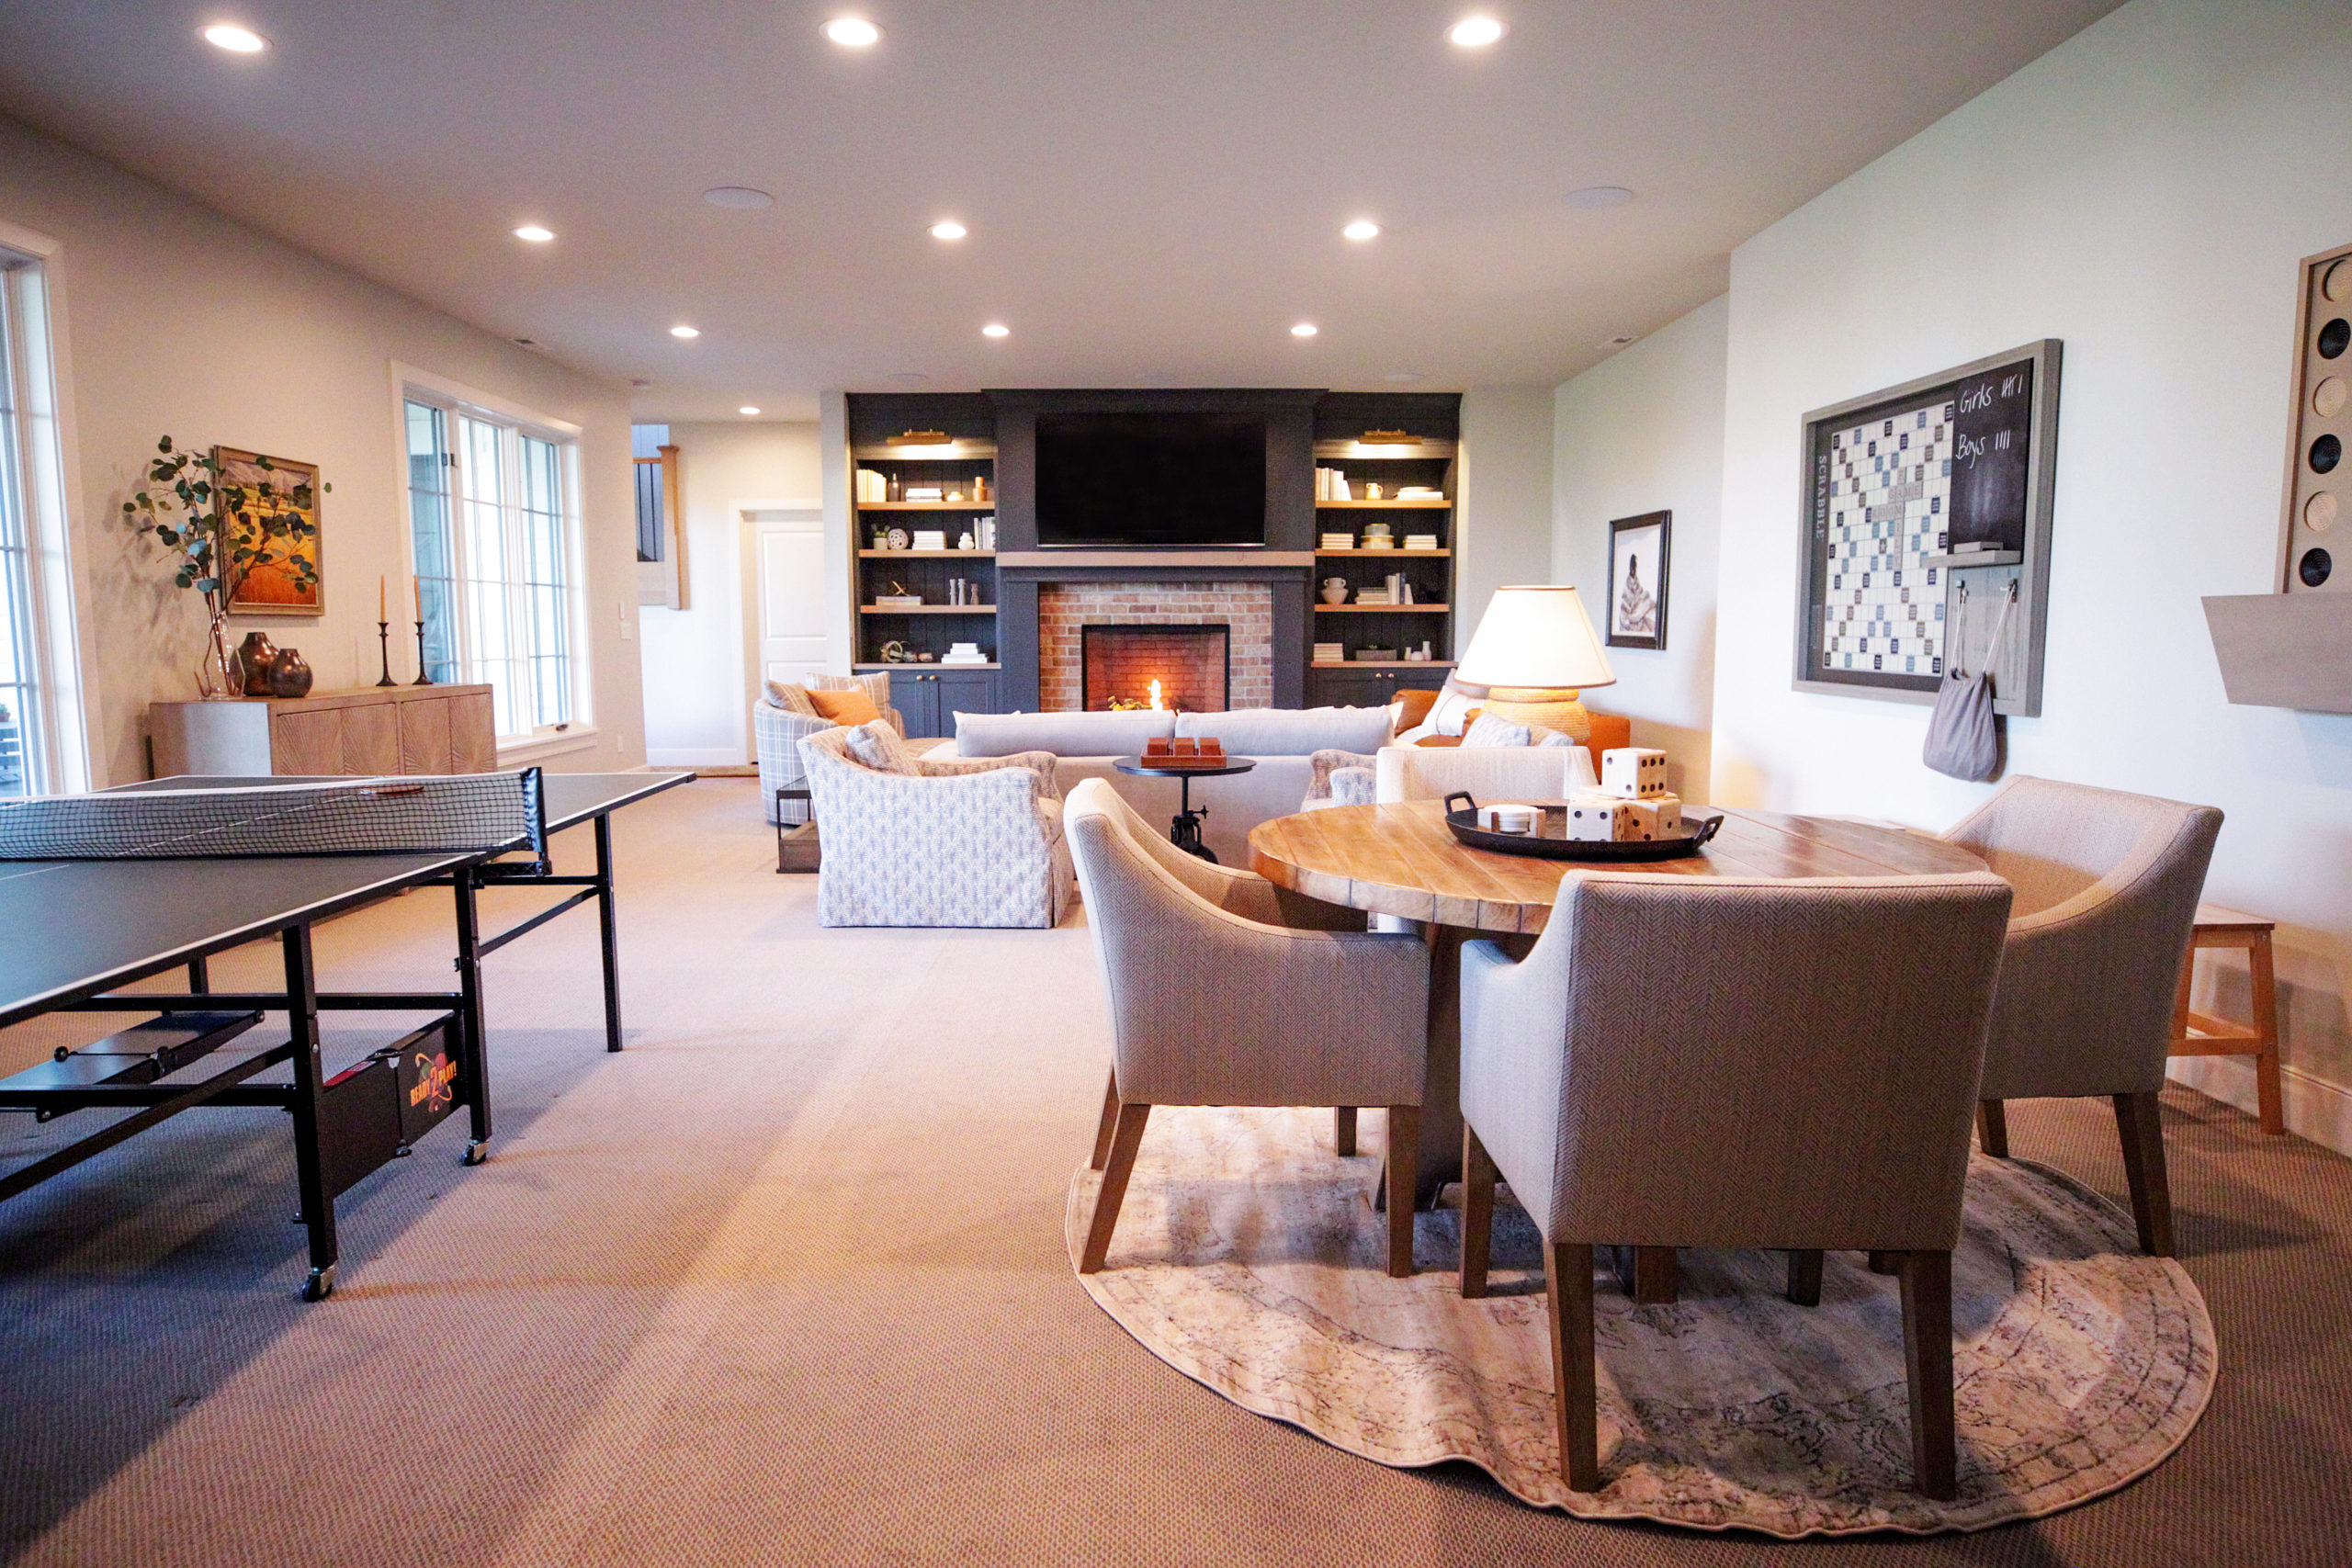
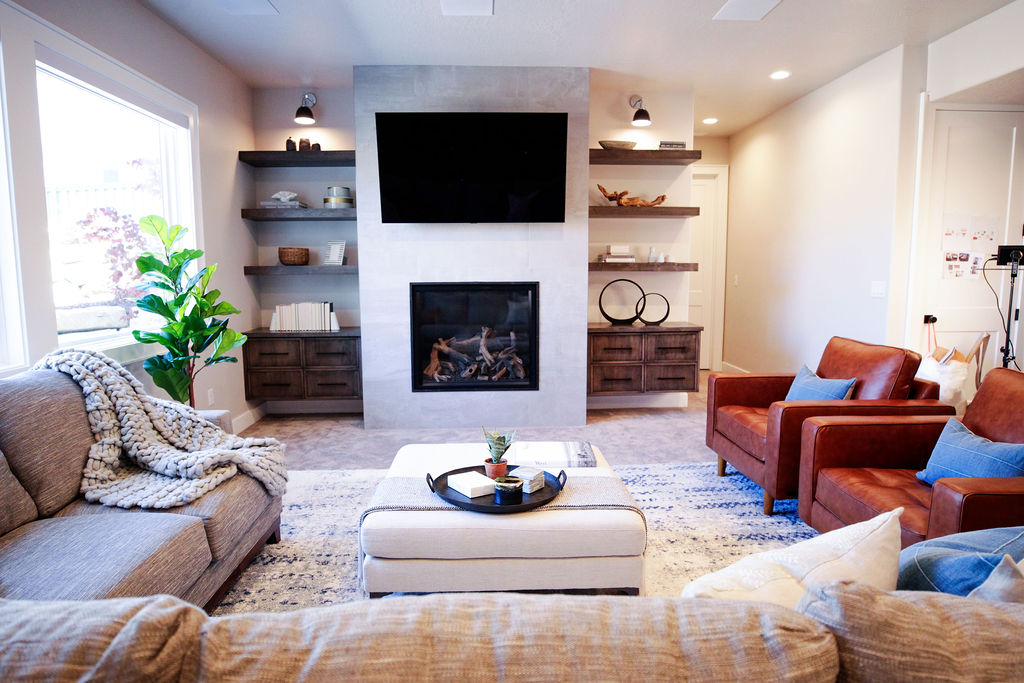
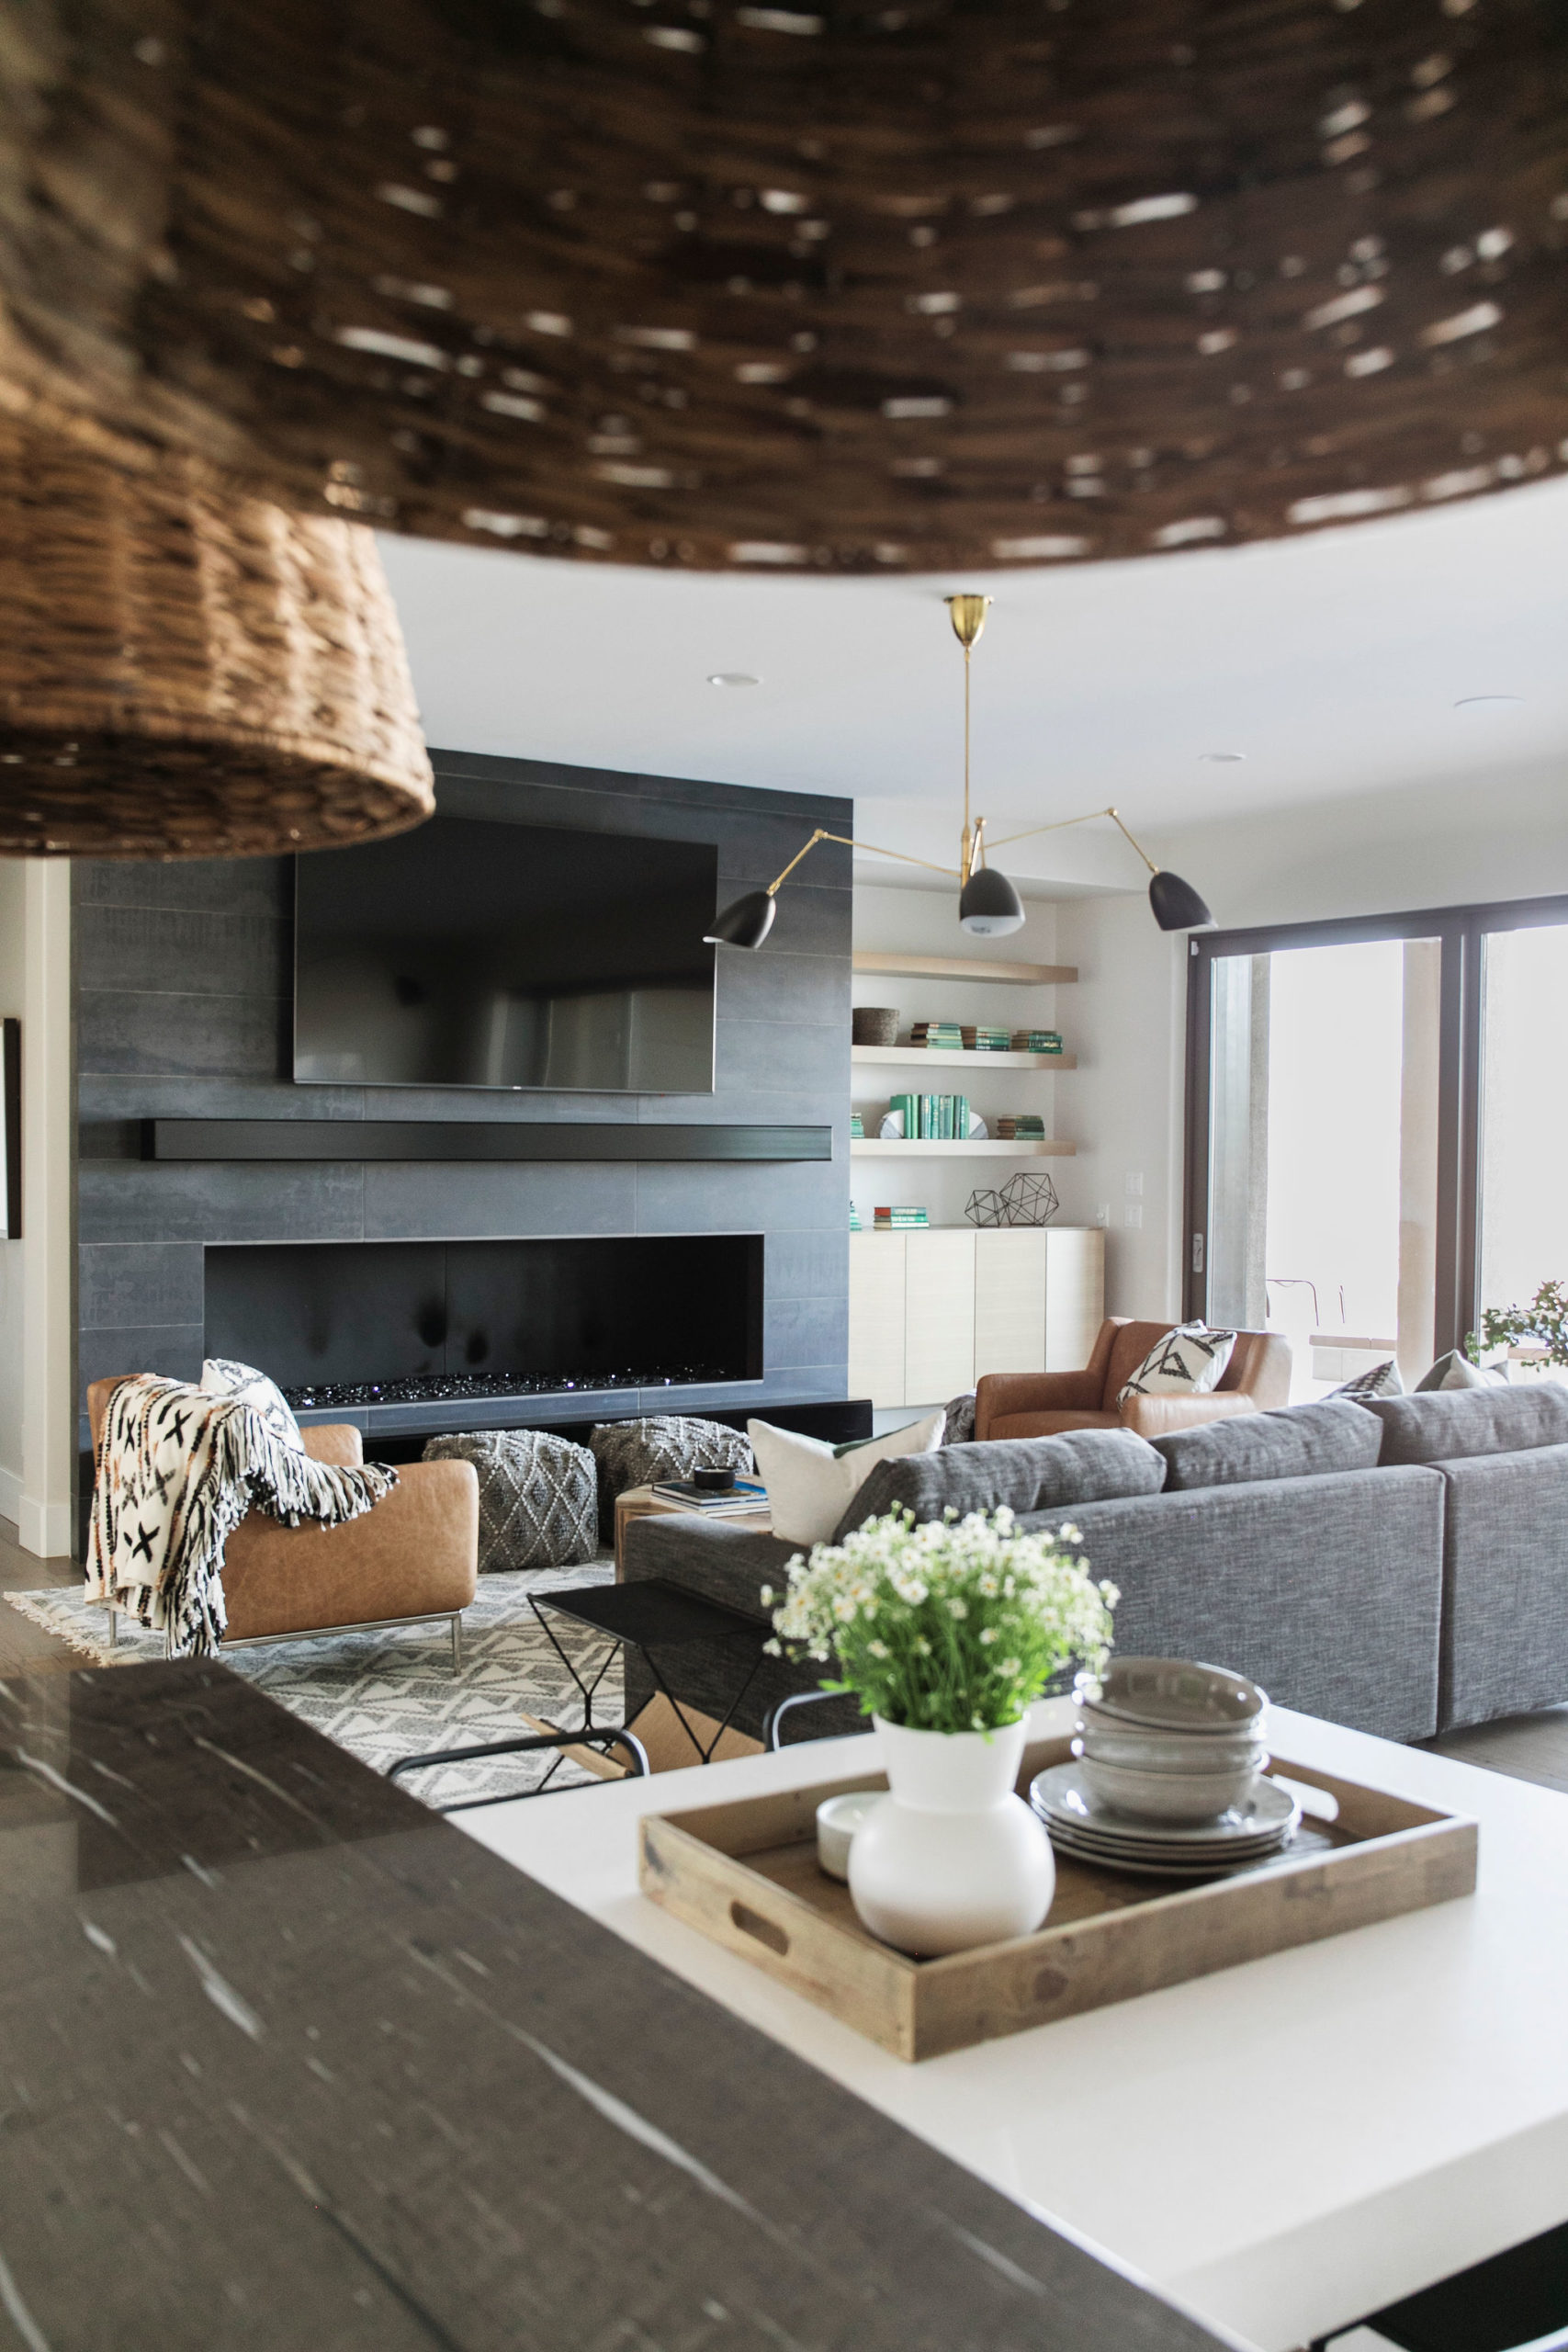
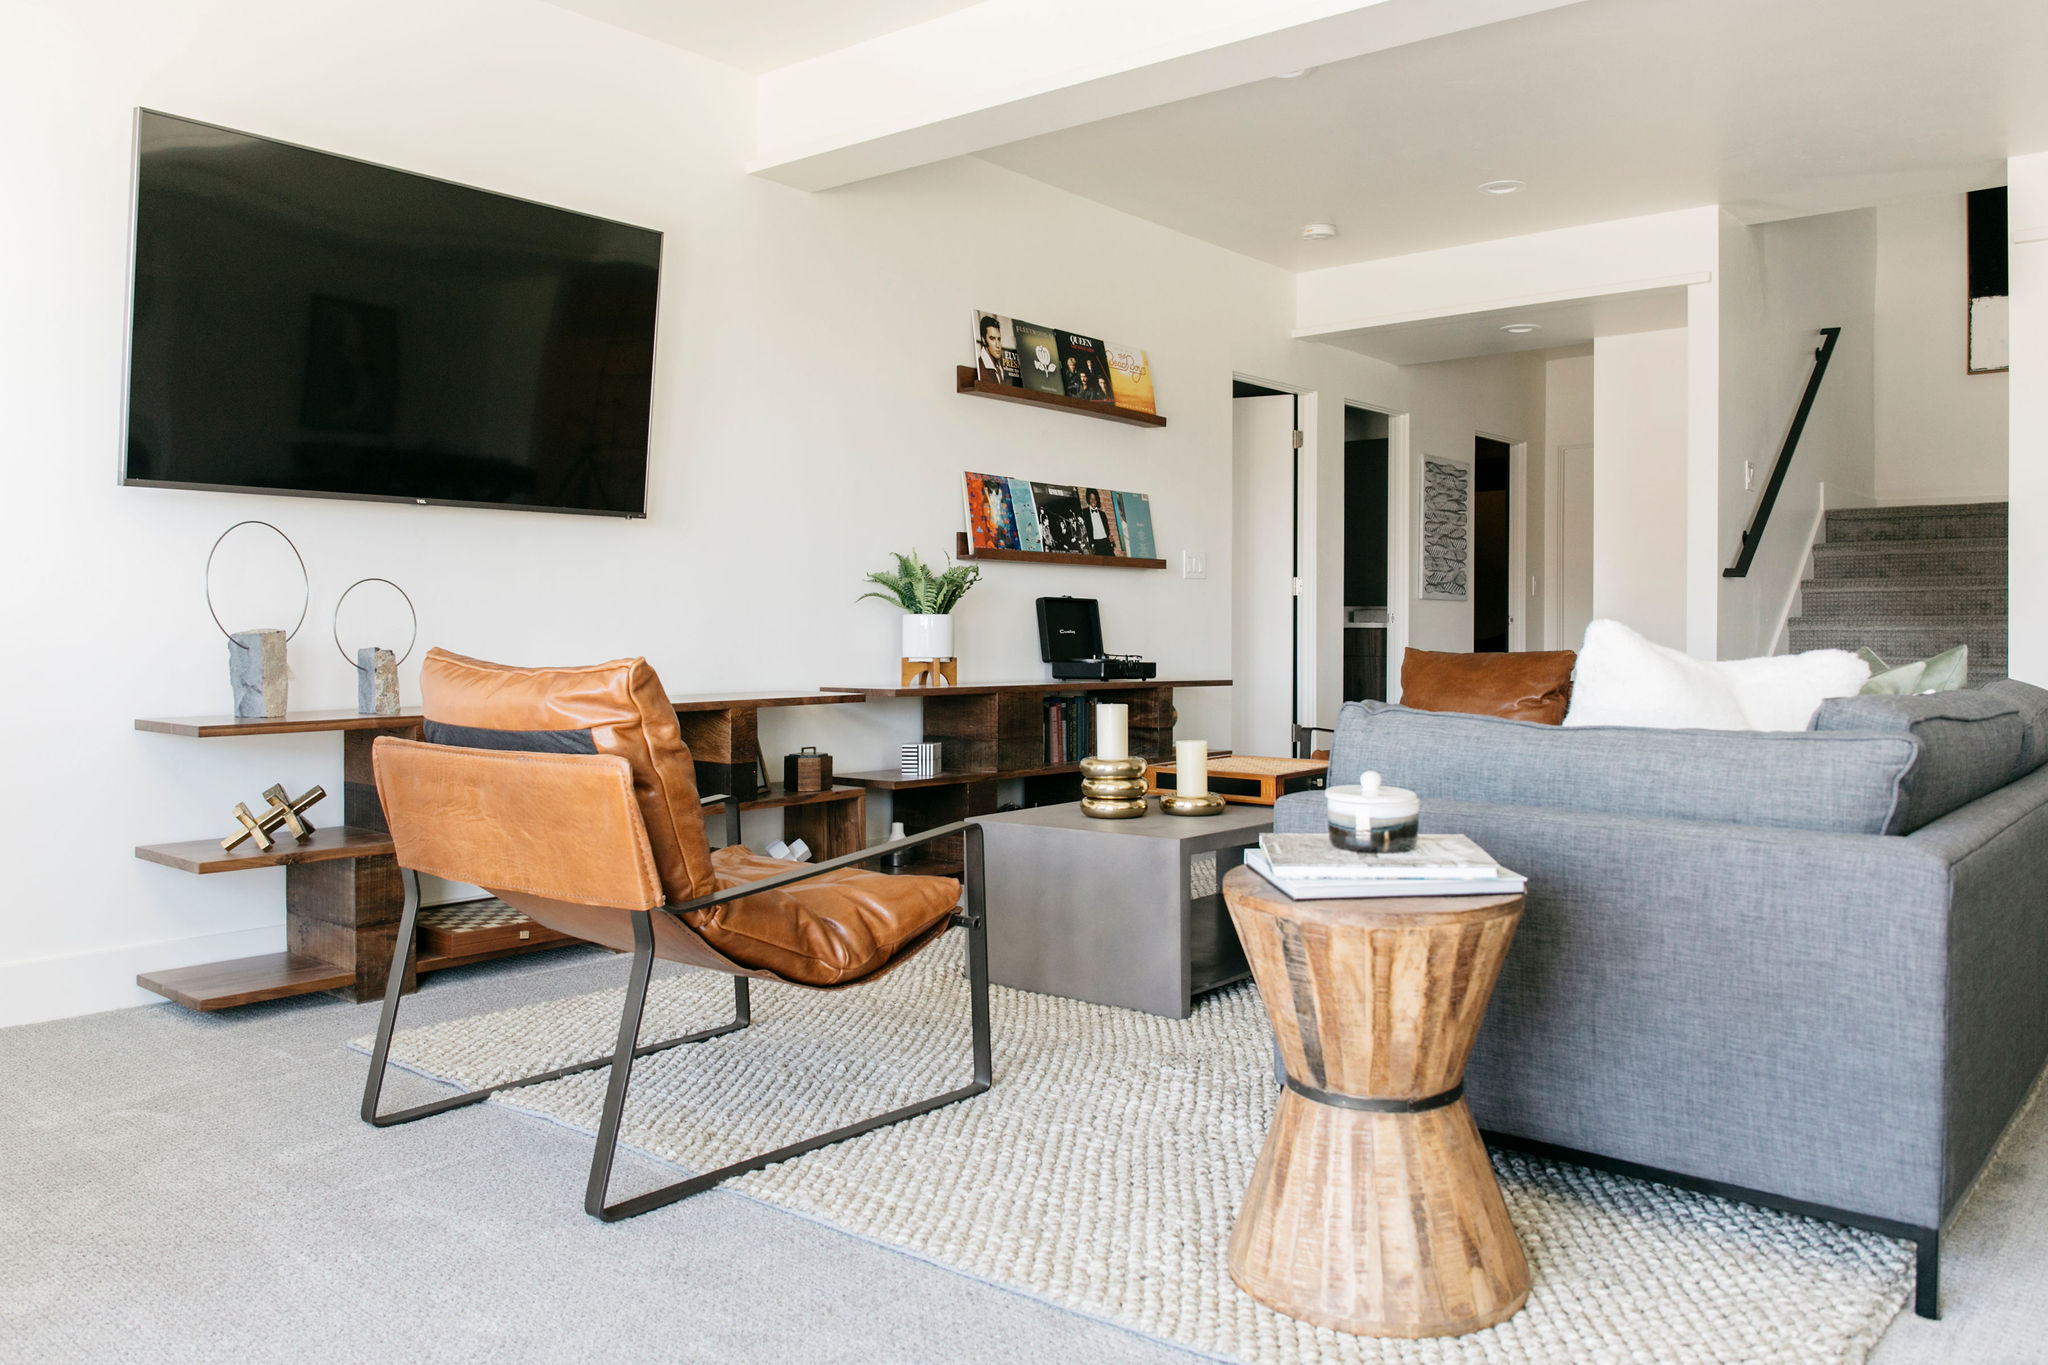
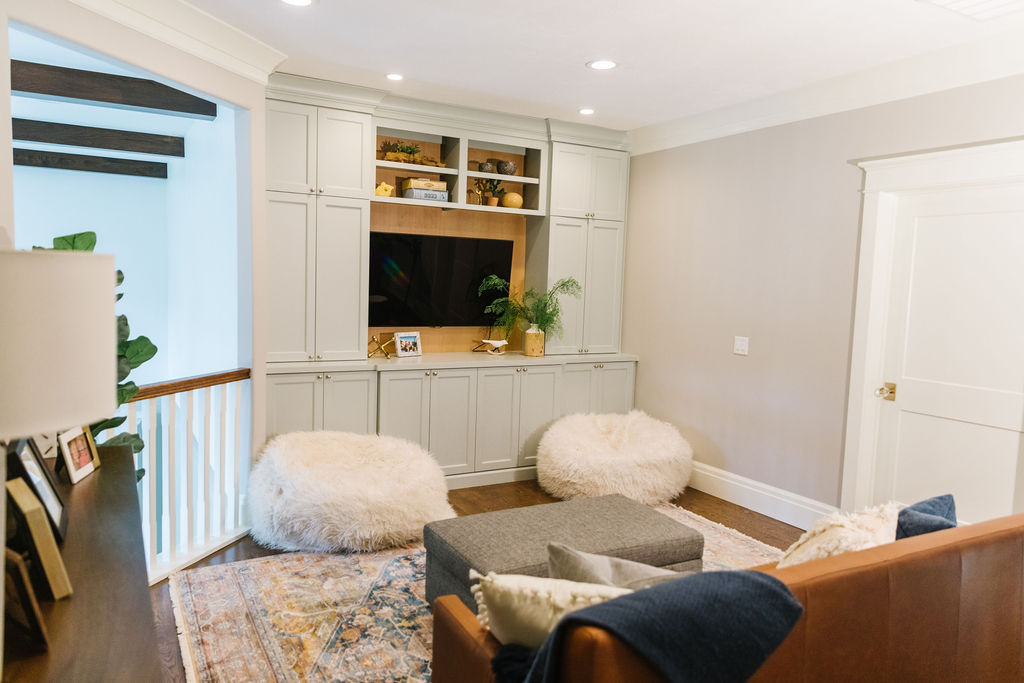
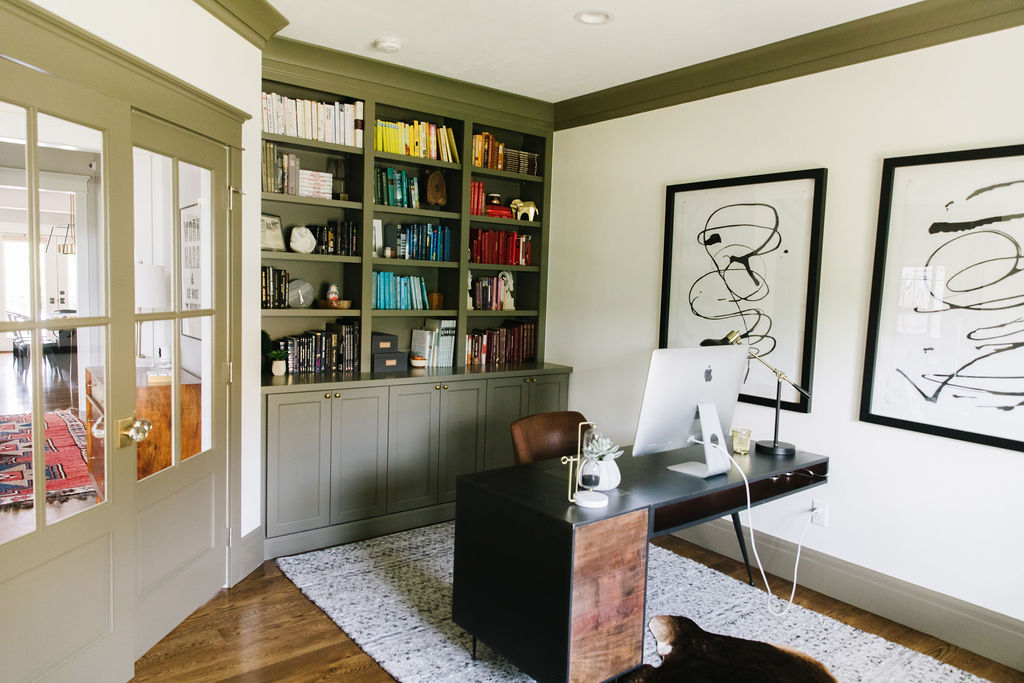
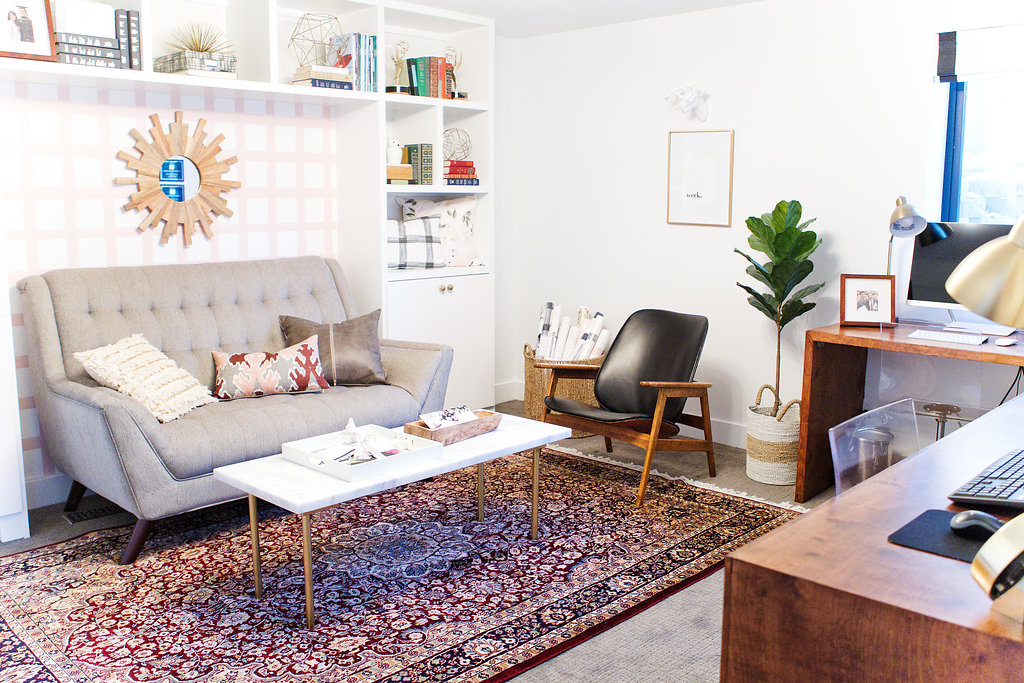
I’m excited to share DIY Built-ins Part 2 today with another video tutorial. (Here is Part 1 in case you missed it) As I’ve mentioned before, this was certainly an involved project, but it wasn’t as difficult as we anticipated. I think planning ahead and coming up with a clear picture of how to do it and how we wanted it to look beforehand was key.
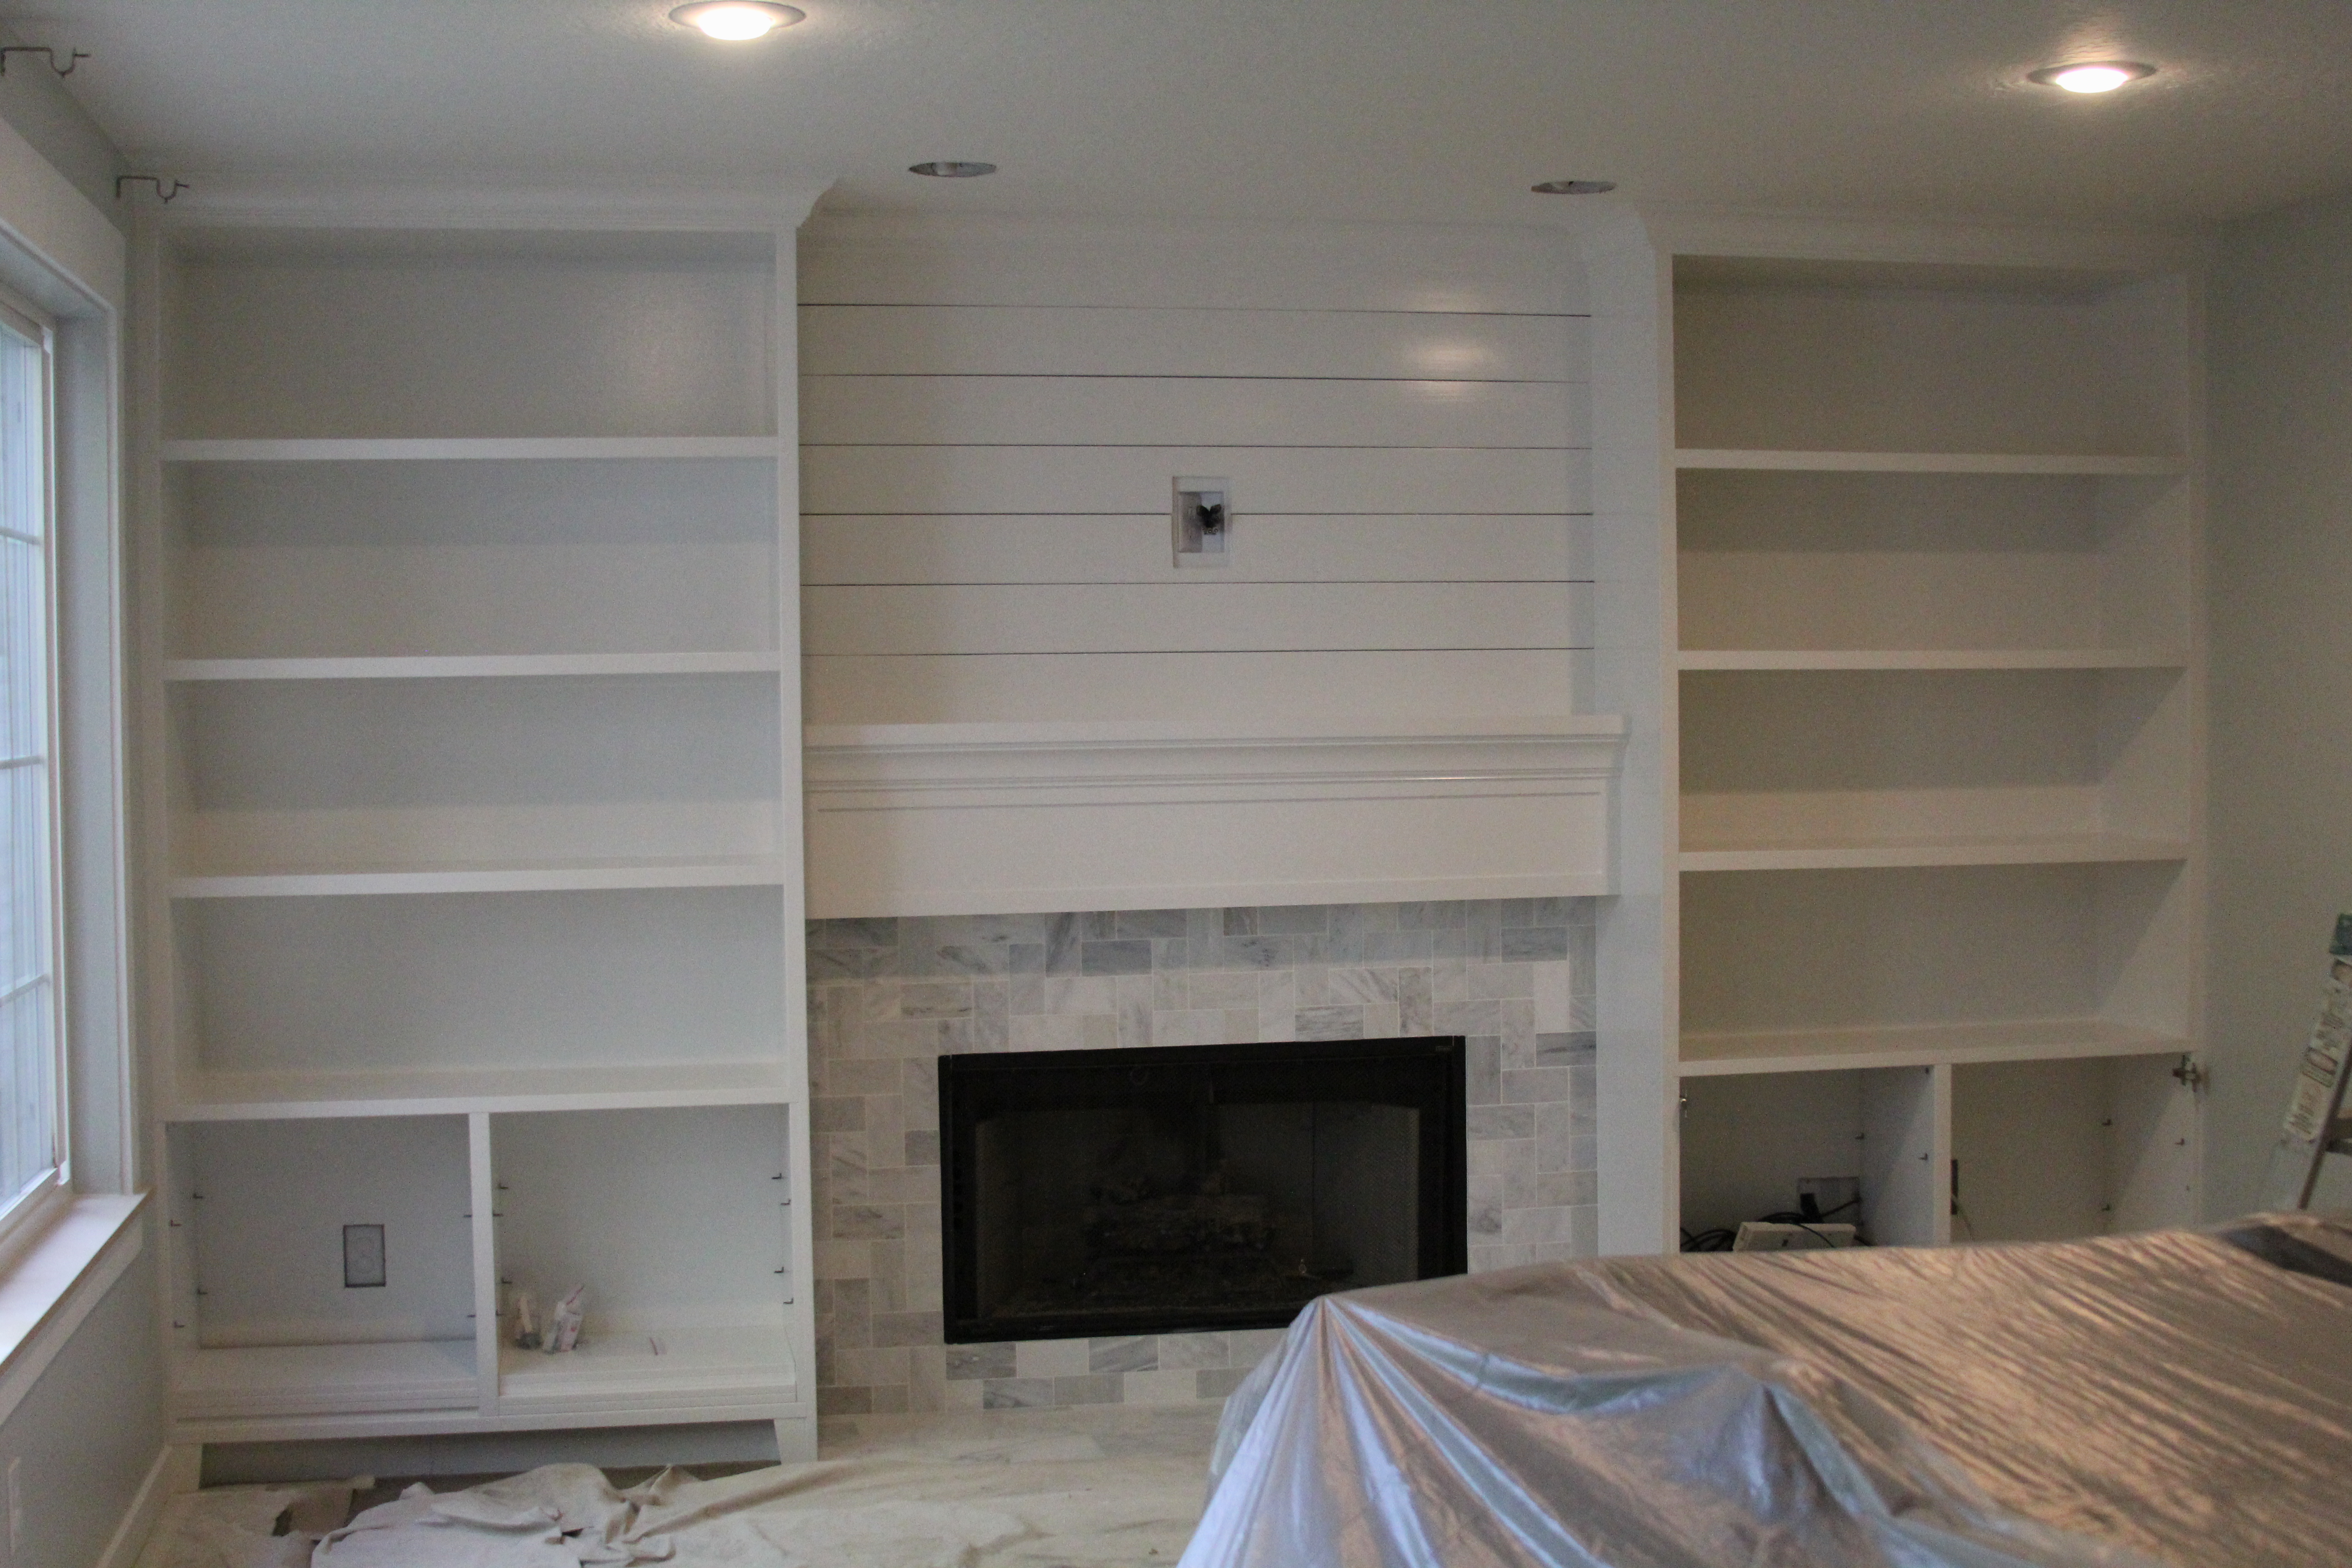
For Part 1, we left off about half way through the project. Today I’m sharing how we installed the shelves, crown moulding, and painted the finished product.
Video/Editing: James Young
I love how they look like they were meant to go in the room. I can’t believe what a difference they’ve made.
Next week’s video I’m sharing the process for styling the shelves and walking you through how I put them together.
Thanks for watching and reading! I love hearing from all of you!

Leave a Reply


back to top
@jenniferstagg
shop

We're a full-service design firm and home furnishings shop built around the philosophy that a well-designed home should be beautiful, personal, cohesive, and complete. We think home is the most important place on the planet and when you live in a home that is perfectly you, it changes your life. Don't believe us? Stick around. We're confident we'll change your mind.
hello there!
Follow Along
@jenniferstagg
Hey, let's be friends
Exclusive projects, discounts, and extra goodies all in your inbox. And don’t worry- your email is for our eyes only.

I would love a tutorial on cutting and hanging crown molding! I want to add it to my master bedroom. ALso, was there a specific paint sprayer you bought/rented that worked great?
Hi Rachel, great idea! I’ll see if I have any crown moulding projects coming up so I can do a tutorial! On the sprayer, we have two: a heavy duty professional one and also this one. I like both and the second one is a great inexpensive option but works best for smaller jobs like furniture rather than a whole wall. If you’re looking to purchase a heavy duty sprayer, let me know and I can go down to my garage and look up the brand:) Good luck!
would the second sprayer do the bookshelves ok?
Sorry, not sure I understand your question…
You mentioned the second sprayer (non professional). Would that sprayer work well for just paining the cabinets and above the fireplace boards?
Hmmm, we only used a professional sprayer. Maybe you misunderstood me?
Love this tutorial! And love your blog! I have a couple questions: It looks like you didn’t spray the Besta units? Did you find a paint that matches close enough to the Besta? And if you did spray the Besta units did you prime first with a special primer?
I can see you added the square legs to the Besta unit, but it looks like you added another board behind and on the side so it sat on the floor. Did you just add a piece of trim or was that a piece from ikea?
My husband and I are in the process of doing something similar to our living room, however we are going to take the mantle across the entire top of the 2 besta units and fireplace so it runs the whole wall and then do the planking on the entire top half of the wall, since we need the TV to sit on the far left and not above the fireplace. Your tutorial has been so helpful in trying to plan this out!
Hi Rachel, thank you so much! We didn’t paint the besta units– we took a door from the unit to a paint store and had the paint matched to it so it all flowed together. Yes, we added a piece of moulding to the bottom of the unit to make it look more built in. It’s not from IKEA. Hope that is helpful!
Hi Jen! We are looking at building our own built in’s in our new home once we move in. This tutorial has been very helpful! I’m trying to find the exact Besta unit you used but can’t find it on Ikea’s website. Is this a cabinet? Or a TV stand? Are you able to give me additional info on the Besta unit and legs? These are perfect for our intended purpose but I can’t seem to find them on Ikea.com. Thanks!
Hi Jill, I believe it’s this one: http://www.ikea.com/us/en/catalog/products/S19047385/. We bought additional legs for it so it sat higher. I can’t find those online, but they were just in an end cap at the store. We added base board to the front so you can’t see the legs and it looks more custom. Hope that helps!
Hi Jill
Can you please give me some more information on the wood strips used to cover the end panels and increase the look of the individuals shelves. The only trim pieces I can find are 1 1/2″ by 1/4″ lattice. Your video said the pieces were 1 1/2″ by 3/4″ thick pieces. Did you have to cut these yourself?
Thank you!
Hi Anessa, we found them at our local home depot! Hope that is helpful! -Jen
Hi Jenn, Great videos! I am guessing that the sidewalls of the shelves were cut at 15 in wide?
What color did you use for the paint on the walls?
Hello, it’s Restoration Hardware’s Pale Silver.
Love this so much! Do you happen to have a materials list? We are planning to replicate this in our new home.
Thank you 🙂
Hi Ashley! I think you might find part 1 of this project helpful! Here’s a link: https://stagg-design.com/featured/diy-built-ins-part-1/
Hi Jen! Do you have an overall approx cost on what this project took to complete? I know cost can depend on specific location but any general figure would be helpful. I’d also love a list of materials and supplies if you have one!
Hi there! I would estimate around $800.
Love this! Could you please tell me where you ordered the doors for the base cabinet? Were they ikea as well? Thanks so much!
Hello! Yes, they are all from IKEA as well!
I’d like to know the name of the professional sprayer.
Hi Kimberly! He is a local painter we use often.
Does anyone have a estimate of what this project will cost ?
Hi there! I would estimate around $800.
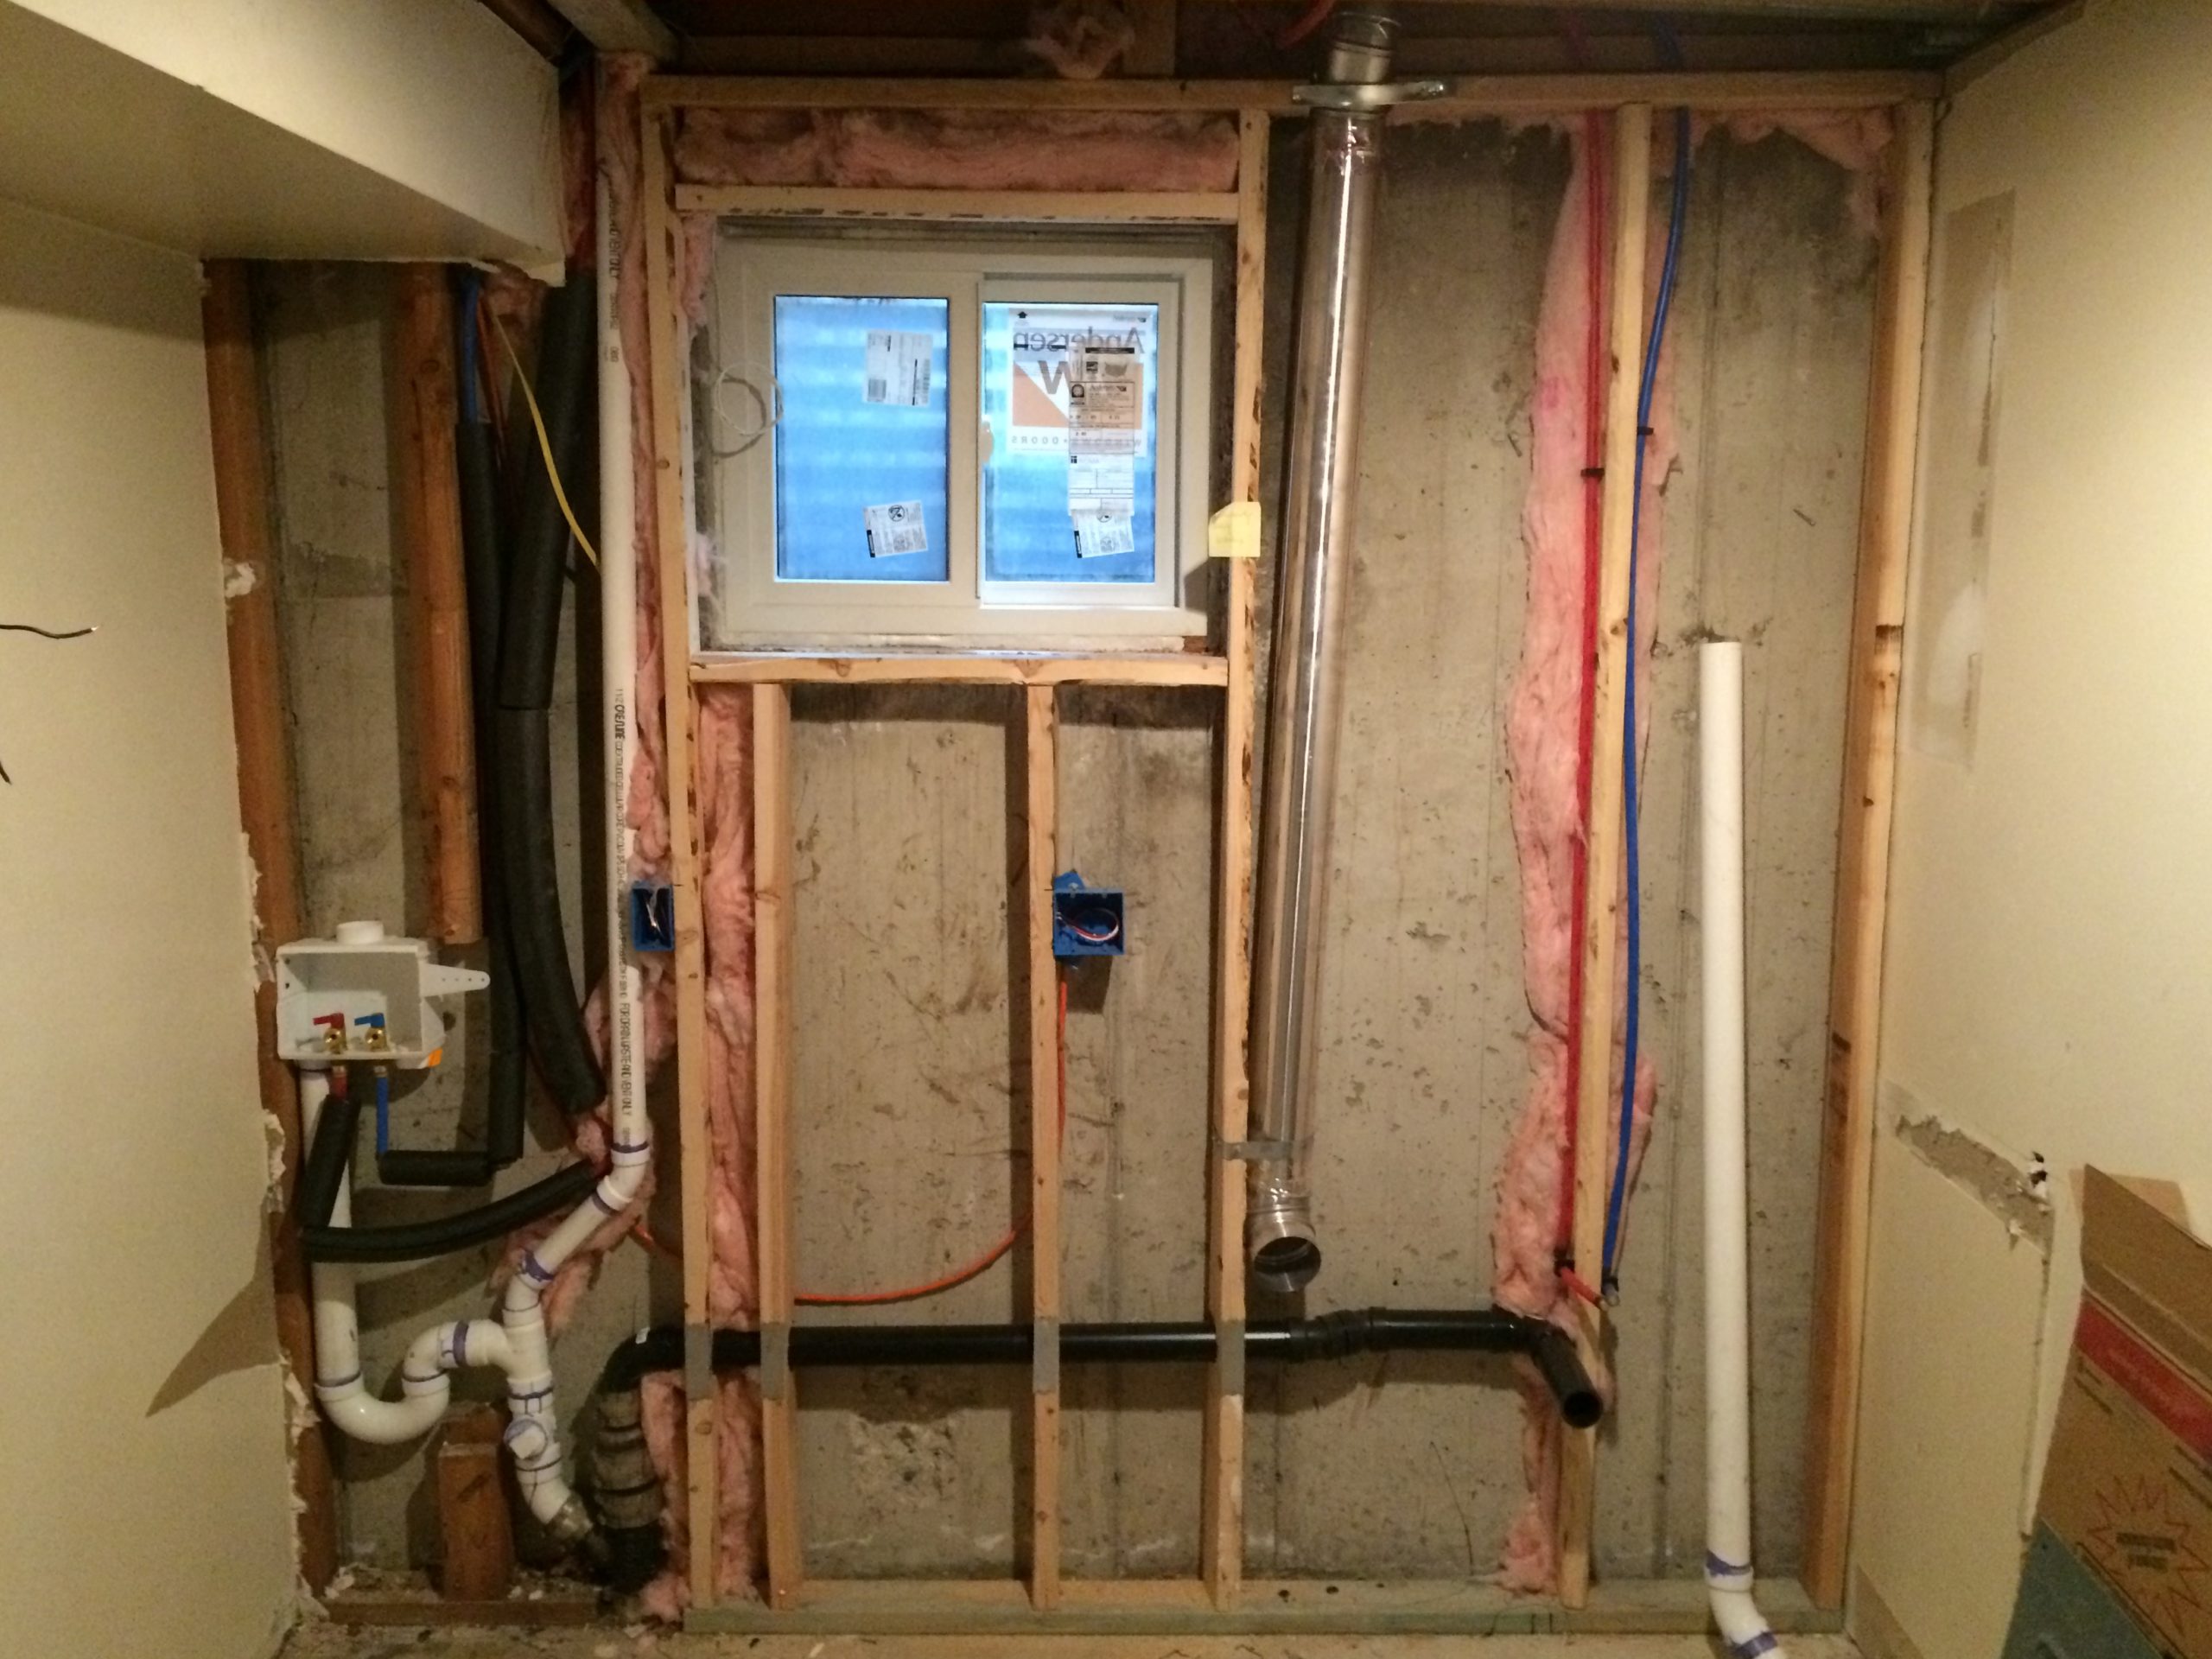
Thanks for the inspiration! My project in California ran about $2300 excluding the TV, electric fireplace and speakers. I removed everything to the studs to run new wiring and install insulation.
https://photos.app.goo.gl/pmKZi9Ay6t9jYvUVA