A STORY ABOUT A STENCILED BATHROOM (INSTEAD OF WALLPAPER)
November 25, 2013
Our upstairs full bathroom is still under construction (making progress!), but today I’m taking you downstairs and sharing our half-bath remodel on the main floor. It underwent a complete overhaul and I love how the transformation turned out.
First, some before shots:
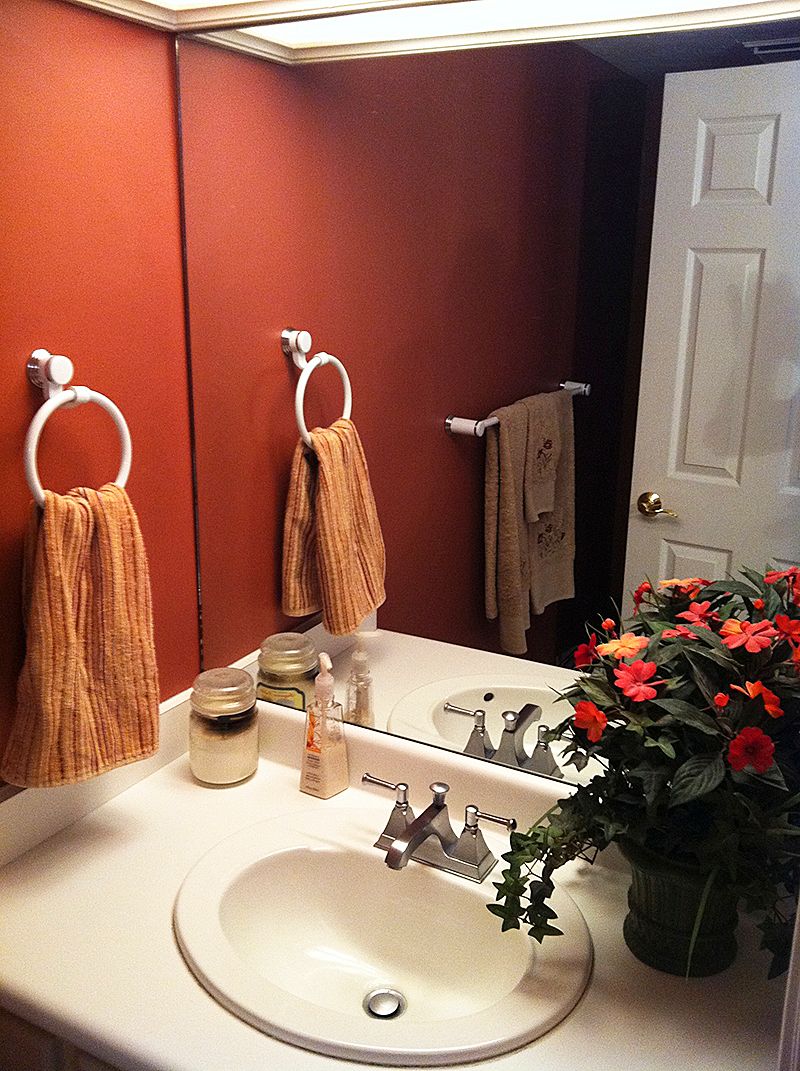
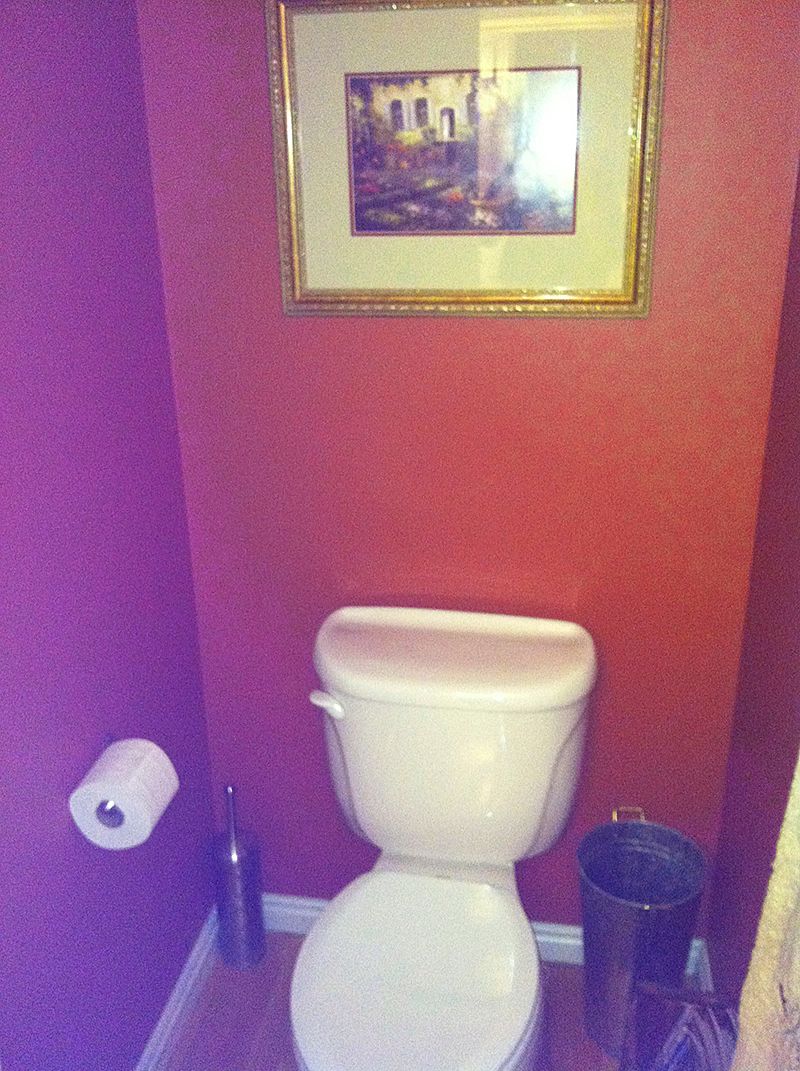
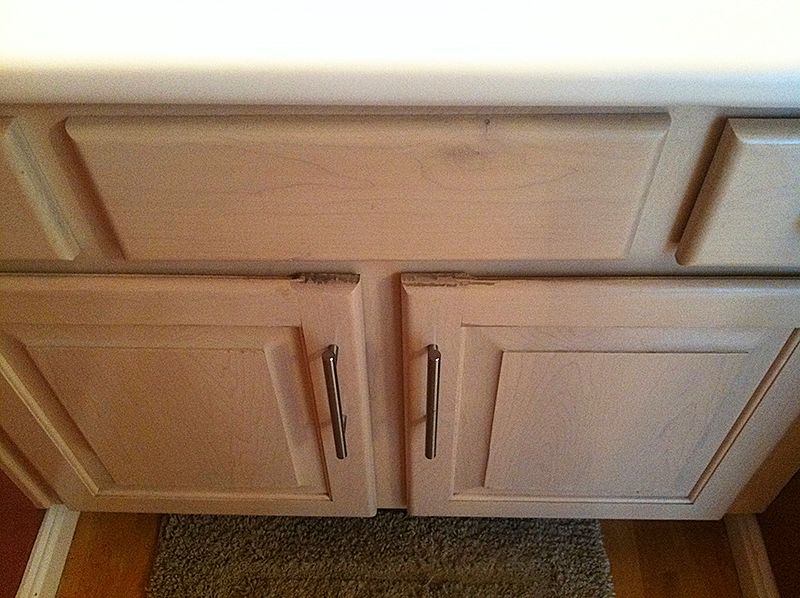
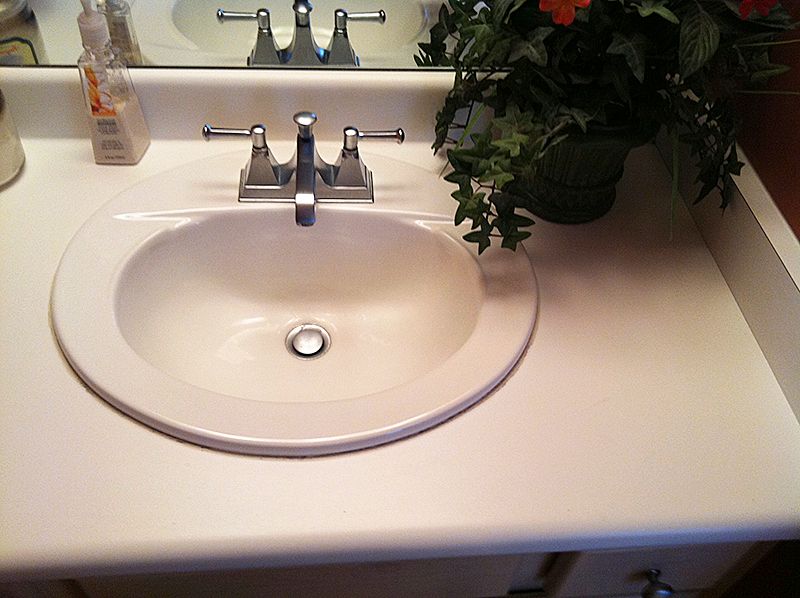
When we moved in, this room was dark and depressing. I wish I had taken more photos of before, but it was really bad. Burgundy everything and in such a small space, it just felt closed in. Also note another one of those “custom” weird molding box light fixtures like in our upstairs bathroom. I felt bad for about 5 seconds about tearing them all out, but the beauty of the brighter space made me feel a whole lot better.
I always try to save original if I can, but in this room, it just wasn’t worth it to save the anything. The vanity was outdated, worn, and needed to go. We replaced everything, including the toilet. So, let’s dig into the details!
First, the walls. Originally I had my heart set on this beautiful Kelly Wearstler wallpaper but as I priced the space, I knew it wasn’t in the budget. We had just moved in, had a nursery to finish, hardwood floors to re-do, and an entire house worth of carpet to replace. I started searching for a less expensive option. Hello stencil.
Oh stencils. You make me think of the 80’s/90’s when toll painting stencil borders around rooms was all the rage. Along with sponge painting. How far we have come! But as I started searching, I found some pretty patterns. I went with this Moroccan Stencil pattern for my stenciled bathroom walls.
We started out by painting the space a nice clean blue/green/gray: Restoration Hardware’s Pale Silver. It’s one of my favorite colors. Then, it was time to get stenciling.
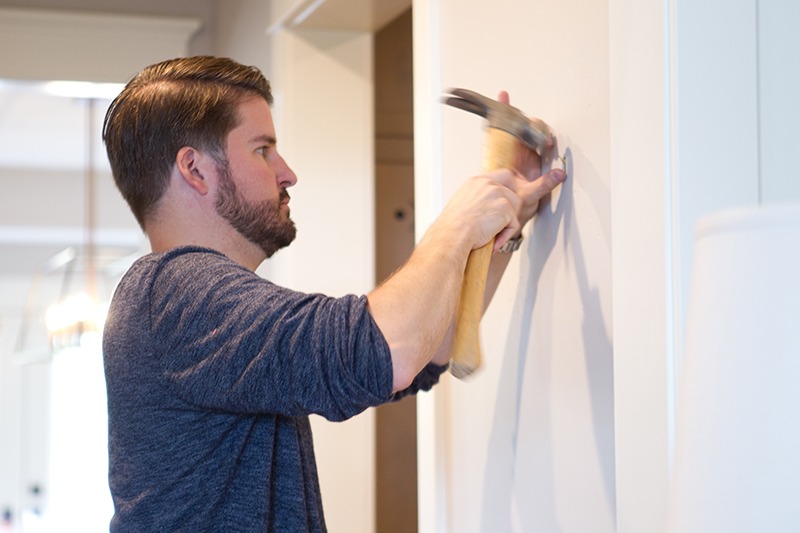
First, a few tips on stenciling. Don’t expect it to be easy. It’s not. It’s tough to line up the pattern perfectly, deal with the plastic and adhesive, and paint build up. But, if you’re patient and don’t rush the finished product, it can turn out great and save you a lot of money. My first tip is to get the more than one stencil to use, and make one of them the biggest size they sell. We didn’t do this. We bought a small size, and only bought one. The paint layers and adhesive from using the stencil over and over and over again caused us some grief, resulting in Jon yelling “This SUCKS! I’m NEVER doing this again! This is the worst project of my life!” approximately 4 times an hour. I say hour, because it took many, many, hours to get it to look like this. But I digress…
Tip #2: get the spray adhesive. Do it. Don’t think you can hold the stencil in place. You can’t.
Tip #3: line up the edges of the stencil around the corners of the room so it flows. That will take it from looking like a diy to looking like wallpaper. When deciding where to start, consider where the pattern will go as it goes around the wall. The first one is the most important. Do a little planning and think about where the stencil will end on each wall.
Tip #4: Get a small touch up paint brush because you will have touch-ups.
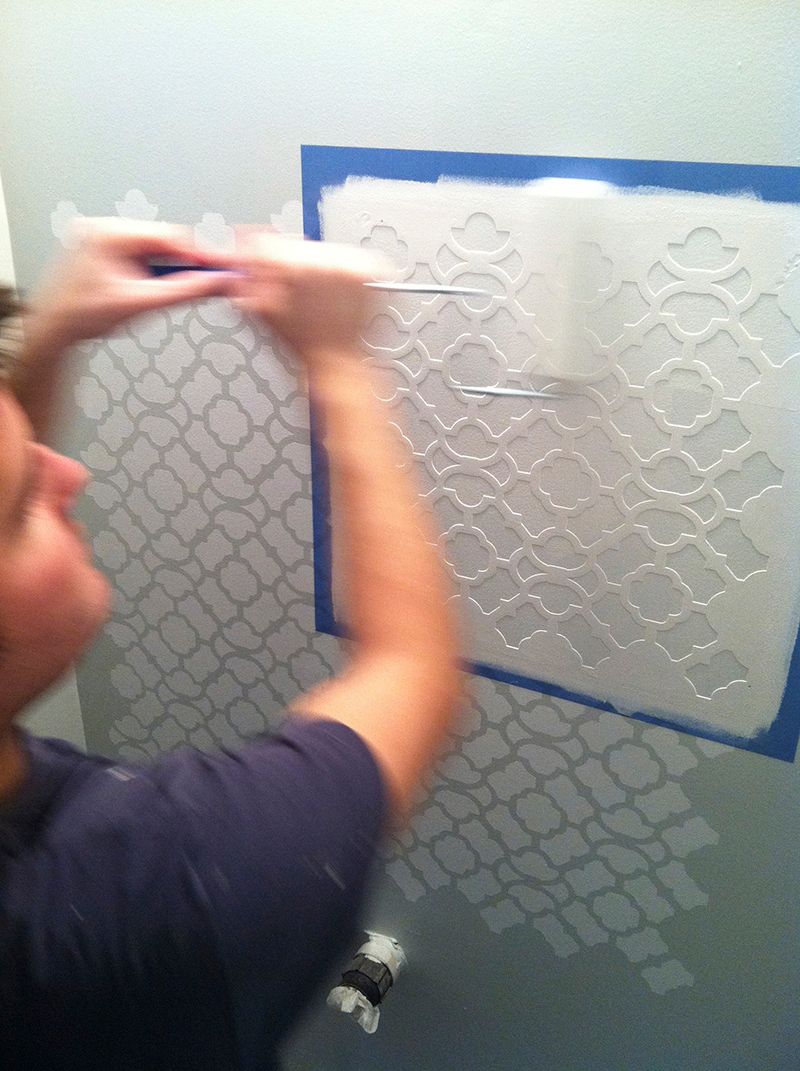
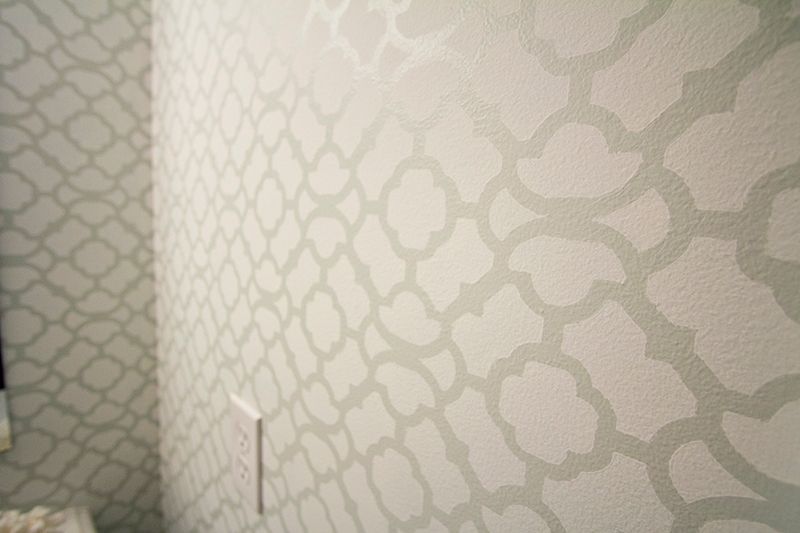
It was a pain, but it was worth it. We were thrilled with the finished product!
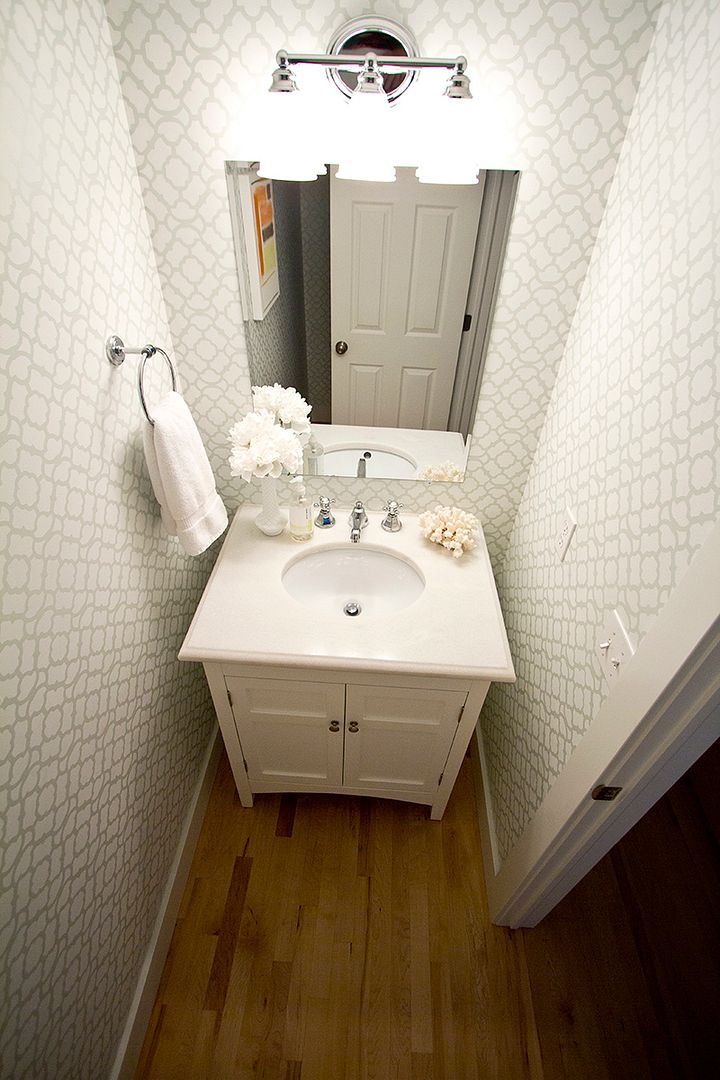
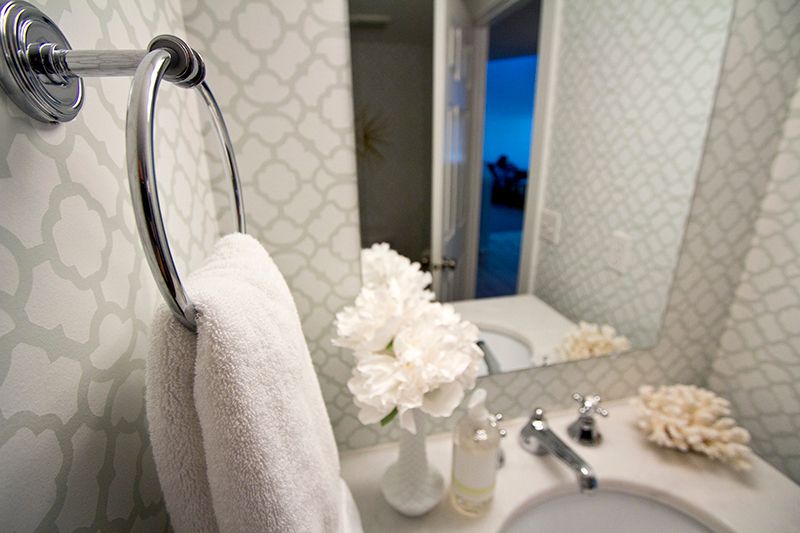
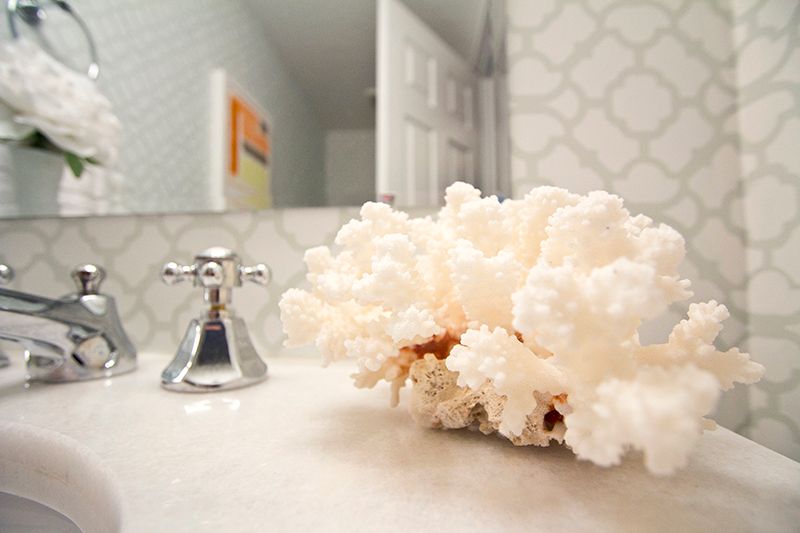
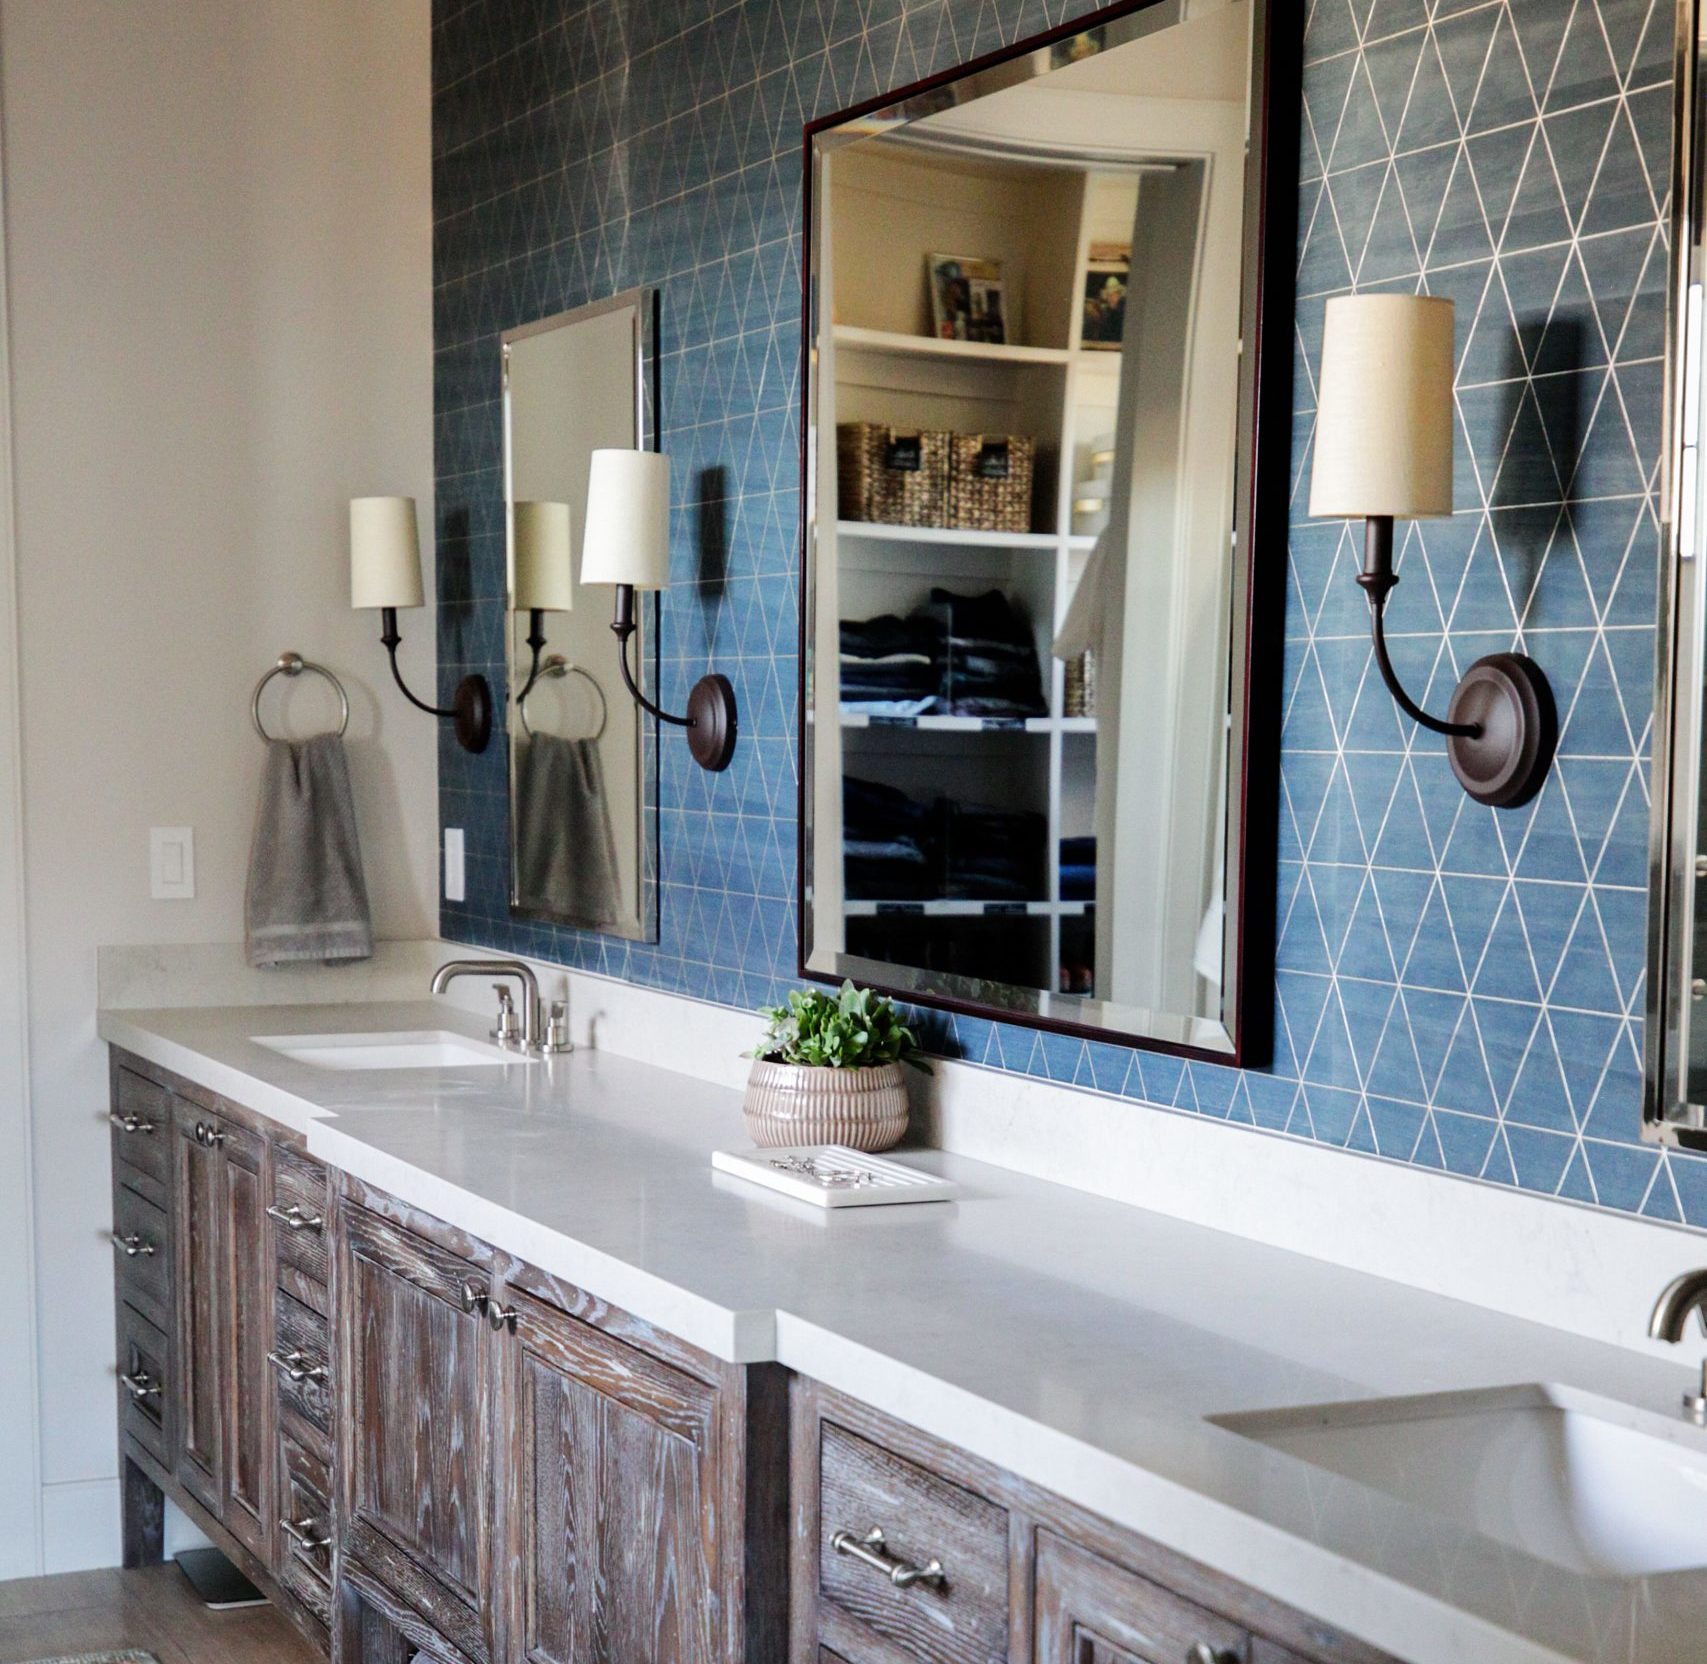
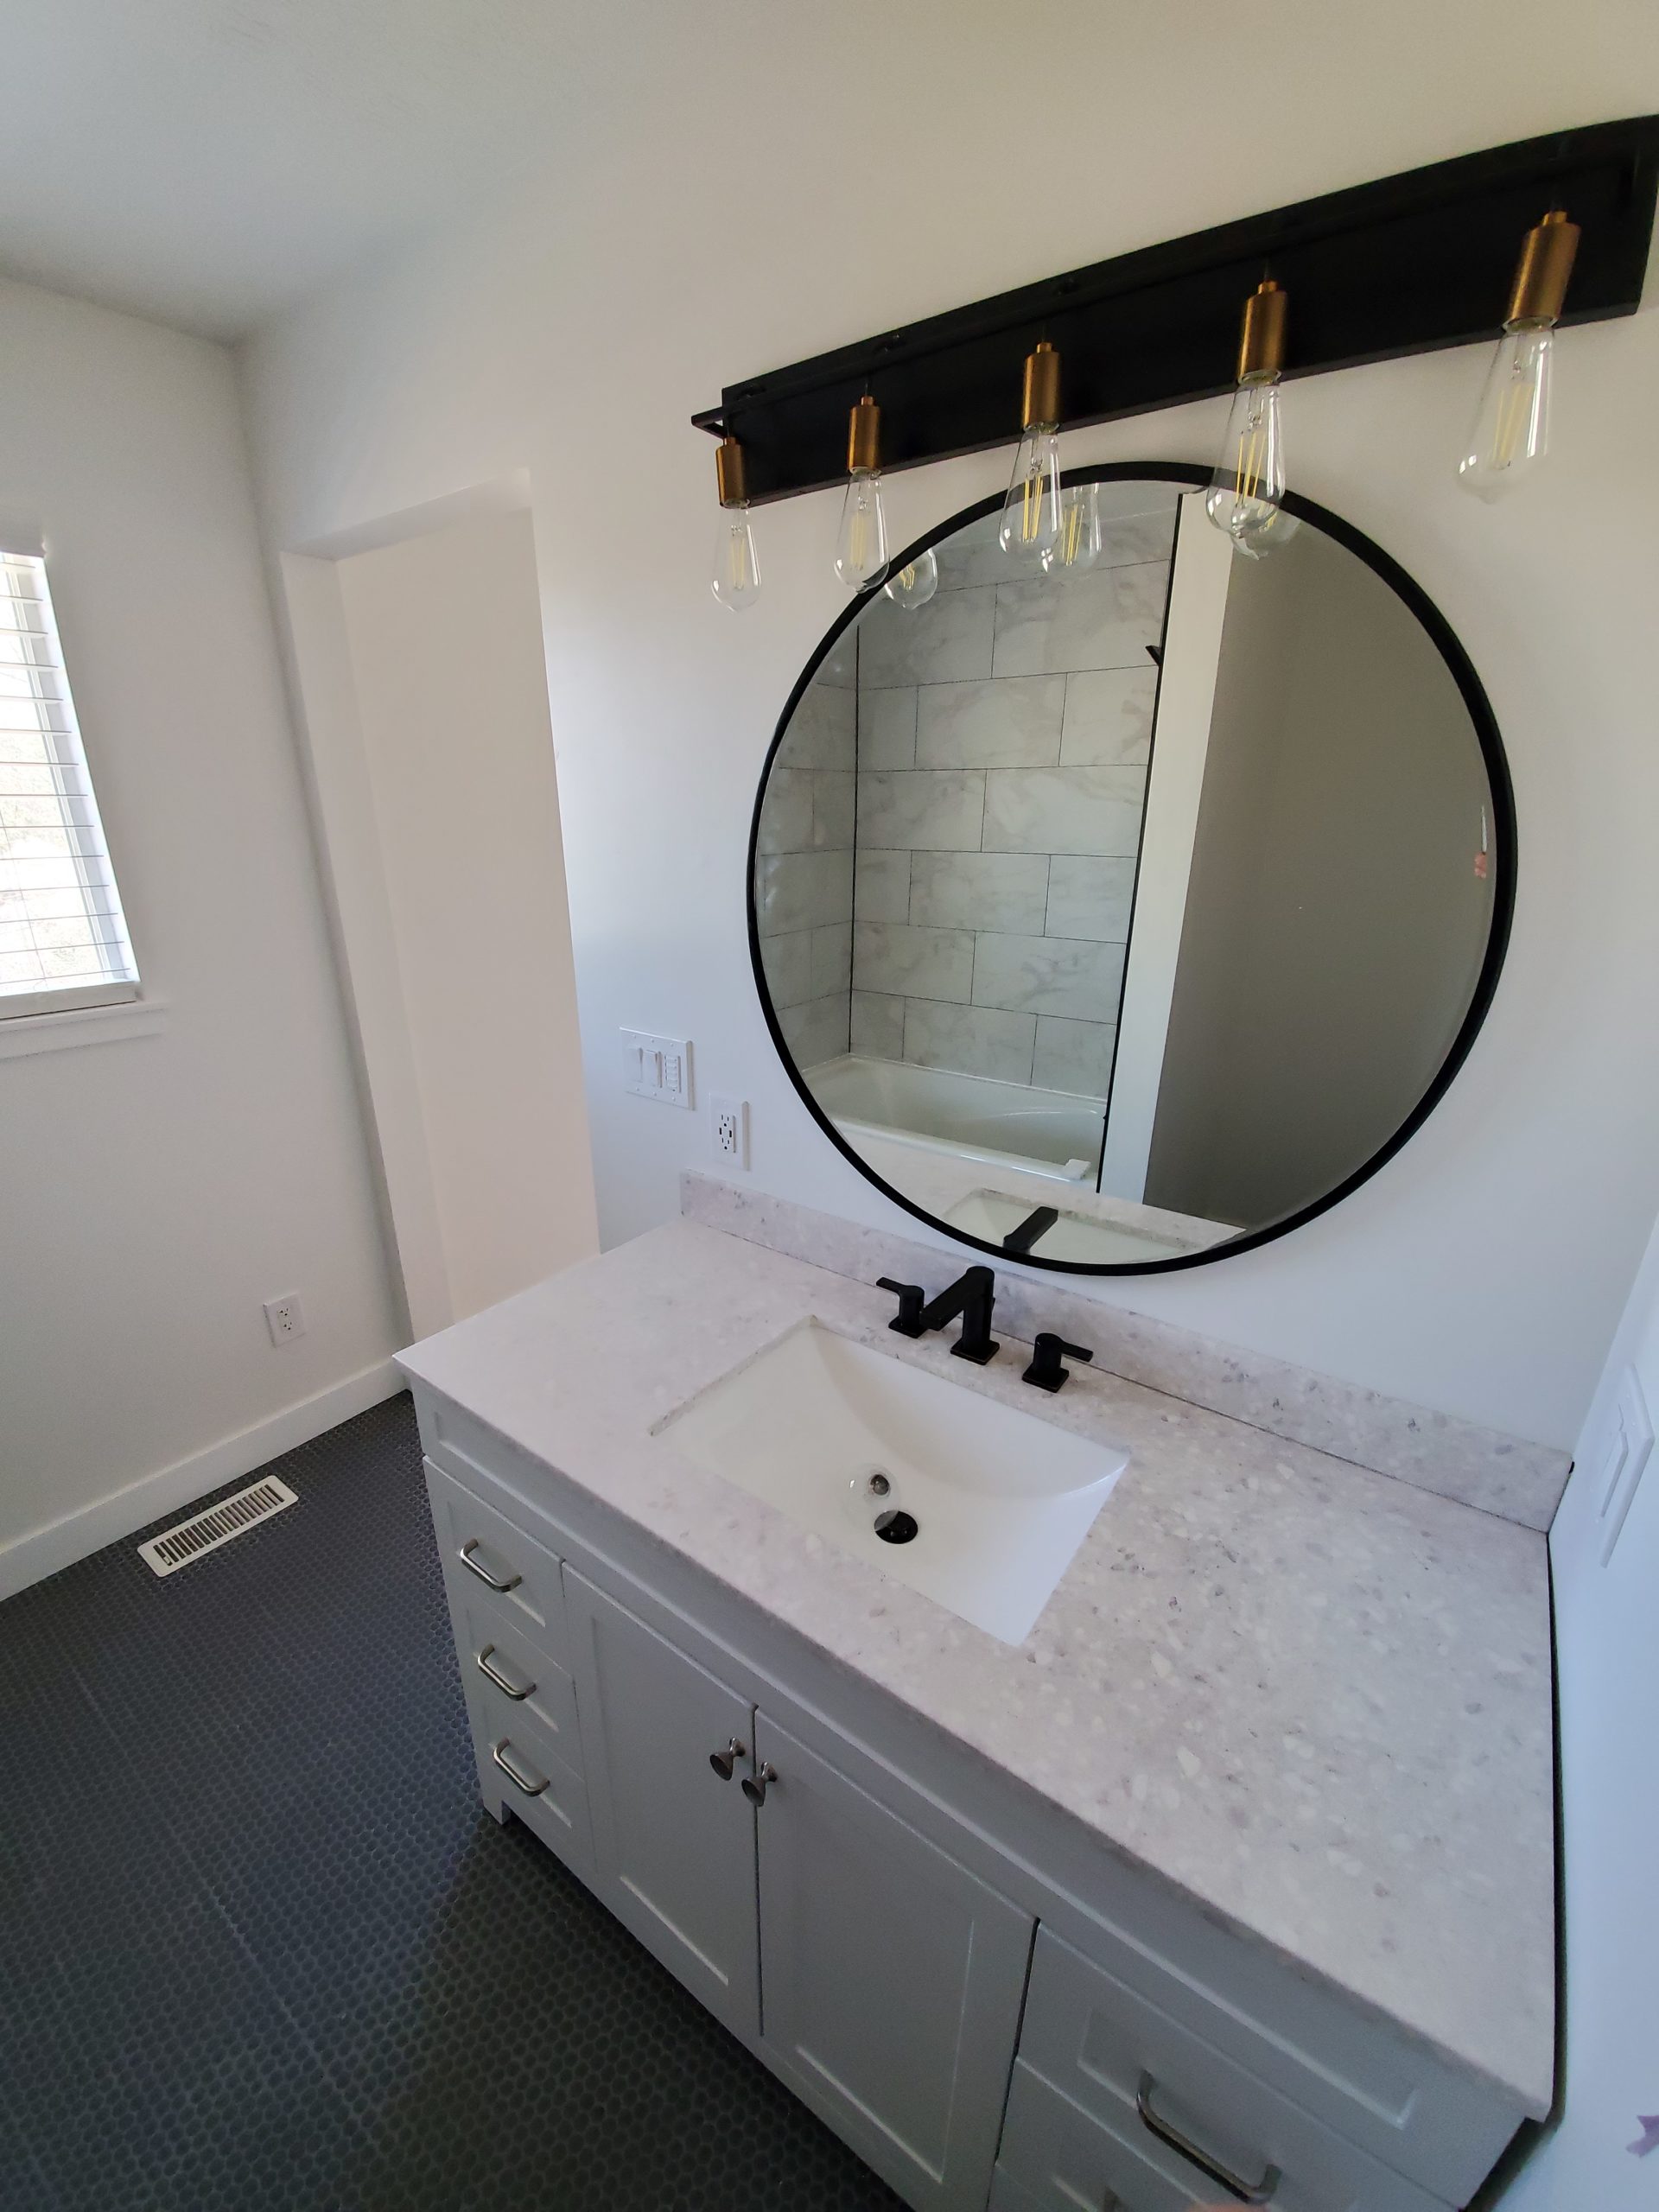
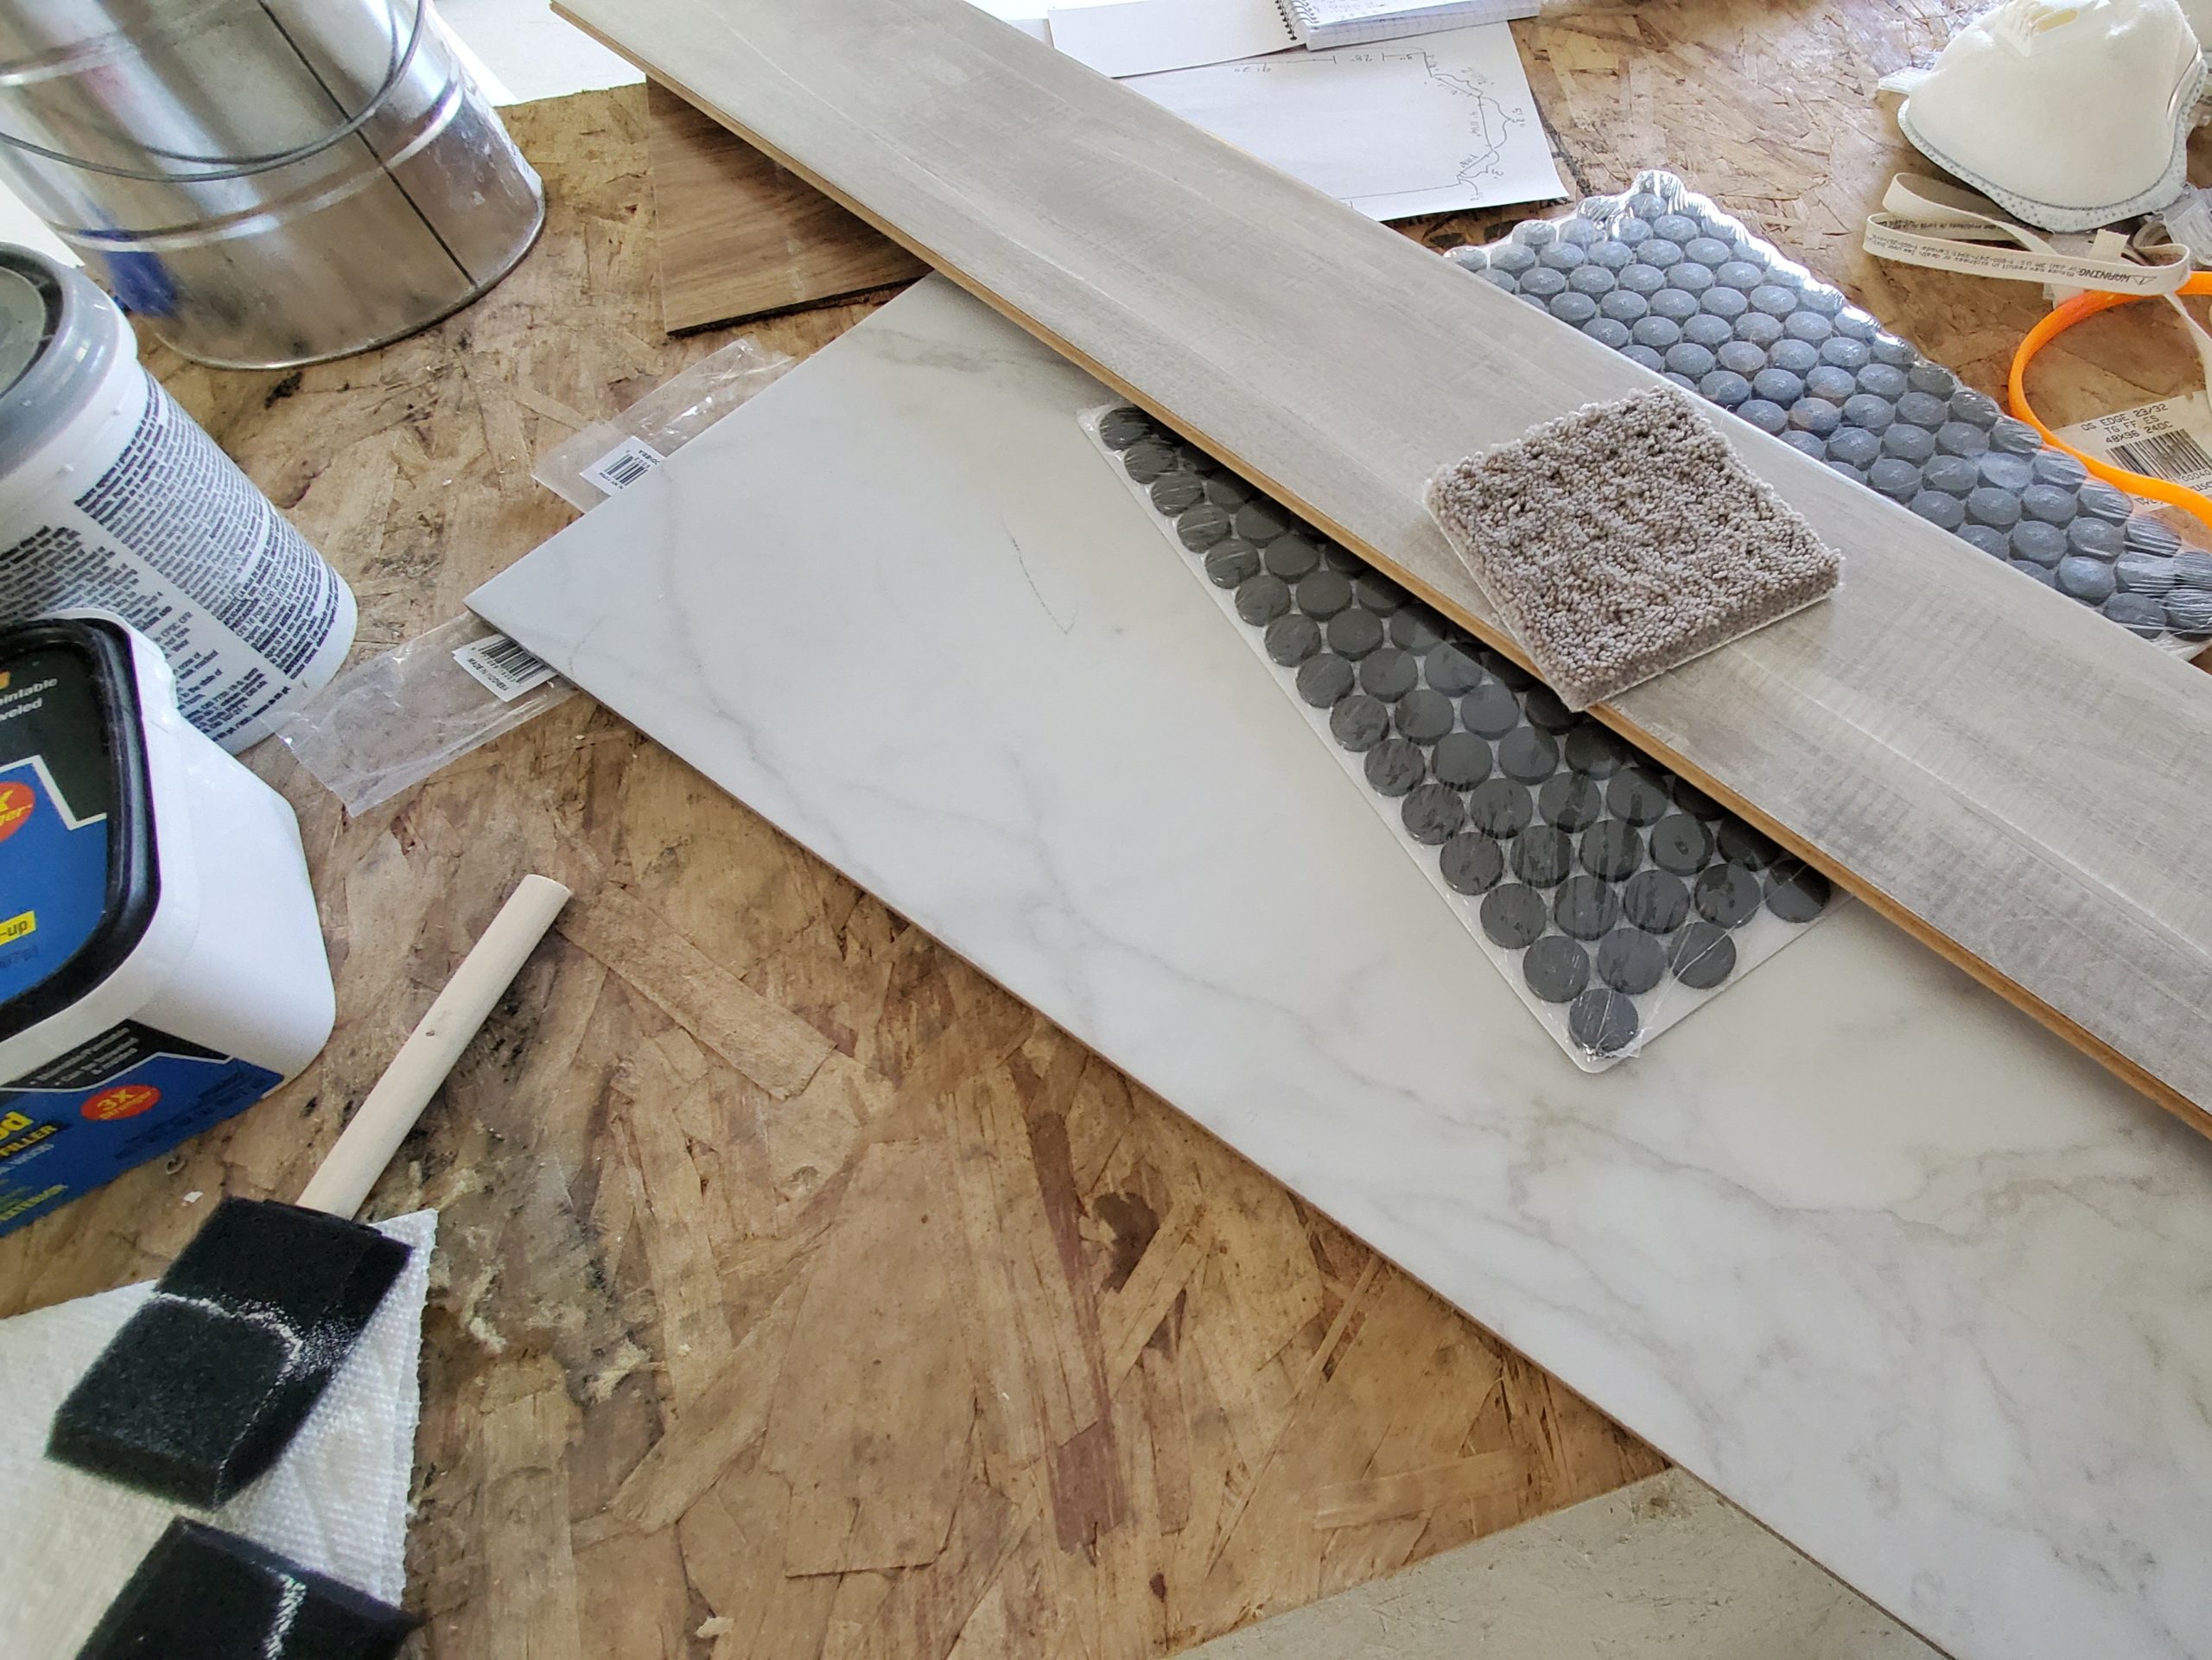
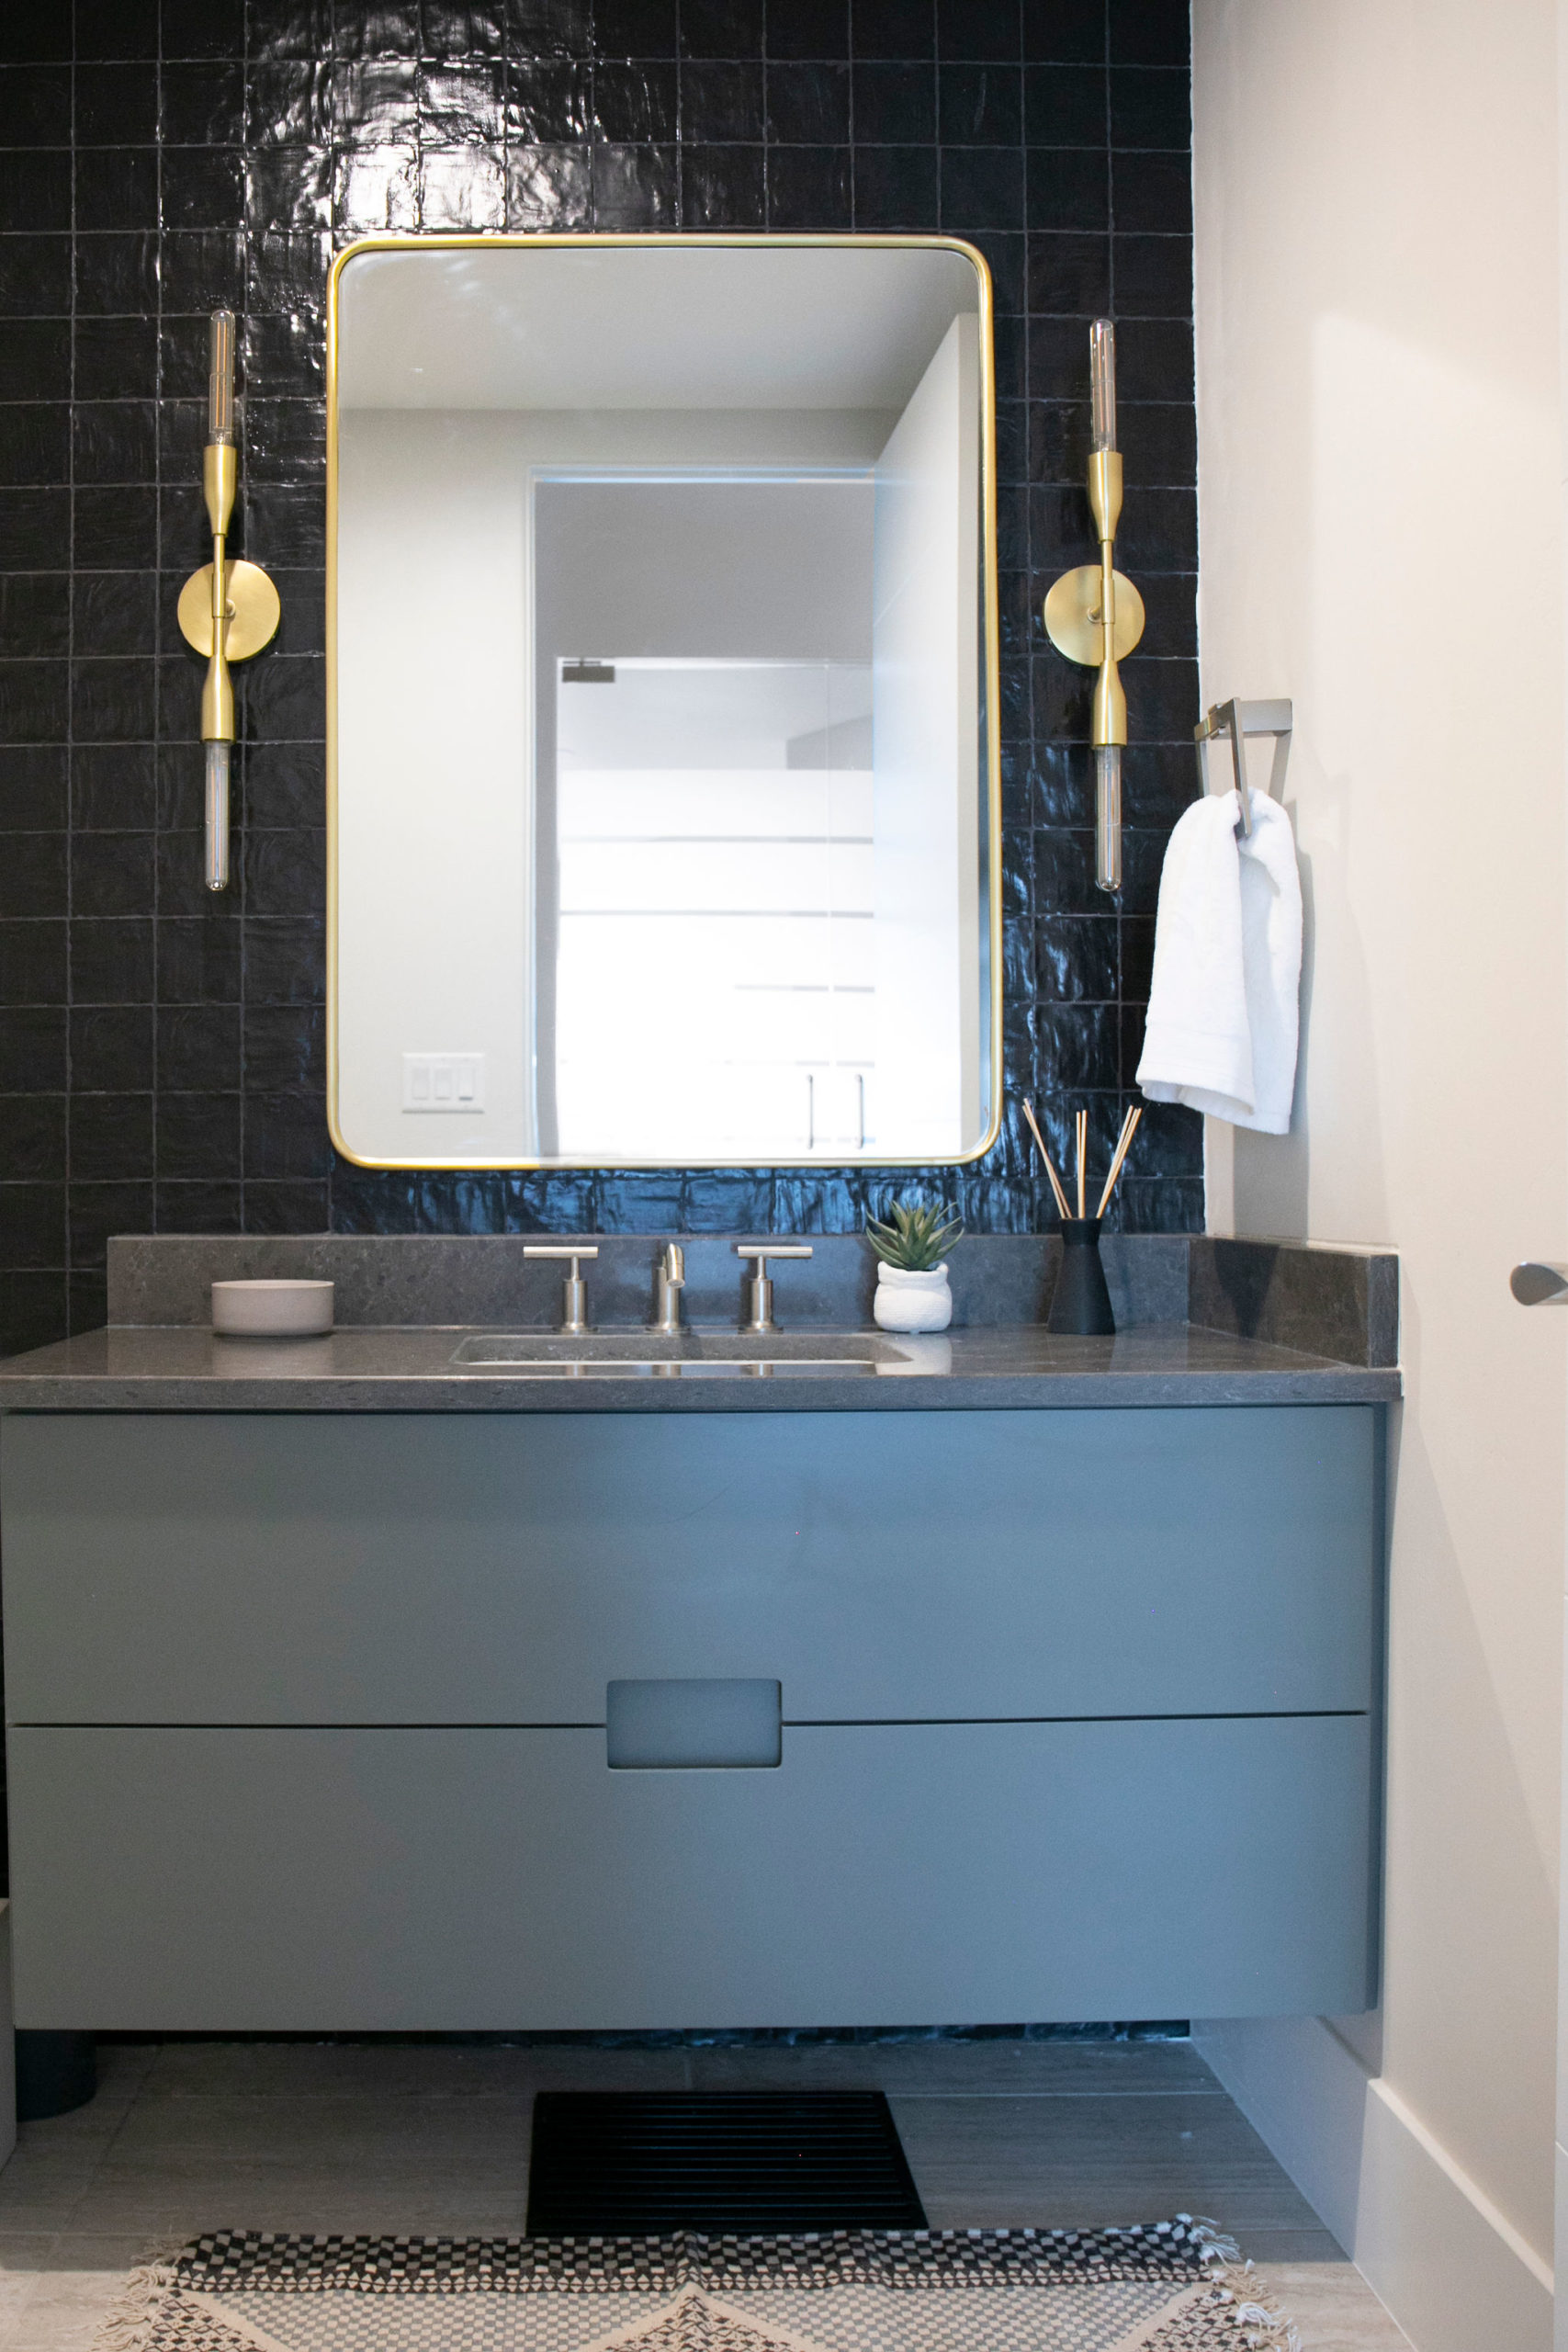
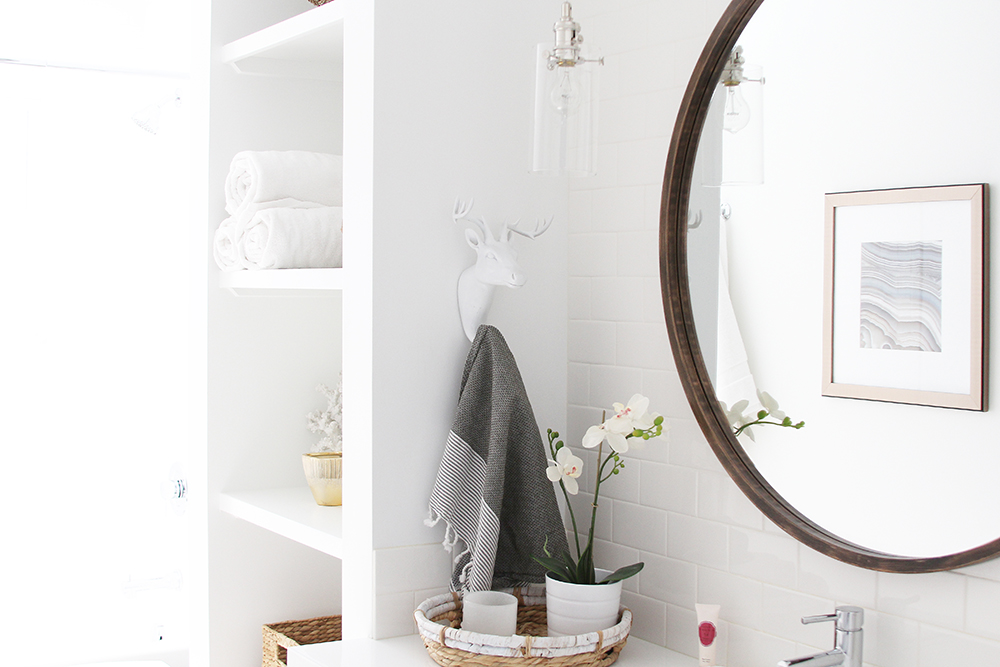
On to the fixtures: I chose a classic white vanity, marble countertop, bright fixtures. I ordered the vanity from a local cabinet maker.
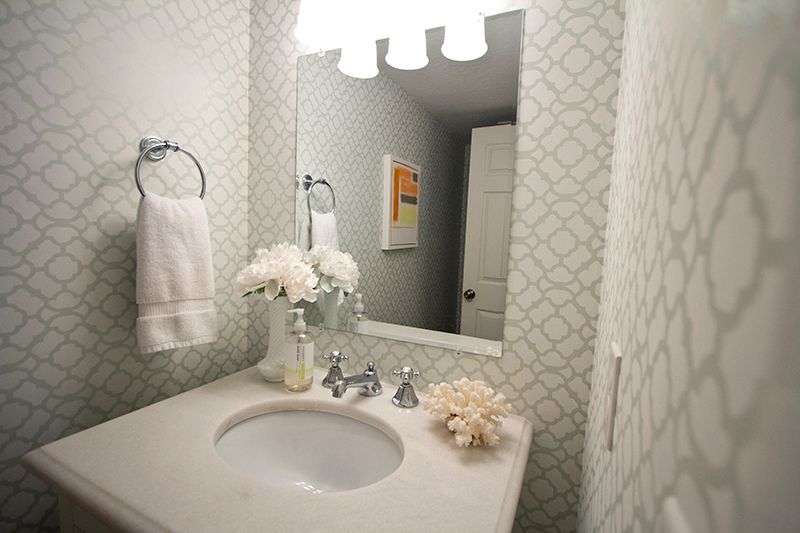
I had a different light fixture and a Venetian mirror in mind, but the space wouldn’t allow it. We had to chose a light fixture that would fit, and a framed mirror was too thick. Simple thin mirror it was.
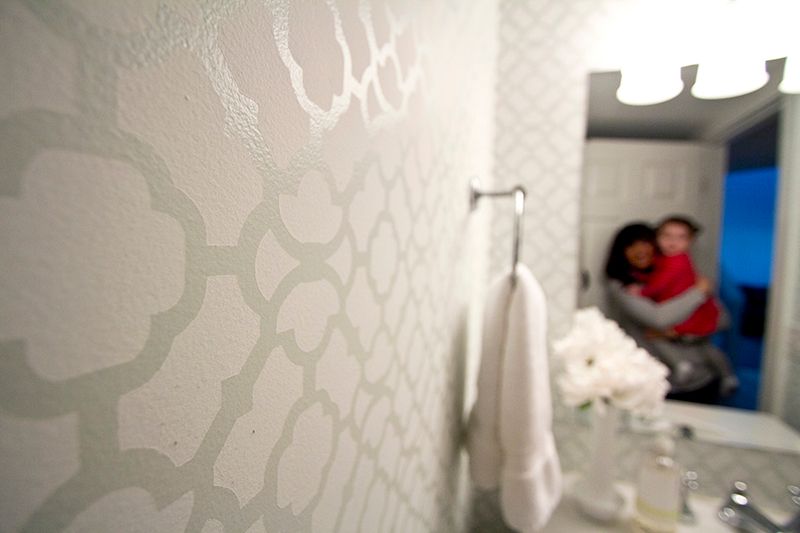
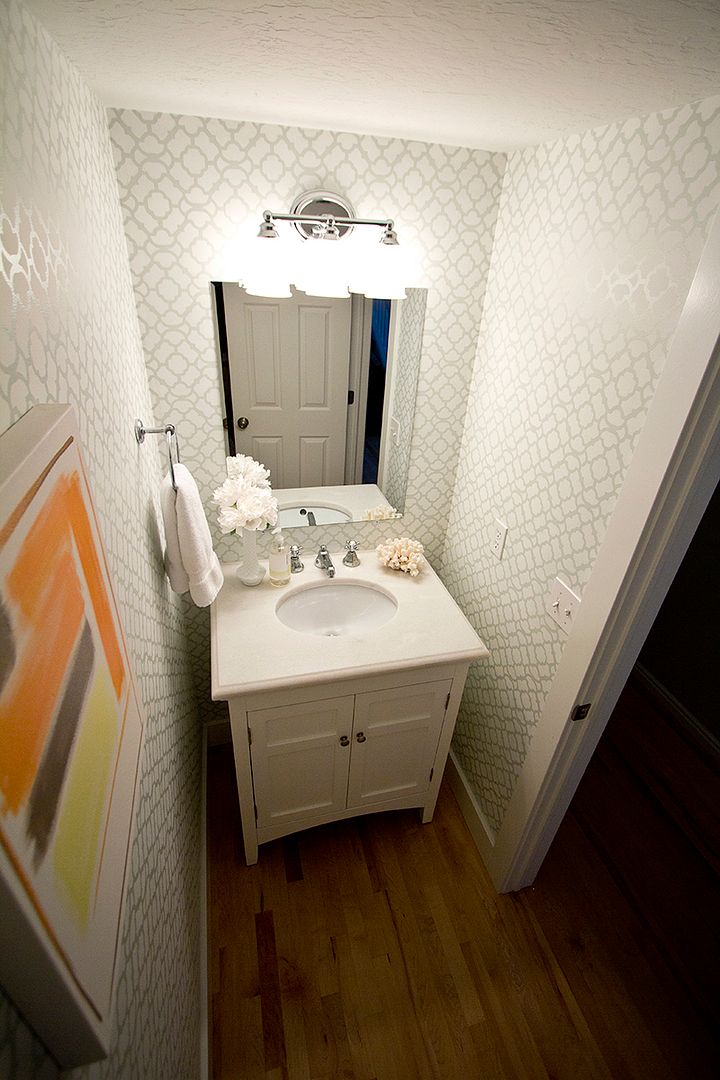
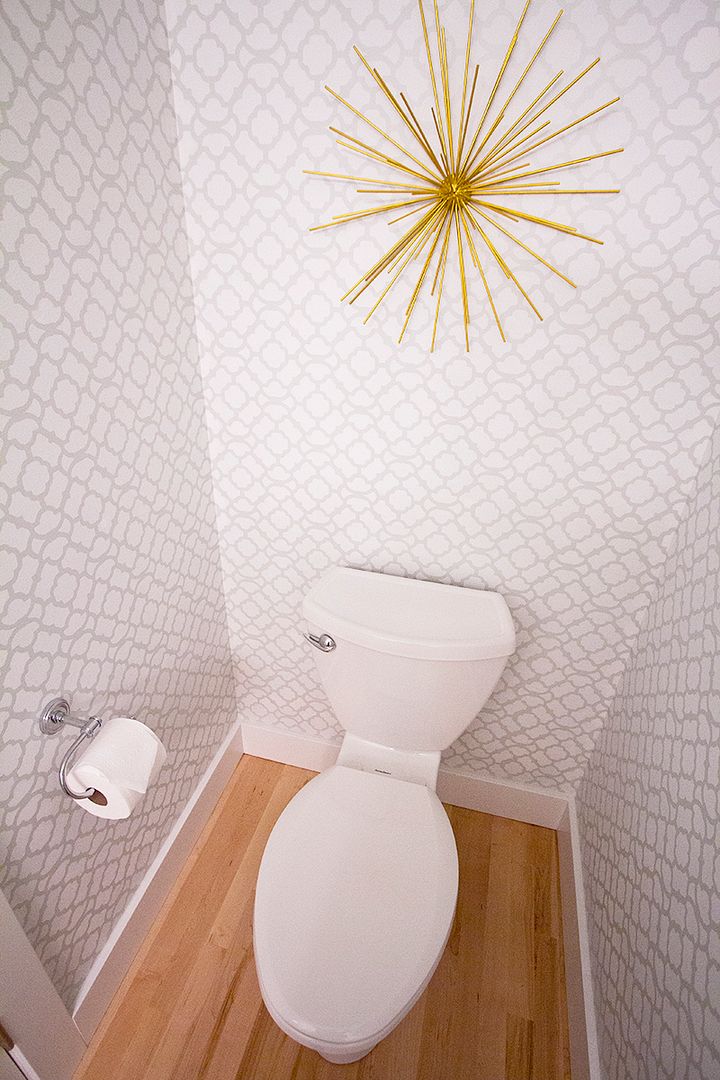
It’s a simple, fresh, bright space that makes a statement with a stencil. It’s such a topic of conversation when guests come over. Everyone wants to know where I purchased my wall paper, which makes me smile with satisfaction:)
I’ve got some great stuff coming up to show you on this week of Thanksgiving. Hope you have a wonderful start to your week!

*Pretty photos by James Young









































































I am absolutely dying! In love! Great job – so bright and fresh!!
What a fabulous end result, and I’m especially impressed with how good your corners look! Overall a great payoff for all your hard work.
Stunning! My sister did a stencil on one of her walls. Was suppose to be all four walls but for some odd reason turned only into one wall;) One patient husband! Turned out lovely!
This looks awesome! How did you prevent paint from bleeding underneath the stencil? I’ve vowed to never even attempt stenciling again, but maybe with your tips, I’ll consider… Haha! And how did you do the corners without folding the stencil?
Thank you Samantha! You have identified the two main challenges of working with a stencil. First, to prevent paint bleed underneath the stencil, I used a spray adheasive. You have to cover the back of the stencil with enough spray adheasive to make sure all of the edges in the design stick to the wall. Unfortunately, you have to re-apply the spray adeasive after each use of the stencil (the aheasive is fairly weak, which is good because you don’t want it sticking to the wall or pulling off the underlying paint, but that means you have to reapply often). That also means you have to wait until the paint on the front of the stencil is mostly dry before you reapply the stencil, so you can stick it to the wall. The next problem is using the stencil in corners. I had to fold the stencil as much as I could without breaking it or bending it permanently, then I used a pencil and sketched the stencil pattern free-hand. After I layed out the pattern in the corners with a pencil, I filled in each shape with paint with a small brush. As you can tell . . . this project was a labor of love. But the result made up for the work.
Oh, and here is one more tip. Use a different sheen on either the top coat or underlying coat of paint. We chose an eggsheel sheen for the blue underlying paint, and a flat sheen for the white top coat of paint. The two sheens give the finished product a lot more dimension and makes the pattern really pop. Have fun!
This is a great idea instead of fooling with wallpaper. Wallpaper definitely has its cons, including gathering mold behind it in bathrooms.
Thank you so much, Caleb! It was such an inexpensive solution!
[…] Ruby’s nursery, the home office, the guest room, and Ruby’s bathroom). At least our main floor half bath was complete, but that’s not really accommodating for conversation so I always felt like […]
Love the finished product. I did the same thing to one of my rooms at home using a mural. I got the idea from this article I read called https://interiorink.com/blogs/explore/captivating-decor-ideas-with-custom-wallpaper, It had ideas about murals and the perfect spaces for from. I did a custom repeat design to an accent wall in my bedroom that turned out great.
I would recommend it if was great.
Way to go!