

")
")
")


HOW TO REMOVE A TILE BACKSPLASH
January 15, 2014
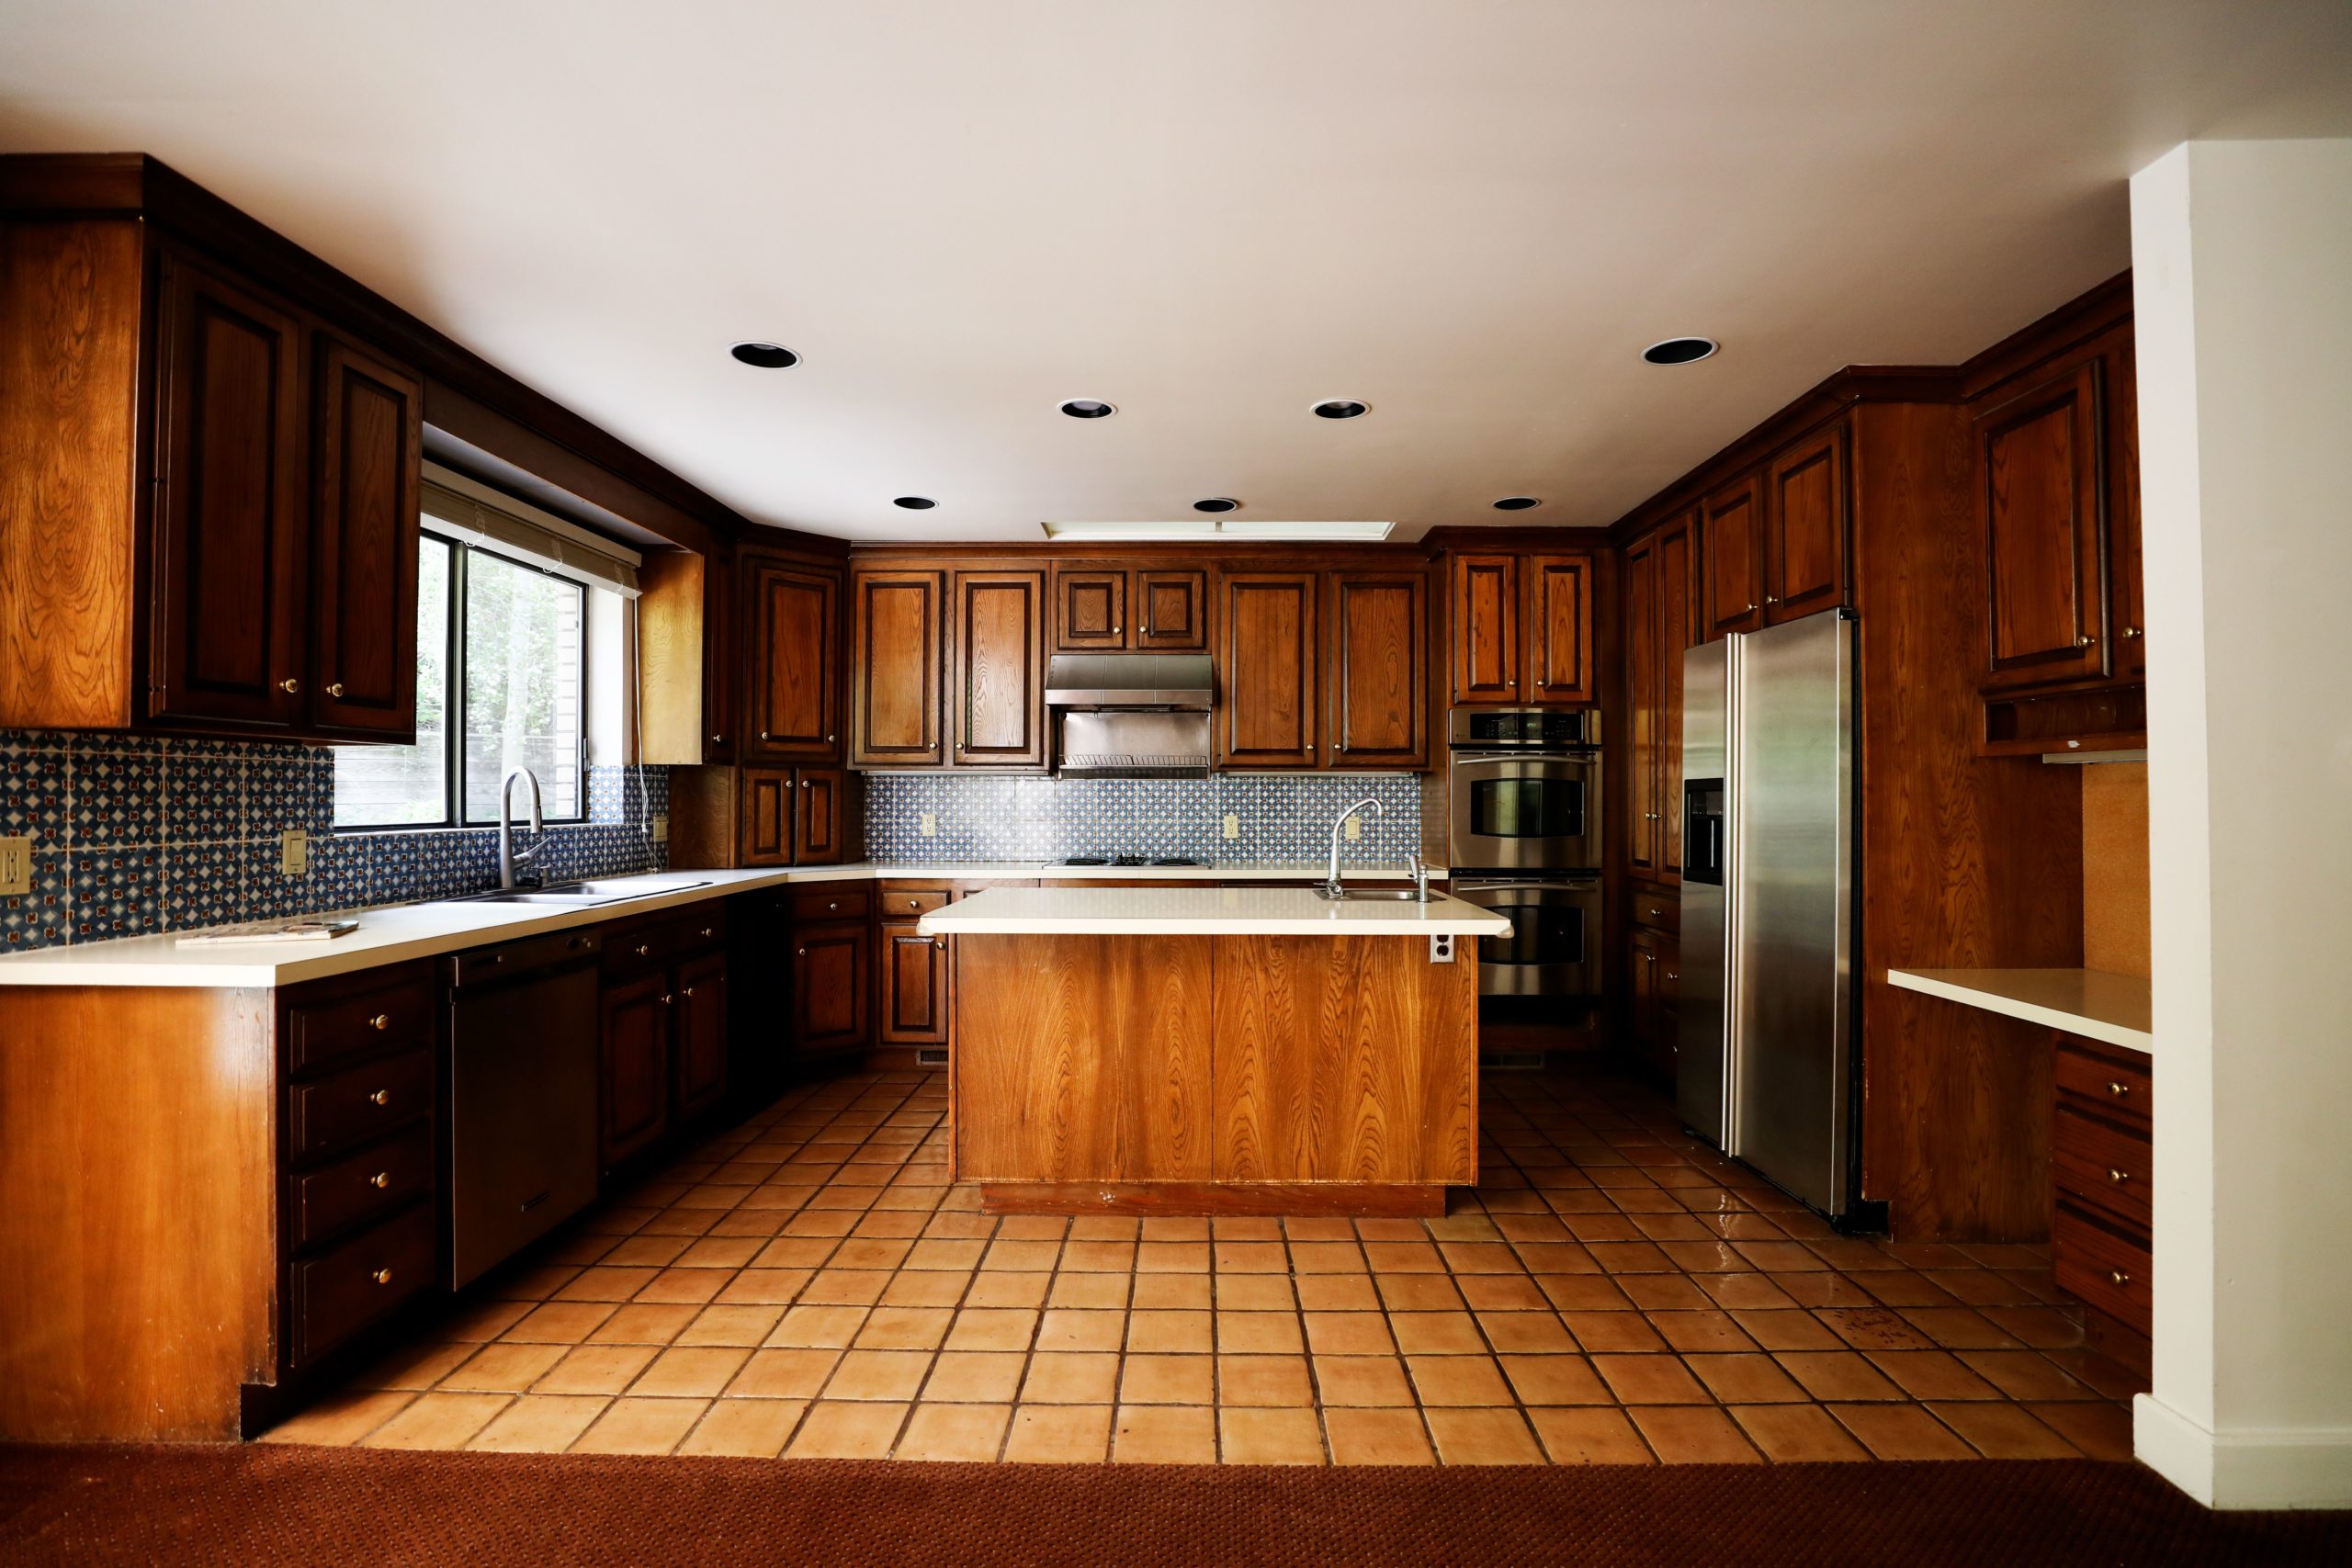
Today I’m taking you inside my latest project: our kitchen remodel. We launched into last weekend and it’s currently a disaster! But it will be worth it, and I’m giddy with anticipation at all it will be.
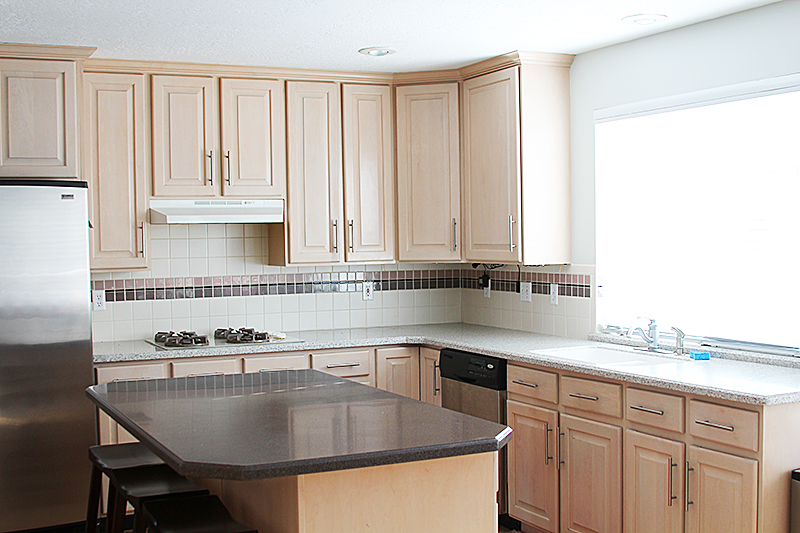
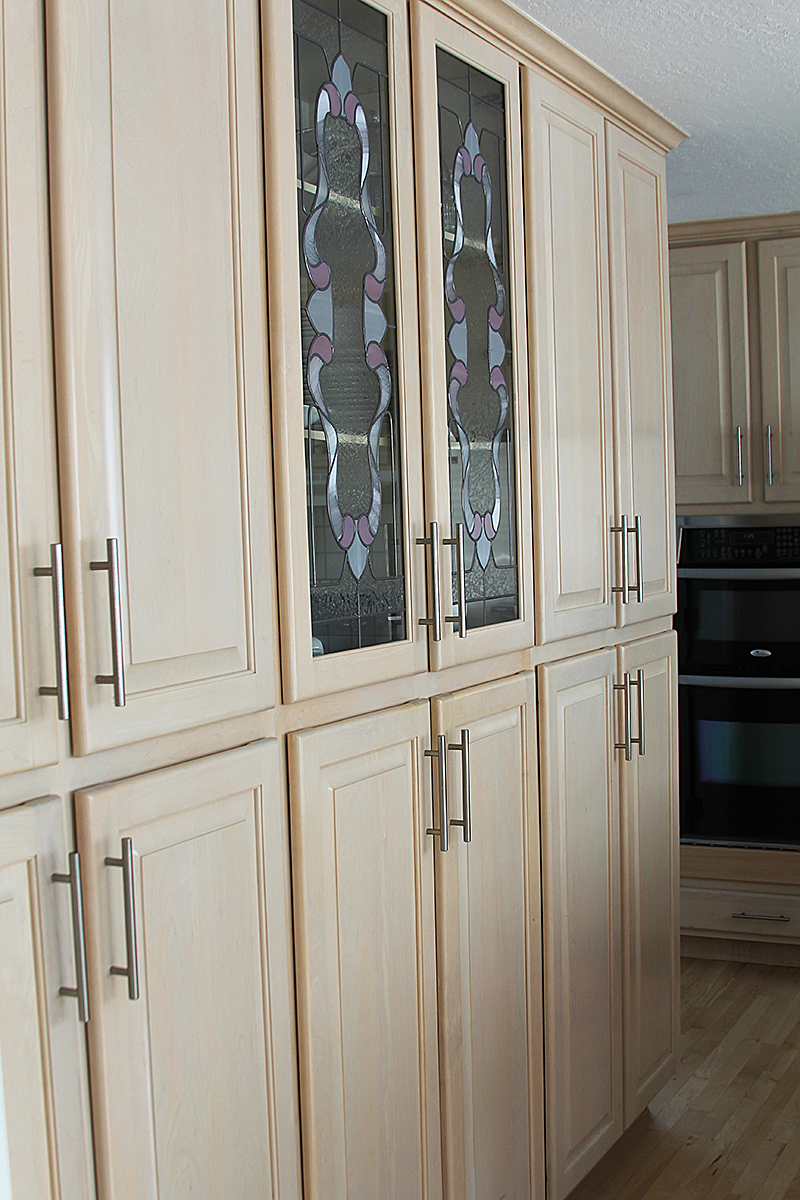
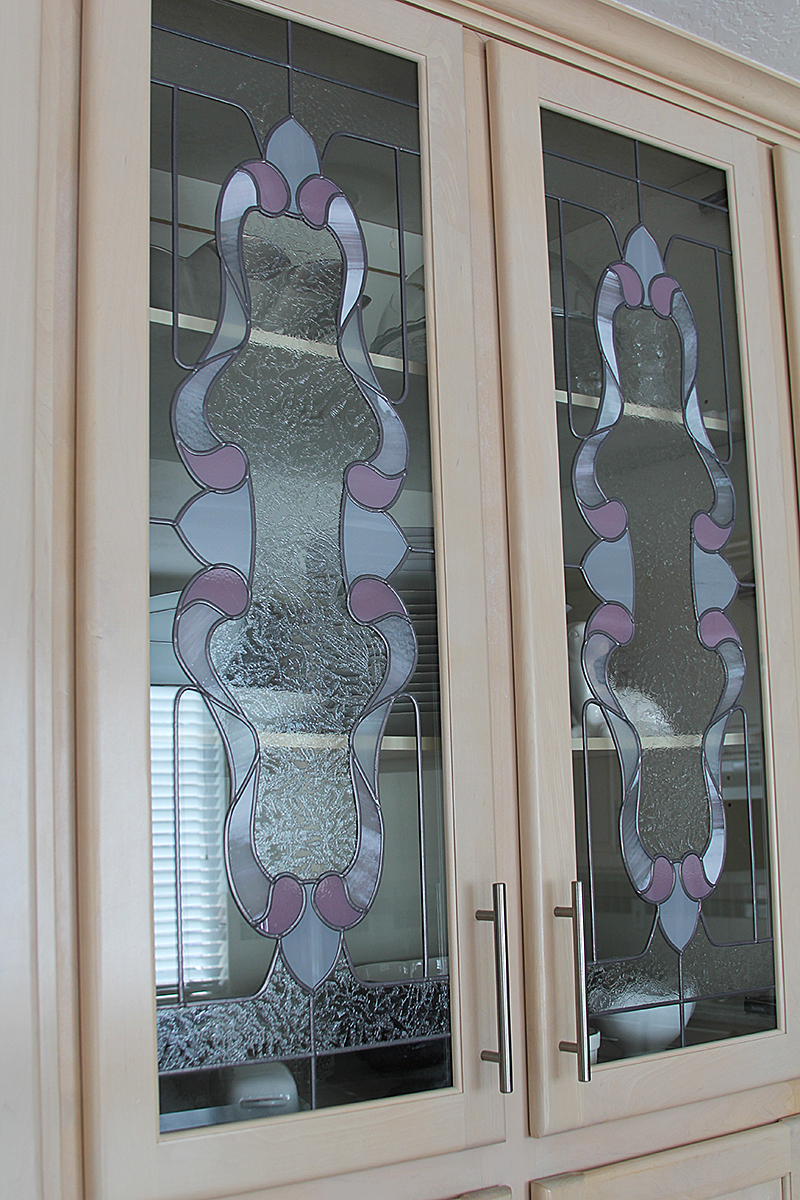
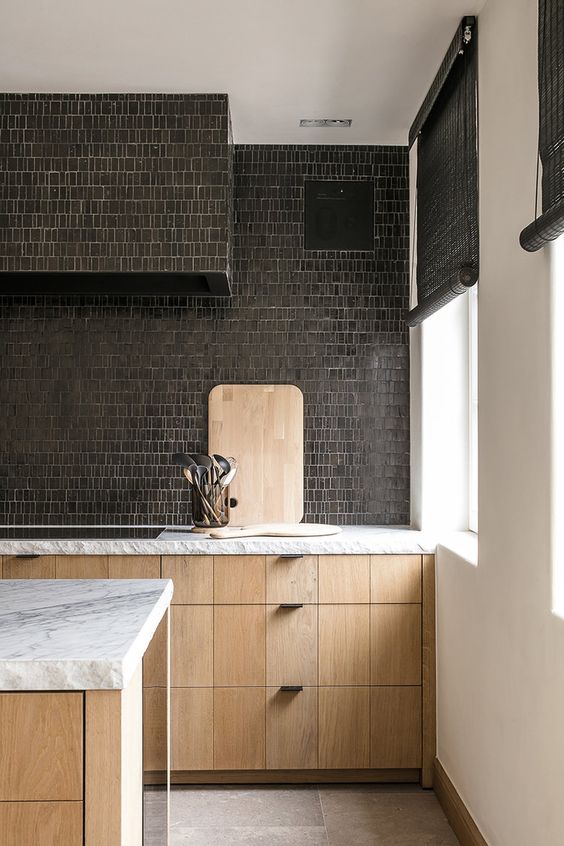
Oh boy, has this baby been a long time coming. It has been like a pebble in my shoe since we moved in. The outdated cabinet color. The off-white and mauve backsplash. The stained glass cabinet doors I swear I can hear singing “Be our guest, be our guest, put our service to the test!” every time I pass. I’m ready to leave the 90’s behind. The time has come. I’m so excited, I can’t stand it.
Believe it or not, this room’s update isn’t going to be that expensive. I know, I know, it’s so sad looking. But believe me, folks. This room is going to be a beauty! Here is my plan:
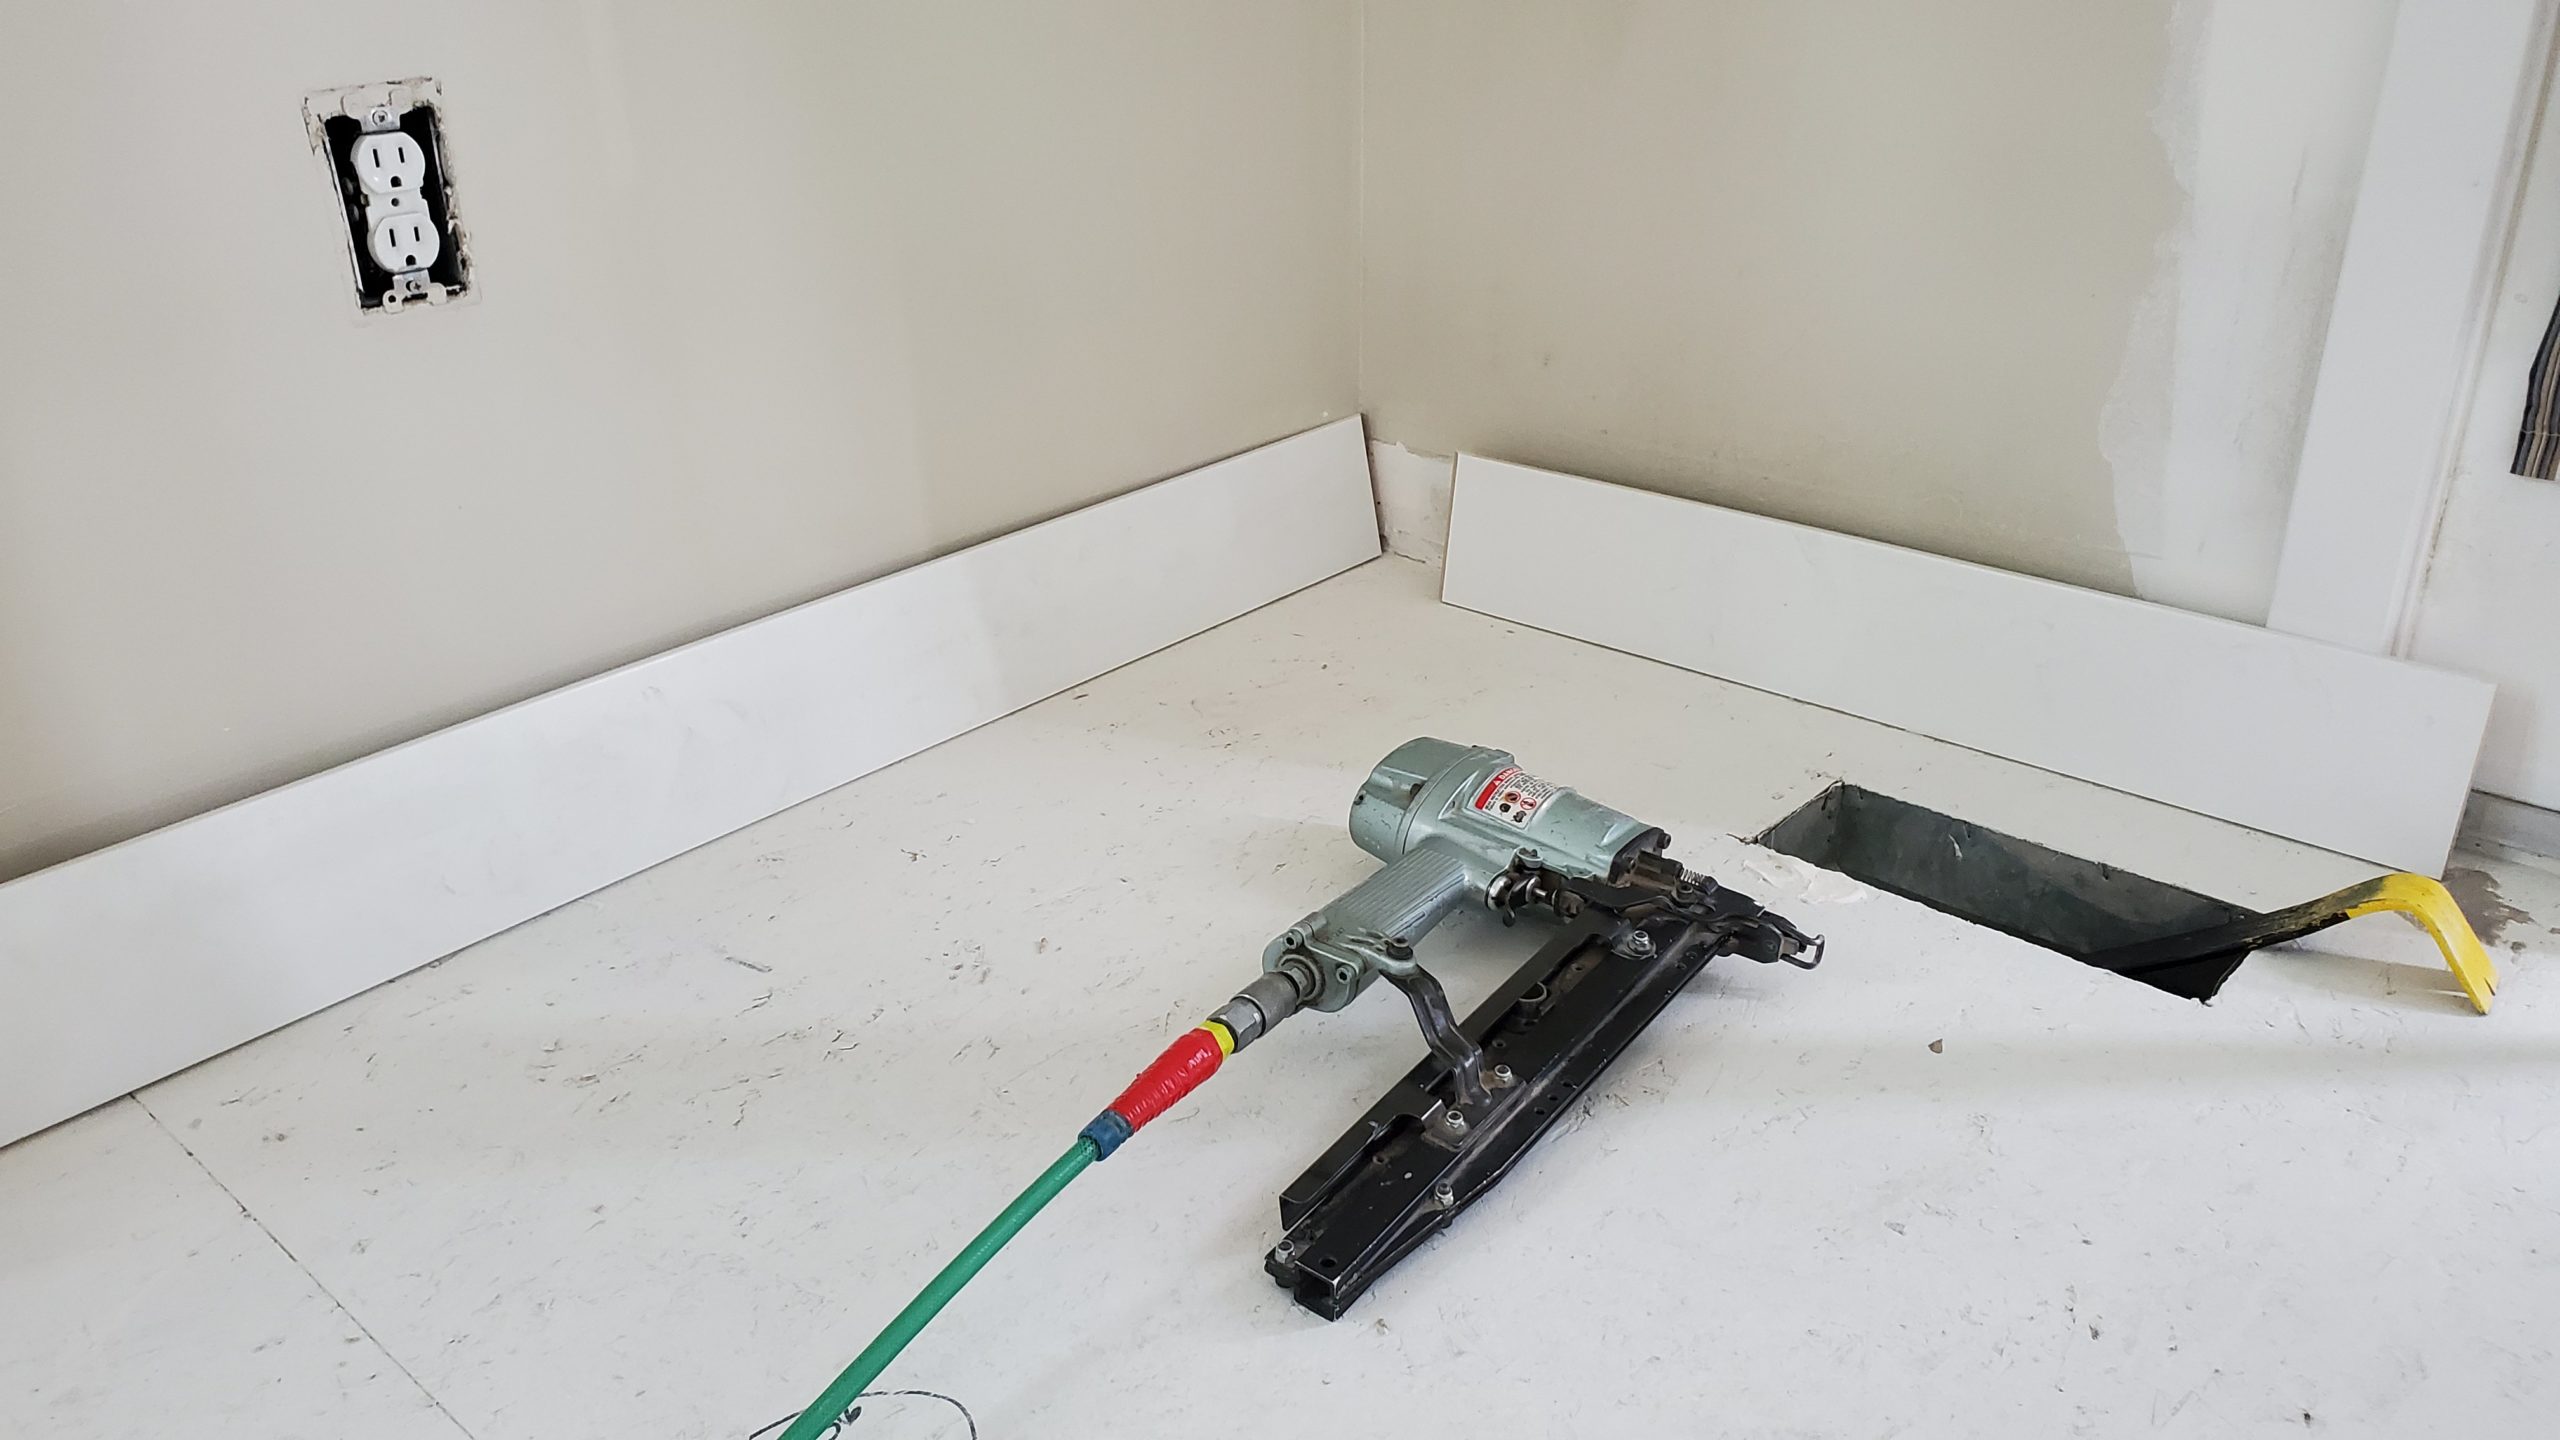
1) Remove the backsplash, patch the wall, and replace it with subway tile.
2) Paint all of the cabinets white, inside and out.
3) Update and replace the under cabinet lighting.
4) New hood fan.
5) New cook top.
6) Replace the stained glass.
7) New faucet.
8) Update the can lights.
9) Add detailing to and paint the island.
10) Moulding around the window.
11) Window treatment.
12) Repair/replace bowing shelves.
It sounds like a lot, and it is, but it’s all relatively inexpensive. It’s just a whole lot of labor. The biggest expenses are the new cooktop and the hood. For some reason, the previous owners updated all of the appliances with stainless steel except those two. And everybody needs to match in that department.
Since we live here and the kitchen is still very much in use, we taking it in phases. The first step was removing the backsplash. Removing existing tile is easy, if you know how to do it. Today I’m sharing how to remove tile in a jiffy (yep, I said jiffy). It’s easiest to see it done, so I give you today’s video: How to remove a tile backsplash.
Woot woot! Now, if only the painting would go as fast as the backsplash removal…

Leave a Reply


back to top
@jenniferstagg
shop

We're a full-service design firm and home furnishings shop built around the philosophy that a well-designed home should be beautiful, personal, cohesive, and complete. We think home is the most important place on the planet and when you live in a home that is perfectly you, it changes your life. Don't believe us? Stick around. We're confident we'll change your mind.
hello there!
Follow Along
@jenniferstagg
Hey, let's be friends
Exclusive projects, discounts, and extra goodies all in your inbox. And don’t worry- your email is for our eyes only.

I love that you are doing this! My kitchen needs a remodel in a bad, bad way. Our kitchen tile backsplash was hand painted by our previous owner’s daughter (and when I say hand painted, I mean hand paintings of cats, penguins, sunflowers, teacups, etc.). I hardly notice it now that we’ve been in our house for almost two years, but it is a total eyesore when anyone comes over to our house. I would really like to see a tutorial on how you’re going to finish the backsplash. Hopefully this can be a summer project for me!
Thank you, Mallory! Oh man, aren’t you sad to destroy someone’s artwork? I kid! I will be showing you the whole process, including backsplash install. It’s gonna be good:)
I have been wanting to redo my kitchen so badly, so I can’t wait to see what you do and look forward to your tutorials !:)
Thank you so much! It’s a fun one to do over, for sure!
I am SO excited I found your blog! I really really like your style! (was just checking out your playroom.) Adding you to my reading list right this second…can’t wait to see how the kitchen comes together. I really like the plan!
Thank you so much, Brooke!
Are your cabinets laminate or solid wood? Your kitchen re-do looks AMAZING!
Thank you so much, Katie! They are corian. I wouldn’t have selected them, but they are surprisingly practical. You can refinish them if they ever get scratched or stained. And the colors are neutral and gray tones, which go well with the rest of the house. Thank you for reading!
[…] had already removed our old backslash and prepped the wall. And by this point, our cabinets were all painted and the island detailing […]
Nice short video explaining the tile removal process, one criticism though – where are your safety glasses?! Those tiles can shatter sometimes and debris flies everywhere. You gotta protect those pretty eyes 🙂
Thank you for this video. We love the impact a nice, updated backsplash can have on a kitchen remodel. They CAN be a pain to remove though. You had some good tips in there. Looks like you’ve planned your kitchen remodel out nicely.
Thank you!