

")
")
")


DUPLEX RENO: CLASSIC MODERN BATHROOM ON A BUDGET
August 30, 2013
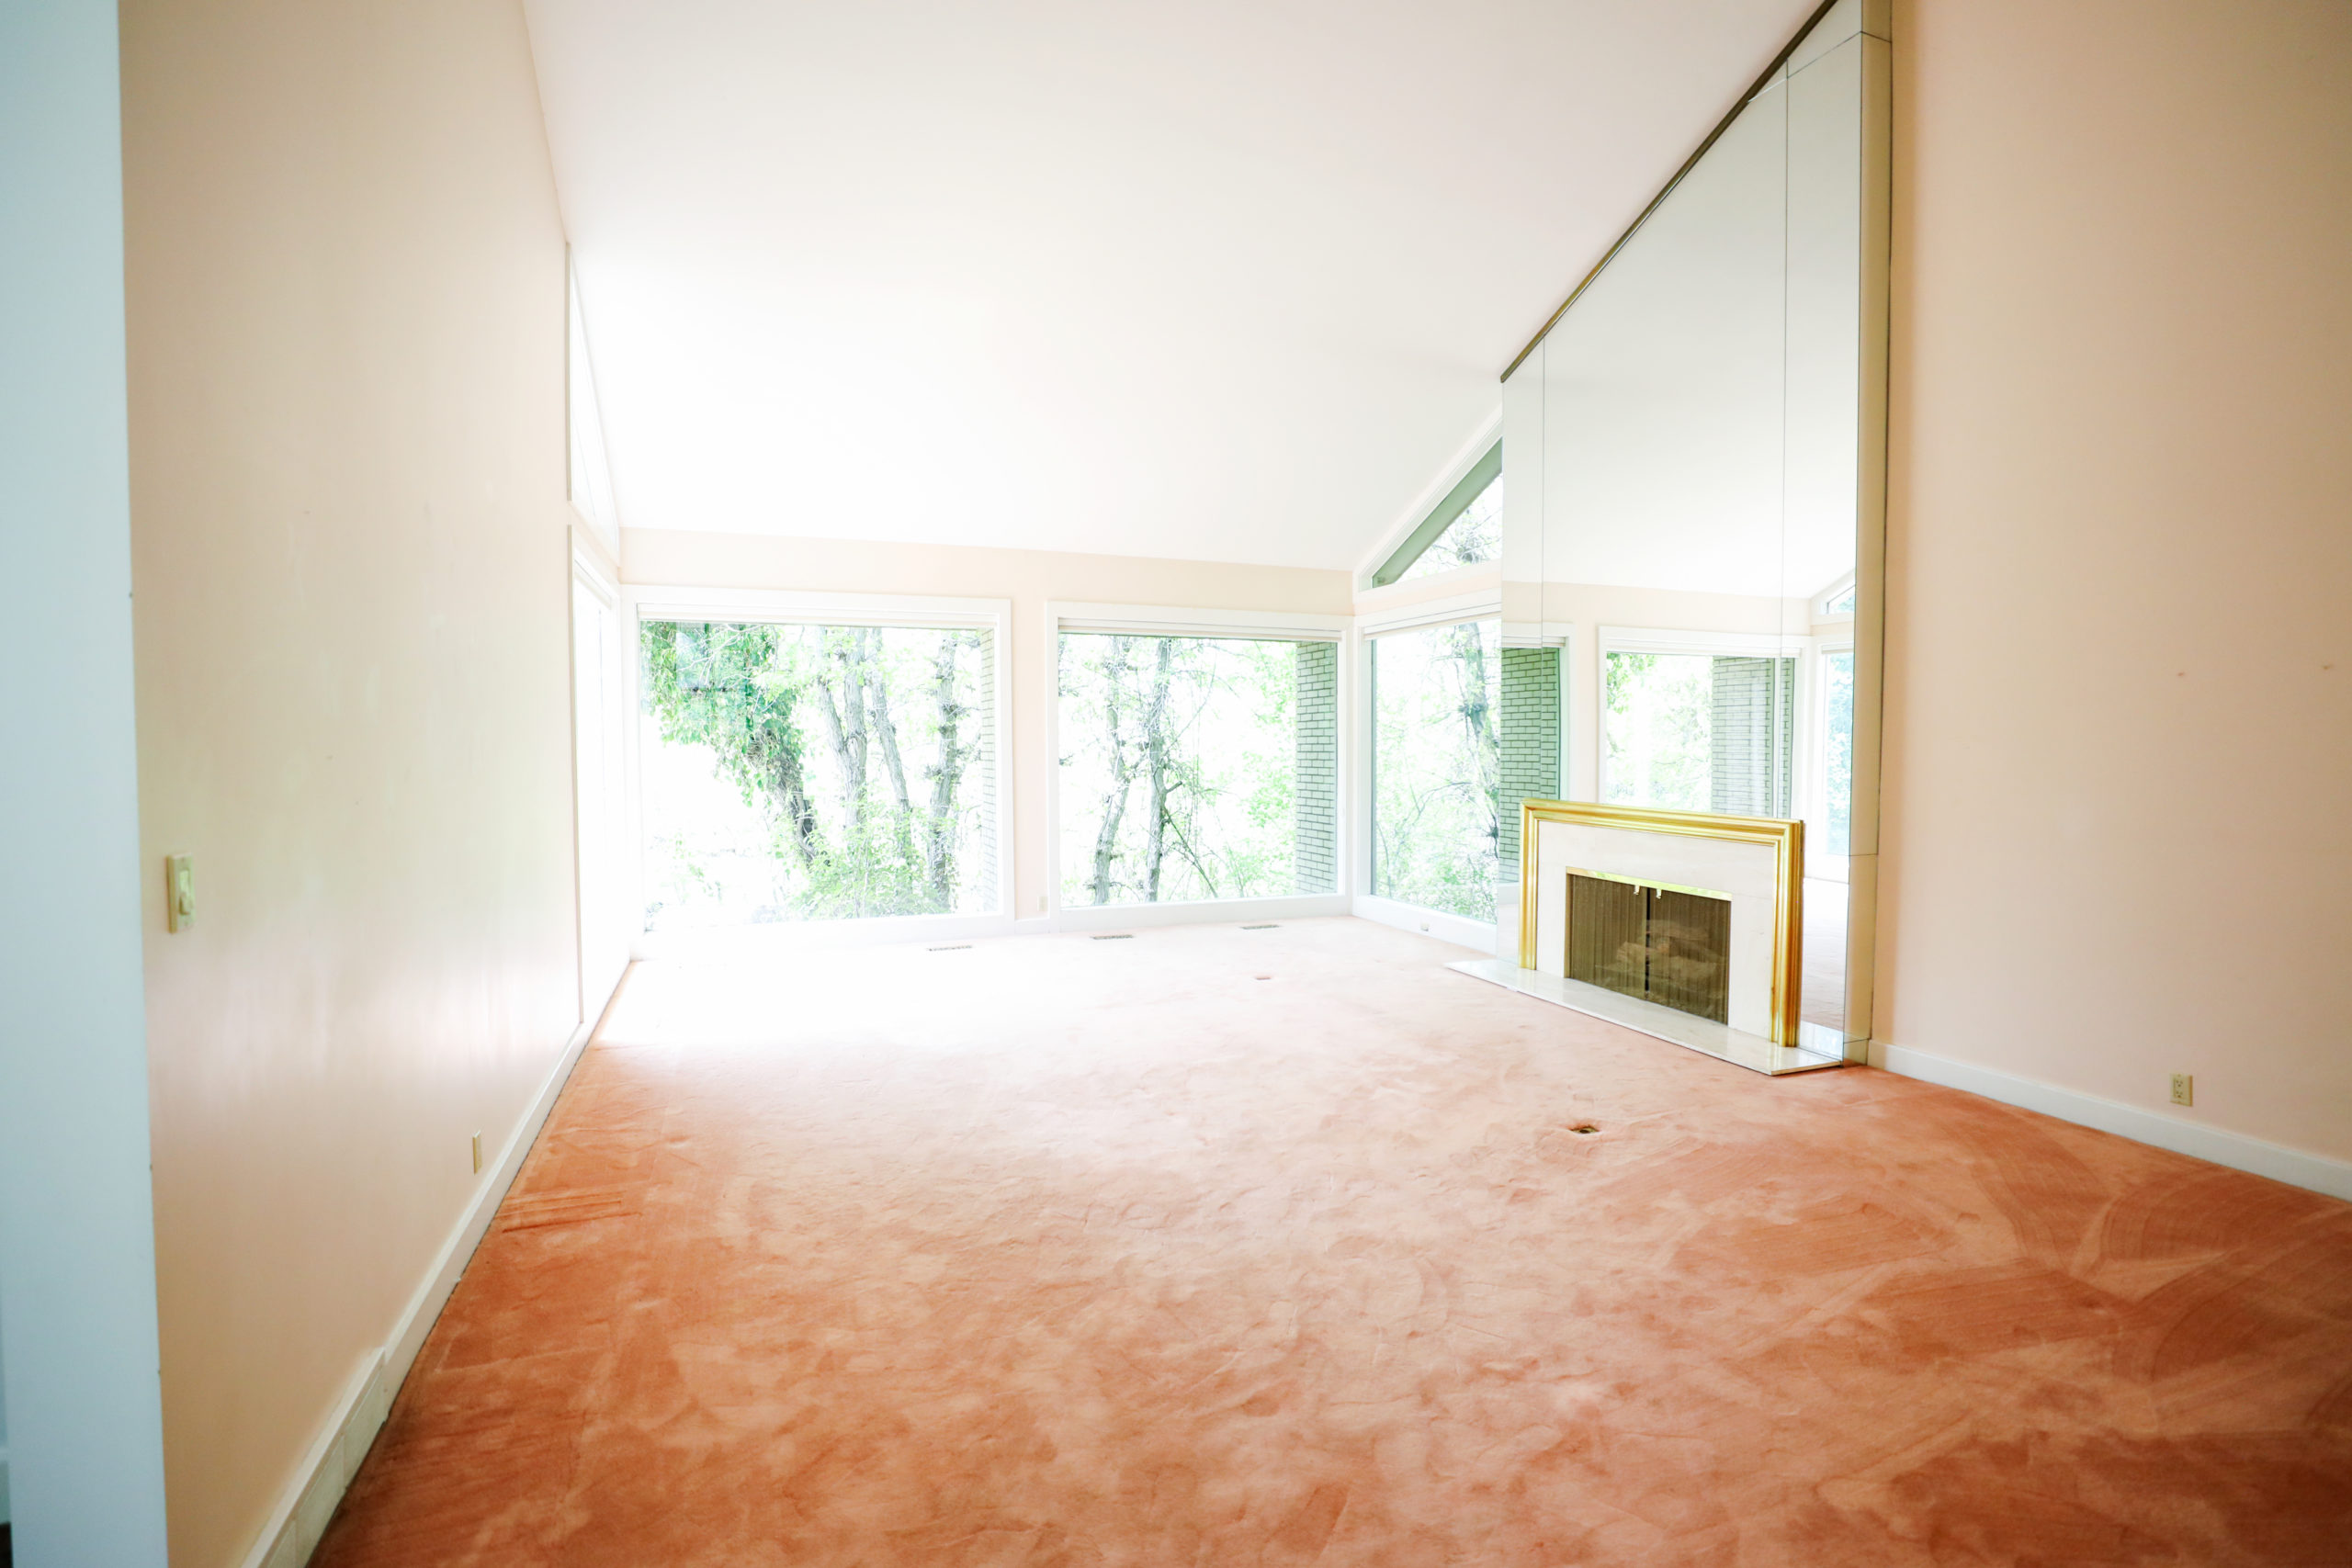
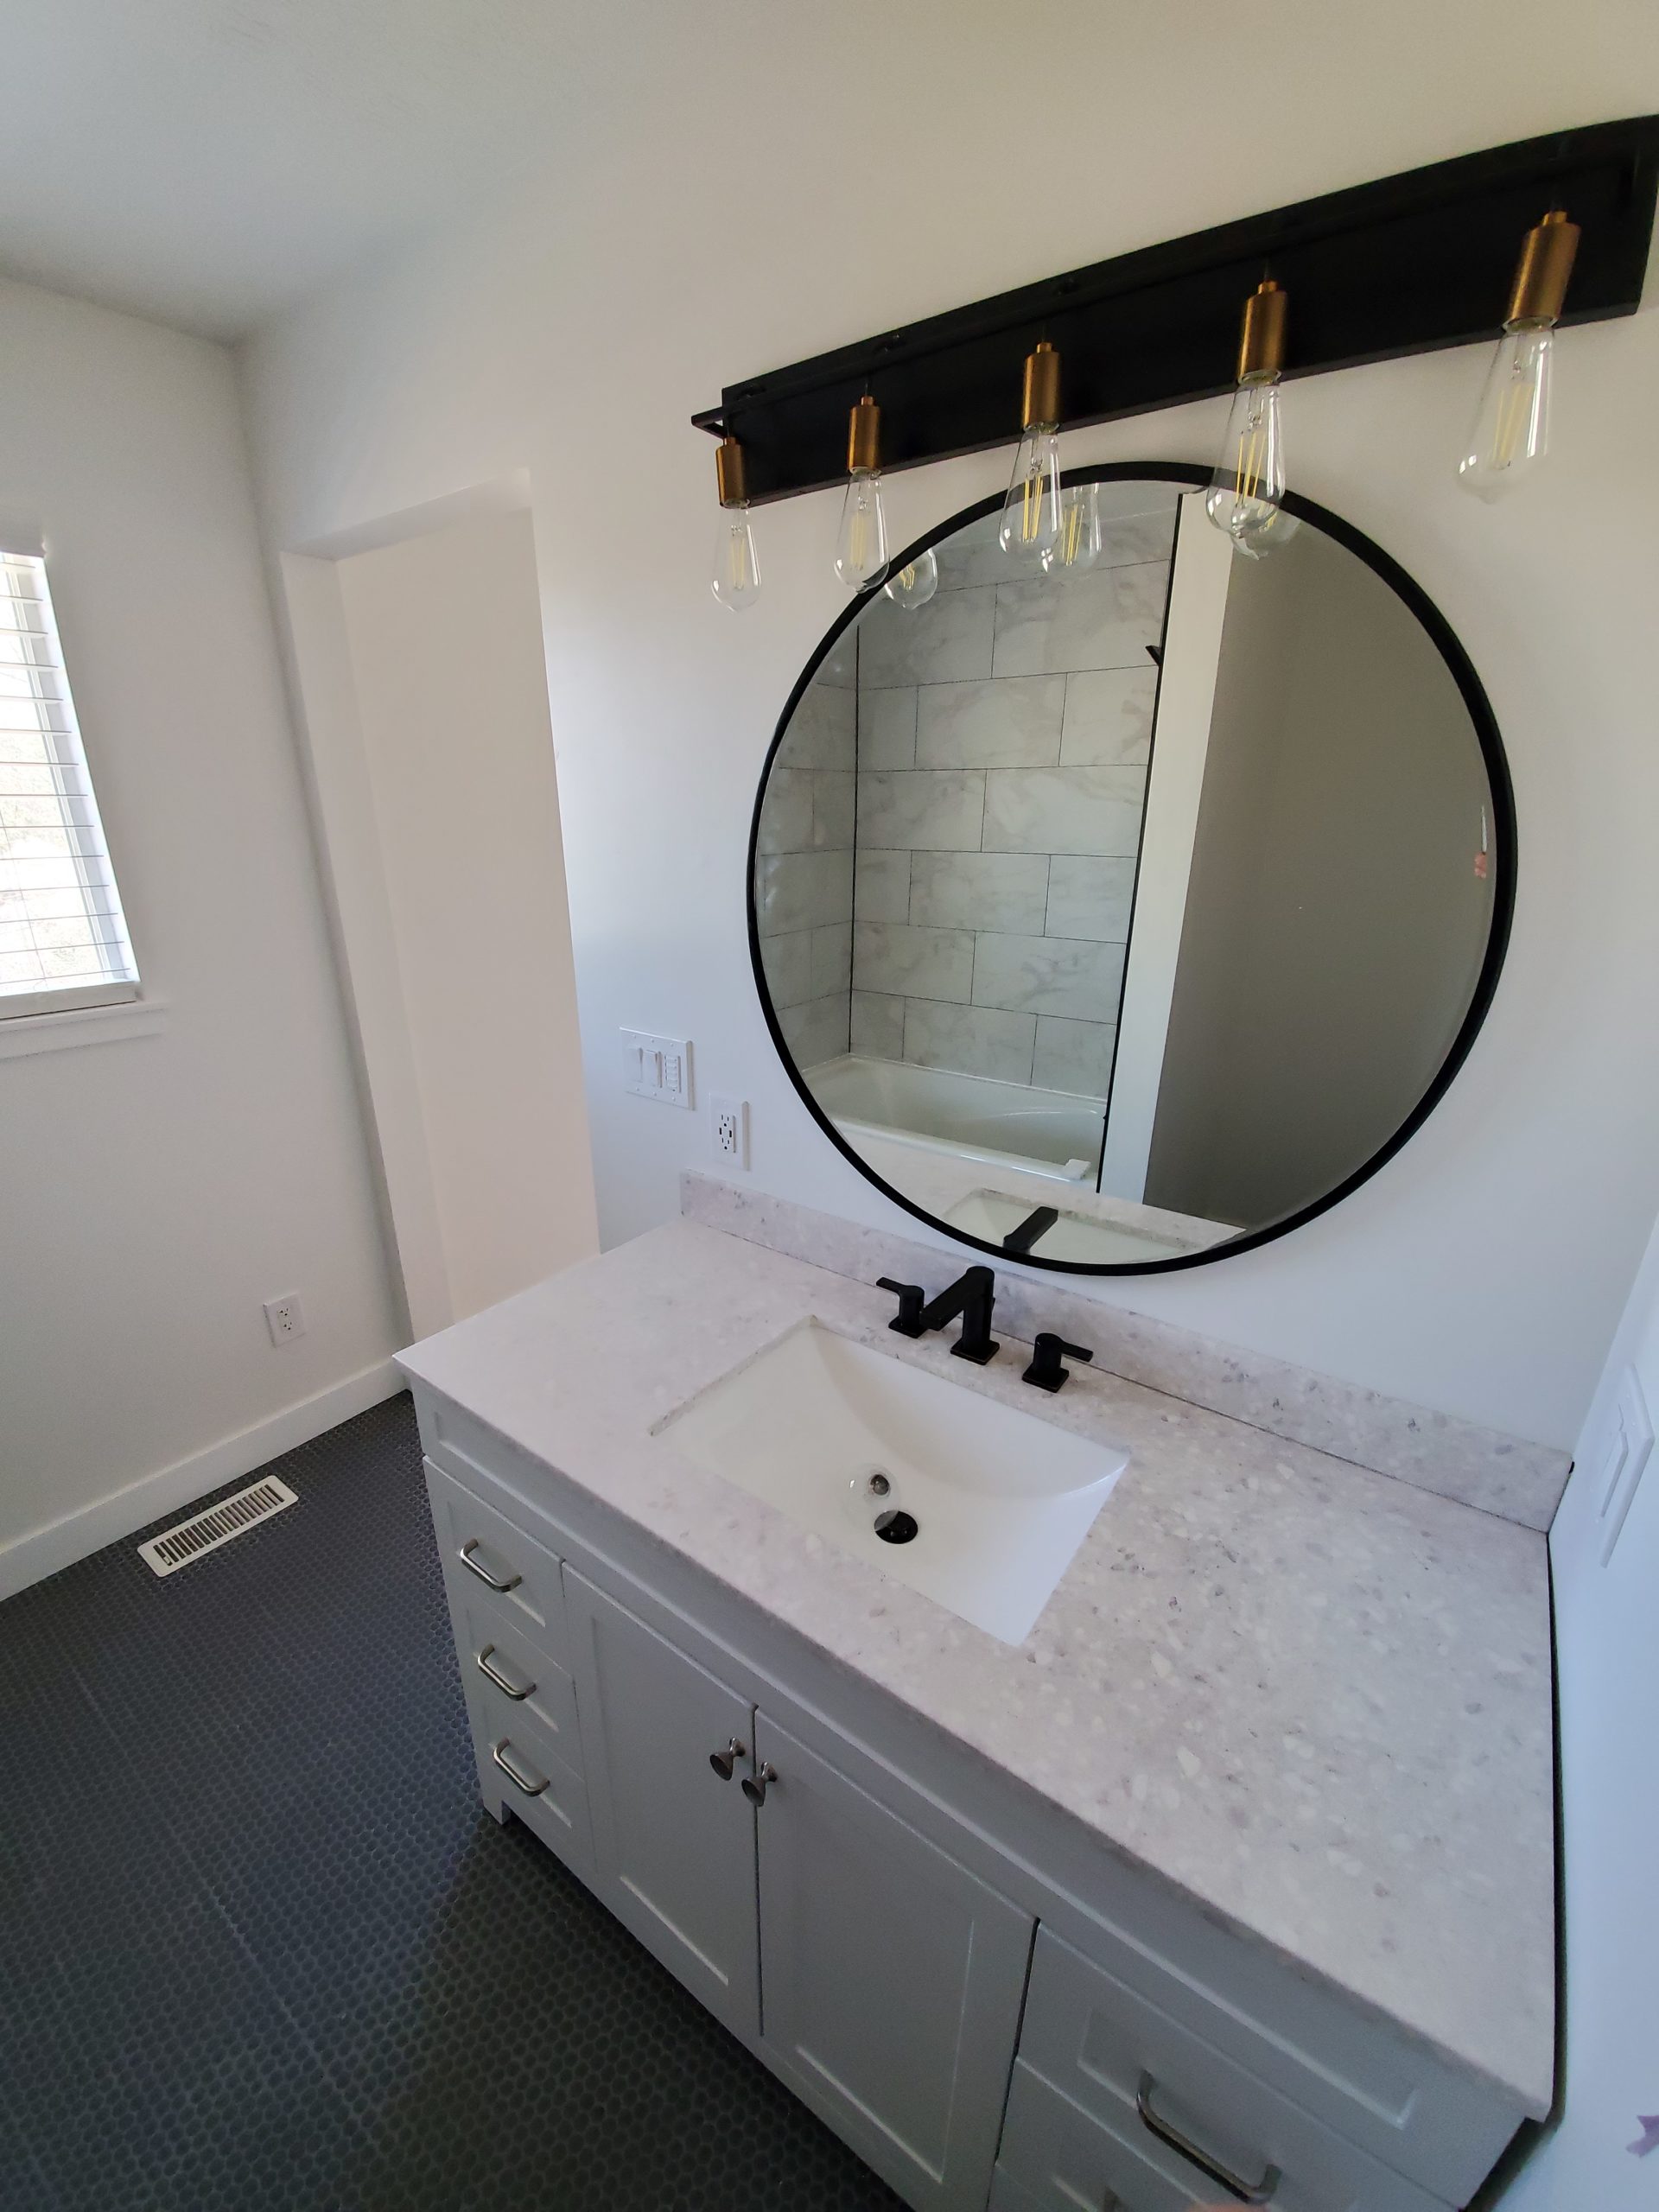
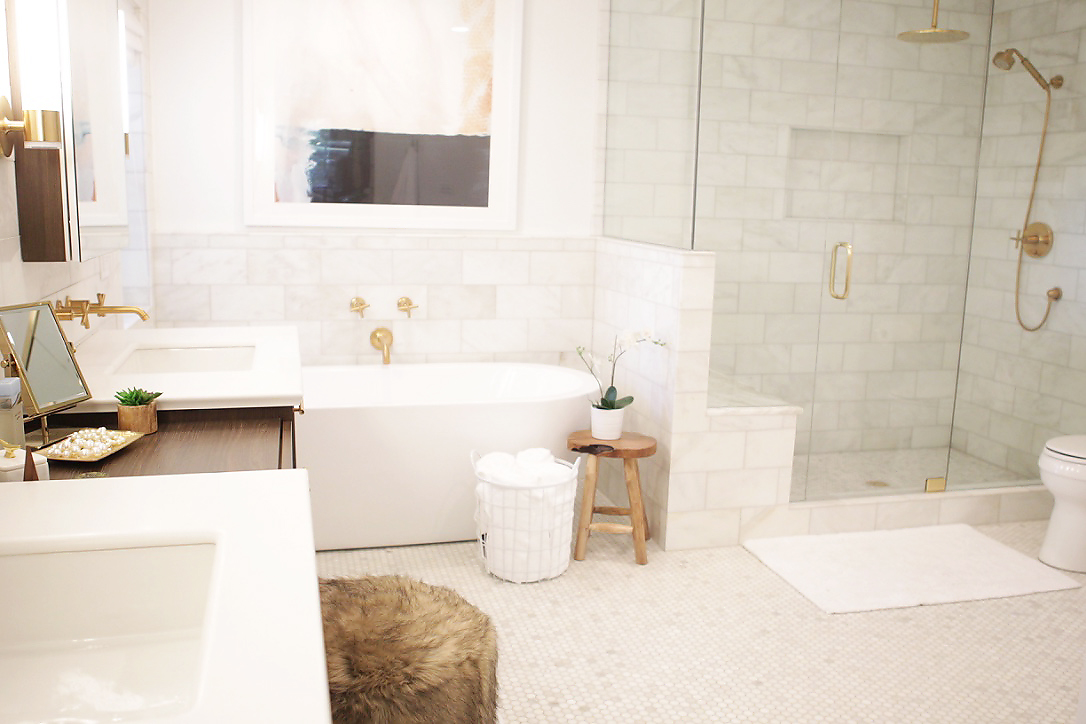
When it came to the bathrooms in our rental duplex, we really wanted to keep things classic, but also modernize them. Because the property is so old, the bathrooms were a complete overhaul. We found all kinds of interesting “artifacts” beneath the layers of paint. Check out that vintage wallpaper. We even found old razor blades and wrappers from the early 1900’s in the walls– there was a slit in the wall where men would dispose of them. Isn’t that interesting?
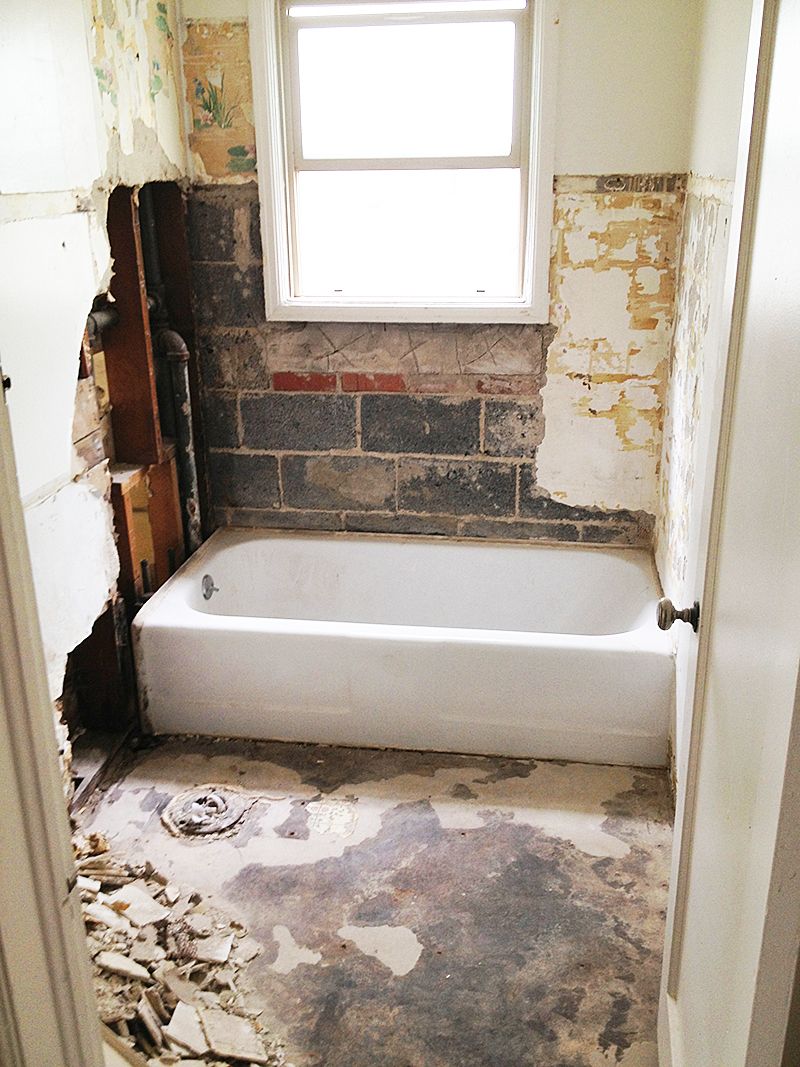

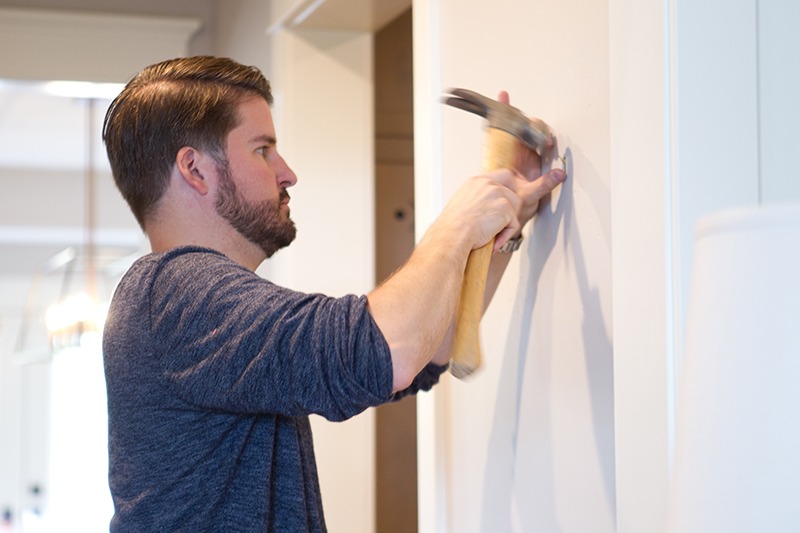
Once we tore it all down, it was time to build it back up. Getting the walls even, particularly the shower wall for tile, was extra tricky. Cinderblock is such a pain in the arse. After much smoothing, and patching, and praying, the walls were ready for some tile!
When we started, the upstairs bathroom was enough to give me nightmares and the downstairs had nasty old plumbing and some weird shower situation, but no real bathroom. And now, behold, I give you the completed bathrooms.
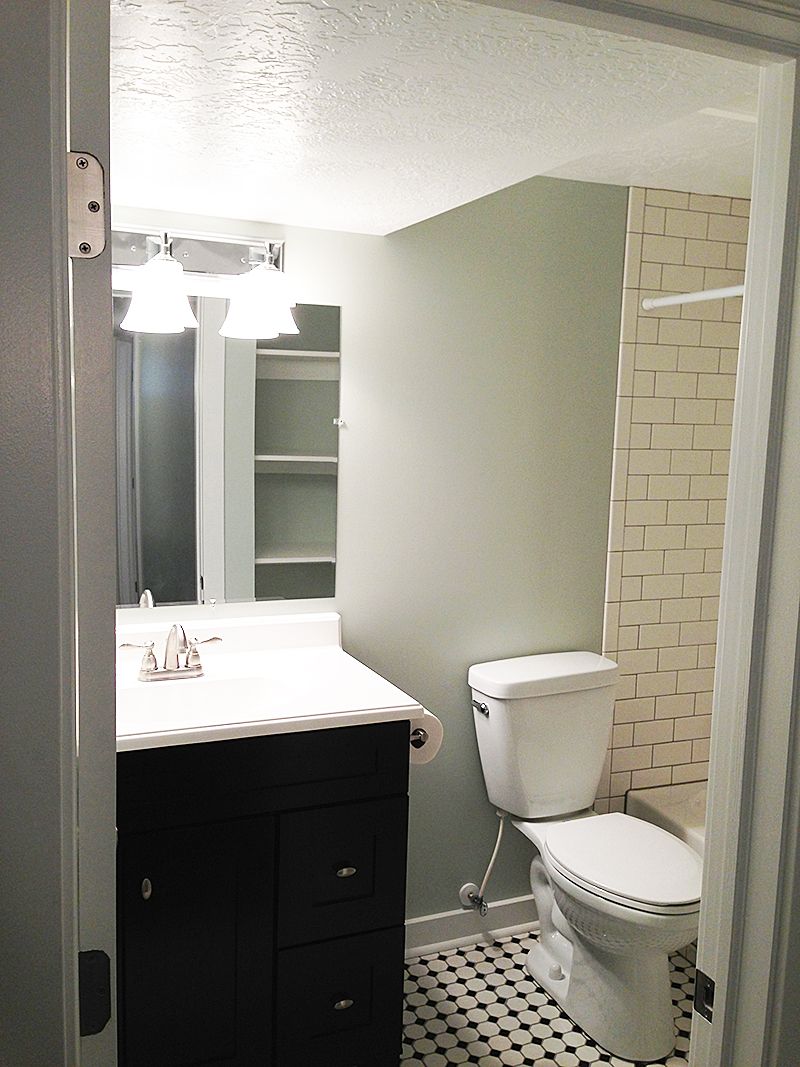
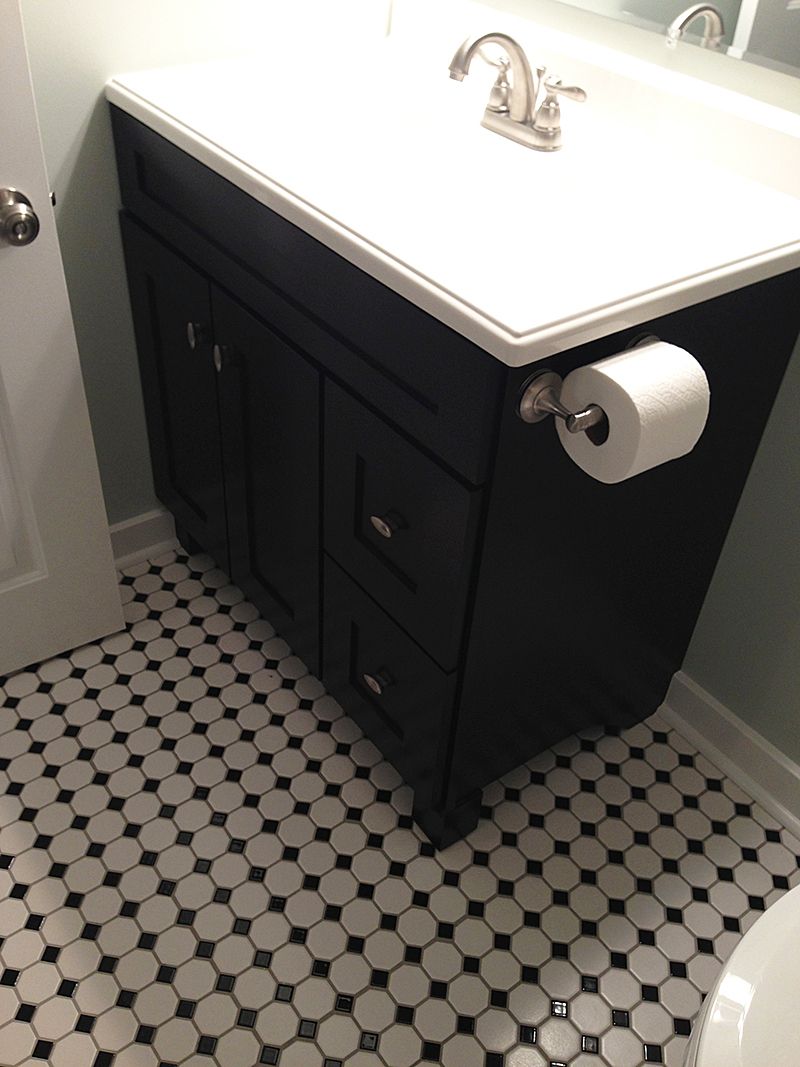
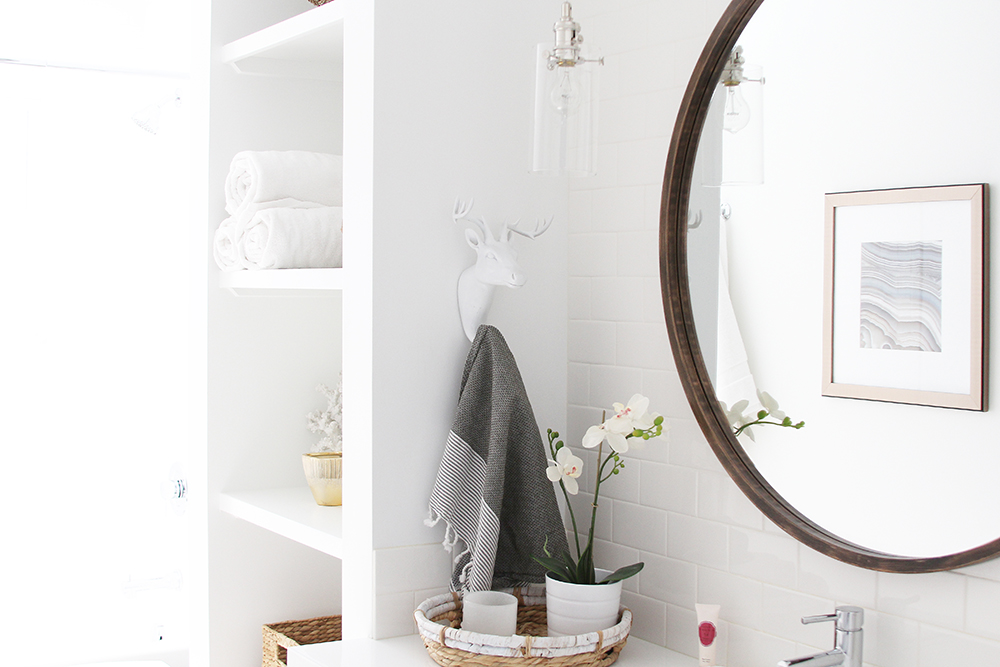
Both are virtually the same. We kept the same paint throughout: Benjamin Moore Gray Owl. I think they are a testament that you can take what is available at your local hardware store and make it look polished and complete. We bought the vanities at Lowe’s. The floor and subway tile are from Home Depot. Rubes is now an experienced hardware store cart rider.

One of our requirements was no separate vanity assembly– it had to be all in one piece. Otherwise, it would be expensive. This is a rental, after all. The pickins’ were slim, but we finally found one we were happy with.
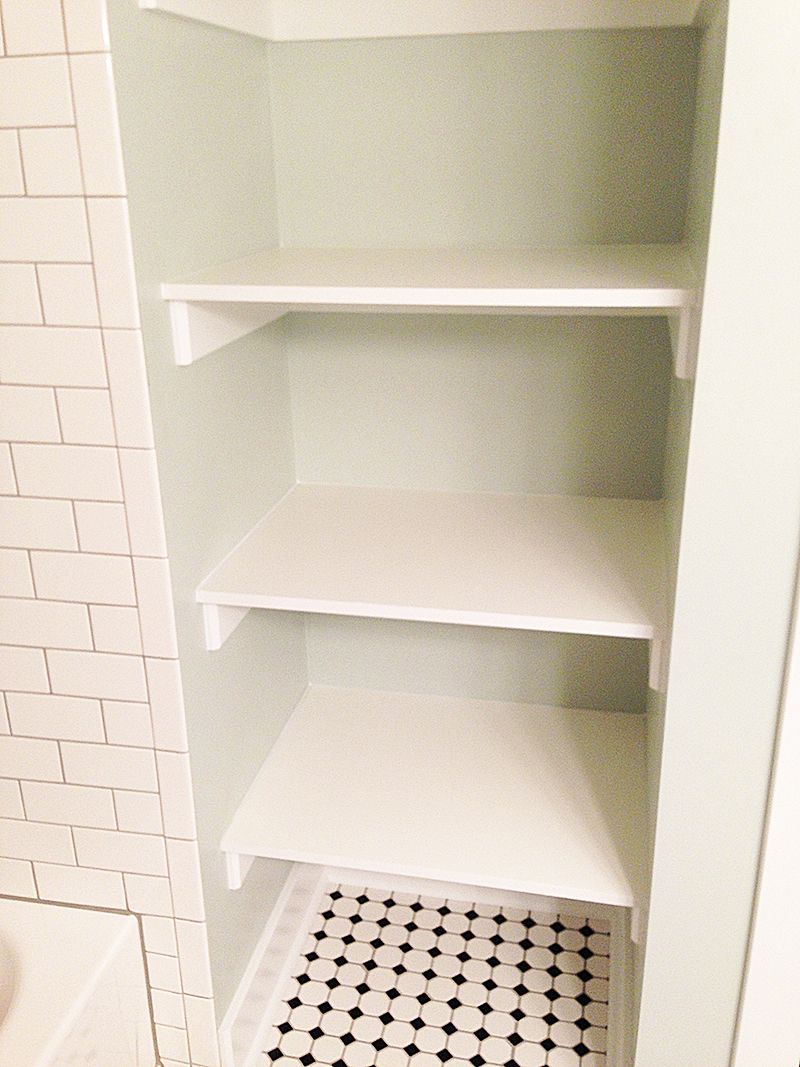
We wanted some built in storage, so when we laid out the space, we allowed for a little cutout in the wall. It was really inexpensive to build the shelves, and I think it turned out really great. Practical and cheap=sweet.
I seriously cannot believe it’s all done and rented out already. Phew! What a relief. And just like the addicts we are, we’re already on to the next project (and we have some exciting ones in store).
Hope you all have a wonderful weekend!
xx

Leave a Reply


back to top
@jenniferstagg
shop

We're a full-service design firm and home furnishings shop built around the philosophy that a well-designed home should be beautiful, personal, cohesive, and complete. We think home is the most important place on the planet and when you live in a home that is perfectly you, it changes your life. Don't believe us? Stick around. We're confident we'll change your mind.
hello there!
Follow Along
@jenniferstagg
Hey, let's be friends
Exclusive projects, discounts, and extra goodies all in your inbox. And don’t worry- your email is for our eyes only.

I love seing before/after pictures. You did an amazing job in there !
I can understand why it’s already rented. I would have jumped on the occasion if I had found a jem like this 🙂
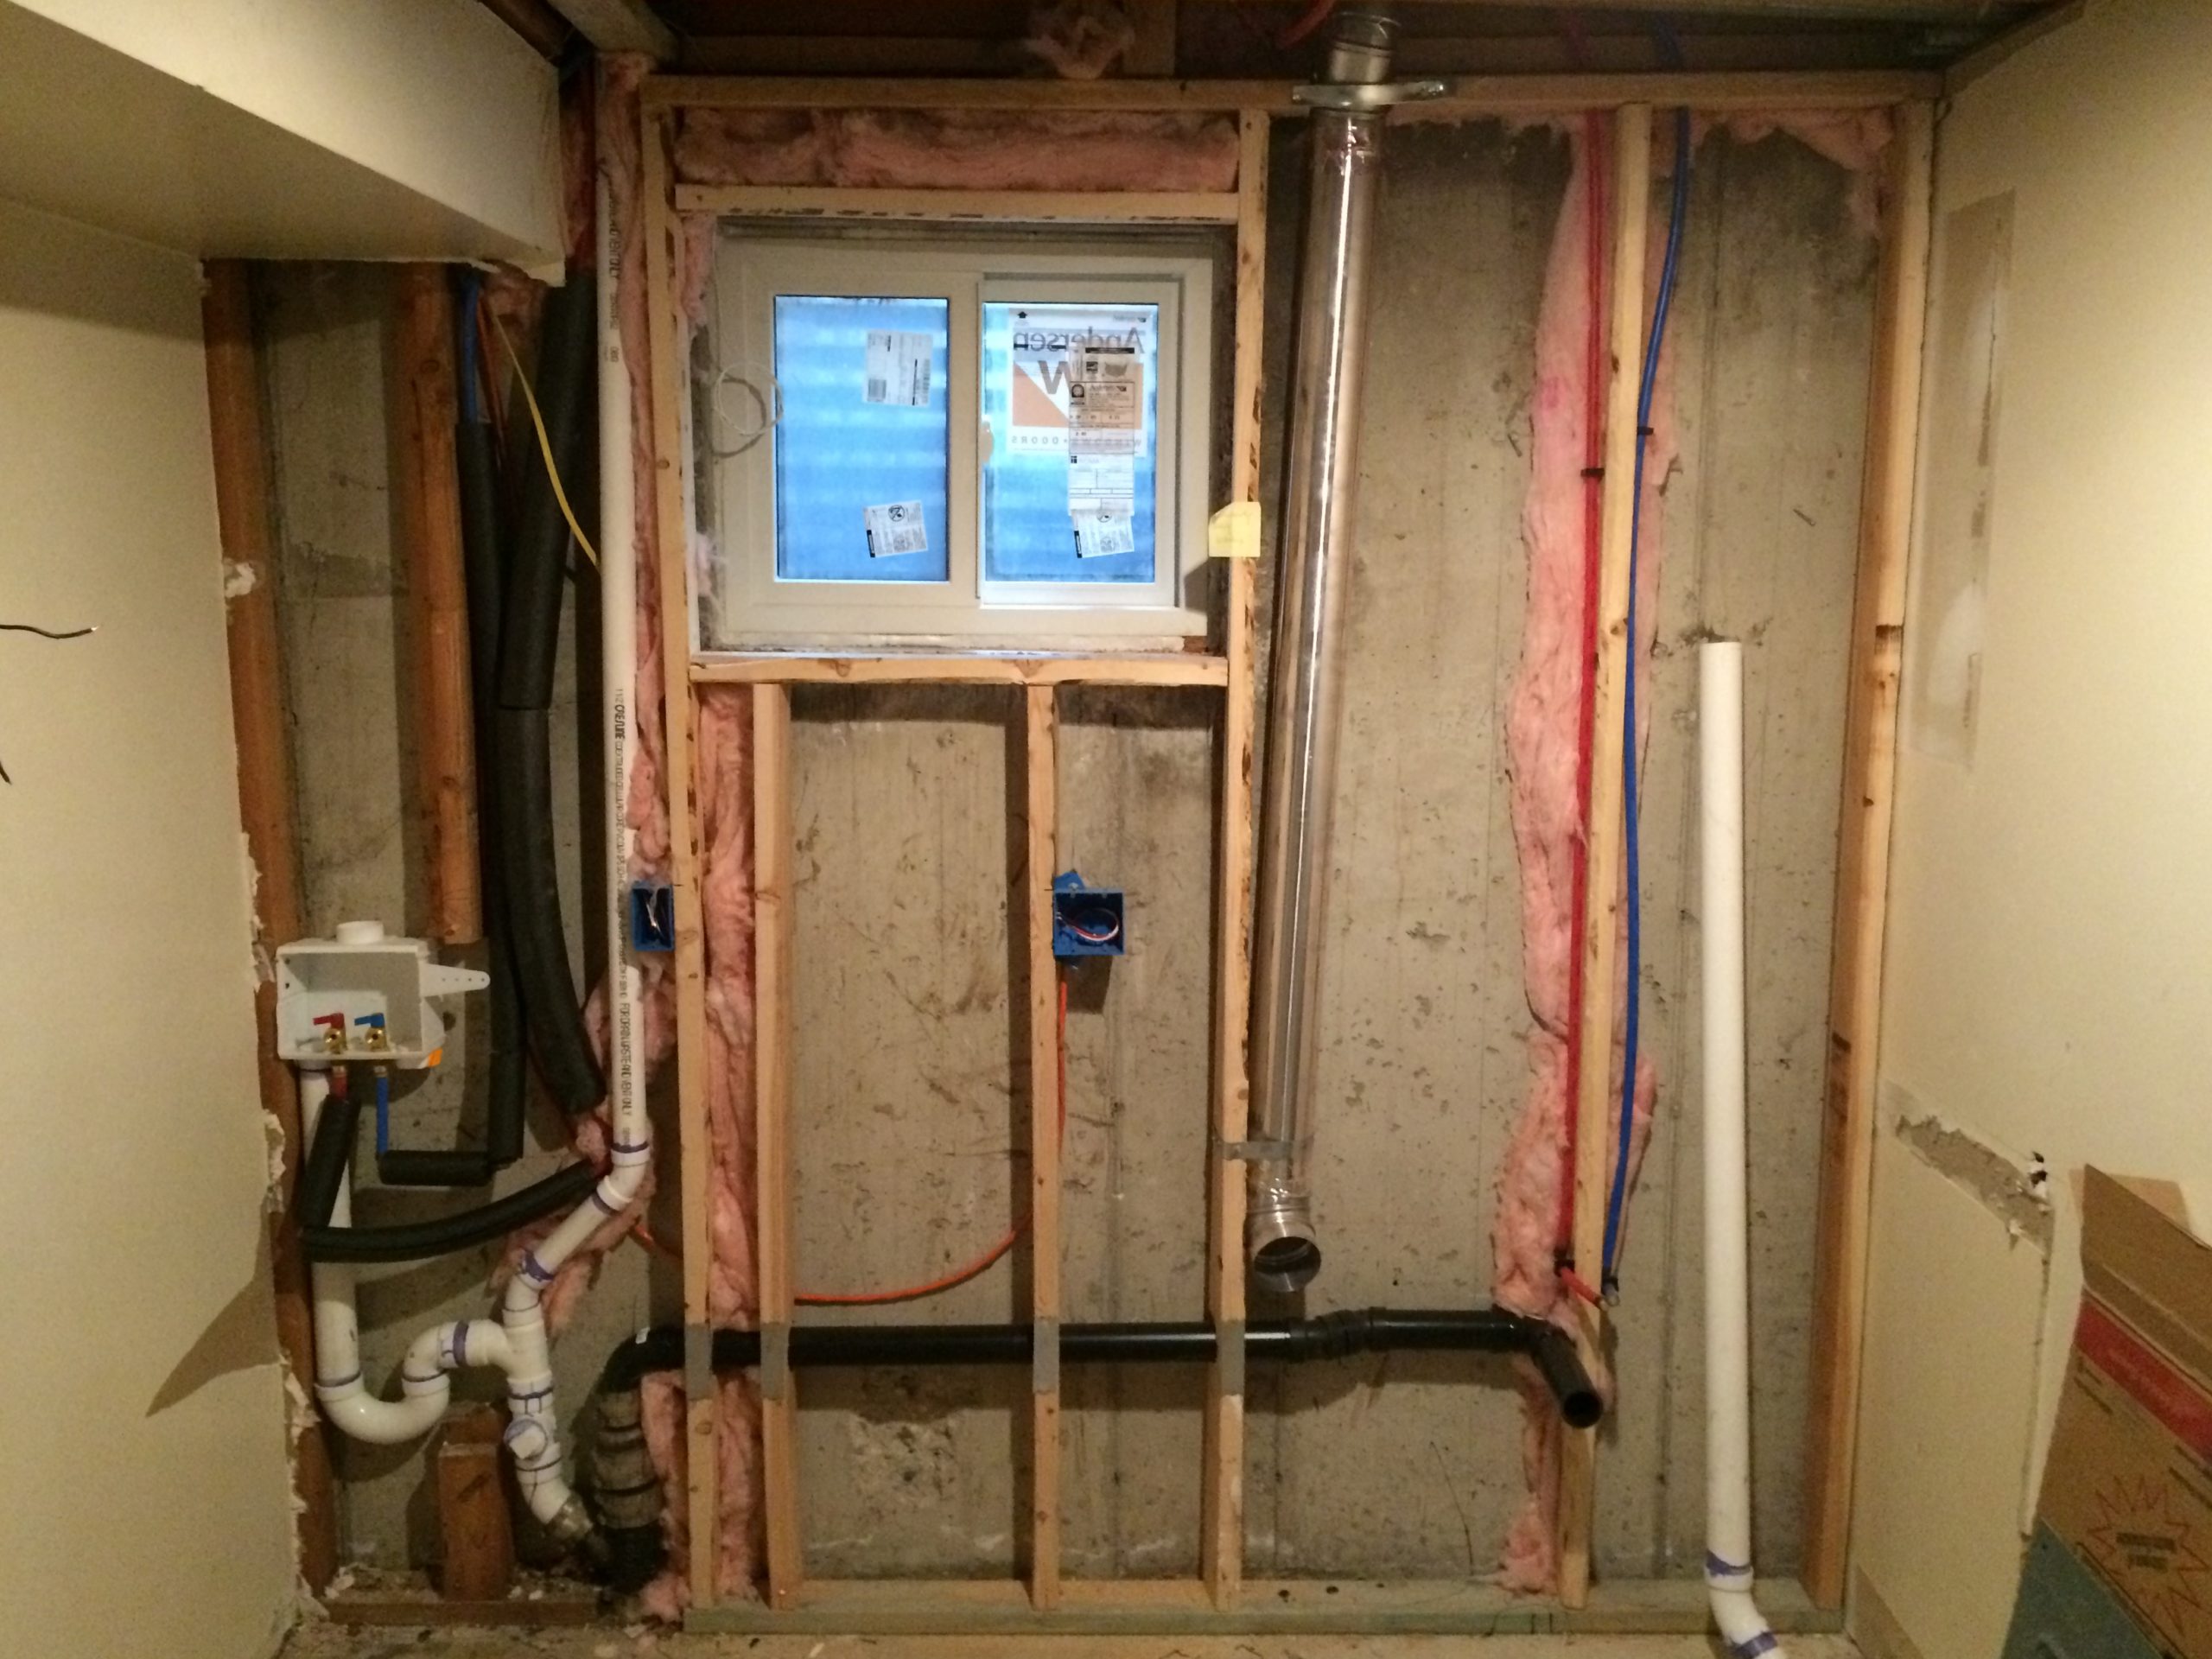
What did you do to waterproof the window in the bathroom? My current bathroom has regular wood molding around the window that is starting to rot and mold. We need to gut the bathroom, just curious what you used? I had thought about composite wood to trim out the window or just using tile. Ant suggestions would be great, thanks!
Stefanie
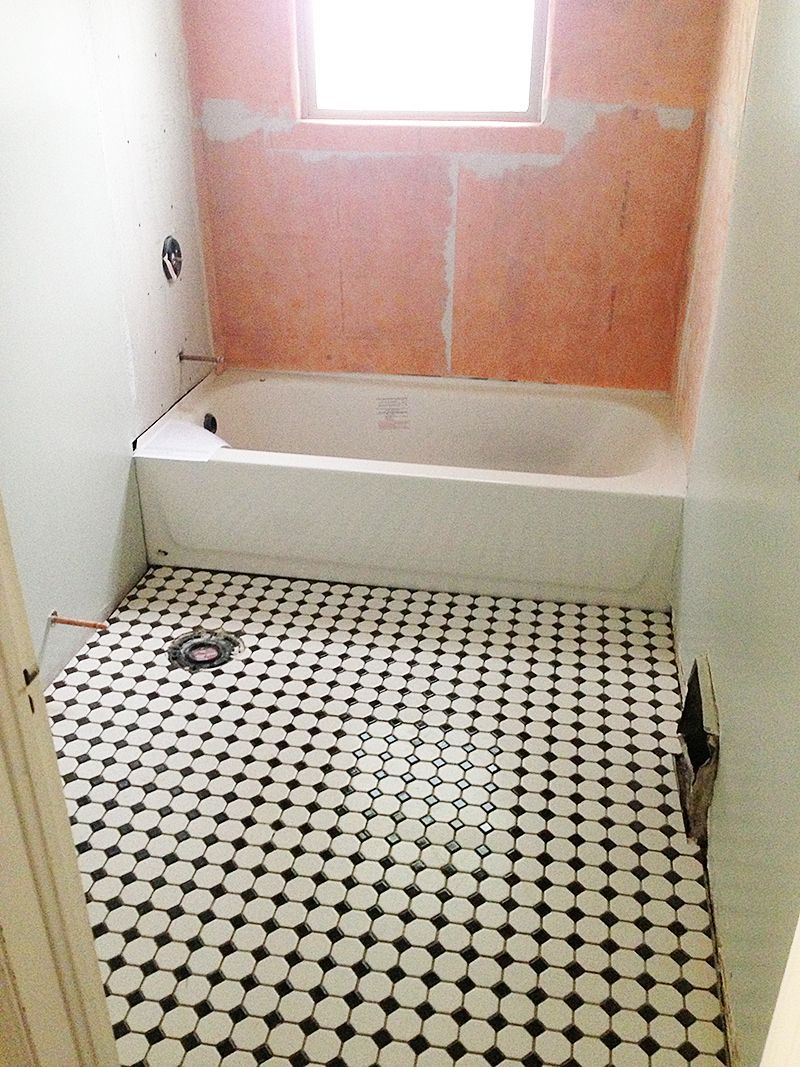
We would have preferred to tear everything down to the studs and use cement board in place of plaster, but the outside wall with the window in it is made of cinder block, with plaster skim coated on the surface. In order to protect the plaster from rotting away under the tile, we added the orange membrane you see in the picture above, which is called Kerdi membrane, and is manufactured by Schluter Systems (we had to go to a specialty tile store to find it). We waterproofed the window by wrapping the Kerdi membrane around the window opening and ensuring we had a continuous sealed barier from the frame of the window down to the bathtub. Then we wrapped the window in tile all the way around. We thought about using molding around the window, but wood would have rotted away and the composite moldings looked cheap to us. One of the most important things to keep in mind is sloping the tile along the bottom edge of the window so water drains into the shower (rather than pooling along the window edge). We also used shower caulk in place of grout around the edge of the window, to help avoid any water getting in. I hope that helps!