

")
")
")


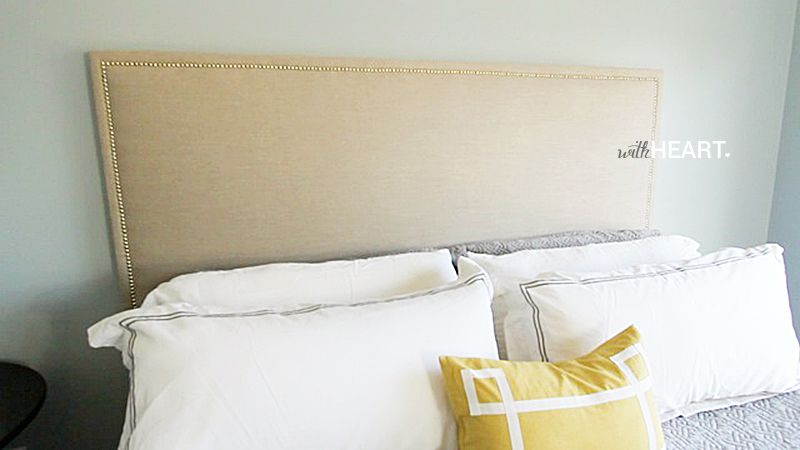
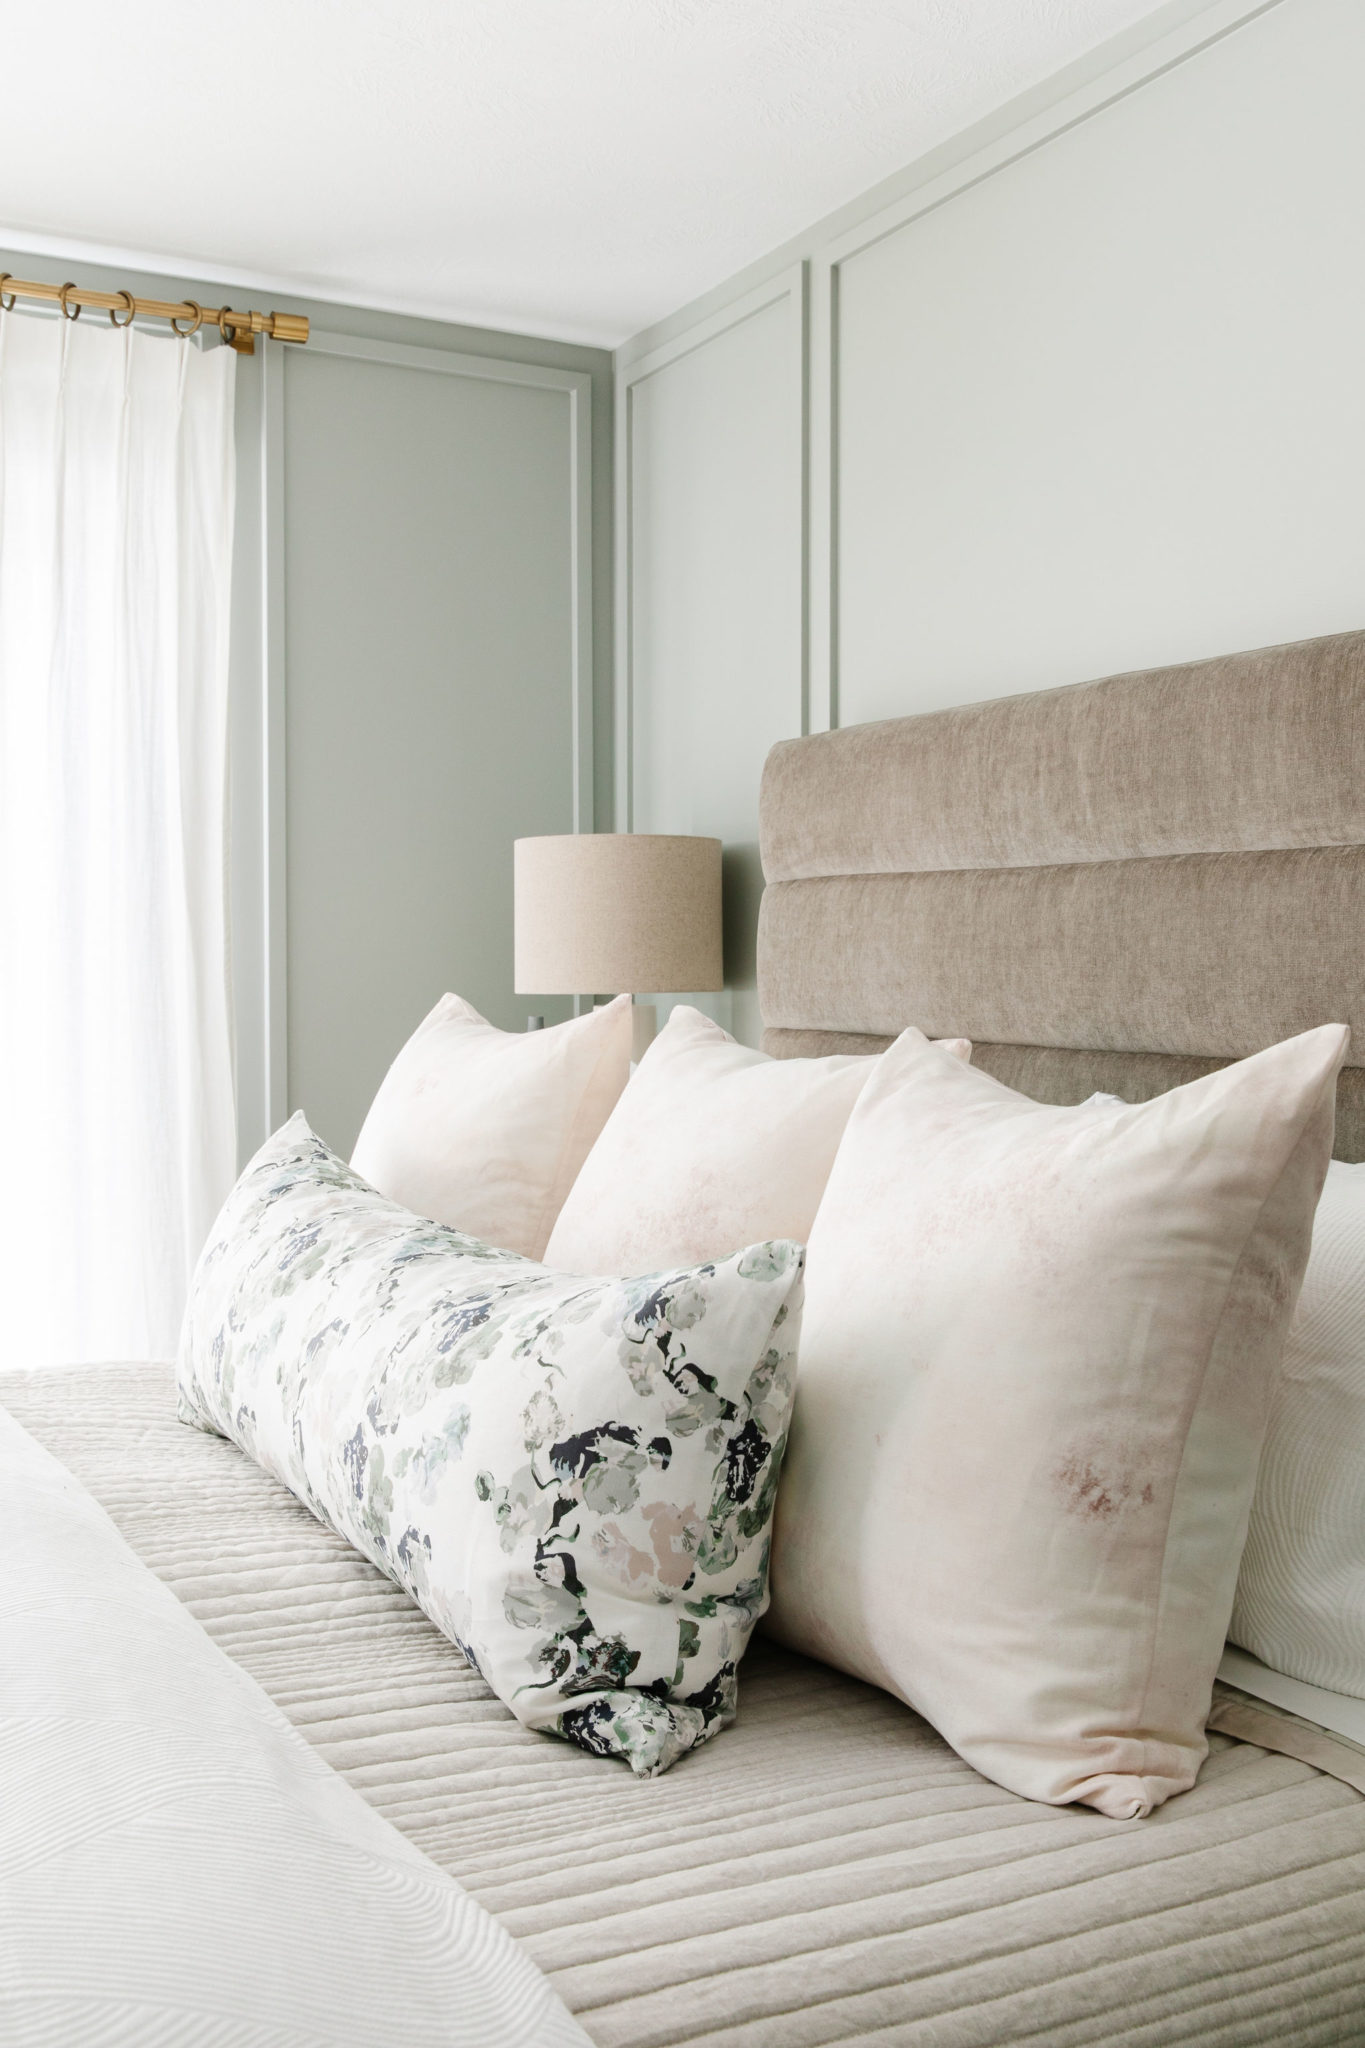
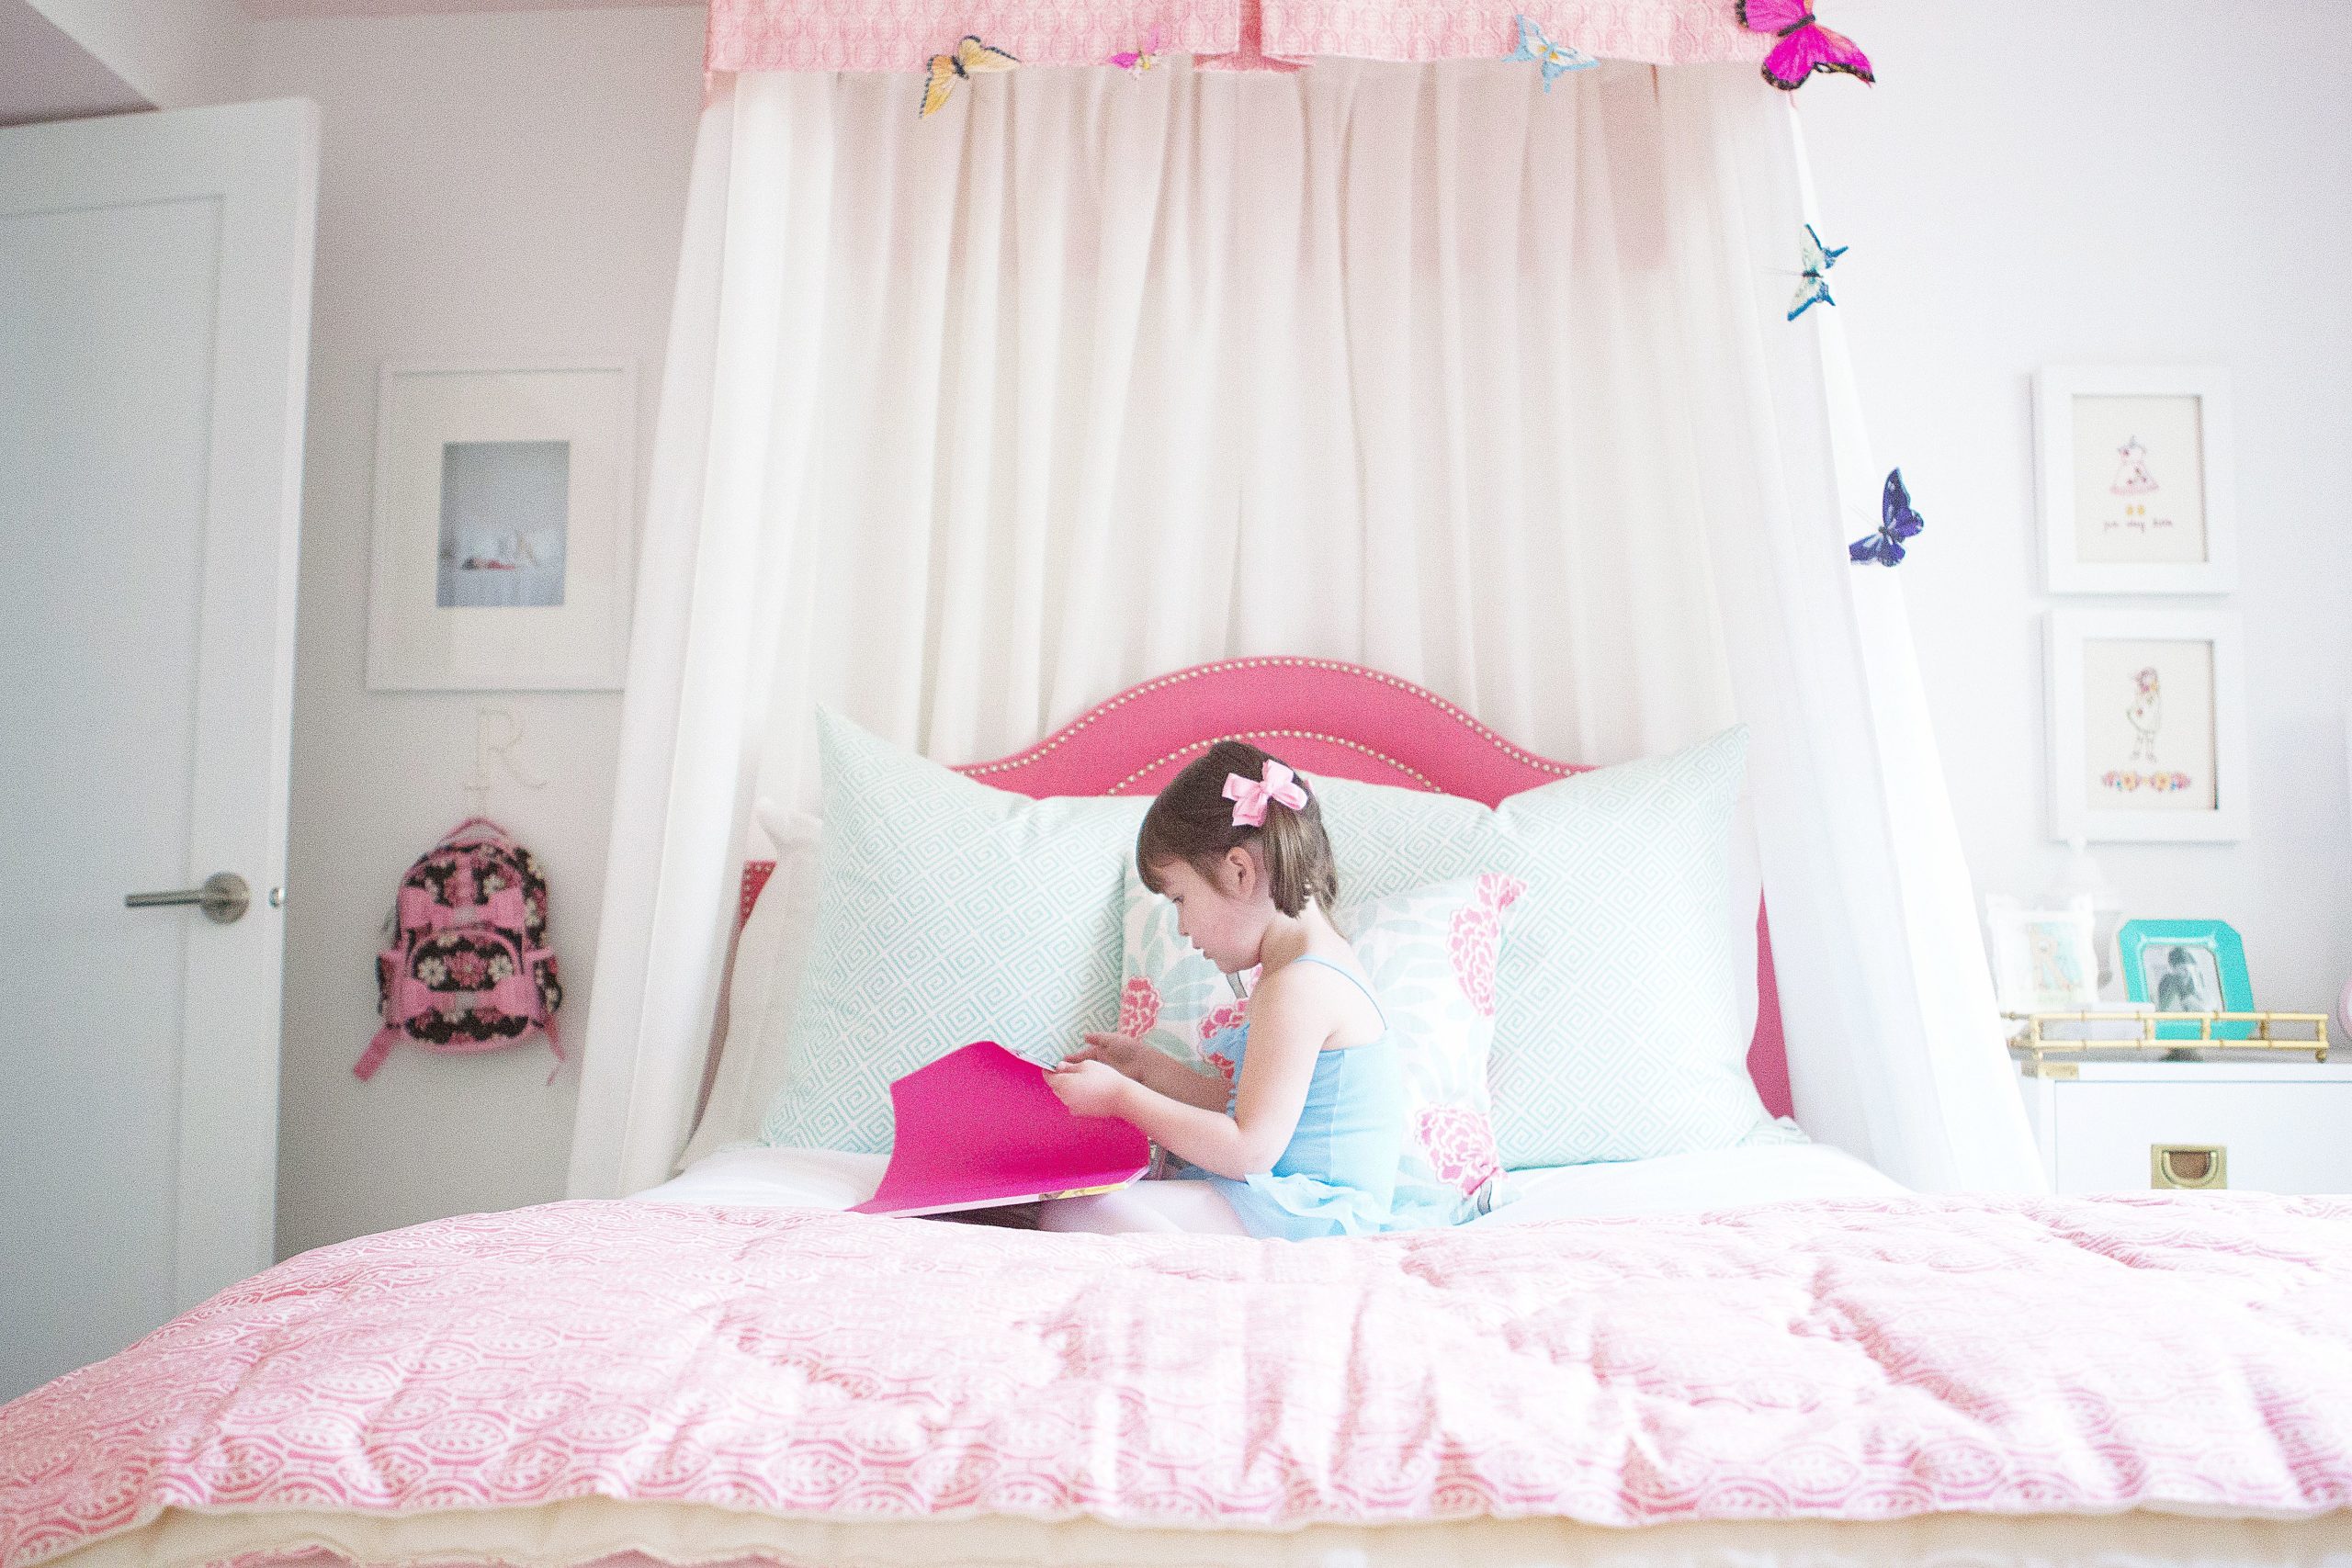
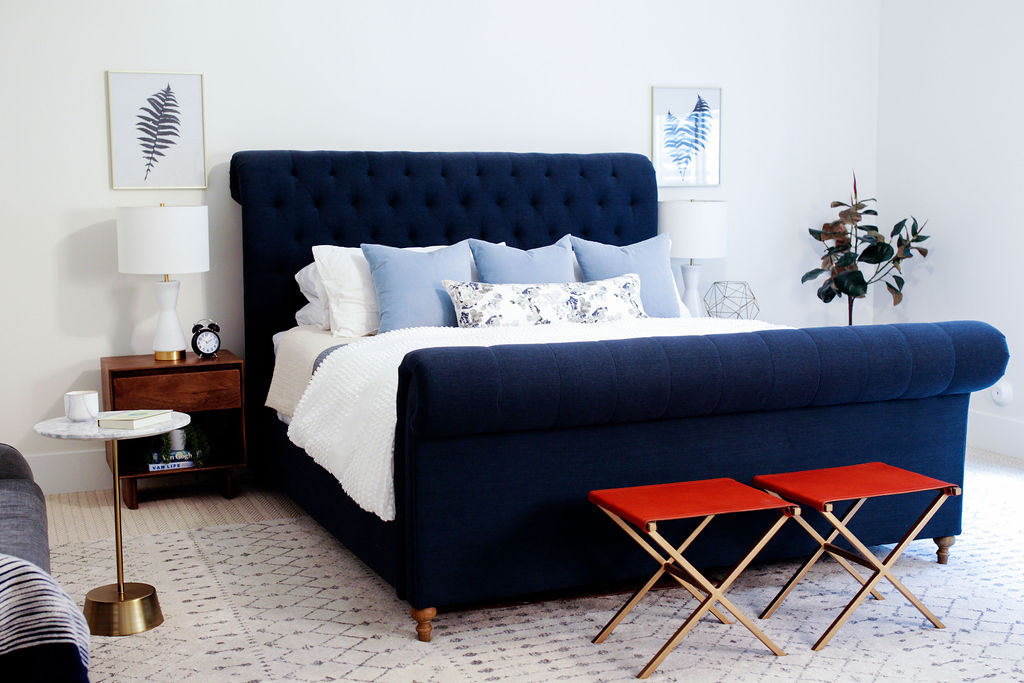
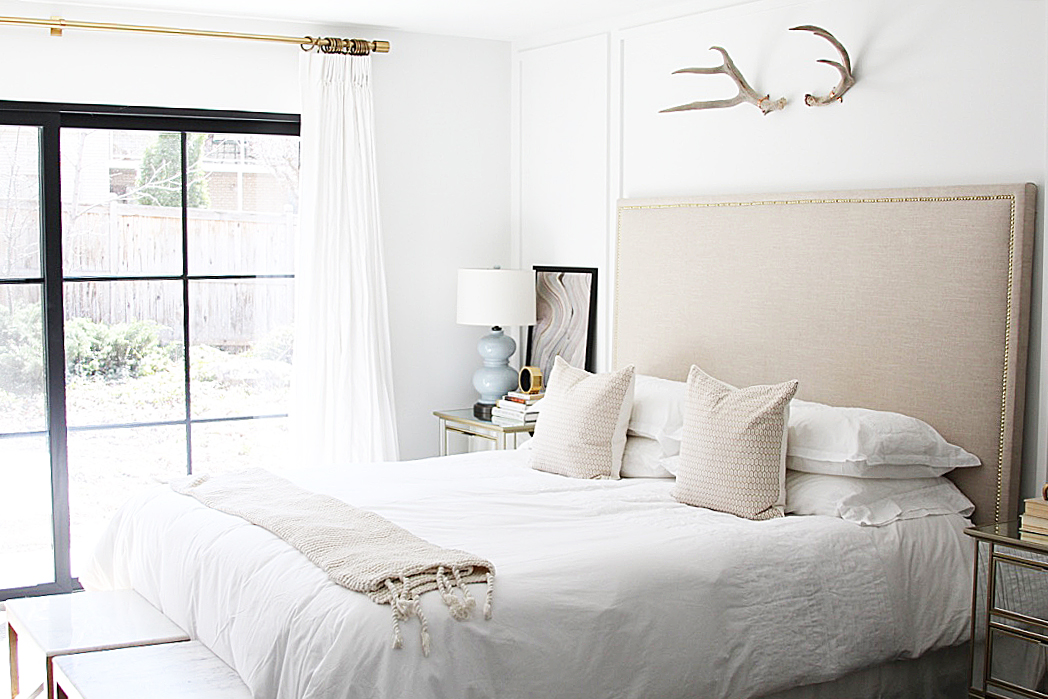
DIY UPHOLSTERED HEADBOARD THAT DOESN’T LOOK DIY
July 11, 2013
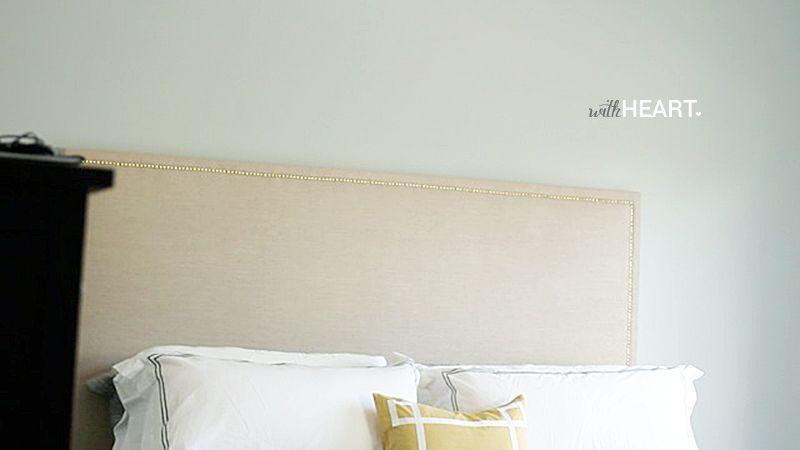
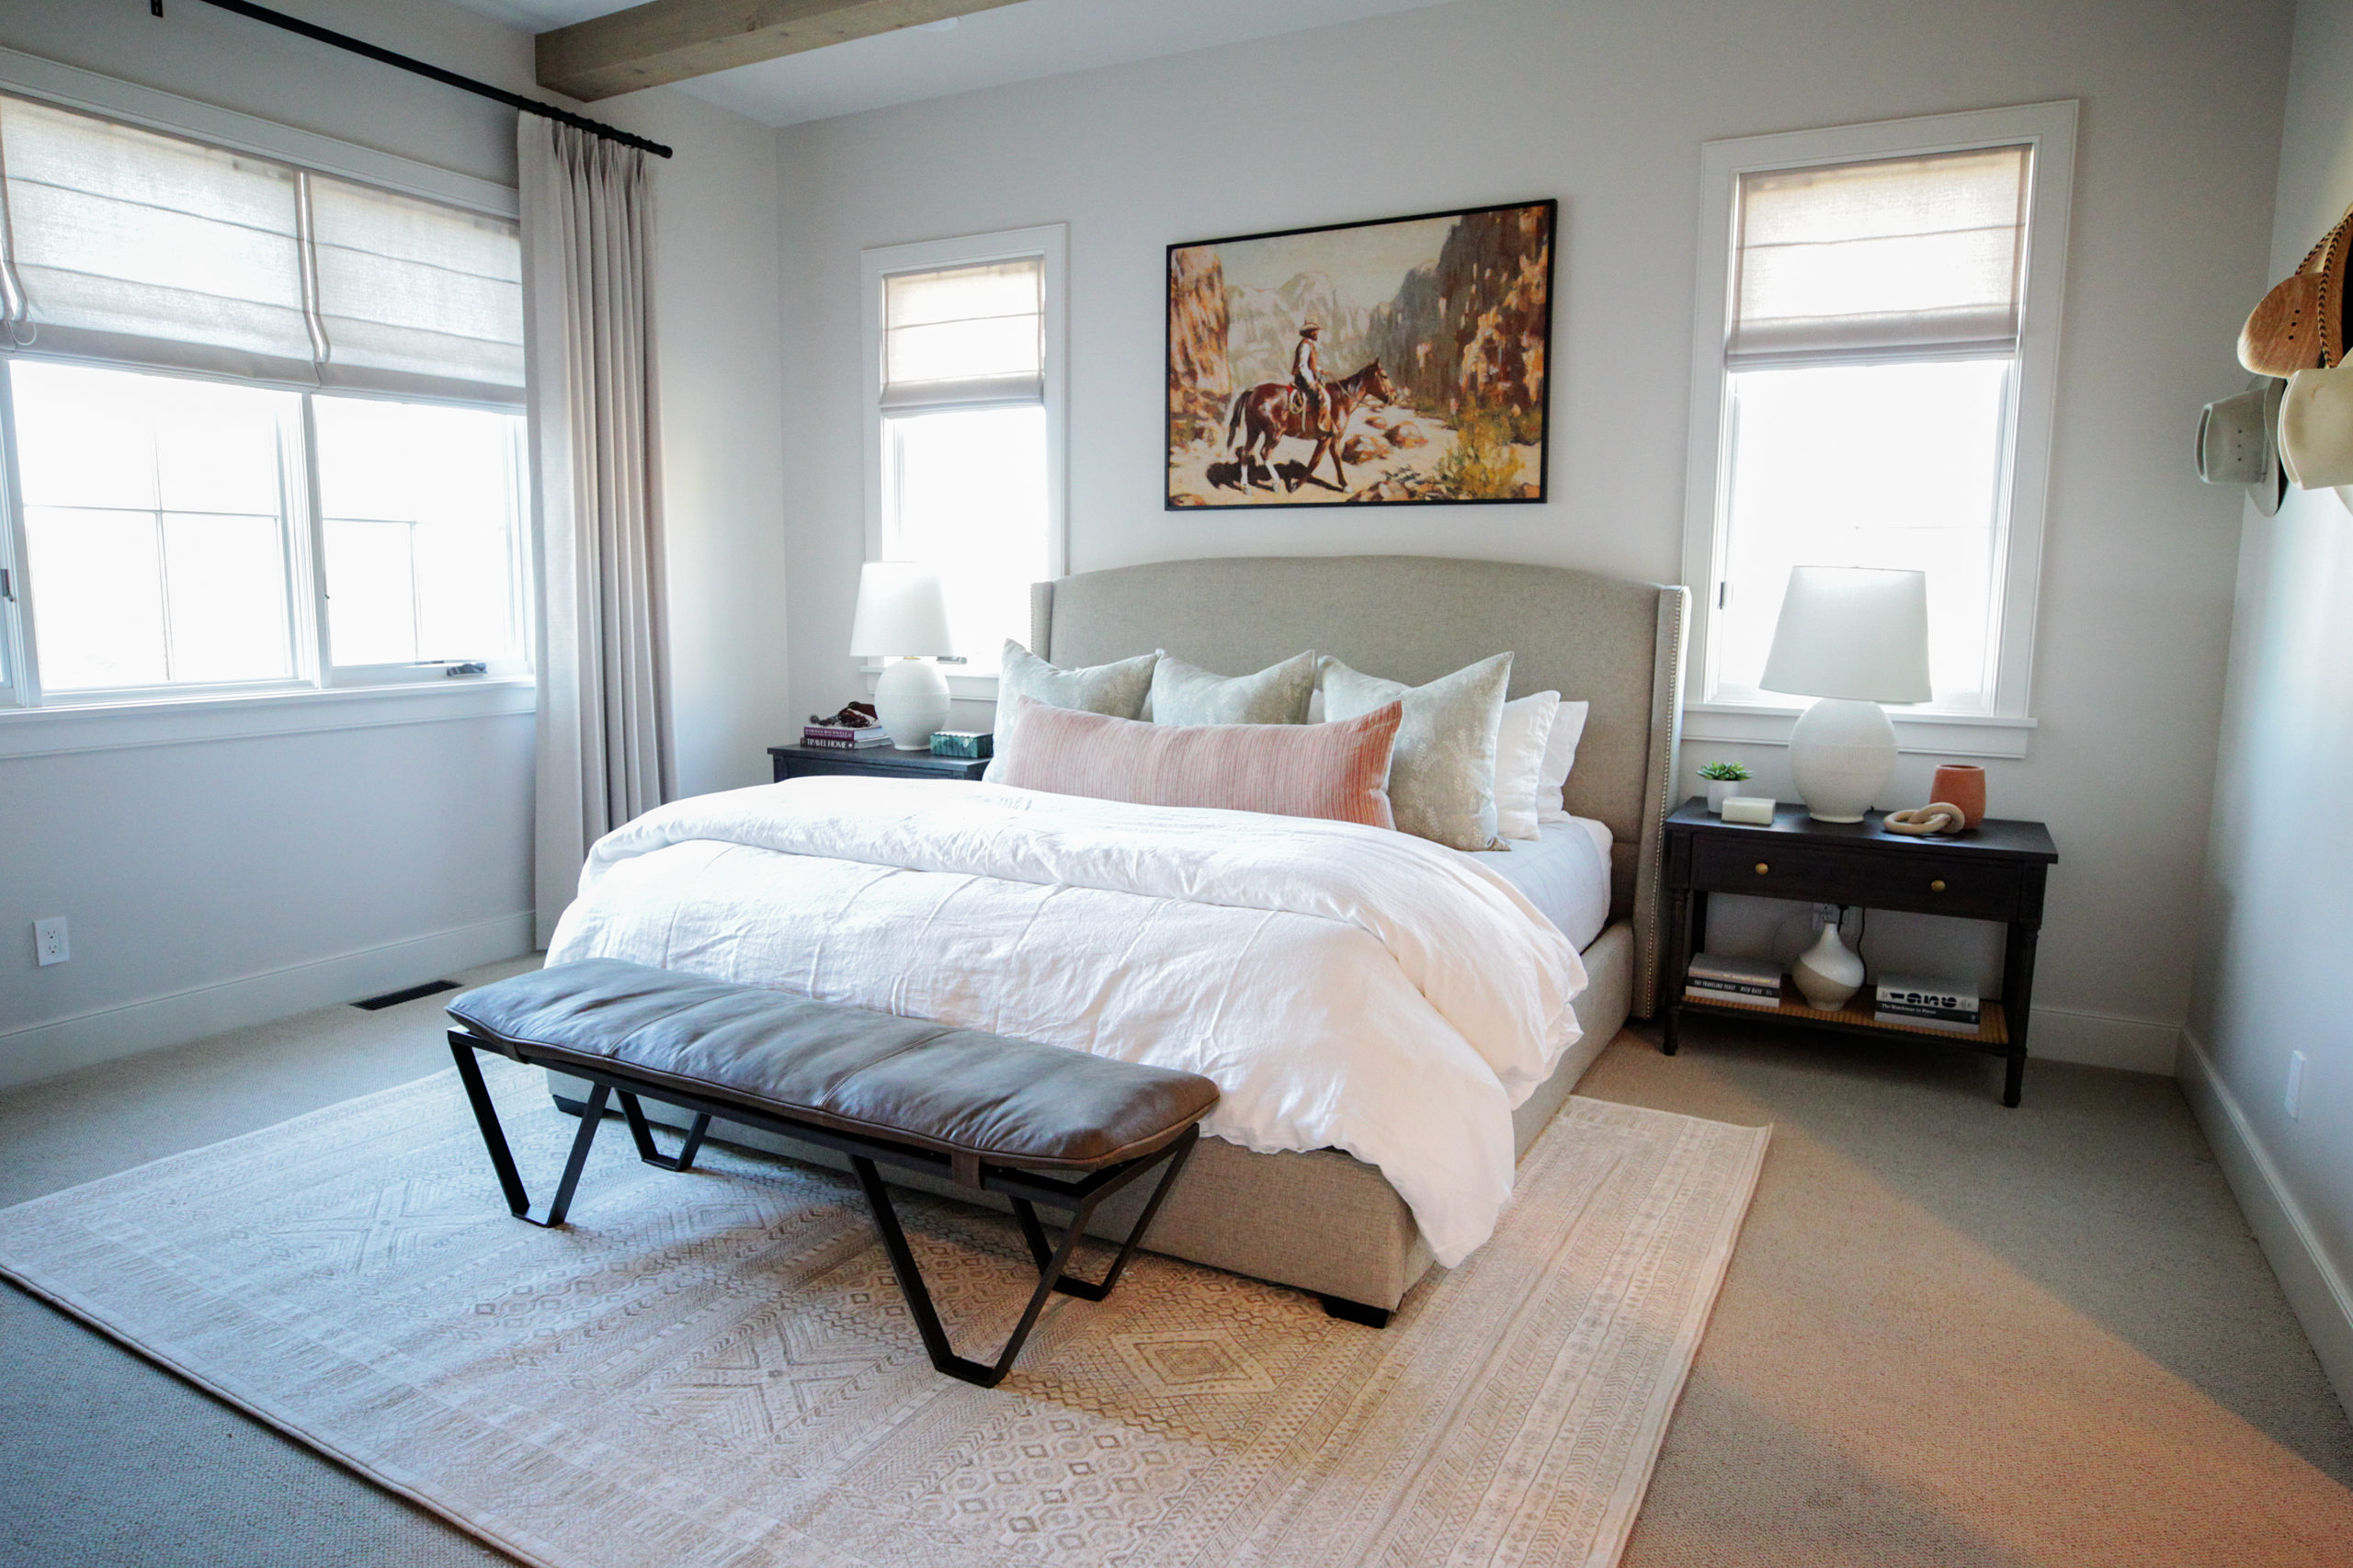
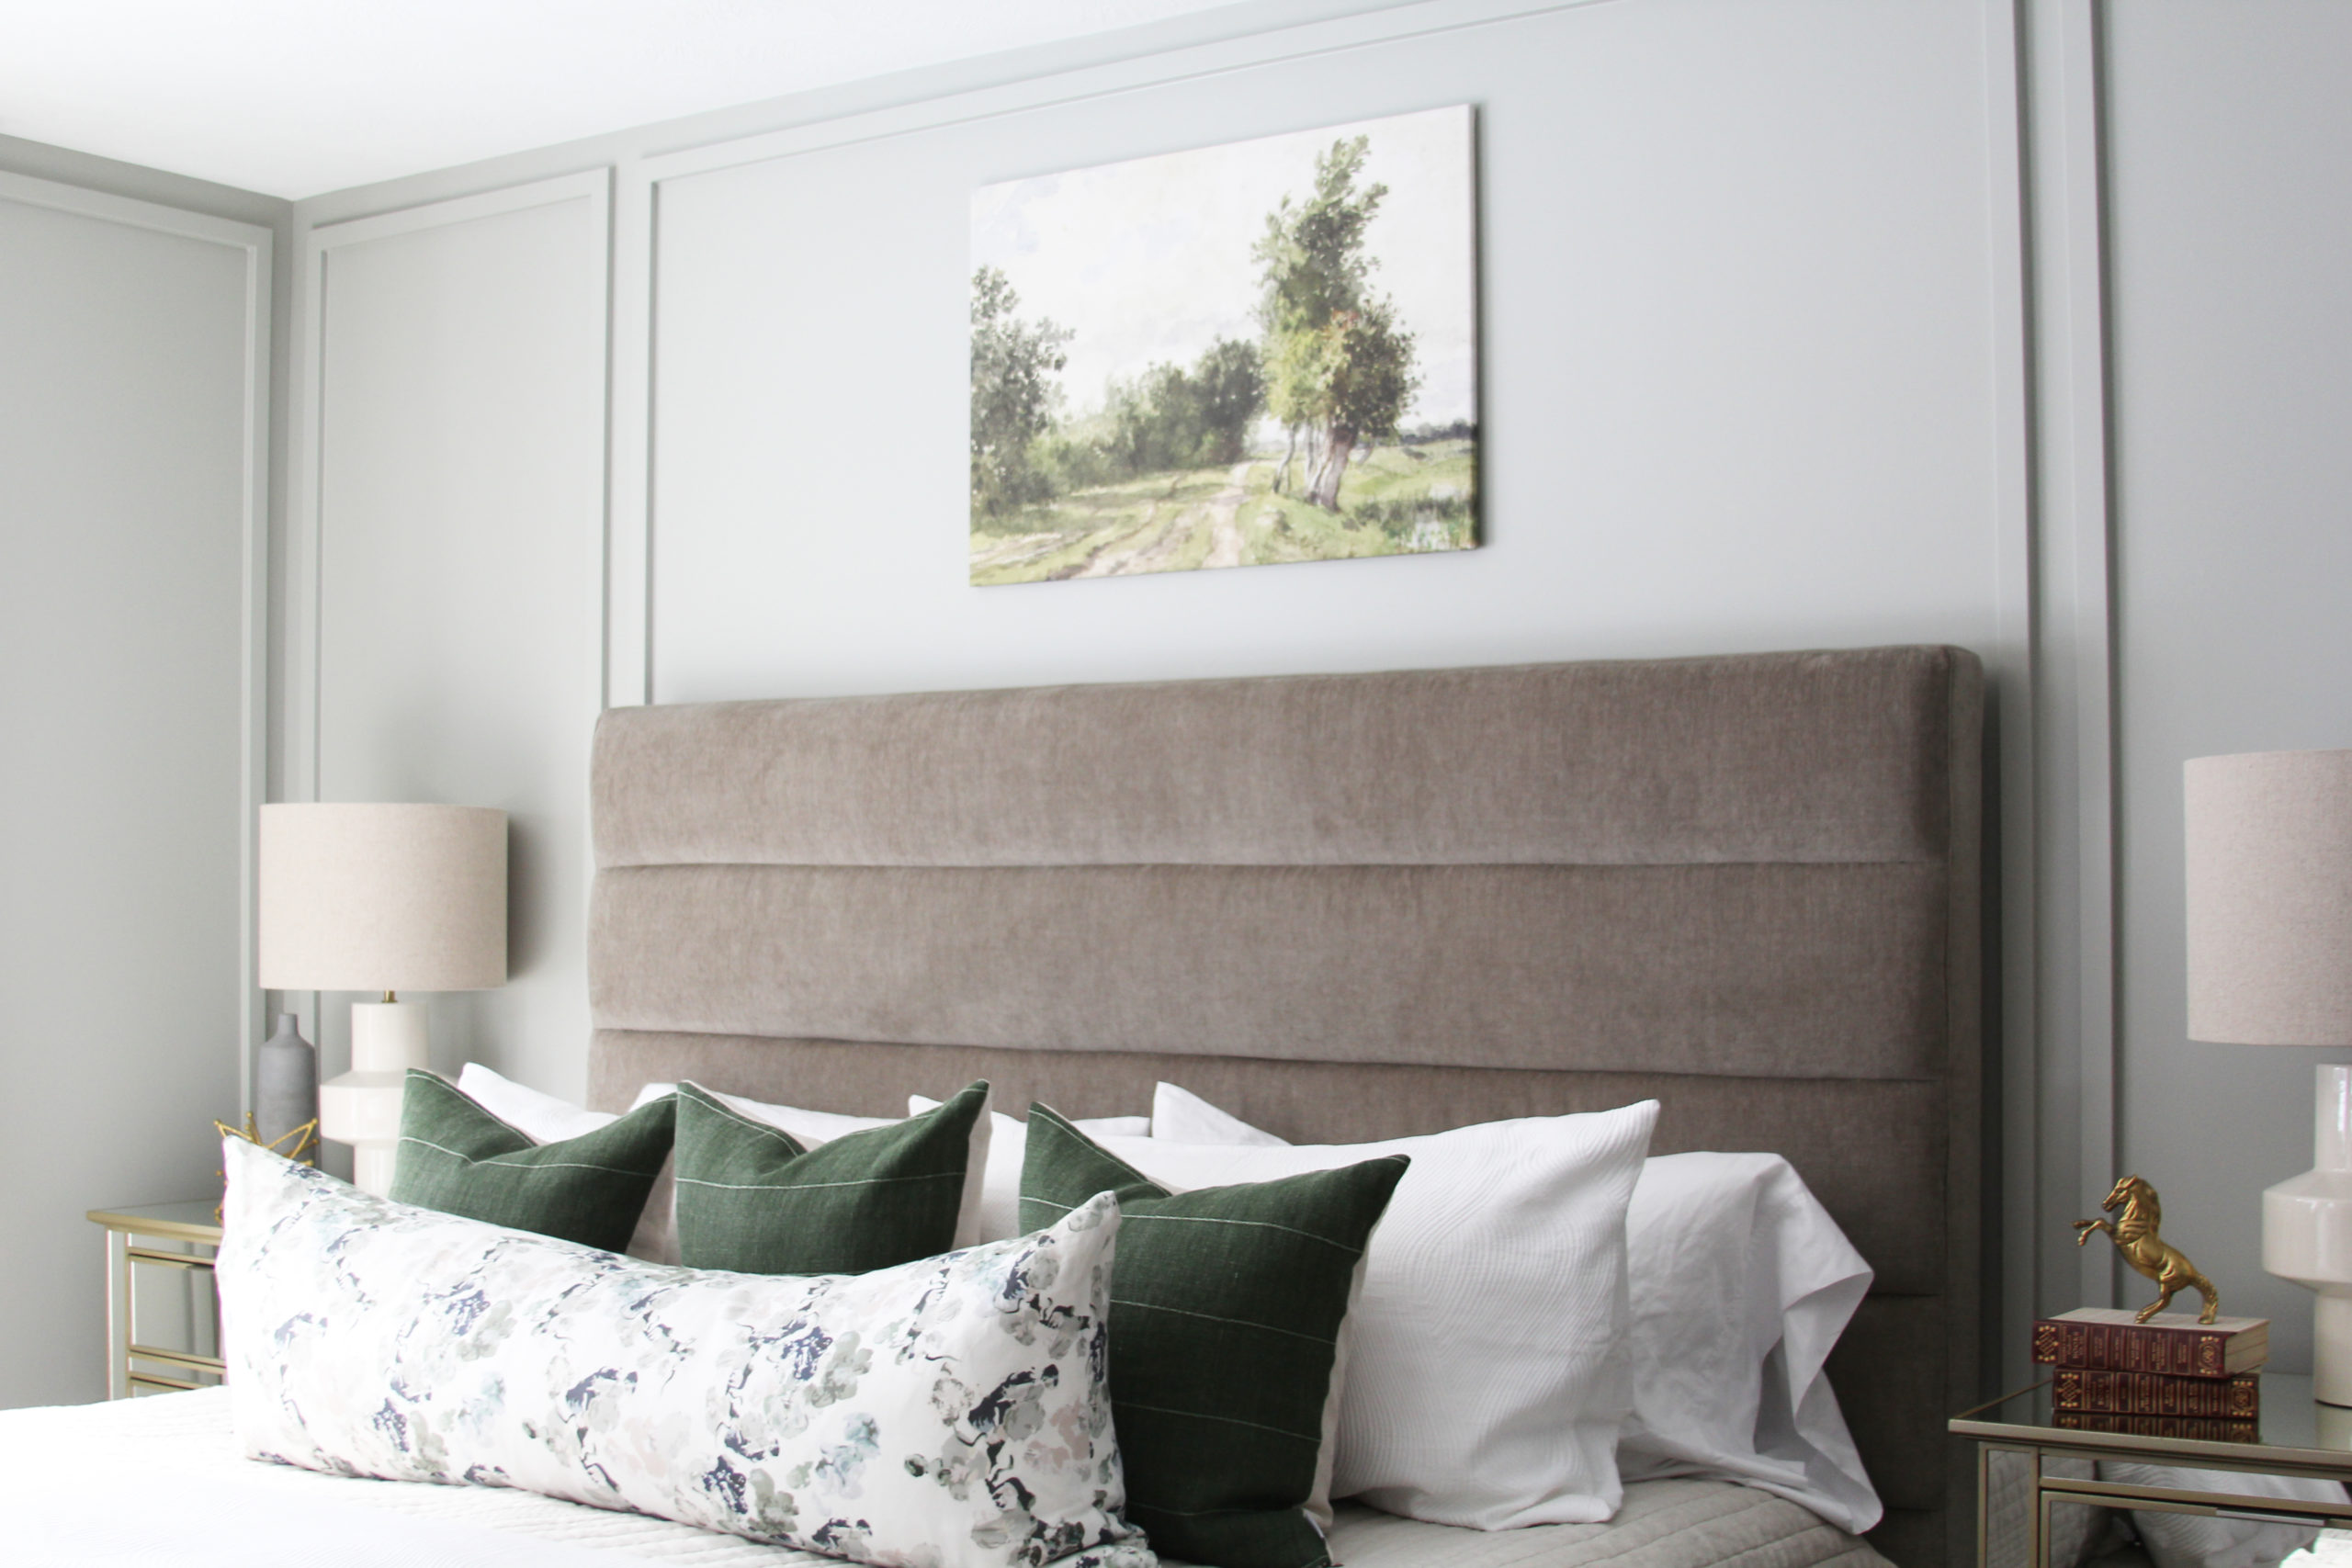
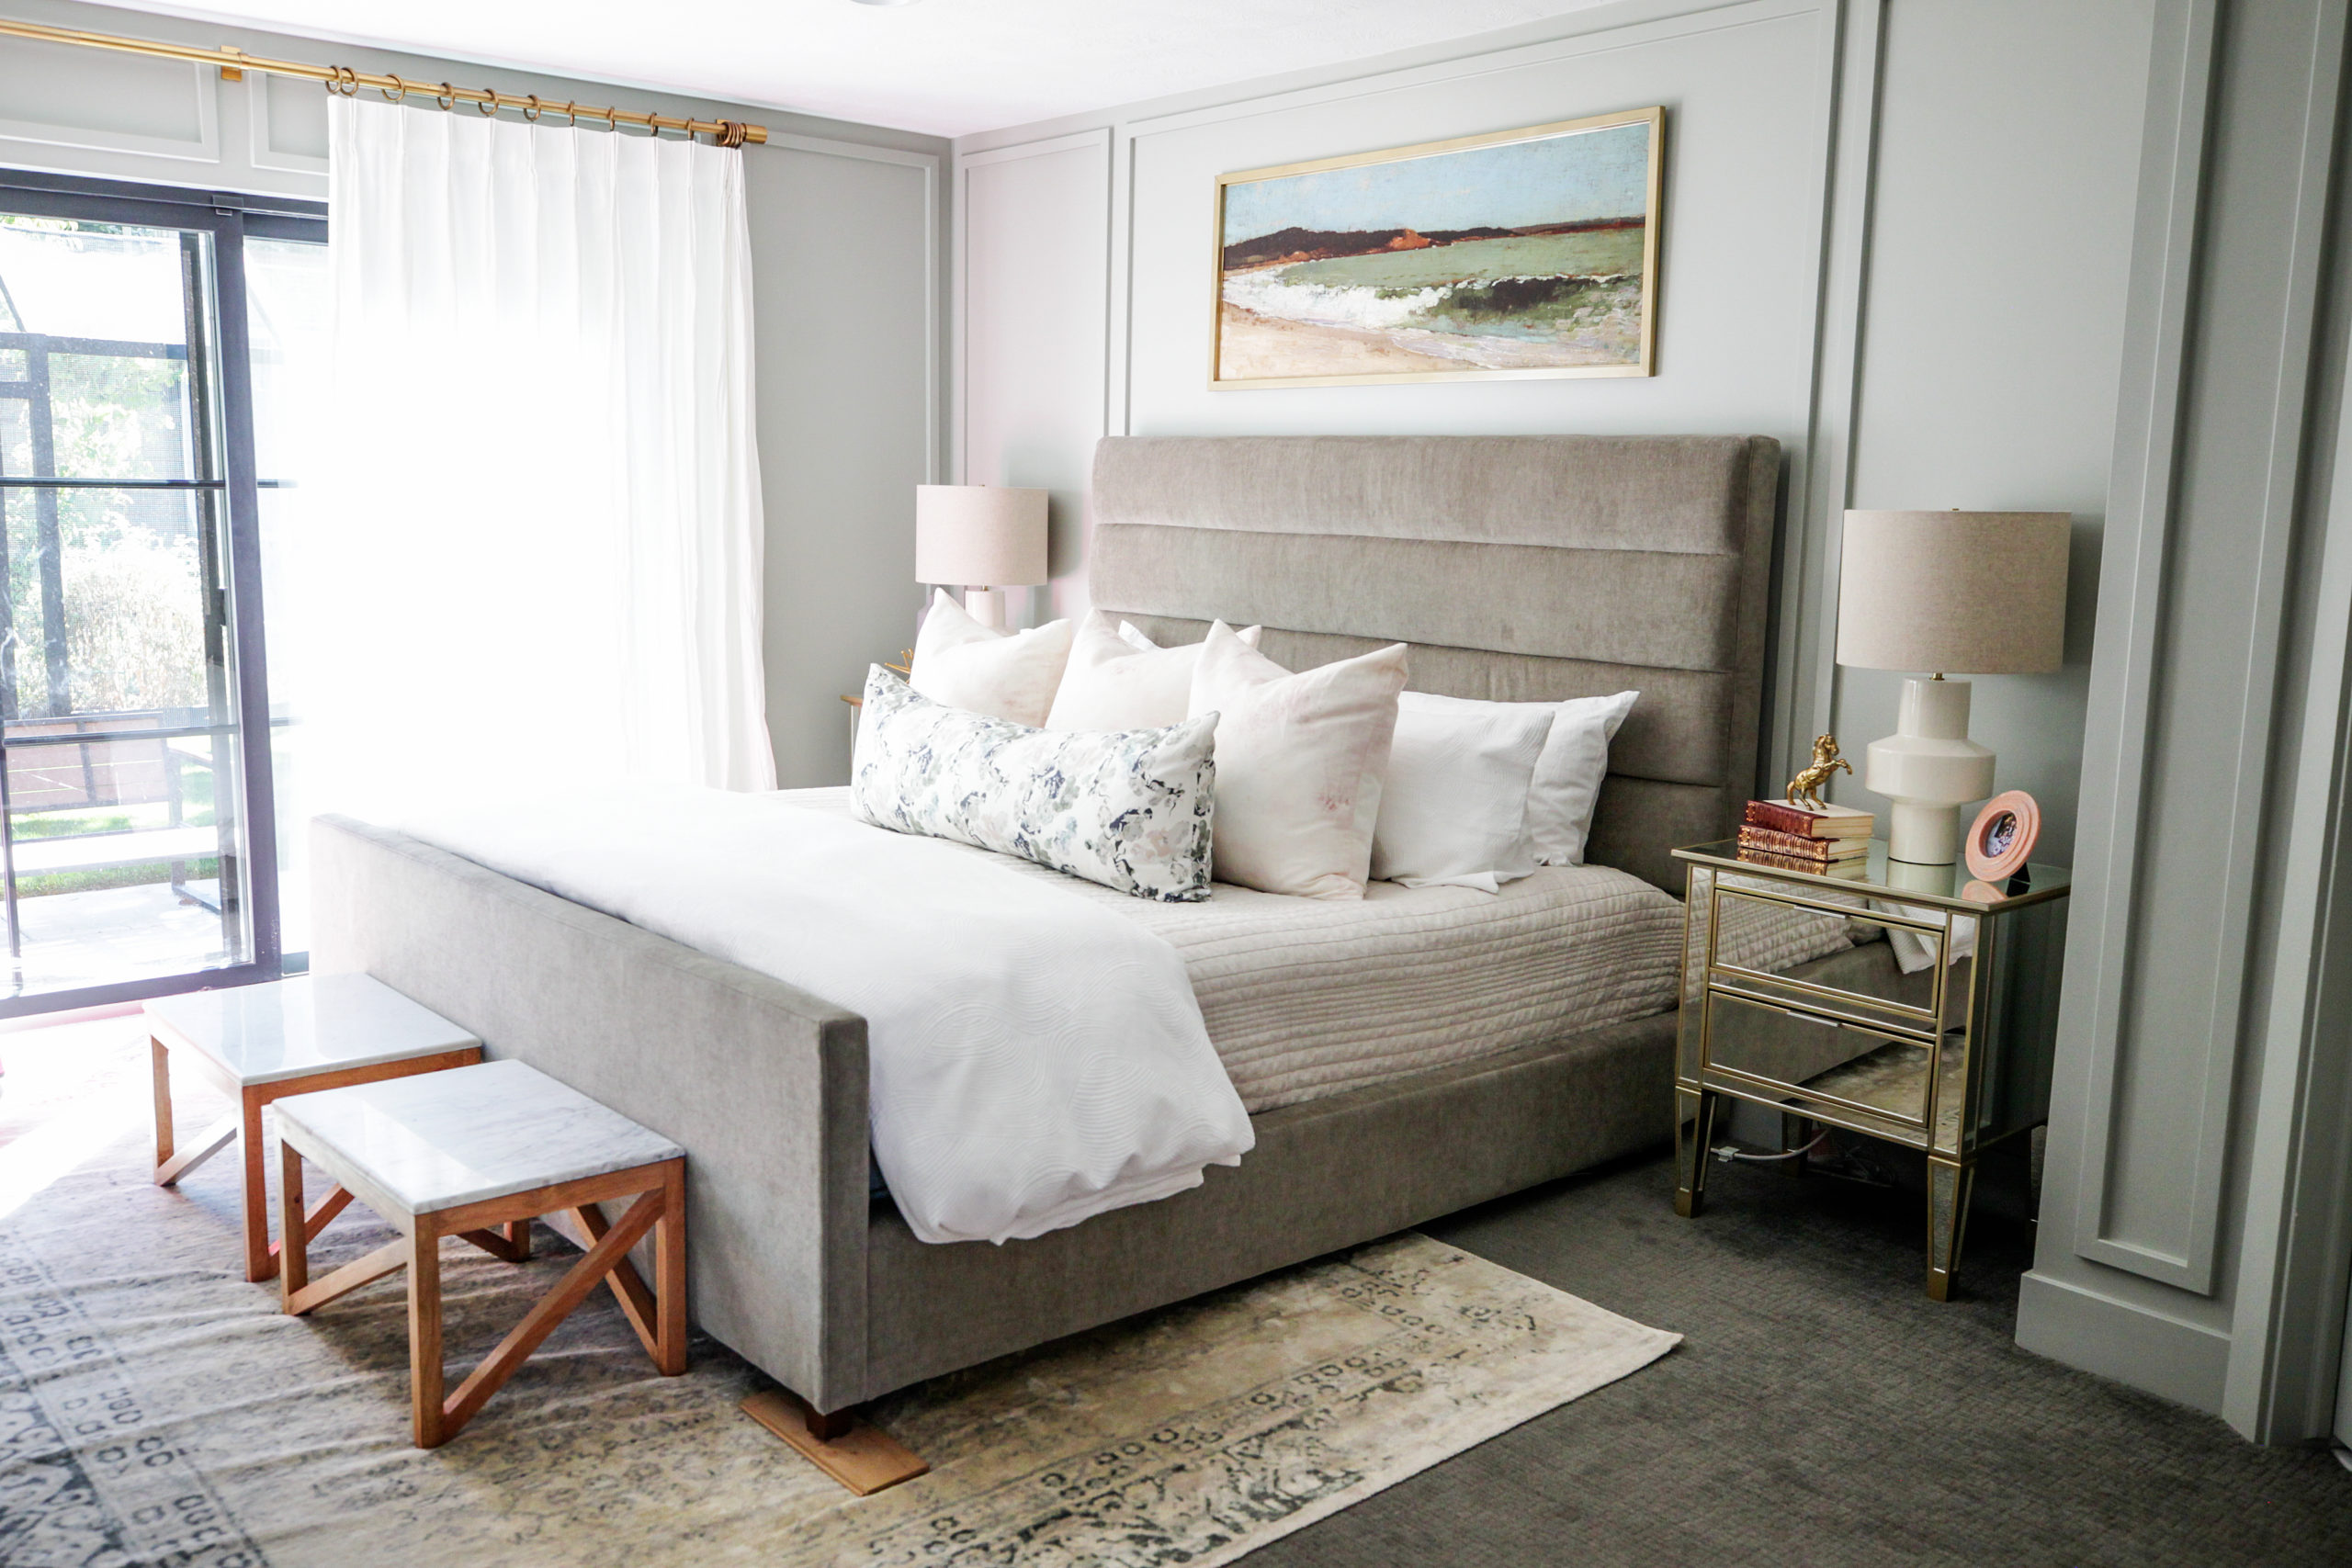
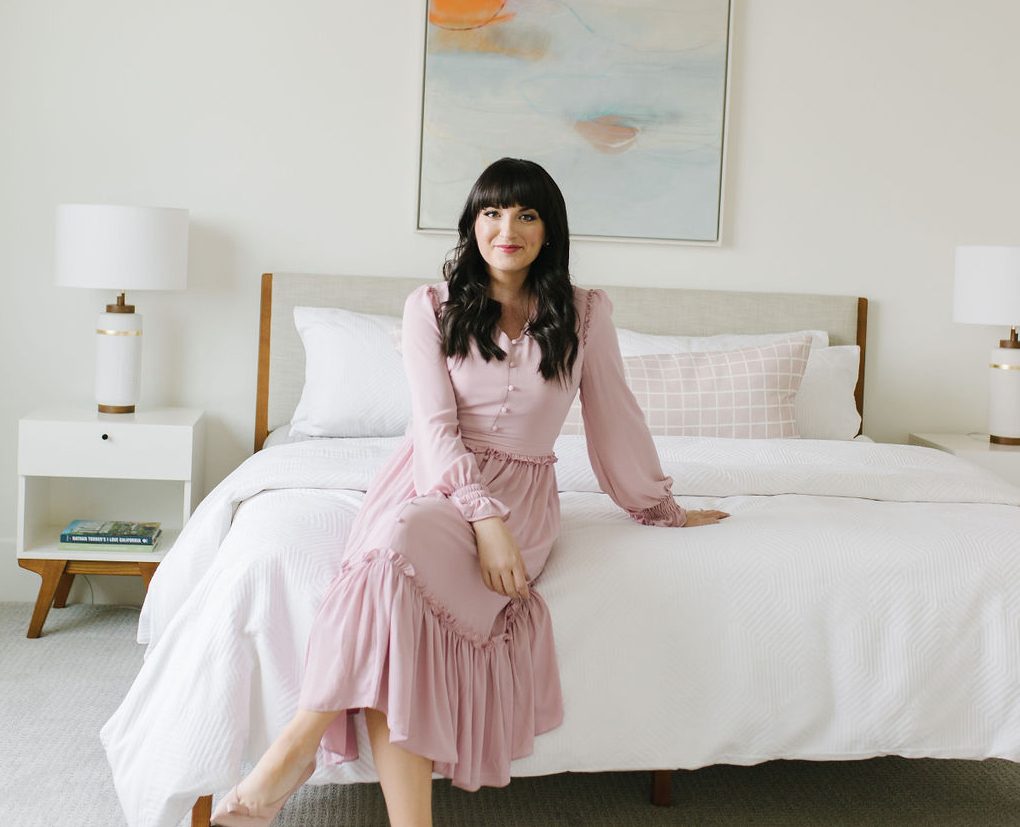
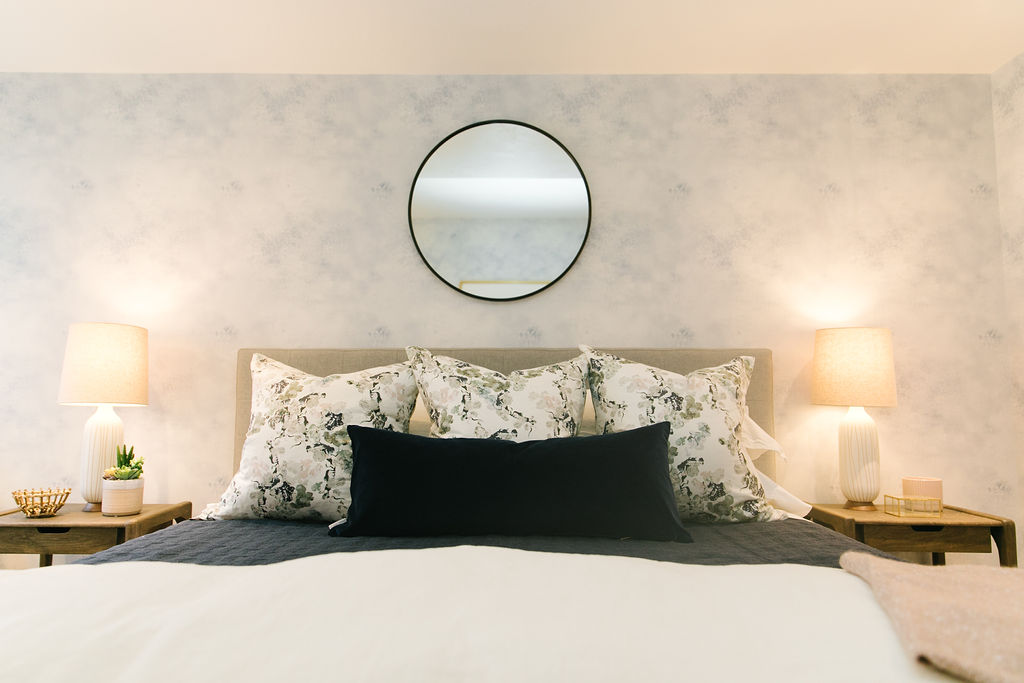
Hi-oh, happy Thursday! Today I’m sharing an exciting project we recently finished– we made our own upholstered headboard. Ambitious much? Yeah, we thought so too, but turns out it is soooo much easier than you think, and if you do it right, you can end up with one great piece of furniture.
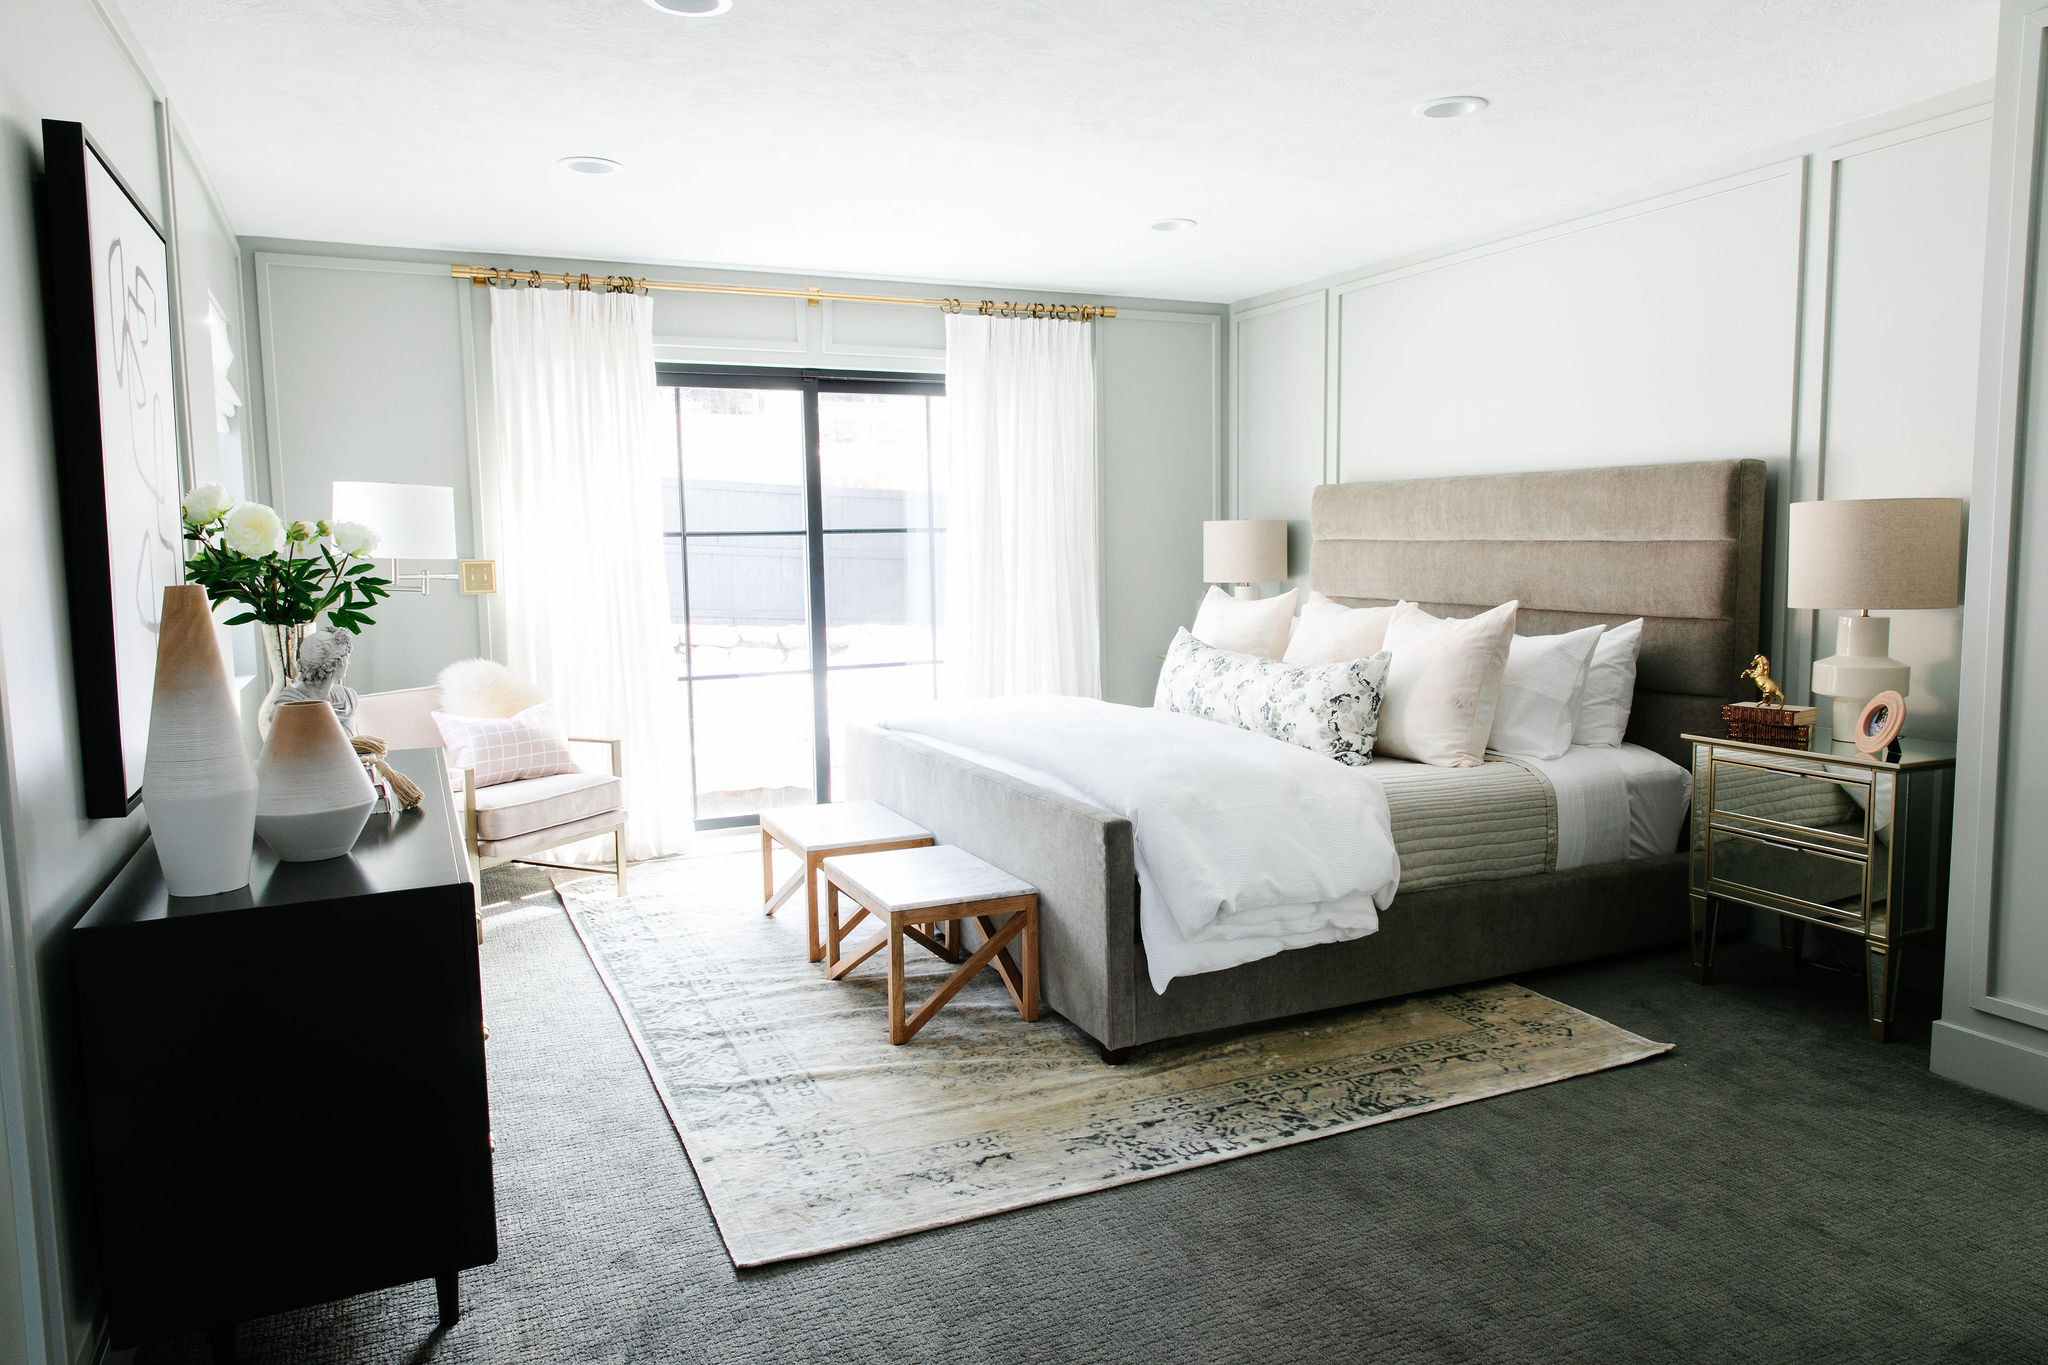
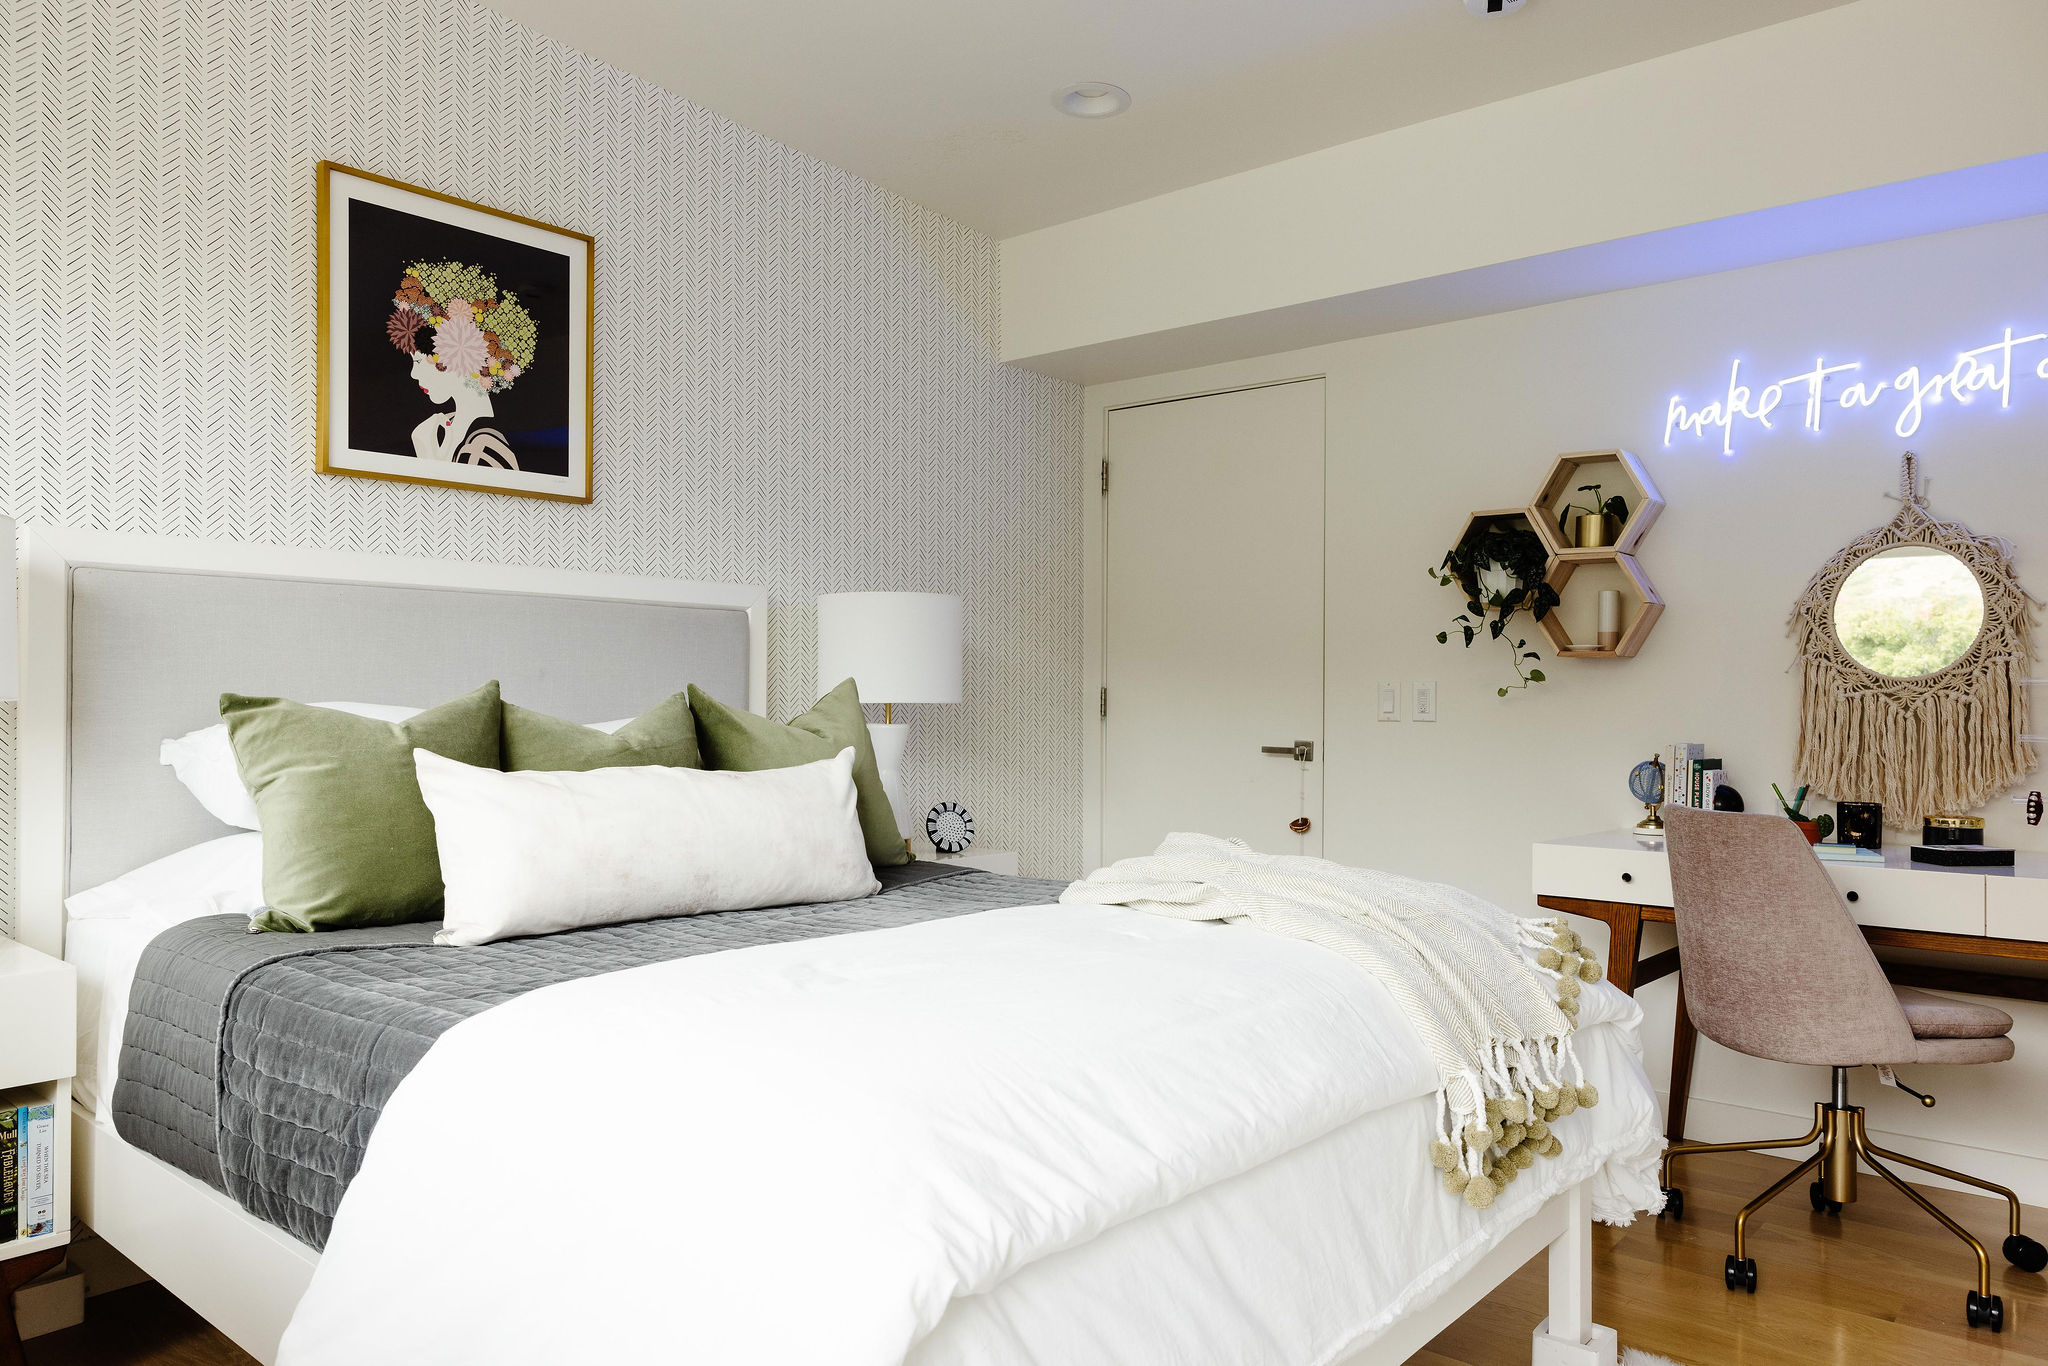
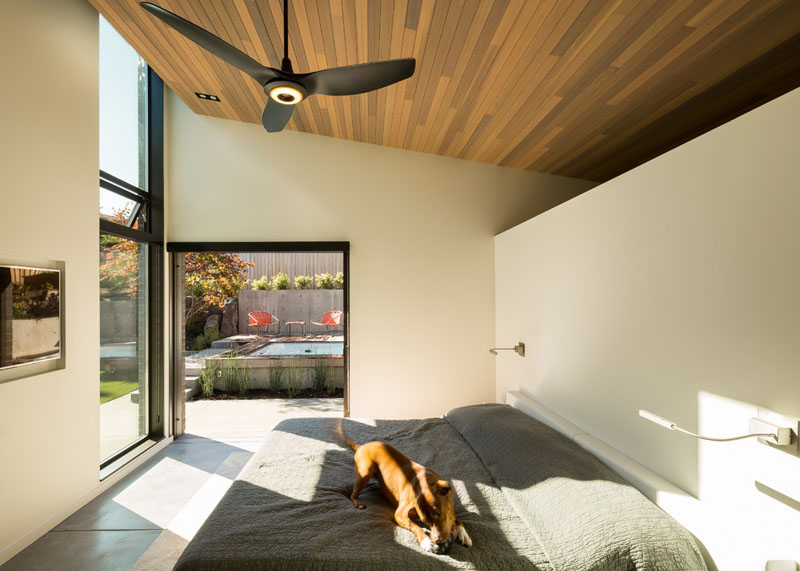
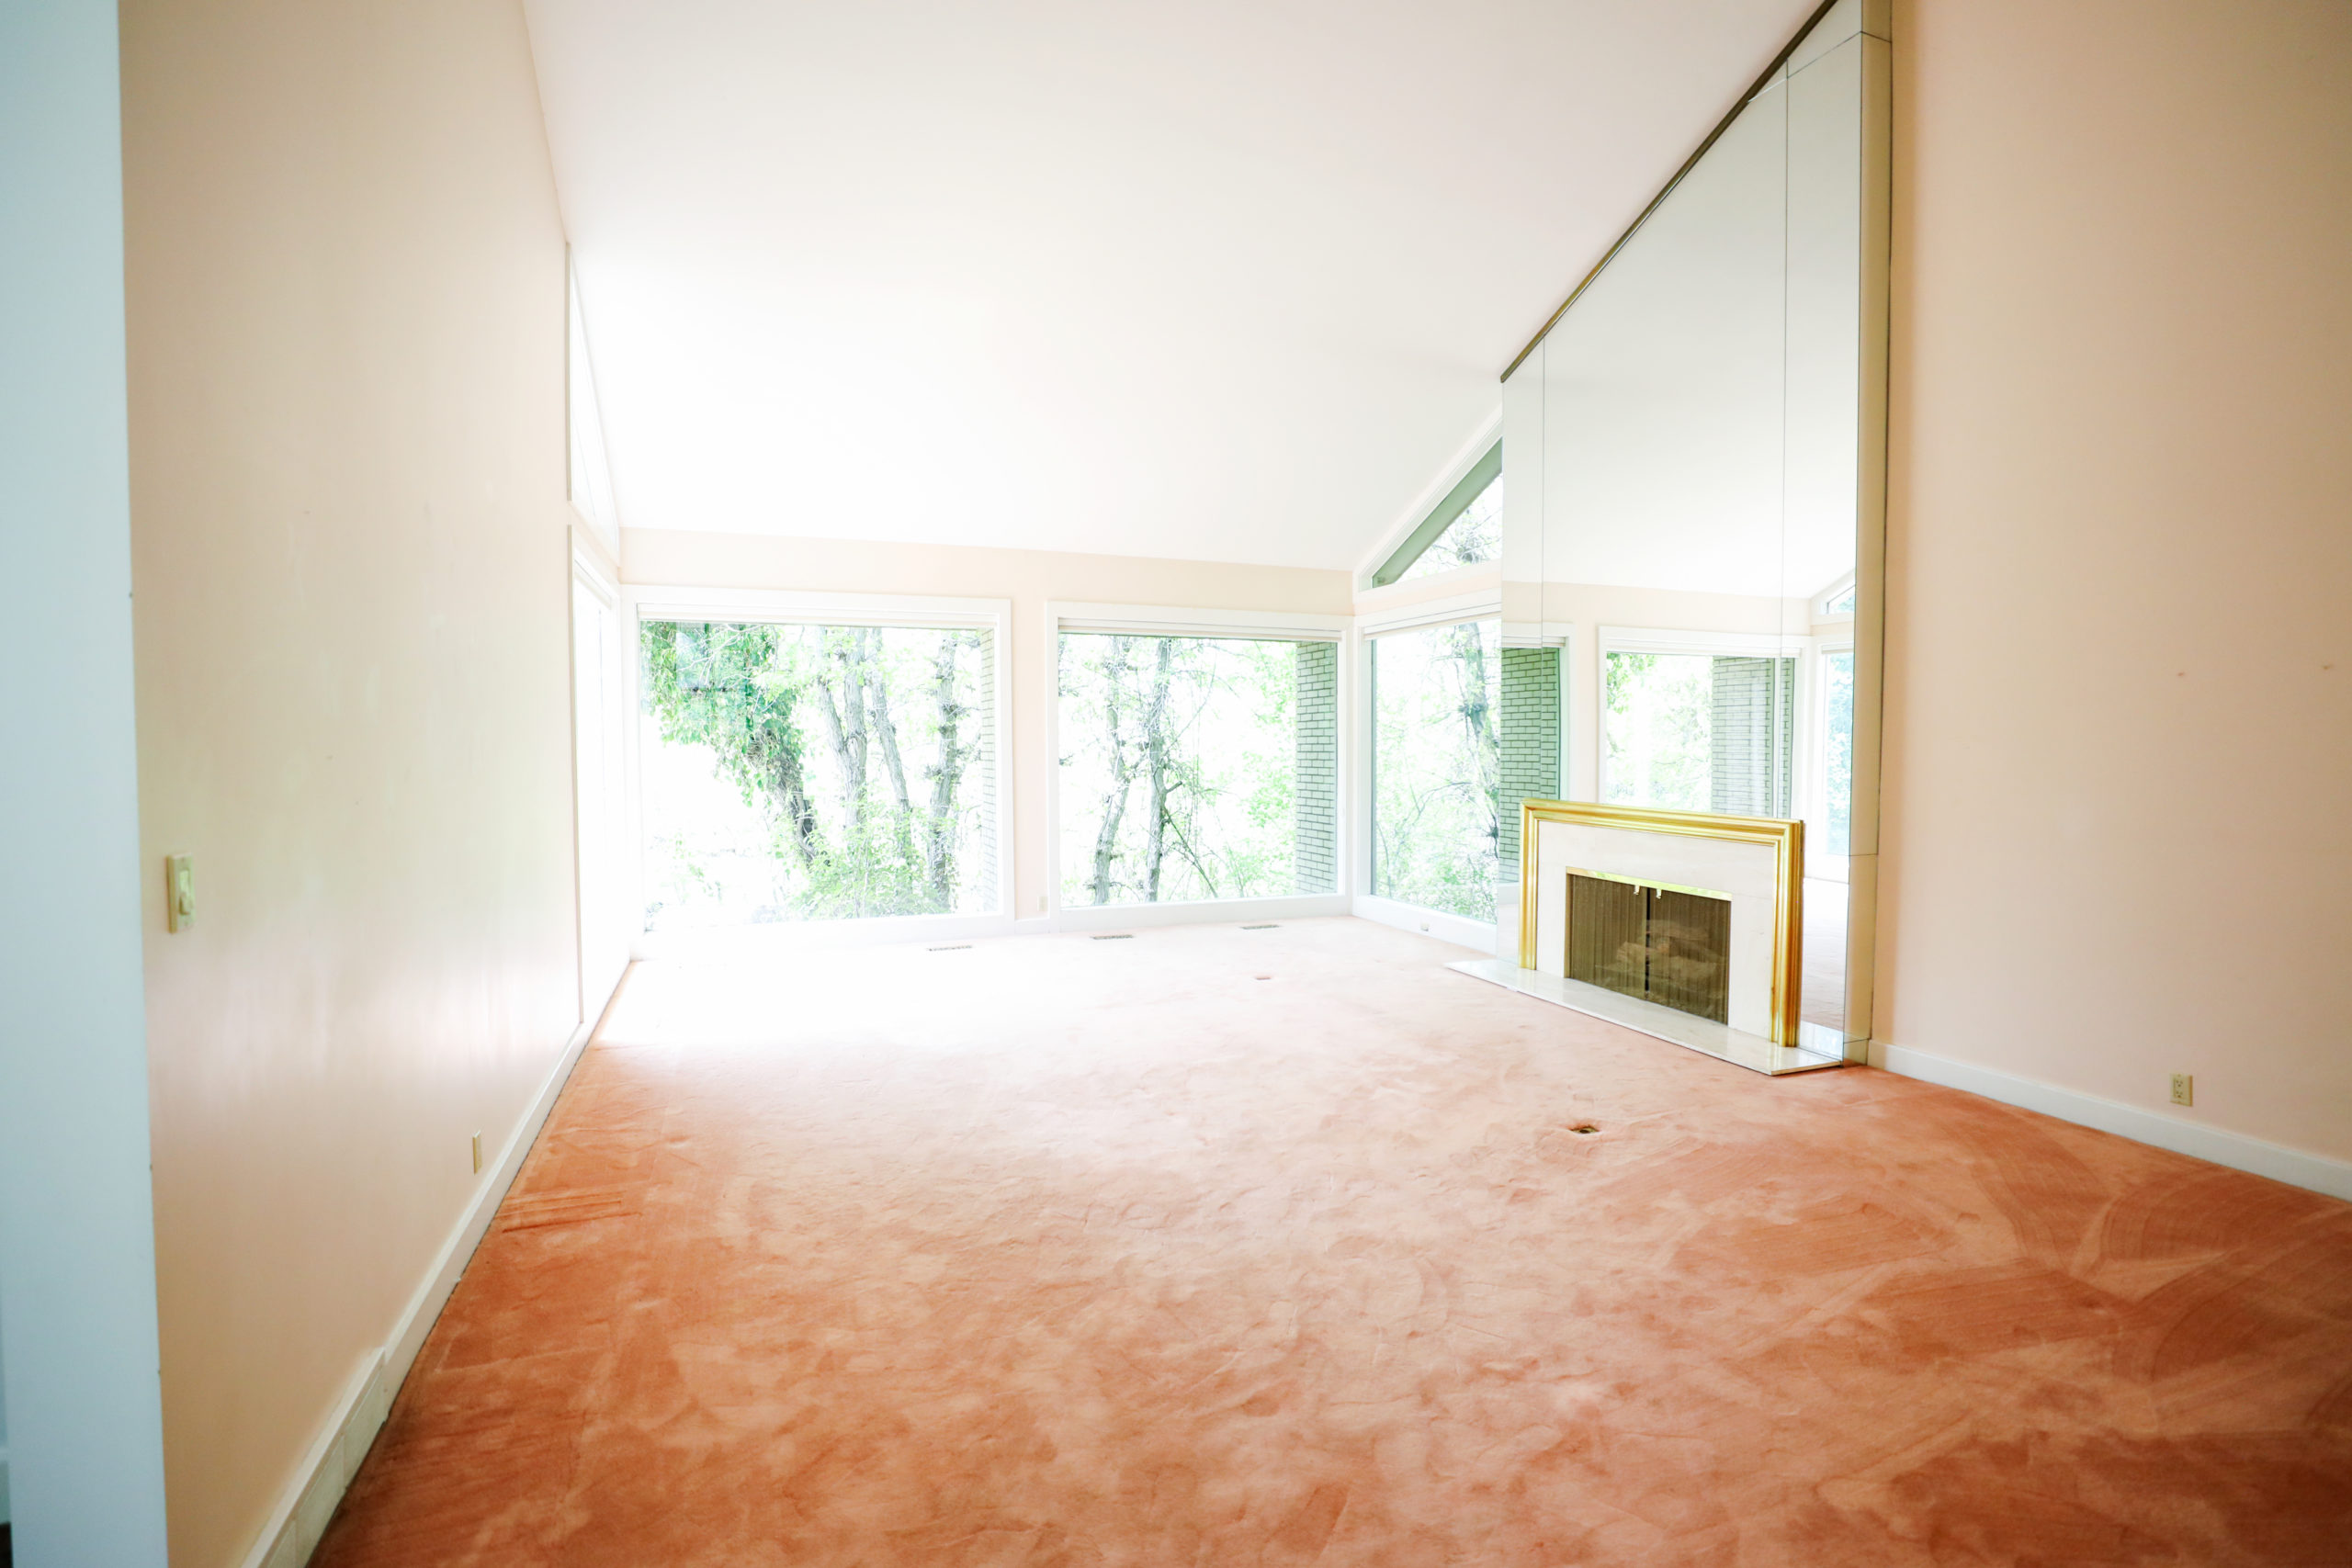
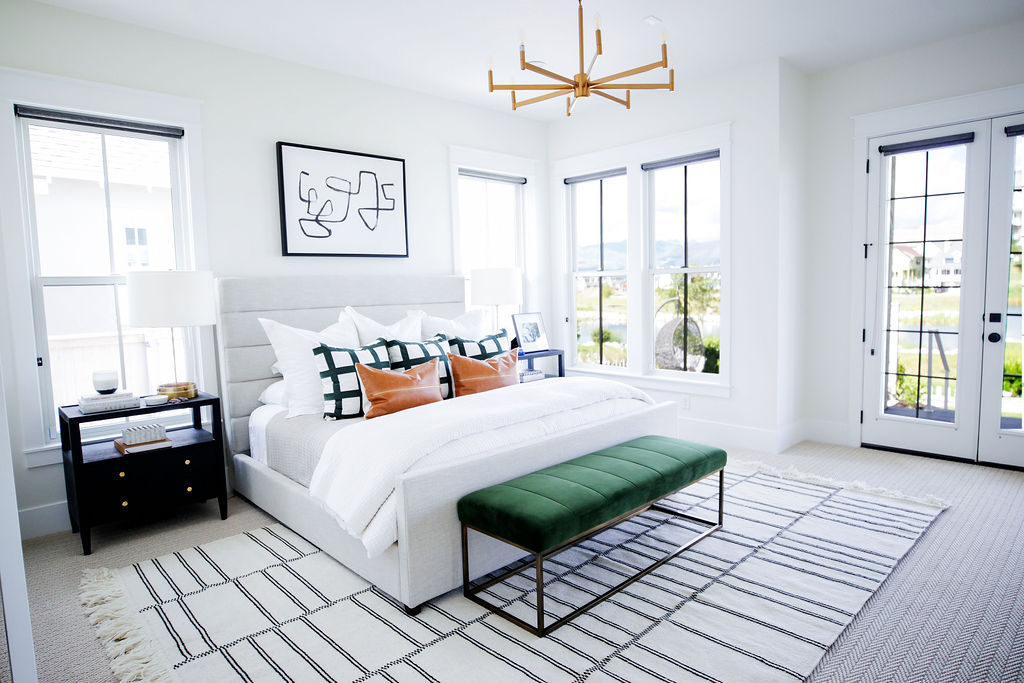
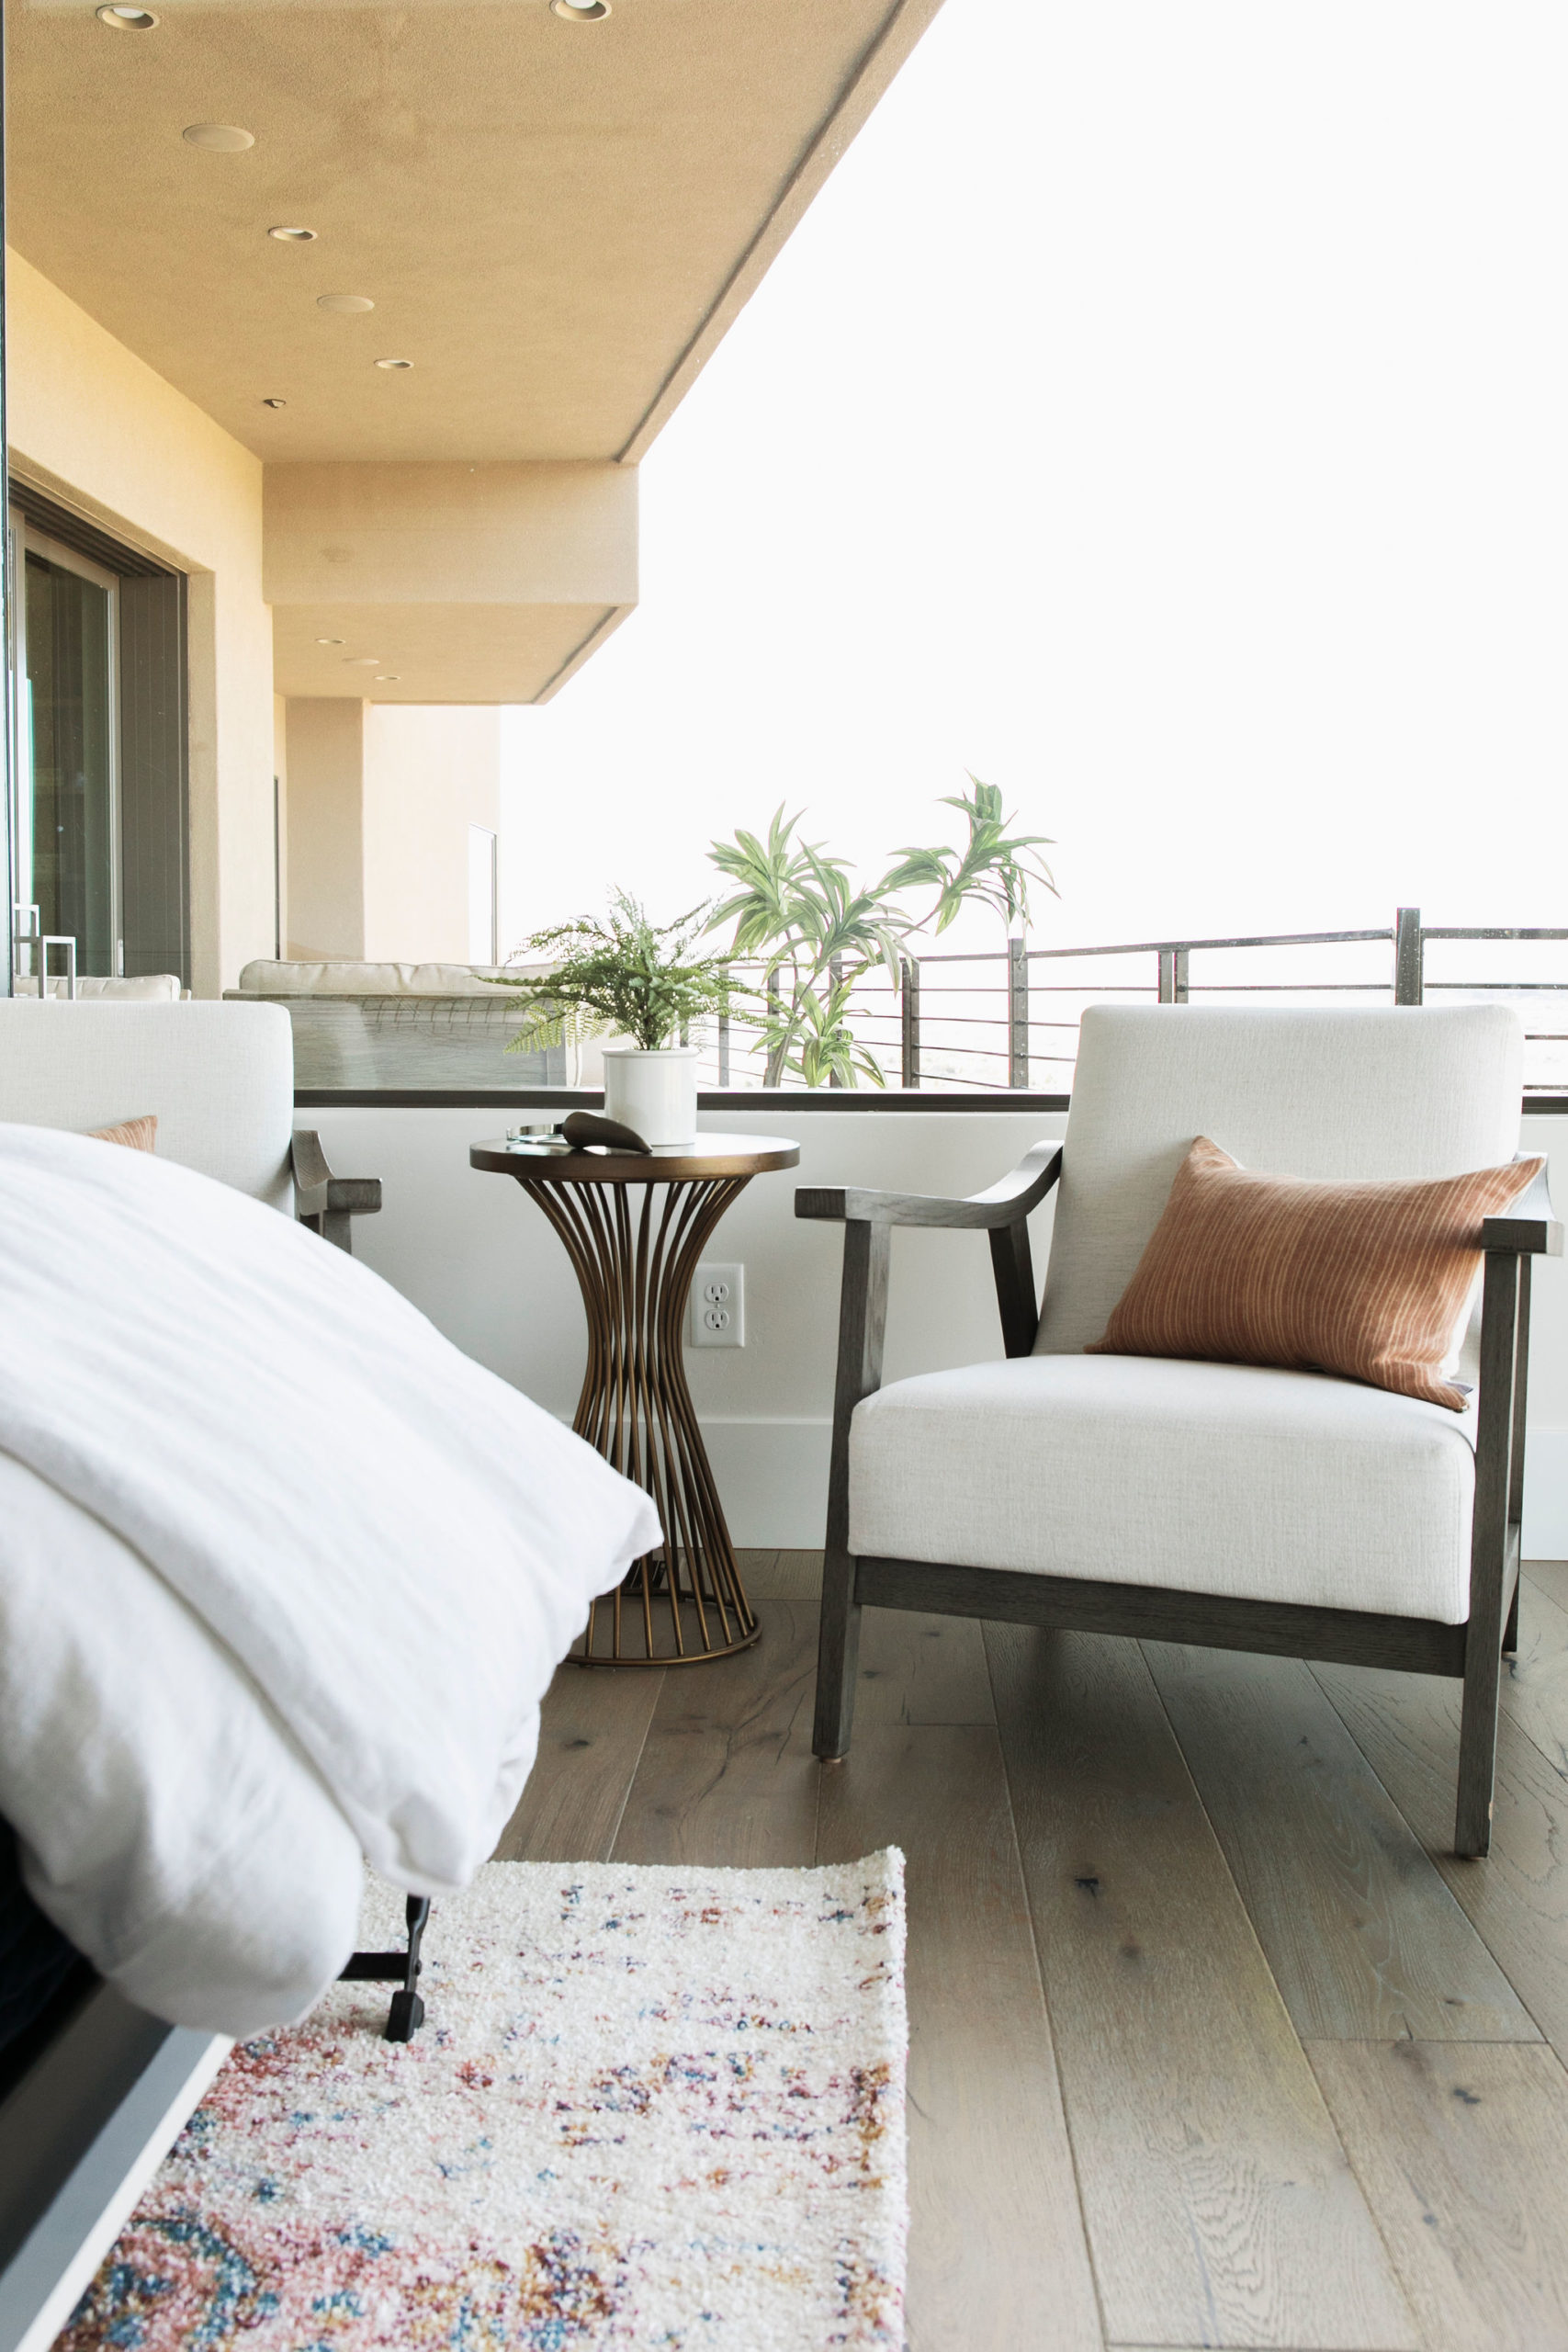
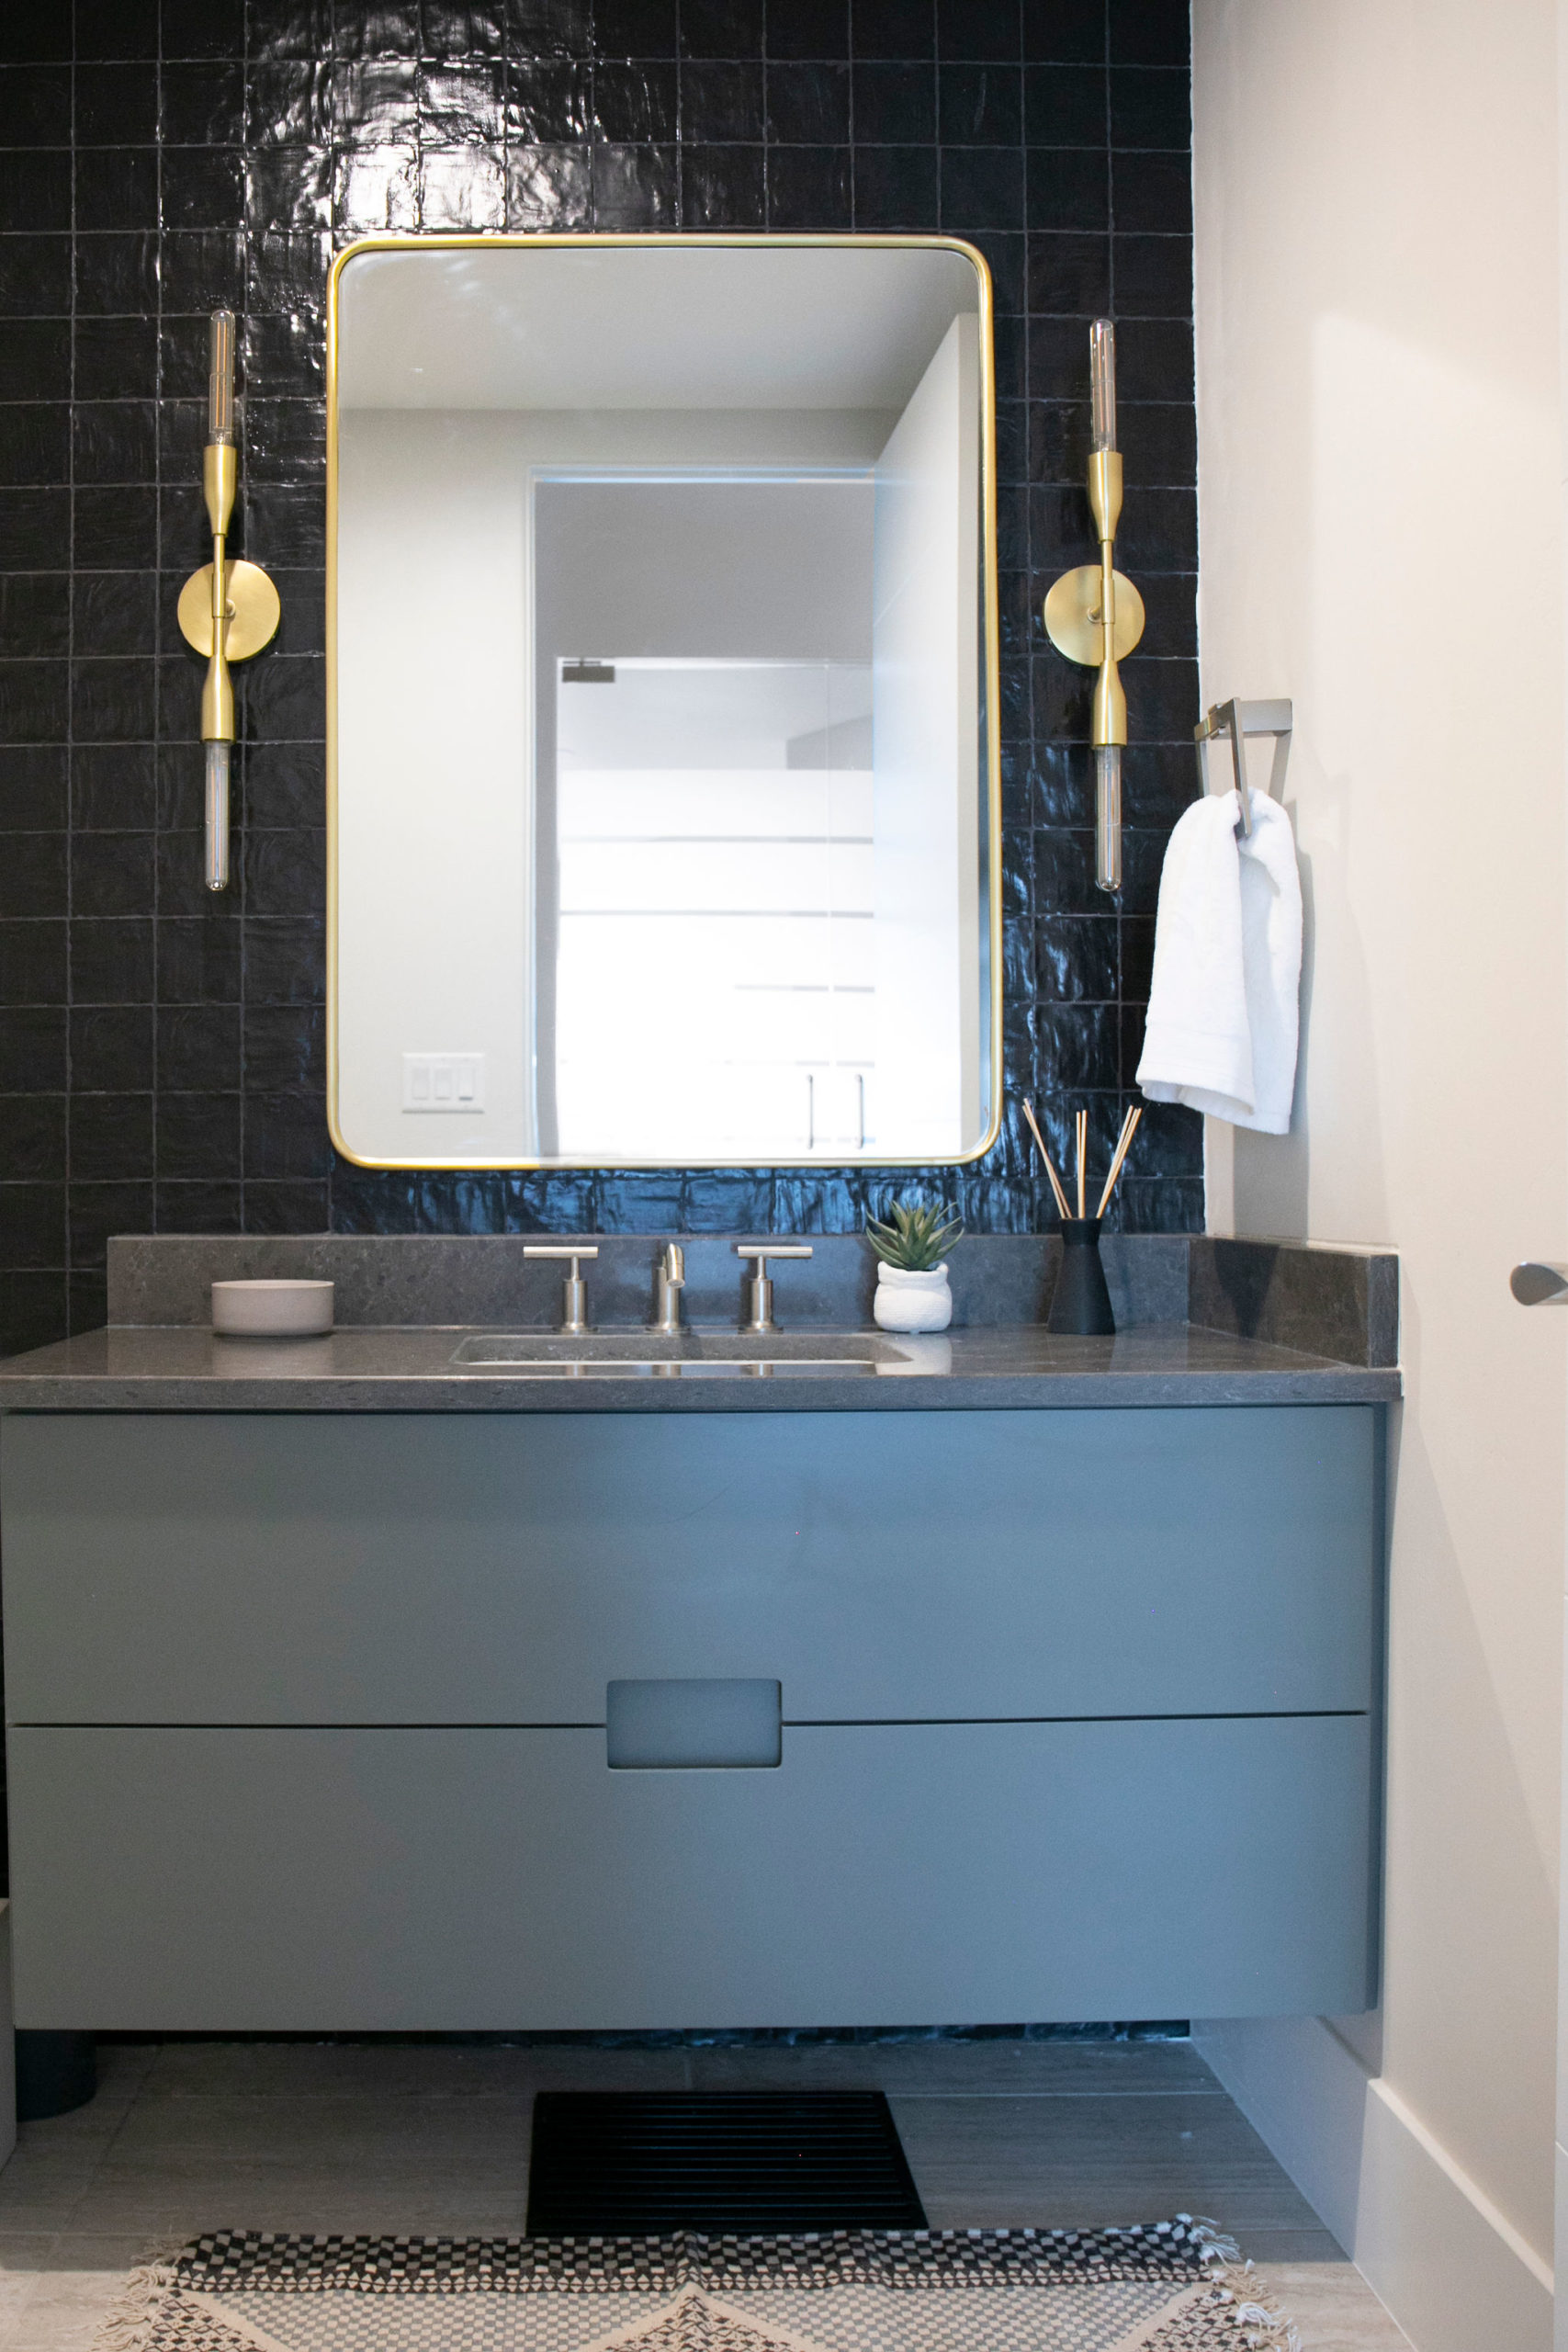
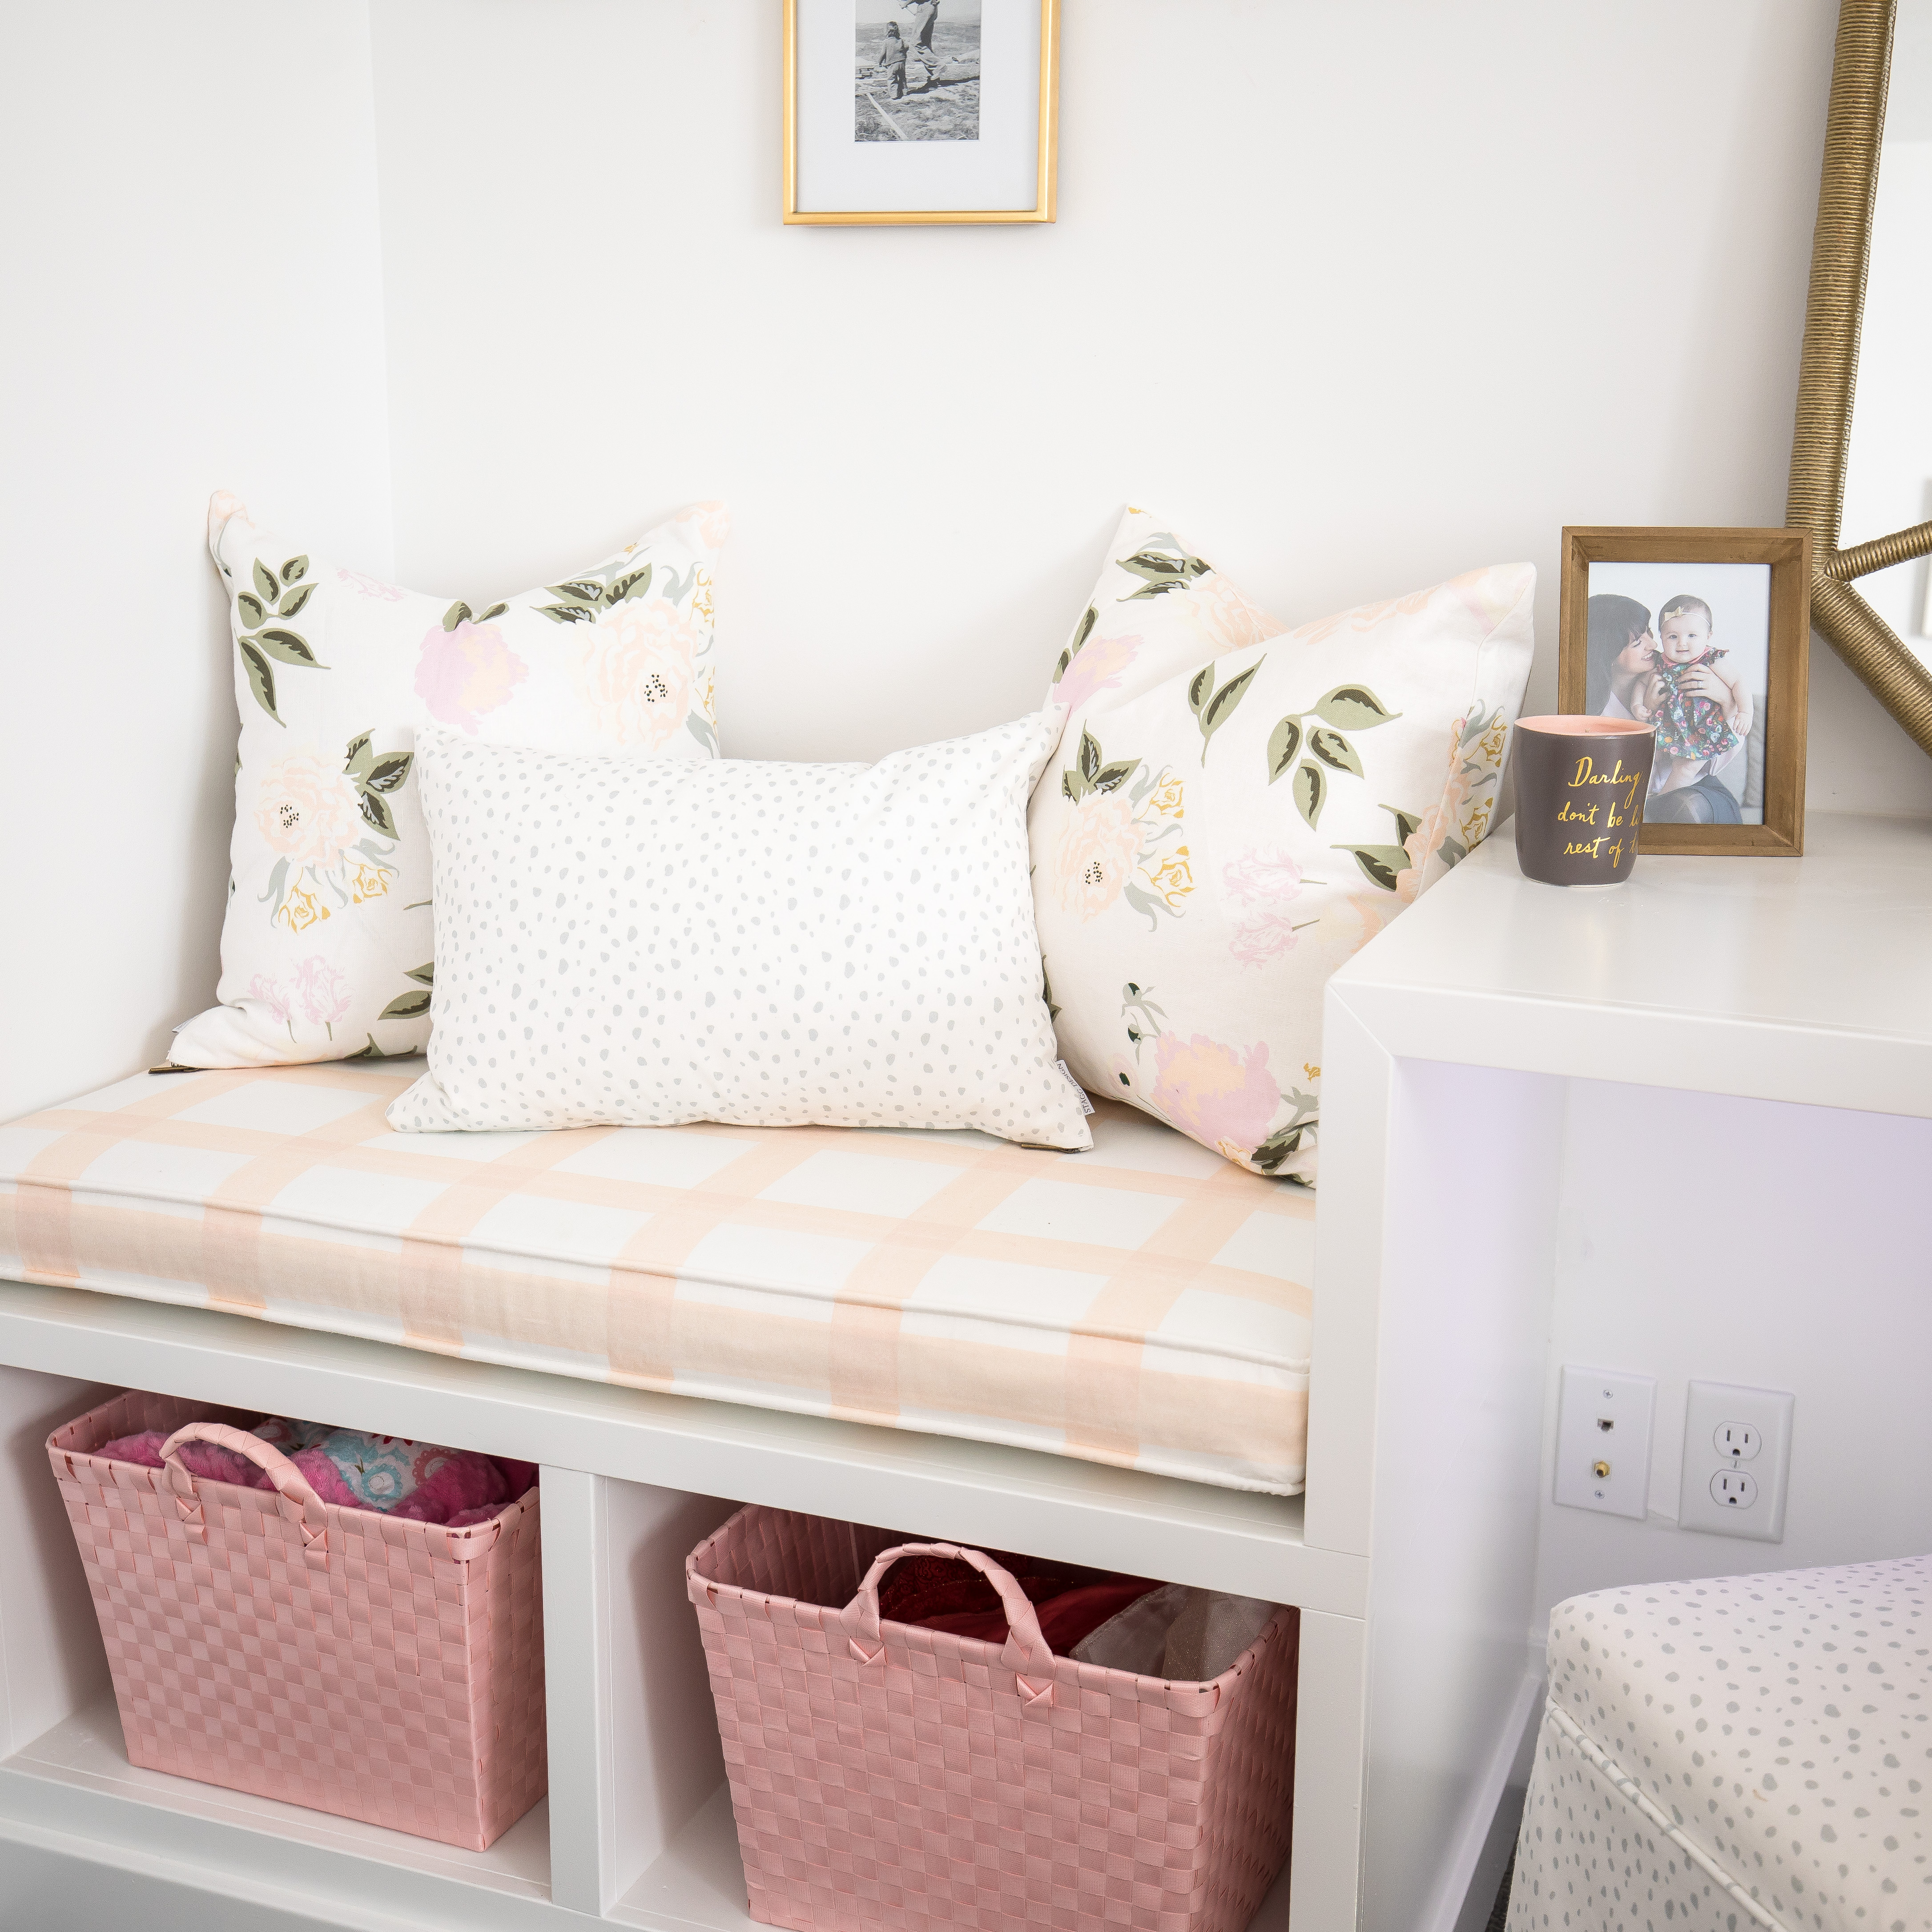
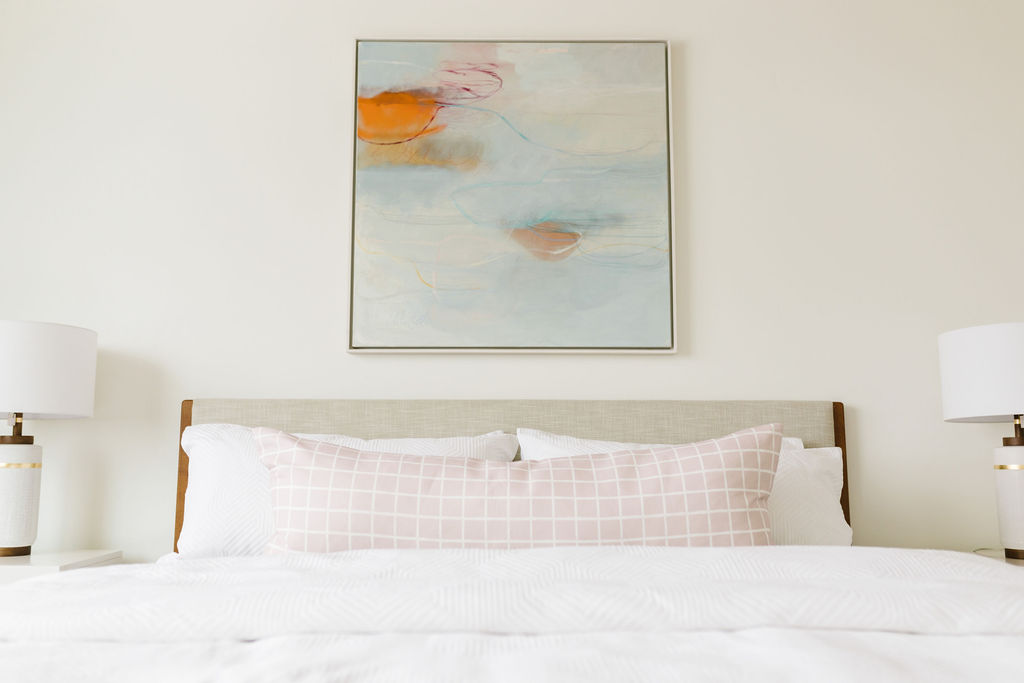
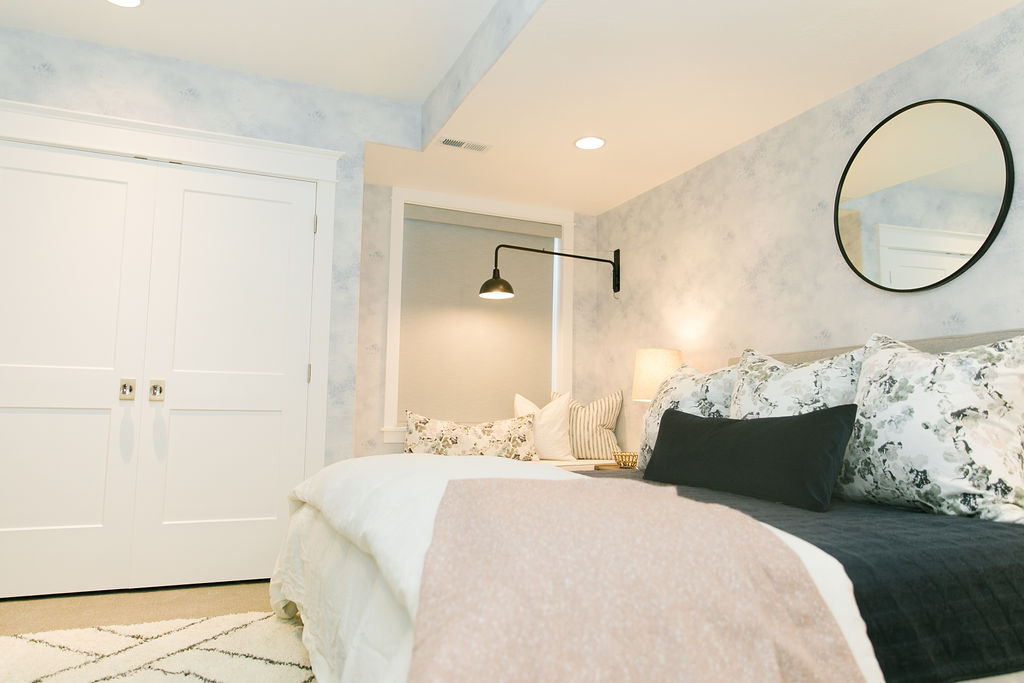
Currently, we are going room by room, renovating our home. Ruby’s room was the first room we completed, as it should have been. We’ve also just finished up an office, a guest room, and a dreamy half bath that I’ll be revealing soon, and now we’re on to our master! And boy, what a job we have on our hands. I’m going to share some befores and afters once we make a bit more progress, but this post is all about the bed.
We have been searching for the right upholstered headboard for quite some time but we just haven’t been able to justify dropping several thousand big ones on a bed right now, with a very long and growing list of home projects and me recently quitting my job (oh how I miss that income!). Rather than continue to bonk our heads on the wall every night, we decided to make one. Jon and I, we just love a good home project. We’re always working on something. We rolled up our sleeves and got to work. My friend and interior designer, Danielle Oakey, has made quite a few upholstered headboards in her day and gave us some great tips for taking it from craft store disaster to a piece I truly think you wouldn’t think looked out of place in a store. Below is the video showing exactly how we did it, and the reveal.
Here’s a step by step breakdown with a list of supplies.
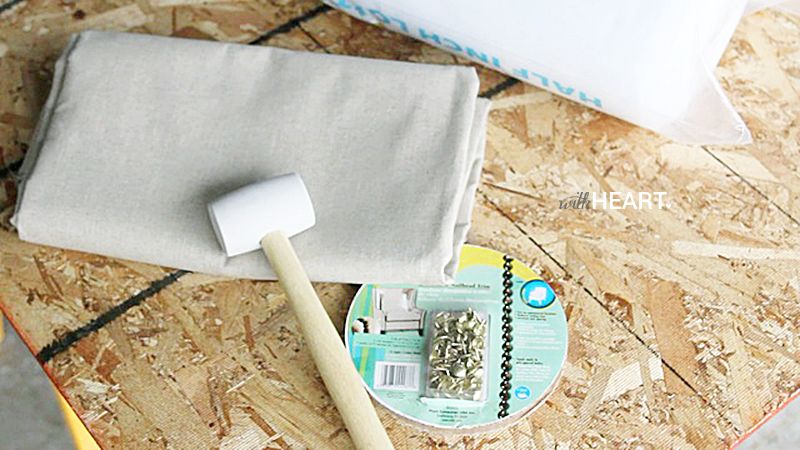
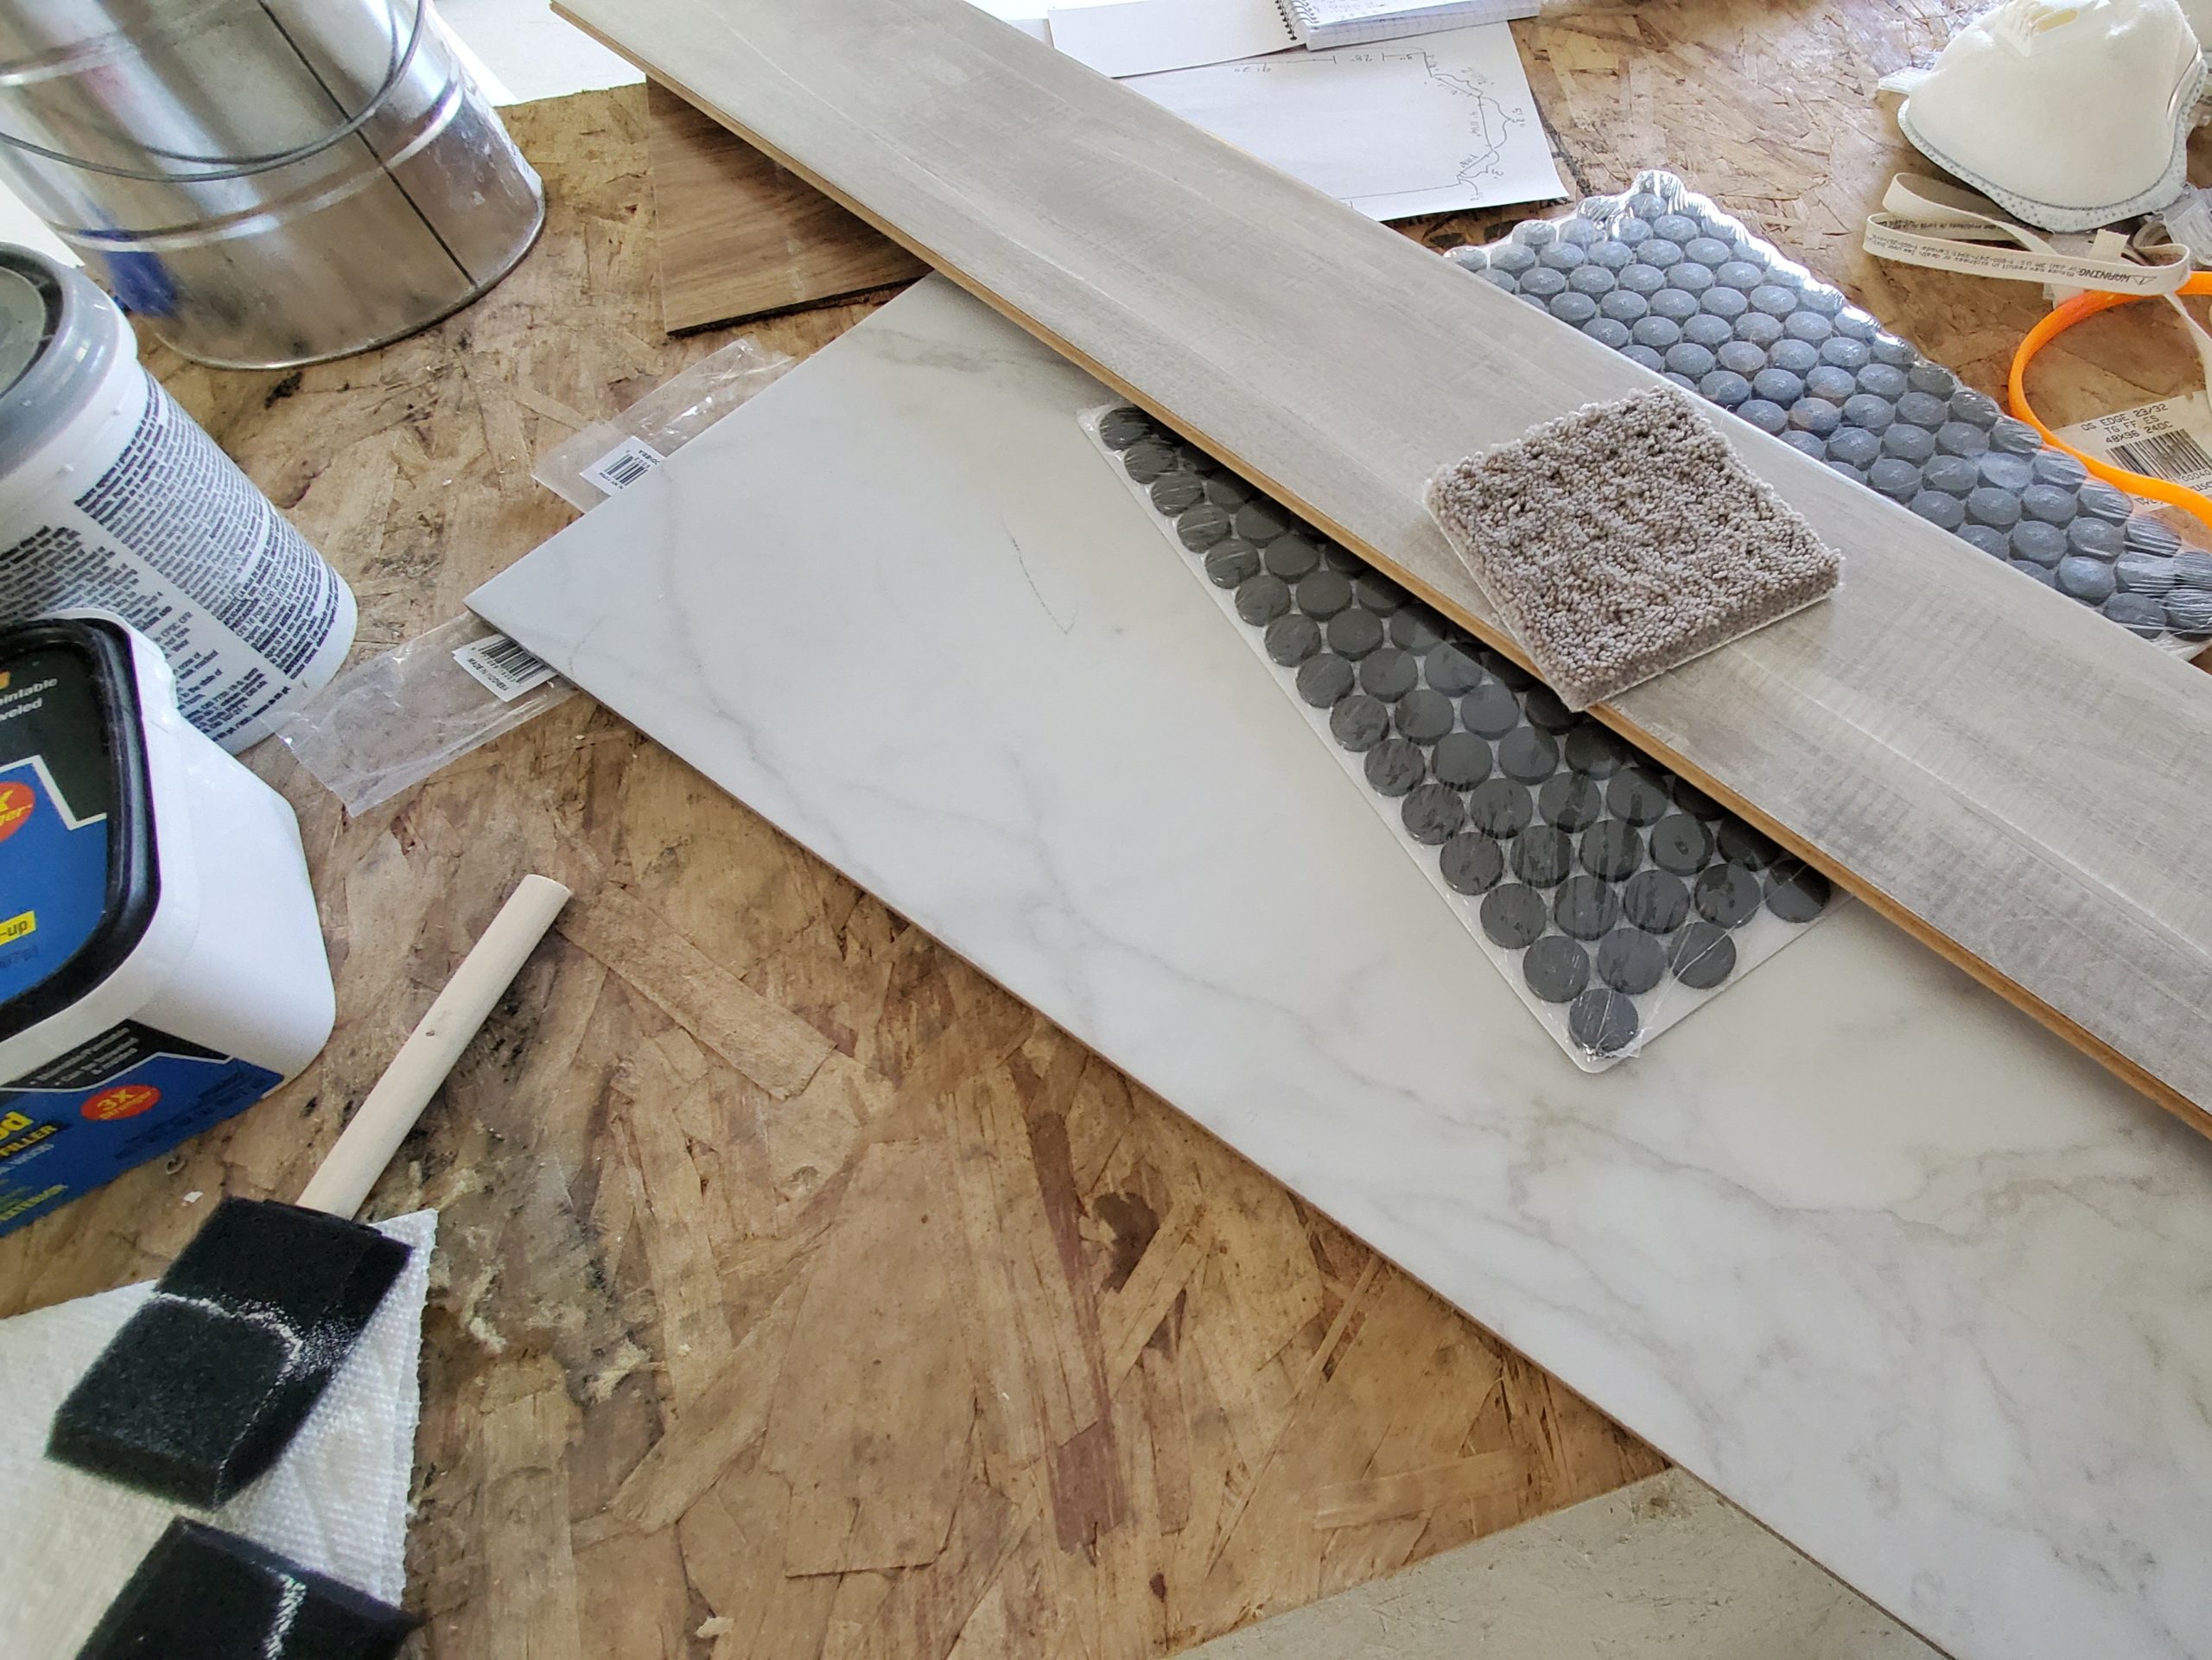
To make this headboard you’ll need:
3 yards of fabric (we used a linen we found in stock at a fabric store. It was inexpensive and is a dead ringer for the fabric on our inspiration headboard)
1 sheet of plywood
4 2×4’s
Two rolls batting
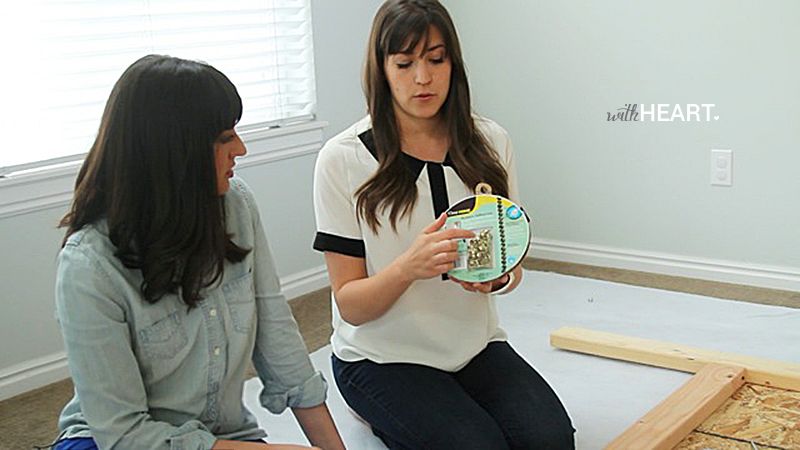
Two rolls upholstery nail trim
Staple gun
Rubber hammer
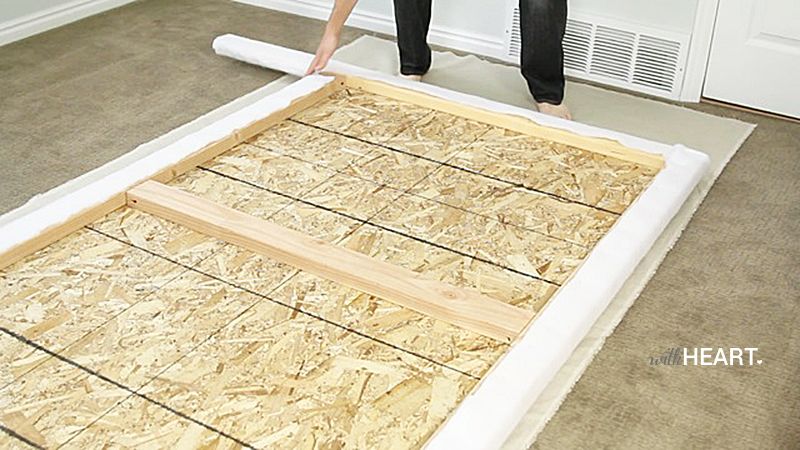
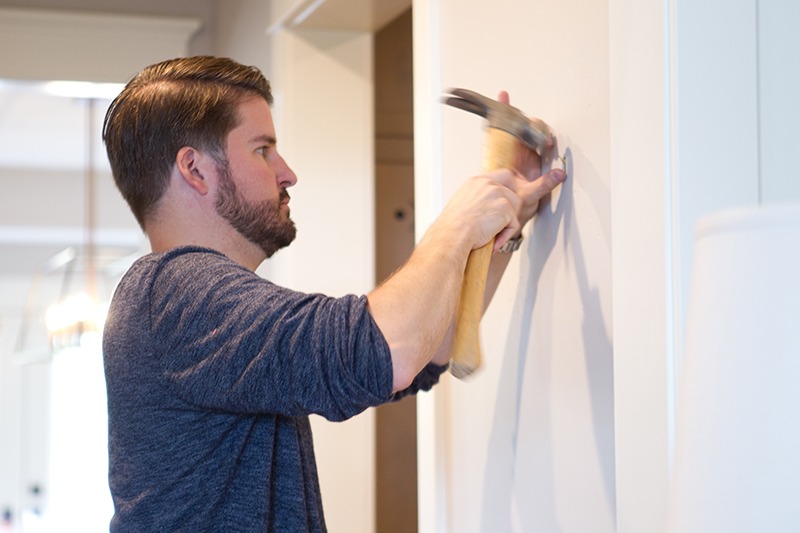
First, we created a frame. We measured our bed, and how high we wanted it to go on the wall. Our home has pretty high ceilings, so we wanted a tall headboard.
Building the frame was actually pretty easy. Some 2×4’s, and some plywood and that was pretty much it. It came together really quickly.
We wanted some extra padding and “puff” from the nail trim, so we put a layer of batting just on the inside. The second layer we wrapped all the way around the frame and stapled it on the underneath.
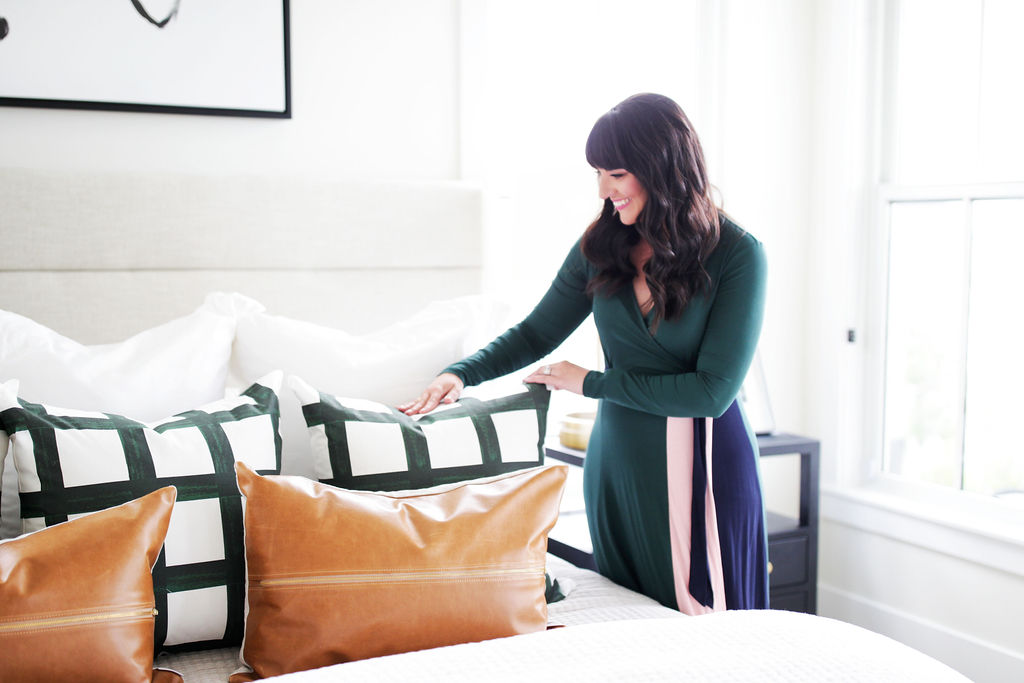
Once the batting was laid down, we started with the fabric. Jon’s mama taught him how to do some mean hospital corners (he makes the bed around these parts) and I really think the corners are one of the reasons our headboard looks so good.
The other thing that took it to a higher quality level was the straightness of the nail trim. We found some nail trip strips which made it so much easier to make a straight line. I would highly recommend using it. We bought it at JoAnn’s Fabric.

It took some patience and team work, but when we were finished, we honestly couldn’t believe how easy it was and how great it turned out. We’re already plotting how to finish off the rest of the bed. More on that later.
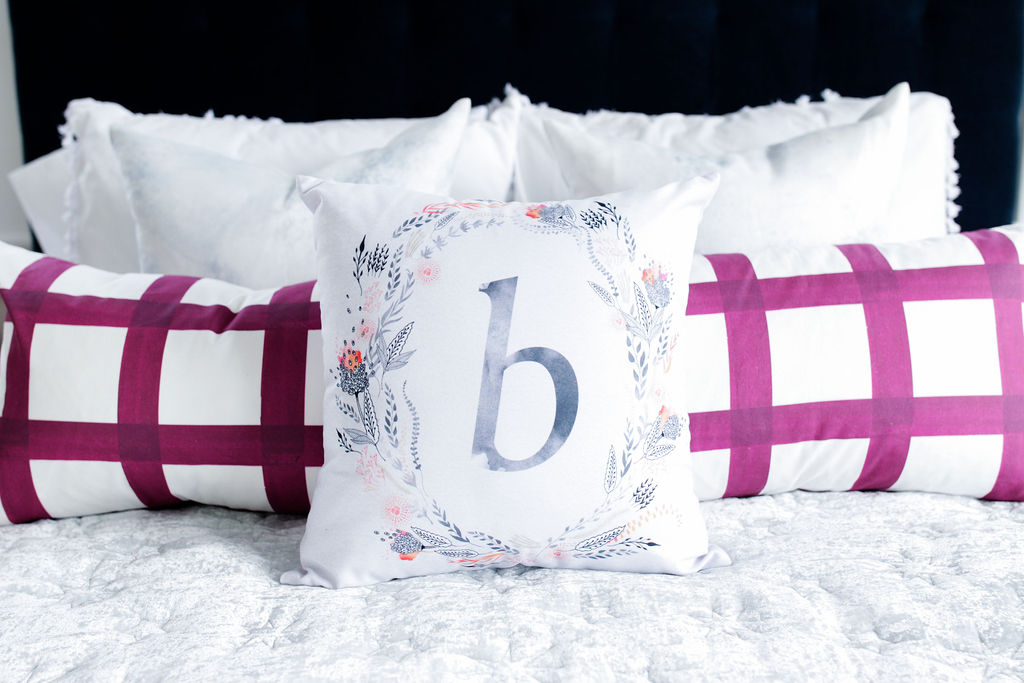
And I so know that bedding doesn’t match and the rest of the room. This room is a work in progress with some fun collaborations coming 🙂
Thanks to Danielle for her help! Now, go forth and upholster a headboard!
Photos/video by James Young

Leave a Reply


back to top
@jenniferstagg
shop

We're a full-service design firm and home furnishings shop built around the philosophy that a well-designed home should be beautiful, personal, cohesive, and complete. We think home is the most important place on the planet and when you live in a home that is perfectly you, it changes your life. Don't believe us? Stick around. We're confident we'll change your mind.
hello there!
Follow Along
@jenniferstagg
Hey, let's be friends
Exclusive projects, discounts, and extra goodies all in your inbox. And don’t worry- your email is for our eyes only.

Beautiful, I love how easy it seemed to put together but it looks as if you would’ve bought it
Thank you so much! I love the way it turned out too:)
I am trying to do this! You make it look so easy and I love it!
I Pink i Love You
Thank you so much!
I LOVE how it turned out! This is exactly what I am about to do with my master bedroom. What did you do with the “legs”? did you also reupholster them? How long did this project take you?
Thank you for sharing!!!
Hi Laura, thanks for reading! We upholstered the legs, all the way down. It took a cut and foldover seam, but you can’t tell. Good luck!
[…] room is really starting to come together. Our diy headboard looks so pretty against the wall, and we’re now selecting the rest of the furnishings. […]
This is just great. I love it so much.
And I love how you are in front of the camera. I wish I could look as natural but I just can’t stop touching my face and hair when I’m trying to make a video 🙁
How did you attach your rails to the headboard? Or is the mattress just sitting on the floor, pushed against the headboard?
Hi Michelle, we haven’t attached ours yet. We thought about it, but right now it’s fine with the mattress on a frame, and the frame pushed up against the headboard. We may eventually attach the metal frame to the headboard using some screws and drilling through the fabric. Hope that helps! Thanks for reading!
Looks great! What was the final cost for the headboard? Deciding on a DIY one or West Elm. Thanks!
Thanks Jennie! It was about $135 total. Let me know what you decide:)
[…] reside in my bedroom (we are almost done remodeling! Remember the board and batten wall and the diy headboard? It’s all coming together! Can’t wait to show you more this week.), but I’m […]
[…] designing my master, the bedding was the first thing I selected. After making my headboard, I found this duvet from Crane & Canopy and used it as the launching point for the rest of the […]
Your tutorial was great! We made one this weekend and your instructions made it so much easier. We made our headboard for a queen size bed and ended up spending $125 compared to the $800 headboard we had considered buying originally. Thank you, thank you!
Hi Hadley, so glad it helped you! Send me a photo or tag me on Instagram– I’d love to see it! xx, Jen
[…] reader note, reader Hadley just sent in these photos of her headboard she and her man made using my DIY Headboard tutorial and video. It turned out so great! So glad it helped you, […]
This is on my To Do list!!!!
[…] Statement Wall (you can watch the video here!). The other parts of the room I’ve shared: the diy headboard, the spray-painted lamps, the ceiling fan makeover, the pelmet boxes and drapes, the artwork, and […]
Did you not use any foam? Only batting?
Hi Marjorie, nope, no foam. Just batting. Just do at least two layers. It just depends on how soft you want it.
This is just the tutorial I’ve been looking for! Can I ask what was the final dimensions for your headboard? And is your bed a queen or a king? Thanks!
Hi Kat, thank you! It’s a king, and I’ll measure it for you.
I see that Kat ask for the dimensions for the headboard. I didnt see where you said what there were. Its good to by my weekend project!
Hi Krystal, I don’t remember the exact dimensions, but we basically went two inches wider than our mattress on either side. It’s about 5 feet 8 inches tall. Hope that is helpful!
Hello,
This headboard is beautiful. My room is almost same colour as yours. I am making my own headboard and your design is amazing. I am either going to buy a pattern fabric or make it the same one as yours with the nails and the same fabric 🙂 This is my first DIY project. I am going to follow your instructions 🙂 However, these instructions are for king size, I believe. Would you be able to tell me how big is the plywood supposed to be for a full size bed? or how I should measure it according to my bed? Is the headboard supposed to be wider than the bed ? How should attach it to my metal frame (which is only 3sides). Also, should I cover the legs of the frame with batting and fabric ?
Thanks.
Hi Ebru, thanks for reading! I’m excited for you and your project. Here is my advice: measure the headboard for your bed, and go about 4 inches out on either side. That’s about what ours is. I covered my legs with batting and fabric, and continued the nailhead trim down to the floor. Also, I didn’t attach headboard to the frame. The bed is heavy enough that against the wall, it stays perfectly in place. You could attach it if you wanted to with screws directly from the frame into the headboard. Good luck!
Hey Jen,
Thanks for your fast reply. 4 inches each from both sides (8inches wider than the mattress)? or 2inches on each side (total of 4 inches)?
How about the height? I am thinking of making it 54inches from the ground and that is about 30inches up from the mattress top. I also measured the plywood from the top of the mattress up to the height I want. Is that correct? or the actual headboard(not the legs) come down behind the mattress at all ? How about the thickness of the plywood?
Thank you so much !
Ebru.
Hey Jen,
Thanks for your fast reply. 4 inches each from both sides (8inches wider than the mattress)? or 2inches on each side (total of 4 inches)?
How about the height? I am thinking of making it 54inches from the ground and that is about 30inches up from the mattress top. I also measured the plywood from the top of the mattress up to the height I want. Is that correct? or the actual headboard(not the legs) come down behind the mattress at all ? How about the thickness of the plywood?
Thank you so much !
It’s about 4 inches on each side. Did you watch the video tutorial? It might help answer your questions. Good luck!
Hey Jen,
Thanks for your fast reply. 4 inches each from both sides (8inches wider than the mattress)? or 2inches on each side (total of 4 inches)?
How about the height? I am thinking of making it 54inches from the ground and that is about 30inches up from the mattress top. I also measured the plywood from the top of the mattress up to the height I want. Is that correct? or the actual headboard(not the legs) come down behind the mattress at all ? How about the thickness of the plywood?
Thank you so much !
I was wonder what size rolls of batting you used?
Hi Lorraine, I’m honestly not sure! I just picked the one that felt good to me, and did more than one layer of it. Sorry I can’t be of more help!