

")
")
")


DIY 5 MINUTE HAIR CLIPS
September 24, 2013

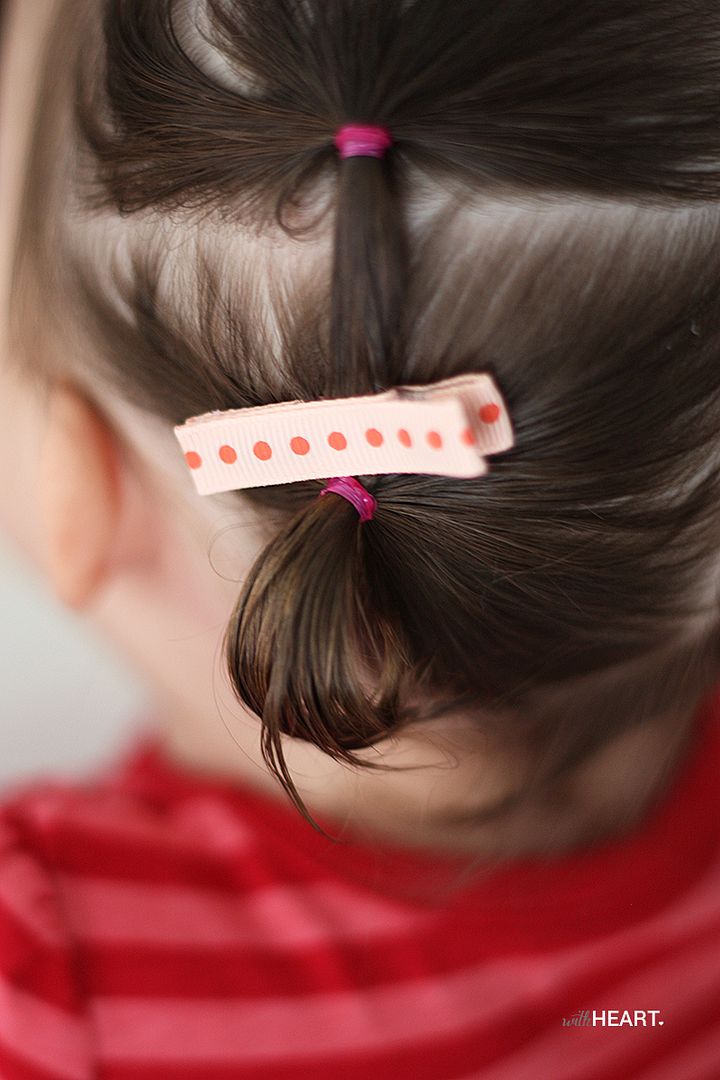
Ruby is sporting pig tails these days. And they may just be the cutest things I have ever seen. In fact, every morning when I put them in, I die from the adorable overload. And you know what makes them even cuter? Cute clips, I say.
I’m always on the lookout for said cute clips, and on one afternoon shopping trip to the grocery store, I made a sweep through the kid’s department to check on their cute clip inventory. I came across some sweet little clips with pom poms on the ends. They were so simple and I immediately thought “hey, I could make those!” And so, I did.
They came together so quickly, I was able to make a bunch of different styles and colors in 30 minutes flat. Love a project you can start and finish in one sitting.
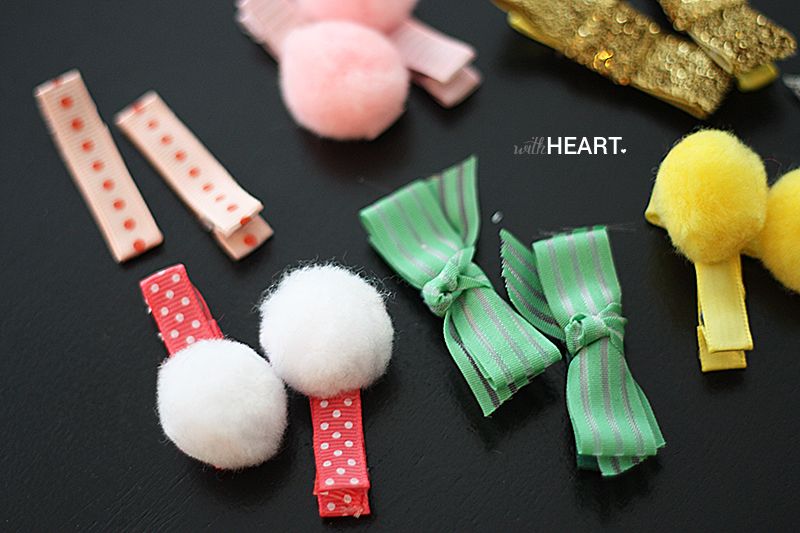
Today, I’m sharing two easy clip bases. If you have a decorative ribbon, all you have to do is cover the metal or you can add whatever embellishment you want on top. Cute piggies for all!
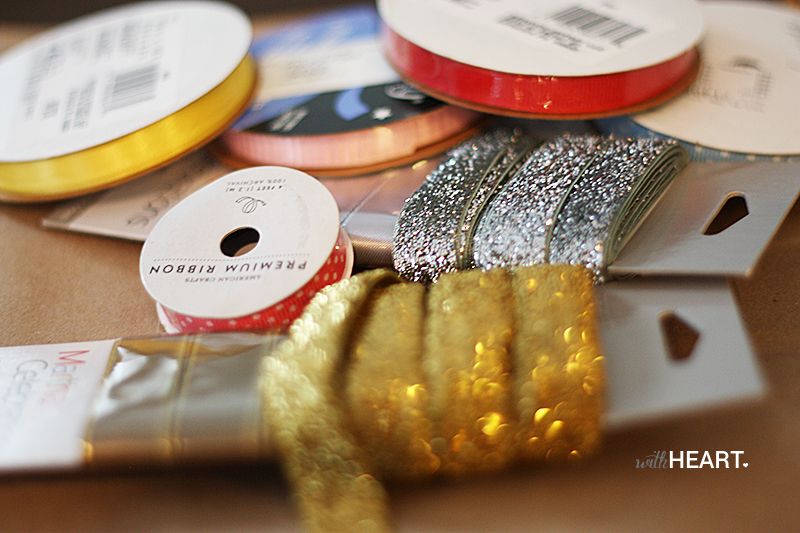
SUPPLIES:
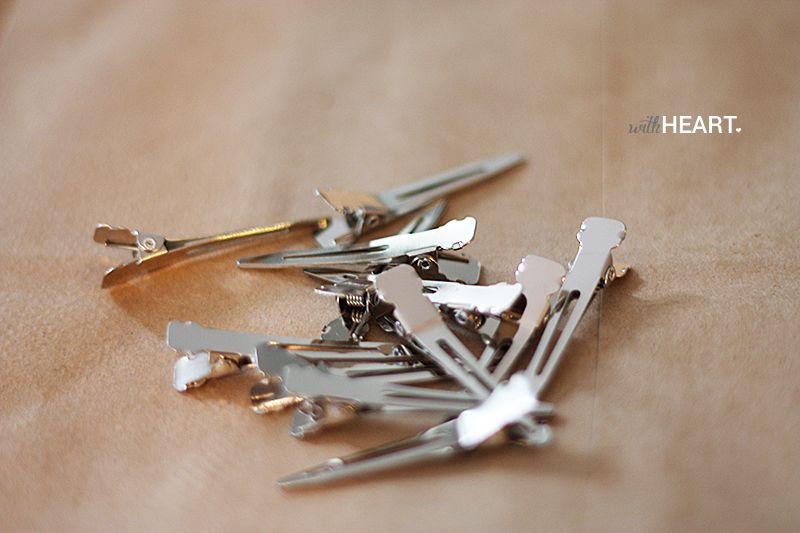
I used two different types of clips: alligator, and snap.
Ribbon of choice
Small Pom Poms
1 felt square
Glue Gun, Glue Sticks, Scissors
Paper bag to lay down as table protection
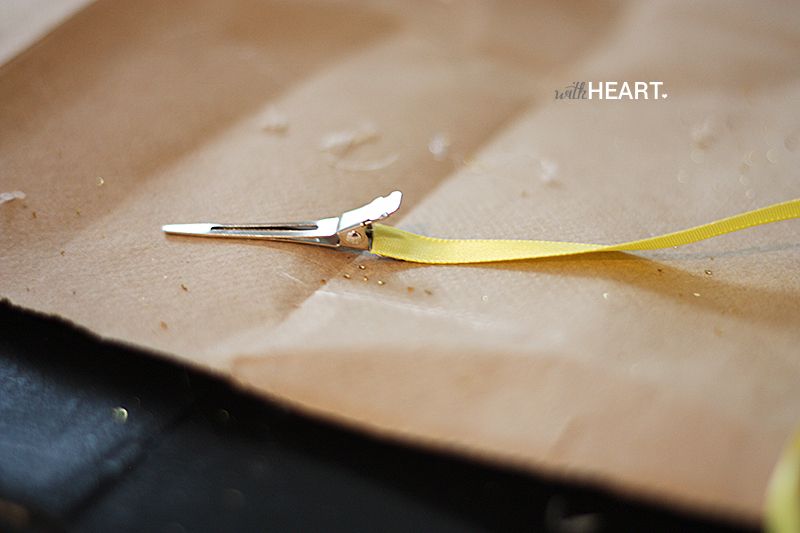
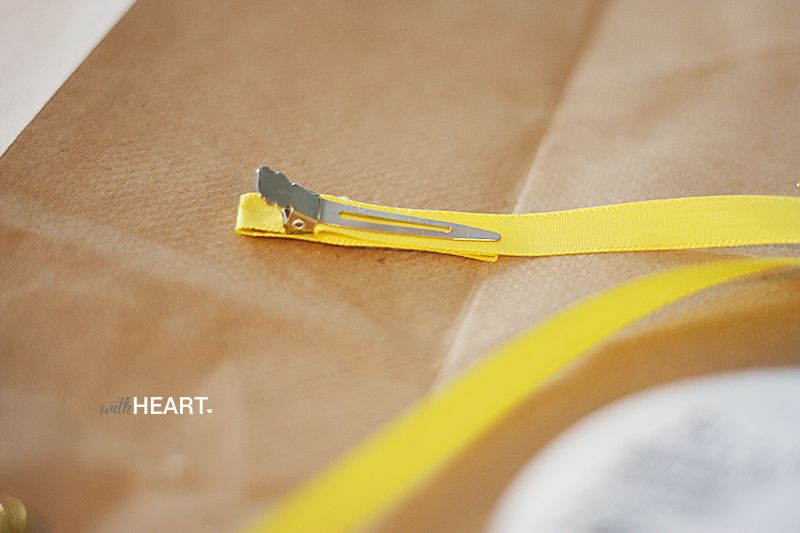
A| ALLIGATOR CLIPS:
1) Start off by gluing the end of the ribbon to the inside on the spring side of the clip like this:
2) Squeeze a line of glue along top of clip, from spring down to tip, then press down ribbon. Getting the right amount of glue takes a few tries. Not too much, but not too little. Quickly open clip, and press ribbon down on the inside on both sides. One side will already be glued, as there is a space in between the metal and glue will ooze through to the other side.
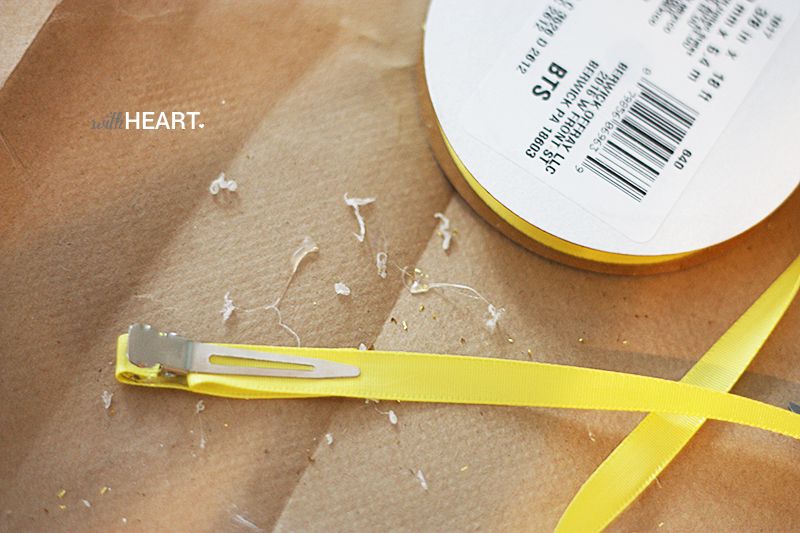
3) Keep clip closed and glue a line of glue along the remaining side of the clip, then press down ribbon. Now all of the sides are glued.
4) Clip the ribbon so there is a little extra hanging over. Dot some glue on the remaining spring side, then fold ribbon over and voila– the entire clip is covered with ribbon.
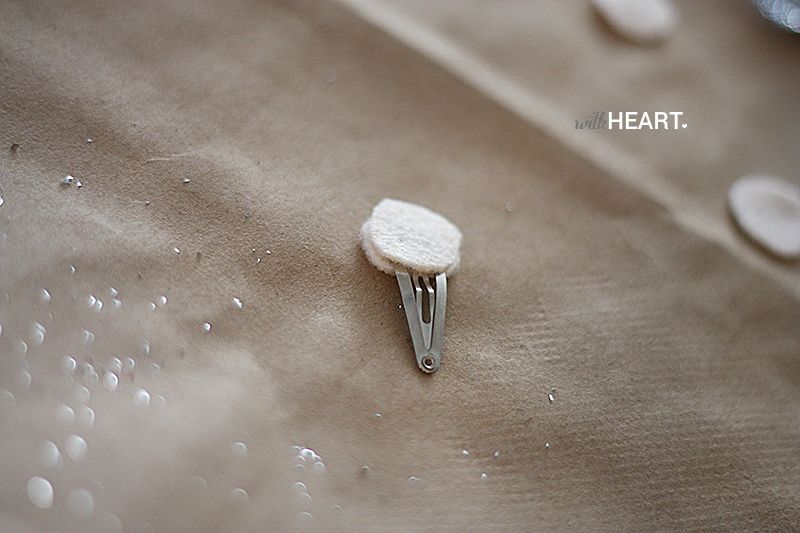
B| SNAP CLIPS:
1) Cut two small circles out of felt.
2) Glue the circles down on either side of the end, so they are stuck together.
LAST STEP FOR BOTH:
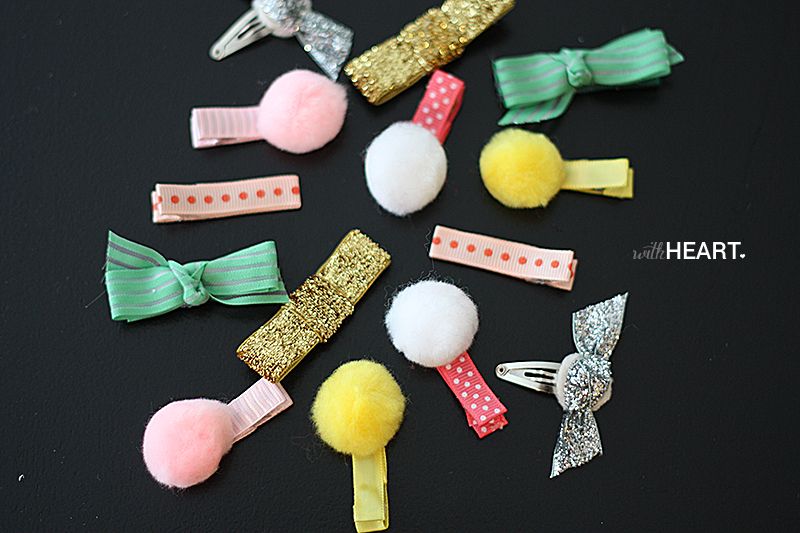
Glue down any embellishments you want. I made some with poms, some with just cute ribbon. I also made a few with bows, which I formed by gluing two sides of a ribbon together to make a loop, then wrapped another piece of ribbon around the middle to form a bow. Simple knots are another option.
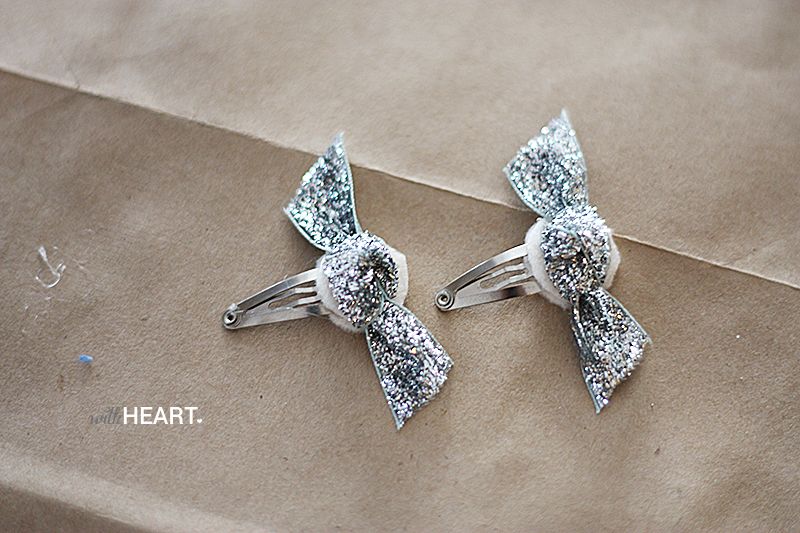
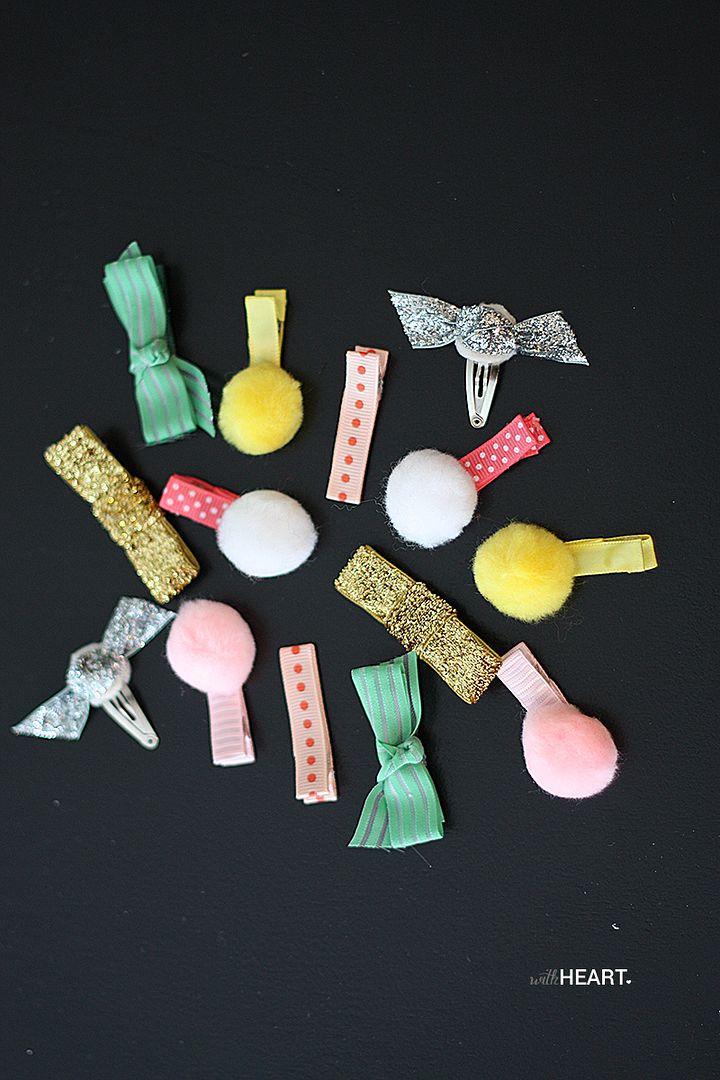
SO easy and I love how all of them turned out!
If you whip some up, I’d love to see how yours turn out. Tag me on Instagram: @jenniferstagg and use the hashtag #5minhairclips
Hope you have a lovely Tuesday!

Leave a Reply


back to top
@jenniferstagg
shop

We're a full-service design firm and home furnishings shop built around the philosophy that a well-designed home should be beautiful, personal, cohesive, and complete. We think home is the most important place on the planet and when you live in a home that is perfectly you, it changes your life. Don't believe us? Stick around. We're confident we'll change your mind.
hello there!
Follow Along
@jenniferstagg
Hey, let's be friends
Exclusive projects, discounts, and extra goodies all in your inbox. And don’t worry- your email is for our eyes only.

Great tutorial! I had fun making some clips for my 14-month-old tonight – including a BYU-themed set 🙂 thanks!