

")
")
")


DIY: SPRAY PAINTING BRASS LAMPS
November 4, 2013
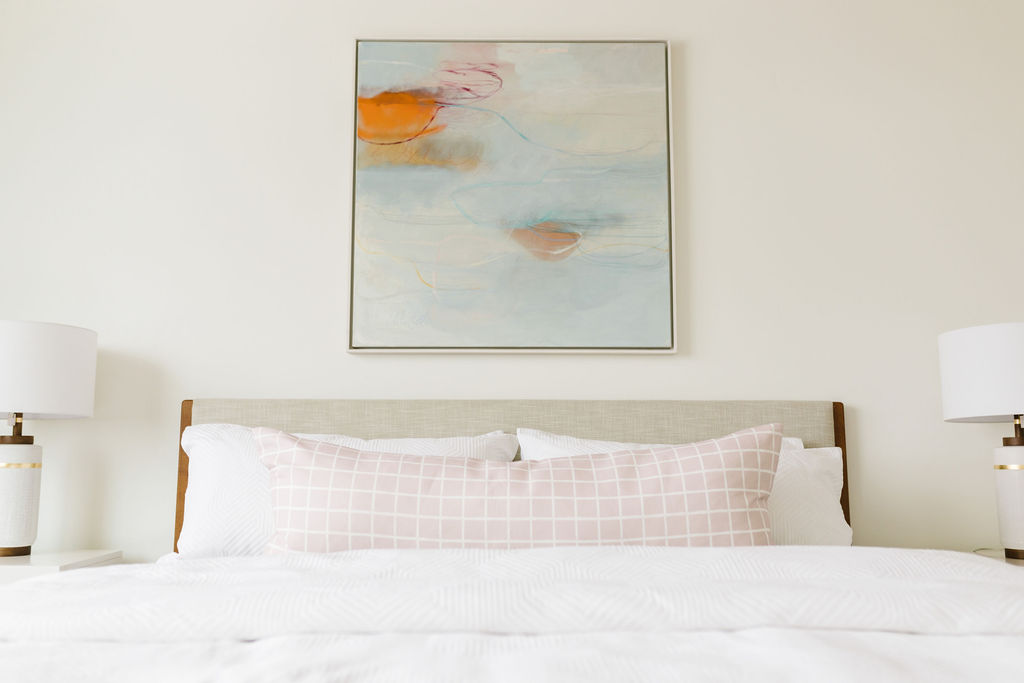
I have long been on the hunt for the perfect white lamps for my nightstands. I wanted a sort of knobby shape. I wanted them to be tall. I wanted them to be bright white. And I wanted a drum shade. I couldn’t find anything I liked exactly, until I found a style I loved at West Elm. But wouldn’t ya know, it was discontinued. I mourned those lamps for a while, then I decided to get creative– and try to save myself some money in the process. The West Elm lamps were well over $150 bucks a piece. Ouch.
I drove by a yard sale while picking up Ruby from my in-laws and noticed some large brass lamps on a table. I decided to check them out, and they were in pretty decent condition. No dents, they worked (kinda important), and they had the purrrrfect price tag: $5 bucks a piece. Sold! And they were exactly the shape and design I was going for.
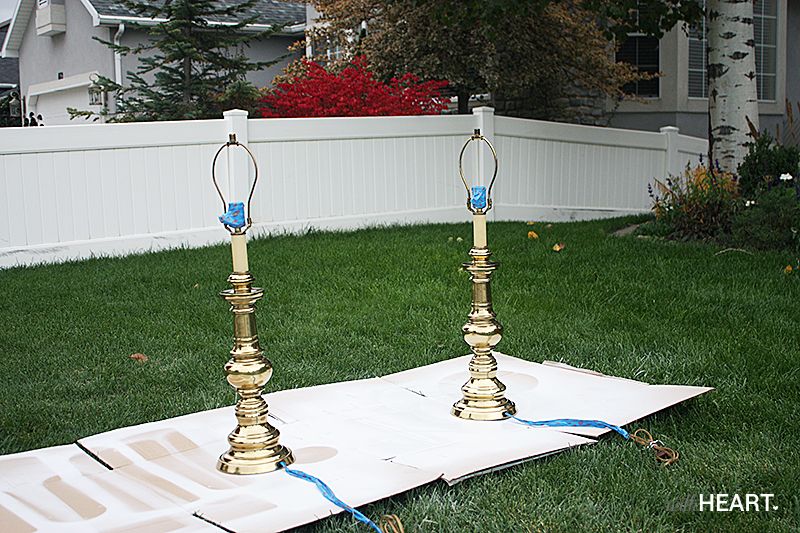
The brass would have worked in some spaces, but I had my heart set on white. So, I decided to spray paint them. Do I spray paint everything, you ask? No, but I spray paint a lot. It’s cheap, it’s easy, and I hate brush strokes. Spray paint for the win!
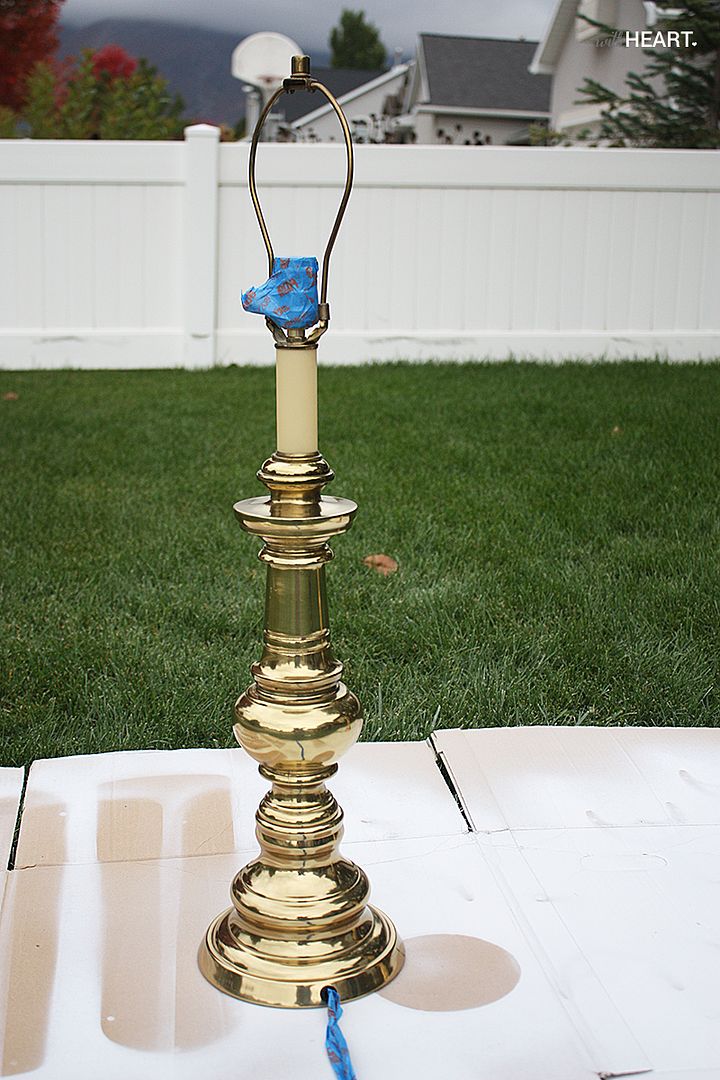
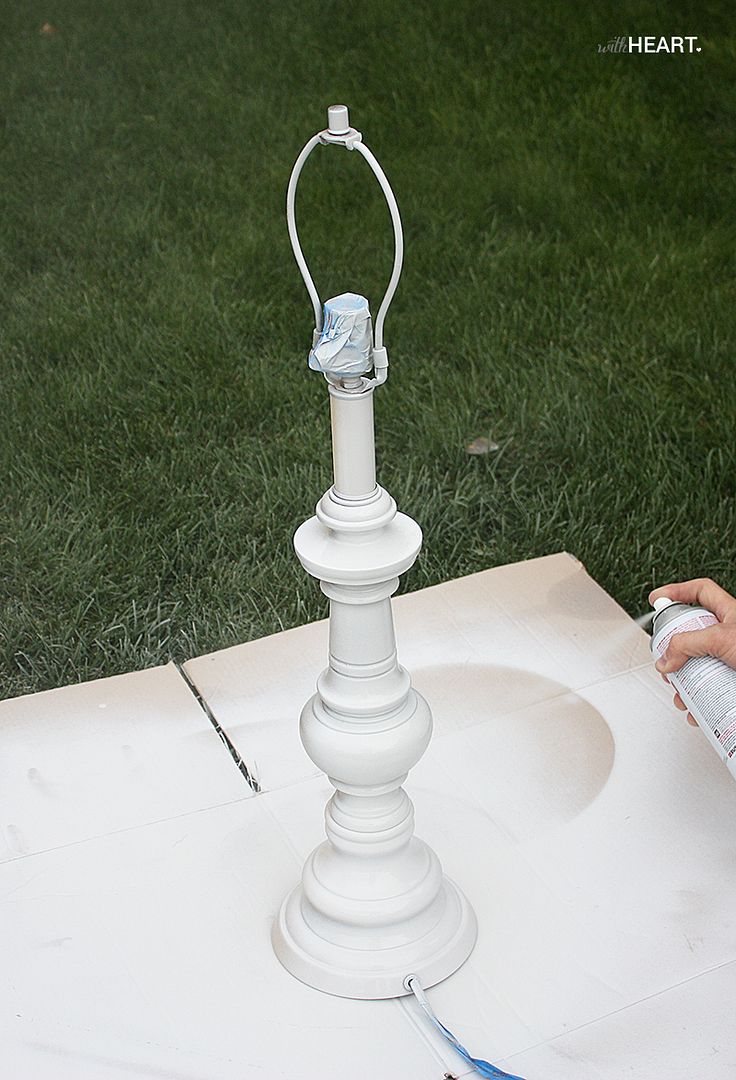
Spray painting brass lamps is easy, if you use the right paint. First, I gave them a really good cleaning. I used vinegar and a soft cloth to wipe down all of the nooks and crannies. I let them dry overnight, then taped off the electrical attachments and the cord.
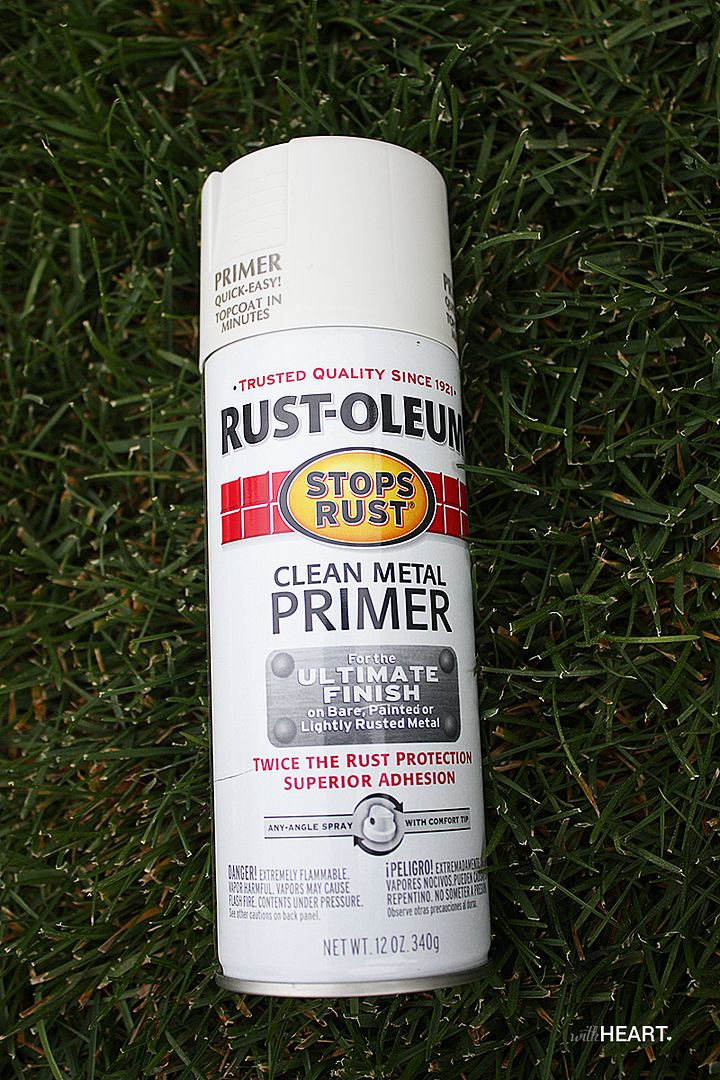
Priming is super important when spray painting brass. I used the Rustoleum Clean Metal Primer. Worked great.
You want to make sure you go slow with both the paint and the primer, as not to let the paint pool or drip. Also, be sure to get up, get down, get all around so you coat all of the grooves of the lamp.
I let it dry for a few hours, then I was ready to paint. I used Rustoleum Gloss Protective Enamel.
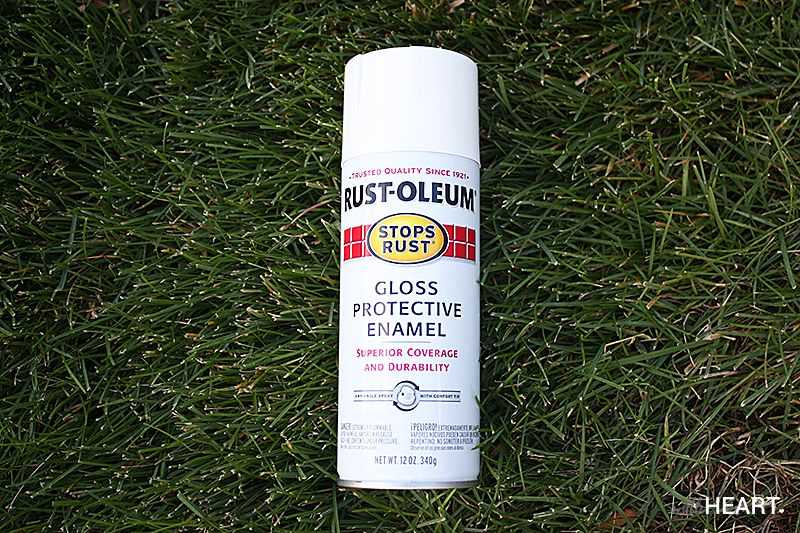
I wanted them to be kinda shiny, like ceramic. I did three coats, just to get it all even. I could have probably gotten away with two, but I like to really make sure it looks even and smooth.
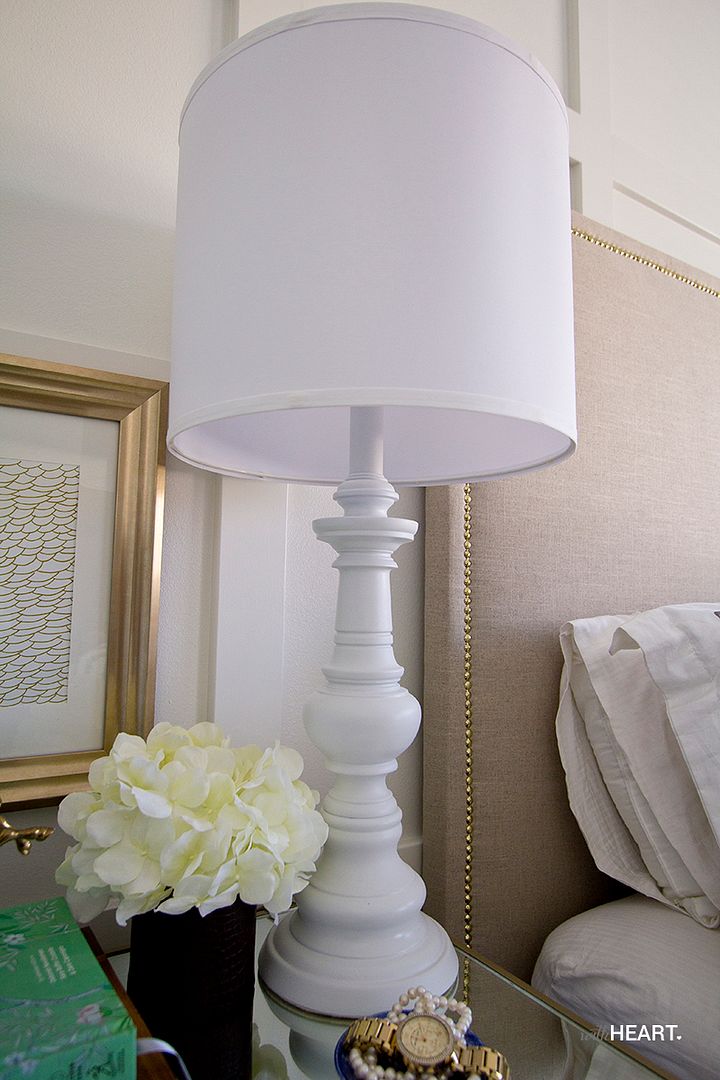
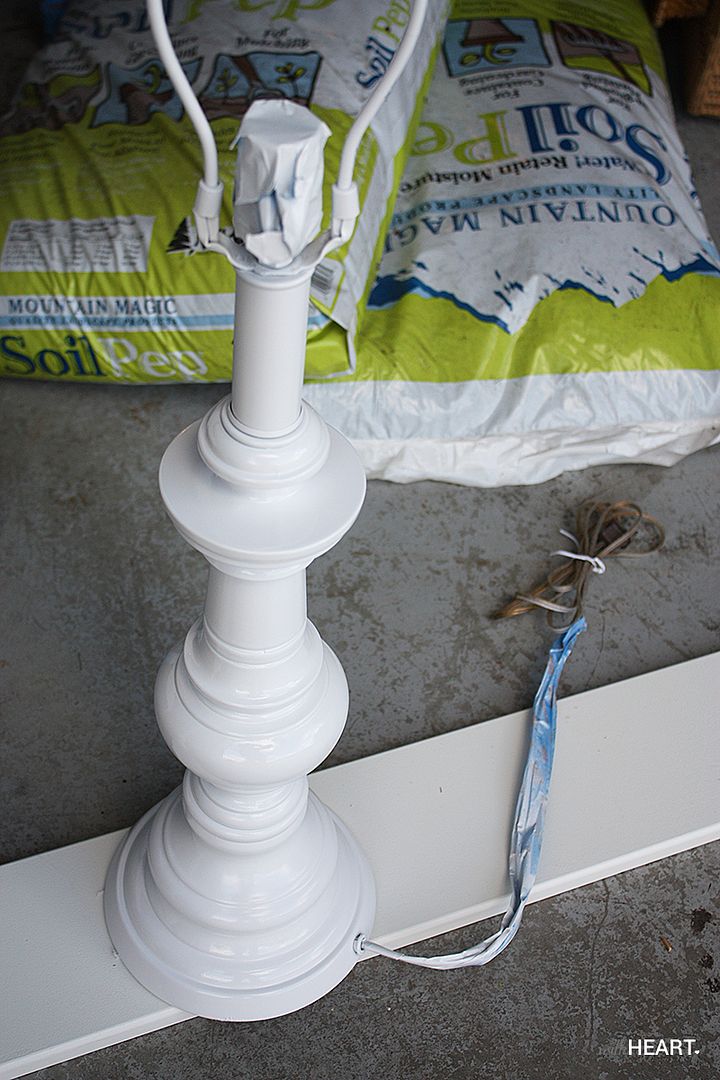
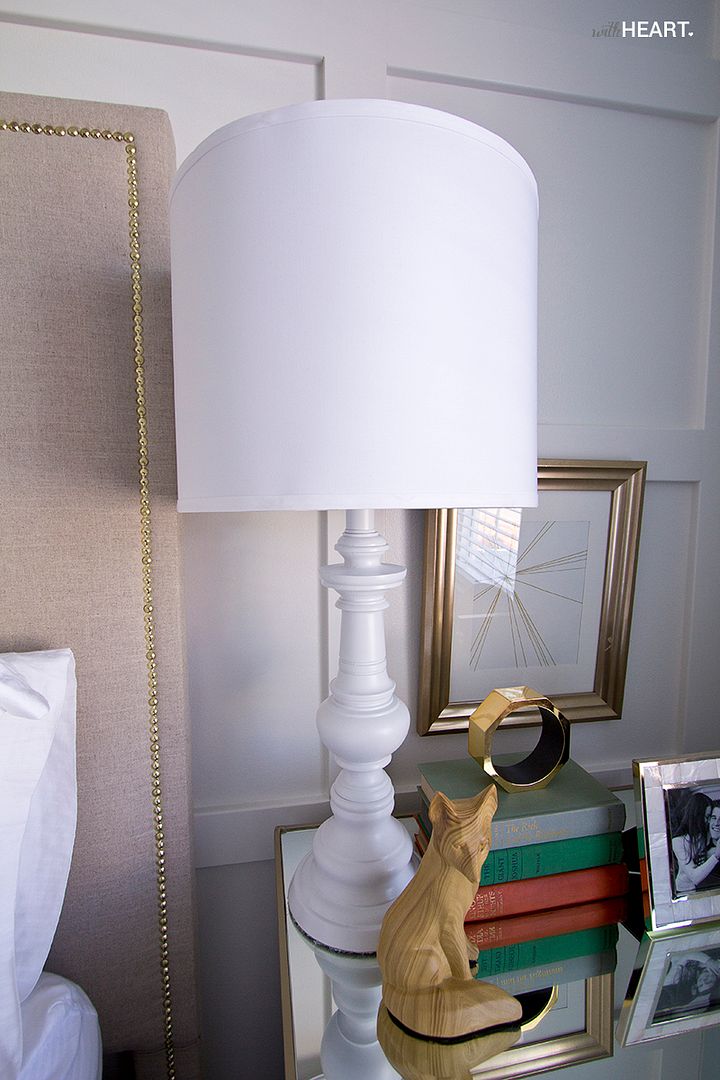
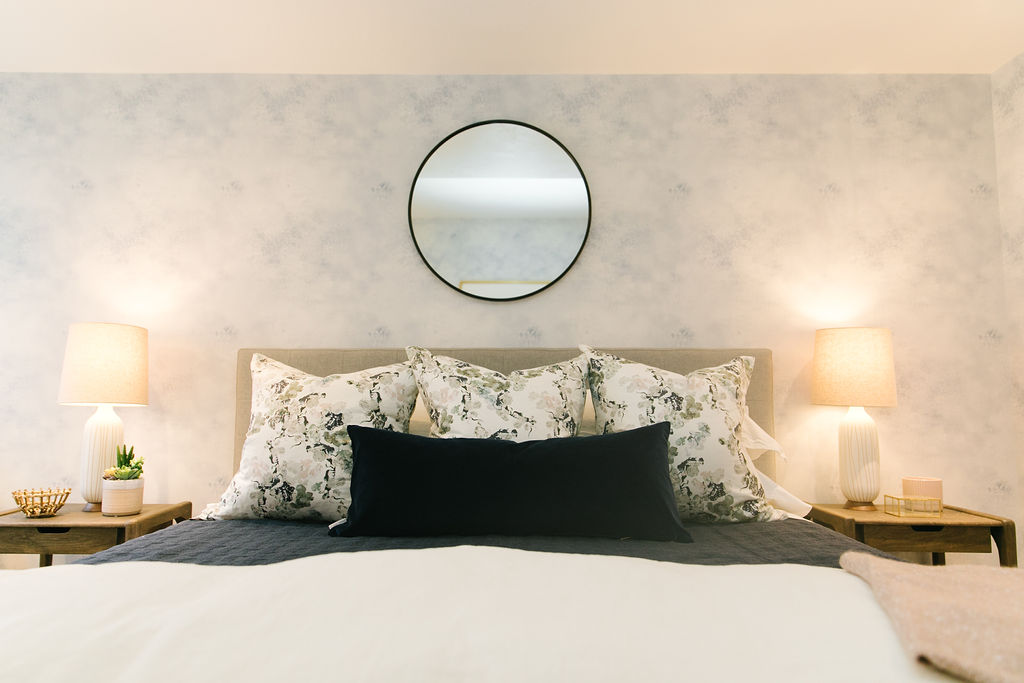
So amazing, right? They already looked so great.
Then I had a dilemma… what to do about the lamp shade. I wanted a true drum shade, evenly sized from top to bottom. I had a tough time finding one that was big enough that wasn’t really fat or too short and again, really expensive. You can spend $100 dollars easily on a lamp shade. In desperation, I finally checked IKEA, but I was skeptical. Then I saw these:
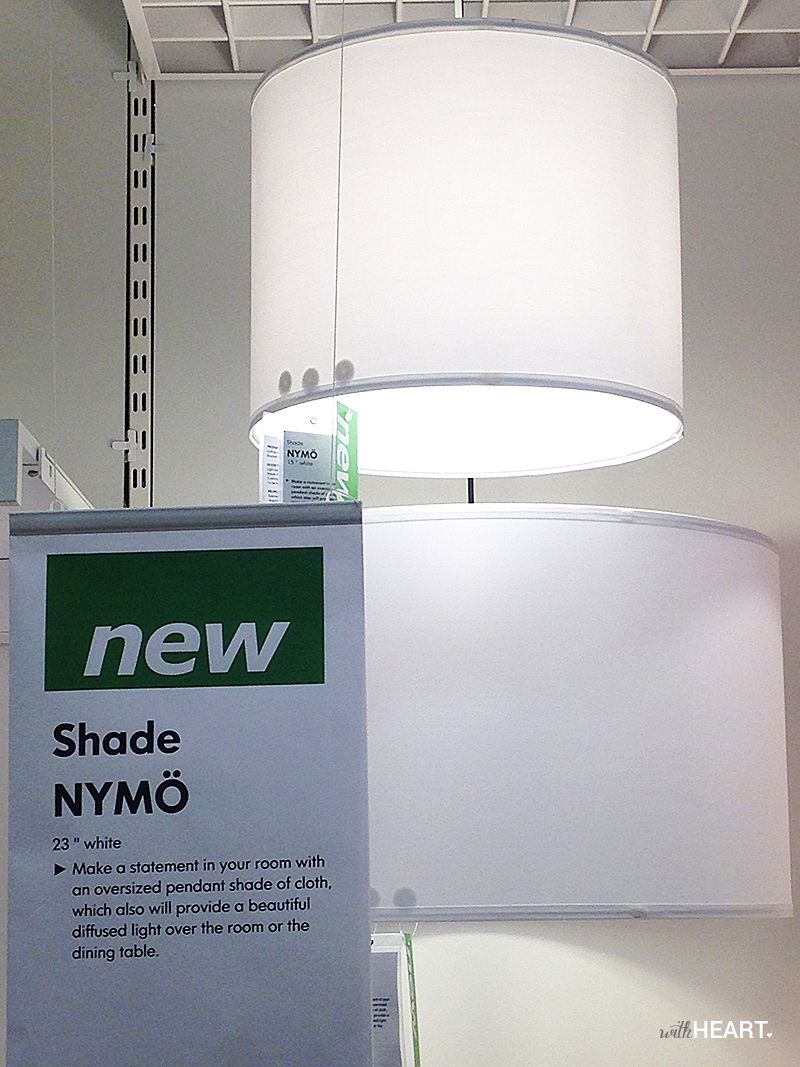
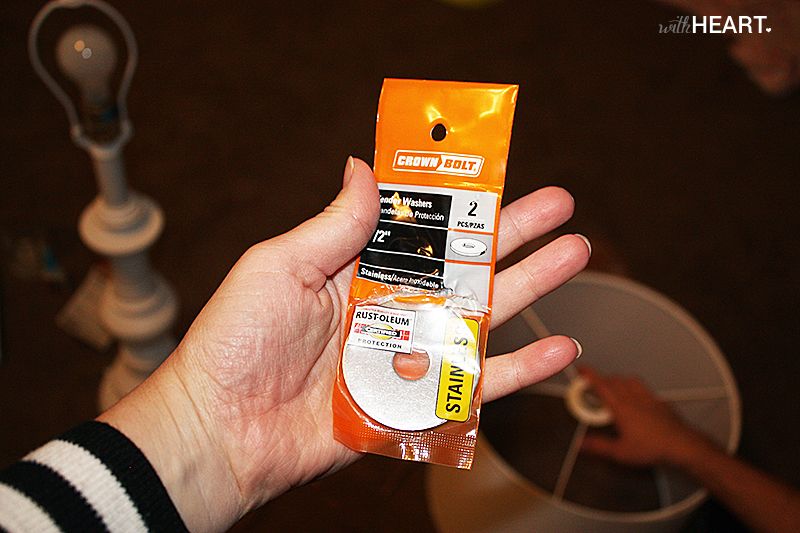
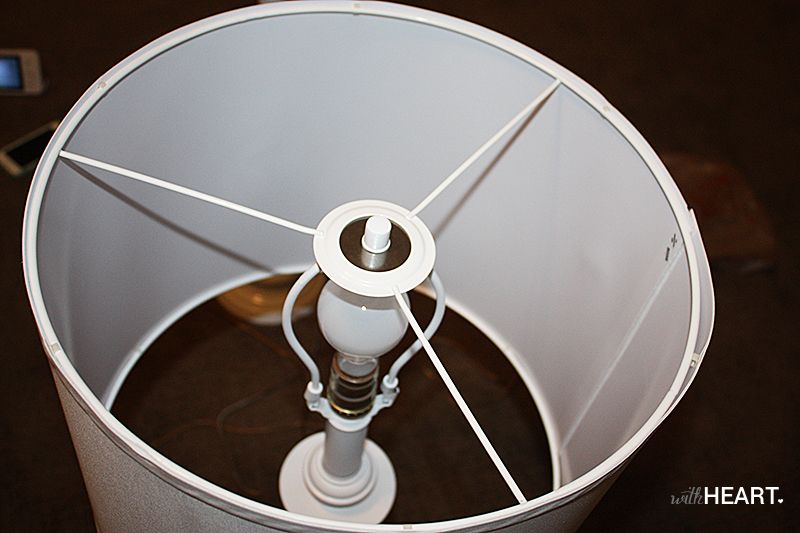
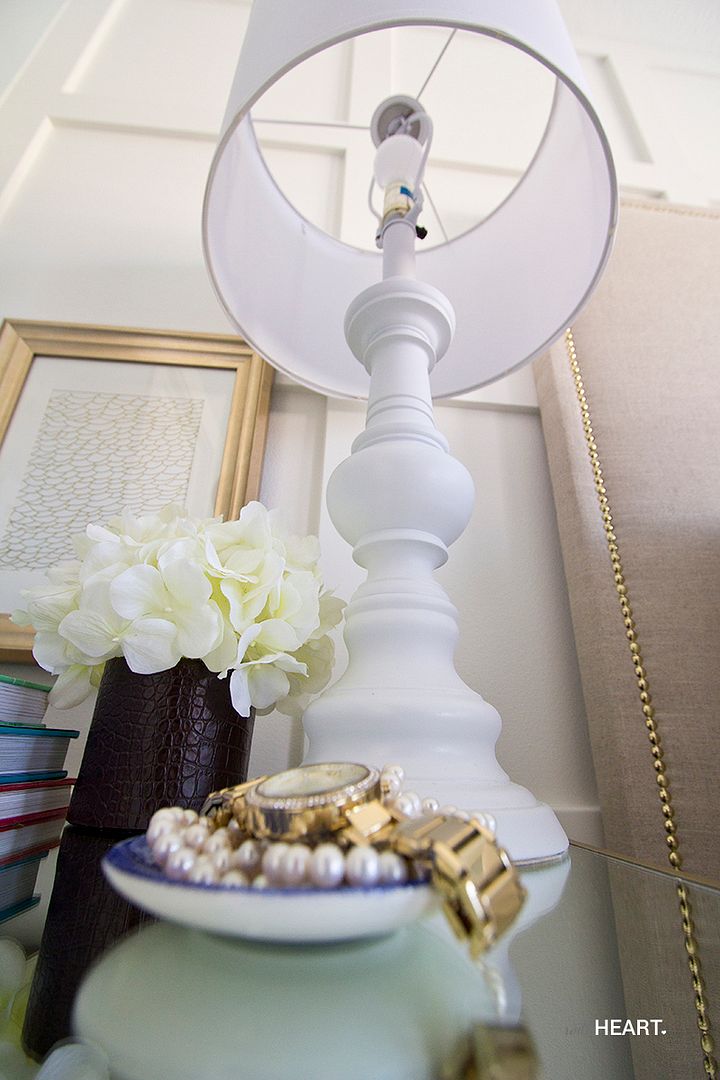
They were the perfect shape and color– a true white to match the lamps. And the price? $14 a shade. Seriously. But there is a problem with IKEA lamp shades. They don’t fit most lamps. The hole is too wide. My fix?
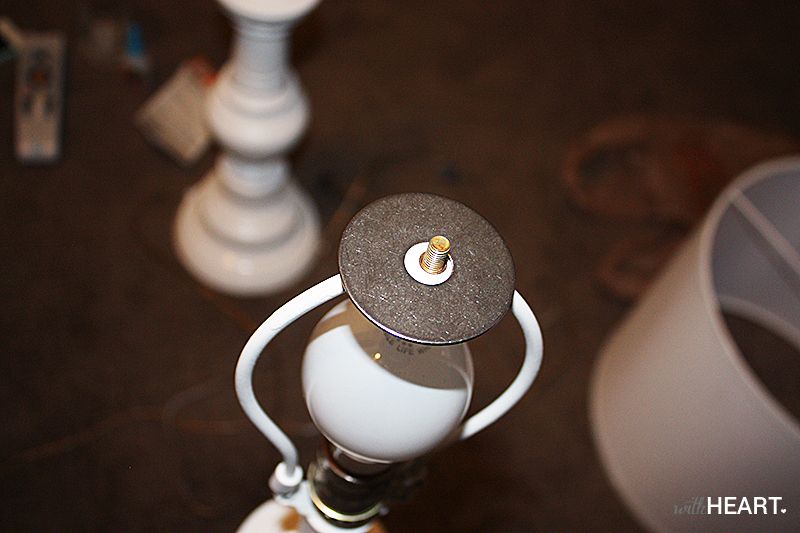
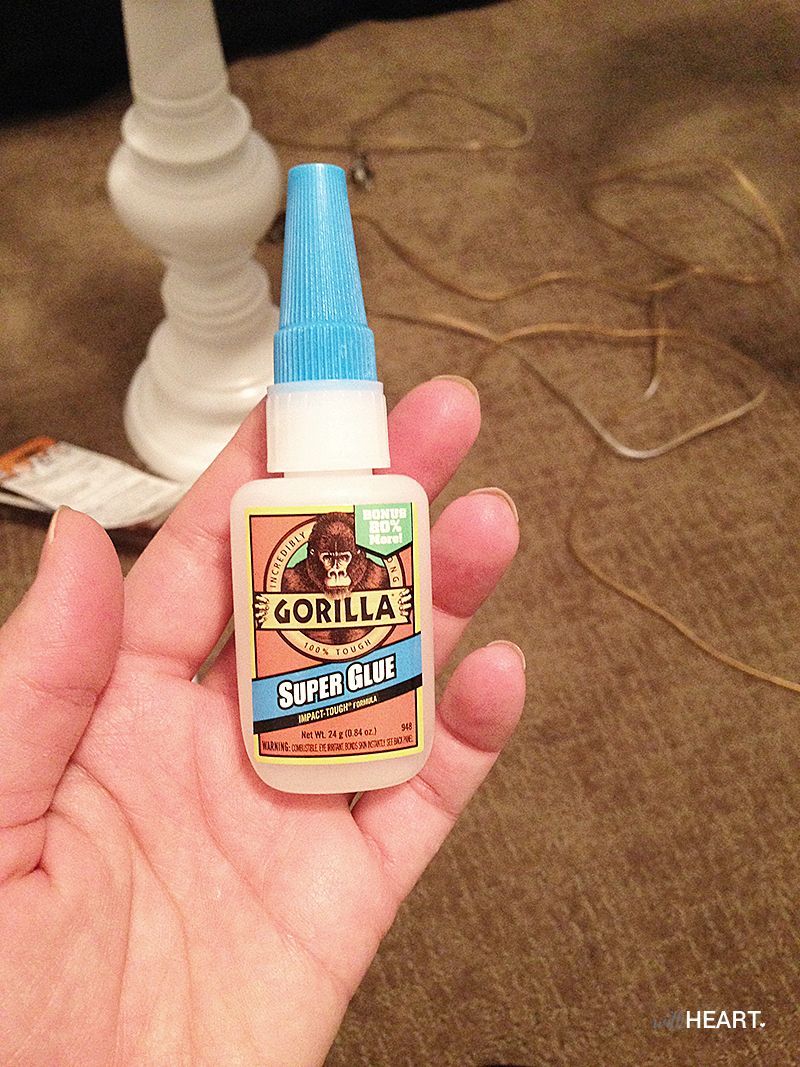
I found some wide washers at Home Depot and Gorilla Glued them onto the ring of the shade. Then they fit perfectly in place.
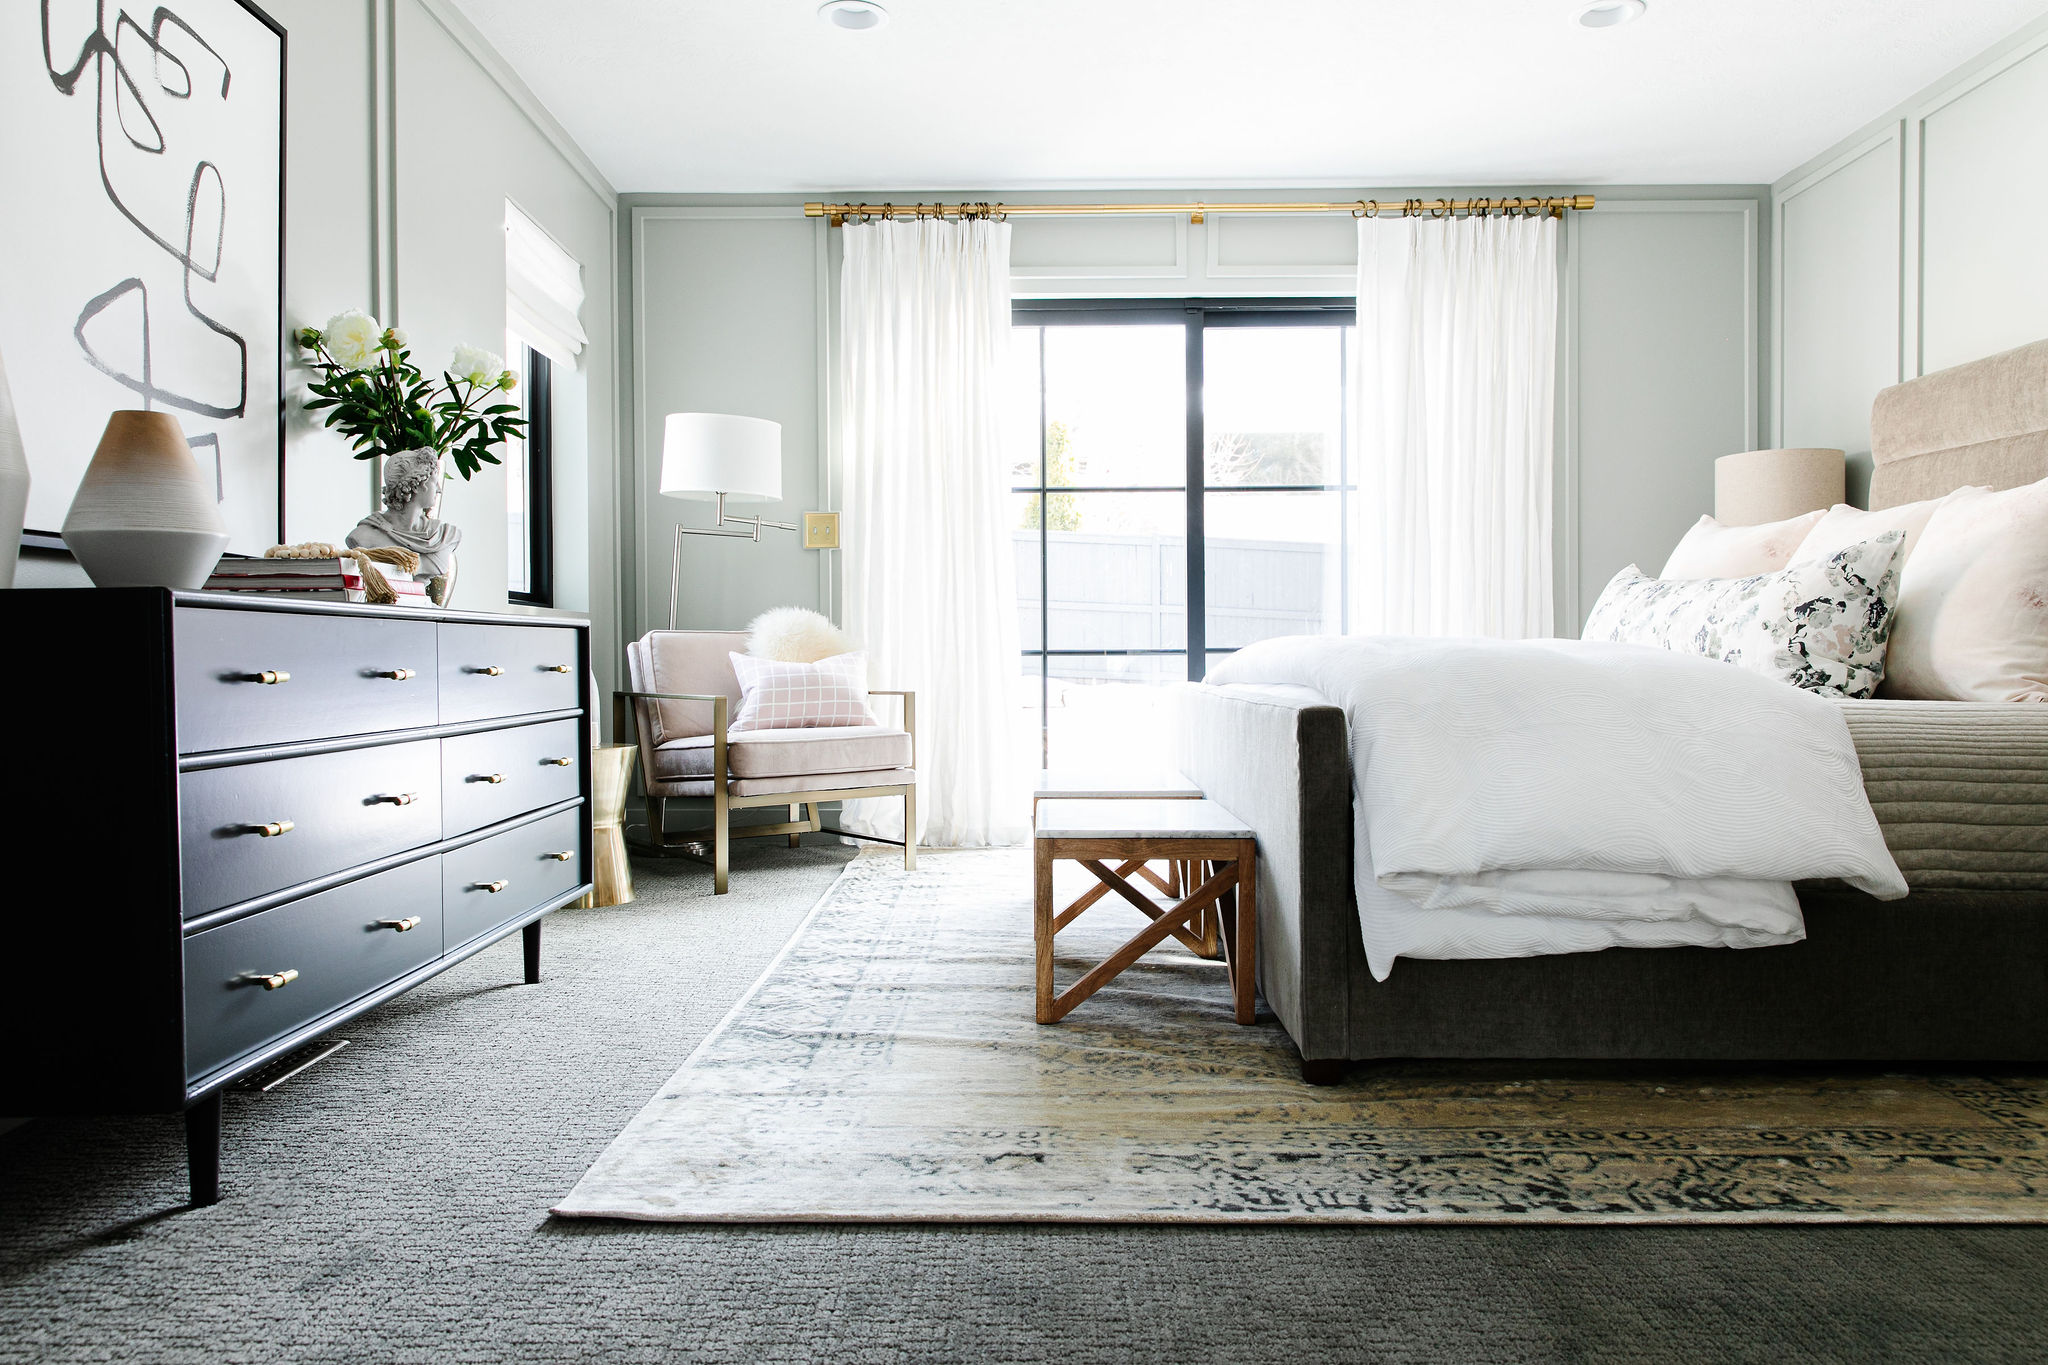
It gives me so much satisfaction to see them sitting on our nightstands, knowing what I spent and what I could have spent. And, here is the grand total: $10/ two lamps, $28/ two lamp shades, approx. $6 for paint and primer, and let’s say $1 for the washers gives us a grand total of (drum roll please): $45 ($22.50 per lamp). Not too shabby.
Are you ready to go hunting for brass lamps now?
(little fox on nightstand here)
I can’t wait to show you what our weekend project was tomorrow. Here’s a hint… custom looking drapery at a fraction of the price– and no sewing!
In the meantime, is anyone else dying over Target’s latest home decor?
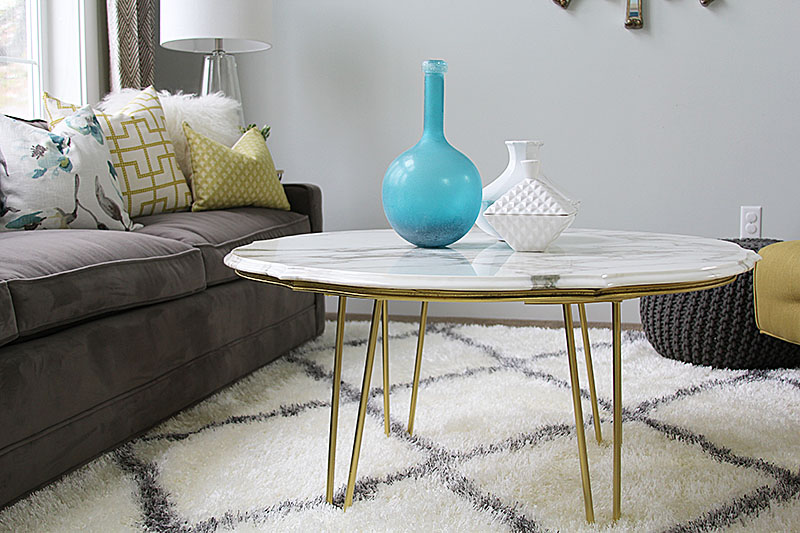
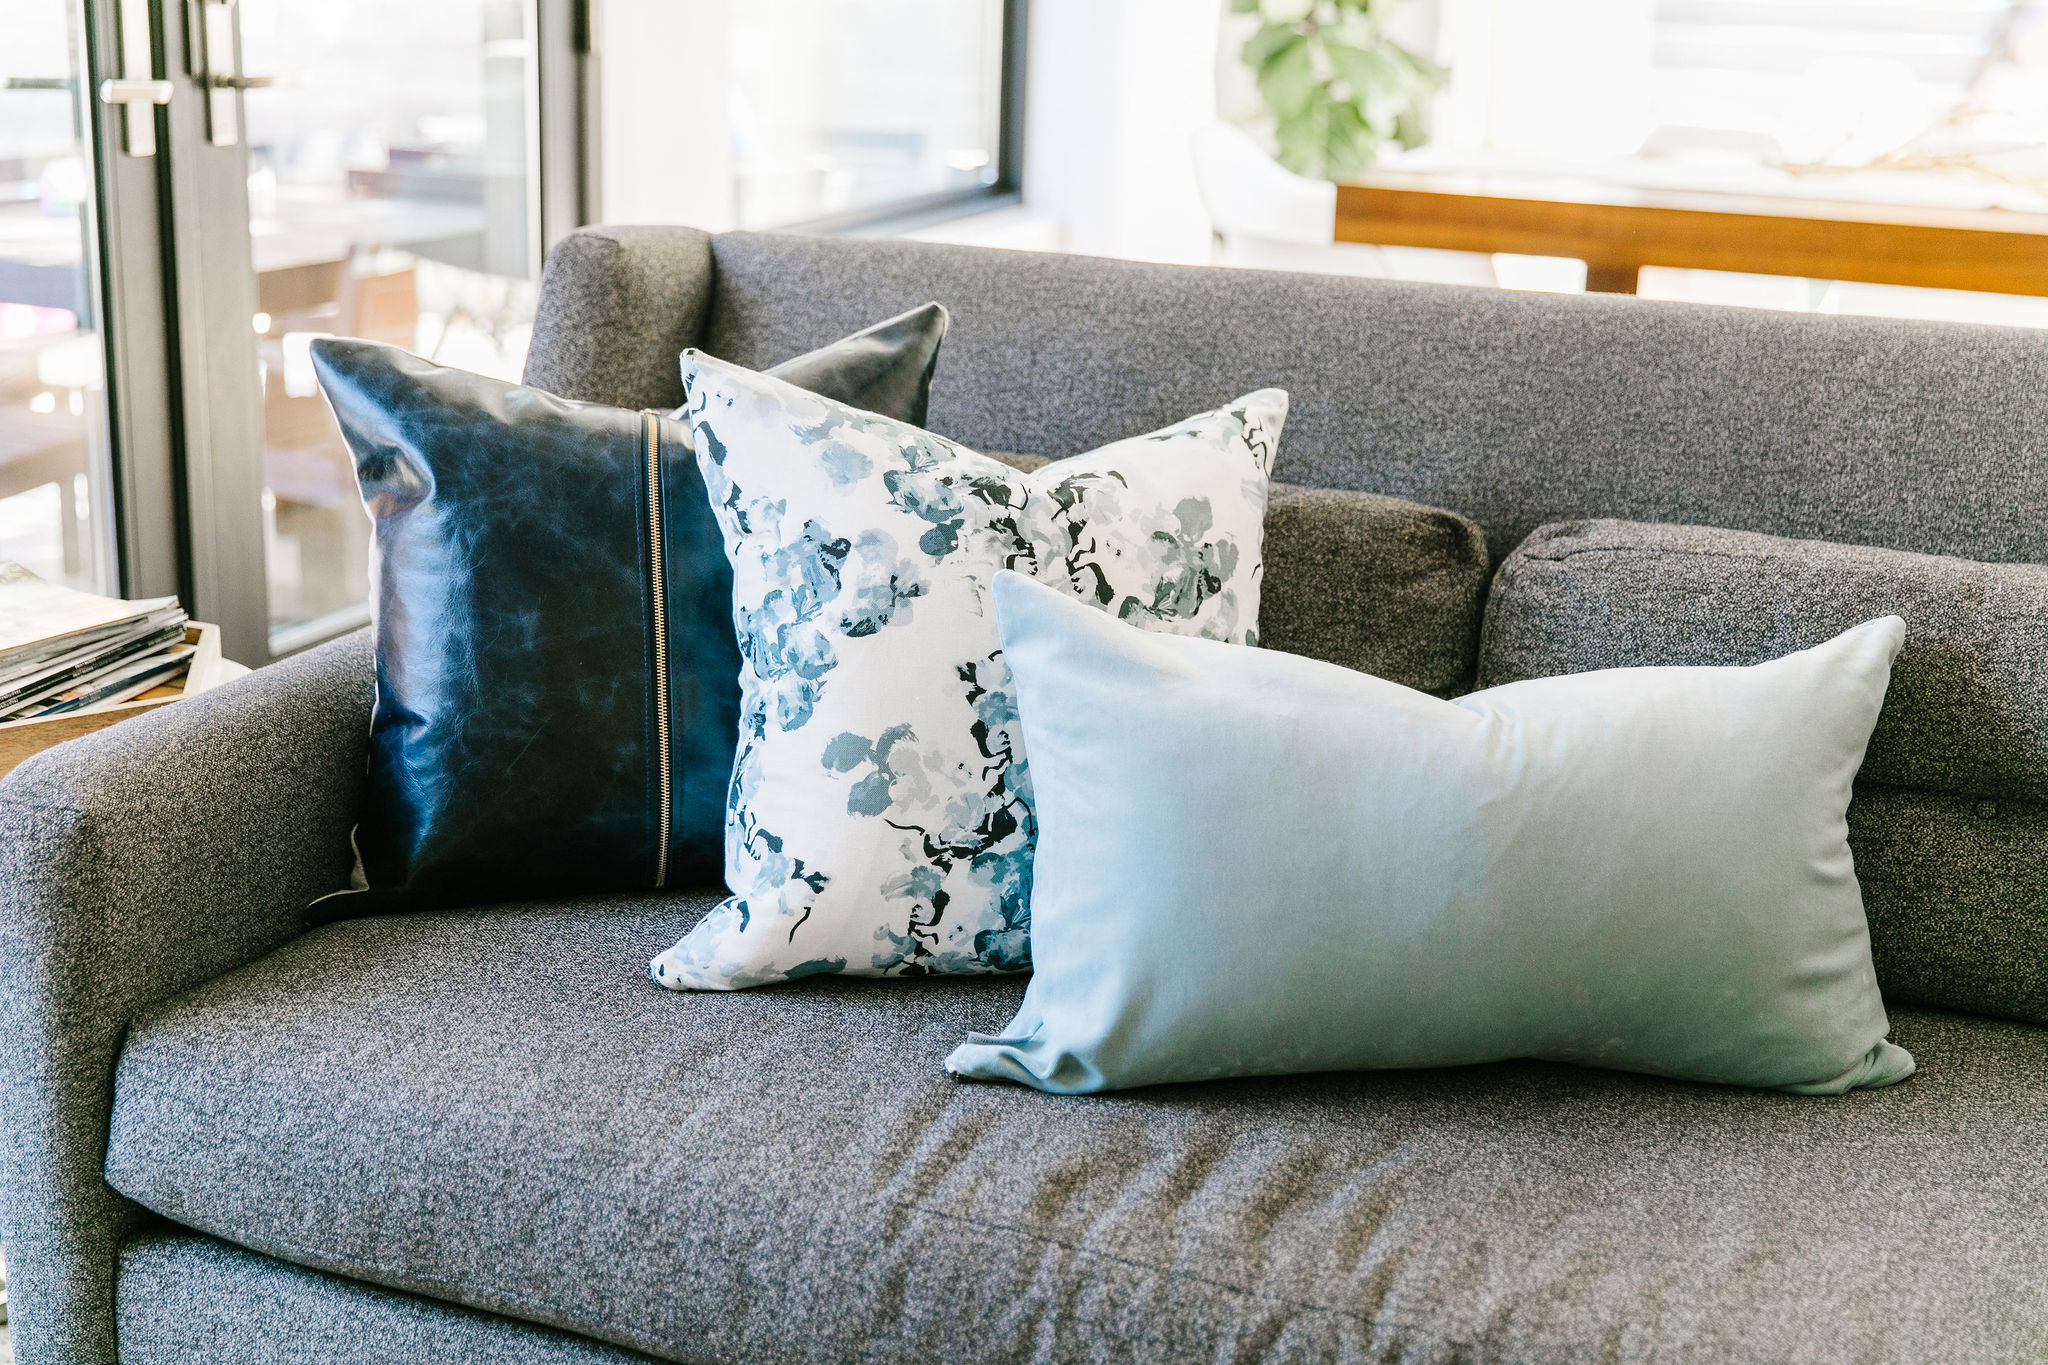
These gold pillows are so pretty
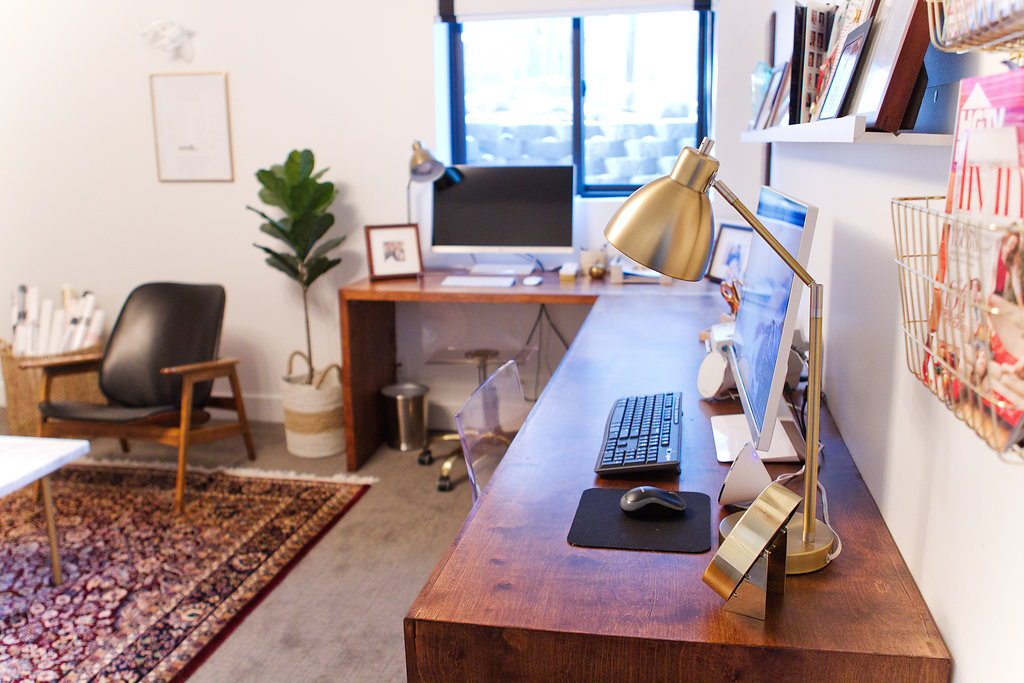
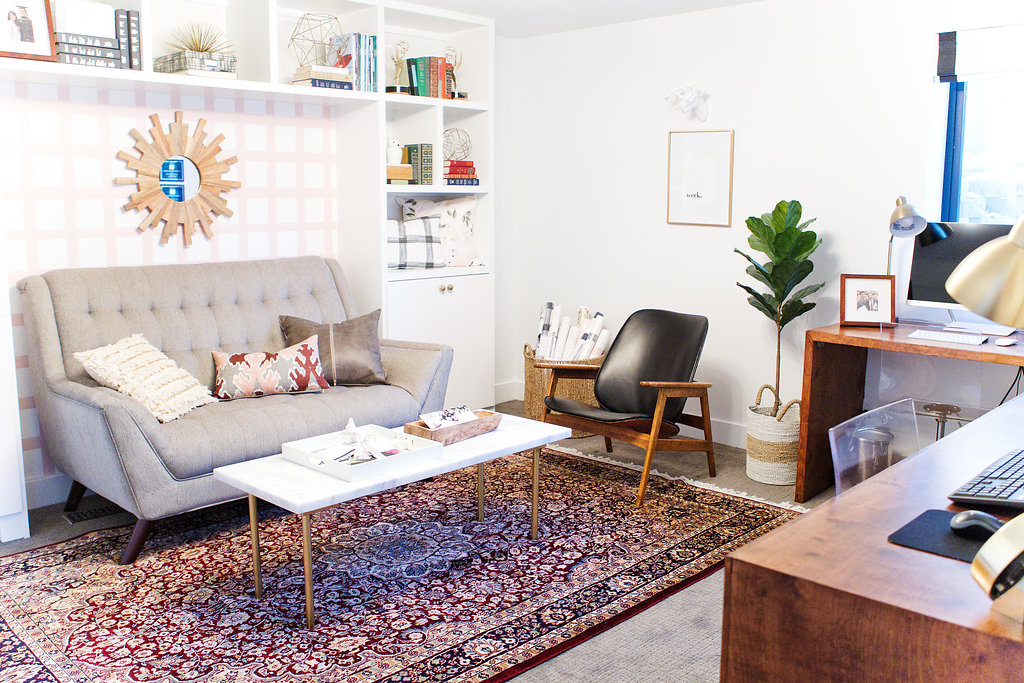
This tray is the latest version of the one in my office… also comes in red and black now!
The jewelry boxes that go with the line are so lovely. These are lovely too.
This pillow. Yes and yes.
Happy Monday, ya’ll!

Finished product photos by James Young
Leave a Reply


back to top
@jenniferstagg
shop

We're a full-service design firm and home furnishings shop built around the philosophy that a well-designed home should be beautiful, personal, cohesive, and complete. We think home is the most important place on the planet and when you live in a home that is perfectly you, it changes your life. Don't believe us? Stick around. We're confident we'll change your mind.
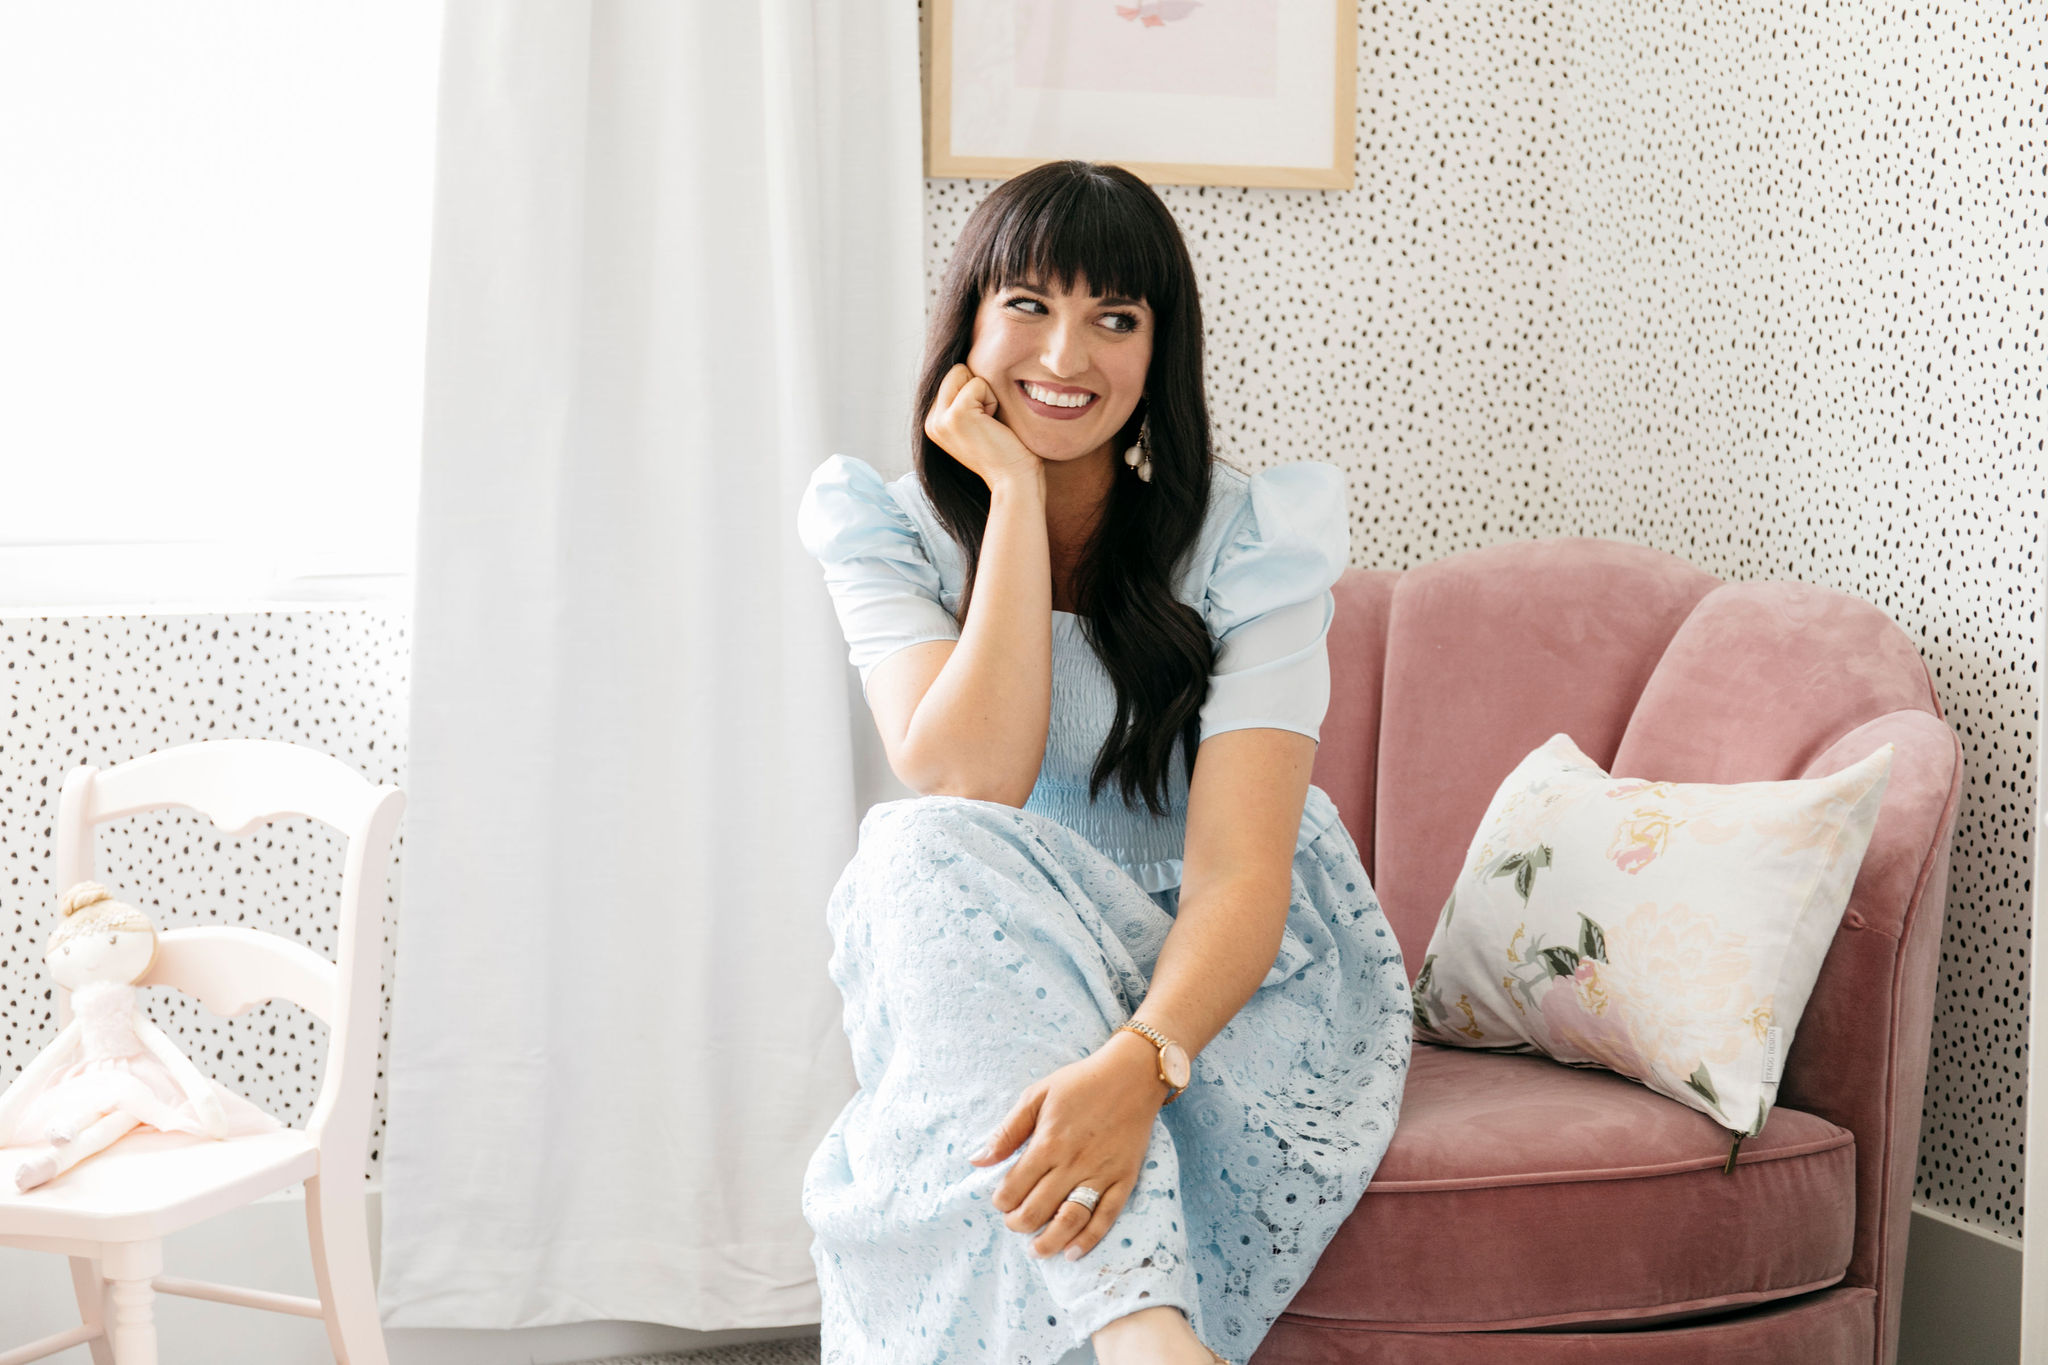
hello there!
Follow Along
@jenniferstagg
Hey, let's be friends
Exclusive projects, discounts, and extra goodies all in your inbox. And don’t worry- your email is for our eyes only.

they look amazing! I spray paint almost gosh darn everything, so glad I’m not alone!
Nice! Great step by step tutorial. I will attempt to paint the base of a glass top cocktail table with your directions! Thanks much!
So glad you found it helpful!
Can you please just come over to my house and do things like this? I’ve been slowly working on doing some interior decorating… but it has been an extremely slow process. Maybe next year will be the year! Thanks for all of the ideas and inspiration!
These look fabulous! If only I needed more lamps..
very pretty lamps 🙂
I need someone to redo my couch. the fabric is ruined 🙁 but buying new fabric is probably almost as expensive as a new couch.
[…] 1) Functional lamps. They need to be the right height for your space to fill in the vertical void. (Remember mine?) […]
[…] One side note: the drum shade attachment wasn’t big enough for the rod. I had to drill the ring on the drum shade with a larger bit to open it up a bit more. Then it fit perfectly. I imagine every fan and lamp shade combo will be unique, so just keep in mind it may not fit perfectly, in which case you can drill the shade, or do what I did to fix my ikea lamp shade on my spray painted lamps. […]
Thank you so much for this. I have my grandmother’s old brass lamps that look exactly like this… but they dont fit in my french country, rustic home, this is such an awesome idea. I wouldnt have ever known but the lamps mean alot to me….. thanks!
I love pieces that have some sentimentality! So glad you found it helpful. Thanks for reading, Lex!
I just came across this tutorial and had to laugh- I’m looking to paint EXACTLY the same lamps! I got mine for free because they didn’t work… They do now. 🙂
Thanks for posting this- extremely helpful for me especially!!
Awesome, Katee! Those sad lamps are everywhere– glad you’re rescuing a pair!
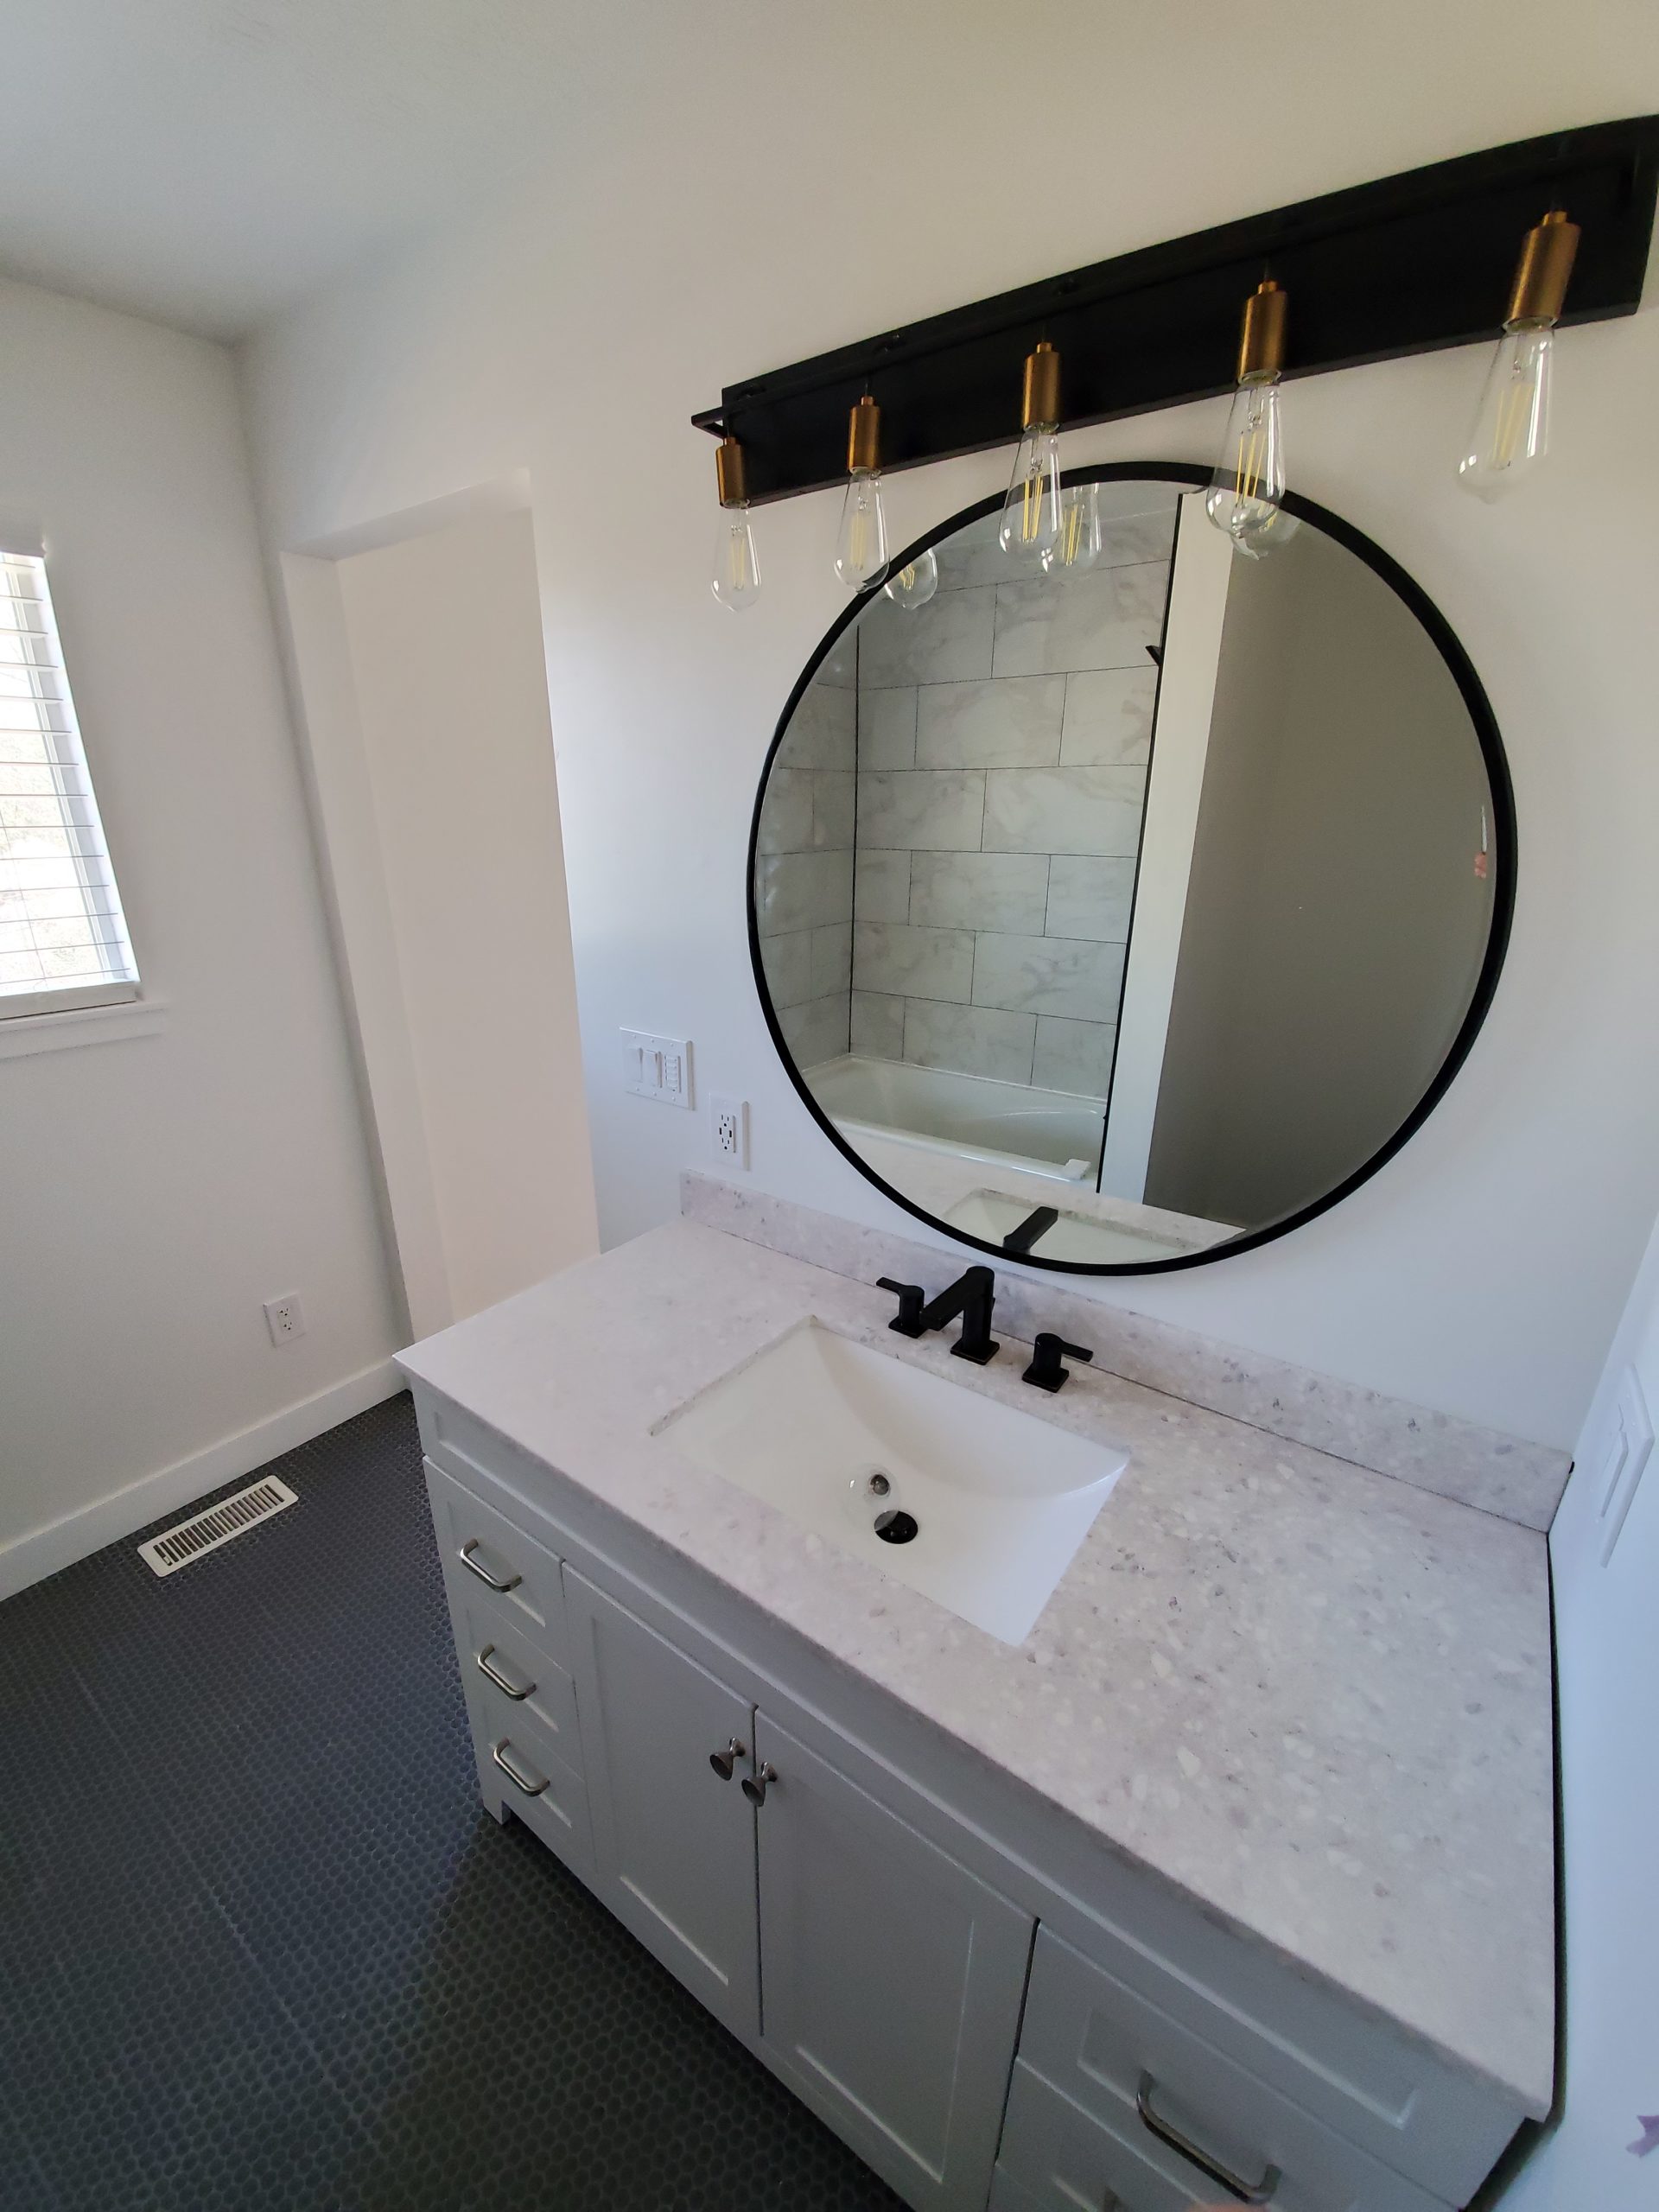
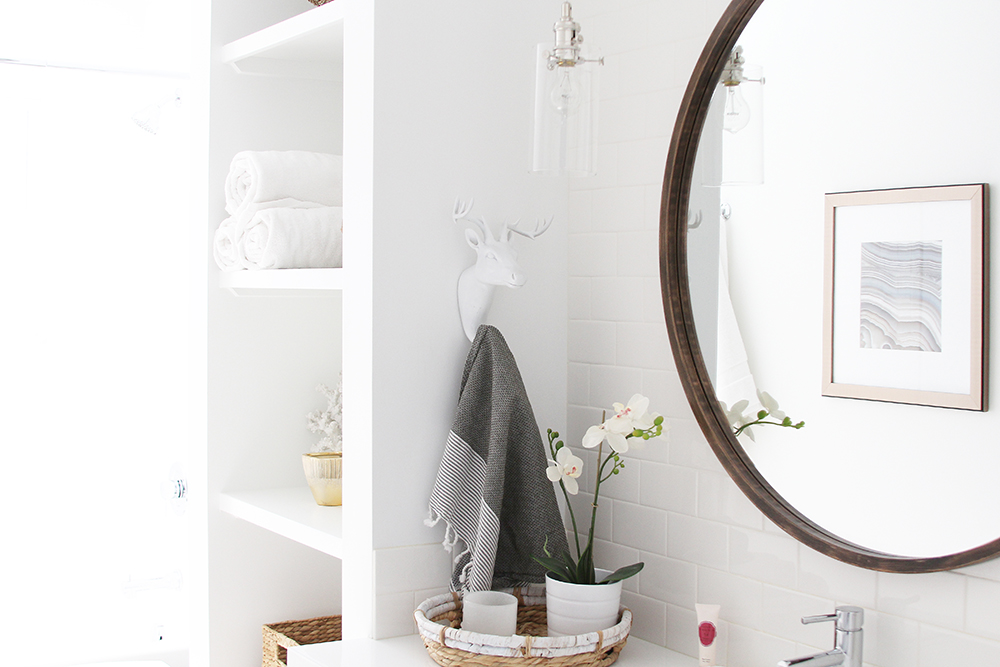
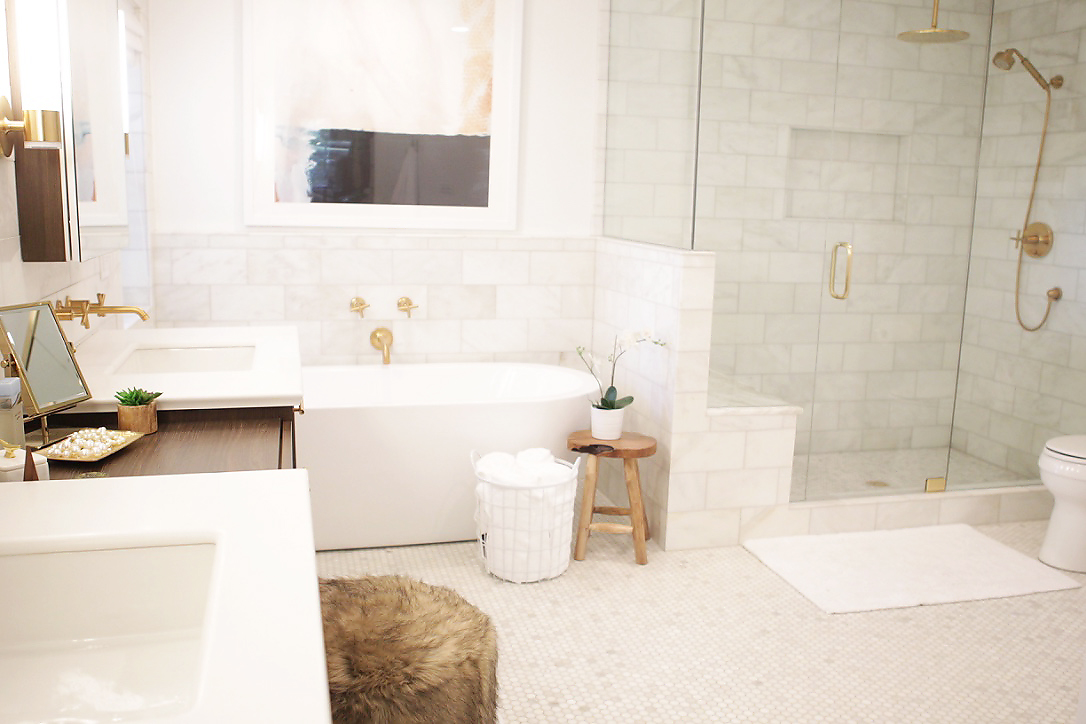
Beautiful bathroom! Stunning transformation! I was wondering what color you used on the walls. Would you be so kind to share?
These are absolutely beautiful! Thanks so much for sharing your secrets, especially with the washer on the lampshade. What wonderful, beautiful lamps you created!
Thank you so much!
Love your white lamps..I’m trying to figure out what you wrapped around the electrical cord to keep from getting spray paint on it..did I miss a step? I saw how you wrapped the bulb socket but couldn’t figure out the cord part. We came near ending in hospital after using Kilz primer one time and while I realize that was not spray paint and we didn’t open the windows because it was so darn hot, that experience left me fearful of the Kilz product. We found Zinnser didn’t have as strong of an odor..ever used that brand with good results?
Hi Betty, I just wrapped them with painters tape, then removed it after spraying. Hope that helps!
Anytime you use Kilz, check to see if it is indoor and odorless..Just for safe measures, try to do your projects outdoors and not in enclosed area regardless of the temperature..Sorry you got sick…this is 2016 and your comment was 2015, so hope this reaches you….HAVE A WONDERFUL SAFE HOLIDAY SEASON!!
I have same lamps ,very expensive when purchased .I wanted to paint them thanks so much . Hope it works. Lois
I am glad I found you, I was looking to paint a brass standing lamp for my screened porch. But was a little afraid to get started. Now I know what to buy etc. I also want a white lamp to go with white wicker furniture, Thanks again for the help.
Jeannie
So glad I could help!
Thank you so much for the post.; you inspired me to paint my gold lamps. They look great!
so glad to hear it! Thanks!
Loved your post. I spray painted a couple of thrift store lamps silver and they look great. Am working on my blog now, will post pictures when I get it done. Spray paint is a life-saver when re-decorating, or decorating for the first time. I even spray painted all my outdoor planters this summer. I would love to know what everybody else has spray painted.
Jen, thank you so much. I have 2 brass lamps with almost the same look as yours but smaller versions. Mine will be used in the space behind my Coachman camper sofa which is in the room slide-out. Your cleaning and spraying information is most helpful. I am trying to redo the interior decorations and cost cut at the same time. Now I need help on covering lampshades and recovering the sofa. Thank you again.
Have same lamps, original for my home years ago.. Also 10 lamps that were left in dumpster behind thrift store. I have used a few, and put some out for garage sale at $3.00 each with and without shades. No buyers…What??????is going on? Glad you did what you did with your pretty lamps..Yes, shades can be quite expensive and I have painted a few and no one can tell they are painted….HAPPY HOLIDAYS TO ALL!!!
Now that this post is several years old, did they hold up well? Any scratches or peeling? Love it and want to try!
Hi! They have held up beautifully!
I am painting brass lamp bases black satin. I am following your directions and so far so good. Primer coat is on now. I can’t wait for the finished product.
Getting ready to do my brass lamps but didn’t read where you clean them with vinegar and let them set overnite I wanted to do them today will it hurt to just wipe them down good and go ahead with the primer and paint
Hi Valarie, sorry I’m not sure I understand your question!
I’m so super stoked that I found your post- I would have never thought to look at IKEA. I got some at Lowes that were just ok except for the price 75 for 2 shades was pressing my buttons. I found a crystal lamp I am just in love with except for the brass parts/fittings. I am doing this project. hallelujah 🙂
So glad it helped you! xx
I’m so excited I found this. I have 2 brass lamps in my office but I want a beach scene. So pairing these will be great!
So glad you found some inspiration!
I just started and Thanks for all the advice. I’m going silver. The lamps I found must have been the norm back in the day because Mine look just like yours. Waiting to start the brushed nickel and I bought some gloss spray just in case.
Thx Jen, your lamps look awesome! I just picked up 3 lamps for free on a table at the end of a person’s driveway. They have brass in the glass shades which I can live with (I dislike brass) but the bases are brass ugh! Your tips are easy and inexpensive. I am so not a DIY person but going to give it a try, thx for your inspiration! Julie
So glad you found inspiration! Thanks for sharing!
This was the first option that came up on Google. I have two large brass table lamp bases my mom gave me. We are building anew house and I am turning the dining room into a sitting room for reading and enjoying conversations with my friends. My goal is a black and white room. So, I want to paint the lamp bases black. I bought some white linen lamp shades that are a neat oval shape. The lamp bases you painted are almost identical to the ones I have. I am excited now to get them painted! Thank you for sharing this DIY!
So glad you found some inspiration! xx
This is great! Thank you for sharing!
I too am searching the perfect white lamps. I have 2 metal lamps…I love the shape but they are black…for now. I’m going to spray mine after reading your blog!!! Thank you for the inspiration!!
Vicki
So glad you found inspiration!
Love the outcome of the lamps. I also appreciate the fact that you told what type of paint and how to do them. This has inspired me.
I’m so glad to hear that!
I have a traditional brass floor lamp. If I spray painted it black, would it work in a transitional living room?
Thanks for sharing my barrel shape brass lamps will be a lavender color if I can find the spray color
Awesome! So glad you found inspiration!