

")
")
")


DIY FAUX RELAXED ROMAN SHADE
June 24, 2014
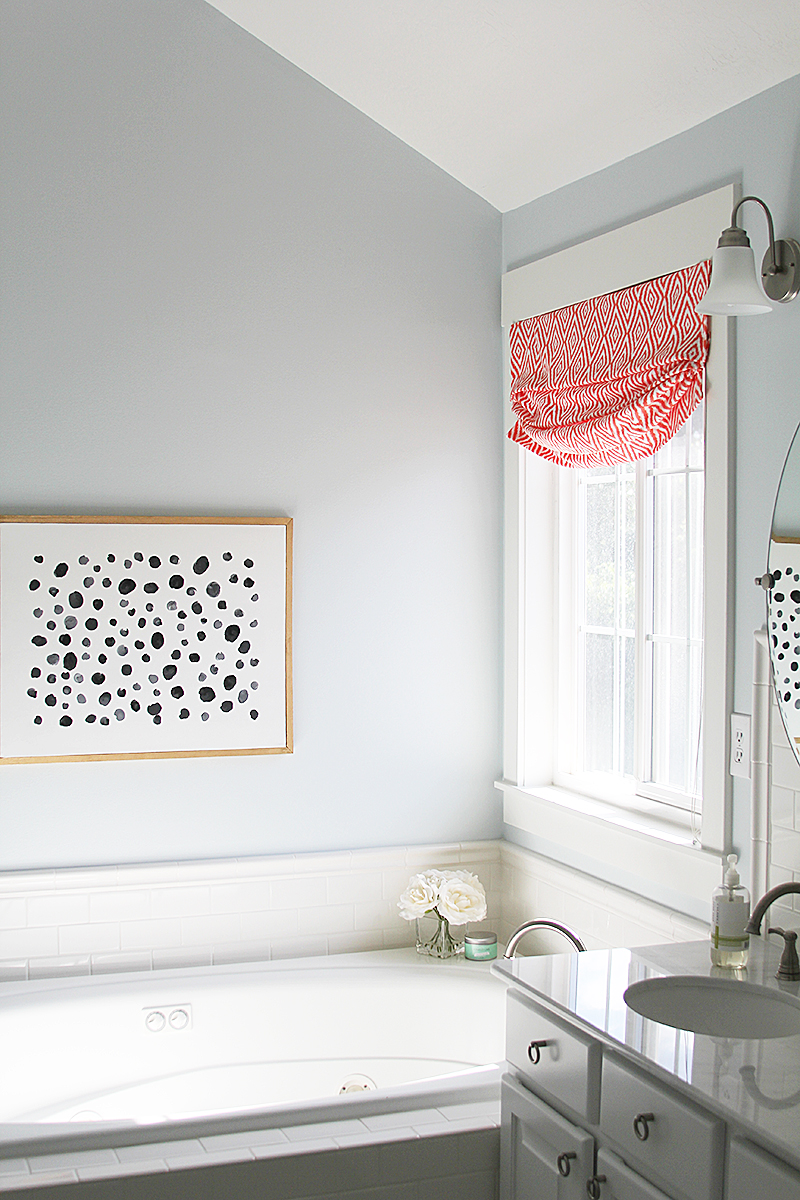
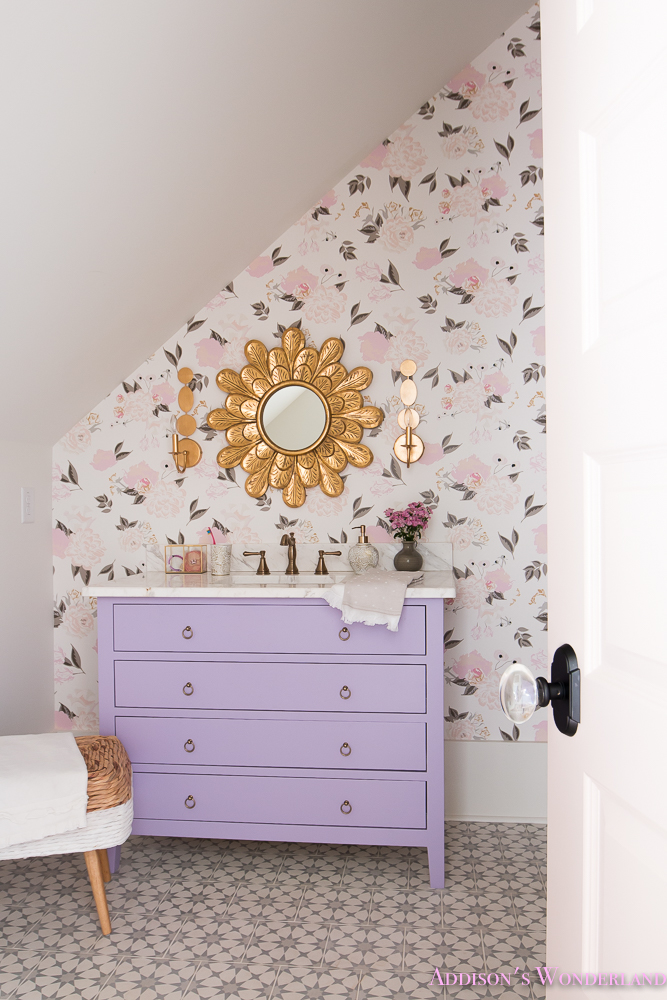
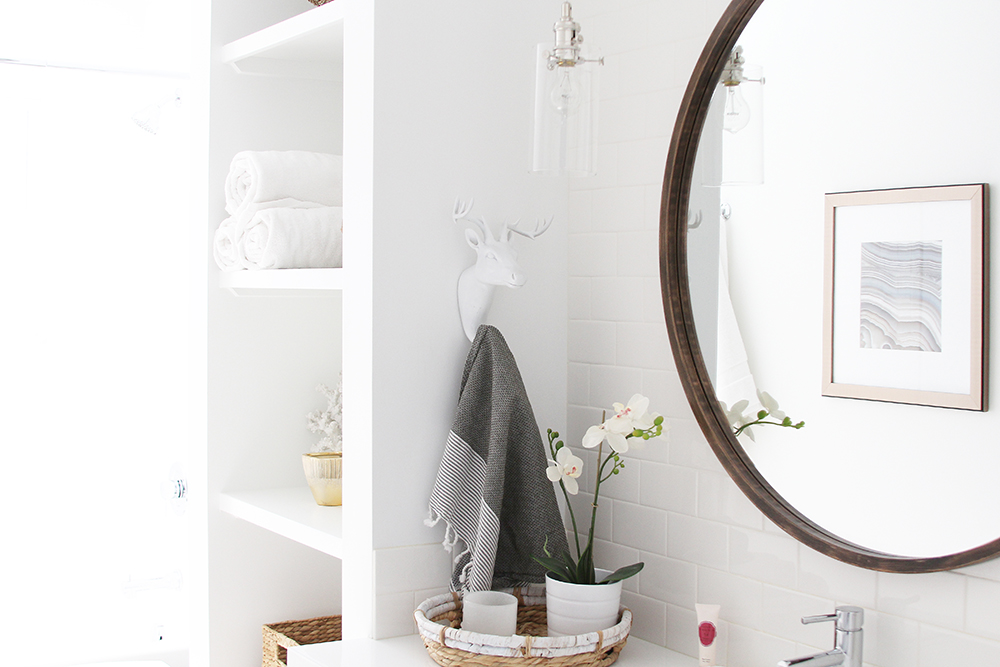
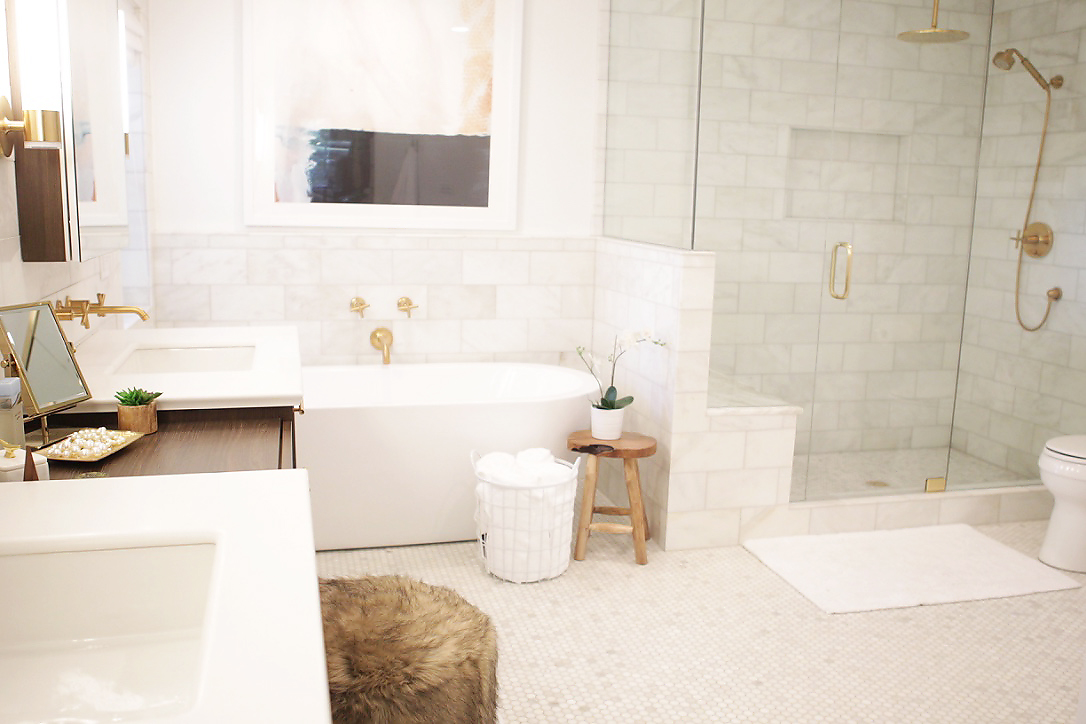
First, thank you for your sweet response here and on Instagram about the master bathroom. It’s so wonderful to have it finished so we can finally enjoy it and not trip over a construction zone to get to the closet. It’s the little things:)
Today I’m starting to break down the details and how we put the whole room together, starting with the DIY Faux Relaxed Roman Shade.
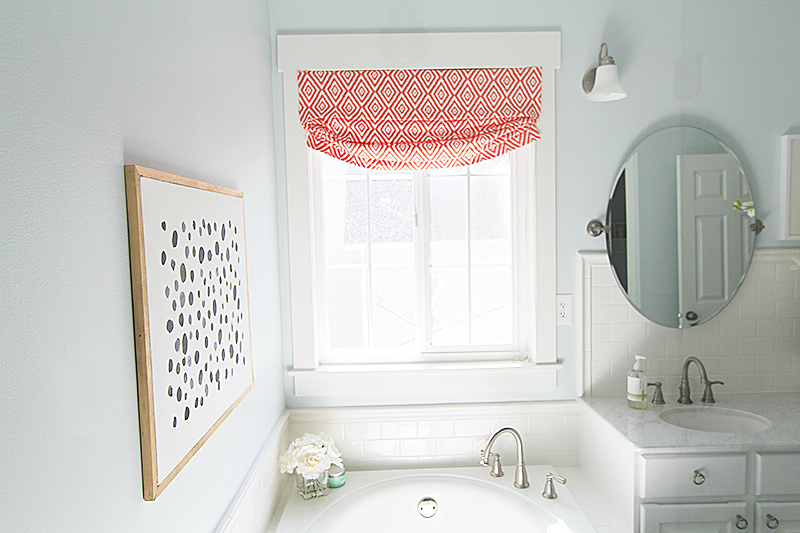
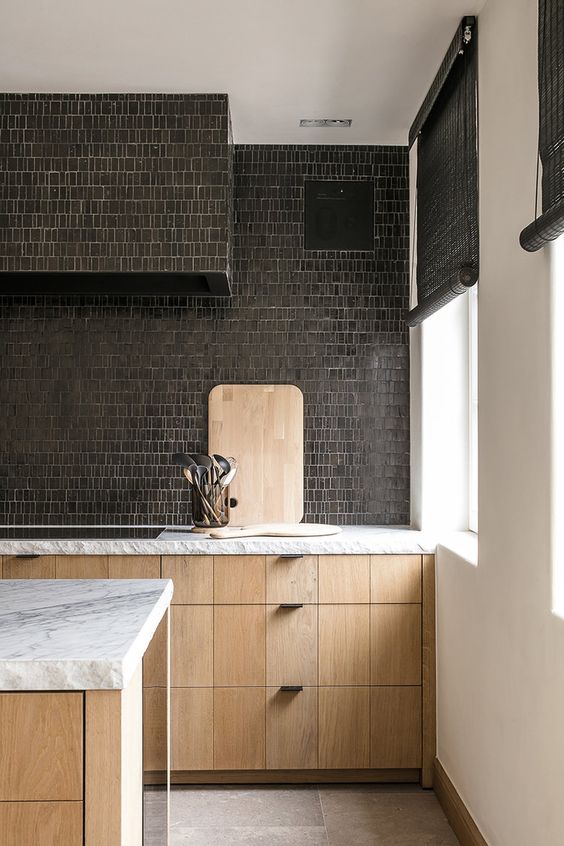
The window absolutely needed a roman shade. I mean, it looks like it was made for one. There are many types of roman shades. I found this helpful illustration by Keelan Kreations on Pinterest.
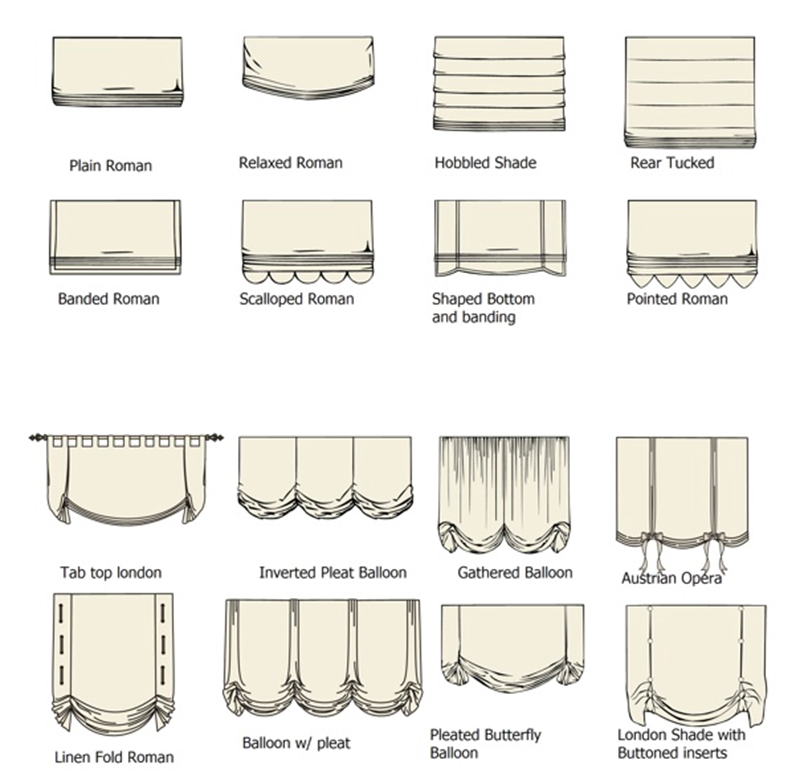
The types I typically use are the plain roman inside mount (meaning mounted inside the window frame), and the relaxed roman outside mount (meaning outside the window frame).
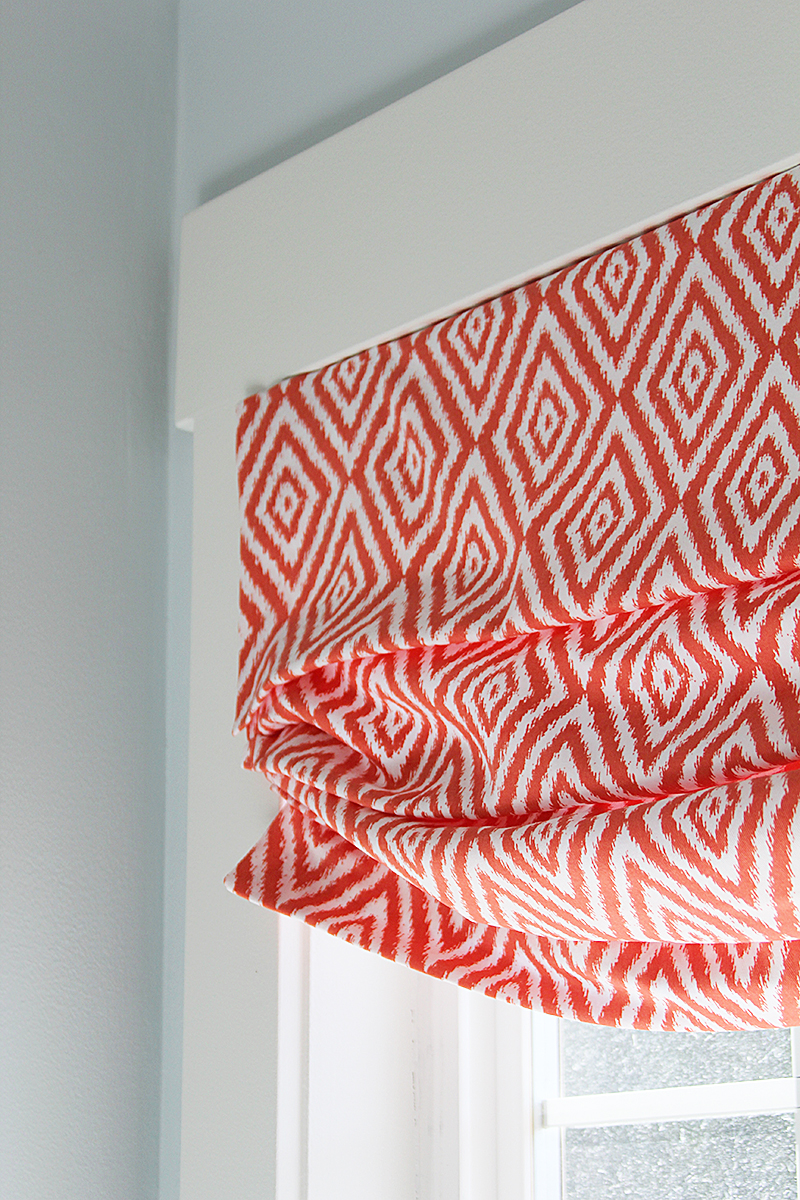
The bathroom just said relaxed roman to me and a faux shade was just the thing.
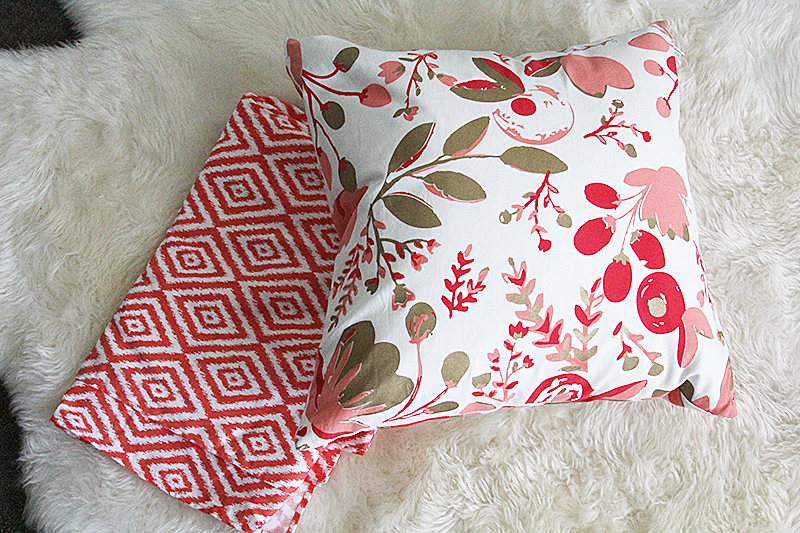
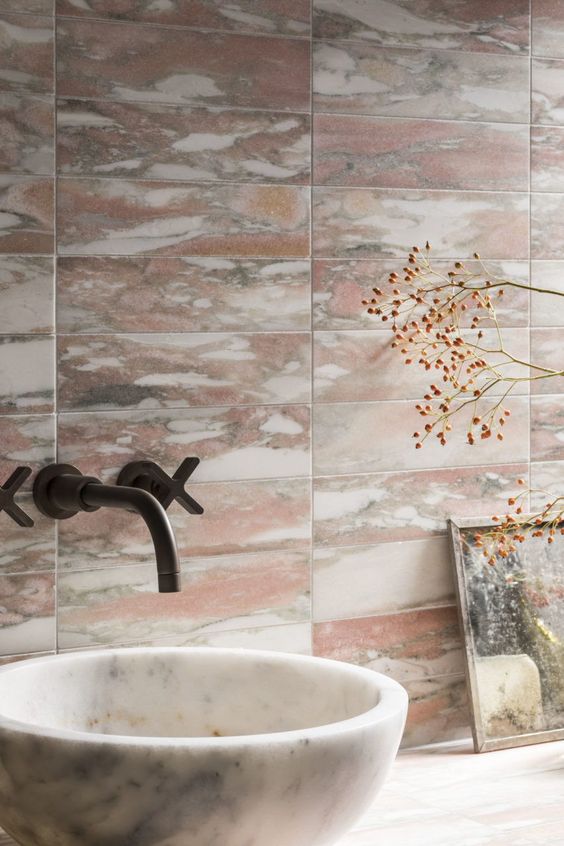
First, I found the fabric….. or shall I say table cloth. I wanted something with a pop of color, and my bedroom has touches of coral. I came across this pretty patterned table cloth at Homegoods and thought it would be perfect. Who says you have to go to the fabric store?

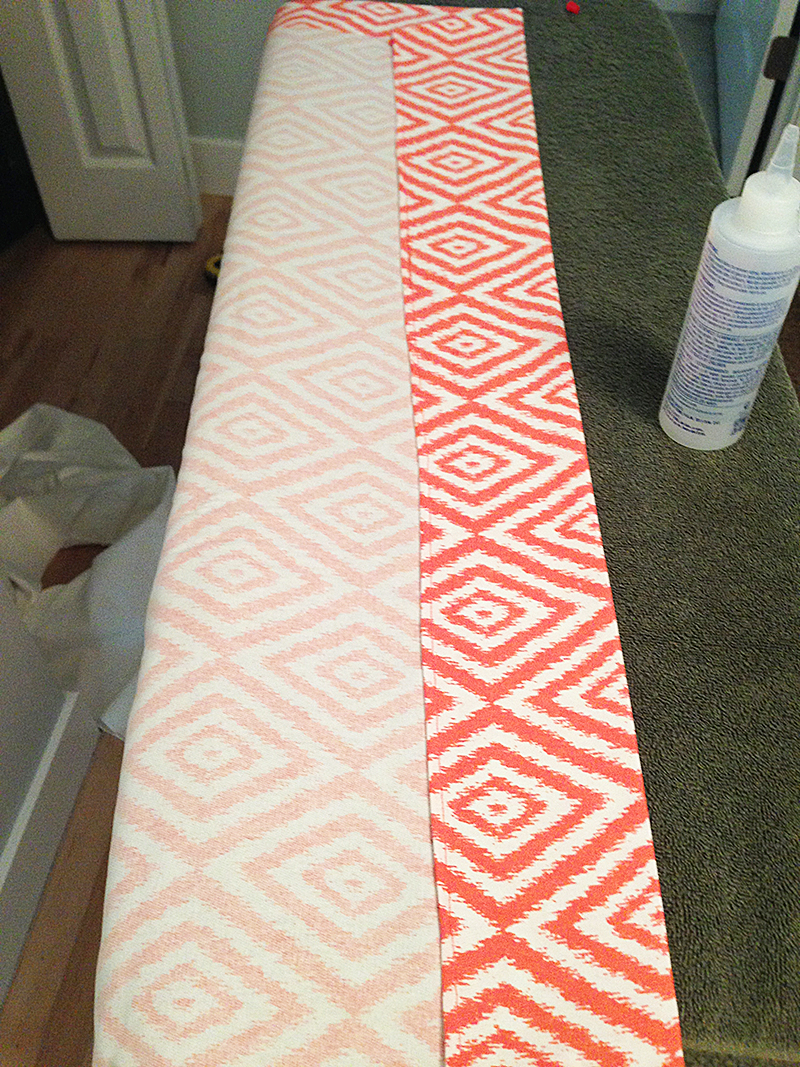
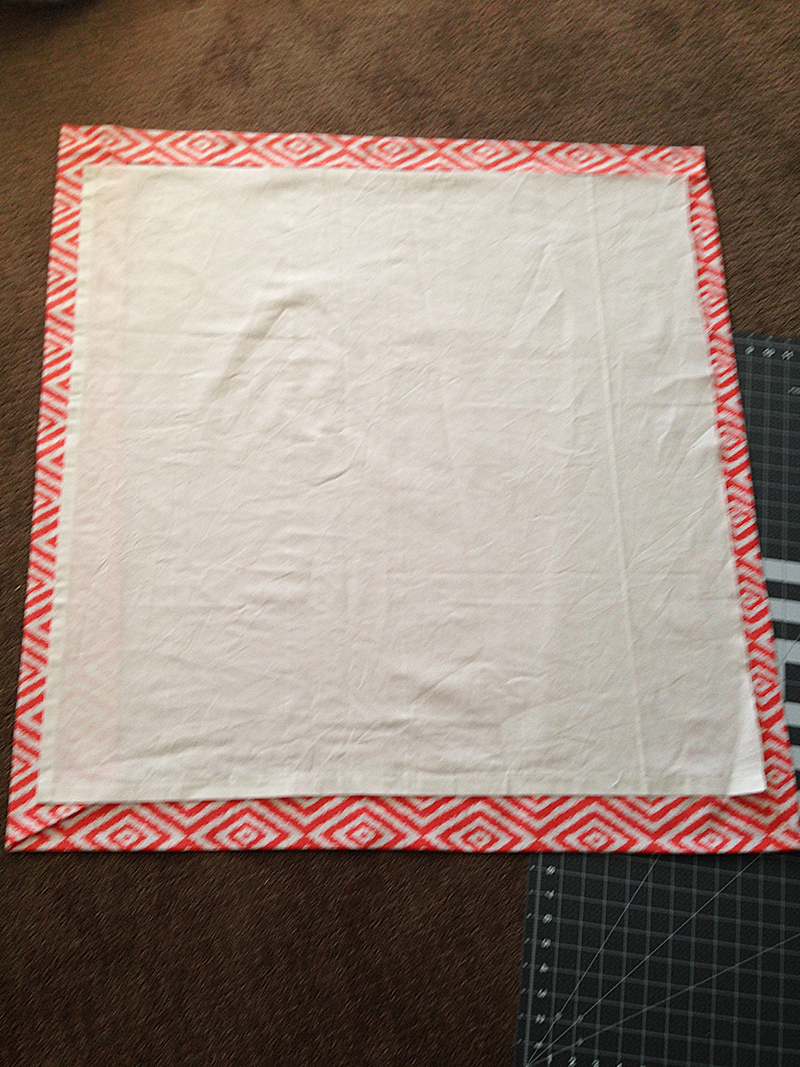
I measured the window so the drape would hang about 1 1/2 inches over the window edges when it was hung. I then cut the fabric four extra inches width wise, then went a full yard on the length and also added four inches. The extra inches are so there is fabric to fold over (two inches on each side) to make a clean edge all the way around.
Once the fabric was cut, I ironed the folded edges over so they were nice and clean. It’s important to follow the pattern closely in order to get a clean and tailored look. I glued down the edges all the way around using my beloved Fabritac. Best fabric glue around.
*Fabritac can bleed until dry so I lay down an old towel on my ironing board or any surface where I’m gluing to protect it.
Next came the liner. I had some left over white fabric (actually a portion of a drape from Ikea) from the pelmet boxes. I cut it to size, just inside the folded edges, and used glue around the outside line to hold it in place.
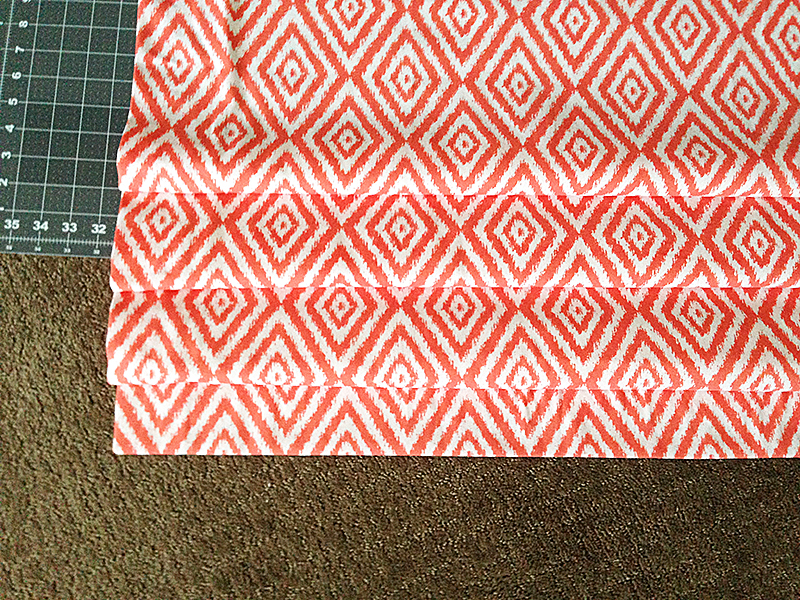
I wanted the shade to have a few folds. I manipulated the fabric so the folds were about where I wanted them, evenly spaced, then used glue to hold it in place with a few dots on either side, one in the middle under the fold, then same on the back. They were nice even flat folds (hold on, the cinching on the sides comes later).

Then it was all ready to hang.
I saw my friend Jana had used simple tacks to hang her faux shades (she made hers with a glue gun– brilliant!) and thought I would give it a go. I got the shade where I wanted it, then used tacks under the fabric to hold it in place to the top underside of the window frame.

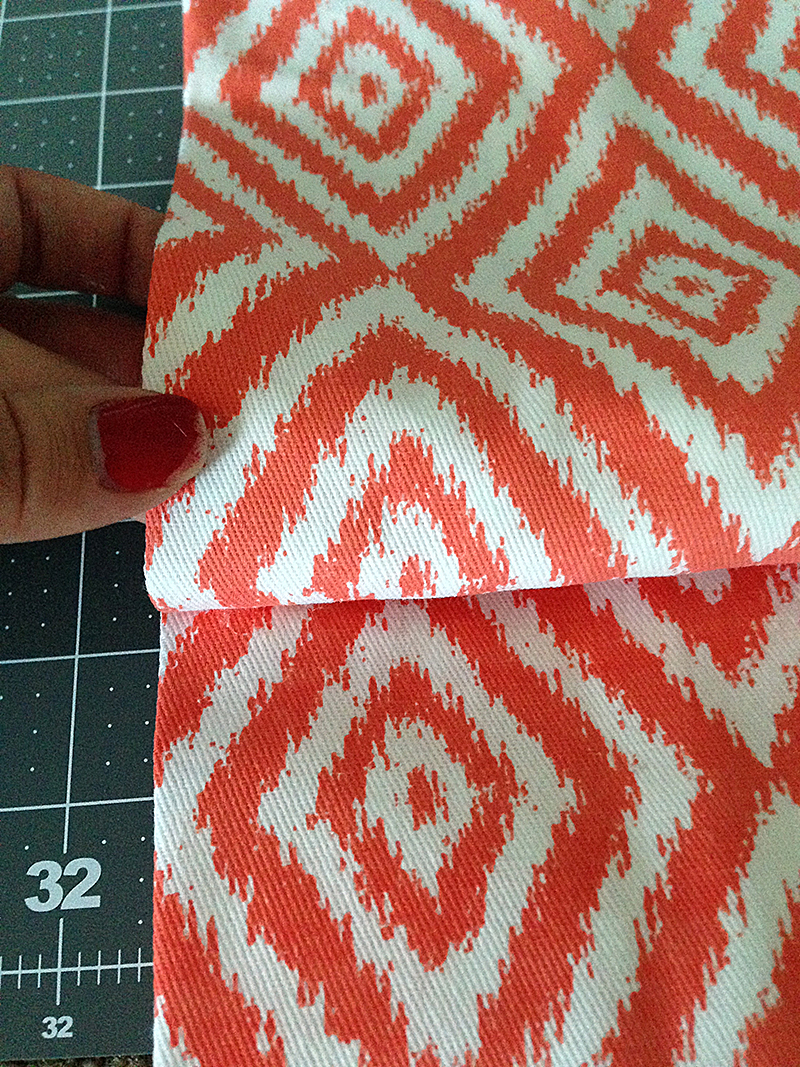
Once the shade was hung in place, I started the faux cinching on the sides.
I folded a pleat under itself, put a glue dot, then held it in place with a clothes pin while it dried. It took three folds on each side, and I just played with the fabric until it was laying the way I wanted it. I let it dry for about 10 minutes with the clothes pins in place (truth be told I only had two clothes pins on hand so I used hair clips. I’m resourceful like that).
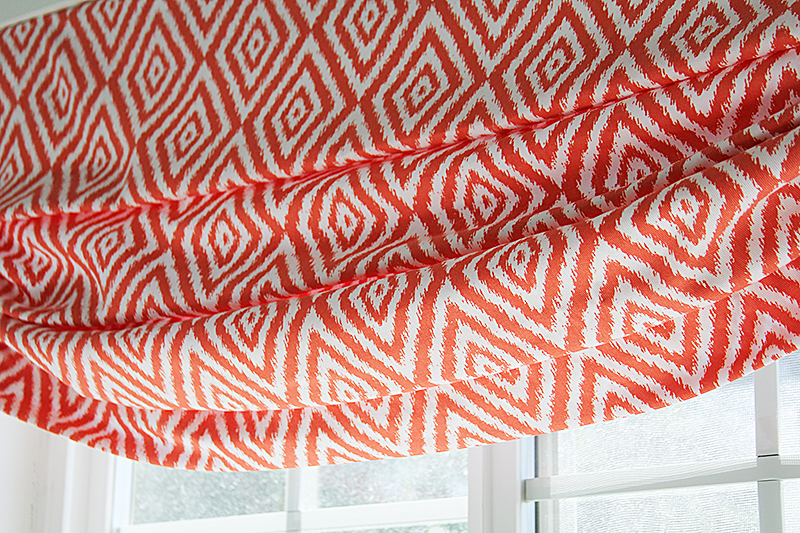

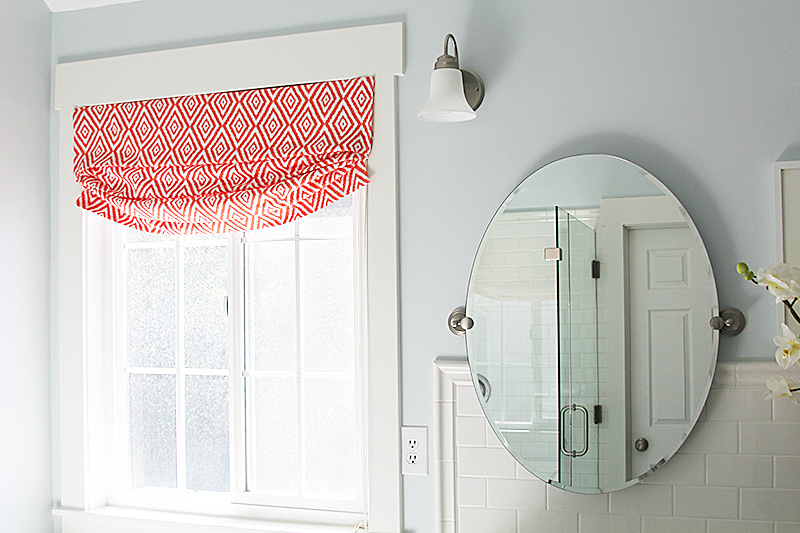


Blinds still fit nicely behind it for privacy. And there you have it! It was simple, easy, and looks so pretty. All good things. Now, go whip one up and give a plain window some zing!

Leave a Reply


back to top
@jenniferstagg
shop

We're a full-service design firm and home furnishings shop built around the philosophy that a well-designed home should be beautiful, personal, cohesive, and complete. We think home is the most important place on the planet and when you live in a home that is perfectly you, it changes your life. Don't believe us? Stick around. We're confident we'll change your mind.
hello there!
Follow Along
@jenniferstagg
Hey, let's be friends
Exclusive projects, discounts, and extra goodies all in your inbox. And don’t worry- your email is for our eyes only.

Love the final outcome- you’re very talented, kudos!!
Thanks for sharing the idea,
Jenna
http://pizzigatidesigns.tumblr.com/
I saw the faux relaxed roman shade. You cut it at 36″ long. When folded up what is the center depth?
Thanks, robin
Hi Robin, I’m traveling right now, but I believe it is around 12 inches or so. Thanks for reading!
The shade turned out great! Thanks for the tutorial!! I love the wall paint in the bathroom too! Very relaxing. 🙂 Do you mind sharing the color?
Thank you so much! I can’t remember the name of the color– let me see if I can track it down:)
[…] Like me, my client is expecting, and also works a busy job so she asked if I could make them for her. I’ve made them before and knew the easiest way to tackle them. I then asked my lovely and talented design assistant, Hailey, to make them, following my direction, while I prepped everything for install. She followed the same tutorial that I used when I made them for my master bathroom. […]
Love it! I have four lovely curtains that I’d found at my local thrift store. I was already using three of them for privacy on the lower half of other windows, but the fourth one was too short for the other window where I wanted to use it. The faux Roman Shade idea is perfect and I now have a beautiful window treatment hanging in my bathroom. Thank you!
Just discovered your blog today, and when I clicked on your bathroom reveal, I was ready to send you a message asking about your window treatment. Then I spotted this post breaking it down. THANK YOU! We are moving into a new house next month and there is a nice big window right above the tub. I didn’t want blinds or traditional curtains, and I am not a sewer. This couldn’t be more perfect. I look forward to stalking the rest of your posts.
You’re so sweet– thank you so much! Glad you found it helpful! xx
How did you hang the drape? You mentioned there are blinds underneath… did you just velcro it or something to the outside of the top of the blinds?
I’m planning on making these this weekend, thanks for the easy tutorial!
Hi Abby, thanks for reading! I hung it with thumb tacks.
Can I make this faux roman shade for three joined windows as one shade, tieing up as three shades?
If I explained myself correctly..
Hi Janice! Thanks for reading! Sorry, not sure I totally understand. Are you saying three separate faux shades but in one big shade? If so I wouldn’t recommend that, as I think it would look a little weird.
Do the thumbtacks actually hold the fabric? My concern would be that they would eventually fall….
Hello! We haven’t had a problem, but it’s tacked into the moulding which is pretty strong. Hope that helps!
[…] DIY Faux Relaxed Roman Shade […]
Great tutorial! I want to make one of these for my kitchen windows, they are both ceiling height at the top, so they can handle a valance like this without blocking too much light. A roller shade behind will b for more privacy. Thanks!
So glad you found it helpful! xx
[…] DIY Faux Relaxed Roman Shade […]
[…] DIY faux Roman shade from Jen at ‘With Heart‘ adds a pop of color with her fabric choice, which we love. The best part about learning how […]
Thank you for sharing your instructions on how to create this beautiful shade! I’ve been wanting to switch things up in my bathroom and had material that would make a perfect relaxed shade.
So so glad you found inspiration! Thanks for reading!