

")
")
")


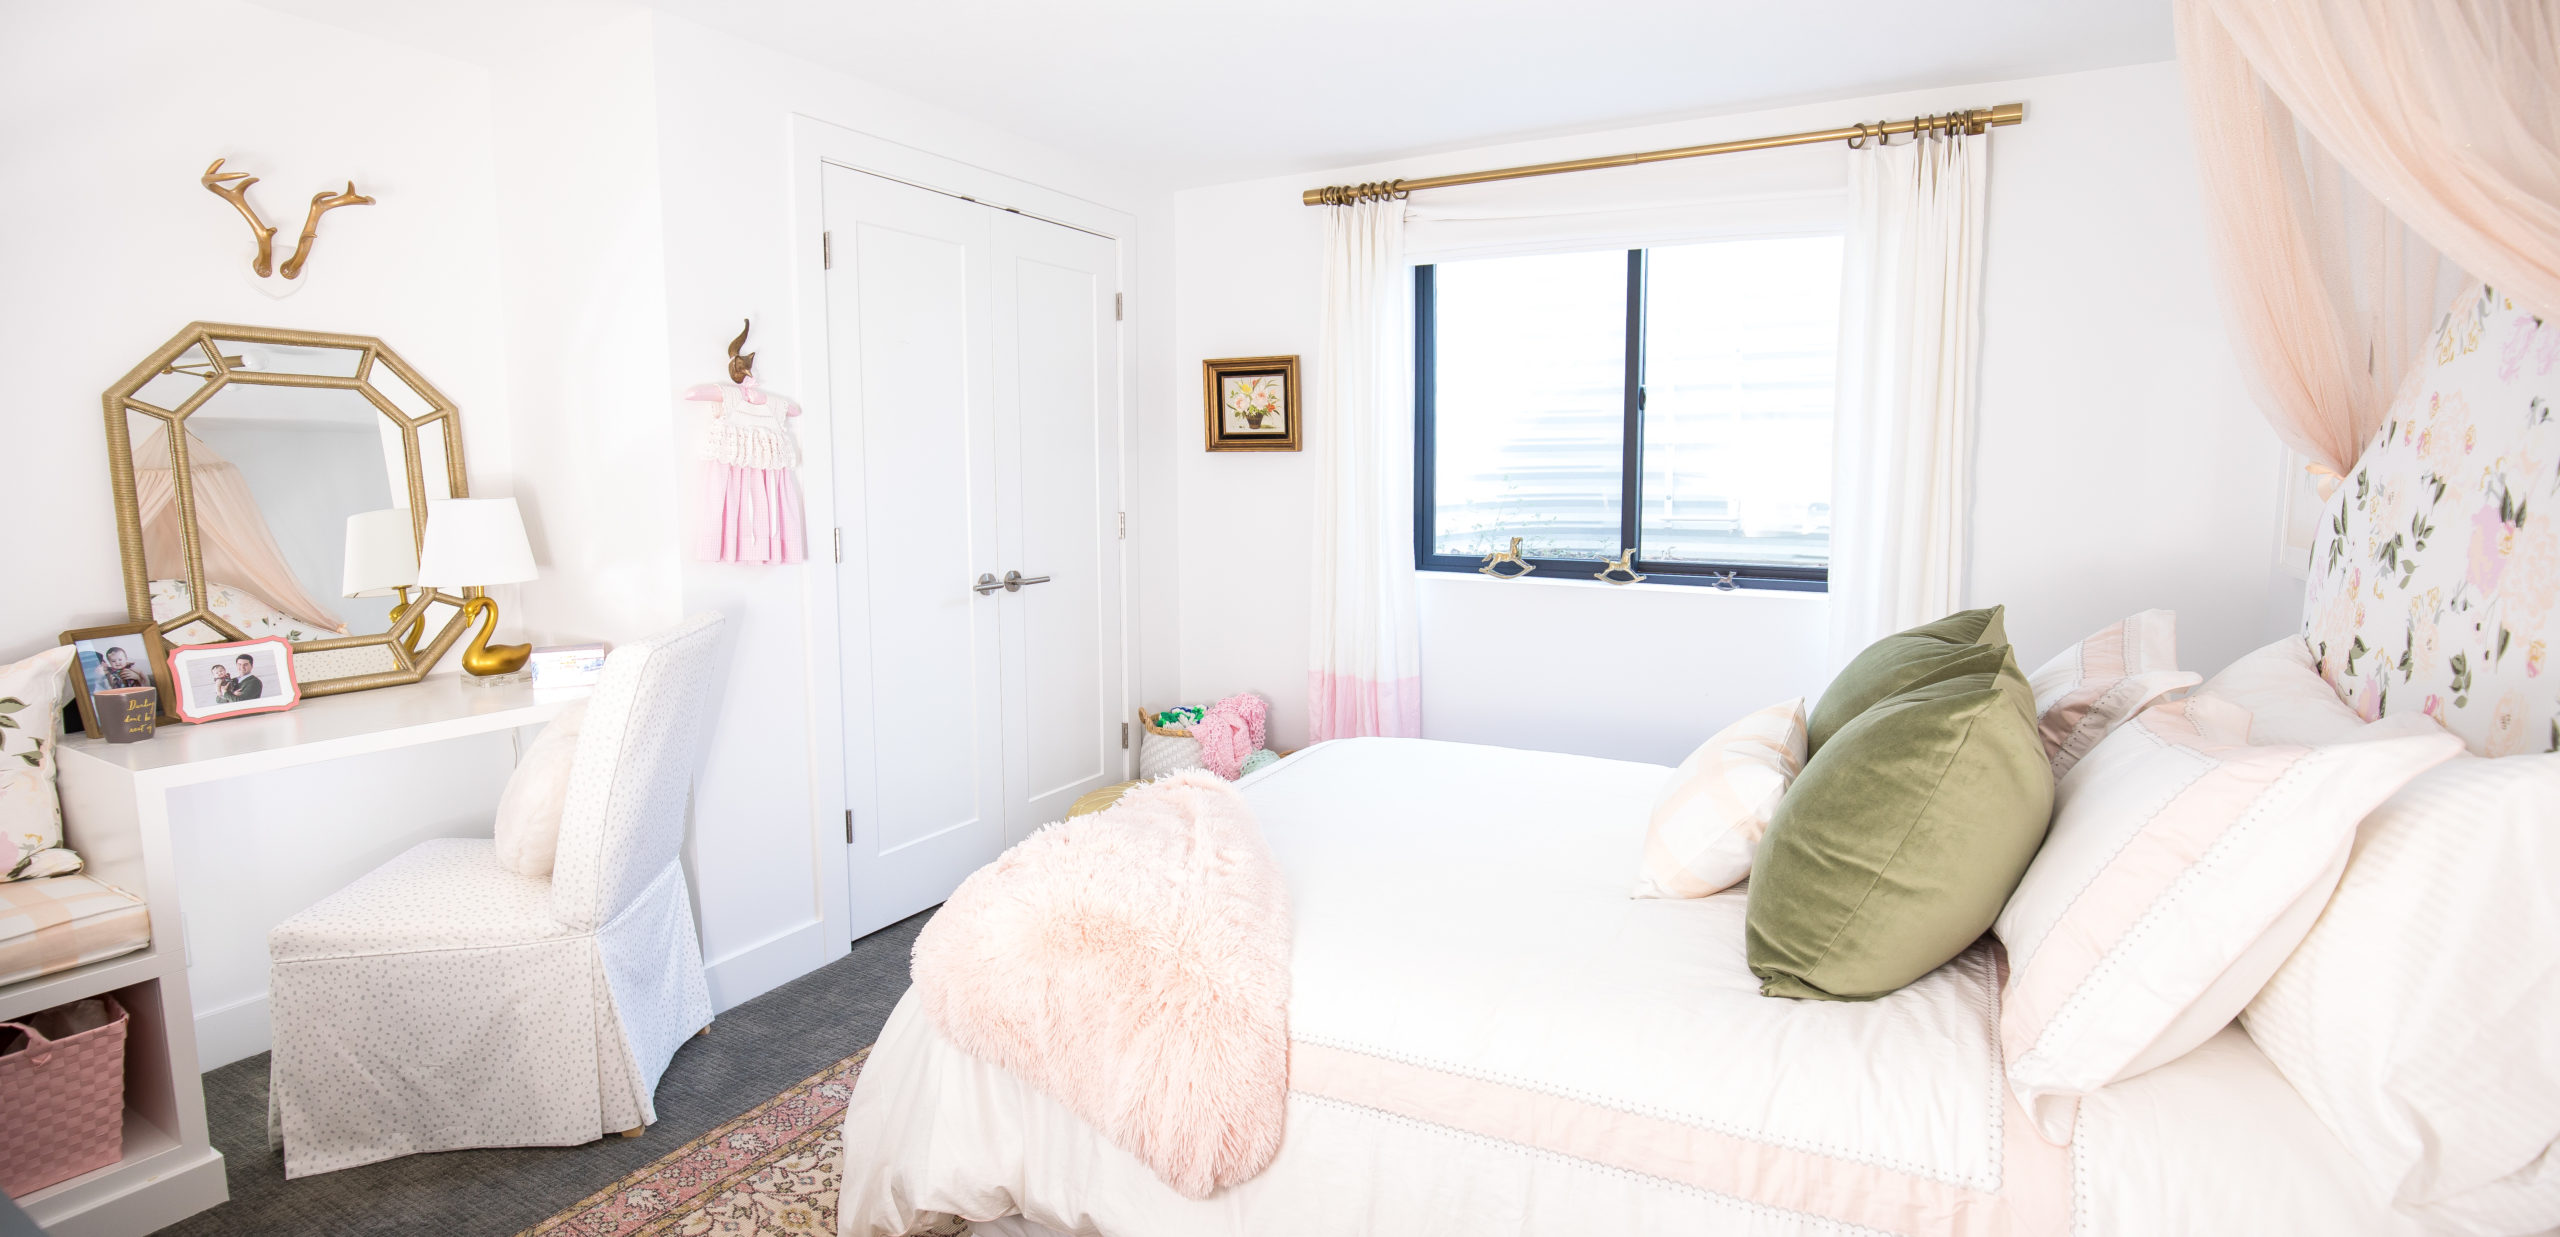
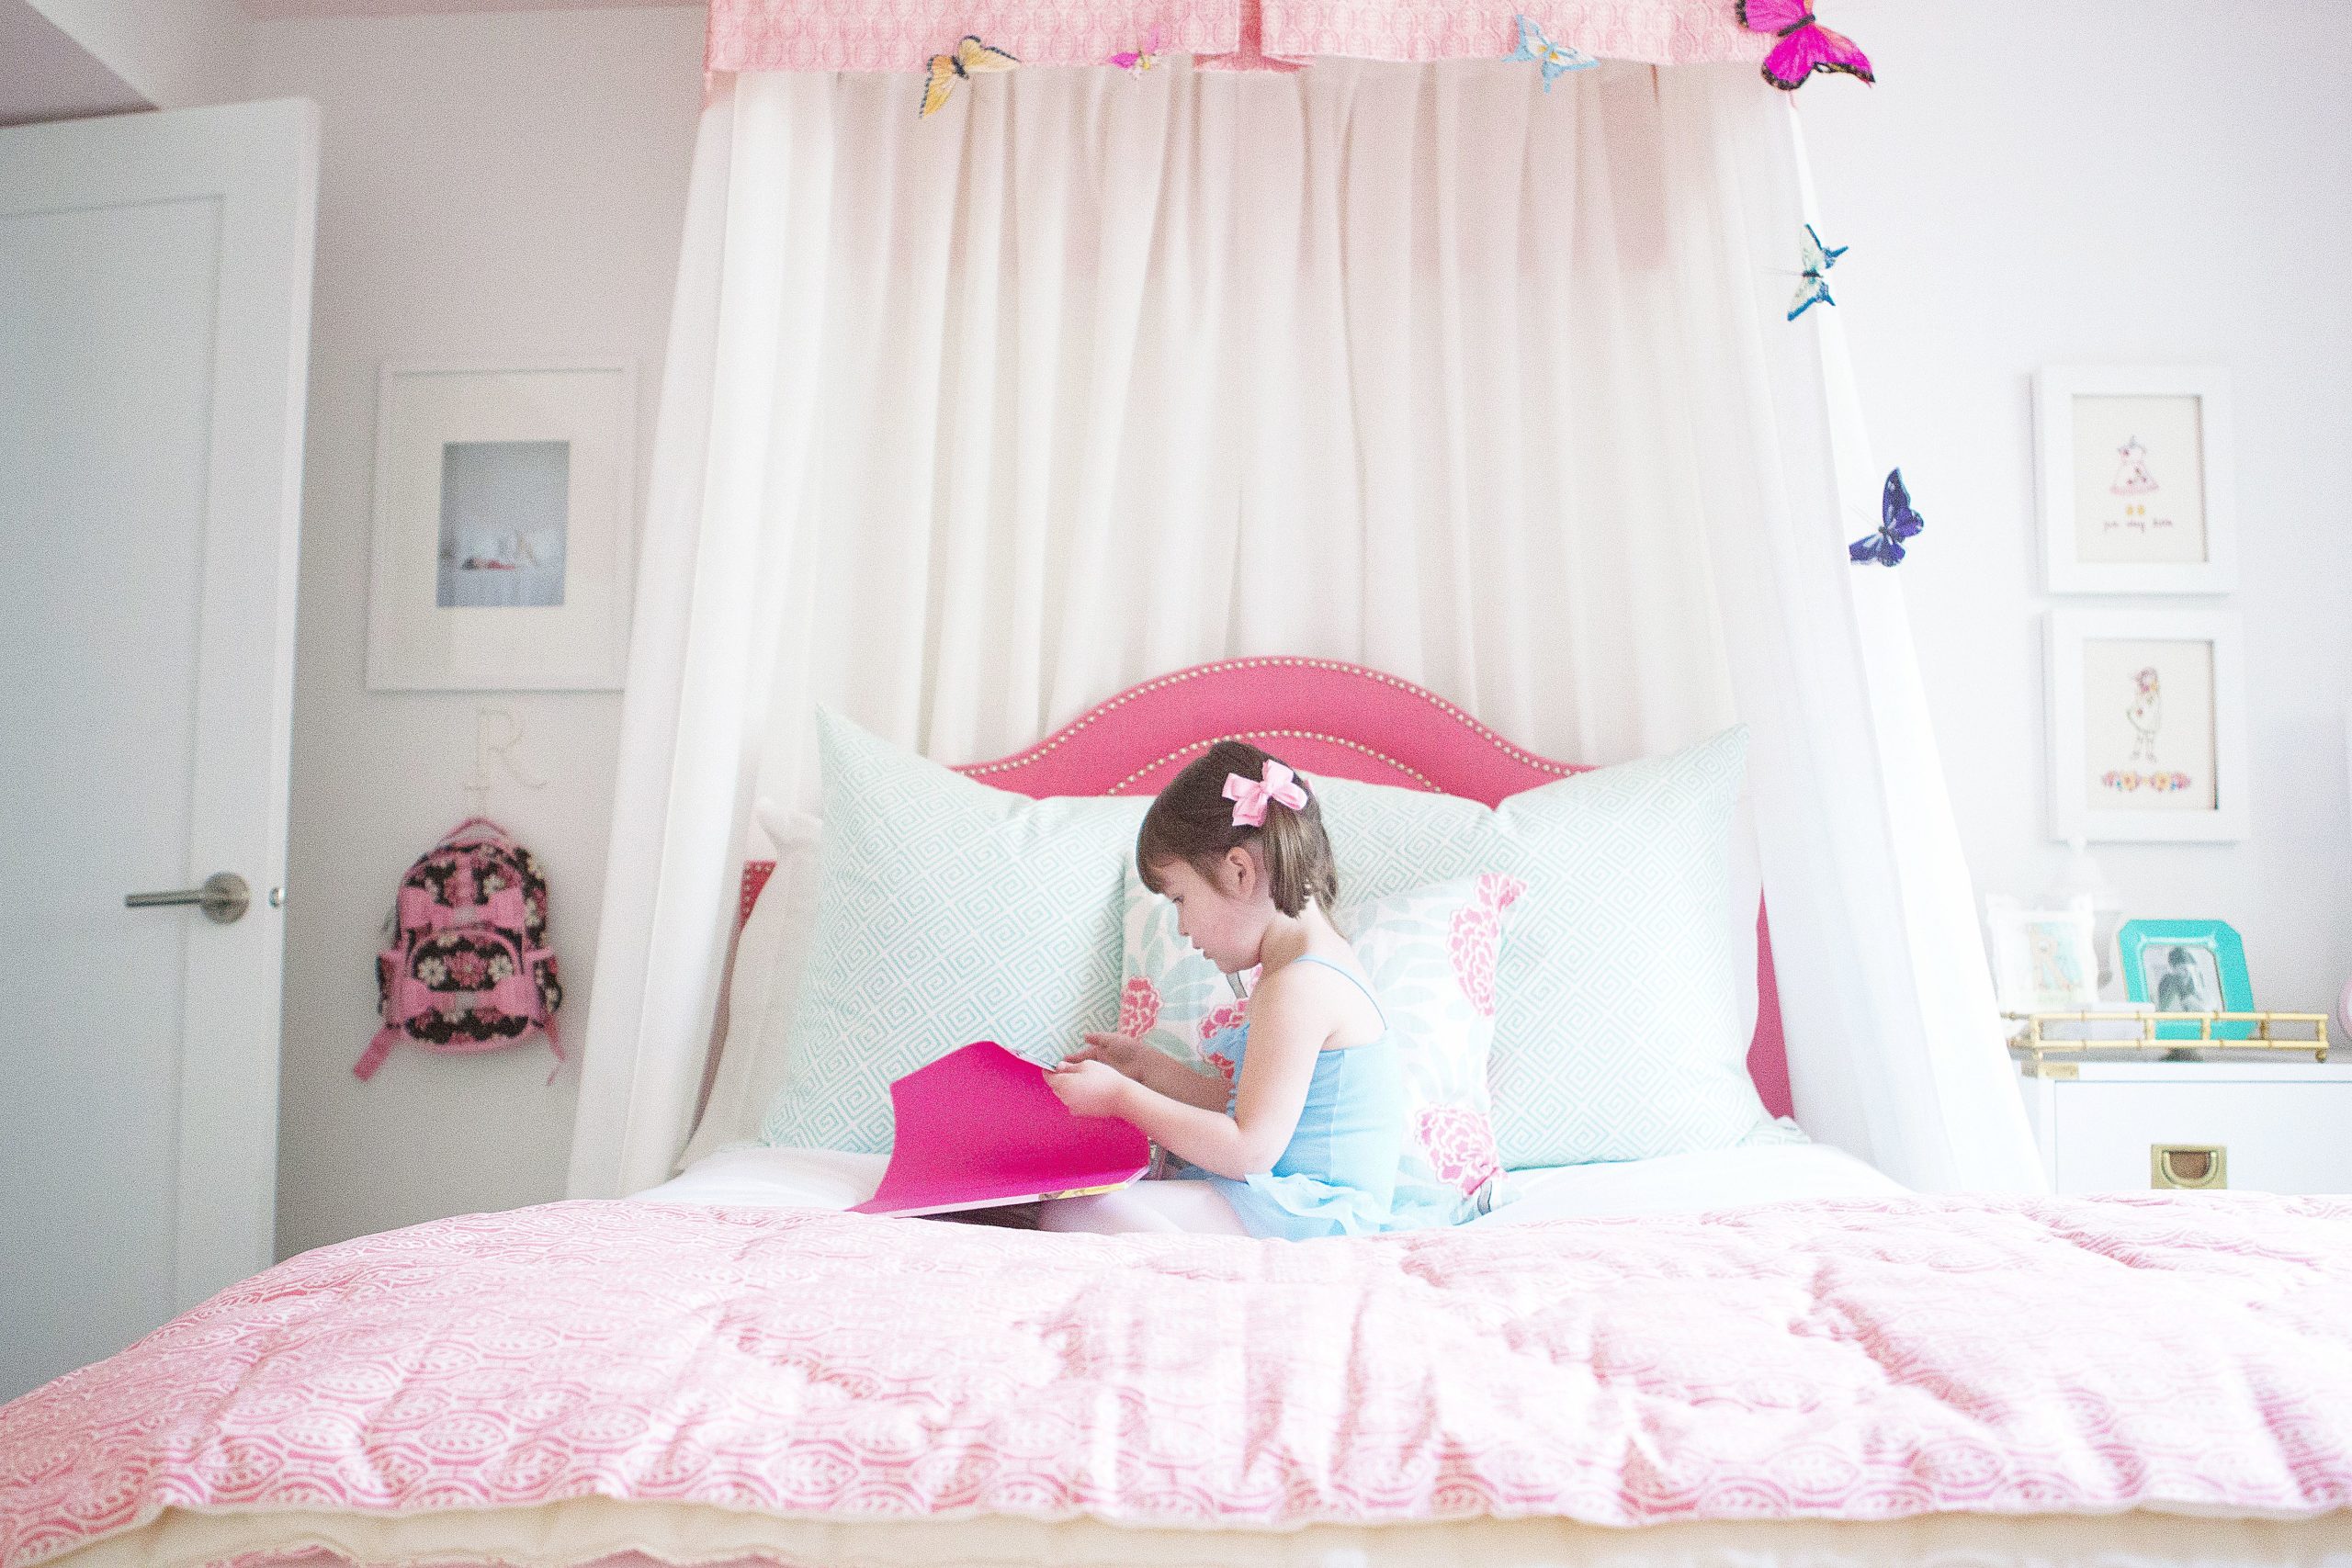
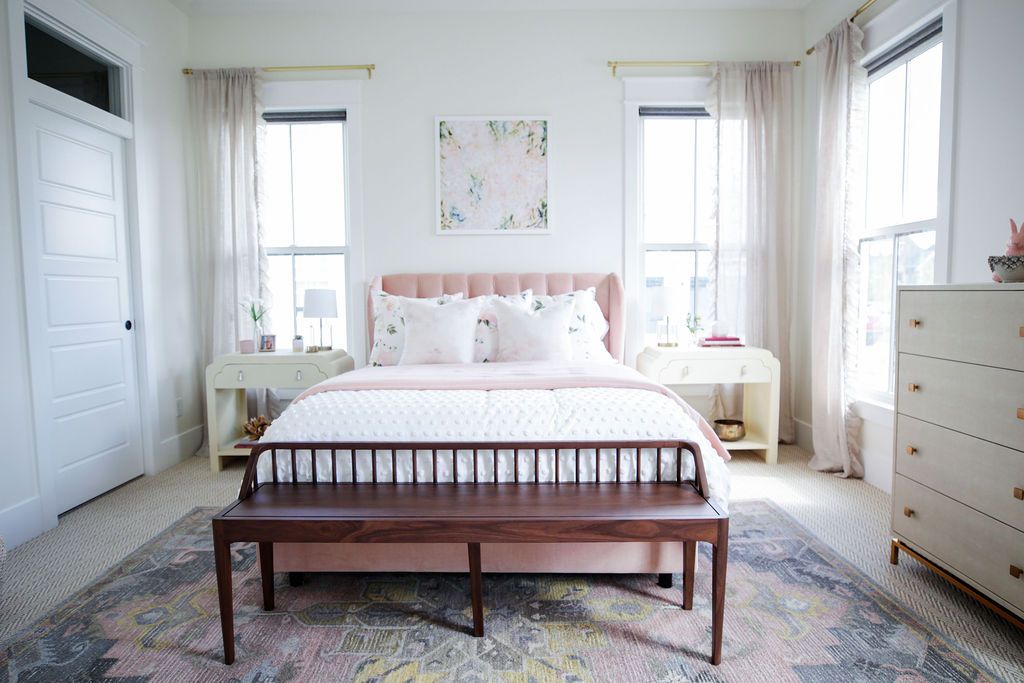
Crib Skirt to Canopy Bed: Ruby’s DIY Canopy Bed
November 6, 2015
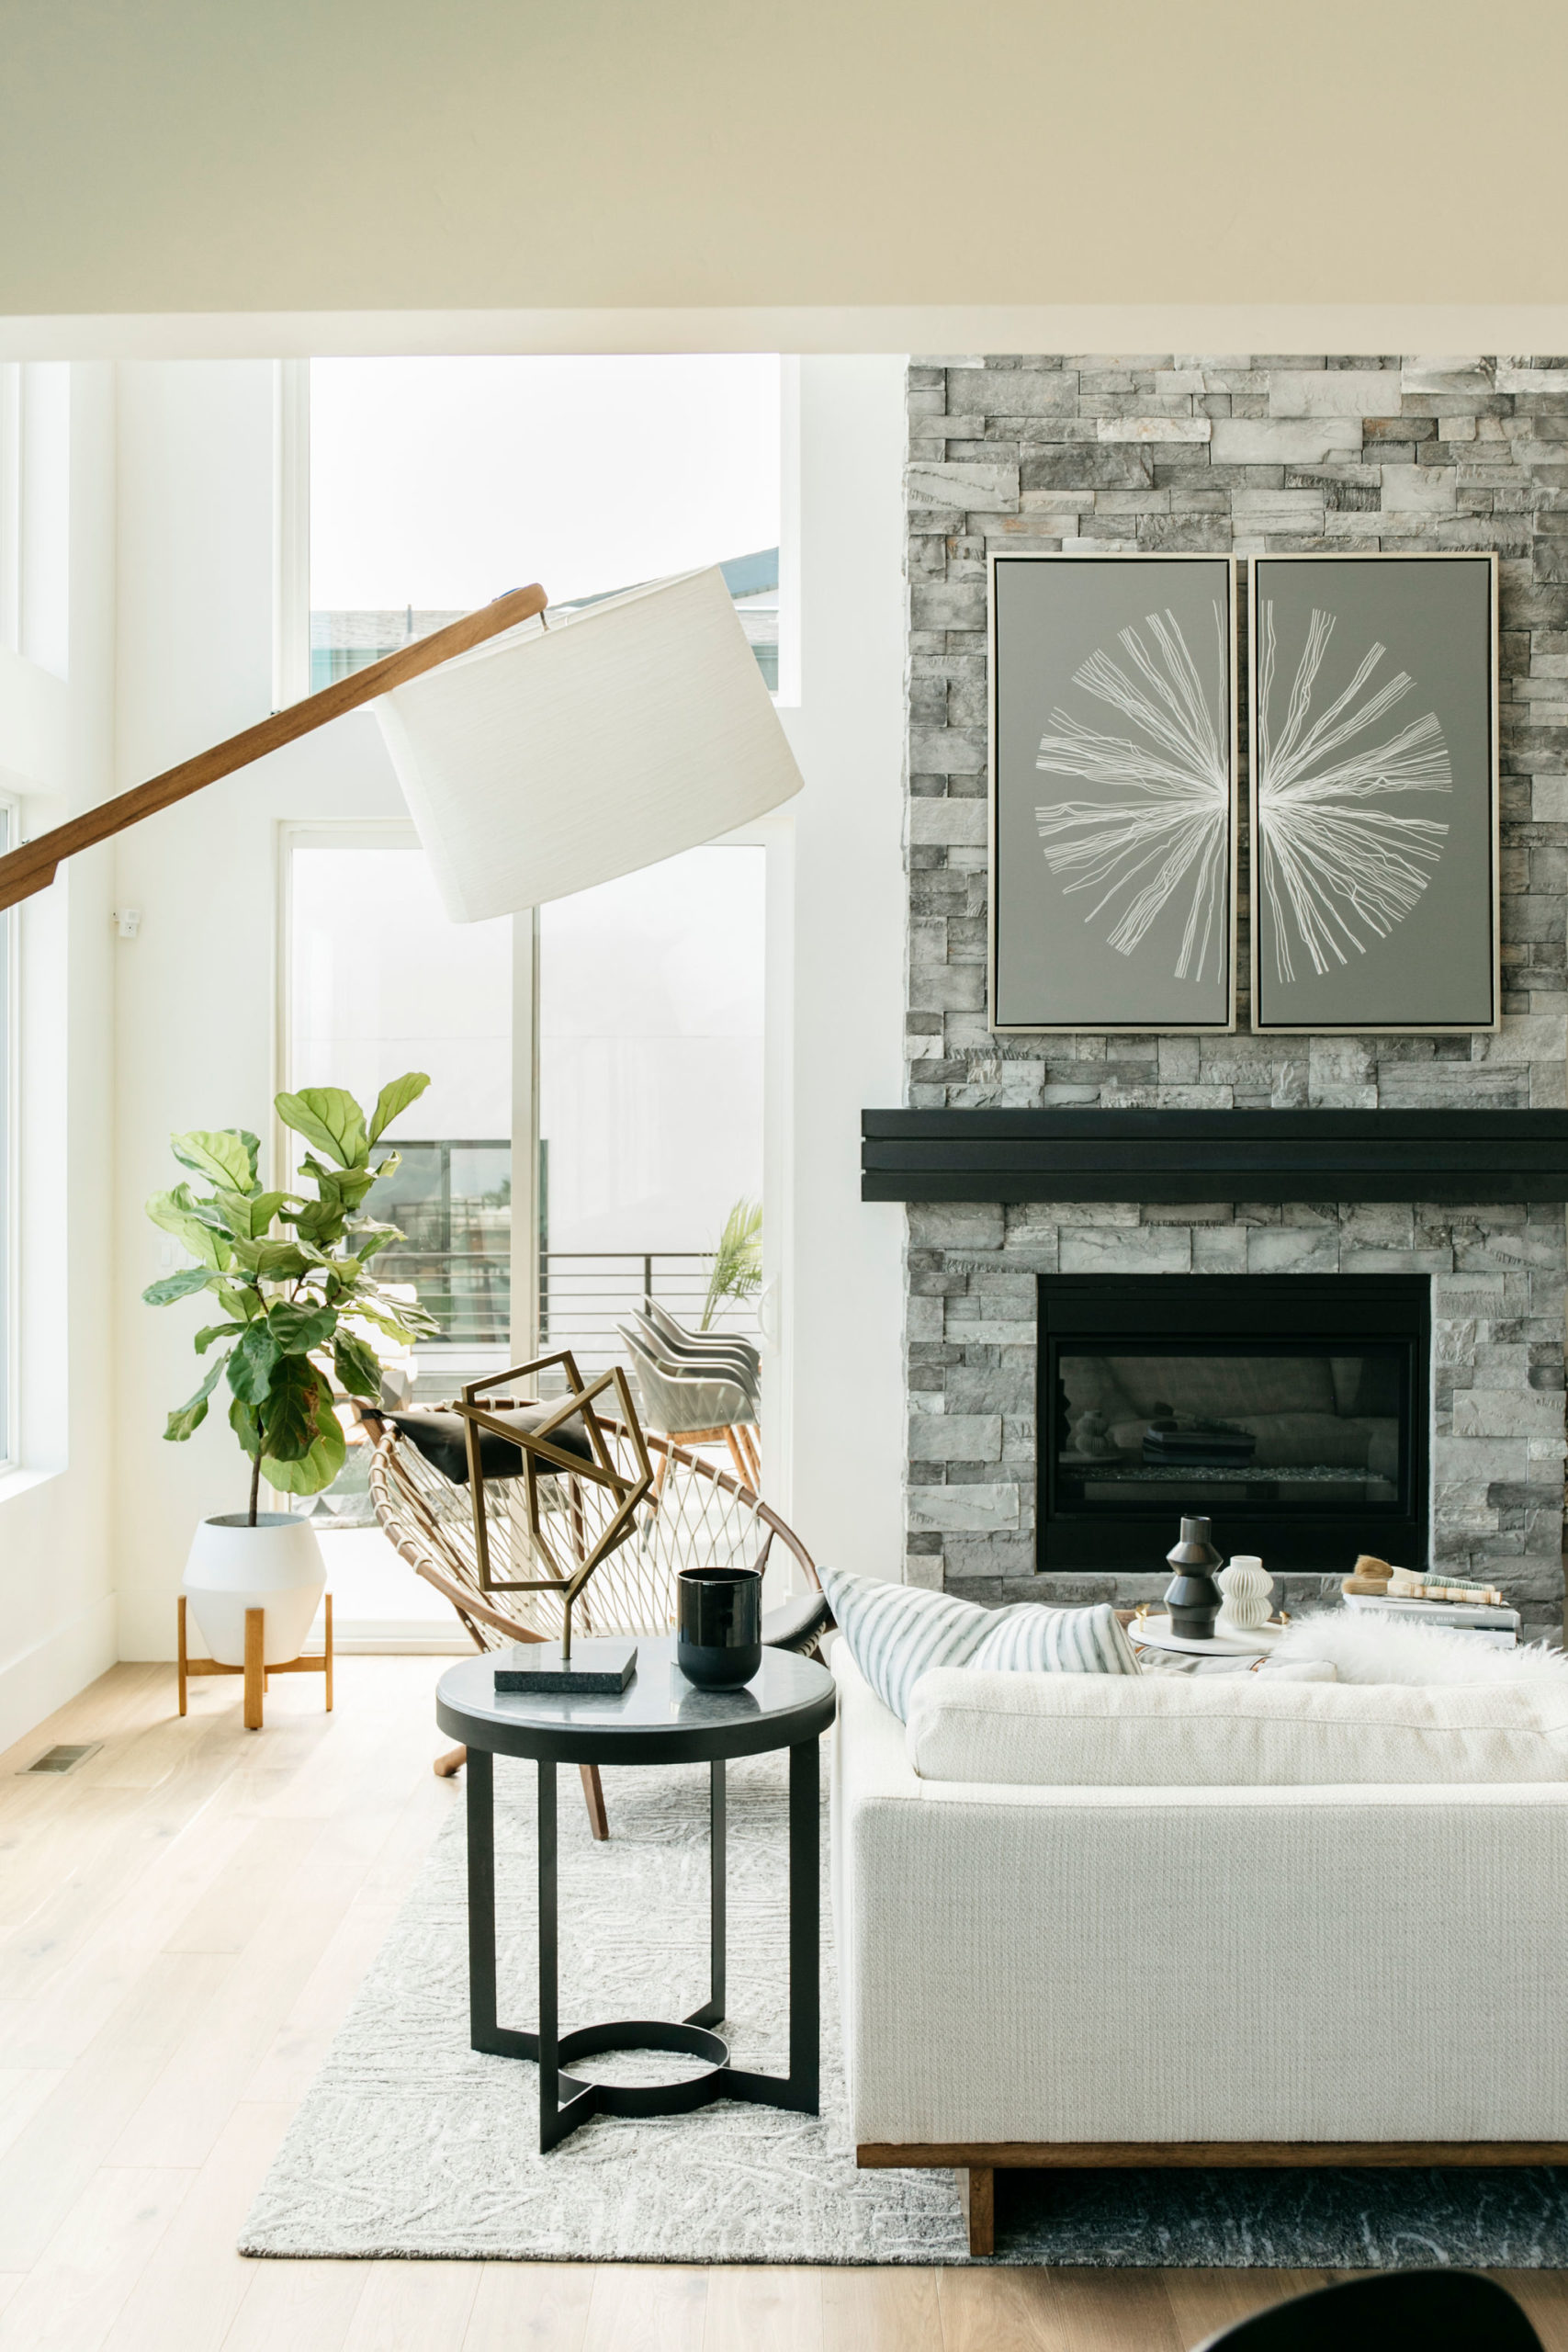
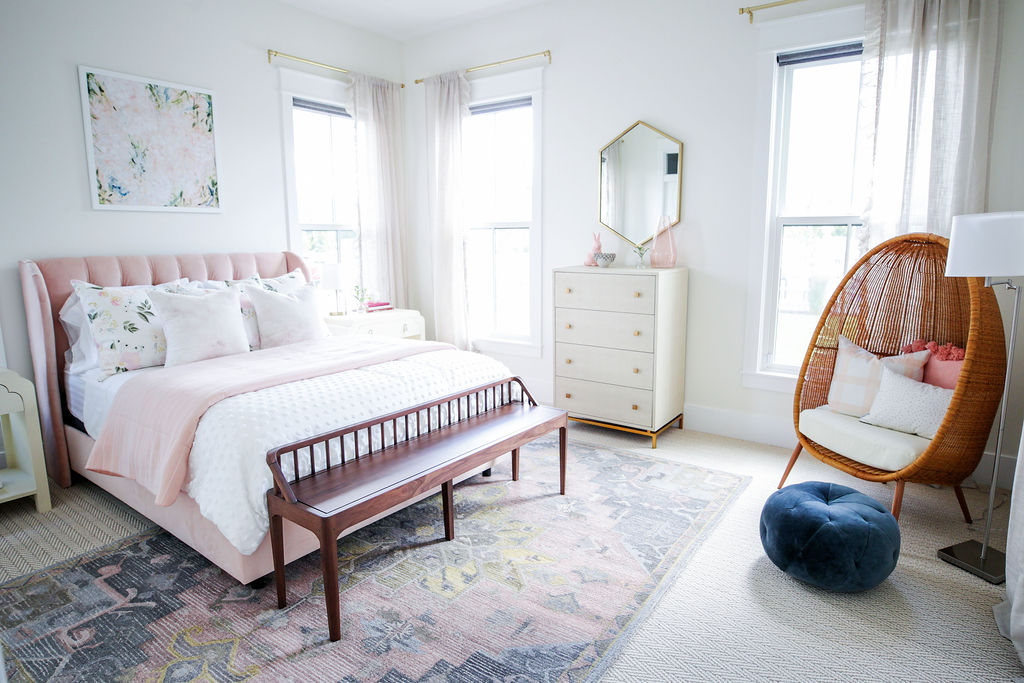
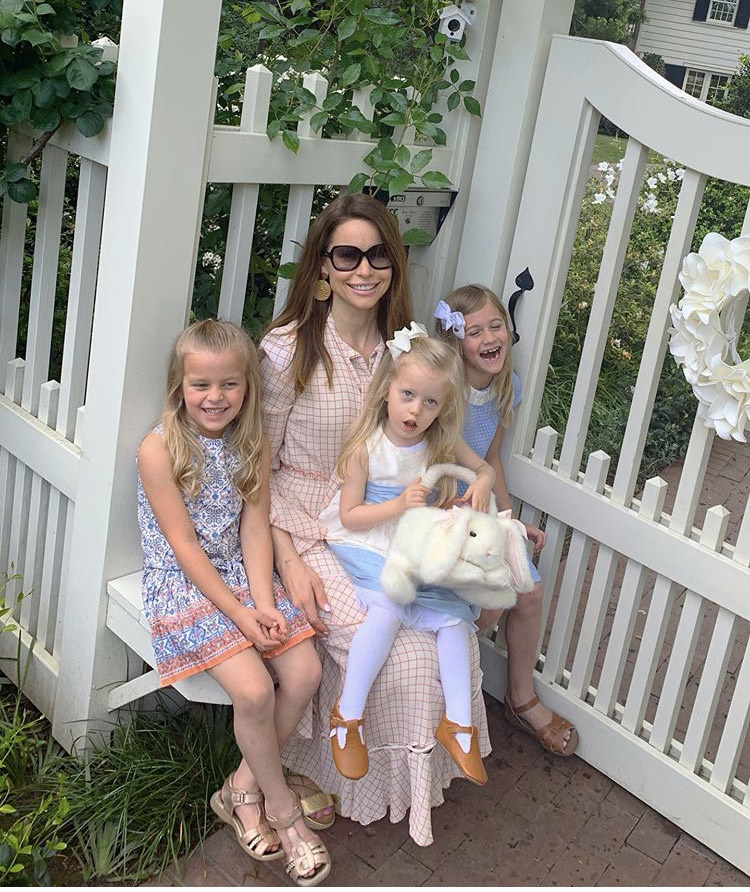
Thank you so much for the sweet response over Ruby’s big girl room reveal. It’s already such a special place in our home, and every time anyone comes over– from neighbors to the pizza delivery man– she proudly announces she has a princess room.
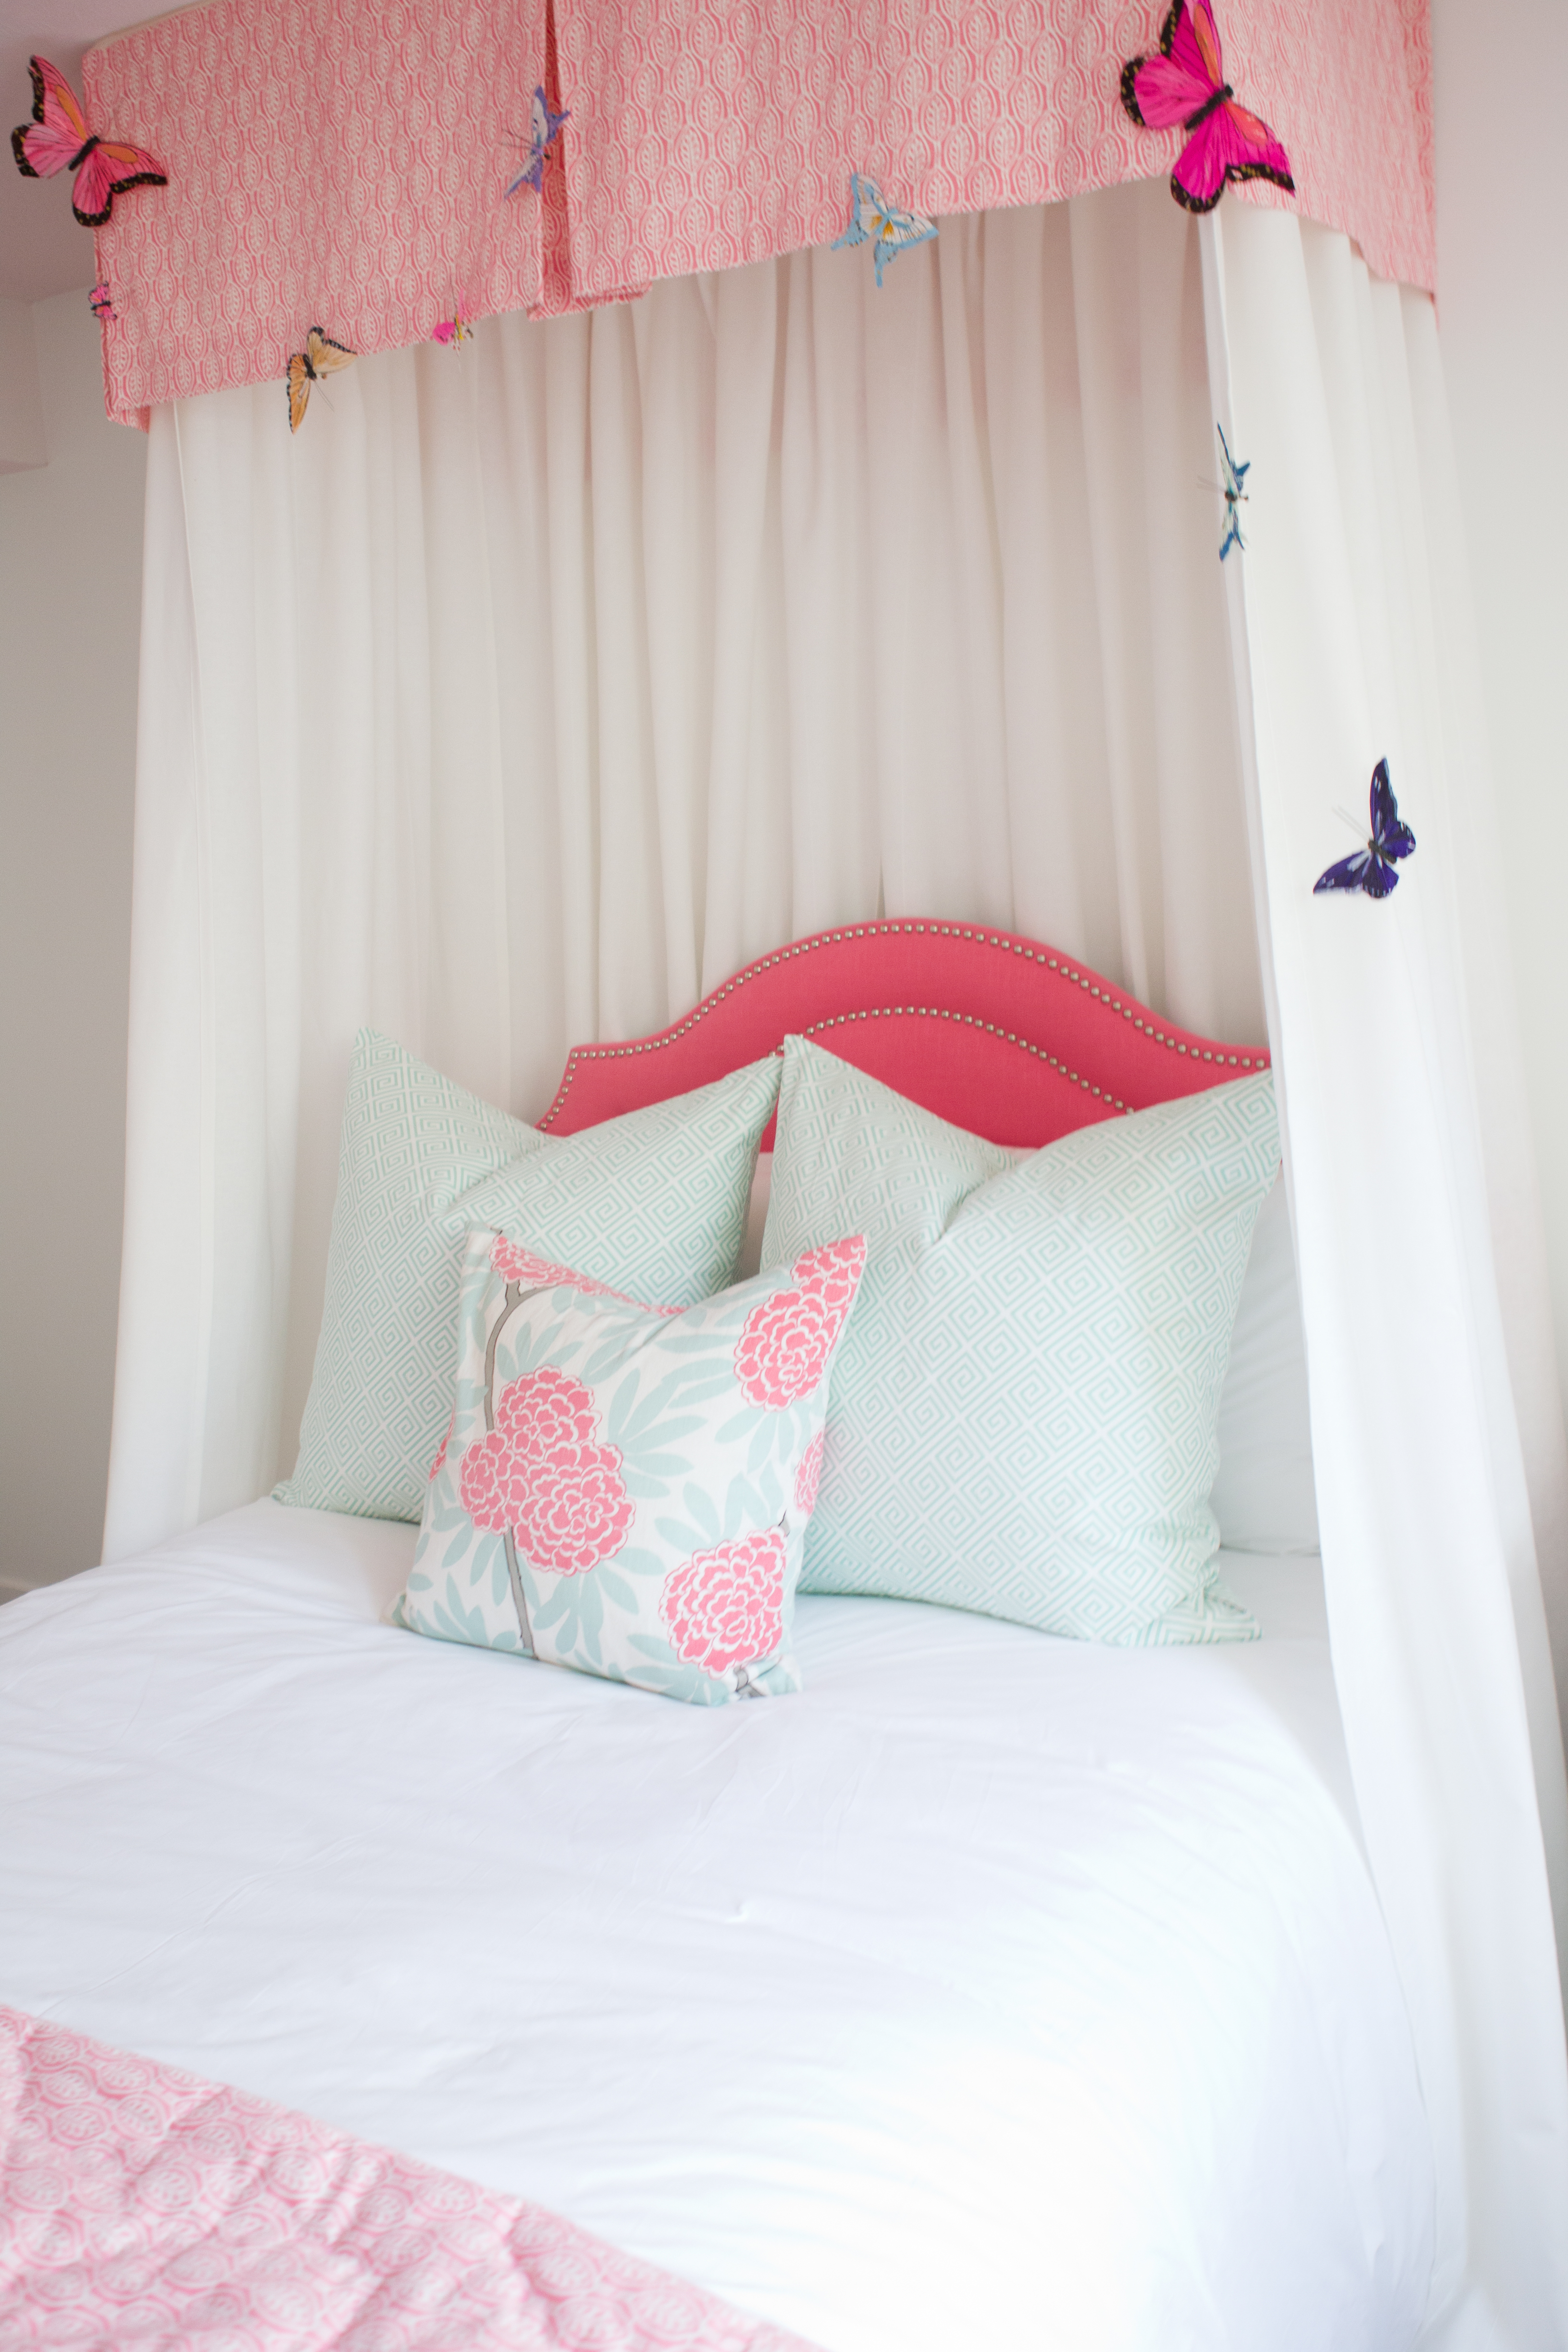
Today I’m sharing the first of the DIY projects in her room and it’s perhaps my favorite. the DIY Canopy Bed.
When I asked Ruby what kind of bed she wanted, she said a pink princess bed. What 3-year-old doesn’t want one of those? Heck, I want one! Shortly after that we watched Sleeping Beauty and I was reminded just what a princess bed was.
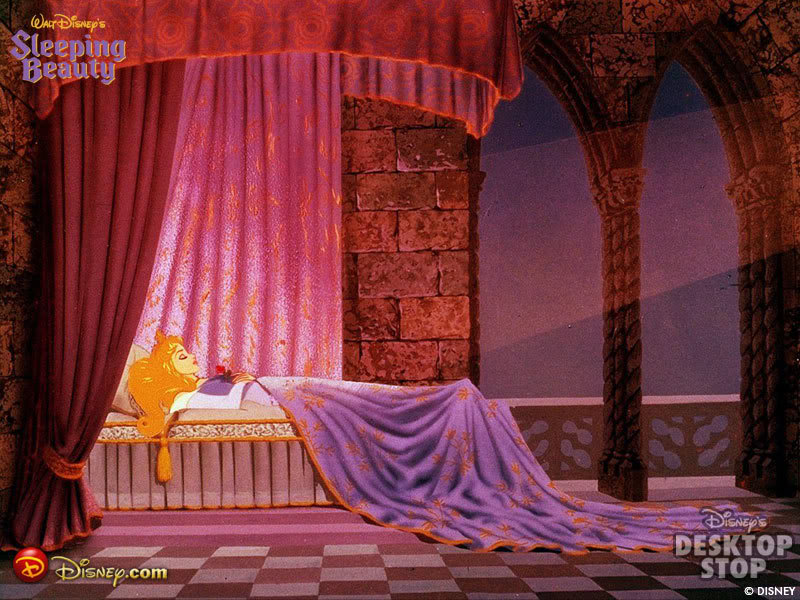
I mean, how dreamy. Disney knows princesses. I knew the canopy was a must.
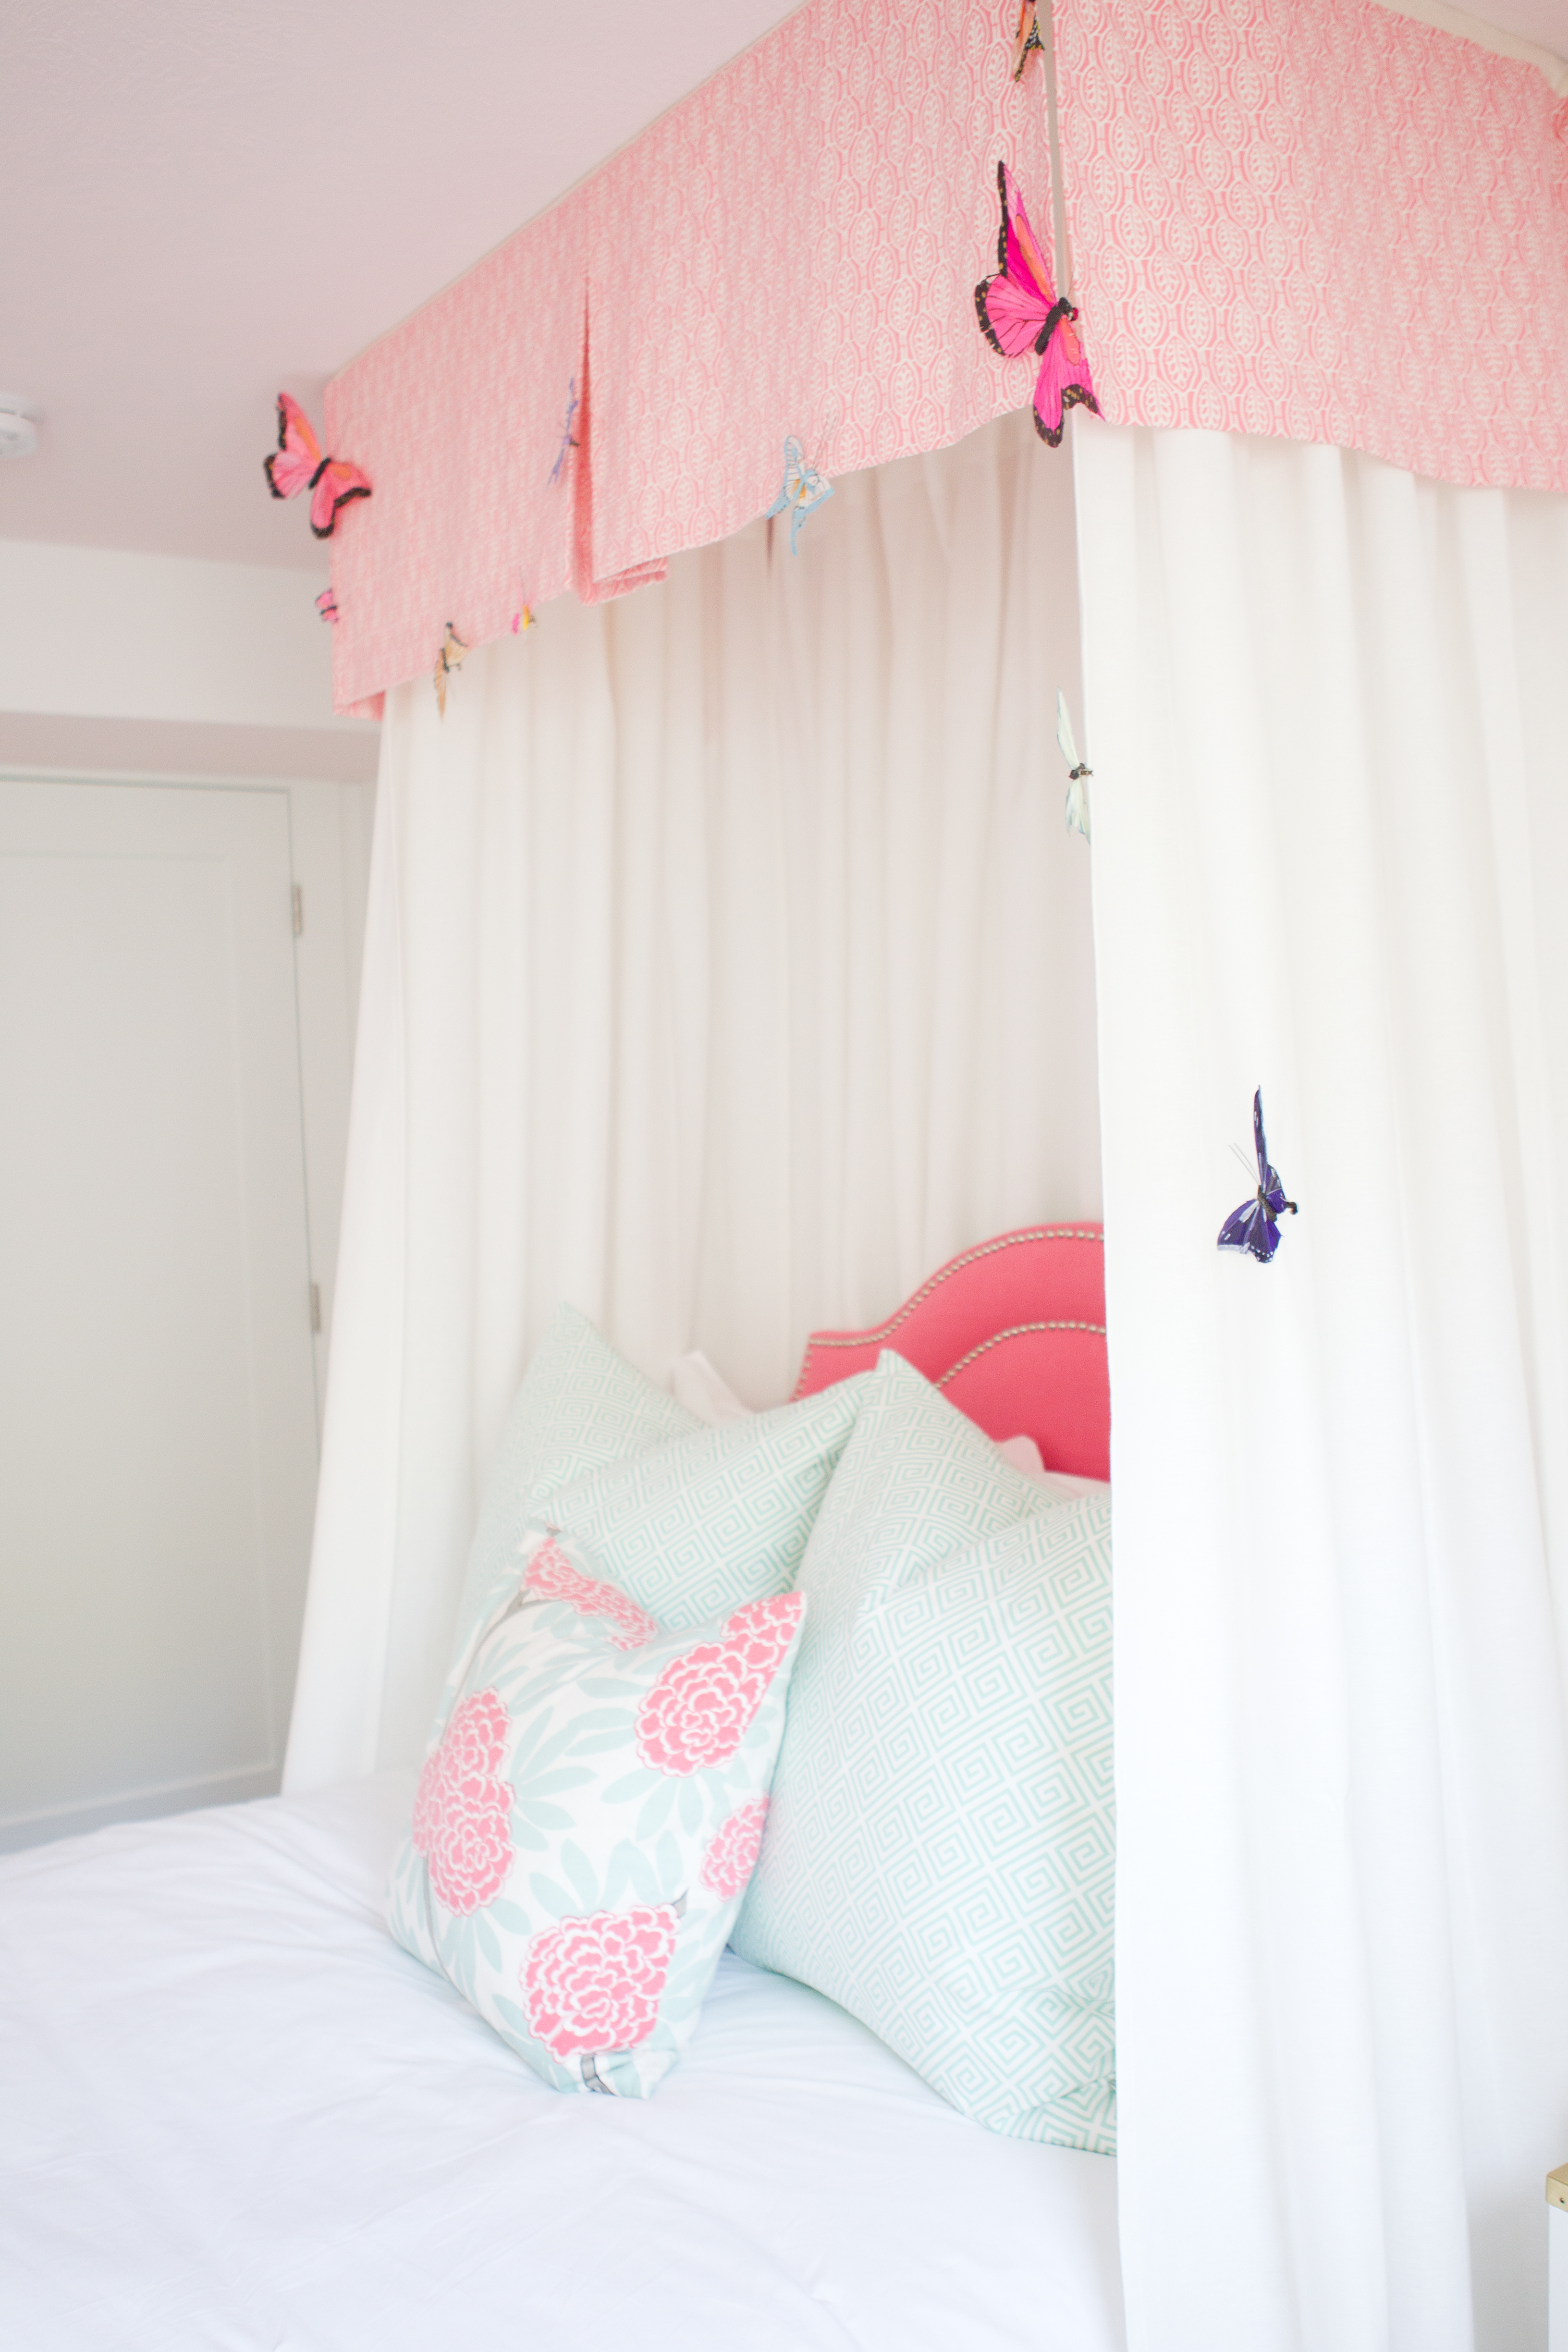
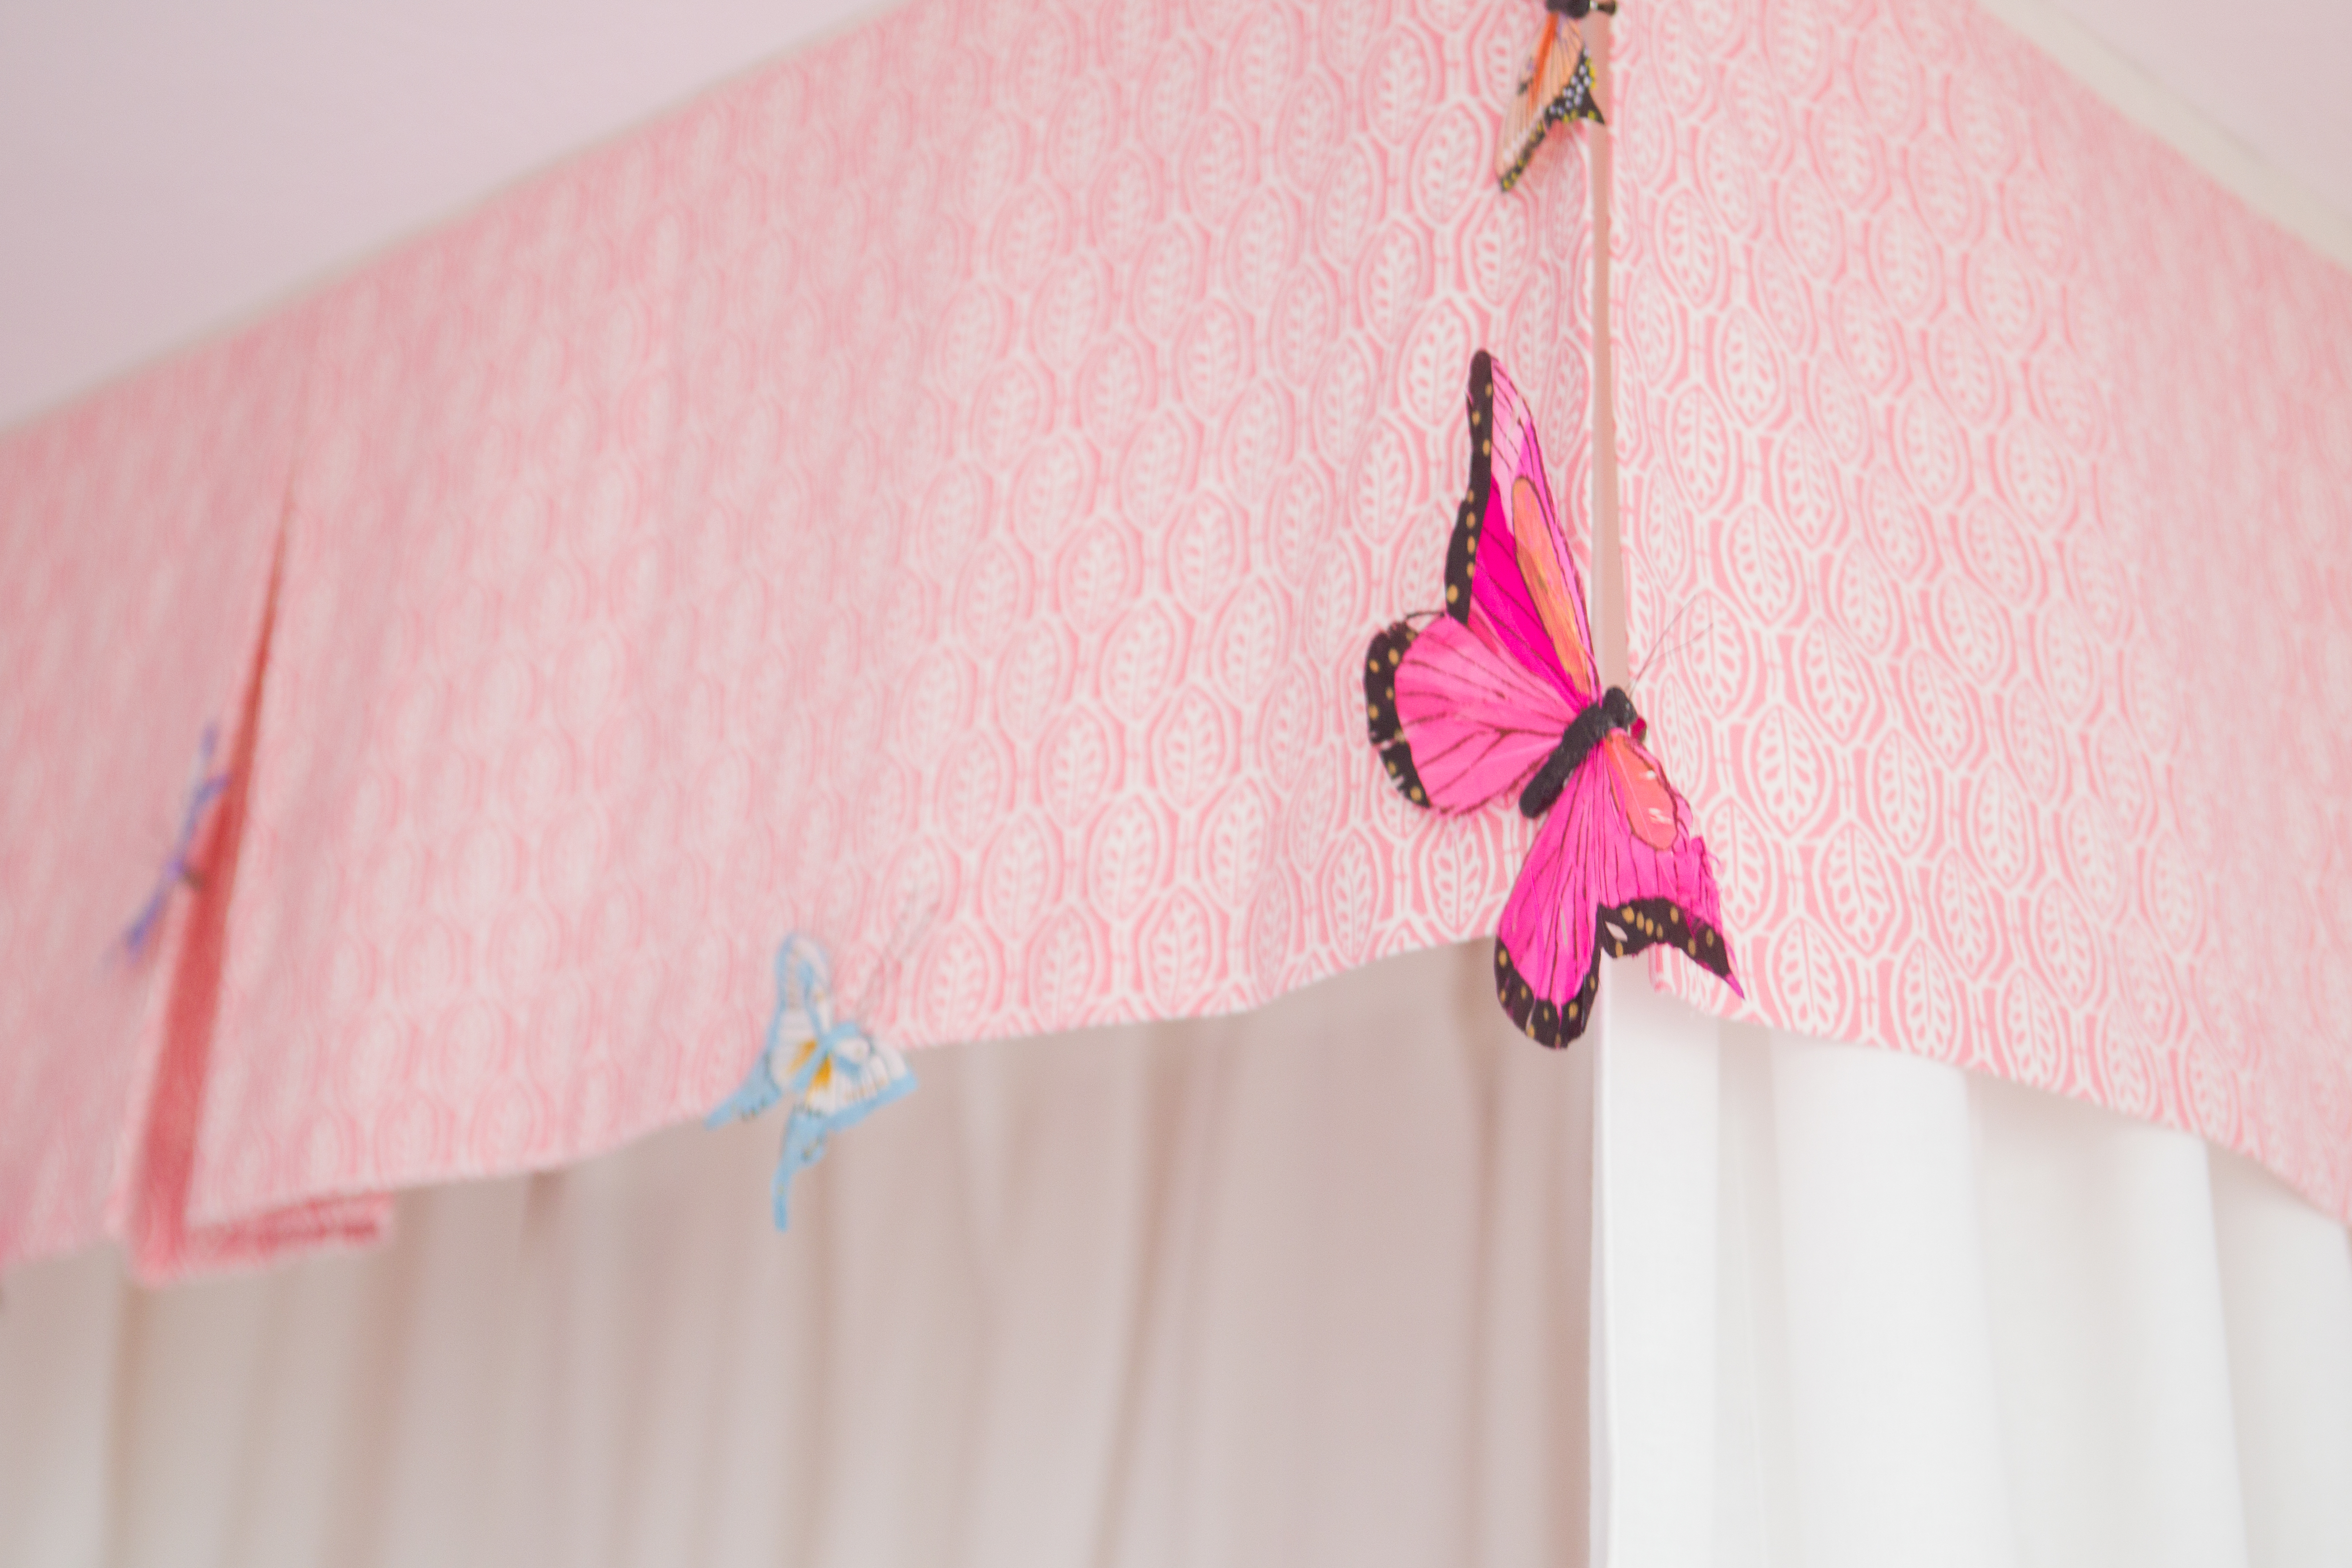
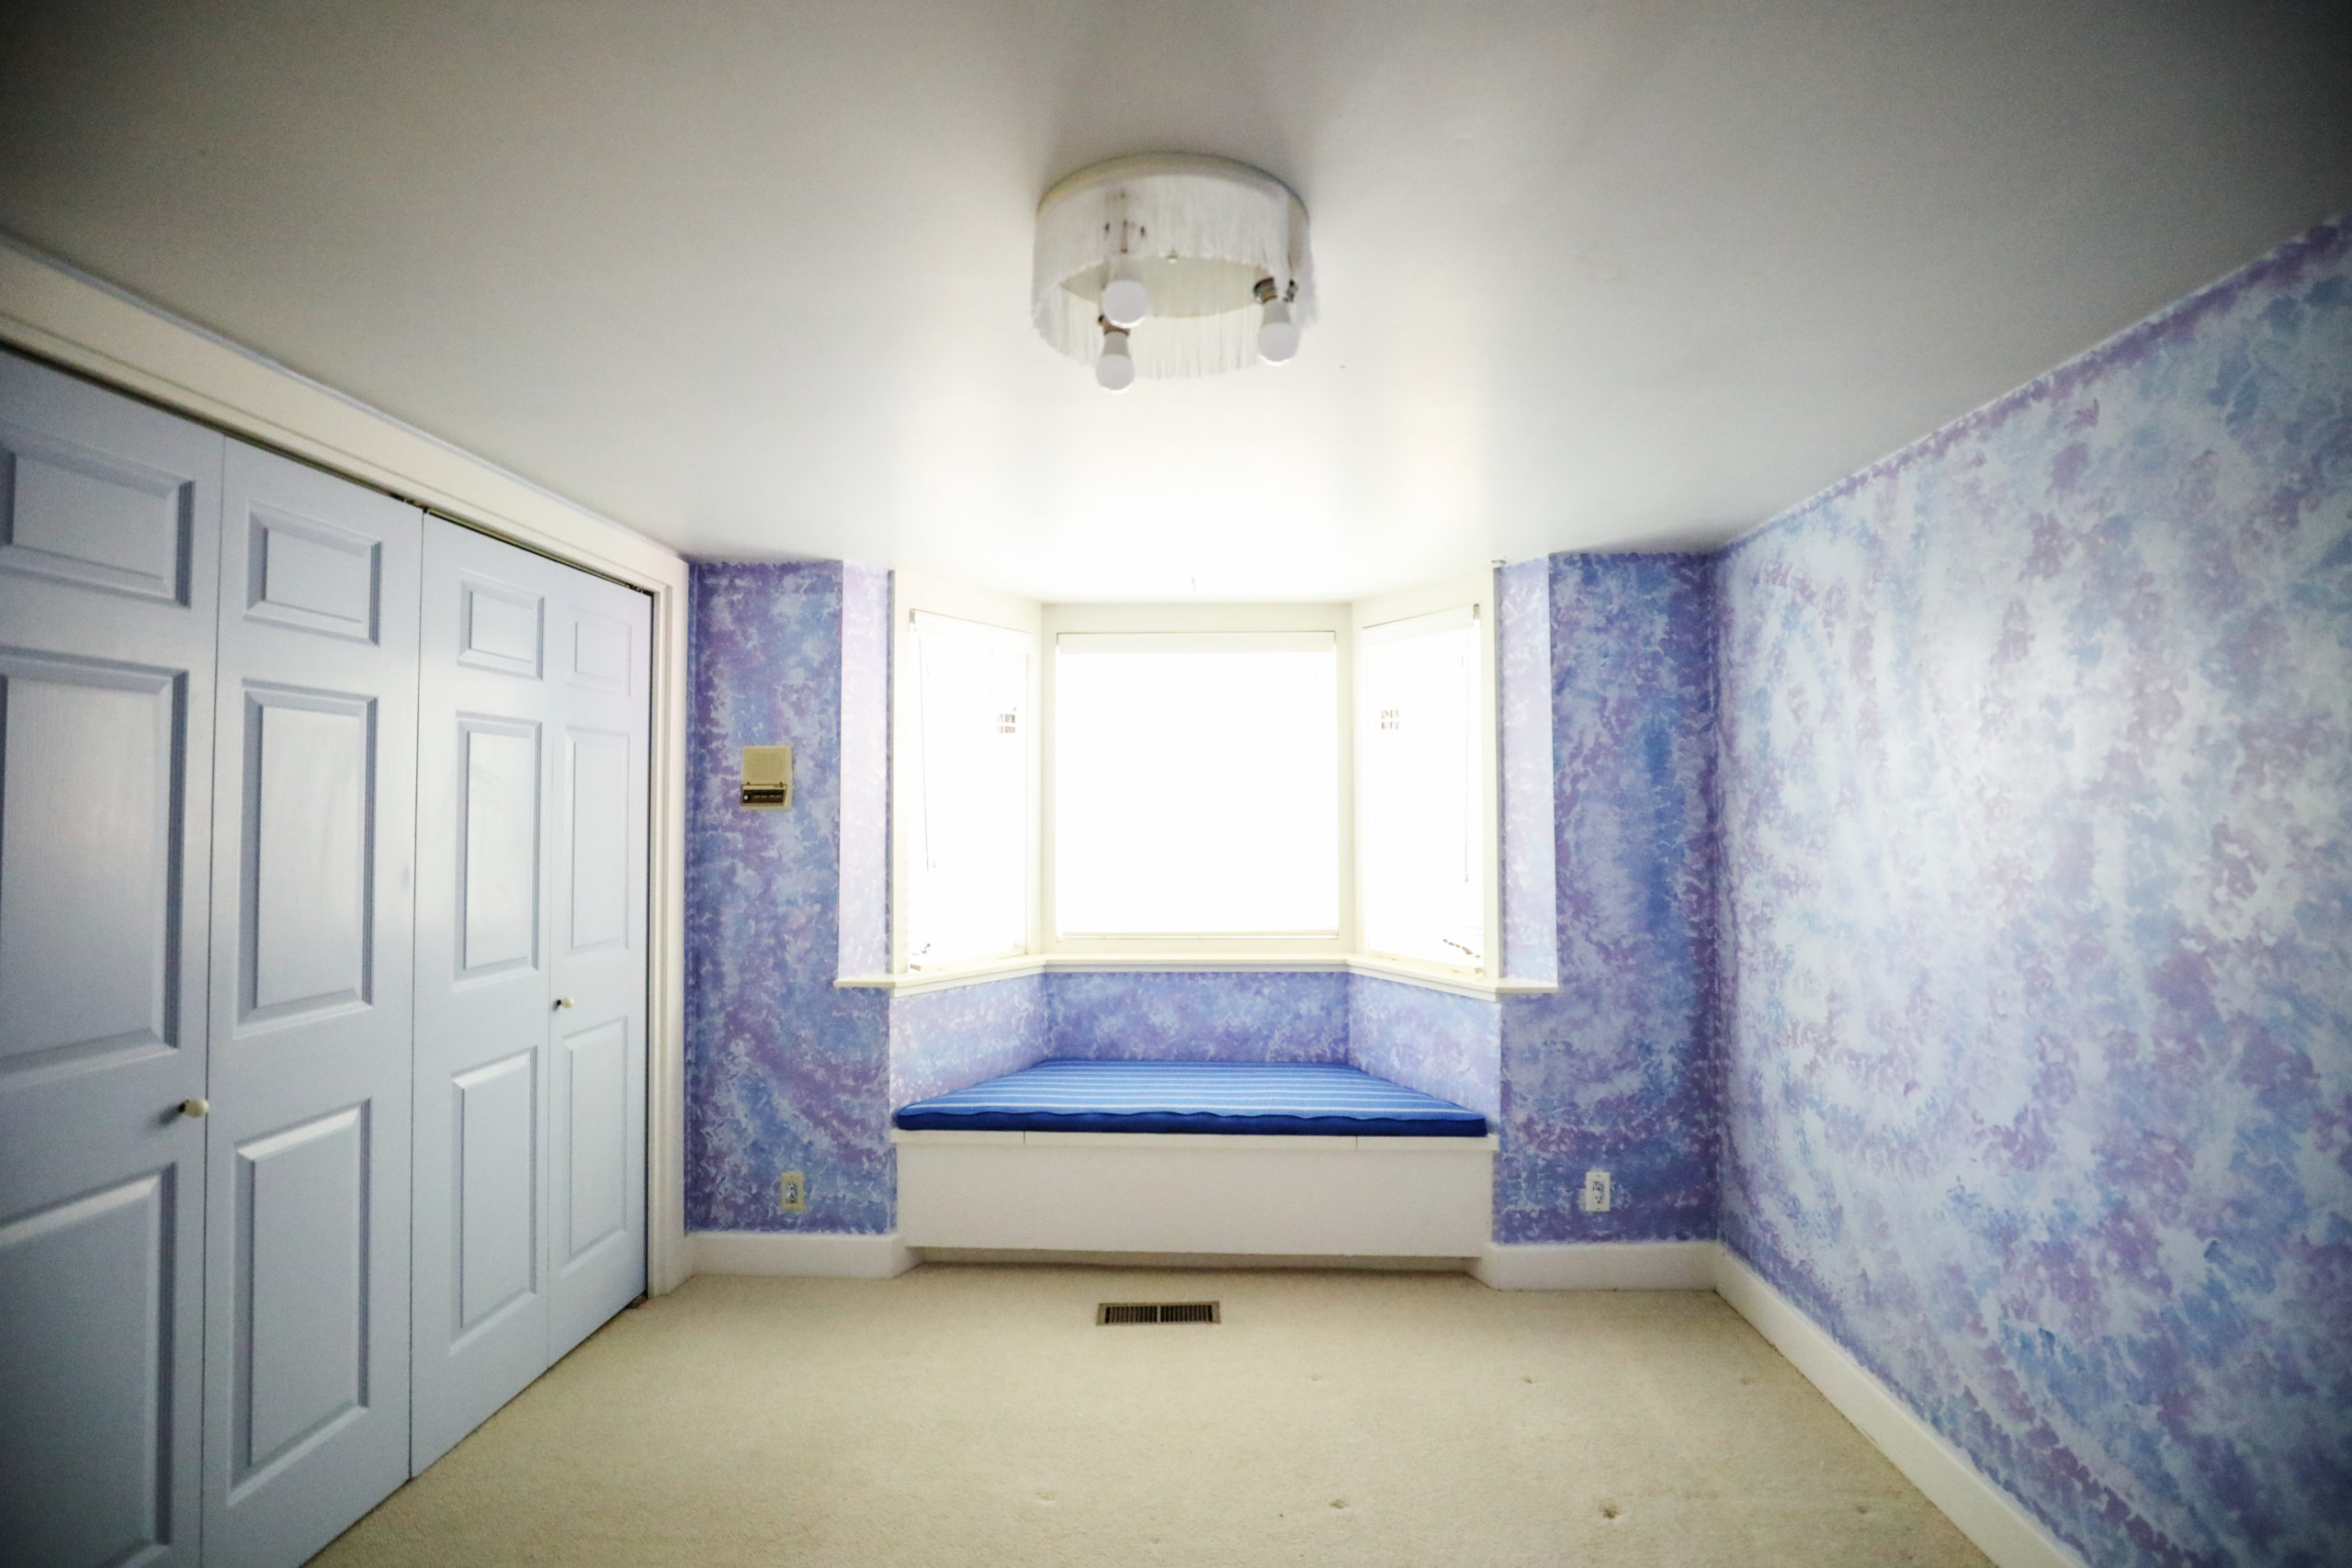
I started gathering ideas for a canopy at the same time I was packing up her nursery in the rental and since I knew we were going to transition from her crib to a big girl bed right when we moved it, I wanted to get moving. As I was folding up her beautiful crib skirt, lovingly made by my mother-in-law, I realized the pleating would be great as the top of the canopy.
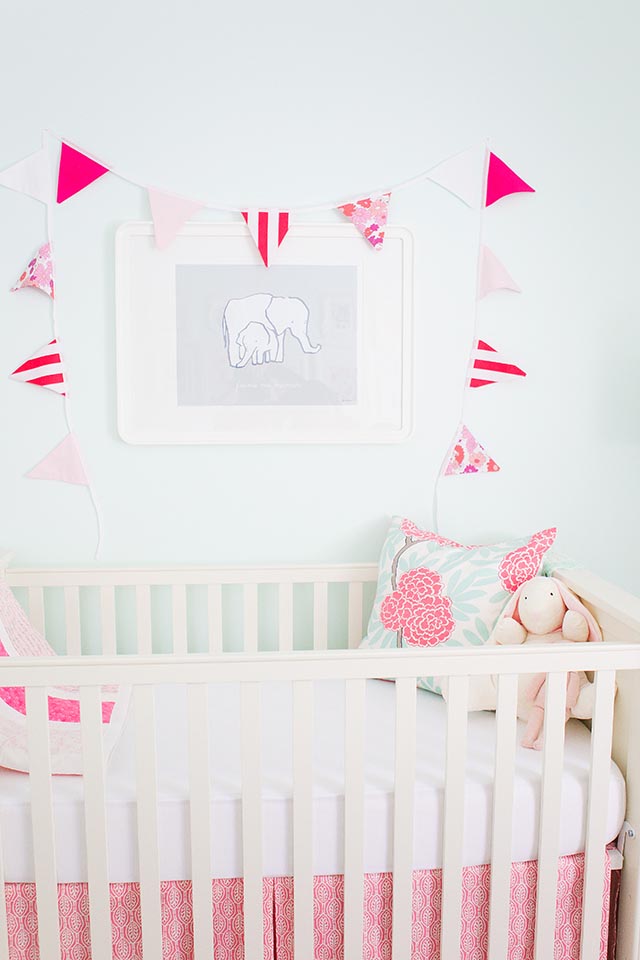
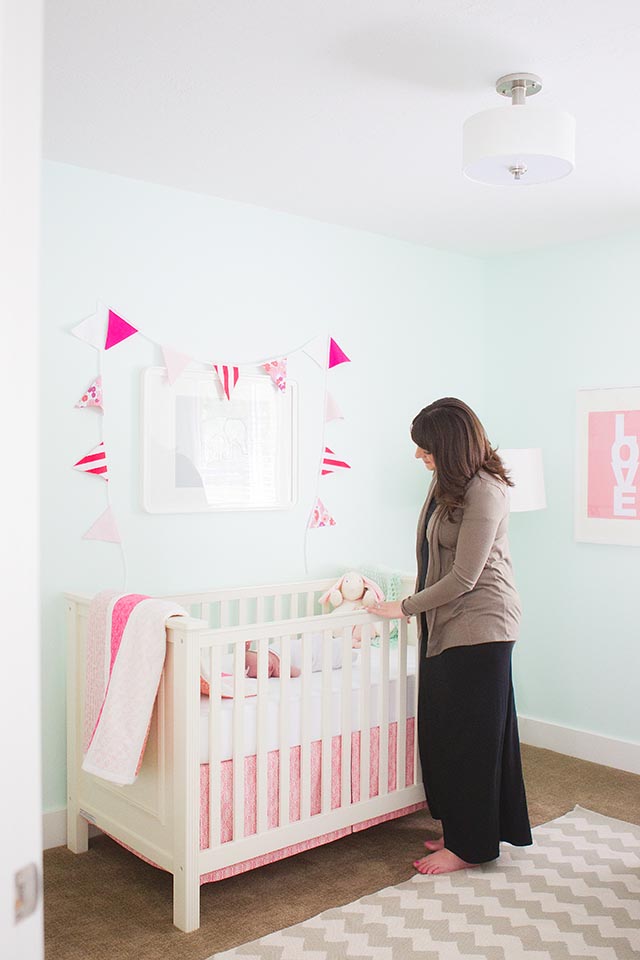
Awww, now I’m feeling all the mom feels because those photos are from Ruby’s newborn photo shoot in our last home. I miss that sweet nursery, and that sweet baby Ruby.
I pulled out my measuring tape and the crib skirt was the perfect size to go over a full sized bed. My wheels were in motion.
I designed the canopy and Jon was concerned (as he usually is) that it would be complicated but it could not have been more simple and we put it all together in about an hour. Here’s how we did it:
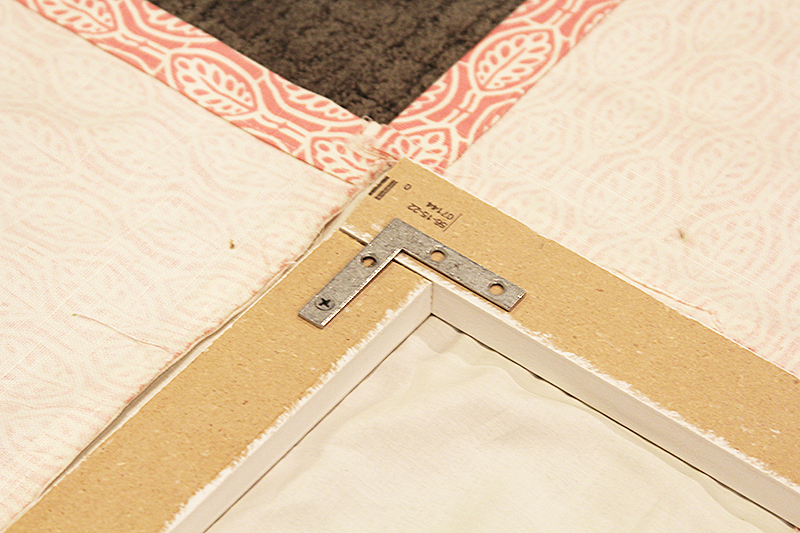
We laid out the crib skirt, pattern side down, and carefully measured the inside box (the part that fits exactly under the crib mattress.)
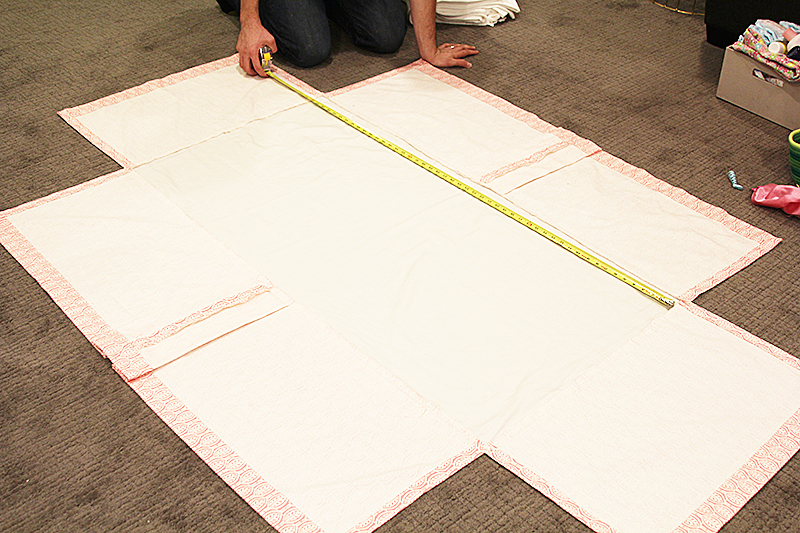
Once we had measurements, we cut four pieces of small, pre-primed, 1 1/2″ wide x 3/4″ thick moulding to match the measurements to form a box frame.
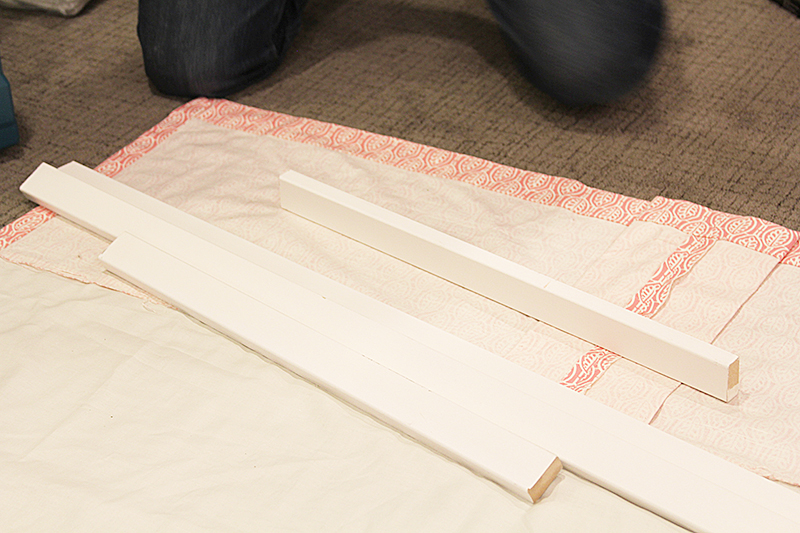
We laid the moulding pieces paint side down, in place on top of the crib skirt.
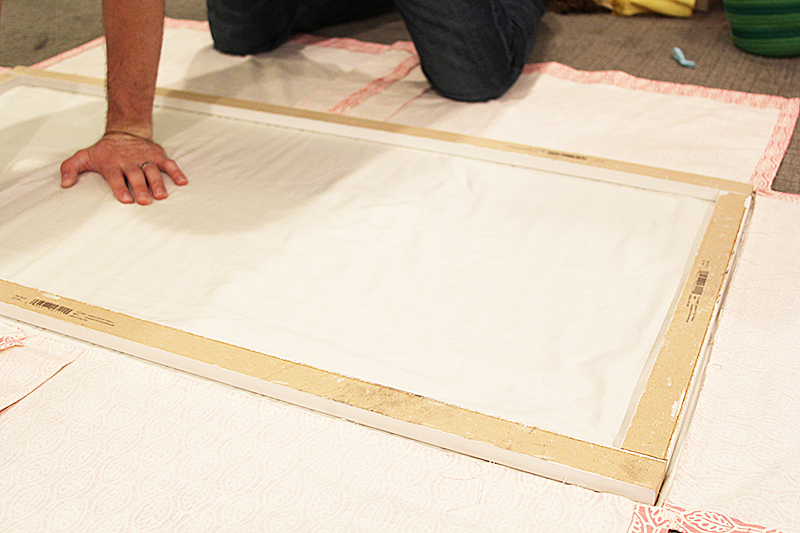
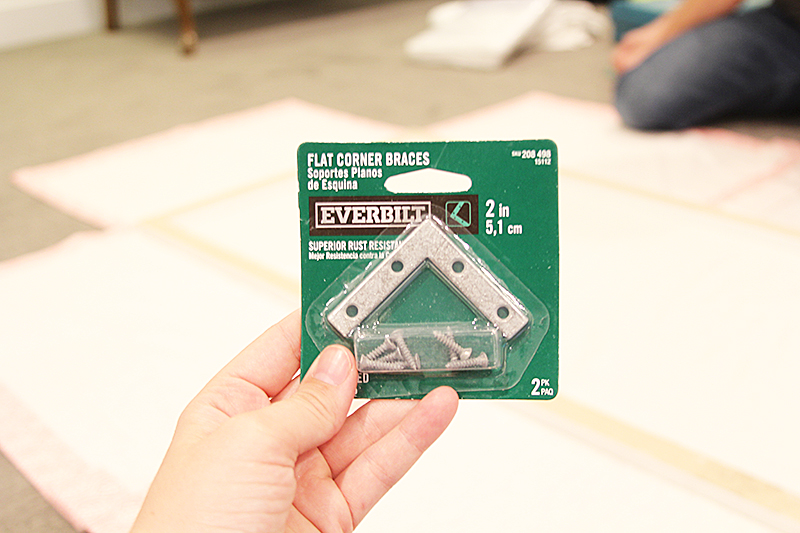
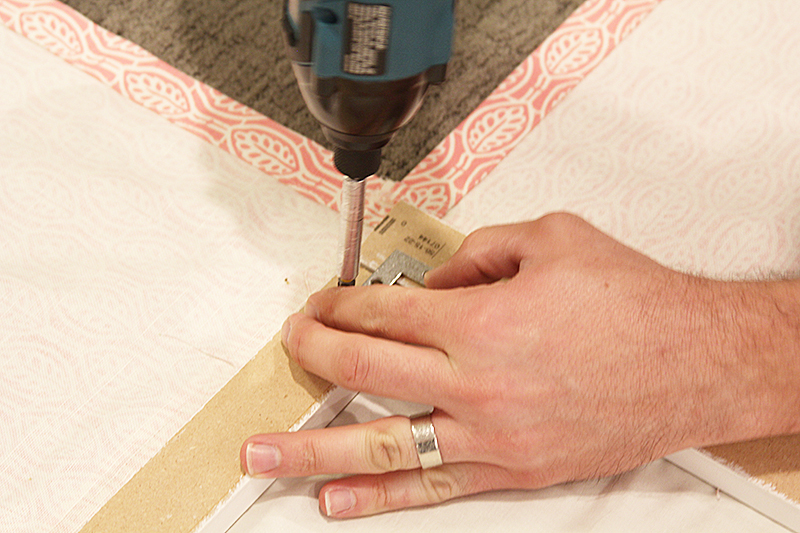
Then using four flat corner braces for the corners, we drilled the corners together to form a box. But this is important– we left one corner open.
Below is a shot of the open side.
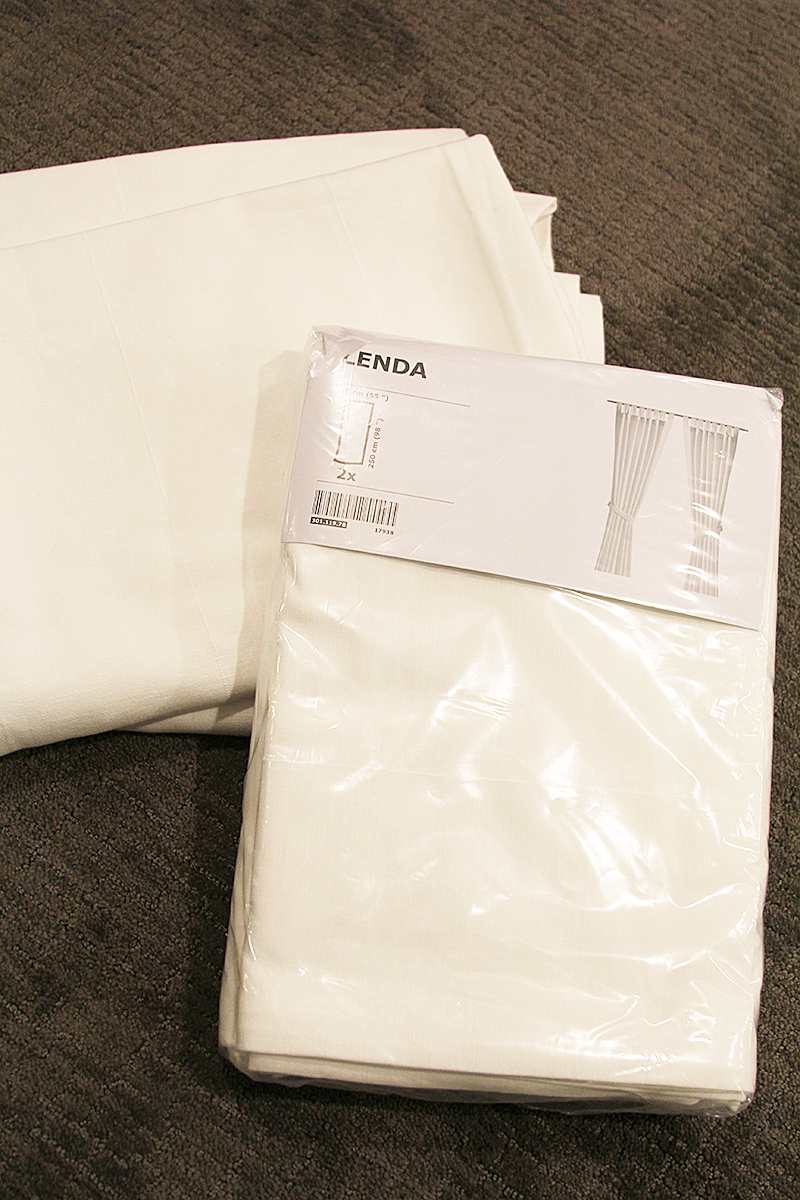
I picked up two packages (four panels total) of IKEA Lenda drapes with loops along the top.
We looped the drapes on the box frame, using the open corner. Two panels along the back, long side and one on either short end.
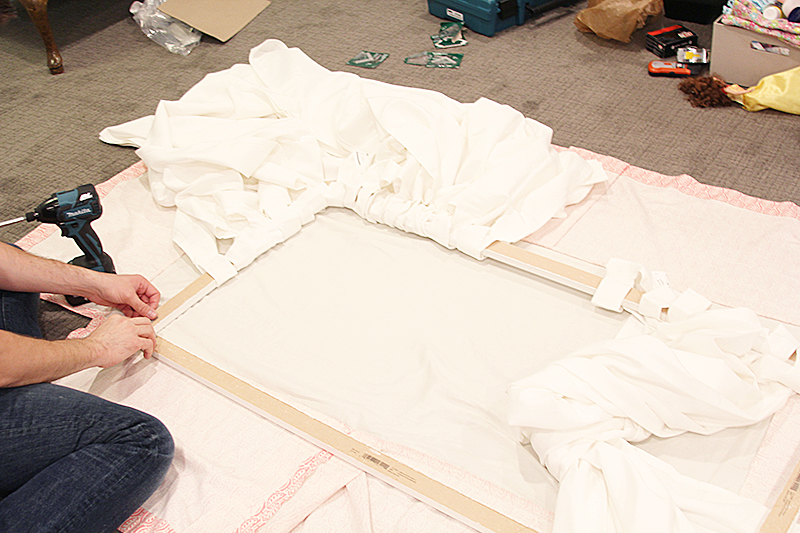
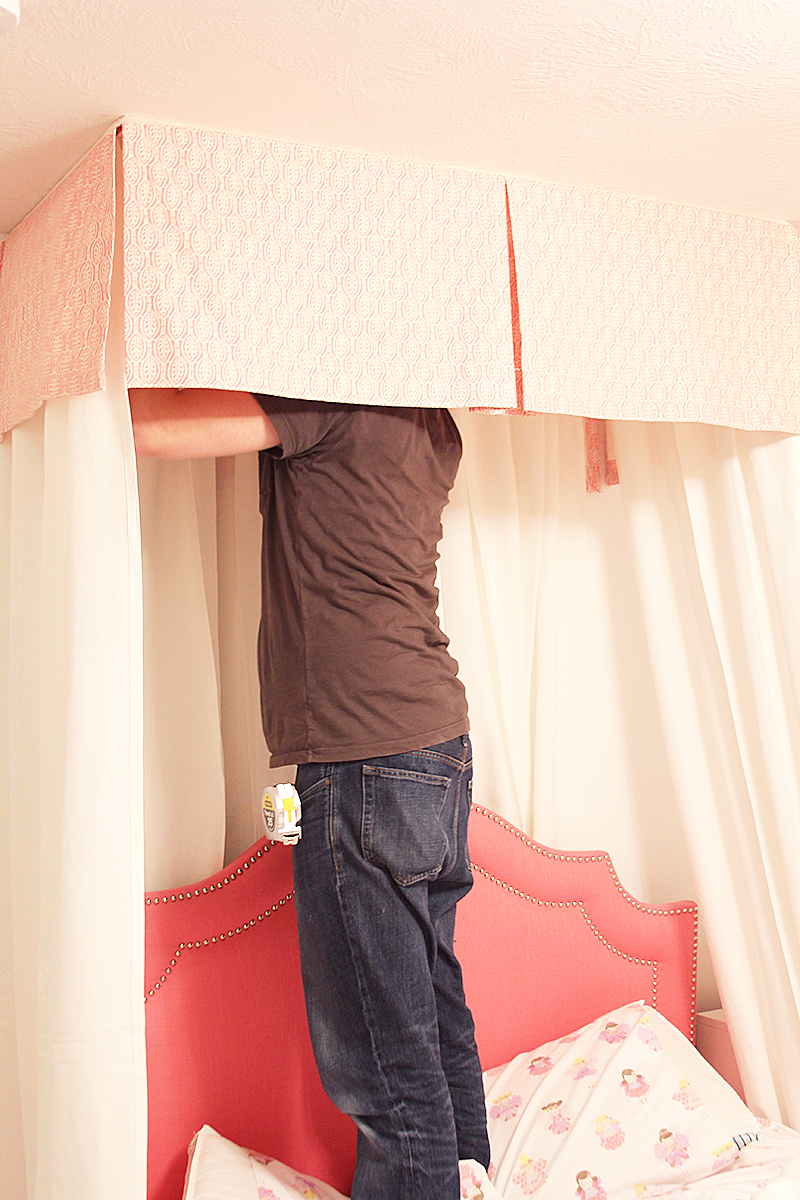
Because of the weight of the canopy, we knew we had to screw the canopy into the underside of the floor joists above the bed – screwing into drywall alone wouldn’t have been strong enough. We used a stud finder, marked the floor joists, and measured where to drill on the box frame.
Then it was time to hang it, and here’s where get comical. It was bedtime. Both girls were very tired. Both wanted us to hold them. Drilling in the ceiling is loud. I was trying to snap photos, yet Jon needed my help holding it in place to drill in the ceiling. A lot of crying was happening and all Jon and I could do was laugh, huddled under a crib skirt, standing on Ruby’s bed, sweating while our arms were on fire. Thankfully it all came together pretty quickly. Two crying kids motivates you to move pretty quickly.
We lined up the frame with the markings on the ceiling for the floor joists then drilled directly through the corner on the frame, through the fabric, into the ceiling to secure the canopy and drapes in place.
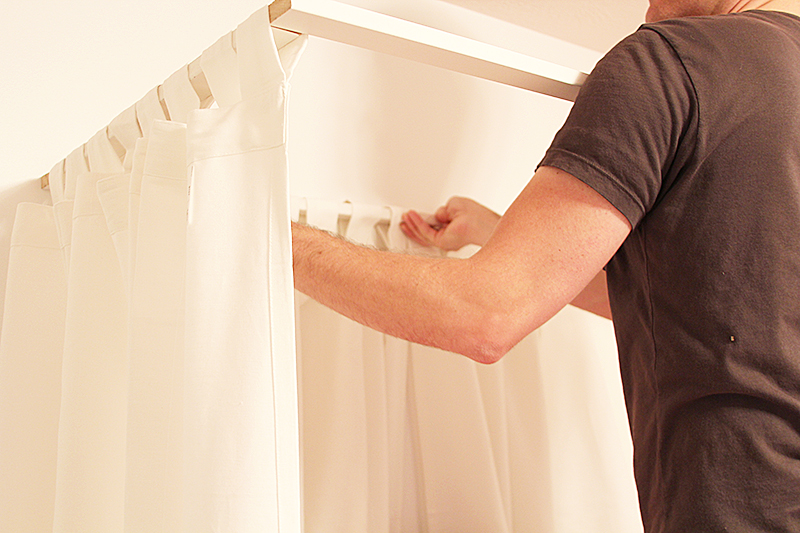
I kept the drapes long because I wanted them to pool on the sides of the bed, and kind of flow out on the sides of the bed, but you could hem them if you wanted a more tailored look.
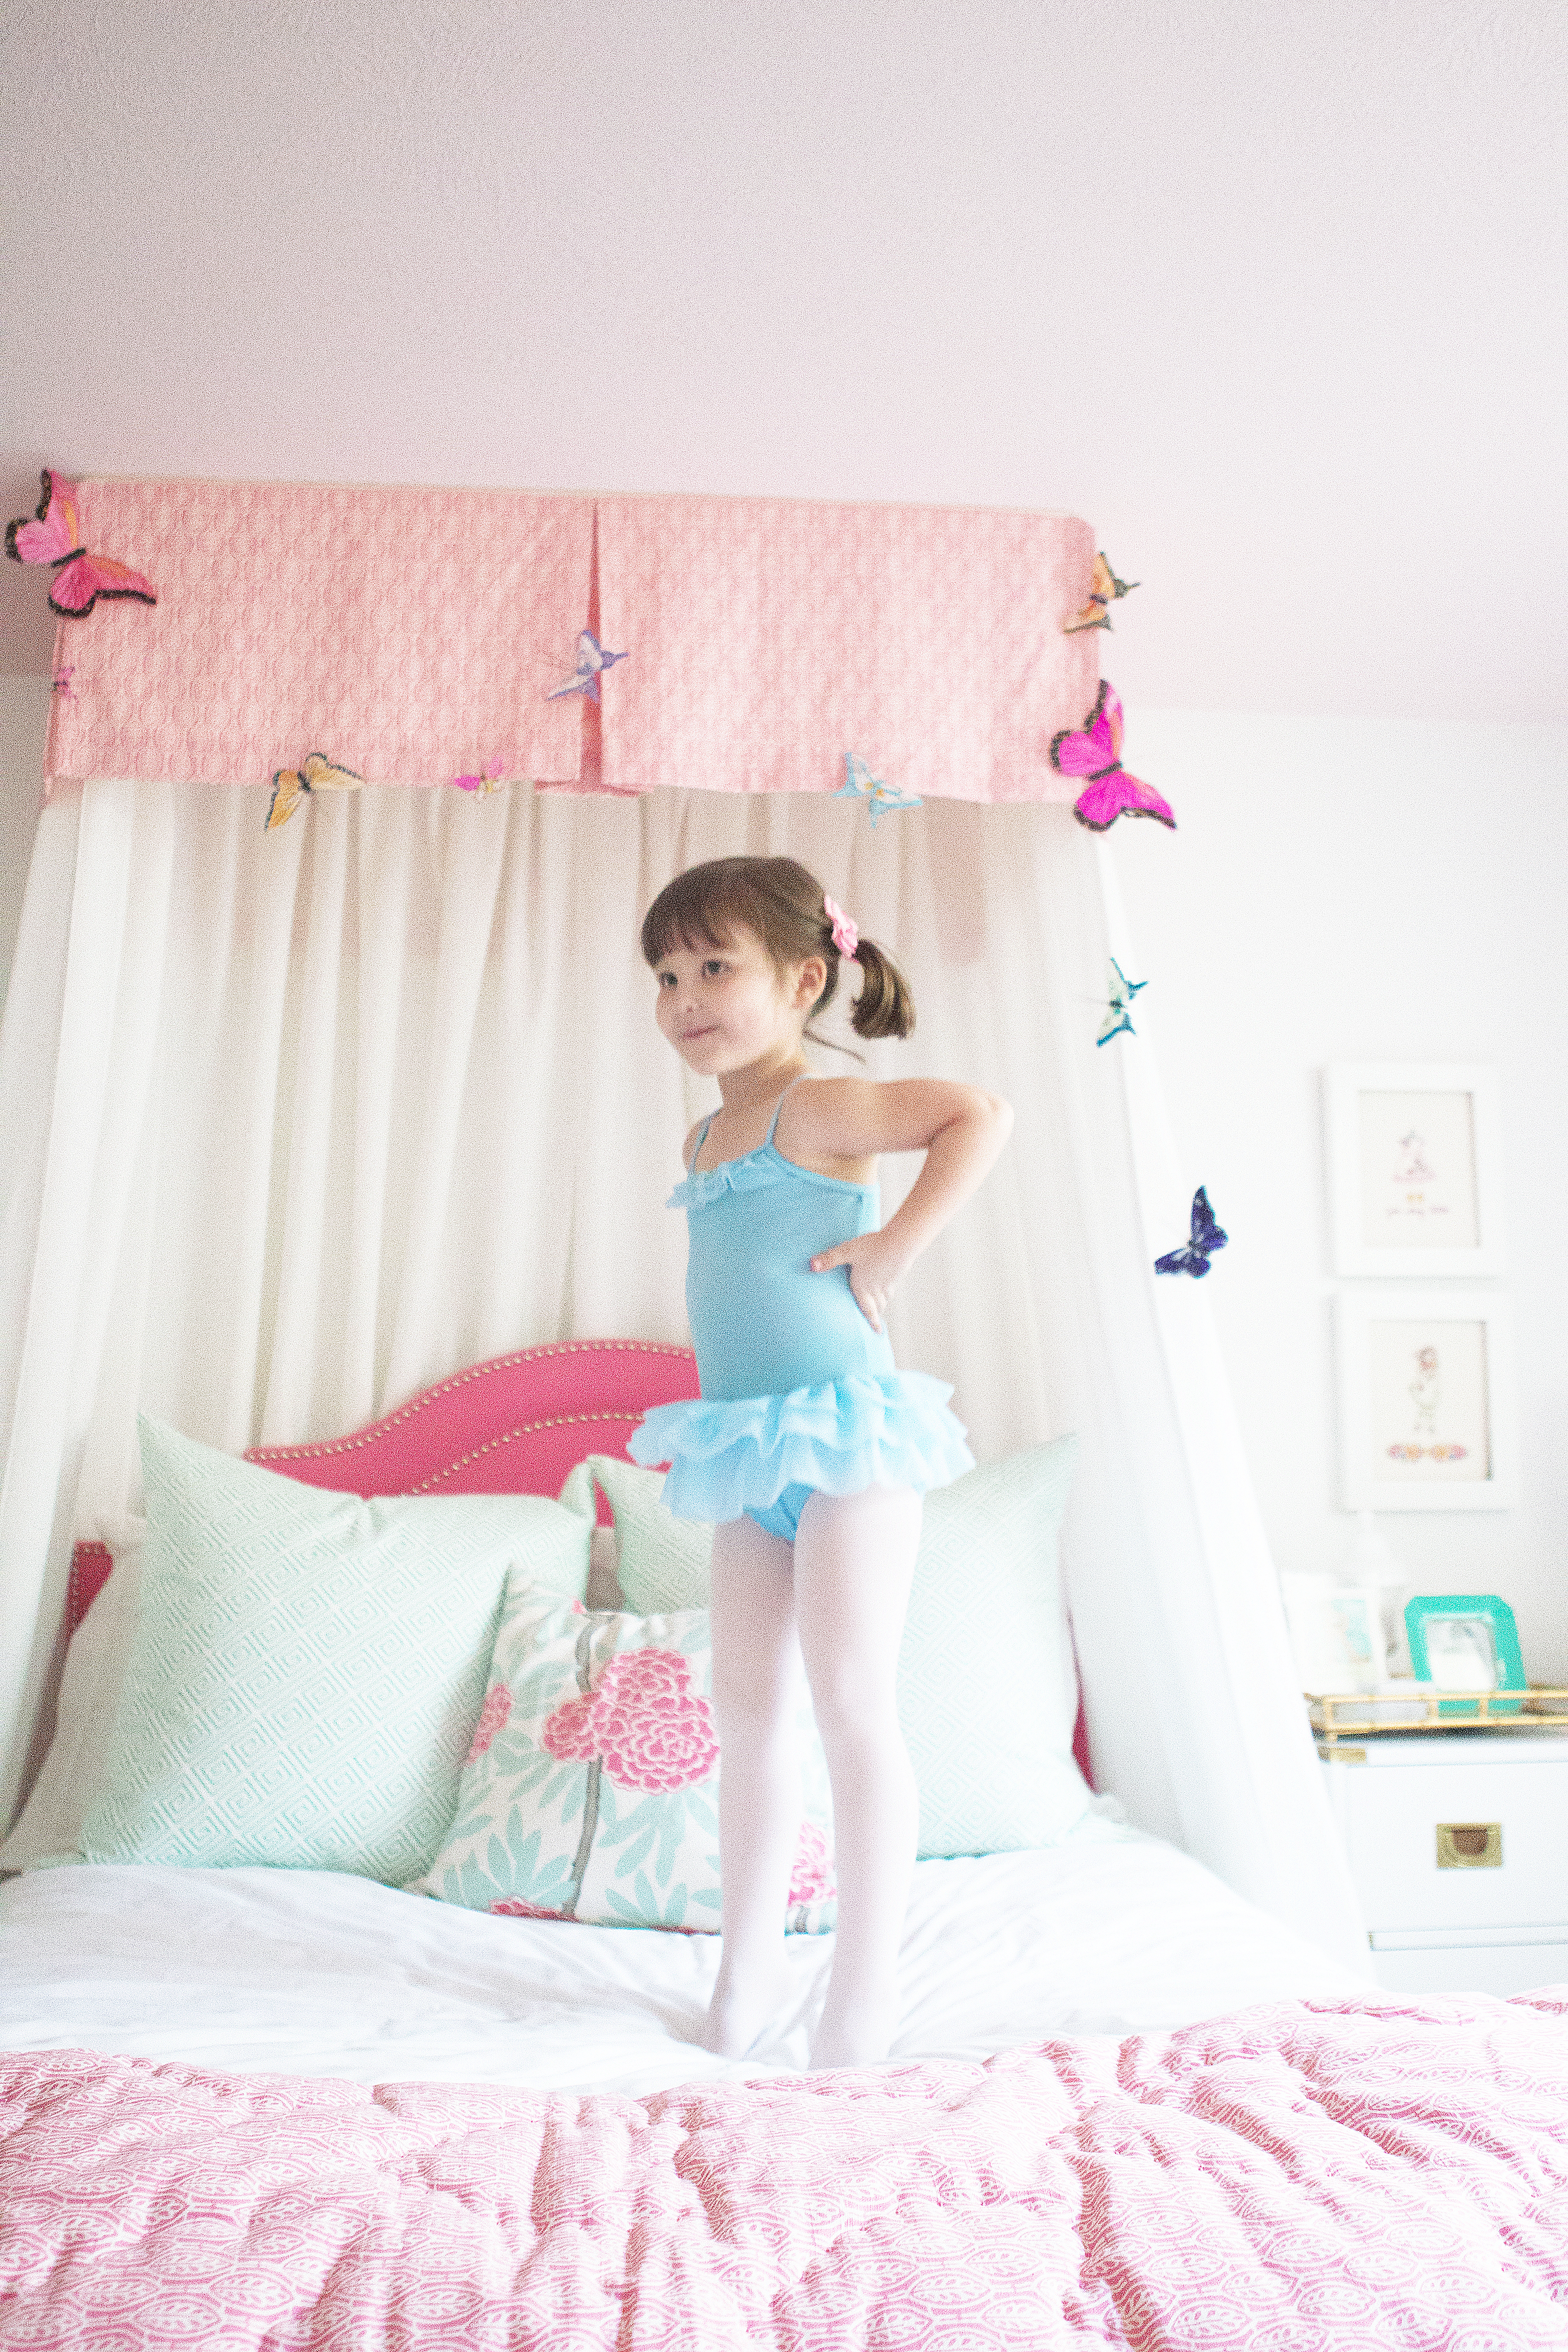
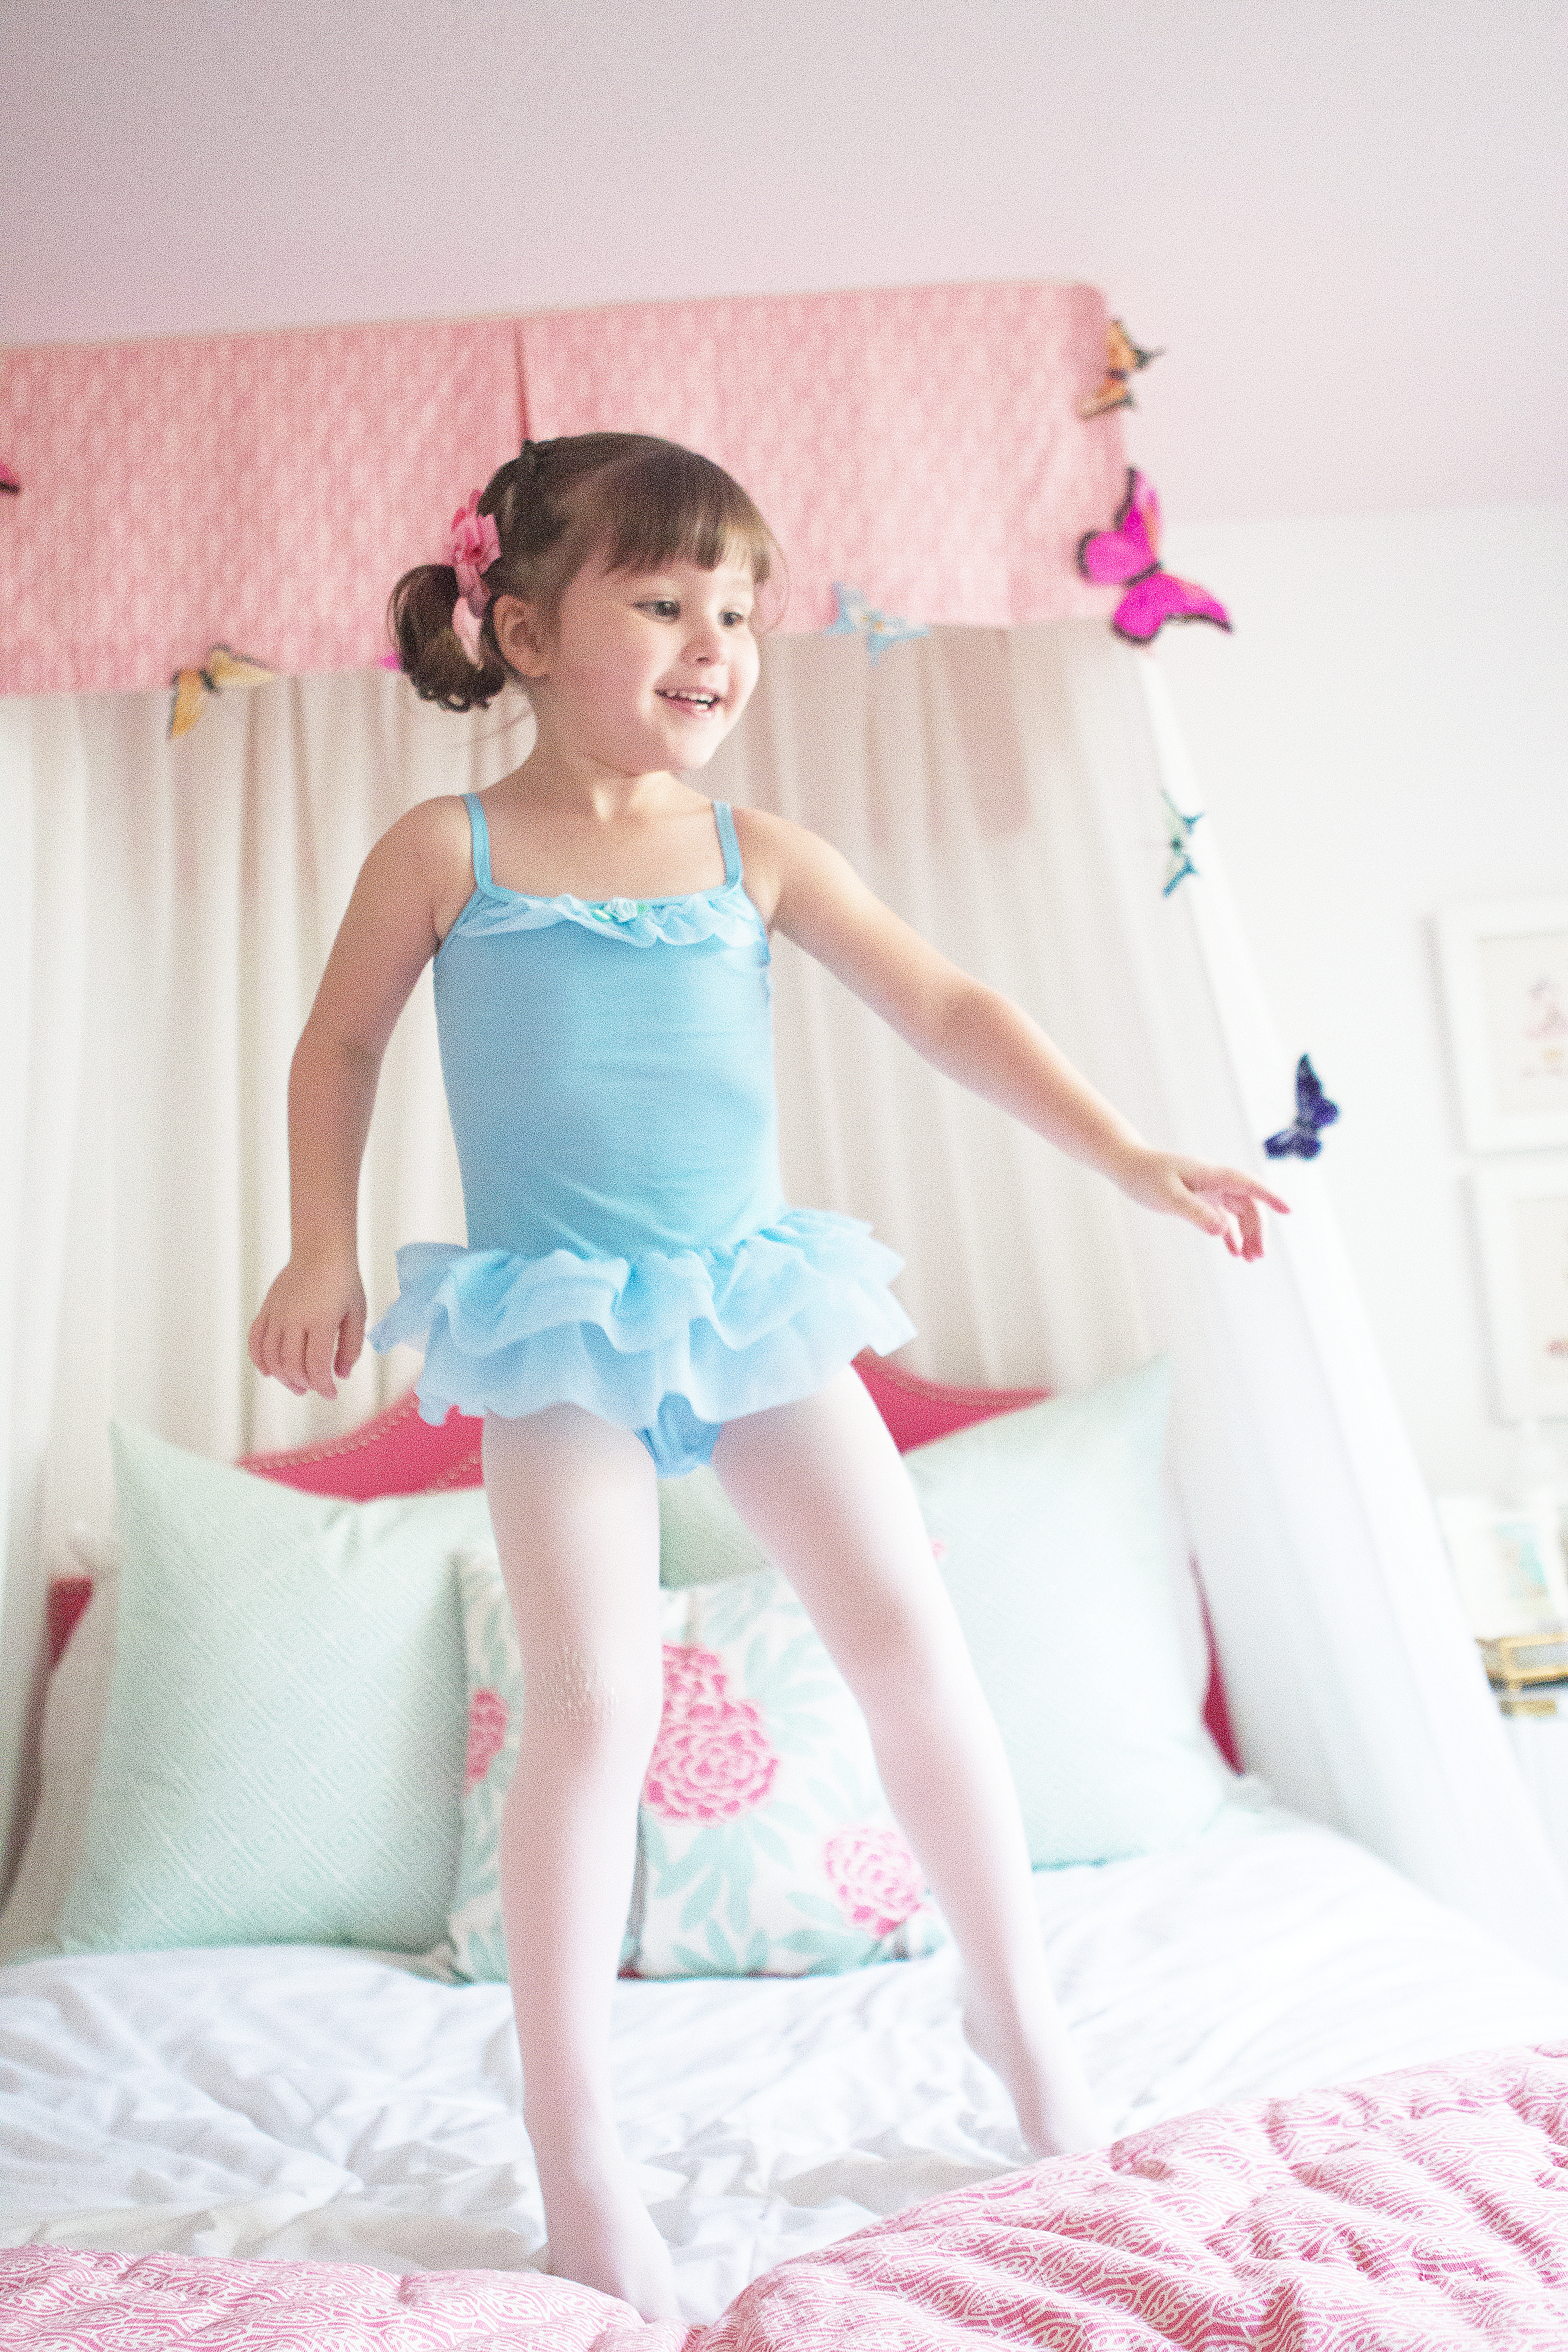
A little adjustment of the drapes behind the bed and evenly spaced along the sides and there you have it! From crib skirt to canopy bed! Baby to big girl.

Photos of finished space by Veronica Reeve
I just shed a little tear just thinking about how quickly she is growing up. No Ruby, you can’t have the car keys. Go put your Elsa dress back on and stay in it forever, mmmkay? A princess bed fit for my princess.
The butterflies were the last finishing touch (available here), along with the beautiful bedding (see all product info at the end of this post).
A couple of you have asked about the fabric of the crib skirt/canopy and the little quilt at the foot of the bed and I wish I could remember what it is, but all I remember is that we got it at Calico Corner. I’ve looked online but can’t find it. Anyone know the pattern and designer? I’m happy to link to it if someone can identify it.
I hope you all have a lovely weekend. I’ll be spending it working with a client, hanging with my sweet little family, and taking my Ruby girl on a mommy-daughter date. I don’t know who is more excited. Probably me.
If you want to watch me frantically style a mantel for Better Homes and Gardens, you can check out a video I shot with them while I was in the Big Apple for the BHG Stylemaker Workshop. They are one talented group and I sure do love BHG. And after a day long event with no downtime, my face was not loving the humidity. Someone grab this girl some powder.
Happy weekend,

Leave a Reply


back to top
@jenniferstagg
shop

We're a full-service design firm and home furnishings shop built around the philosophy that a well-designed home should be beautiful, personal, cohesive, and complete. We think home is the most important place on the planet and when you live in a home that is perfectly you, it changes your life. Don't believe us? Stick around. We're confident we'll change your mind.
hello there!
Follow Along
@jenniferstagg
Hey, let's be friends
Exclusive projects, discounts, and extra goodies all in your inbox. And don’t worry- your email is for our eyes only.

This is adorable! Love it!
Thank you Sarah!