

")
")
")


HOW TO PAINT BATHROOM CABINETS
December 30, 2013
Happy week-between-Christmas-and-New-Years! It seems like these few days in the middle should just be counted as a holiday, doesn’t it? Unfortunately this holiday has been filled with less relaxing and celebrating than we would like, as Jon has been slammed with work from clients pushing to get their deals closed by the end of the year. Booooooo.
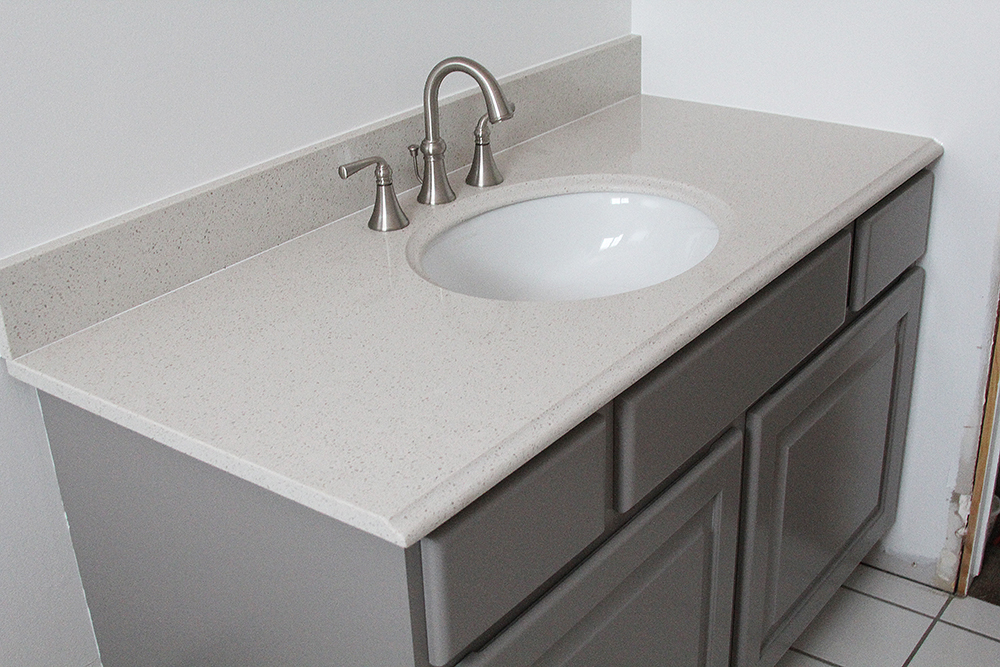
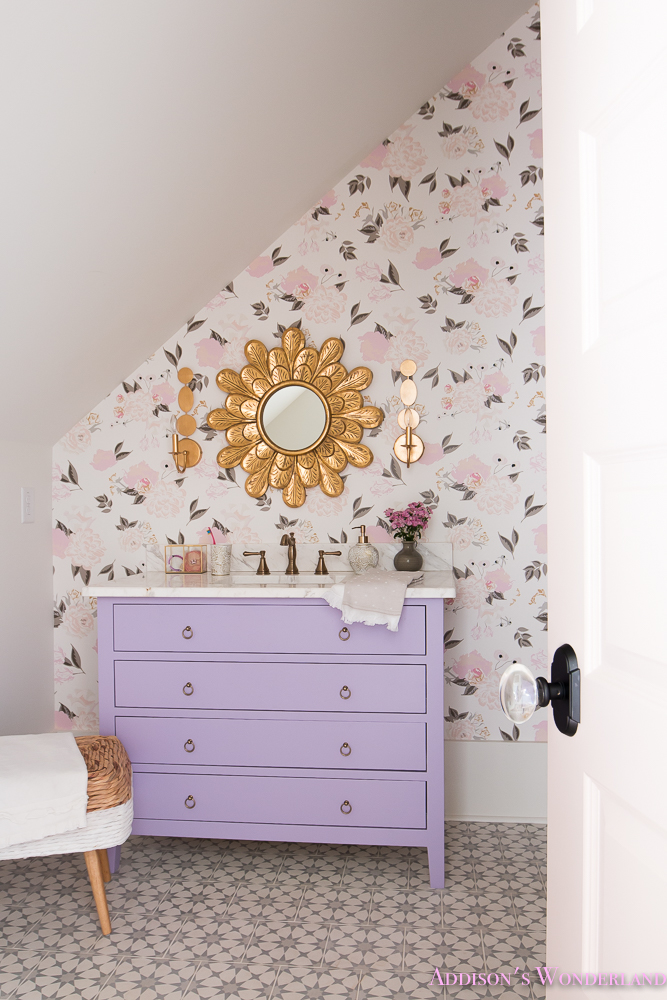
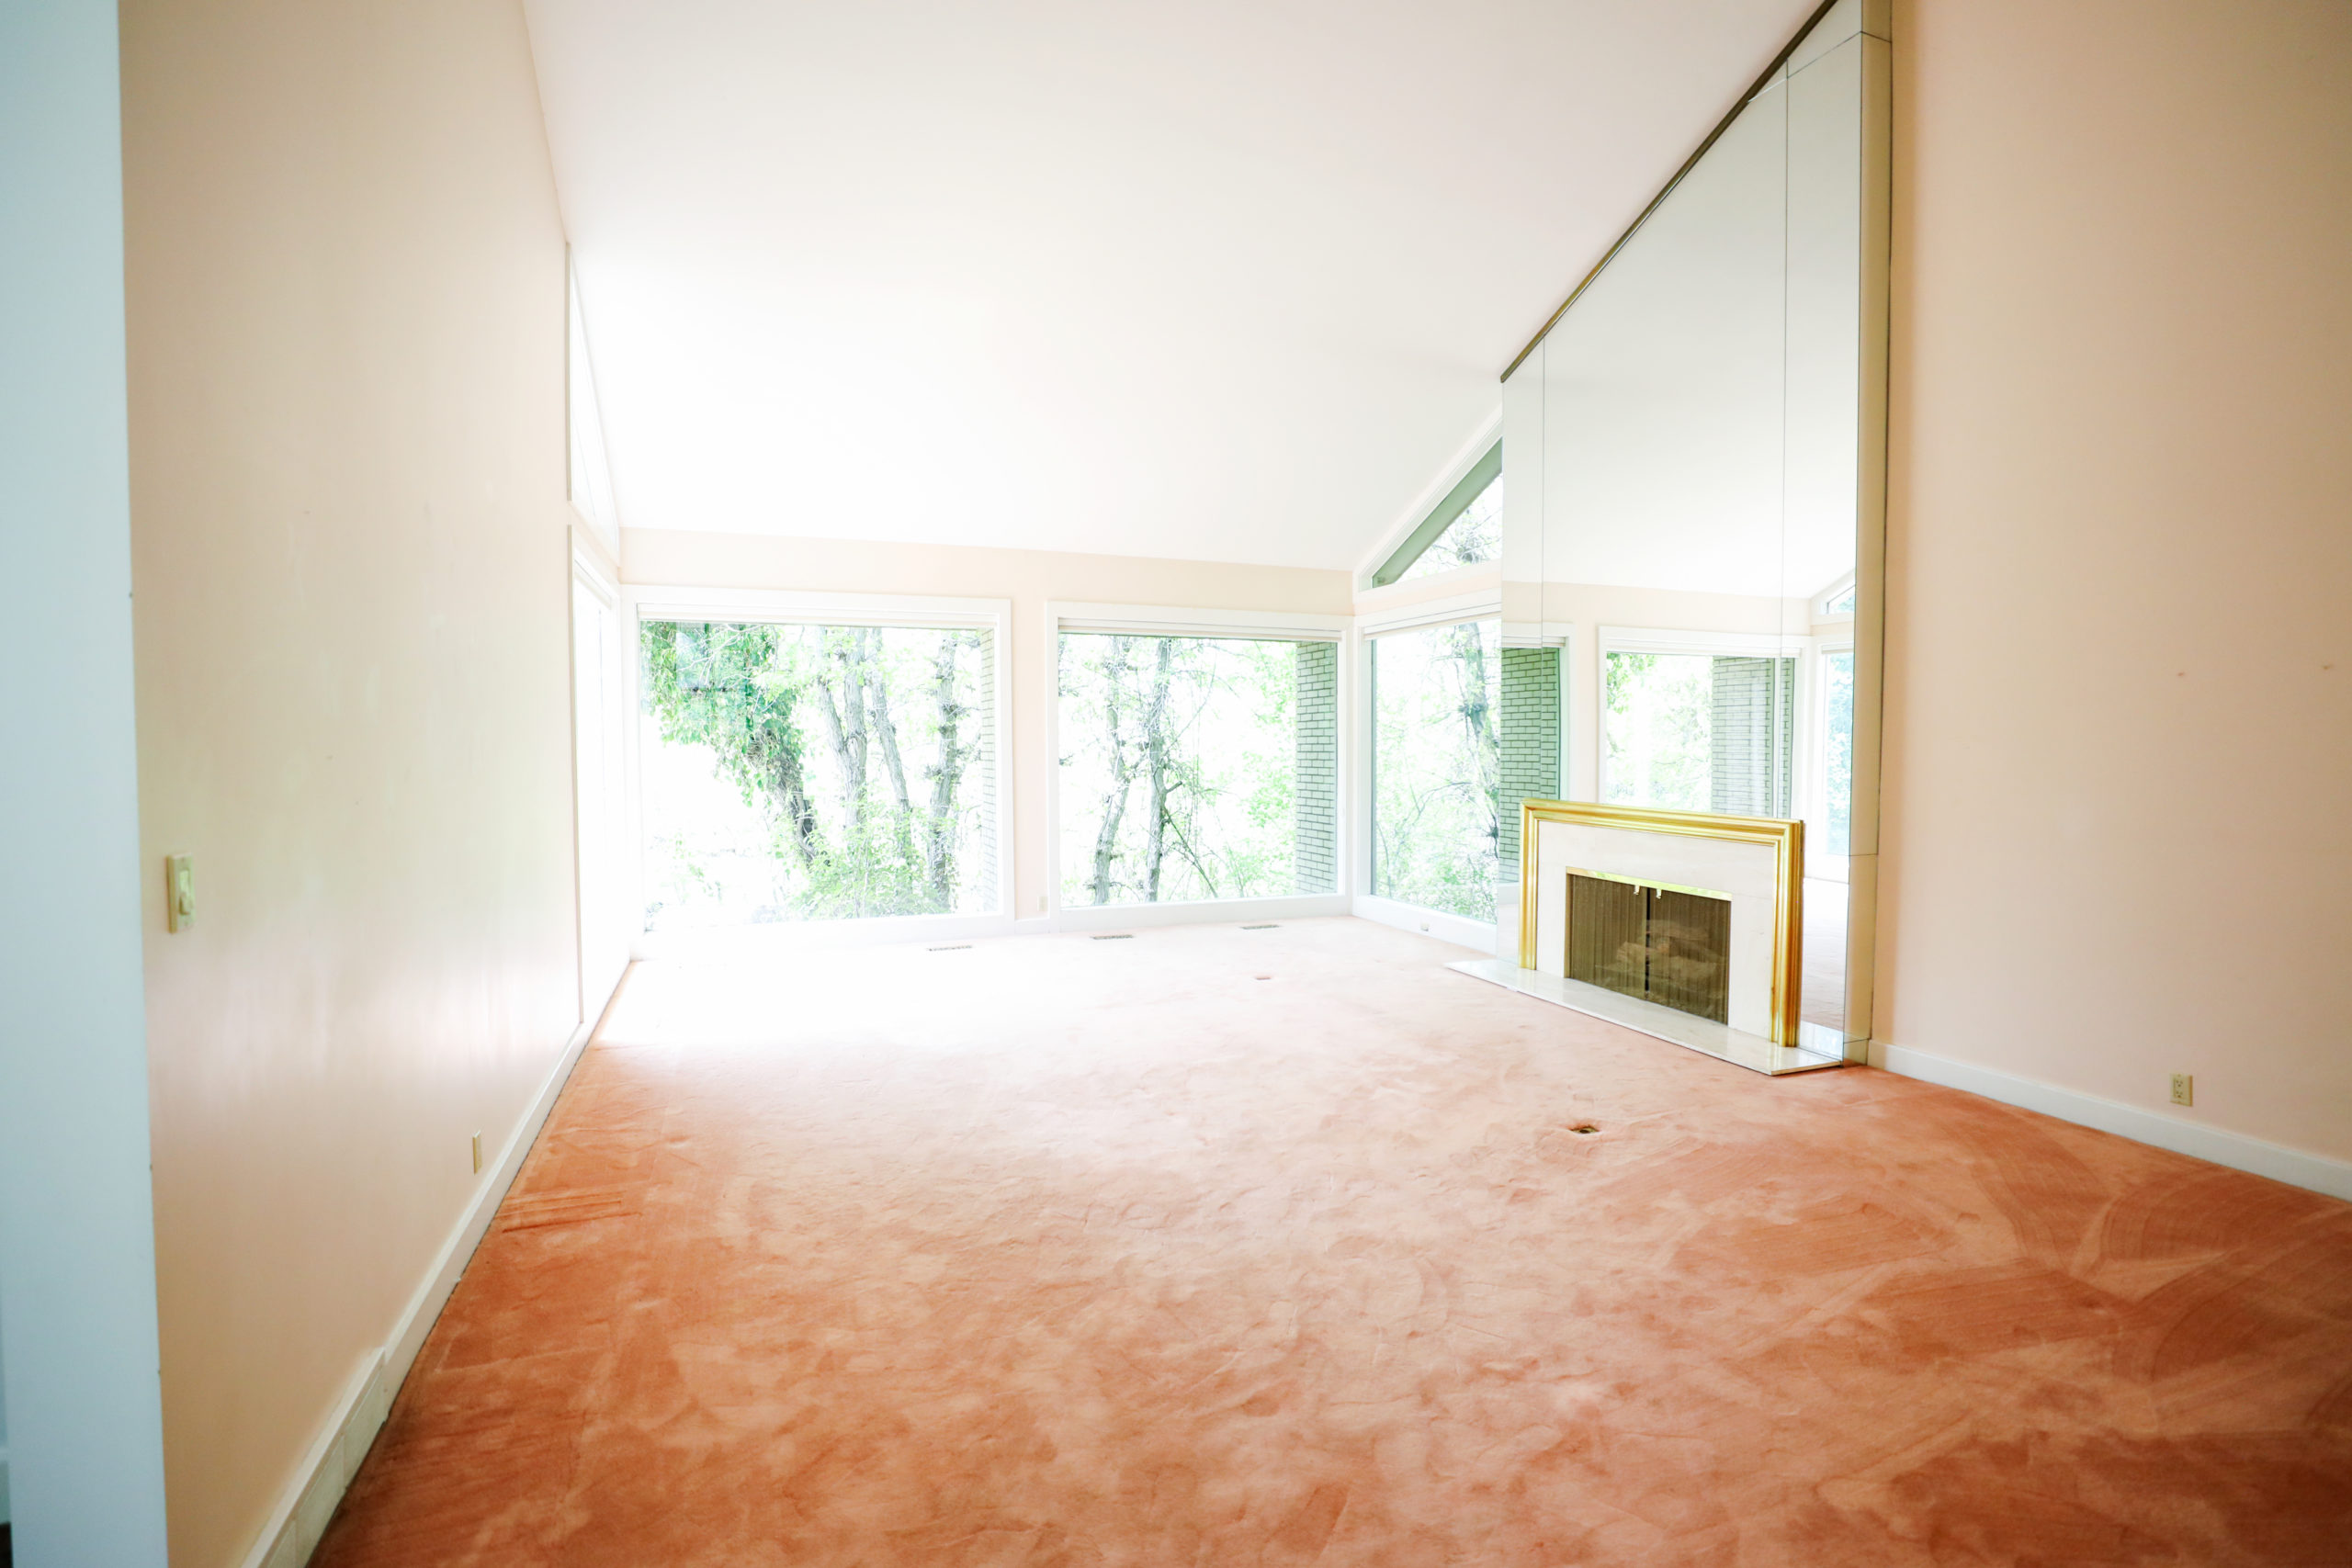
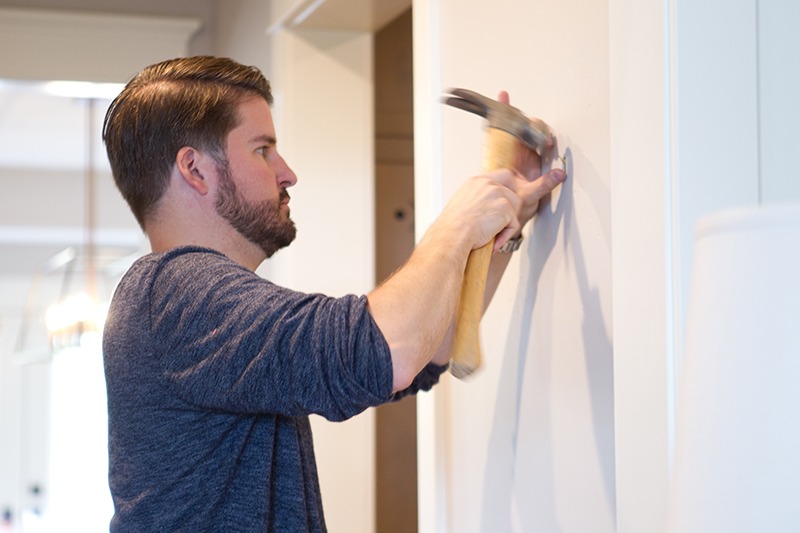
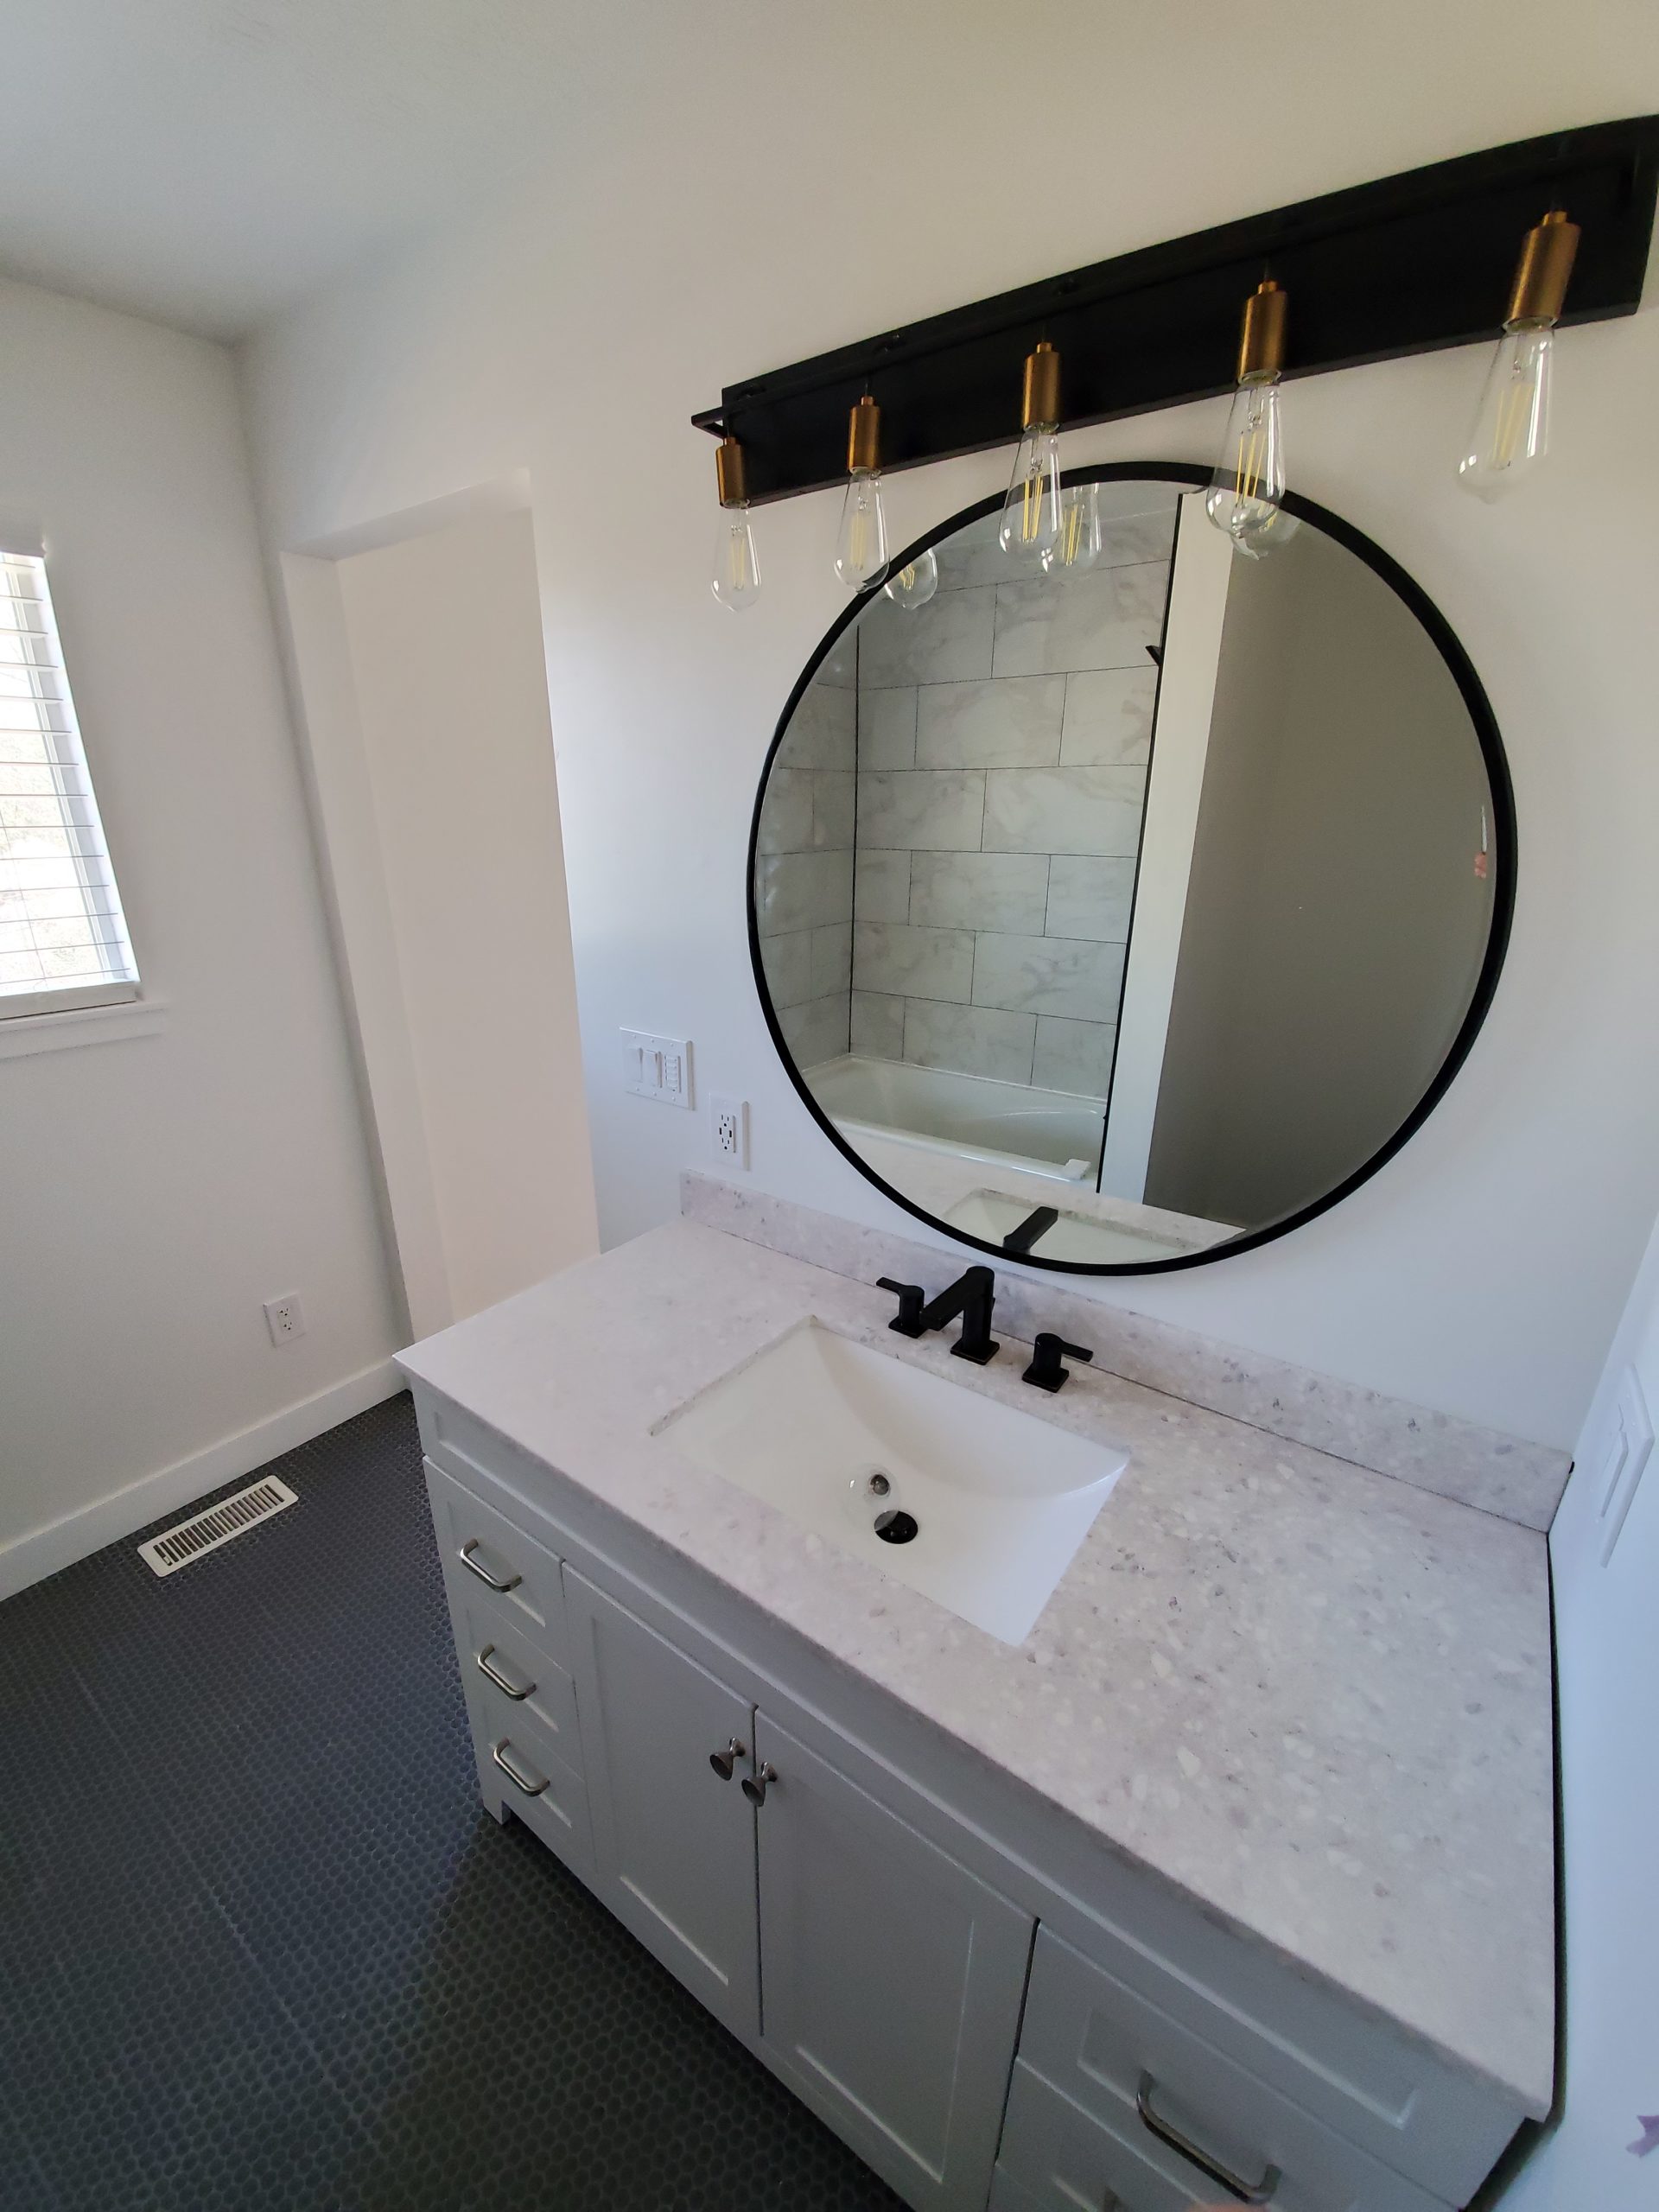
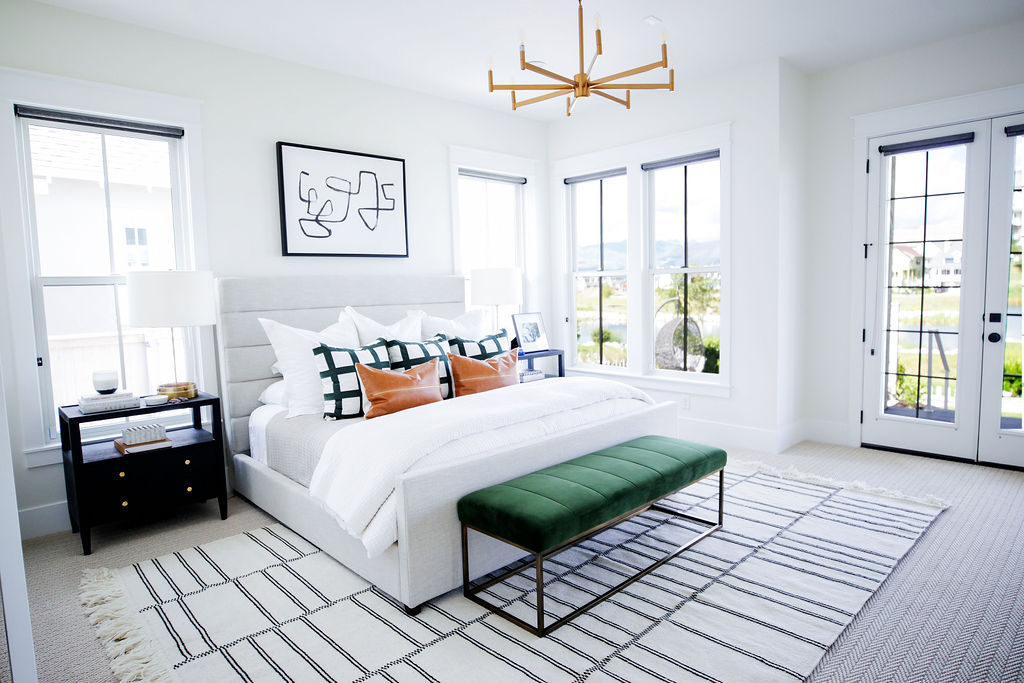
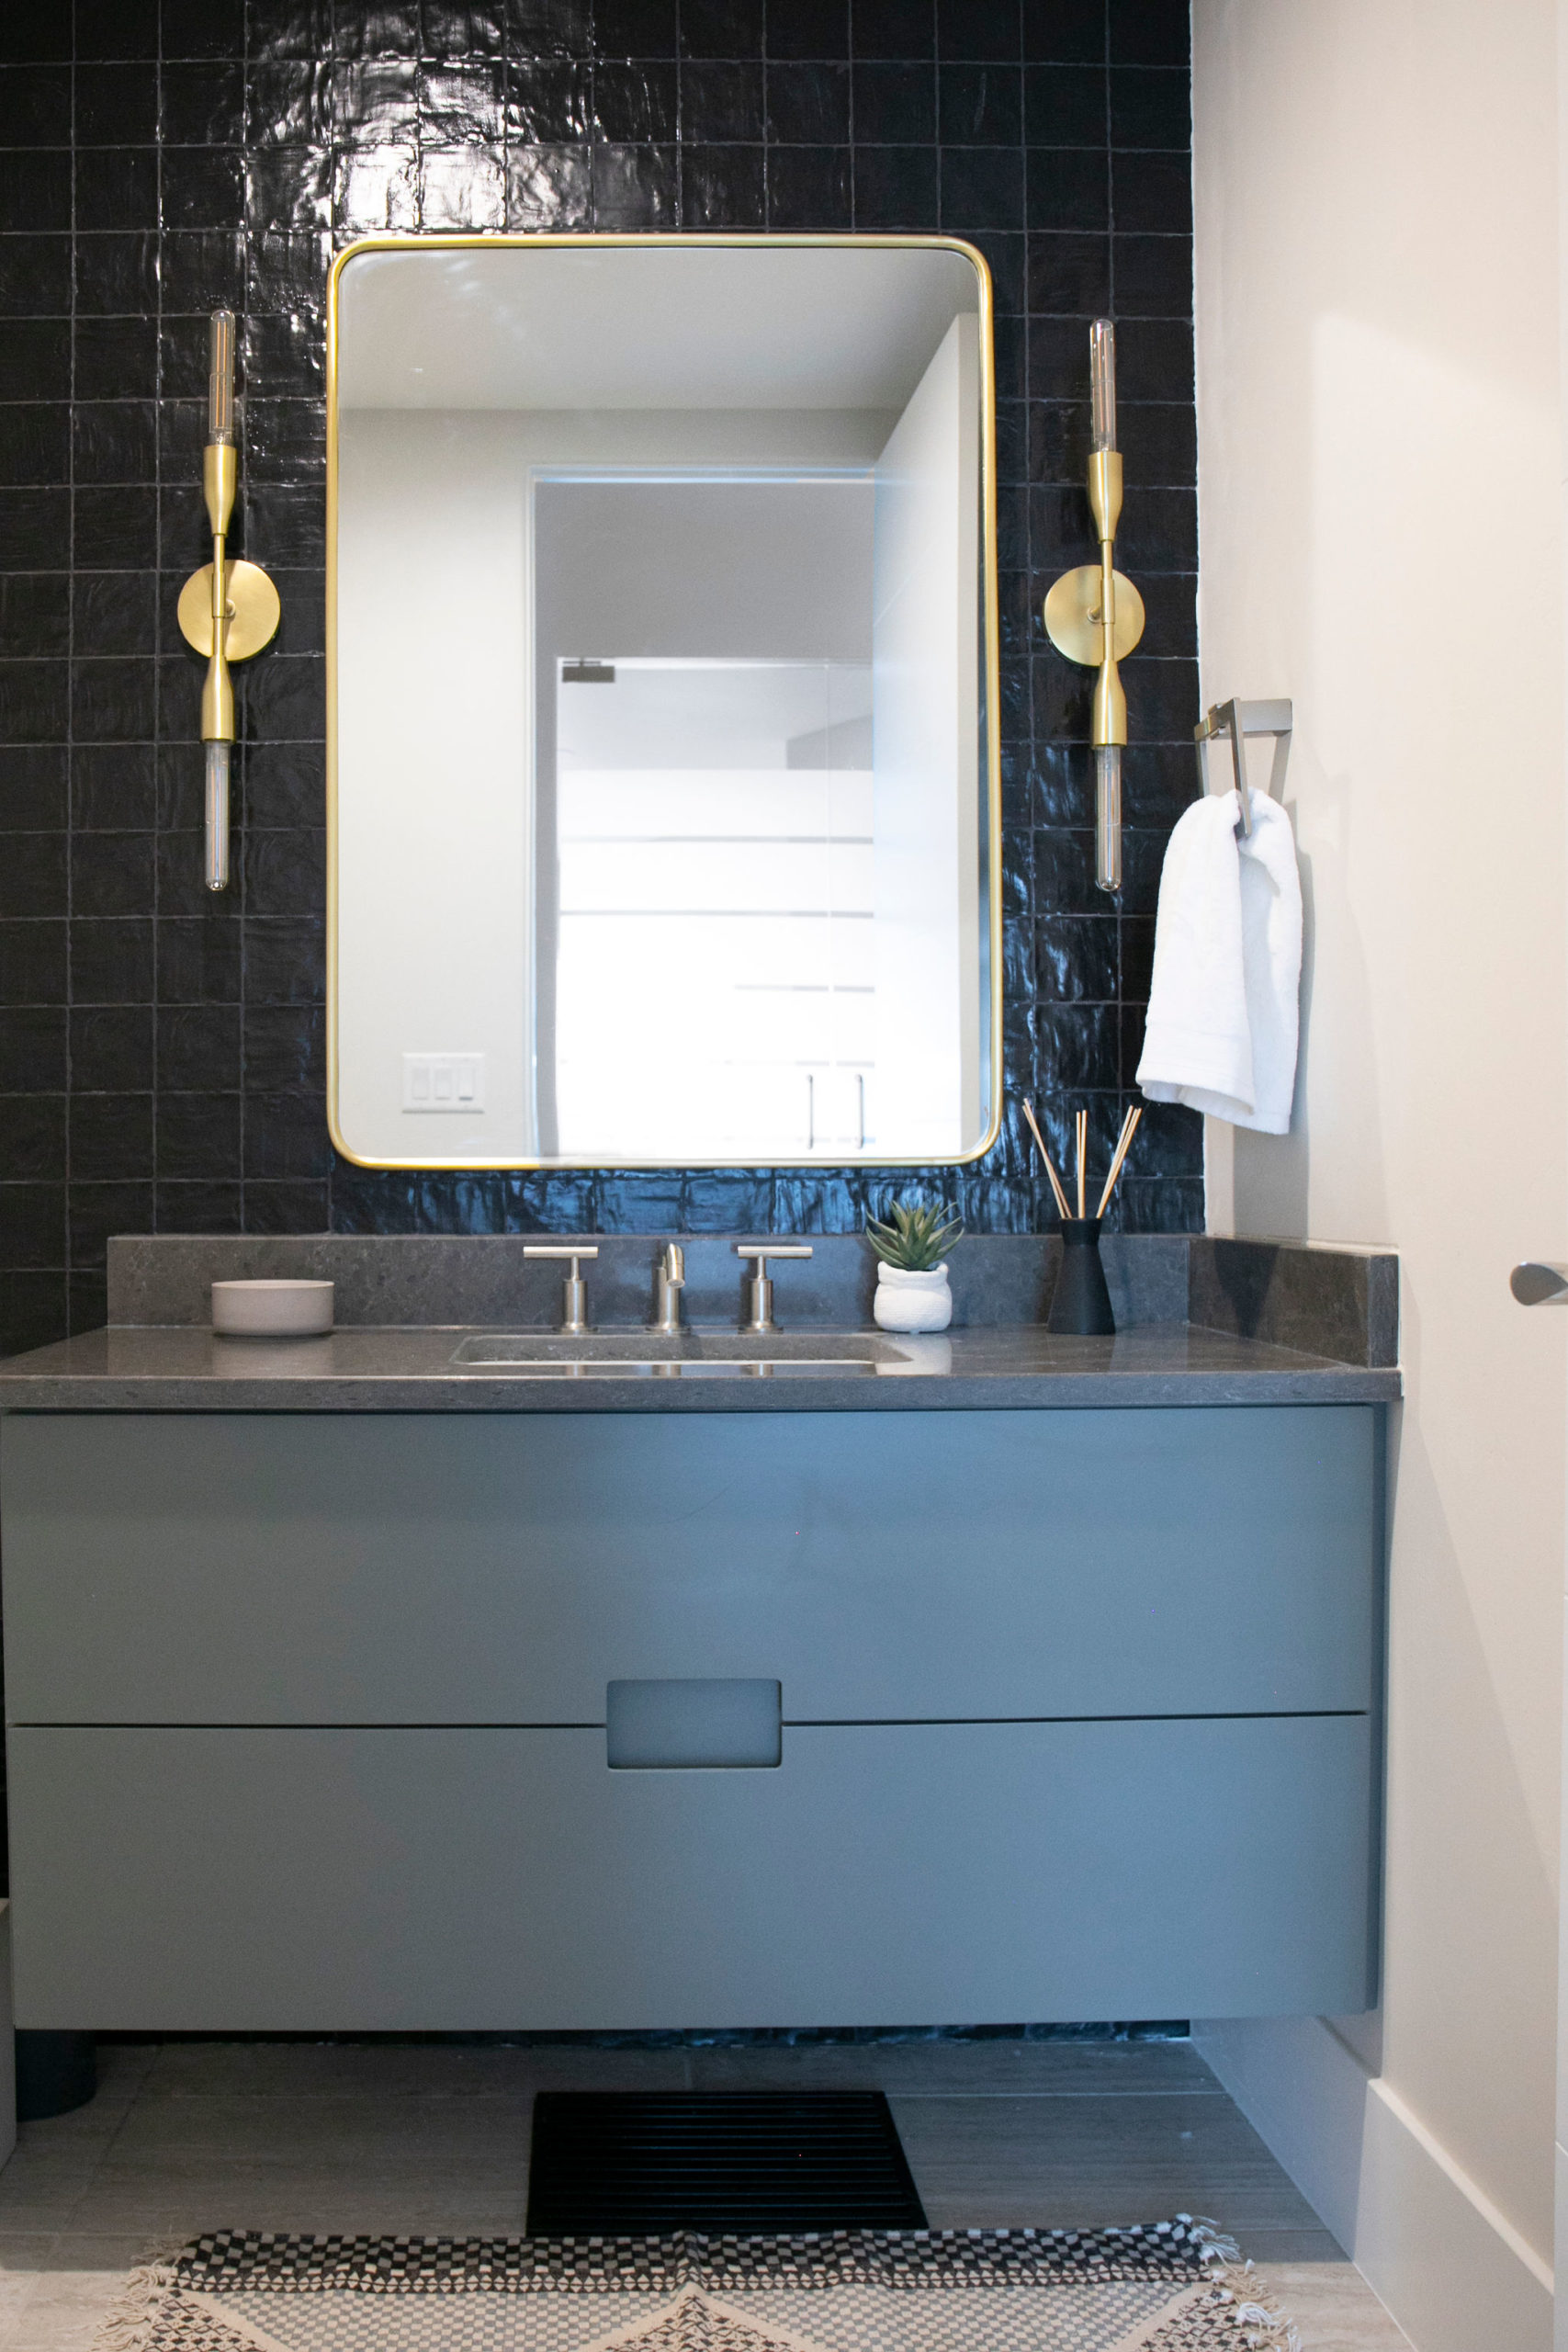
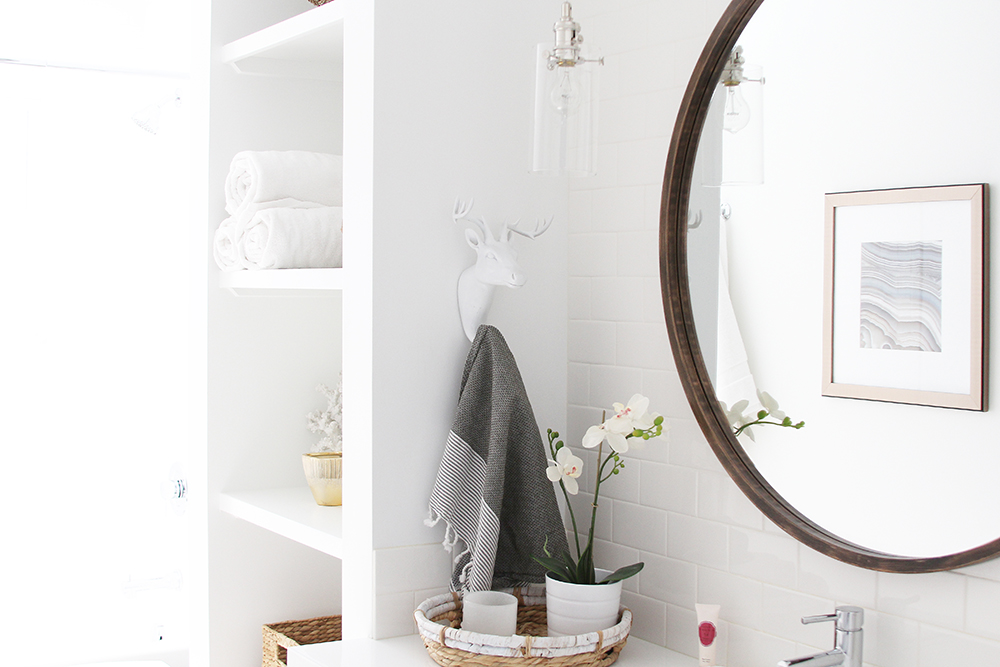
That said, the upstairs bathroom is almost done. I can taste completion! The vanity is completed, with the exception of the hardware which will go up tomorrow. We finished the moldings over the weekend and now it’s just time for finishing touches. Friday I showed you how to easily install a new vanity top after installing ours, and today I’m sharing how to paint bathroom cabinets. We took our old, gross, worn cabinets and refinished them so they are fresh, updated, and modern. You would never know how bad they were looking at them now.
We started by taking everything apart. The doors came off, the sink and countertop came out, and everything got a nice sanding with a fine sandpaper (220 grit). I didn’t go crazy on the sanding, but it was just enough to take the glaze off.
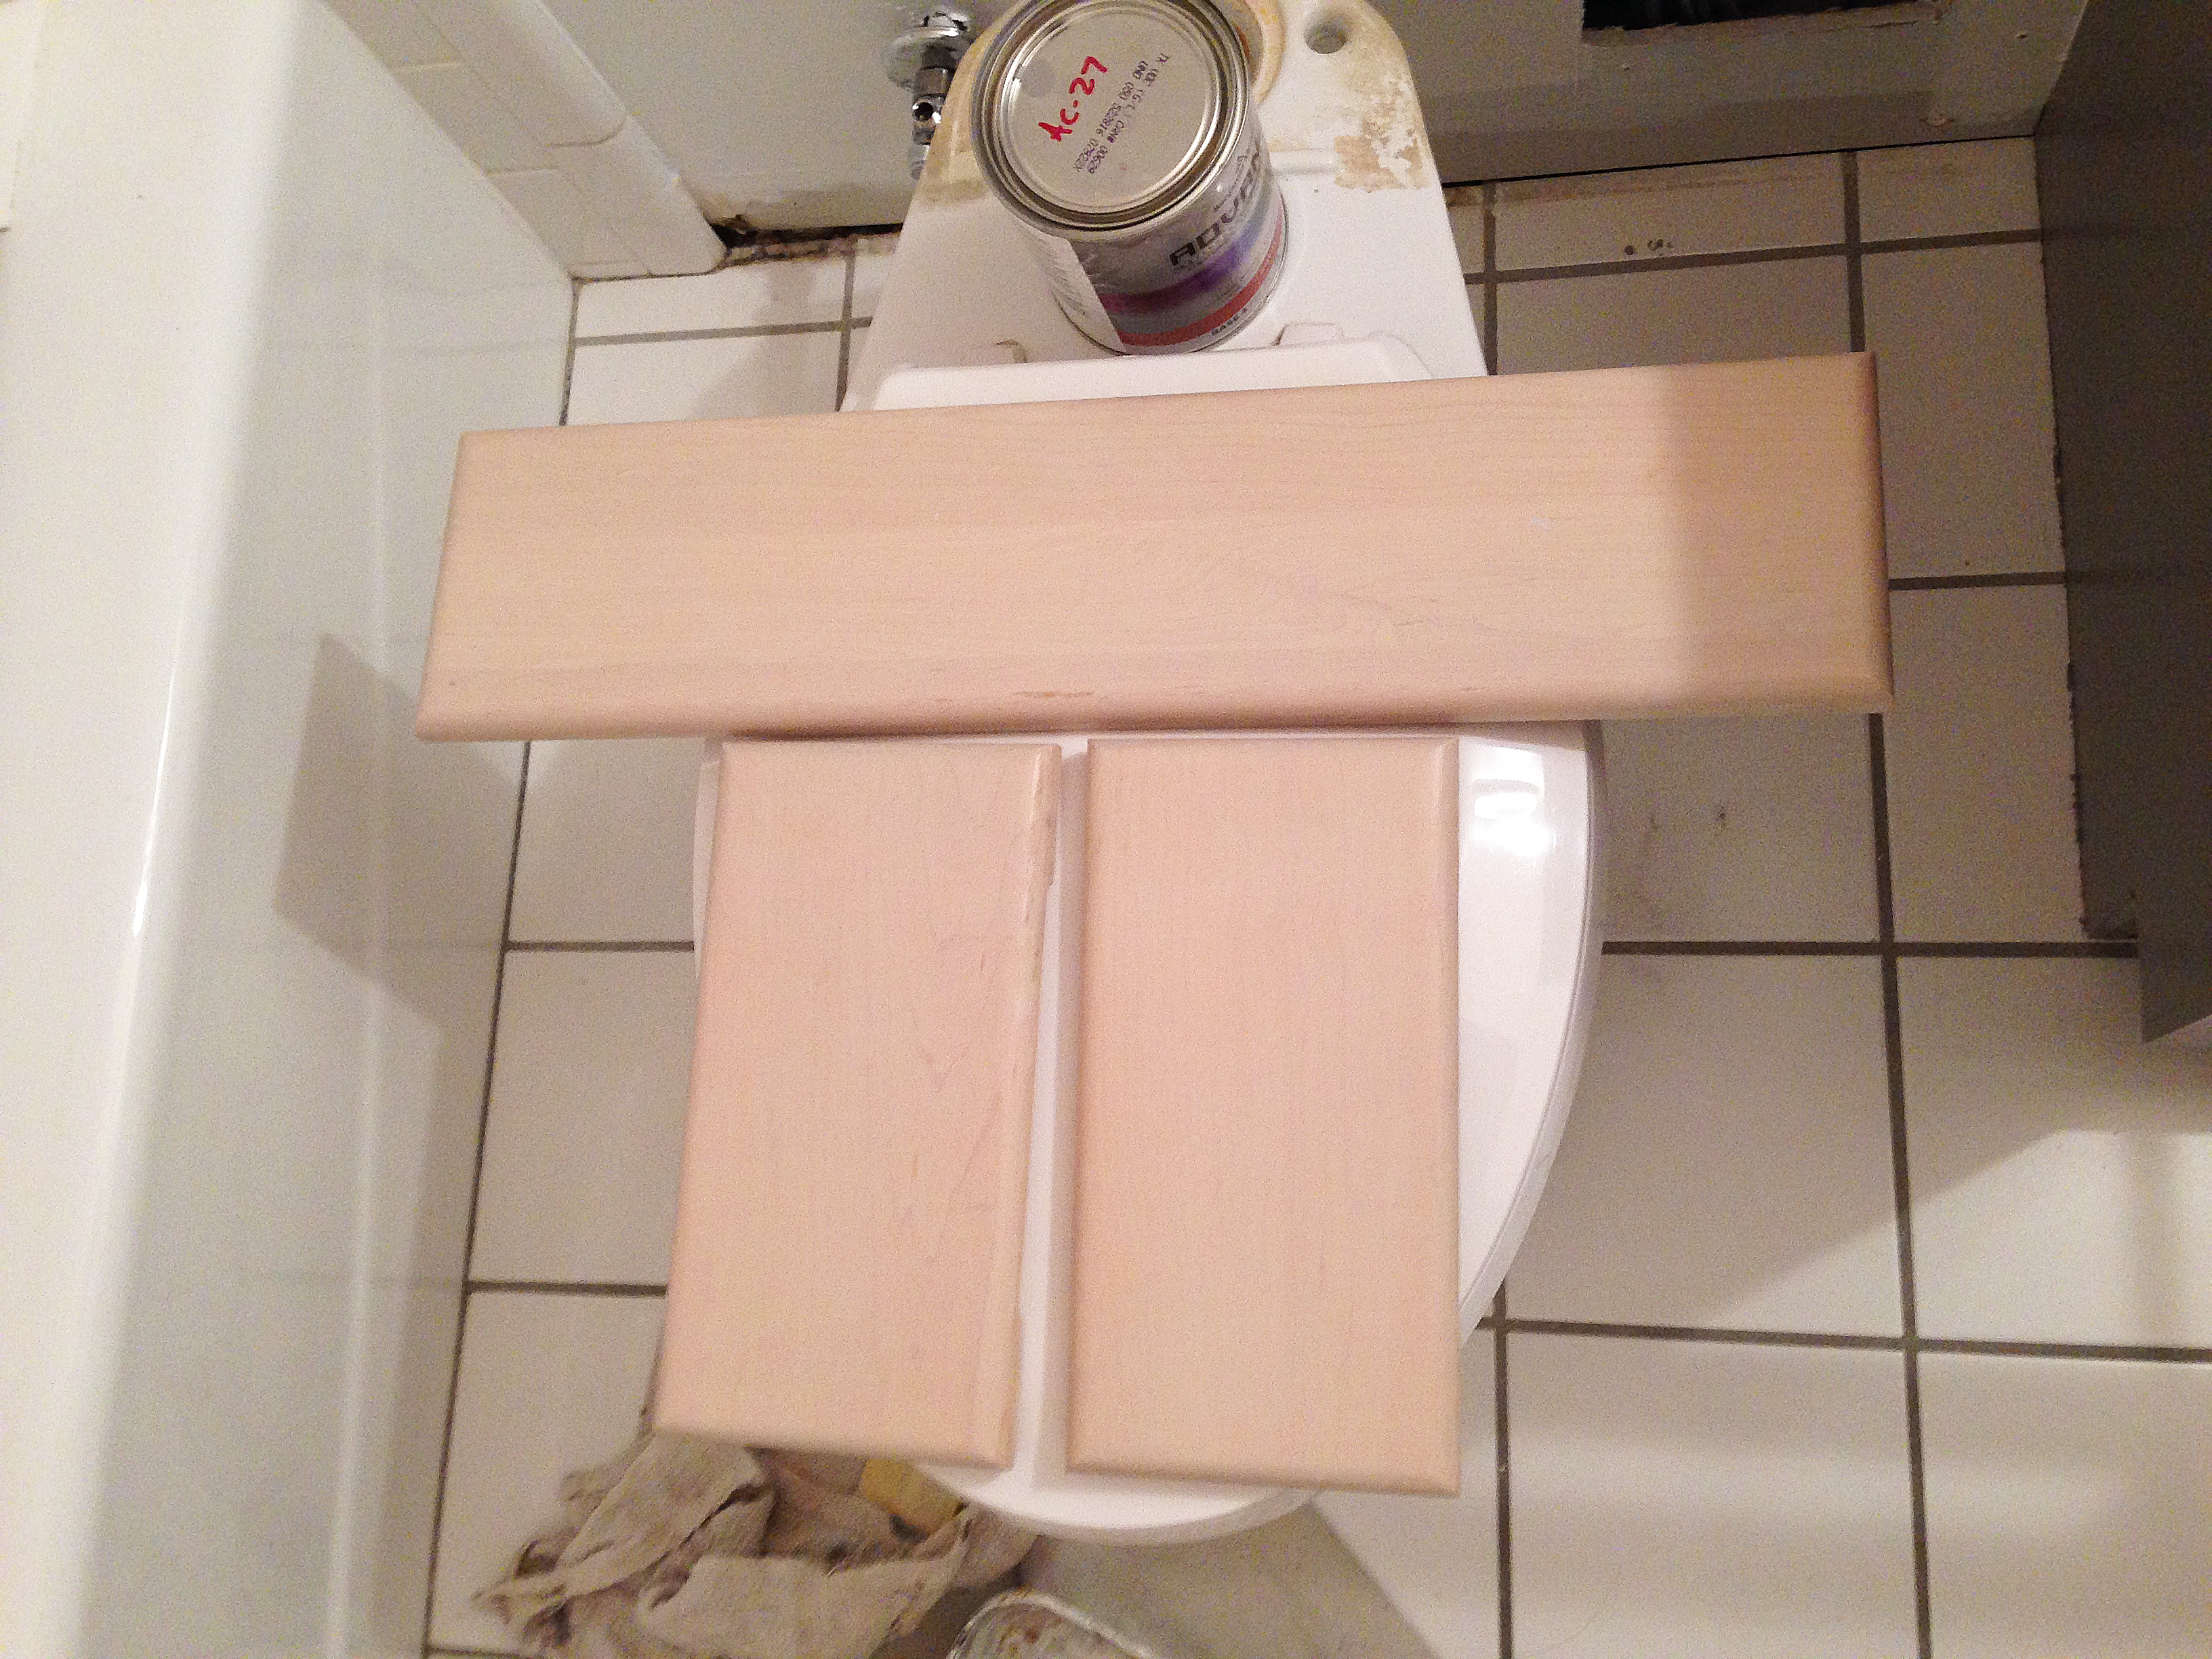
After wiping all the dust off really well with a clean towel, it was time to get painting. Now I know I have preached before about priming pre-finished furniture, but in this case, I bought such a high-quality paint, I felt comfortable skipping that step. Wha???? I know. But I tell you what, this paint is the bomb dot com. It was my first time using Benjamin Moore Advance paint and it made me a believer. I tested several colors and settled on Galveston Gray in satin. It’s a true gray– without much blue undertone. I think it goes really nicely with the other color touches I have planned for the room.

I started out by brushing the parts of the doors I couldn’t reach by roller.
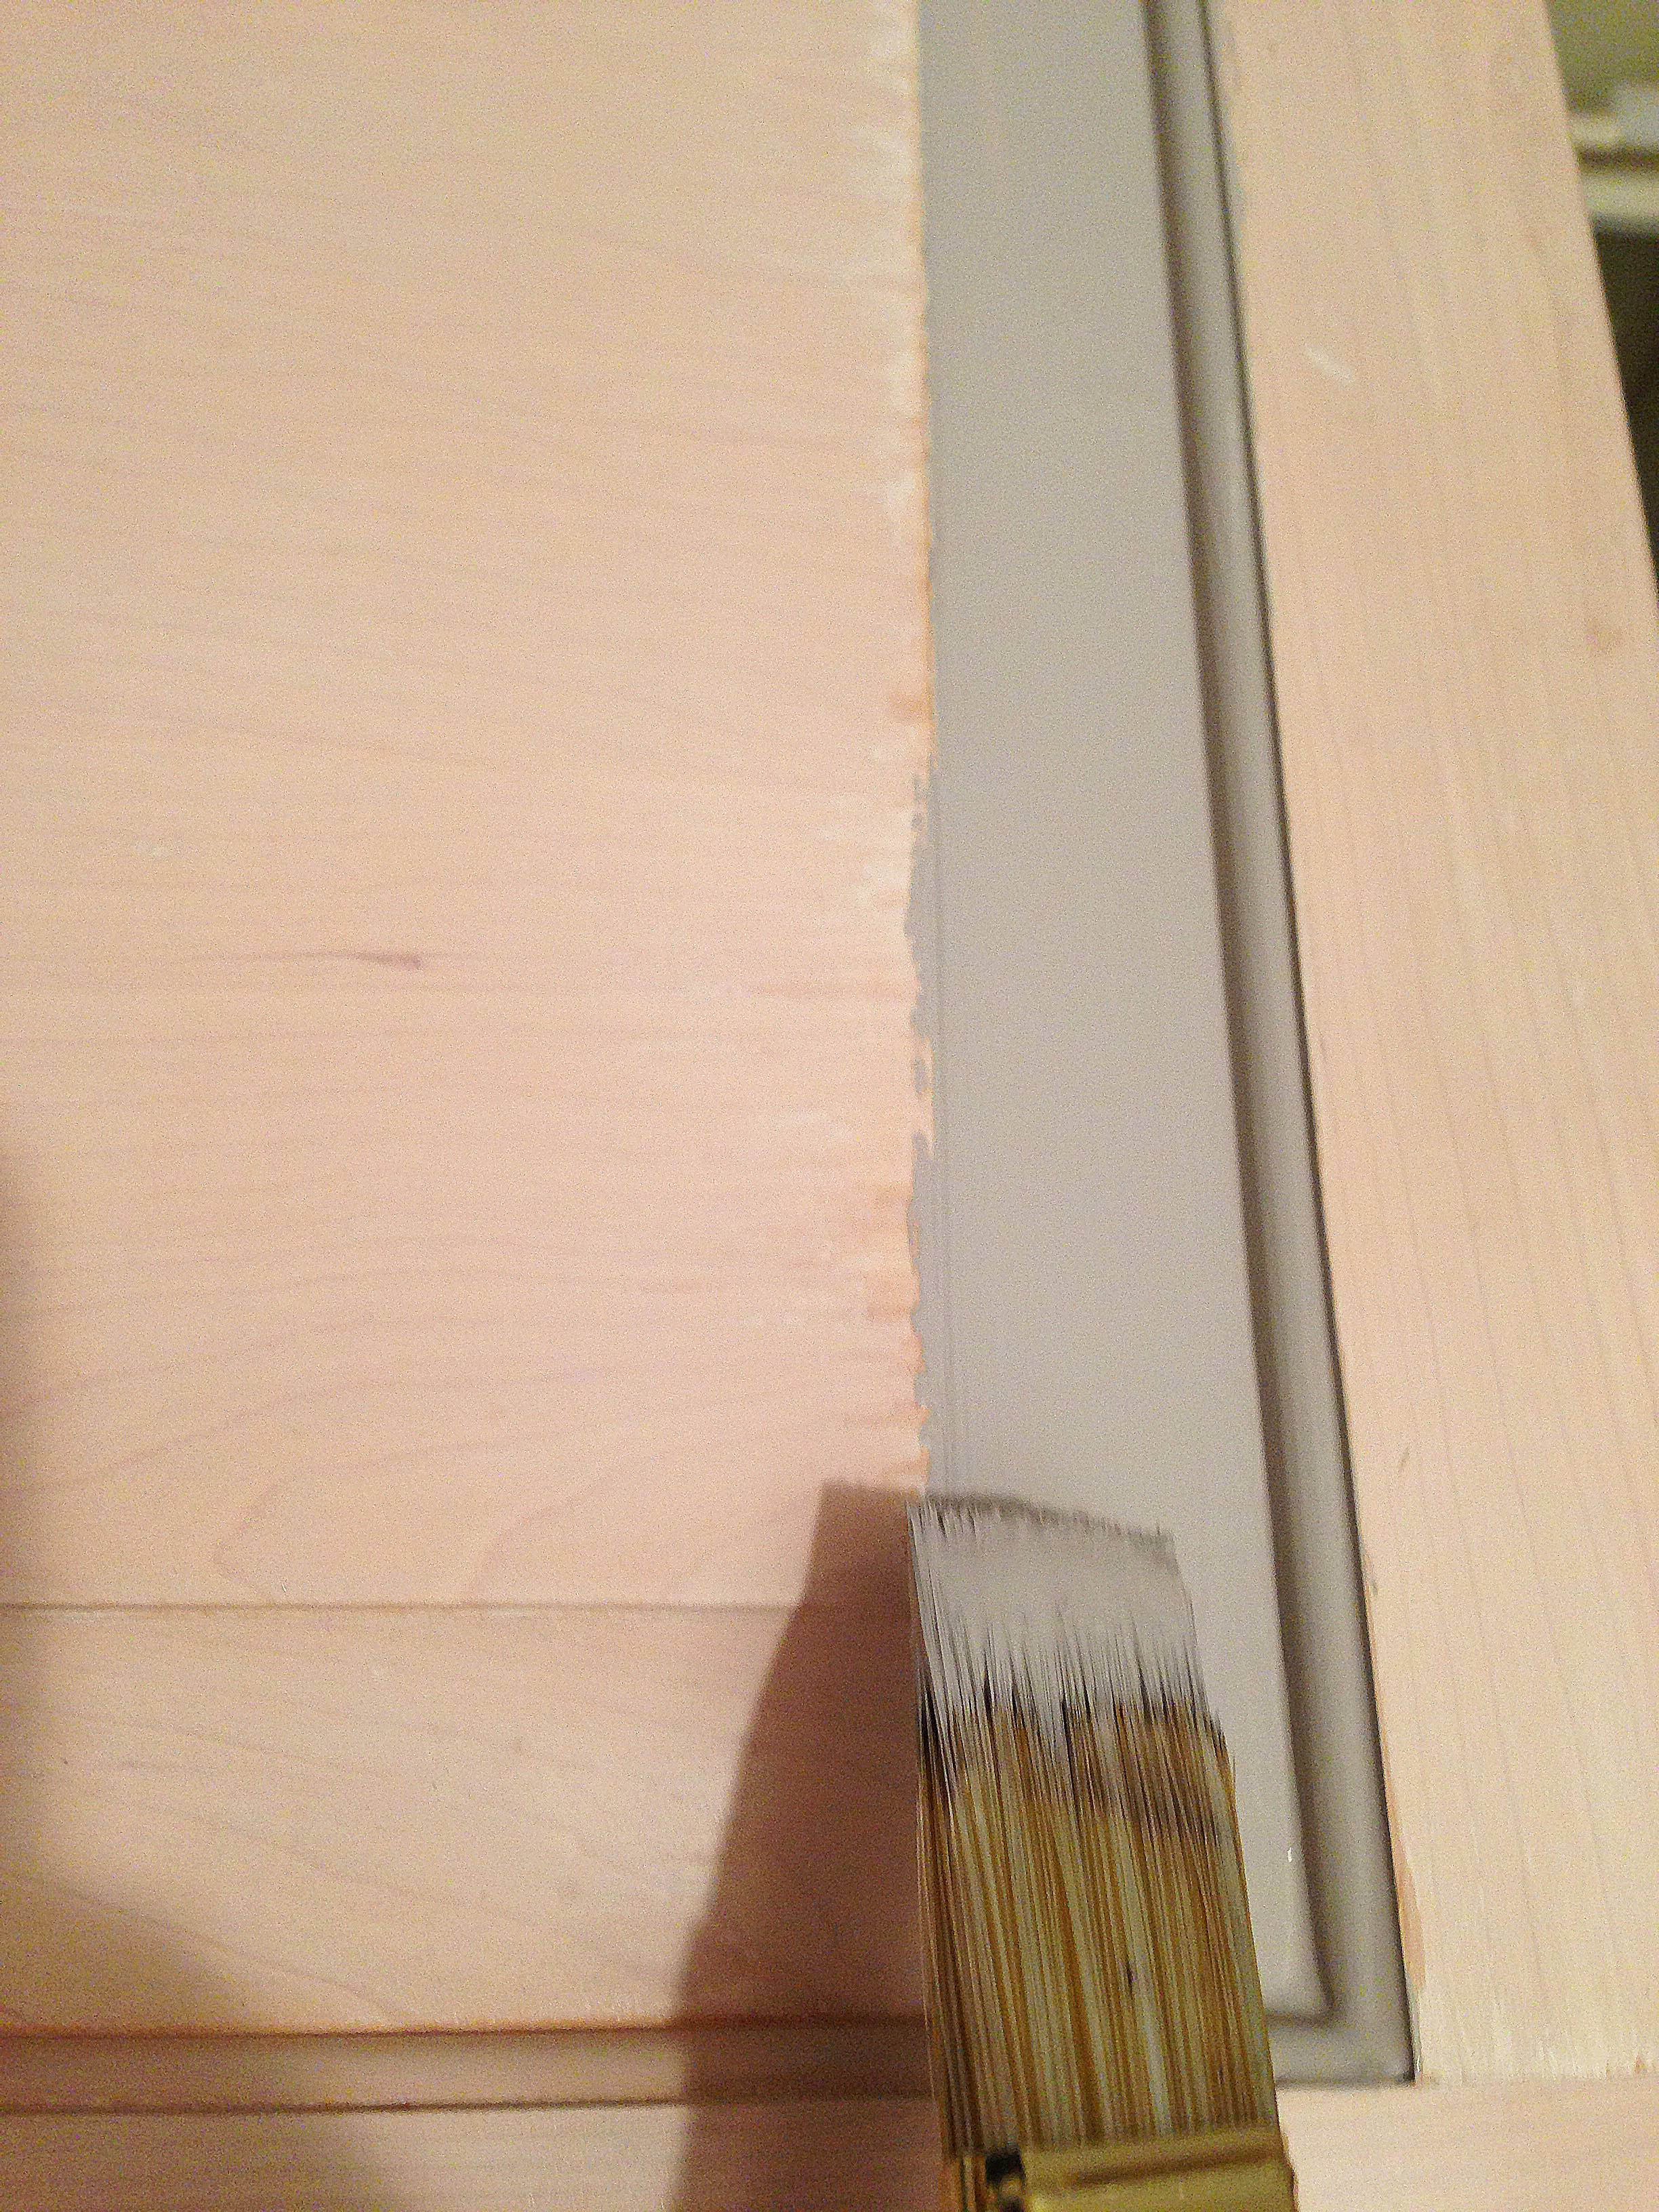
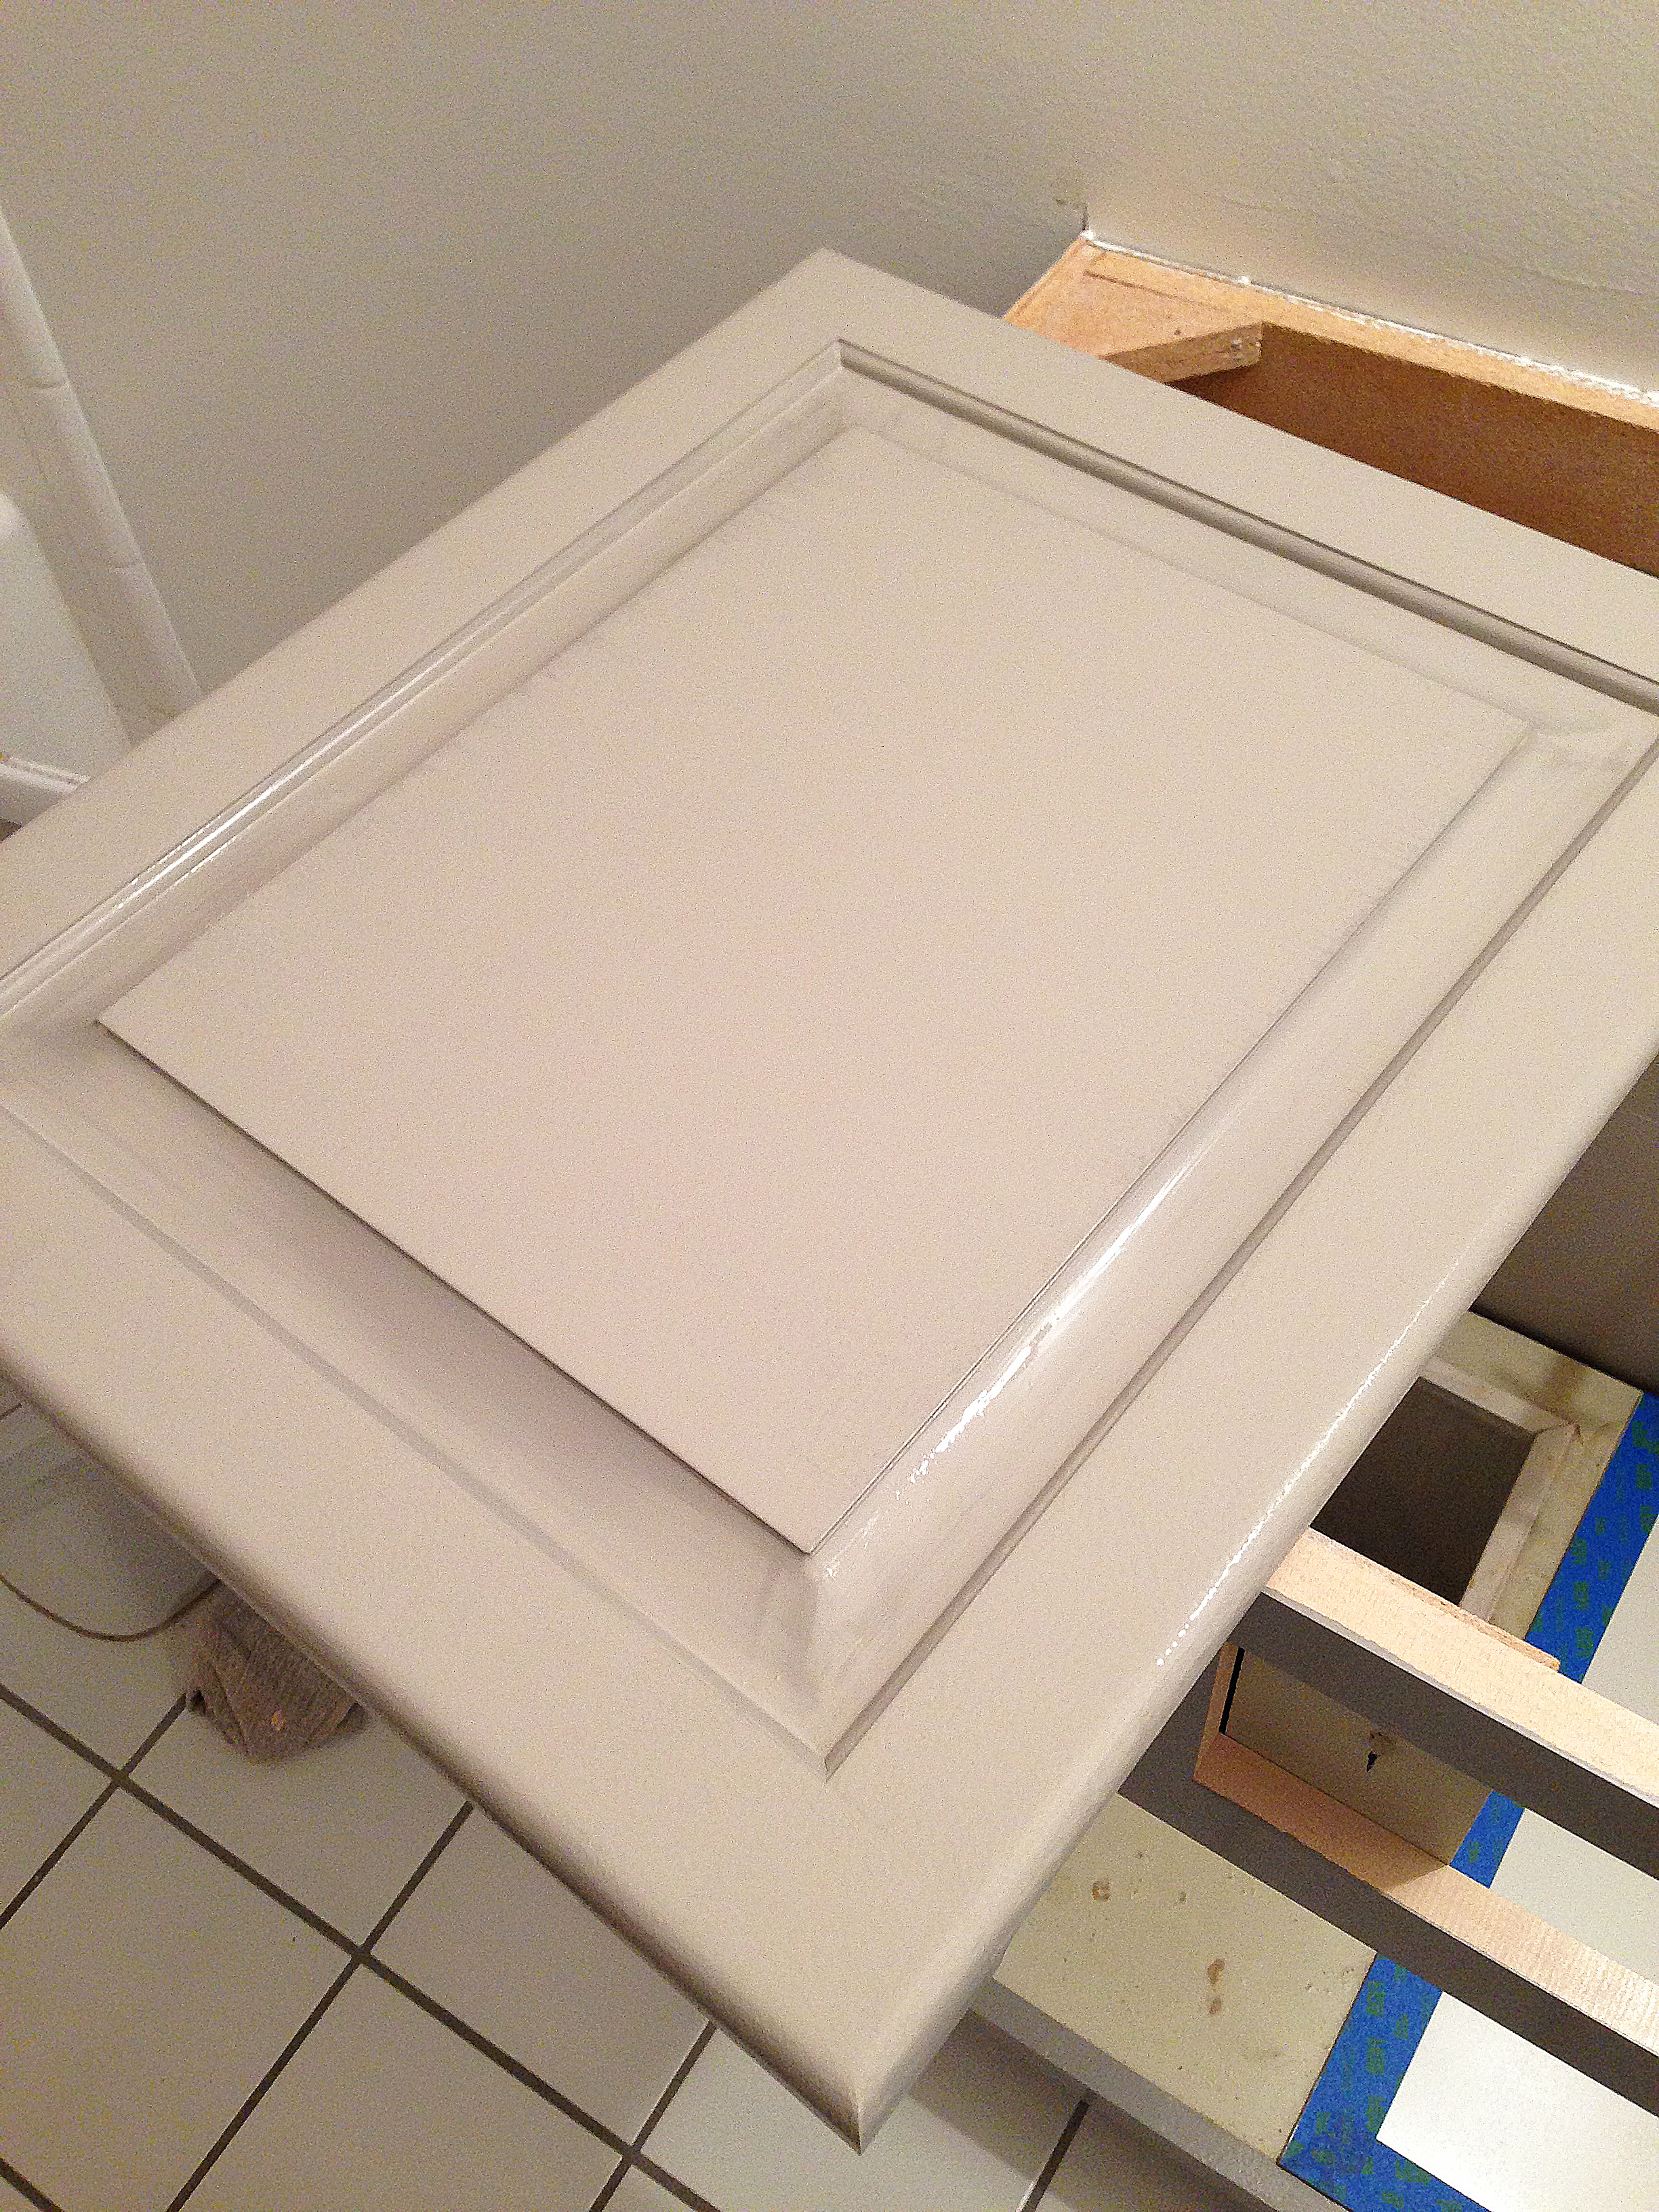
After brushing, I rolled on the rest. When looking for a brush and roller, trust me and go for the higher quality. Cheap roller covers shed lint, and nothing is worse than getting lint in your paint and spreading it all over your painted surface. I used a 1/4 inch nap, small roller for smooth surfaces, to cut down on the stipple as much as possible (stipple is the texture your roller leaves after the paint dries). This paint is so great, it smoothes out to a glass-like finish before it dries. I took my time, and you can’t see any brush strokes. It looks like it was sprayed. Normally, I would have sprayed but with winter here, I don’t have a good spot to spray and the cold air causes issues so I had to do hand work. What a happy surprise to find out how amazing this paint is.

After painting two coats on the front of the doors and letting it dry completely, I painted two coats on the back. I rolled almost all of the vanity itself, with only a little brushwork.
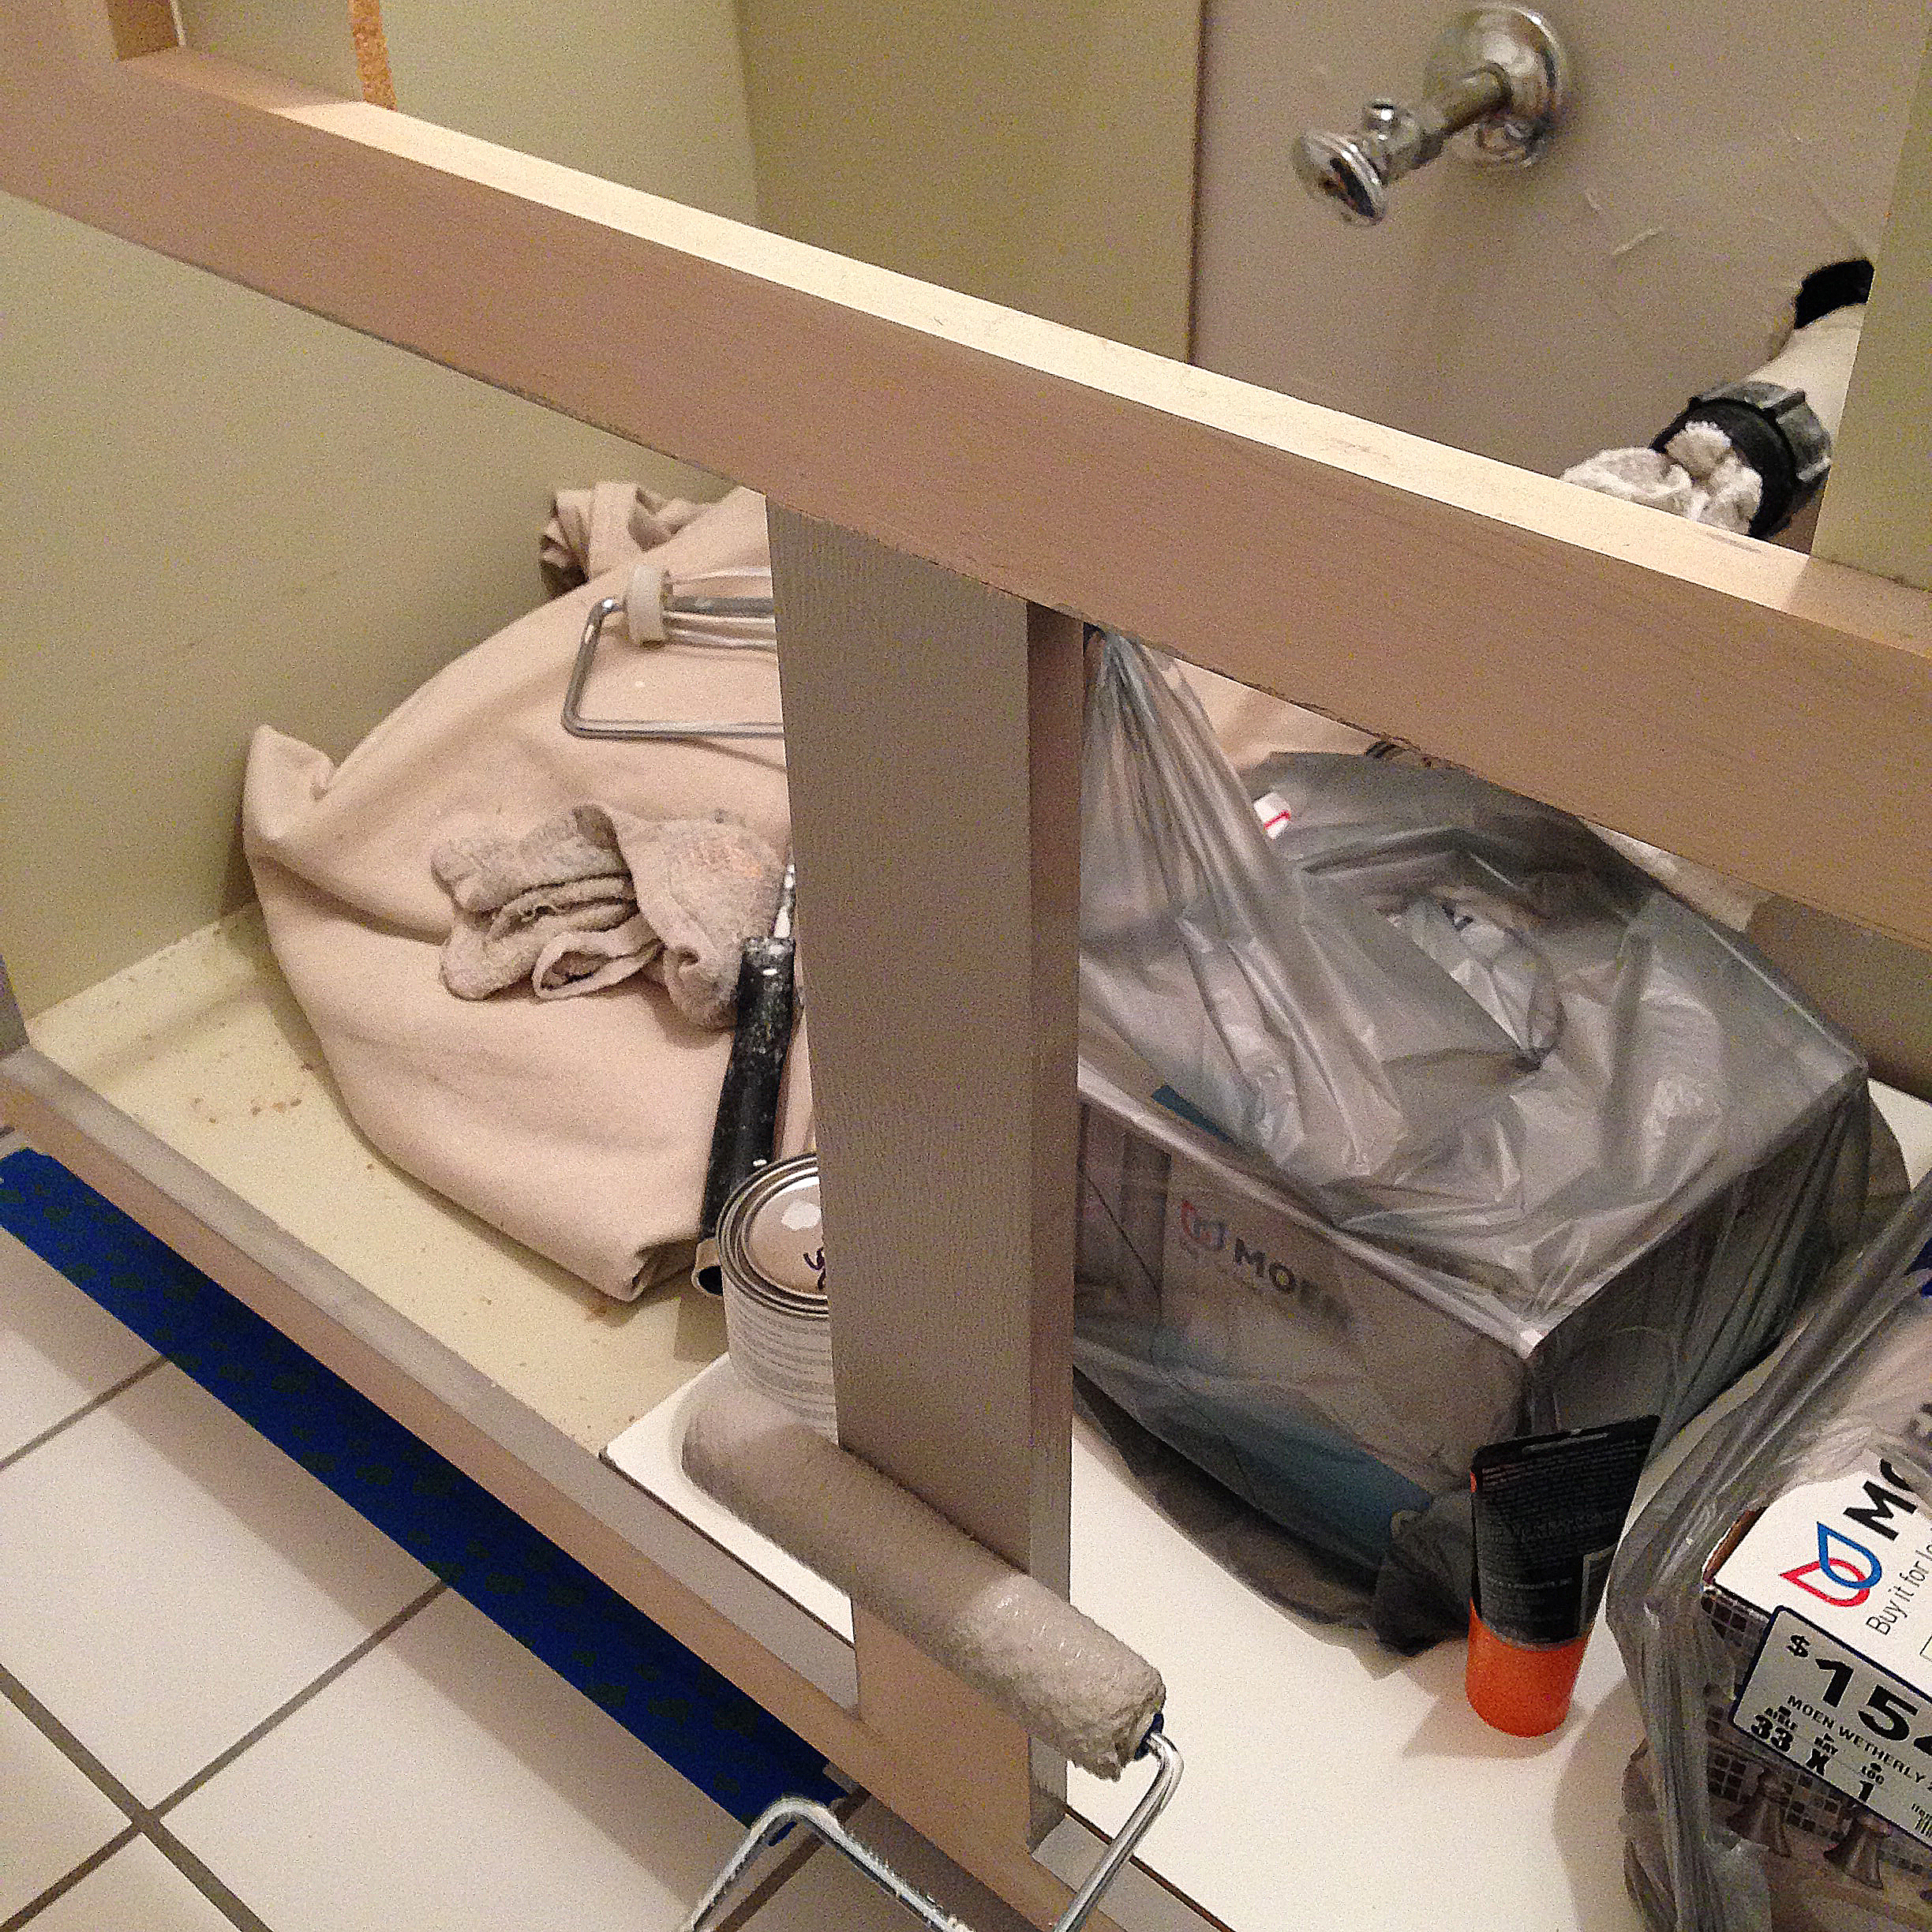
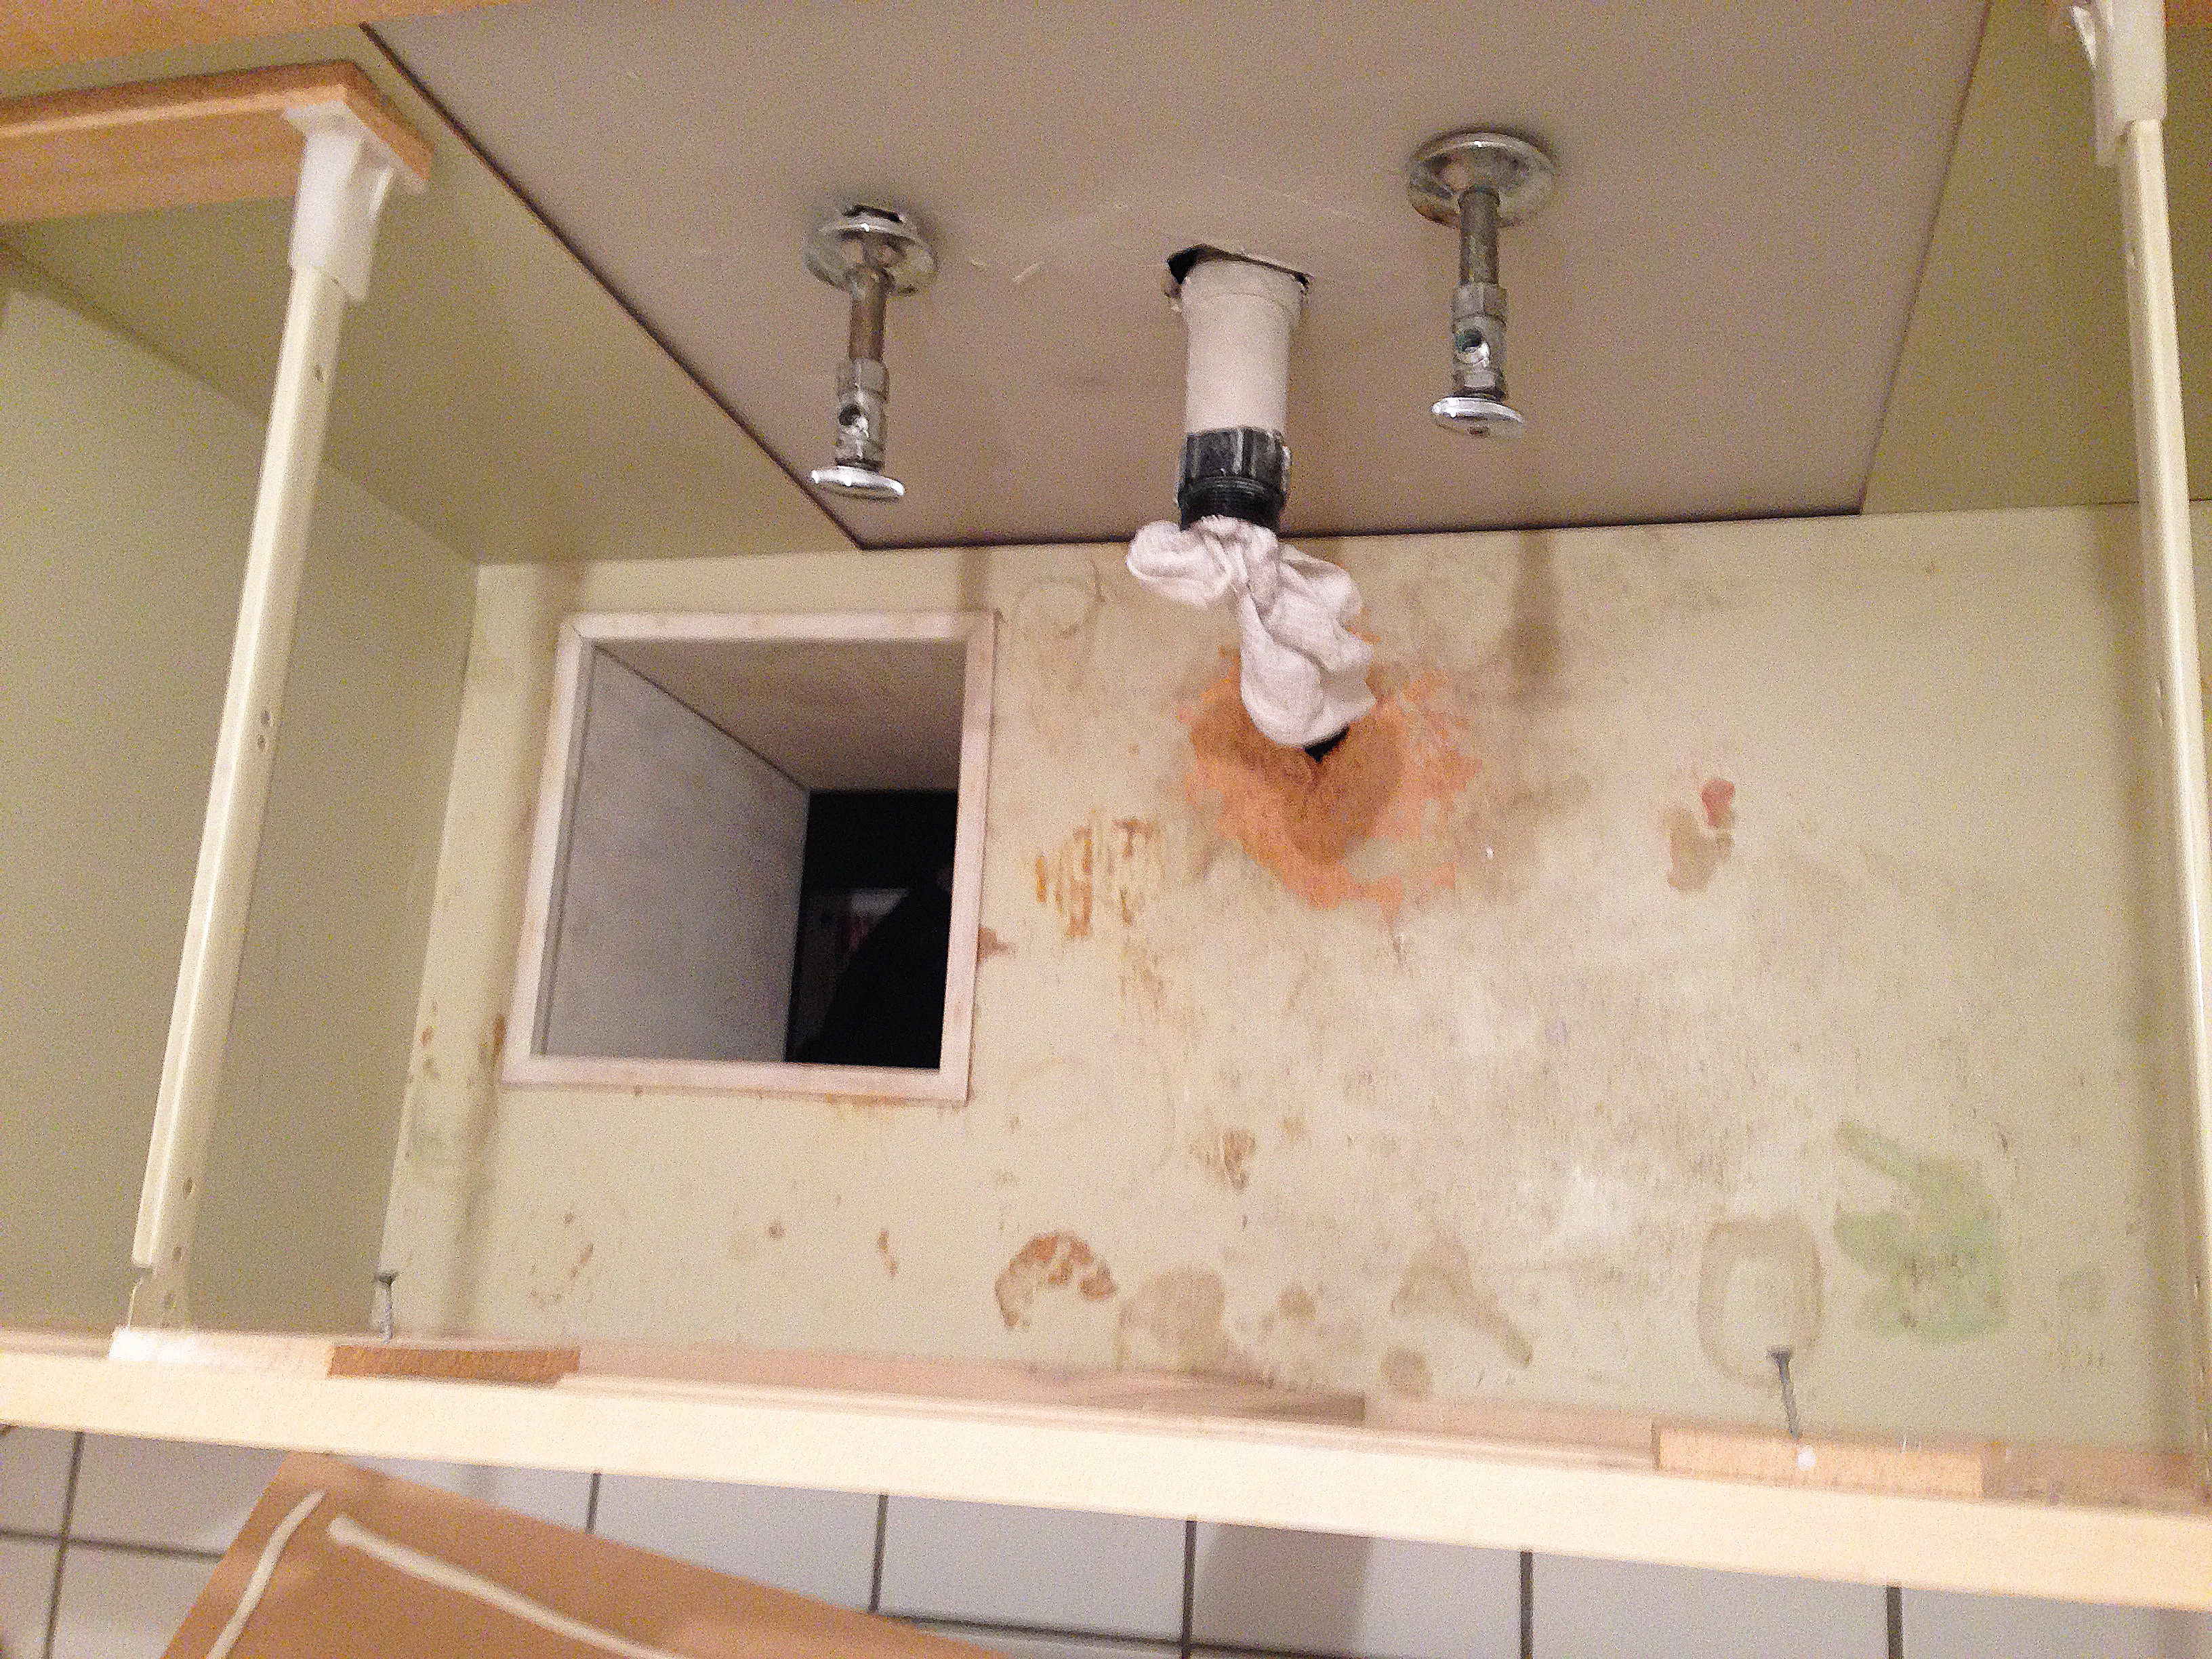
For the inside of the vanity, it took a little creativity. You might remember the inside was in pretty rough shape. There was some rotting and water damage, and then the weird laundry chute. I was tempted to put down a piece of marker board of all things to cover up the laundry chute, but Jon seems to think it’s kind of cool so it stayed. Instead I just put down a new board to cover up the damaged wood, then gave it all a nice clean coat of white paint.
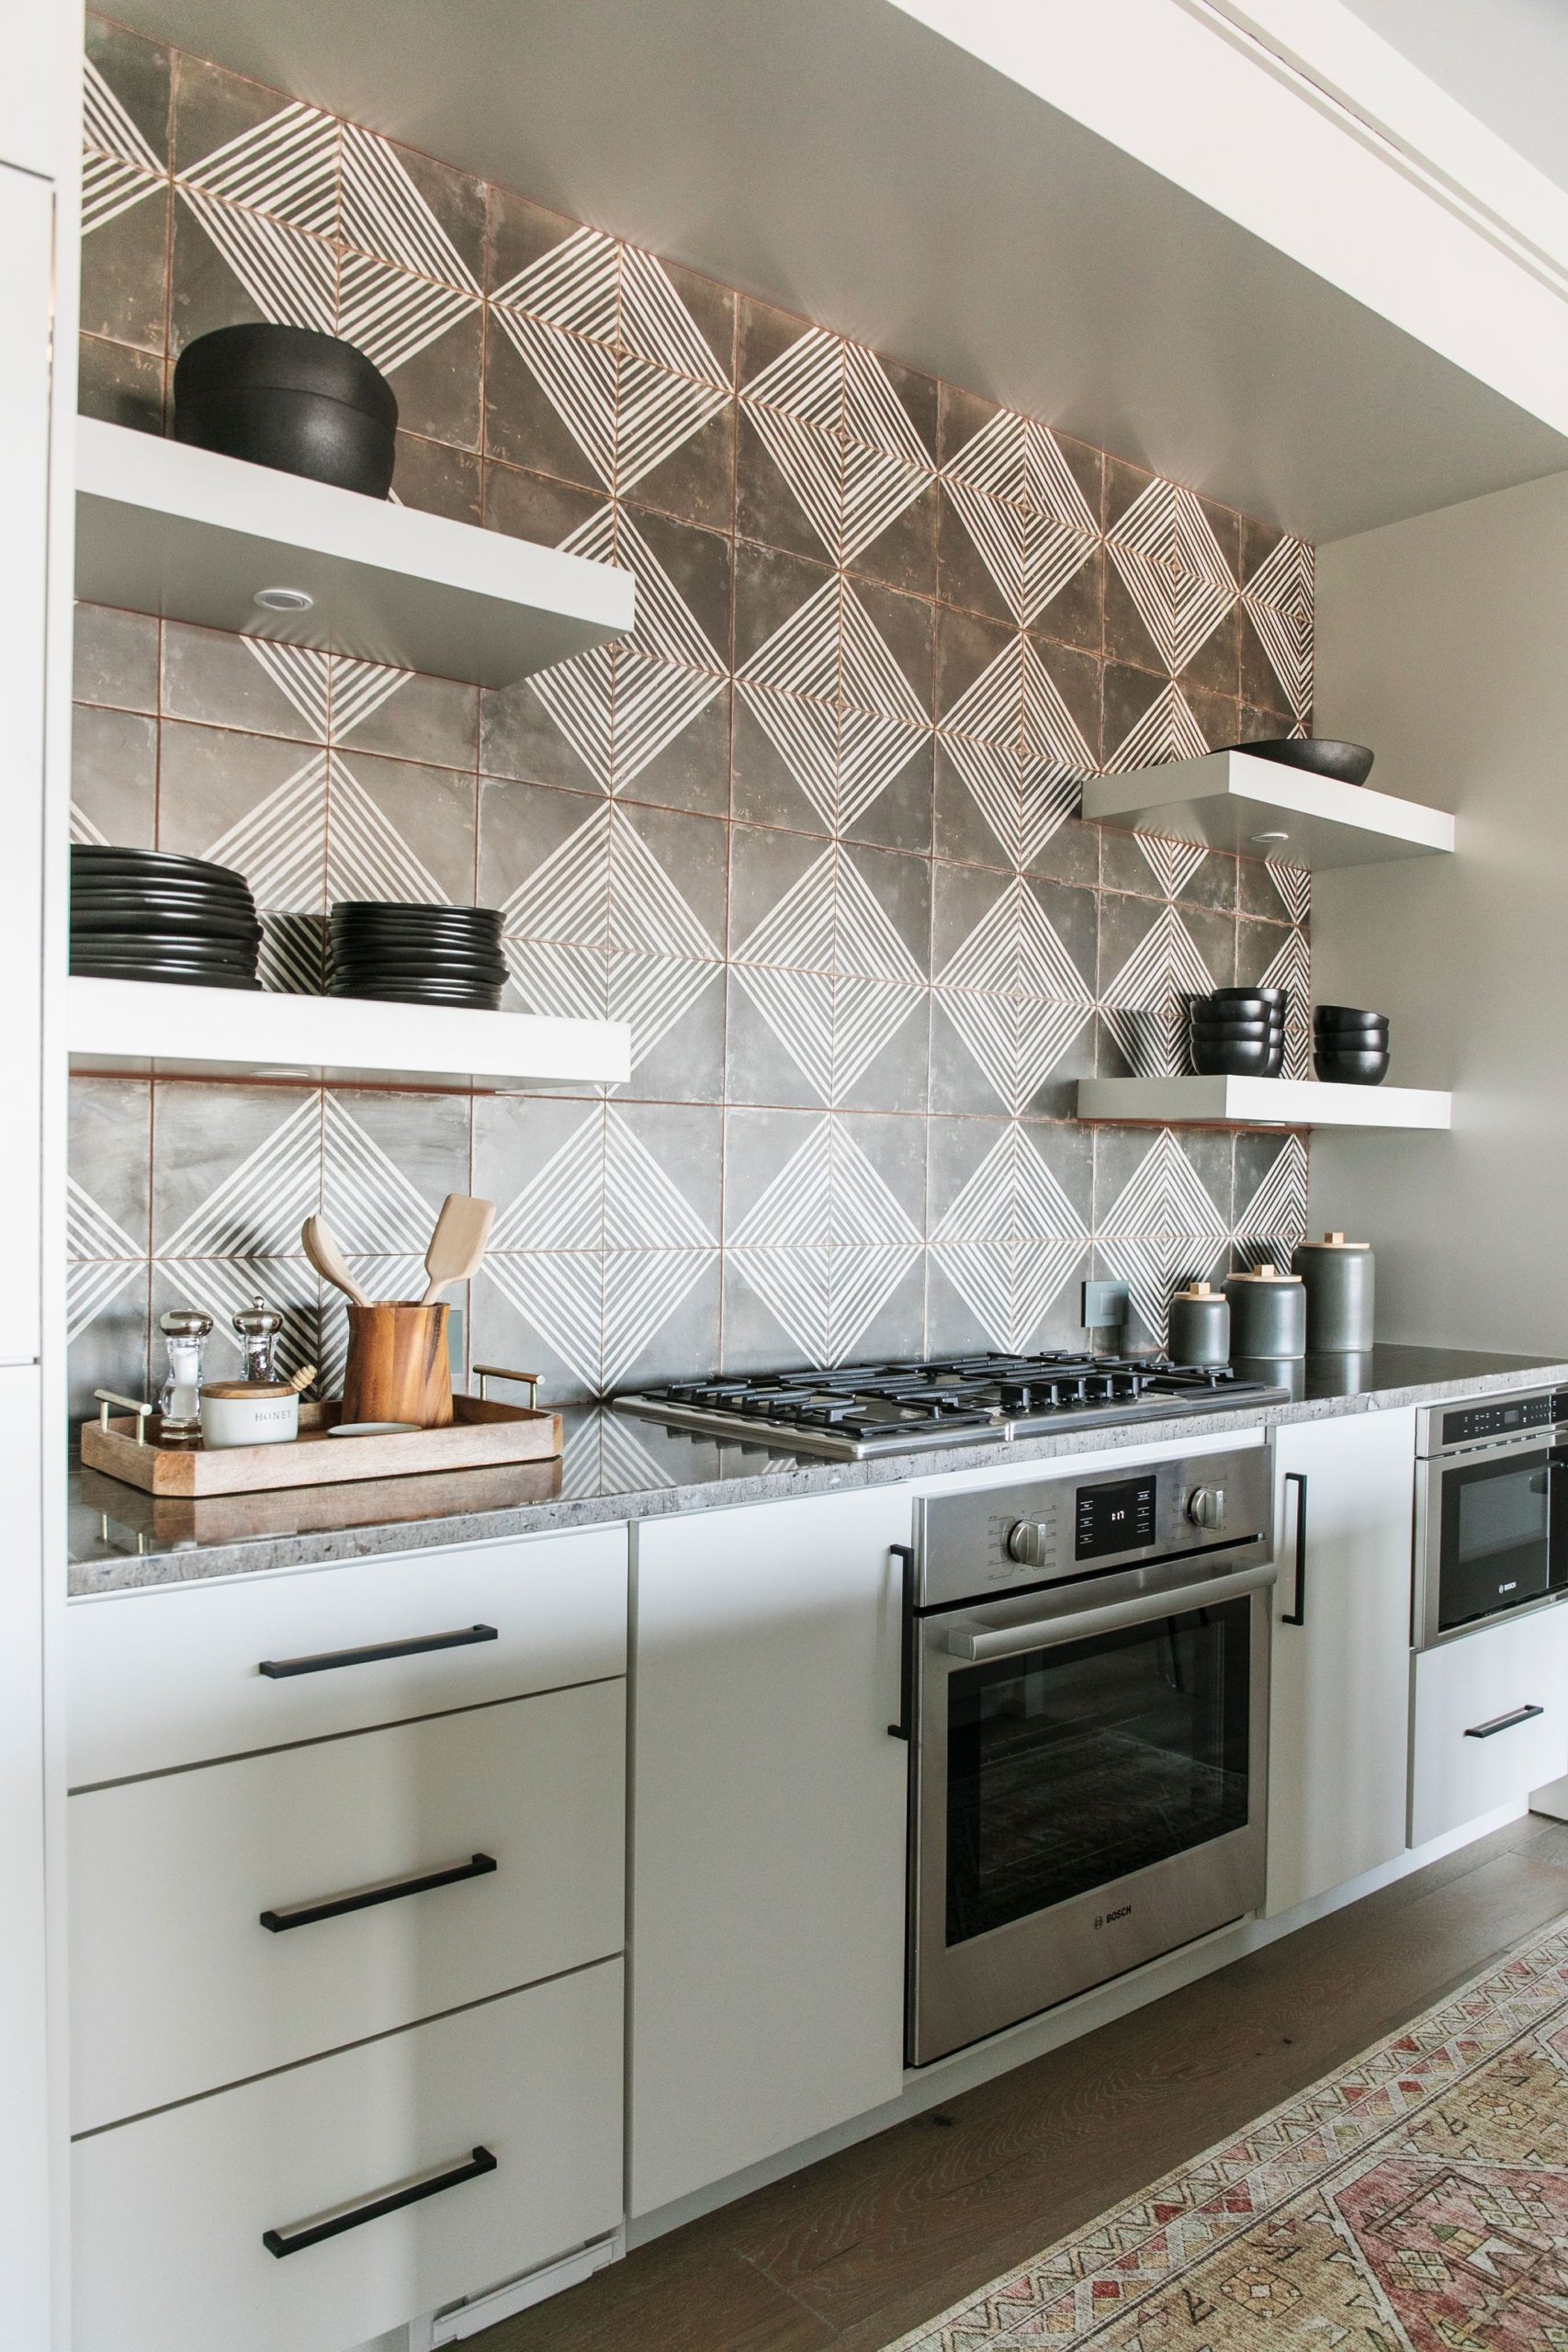
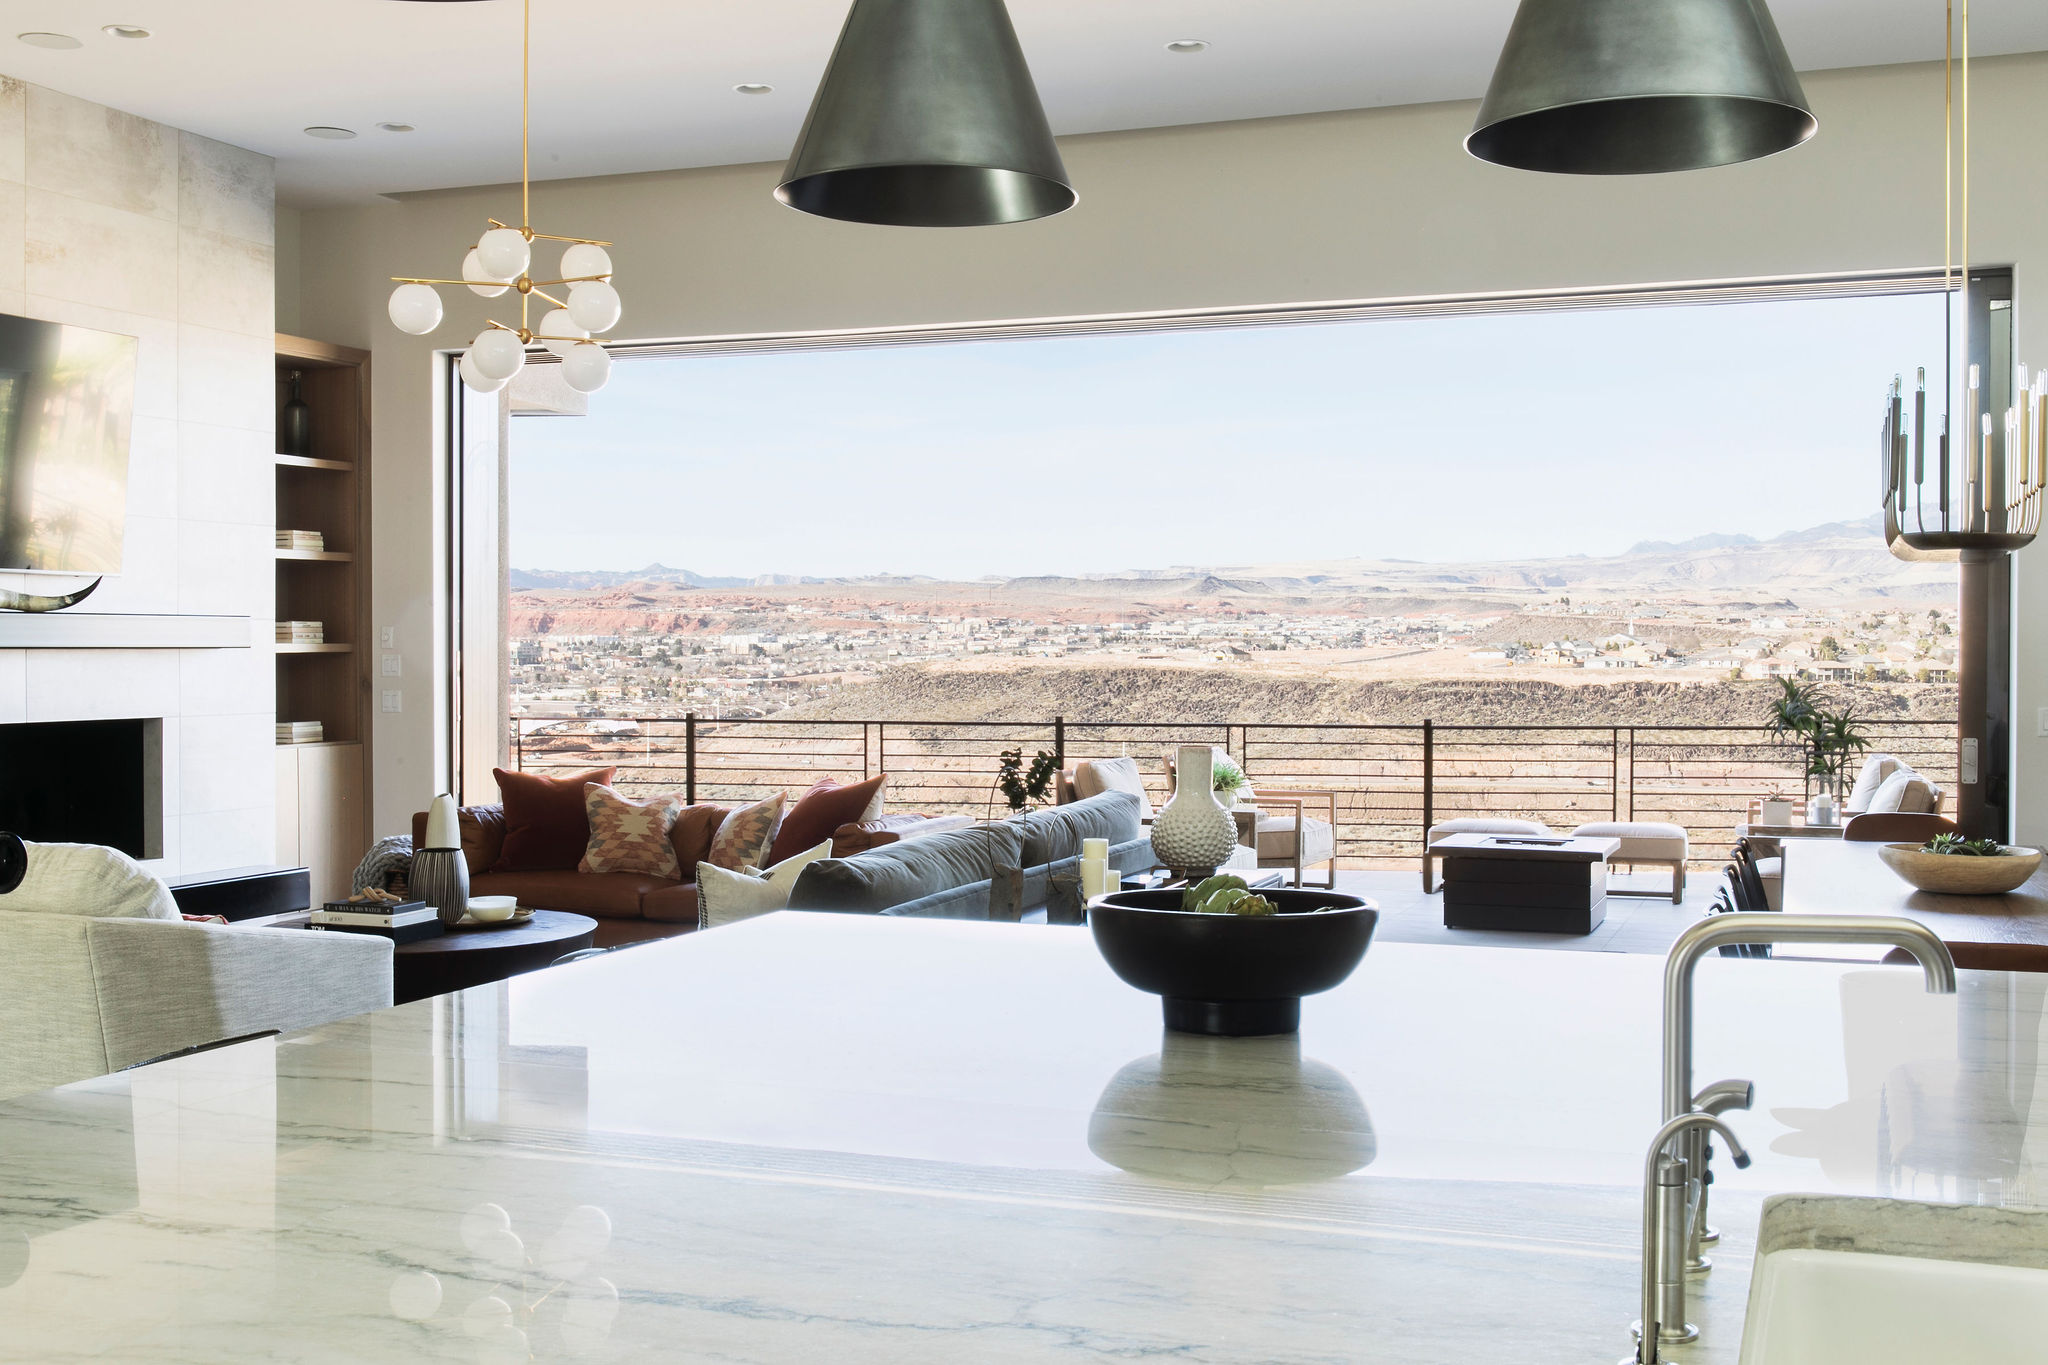
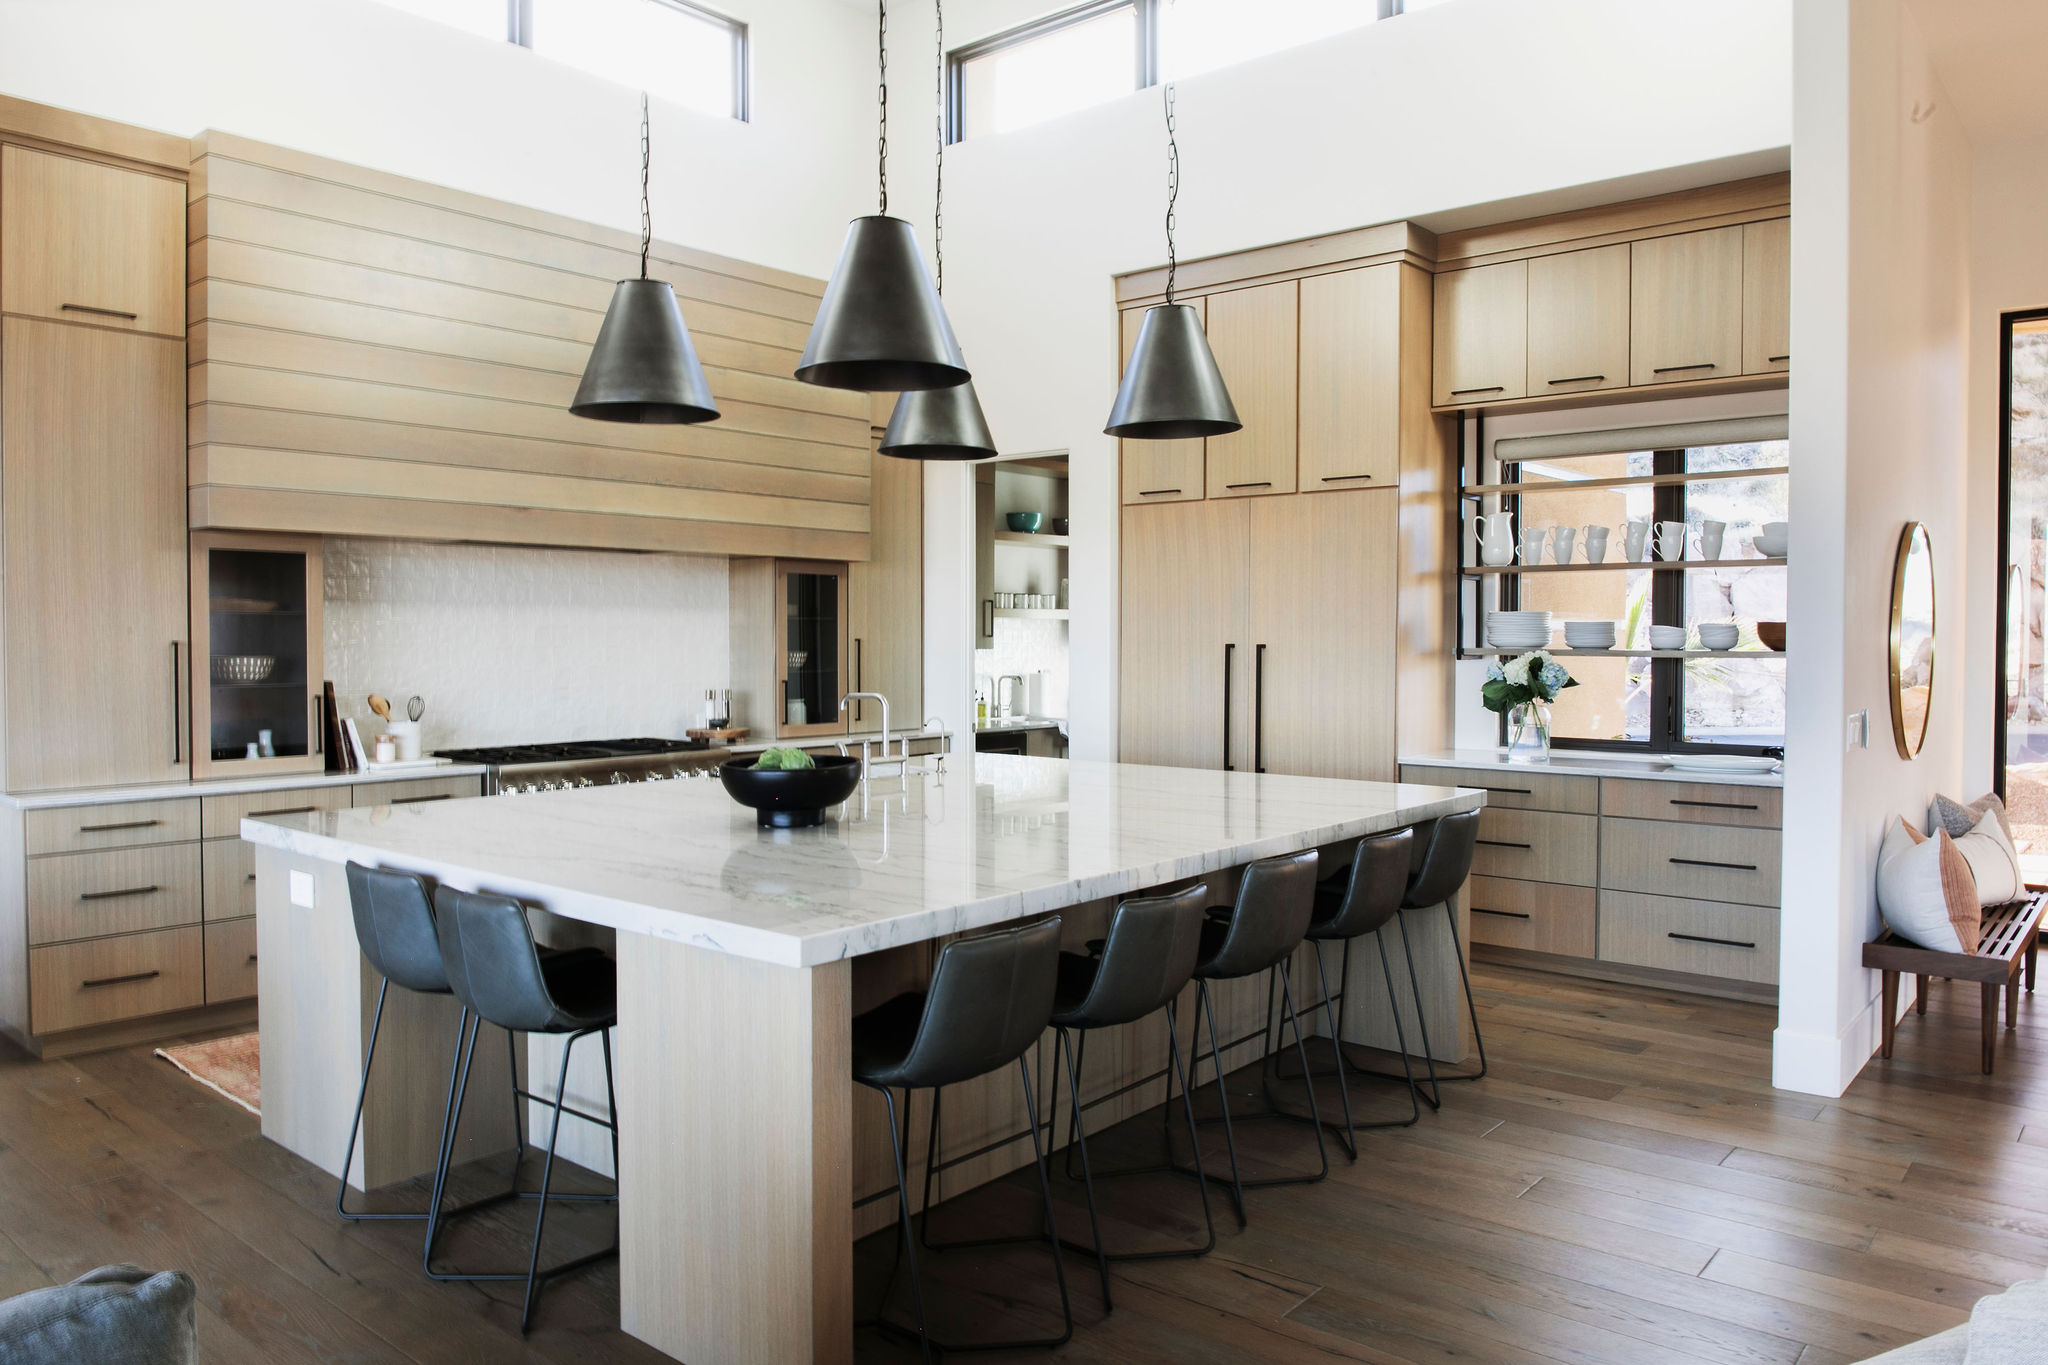
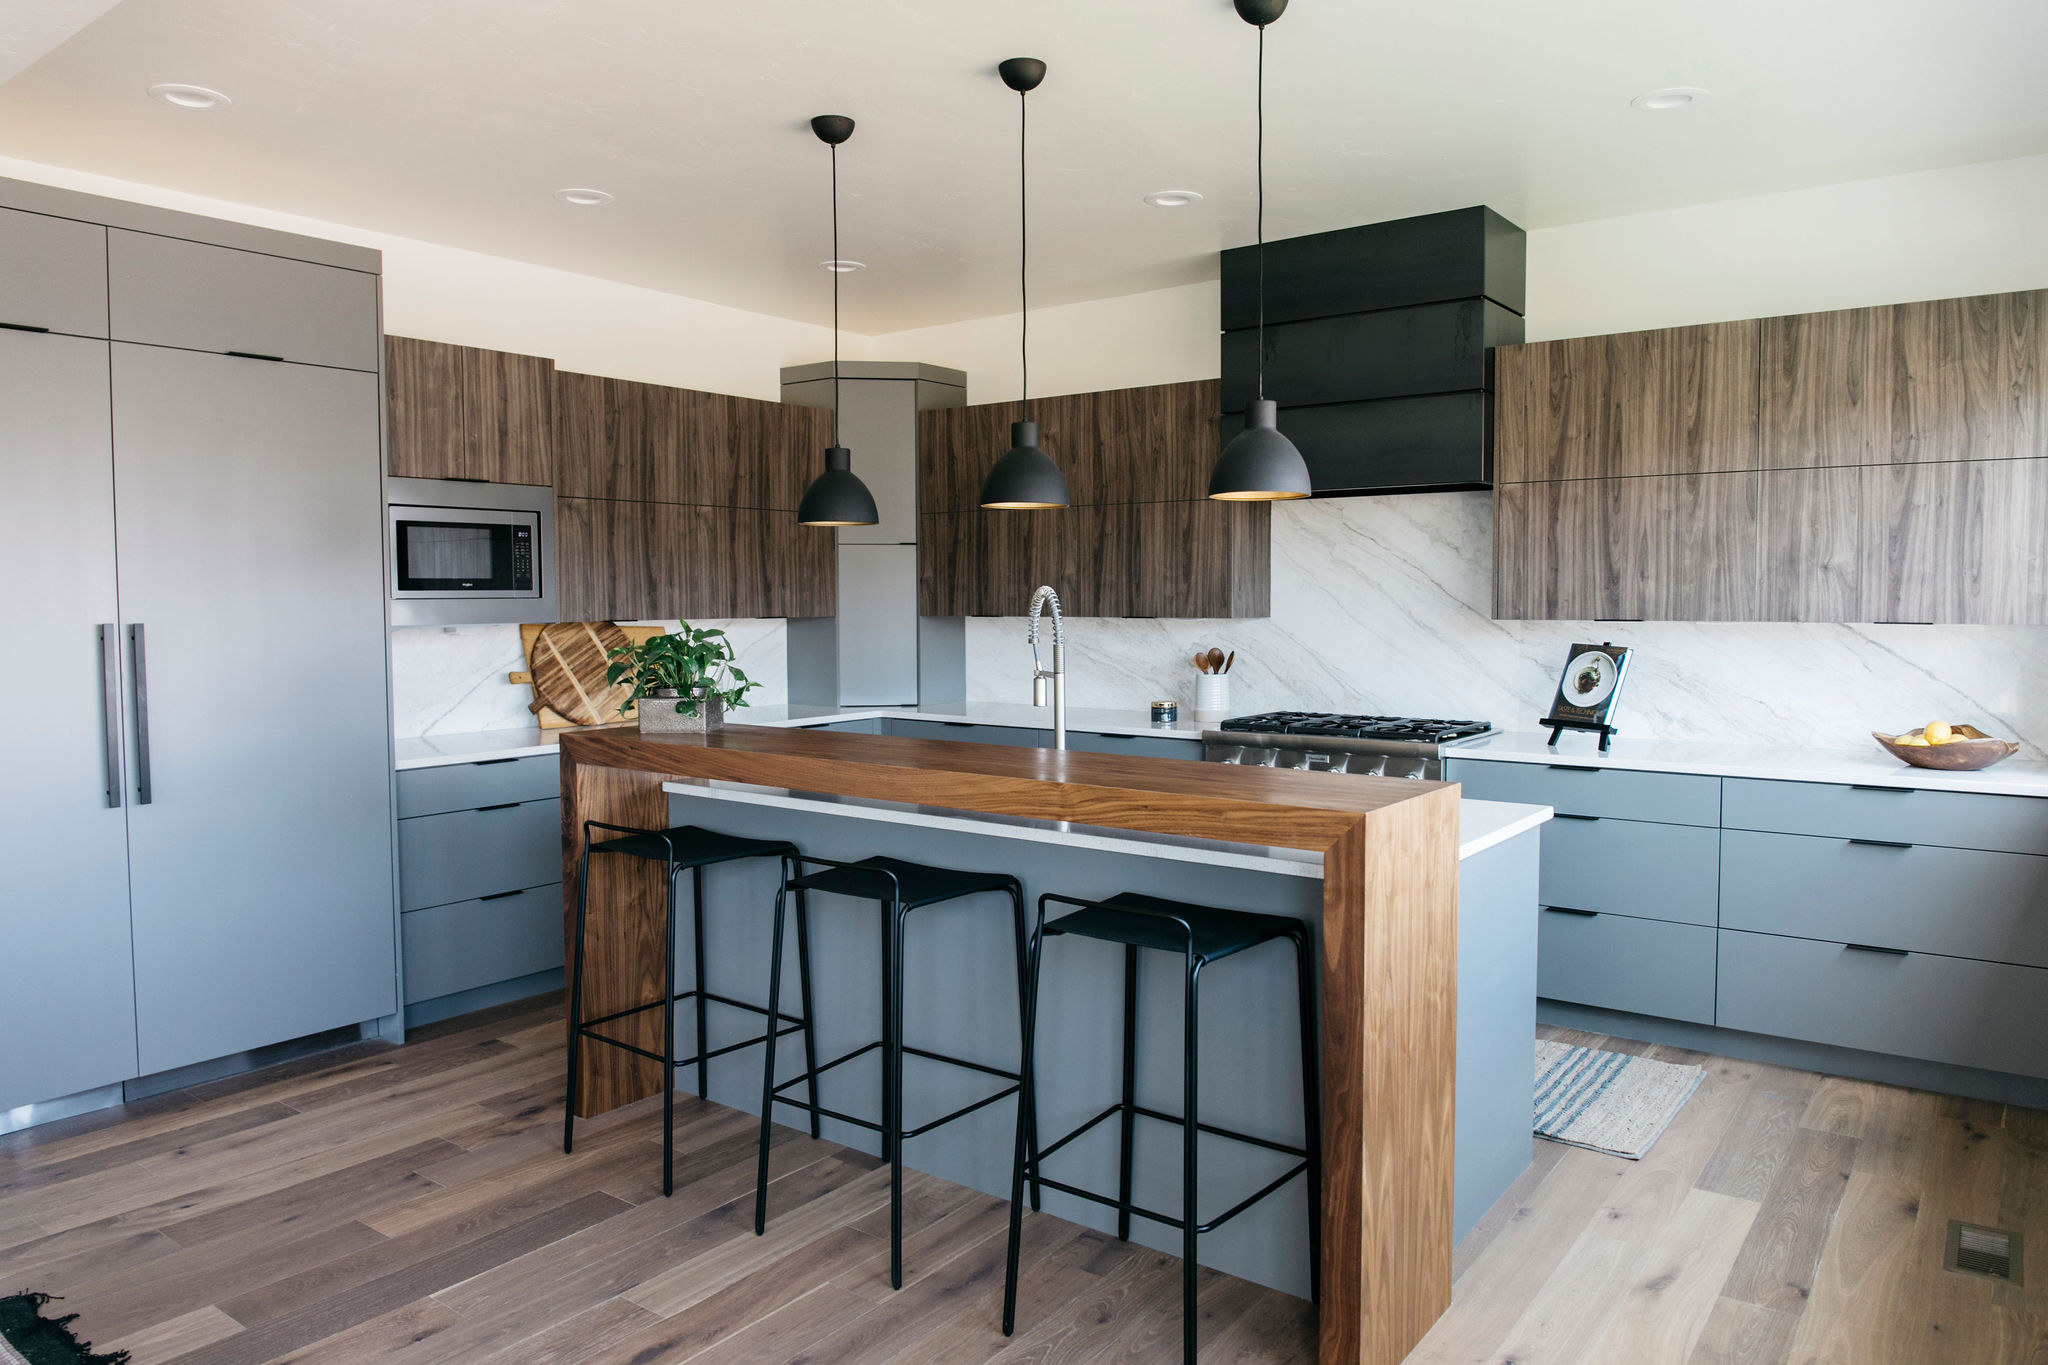
Now that’s it’s all put back together, I’m so glad I didn’t tear it out. It gave me a great run through for our major project coming in a couple weeks– painting all of our kitchen cabinets. Hold on to your hats, people. A major transformation is coming.
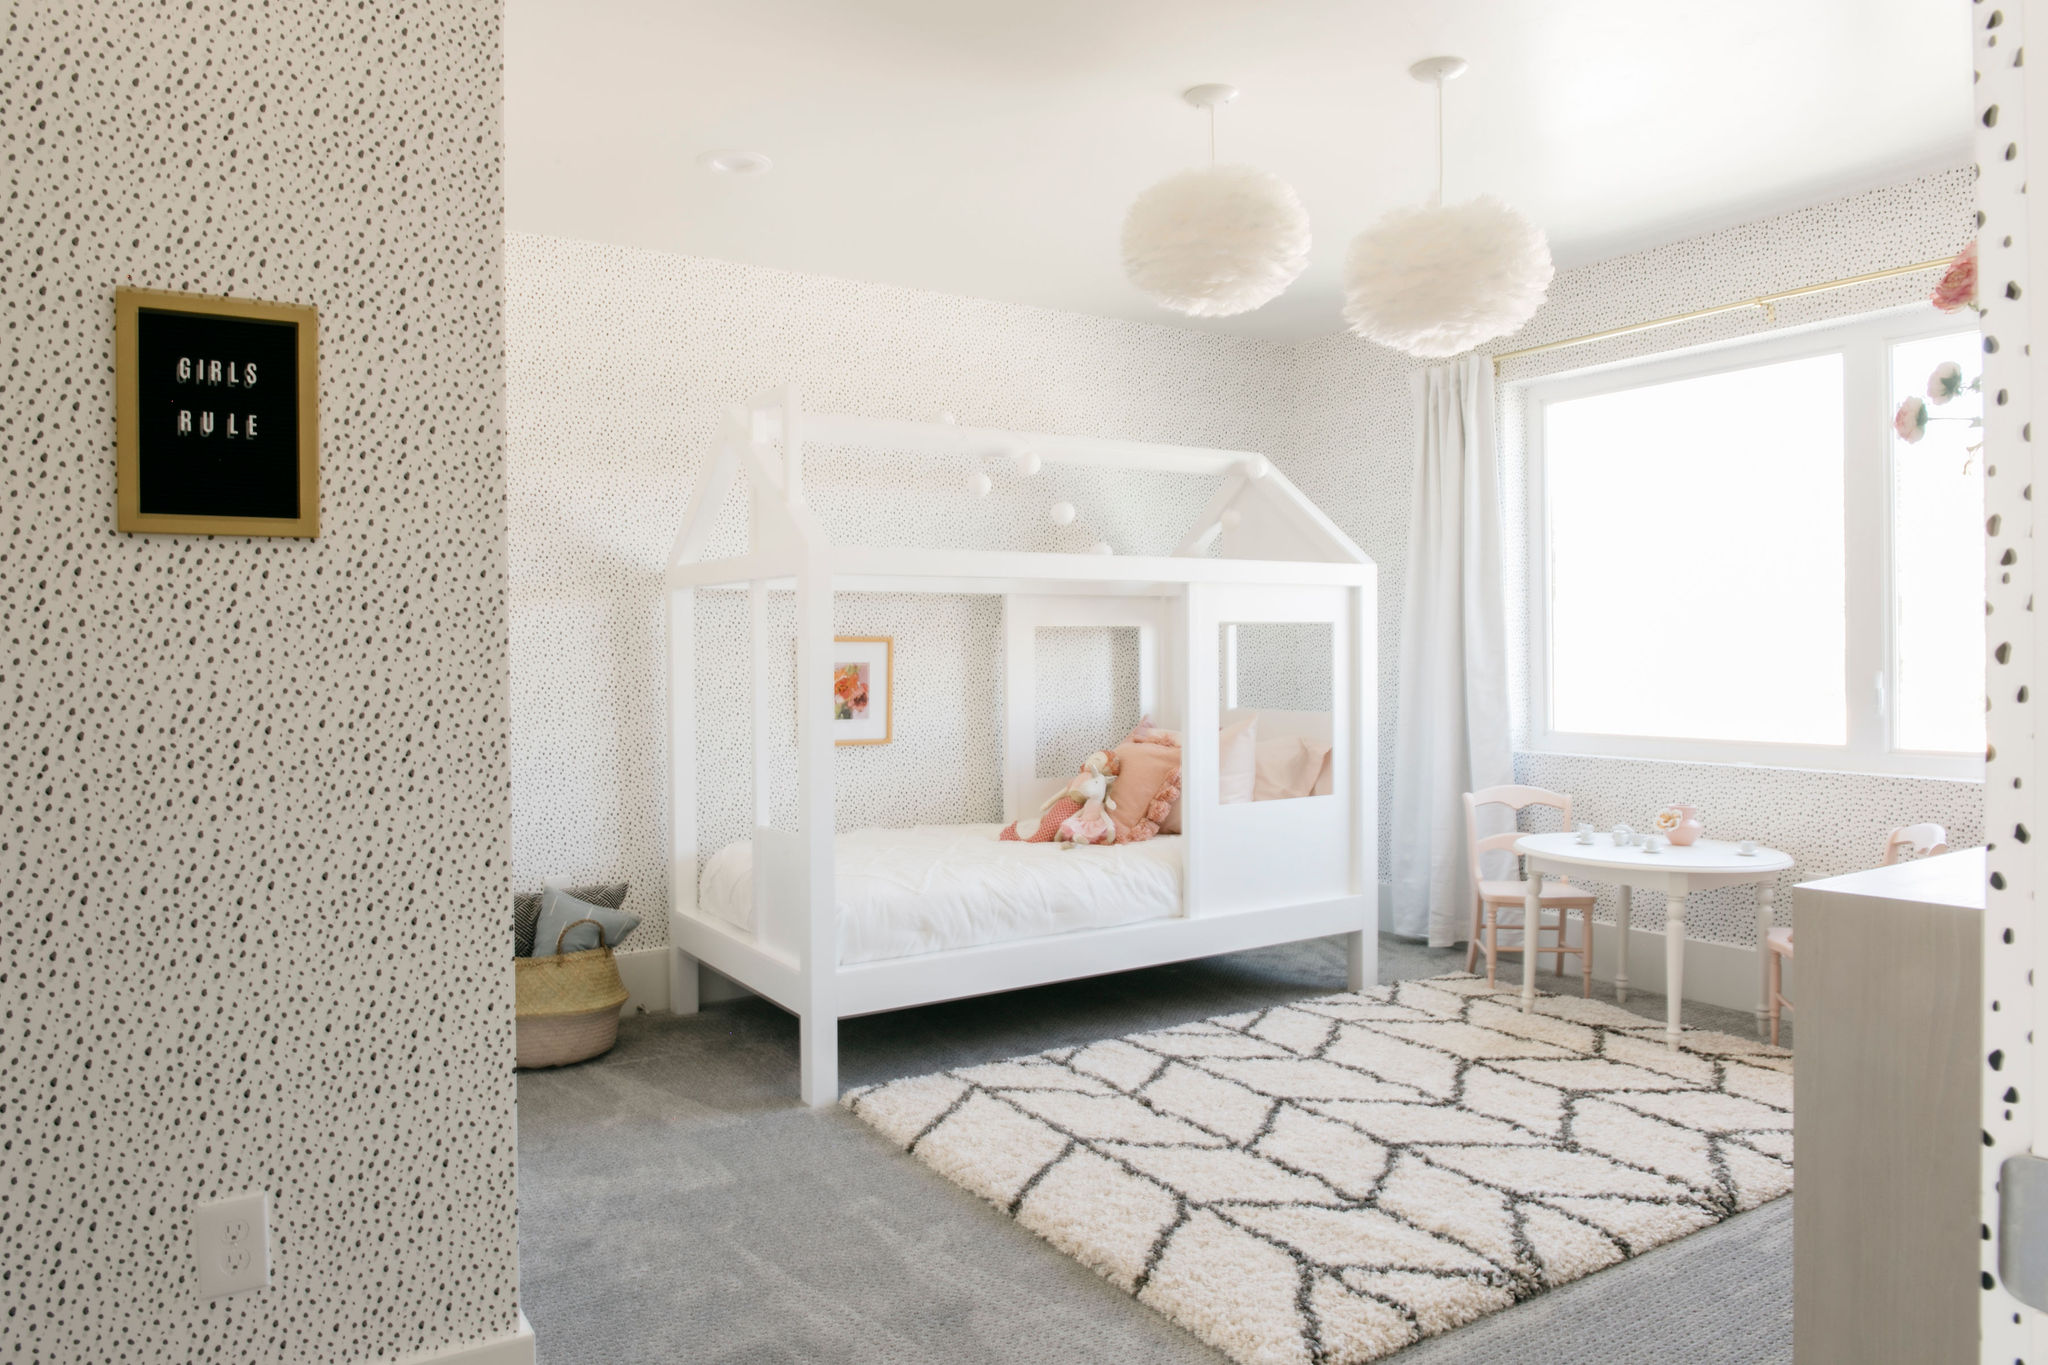
This week a lot of fun posts– playroom reveal day is Thursday! So many fun DIY’s in that space– stay tuned!
xx,

Leave a Reply


back to top
@jenniferstagg
shop

We're a full-service design firm and home furnishings shop built around the philosophy that a well-designed home should be beautiful, personal, cohesive, and complete. We think home is the most important place on the planet and when you live in a home that is perfectly you, it changes your life. Don't believe us? Stick around. We're confident we'll change your mind.
hello there!
Follow Along
@jenniferstagg
Hey, let's be friends
Exclusive projects, discounts, and extra goodies all in your inbox. And don’t worry- your email is for our eyes only.

I will be watching close for your kitchen cabinet painting. I’ve wanted to do mine for years, bought the paint and the bead board, and then chickened out. Do you not need to do a clear coat over your paint for the cabinets?
Rachel – Don’t chicken out! If you use the right paint and good quality tools, you should be happy with the result. I thought about whether to use a clear coat, and many people believe that it adds some durability to the paint finish. I am of the opinion that it doesn’t do much to increase the life of the paint job, and it can create problems if you aren’t careful. For example, you have to make sure you are using a clear coat or other type of varnish that is compatible with the paint you are using. Otherwise, the clear coat may not adhere properly. Also, a clear coat may change the color of the paint slightly, and will certainly affect the sheen. If you plan to use a clear coat, I would make sure you have the right paint/clear coat combination, and test it in a small area first to make sure you are happy with the end result. Good luck!
[…] was a pretty easy room to remodel, believe it or not. I’ve already shared how we painted the cabinets, and the new vanity countertop installation. I chose hooks instead of racks because I feel like […]
[…] item. I knew we could paint it and make it good as new, using the same technique we used on Ruby’s bathroom vanity. and the kitchen cabinets. I’ve had skilled contractors ask if our cabinets are […]
This is my 2nd round of painting kitchen cabinets with B, Moore Advance and it is the greatest, I did find that thining with distilled gave me a better smooth glass like finish, Since I enjoy painting with a brush was my way of applying and I did not use a clear coat and the light color scrubs up like new.