

")
")
")


HOW I WOULD DIY: READER’S FAMILY CABINET
November 26, 2013
There are pieces of furniture that are sentimental. Maybe it’s a rocking chair that has been passed down from grandmother to mother to you. Maybe it’s a chest your dad made, or a mirror that always hung in your hallway growing up. For withHEART reader BreAnn, it’s a cabinet that has been passed around her family and has now fallen to her. And while to some a piece like this that needs a lot of love may not be worth much, I’m just a big sentimental softie, really. I love including personally meaningful pieces into your home, even if no one else loves them like you do. I think it gives your home heart and soul and makes it yours.
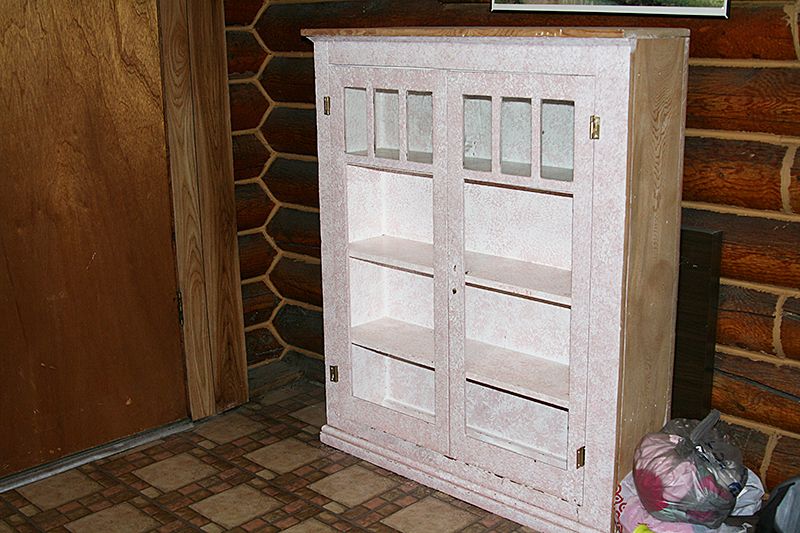
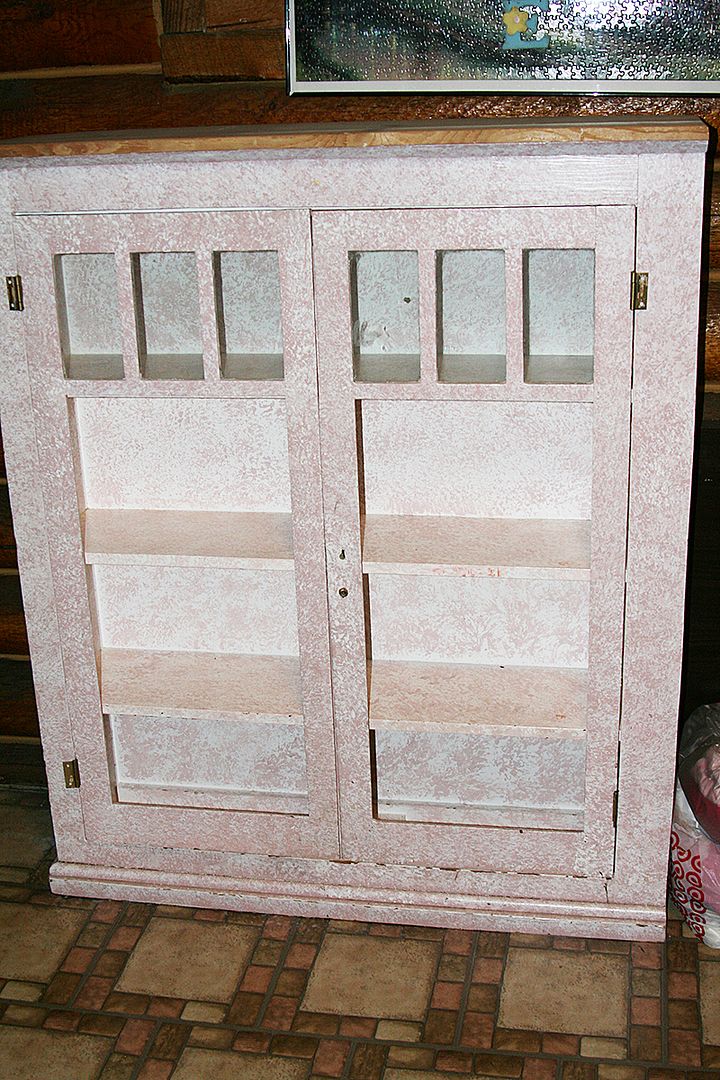
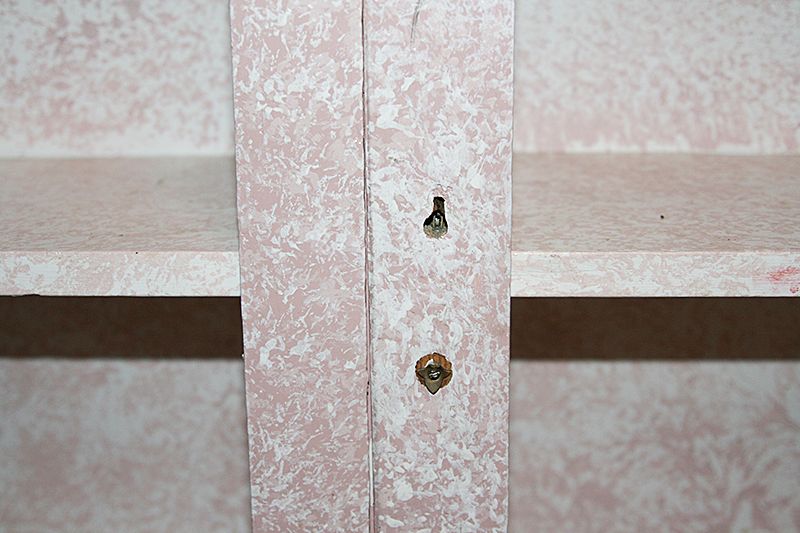
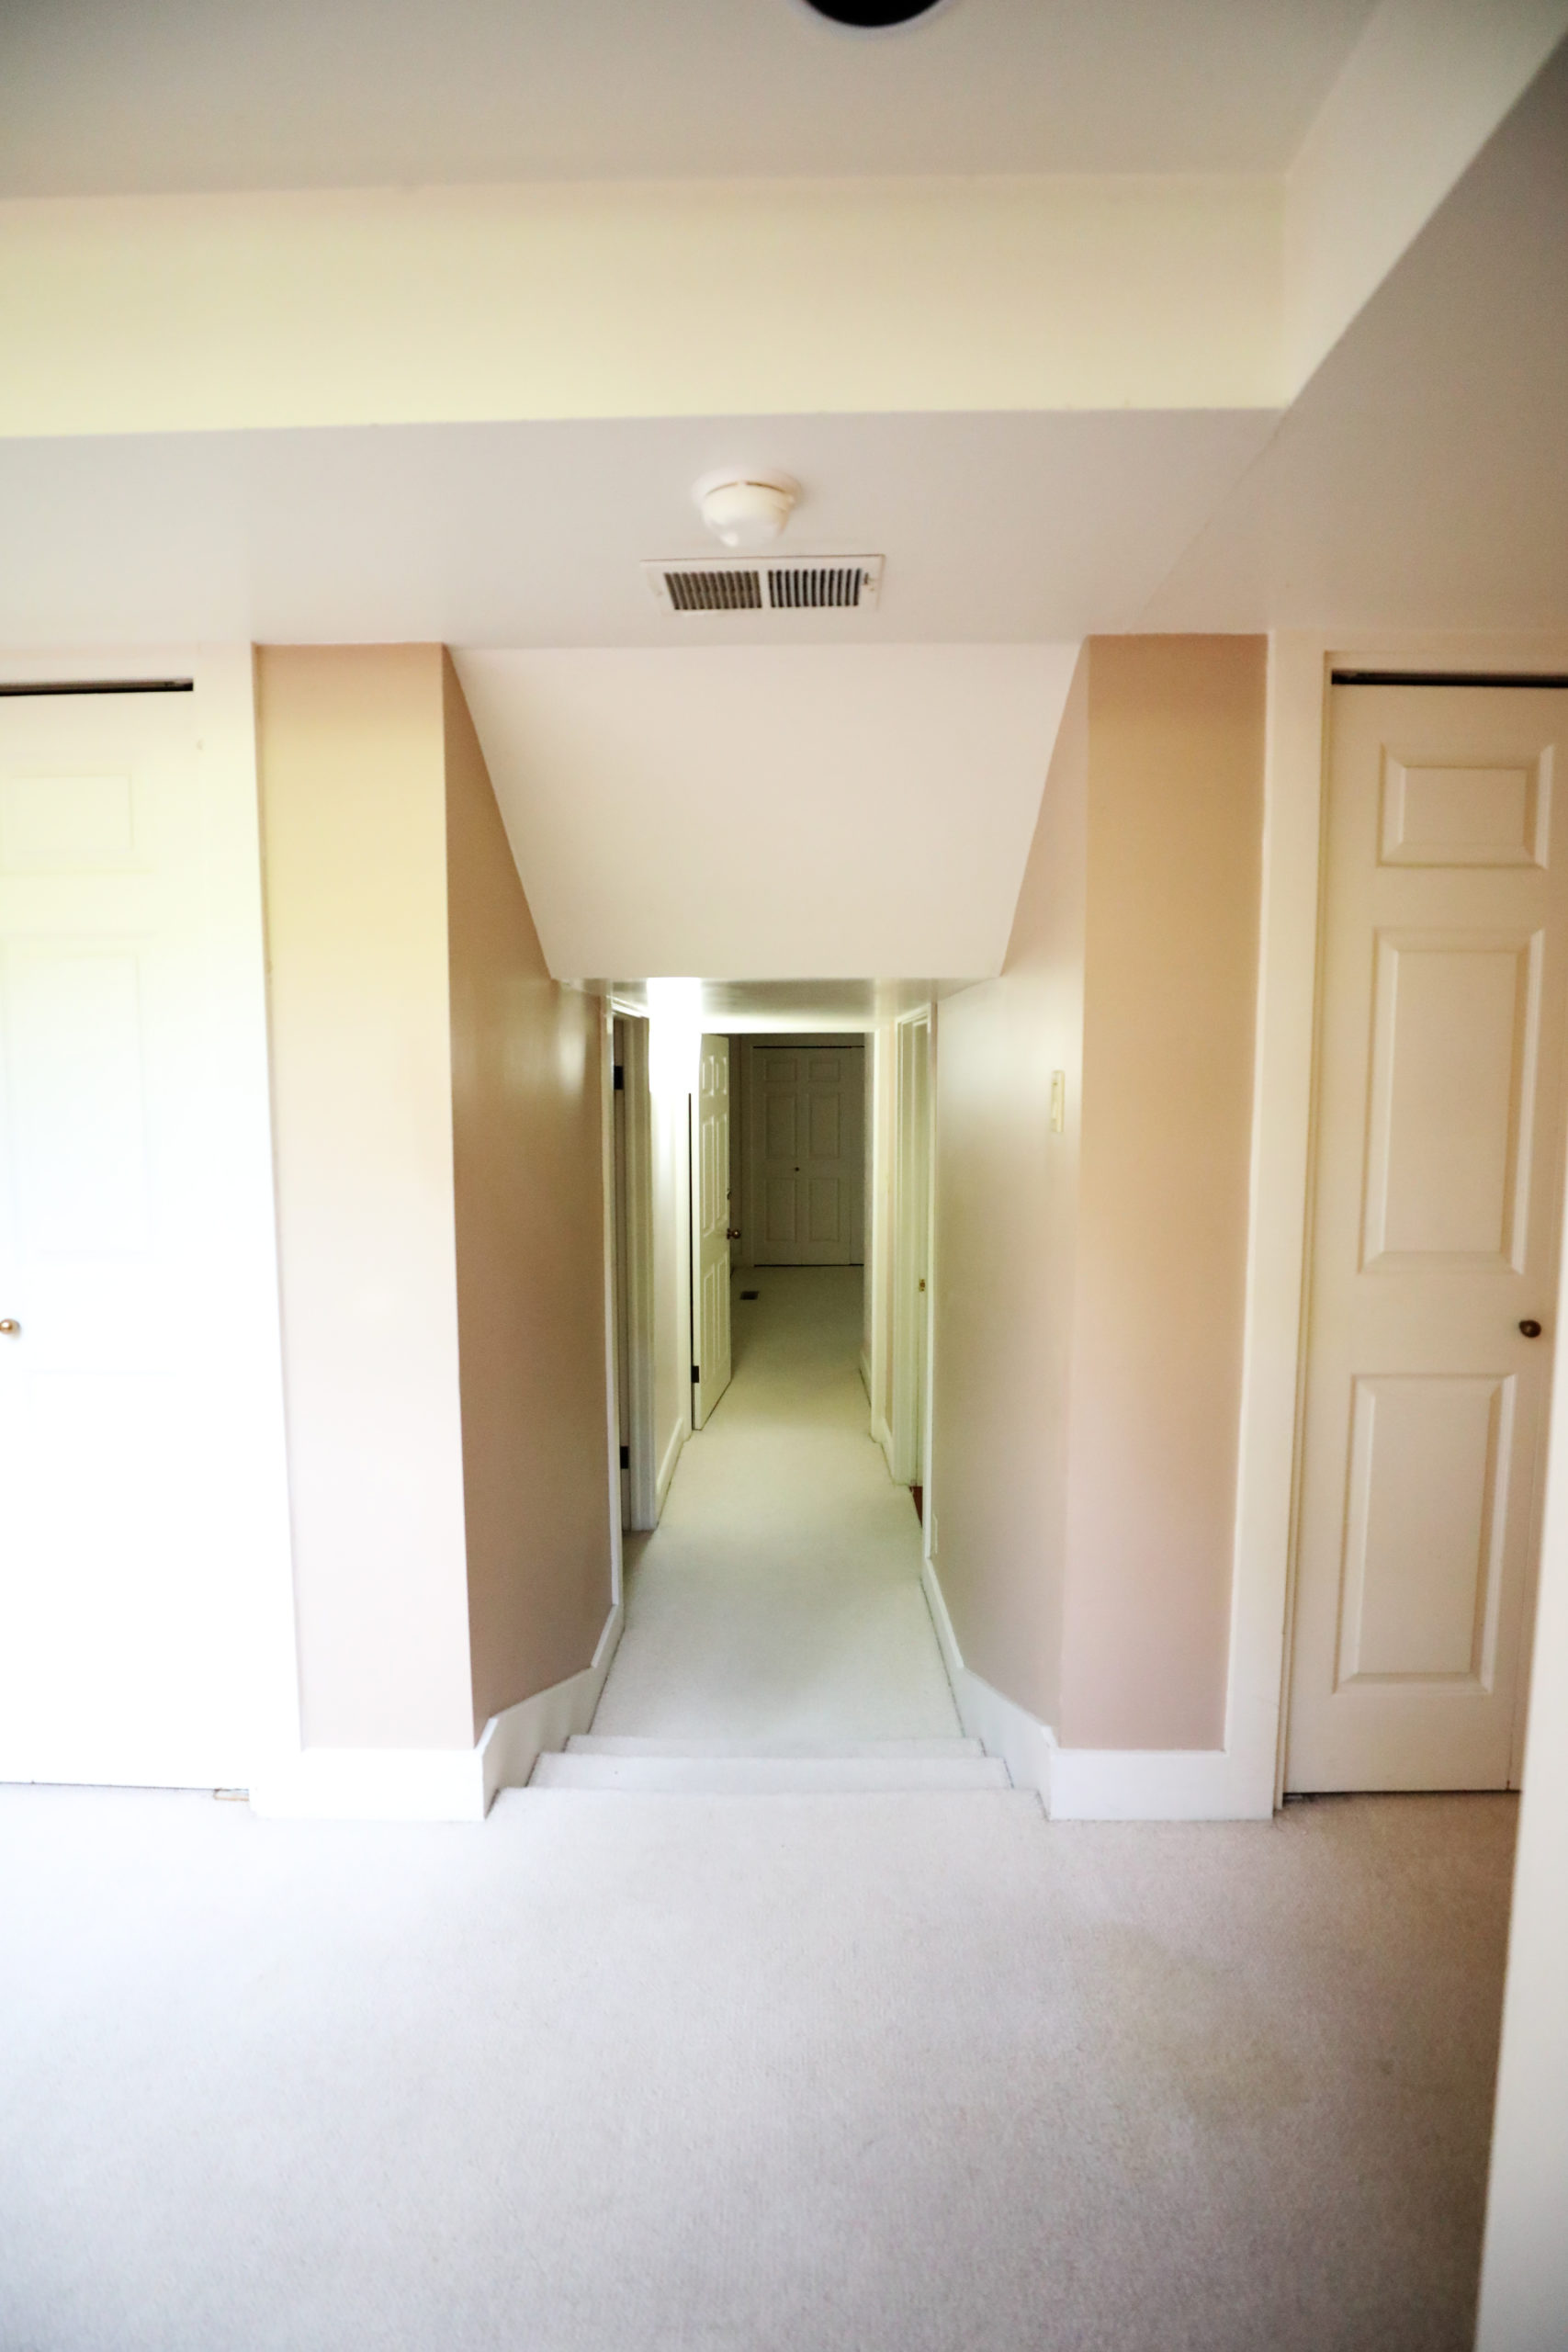
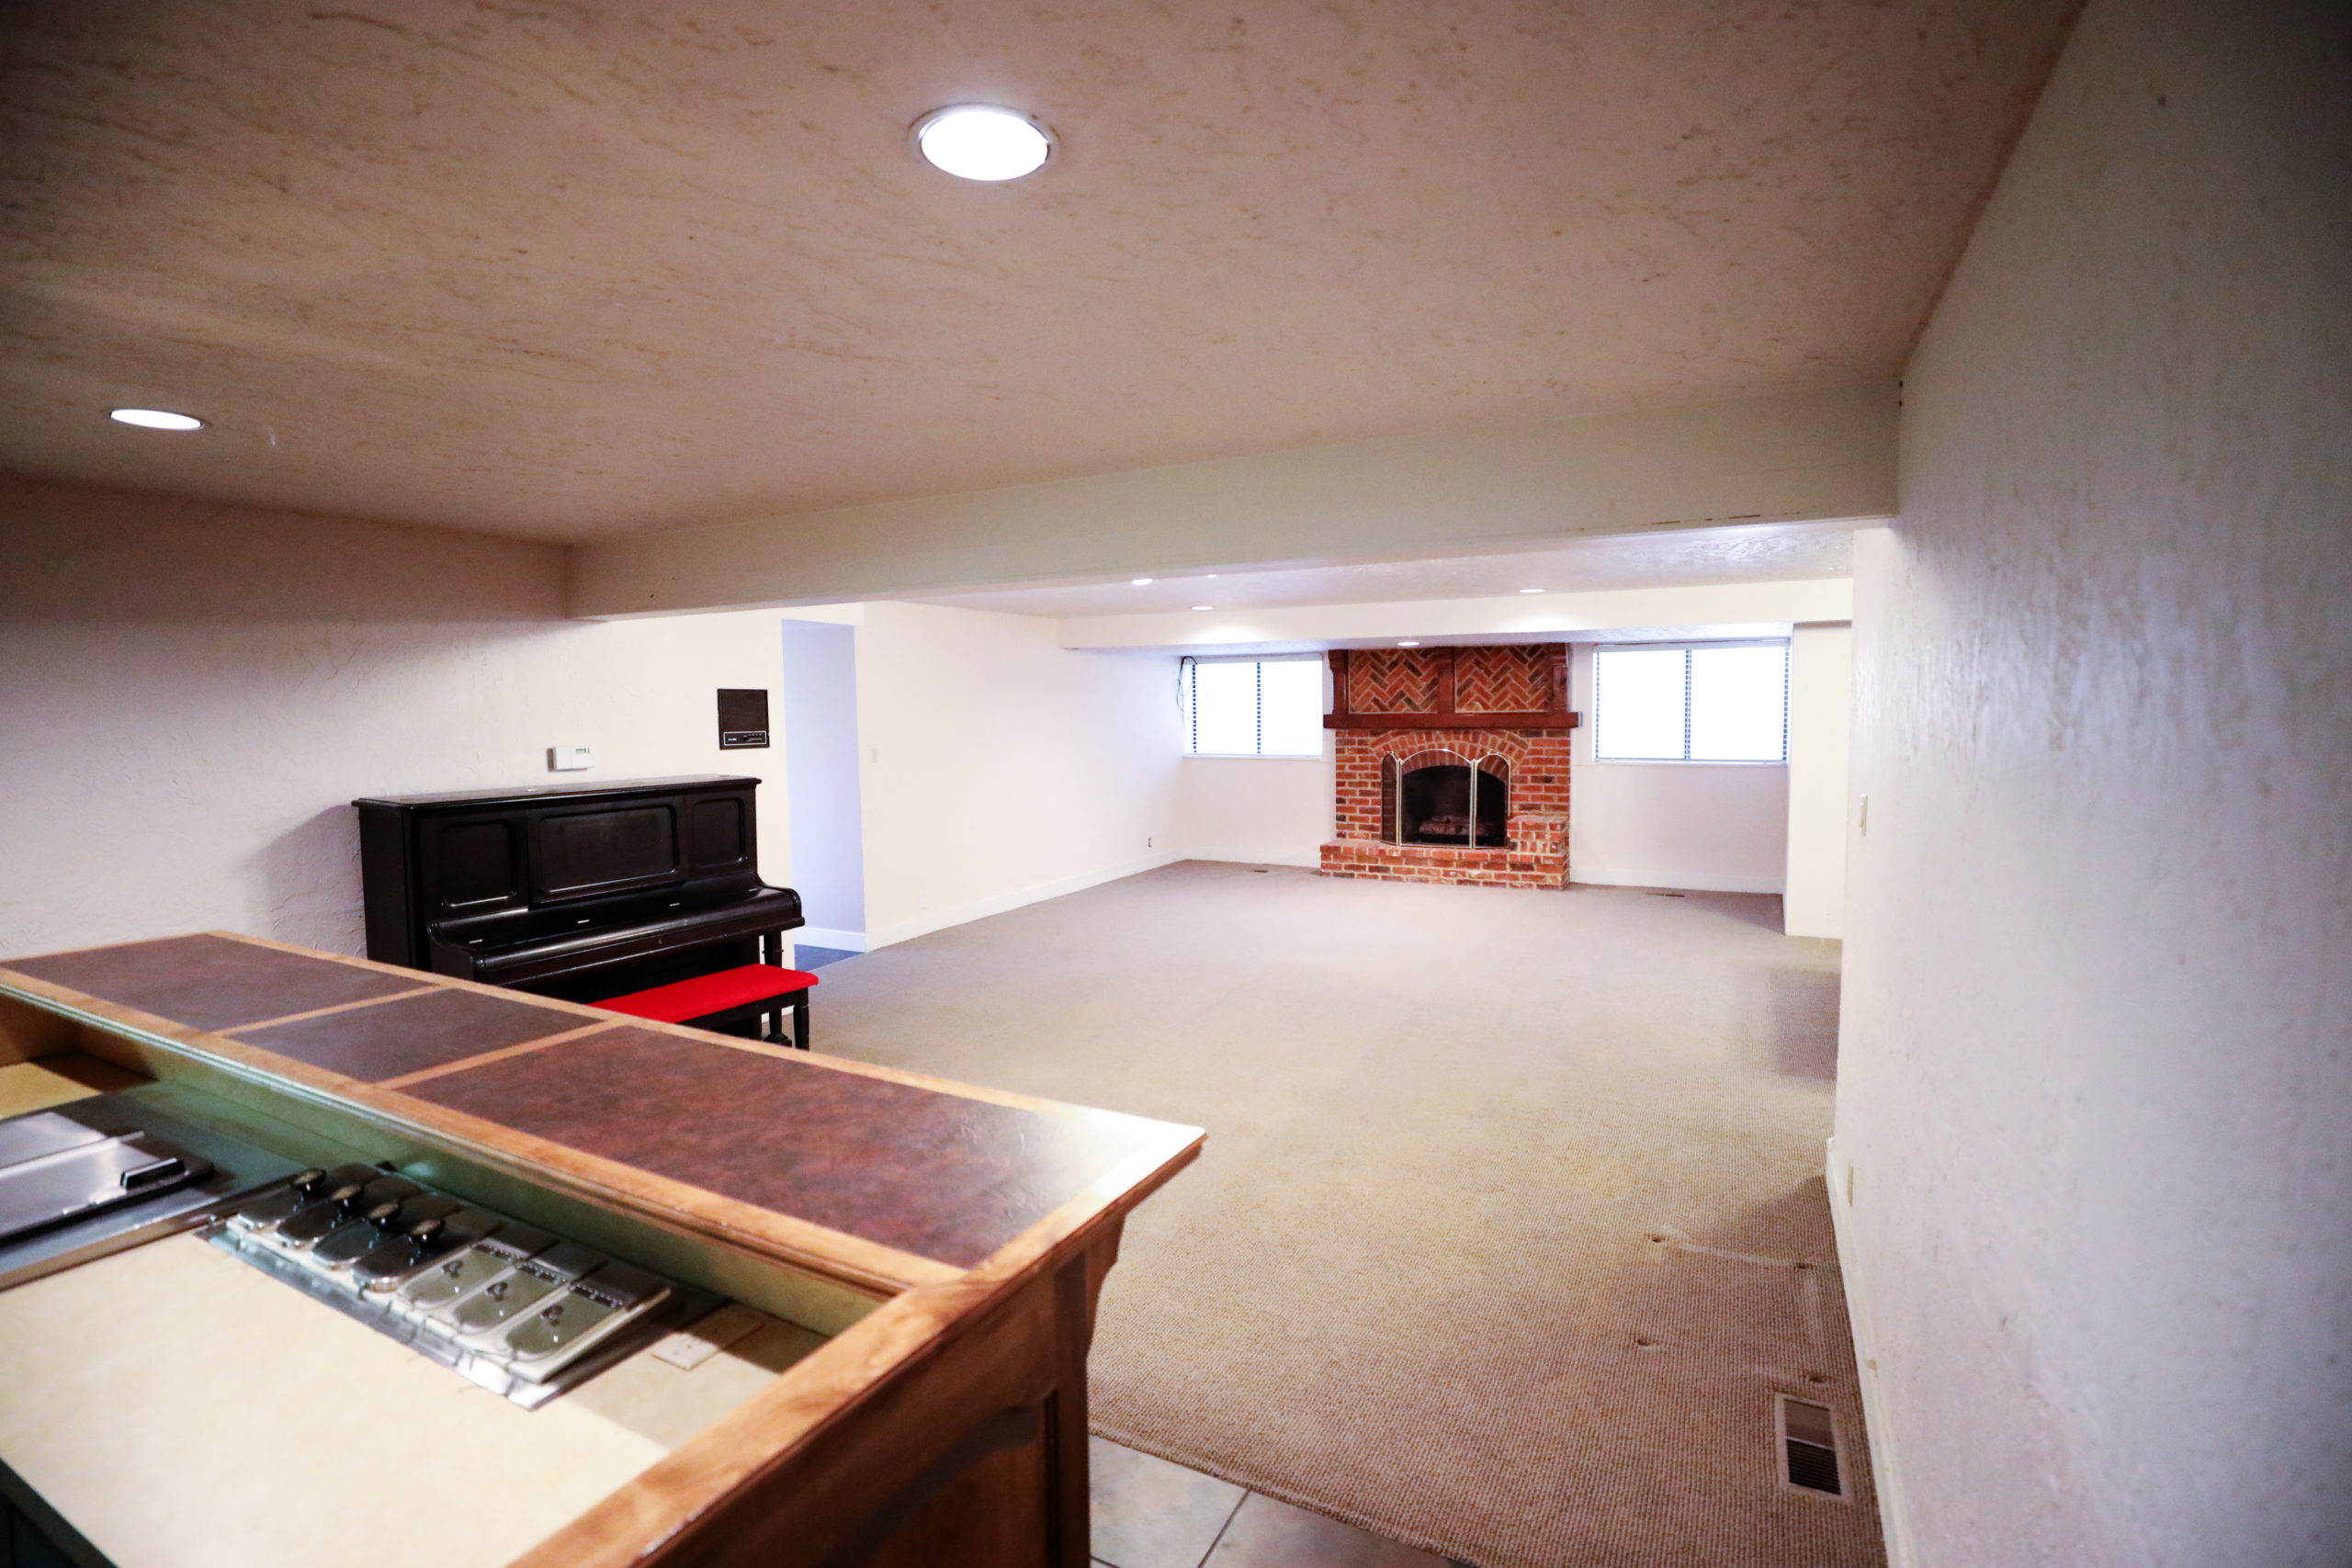
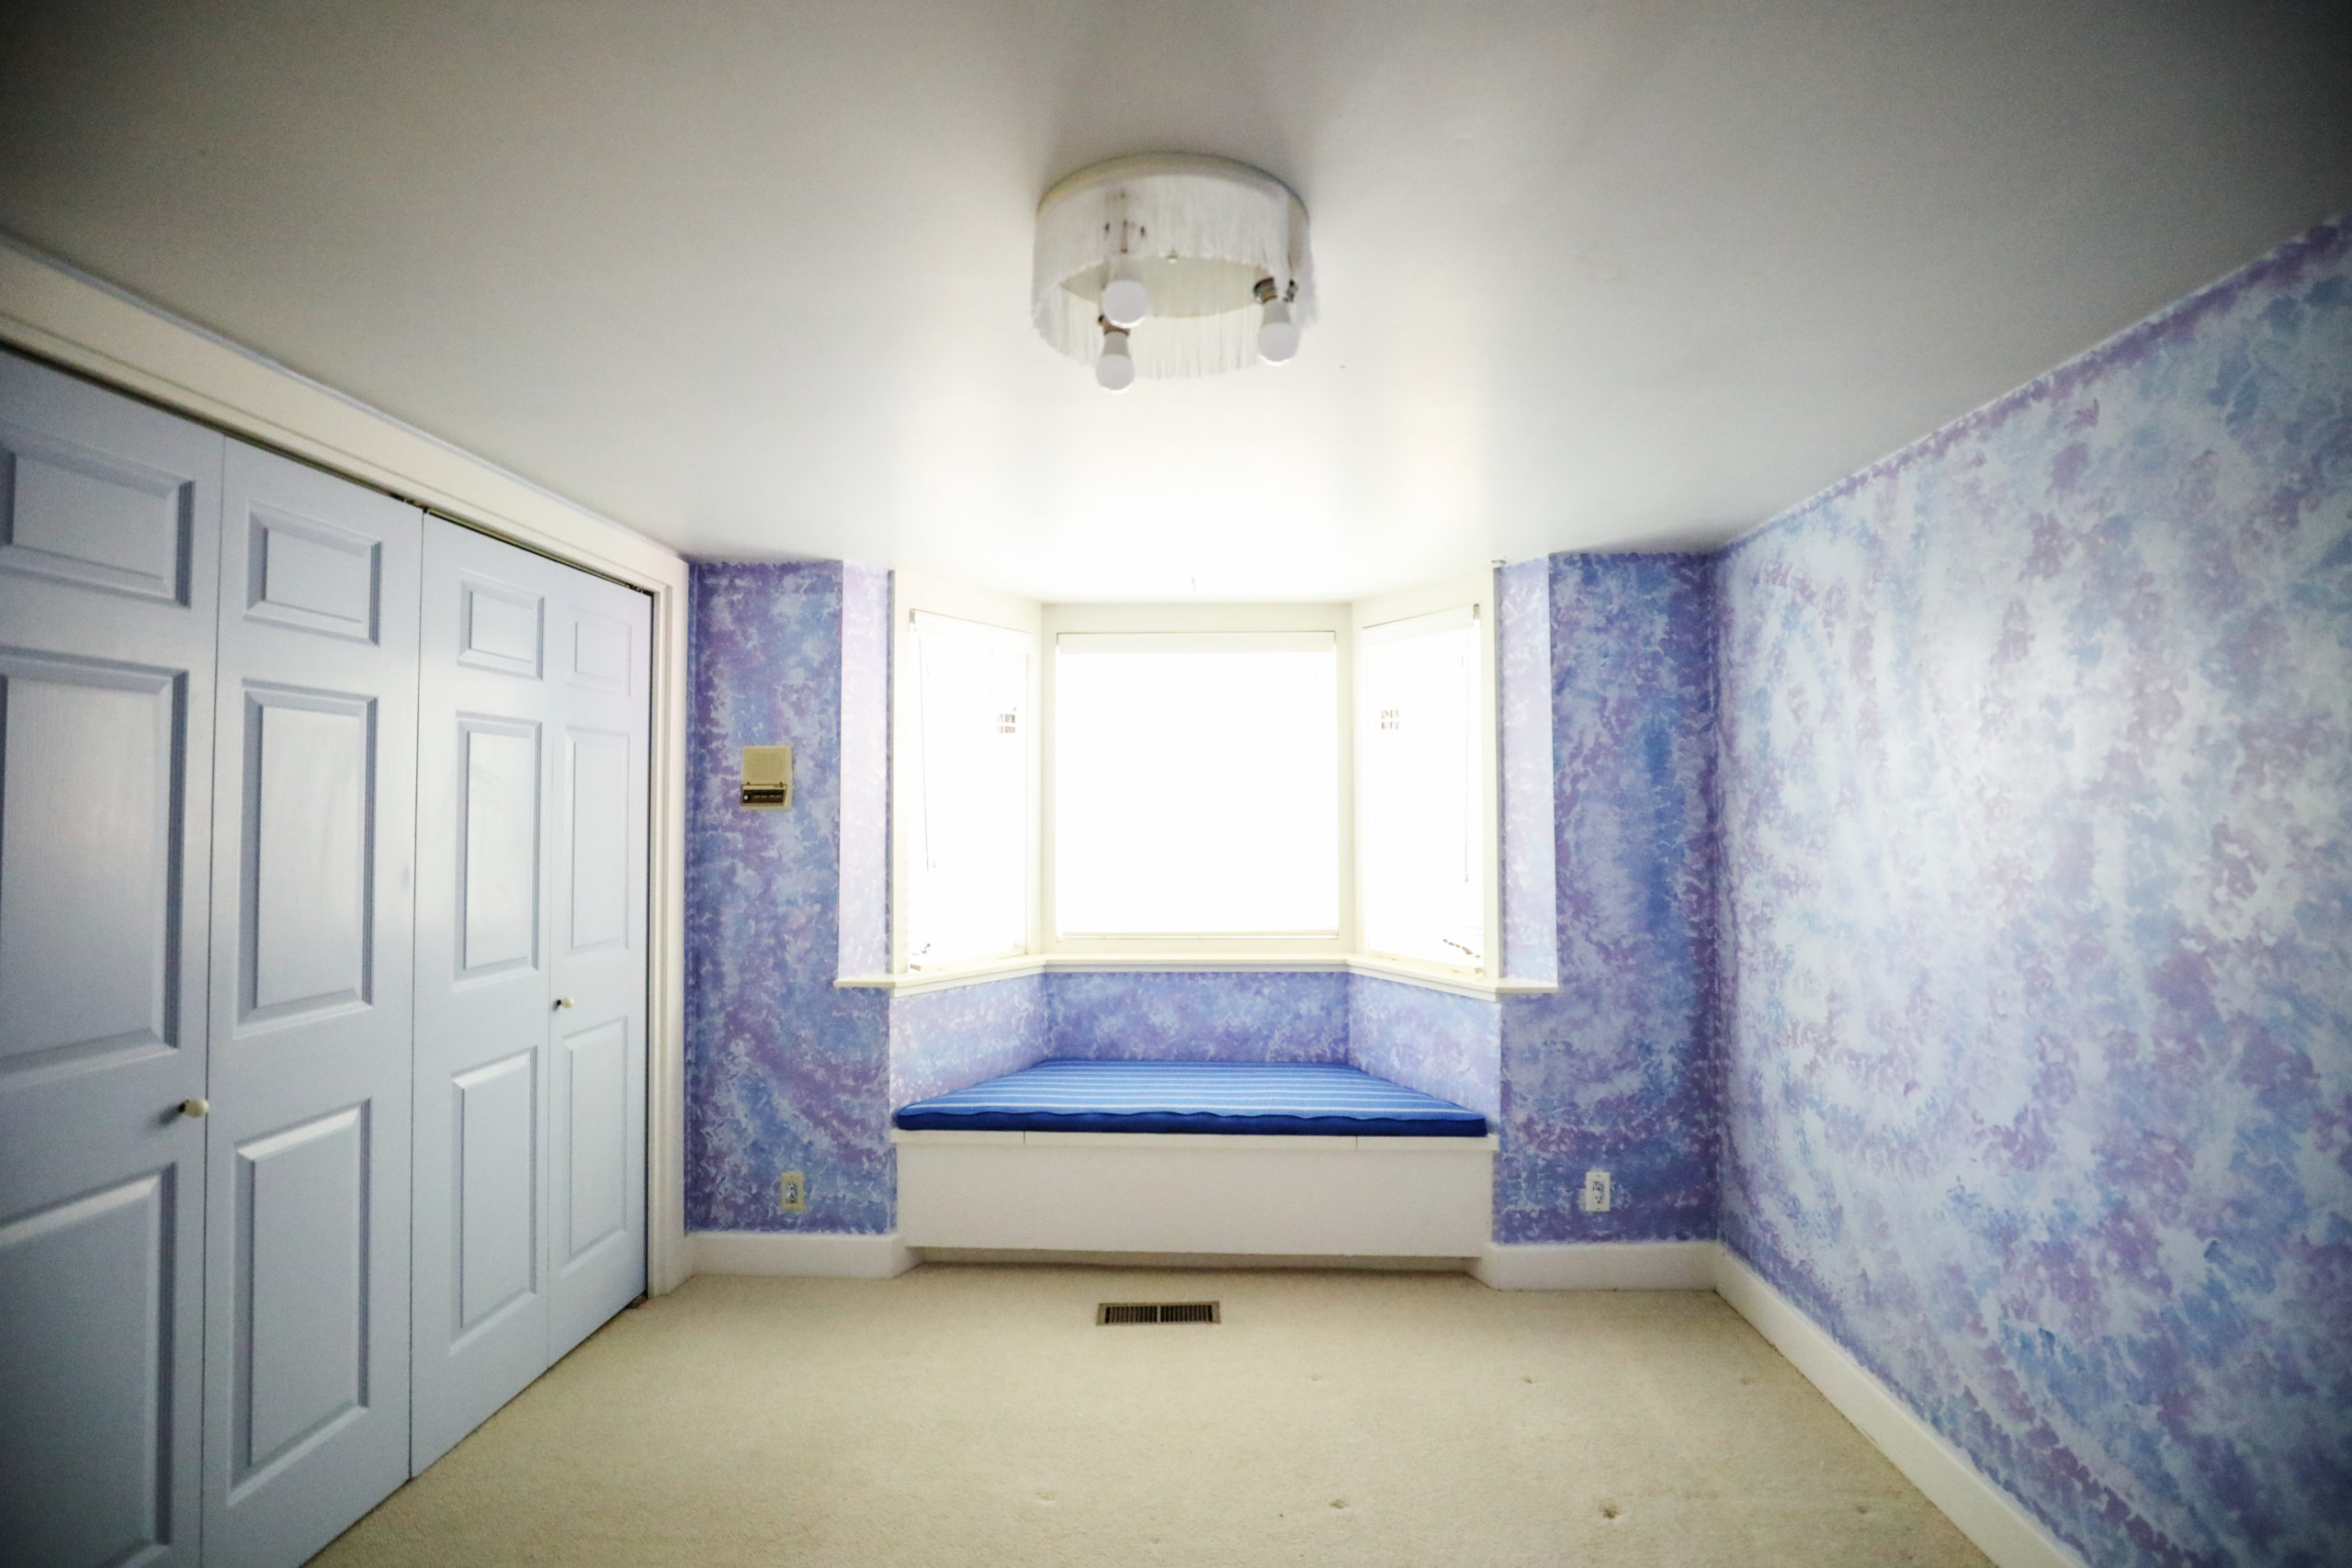
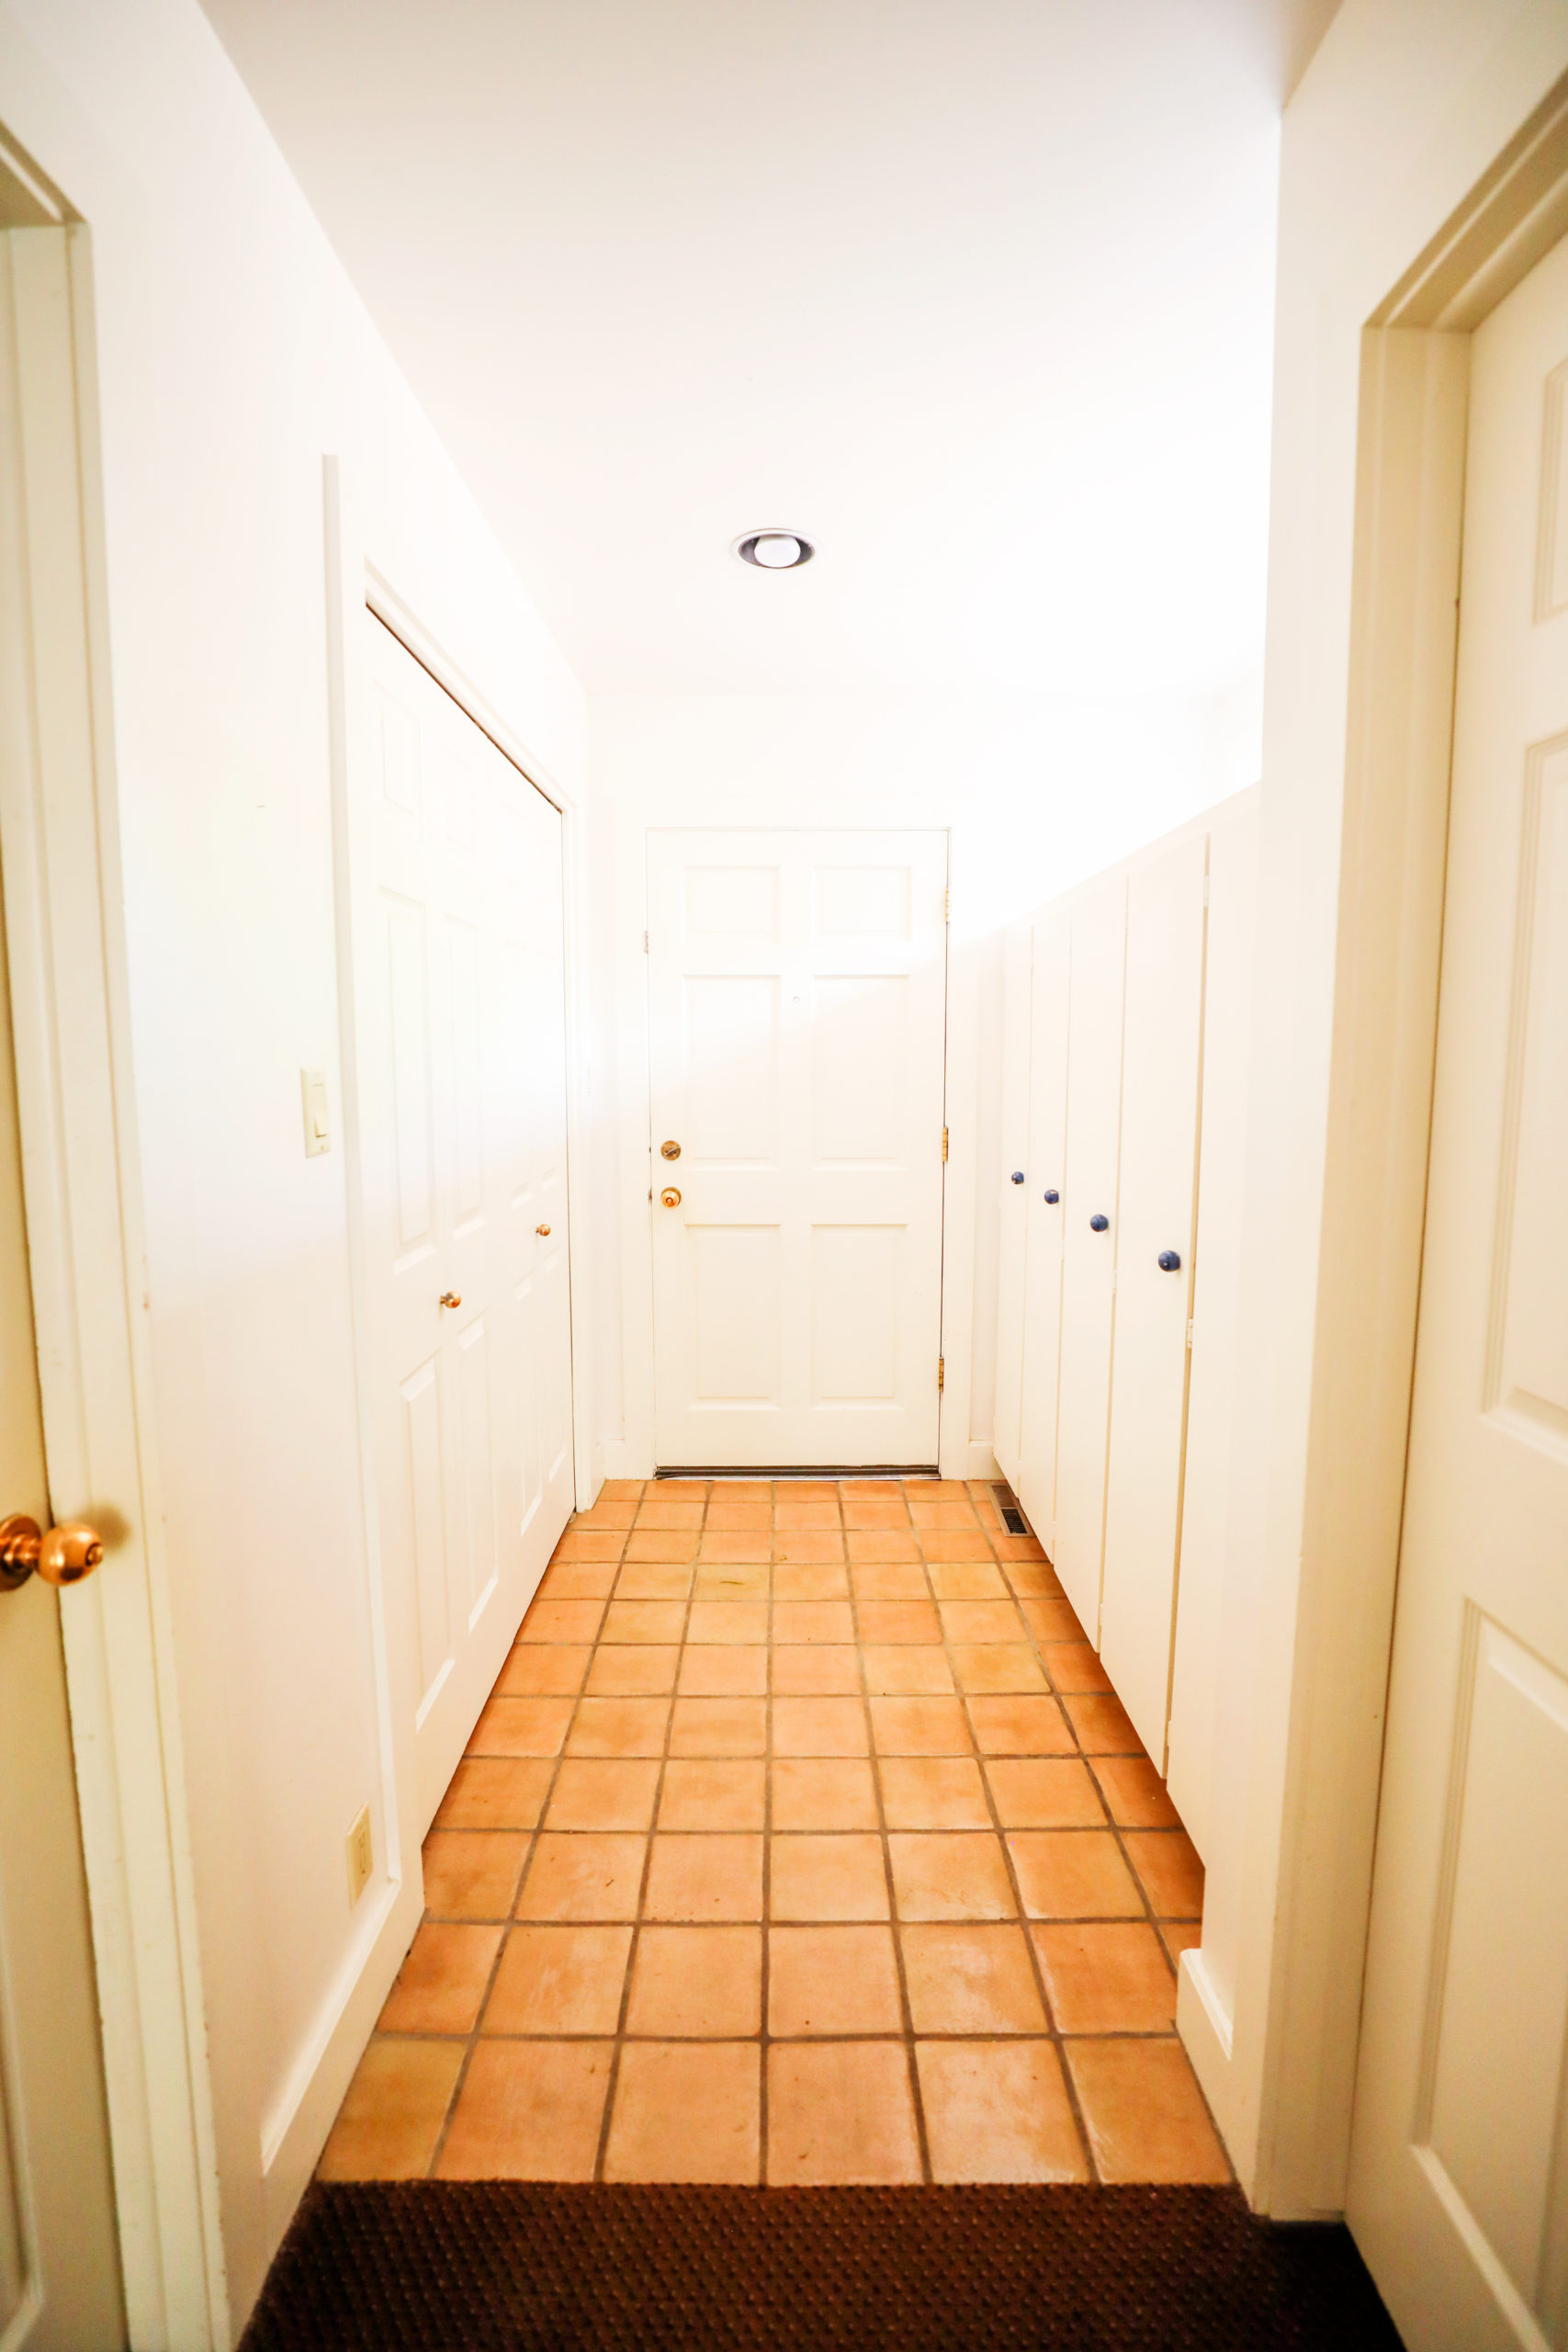
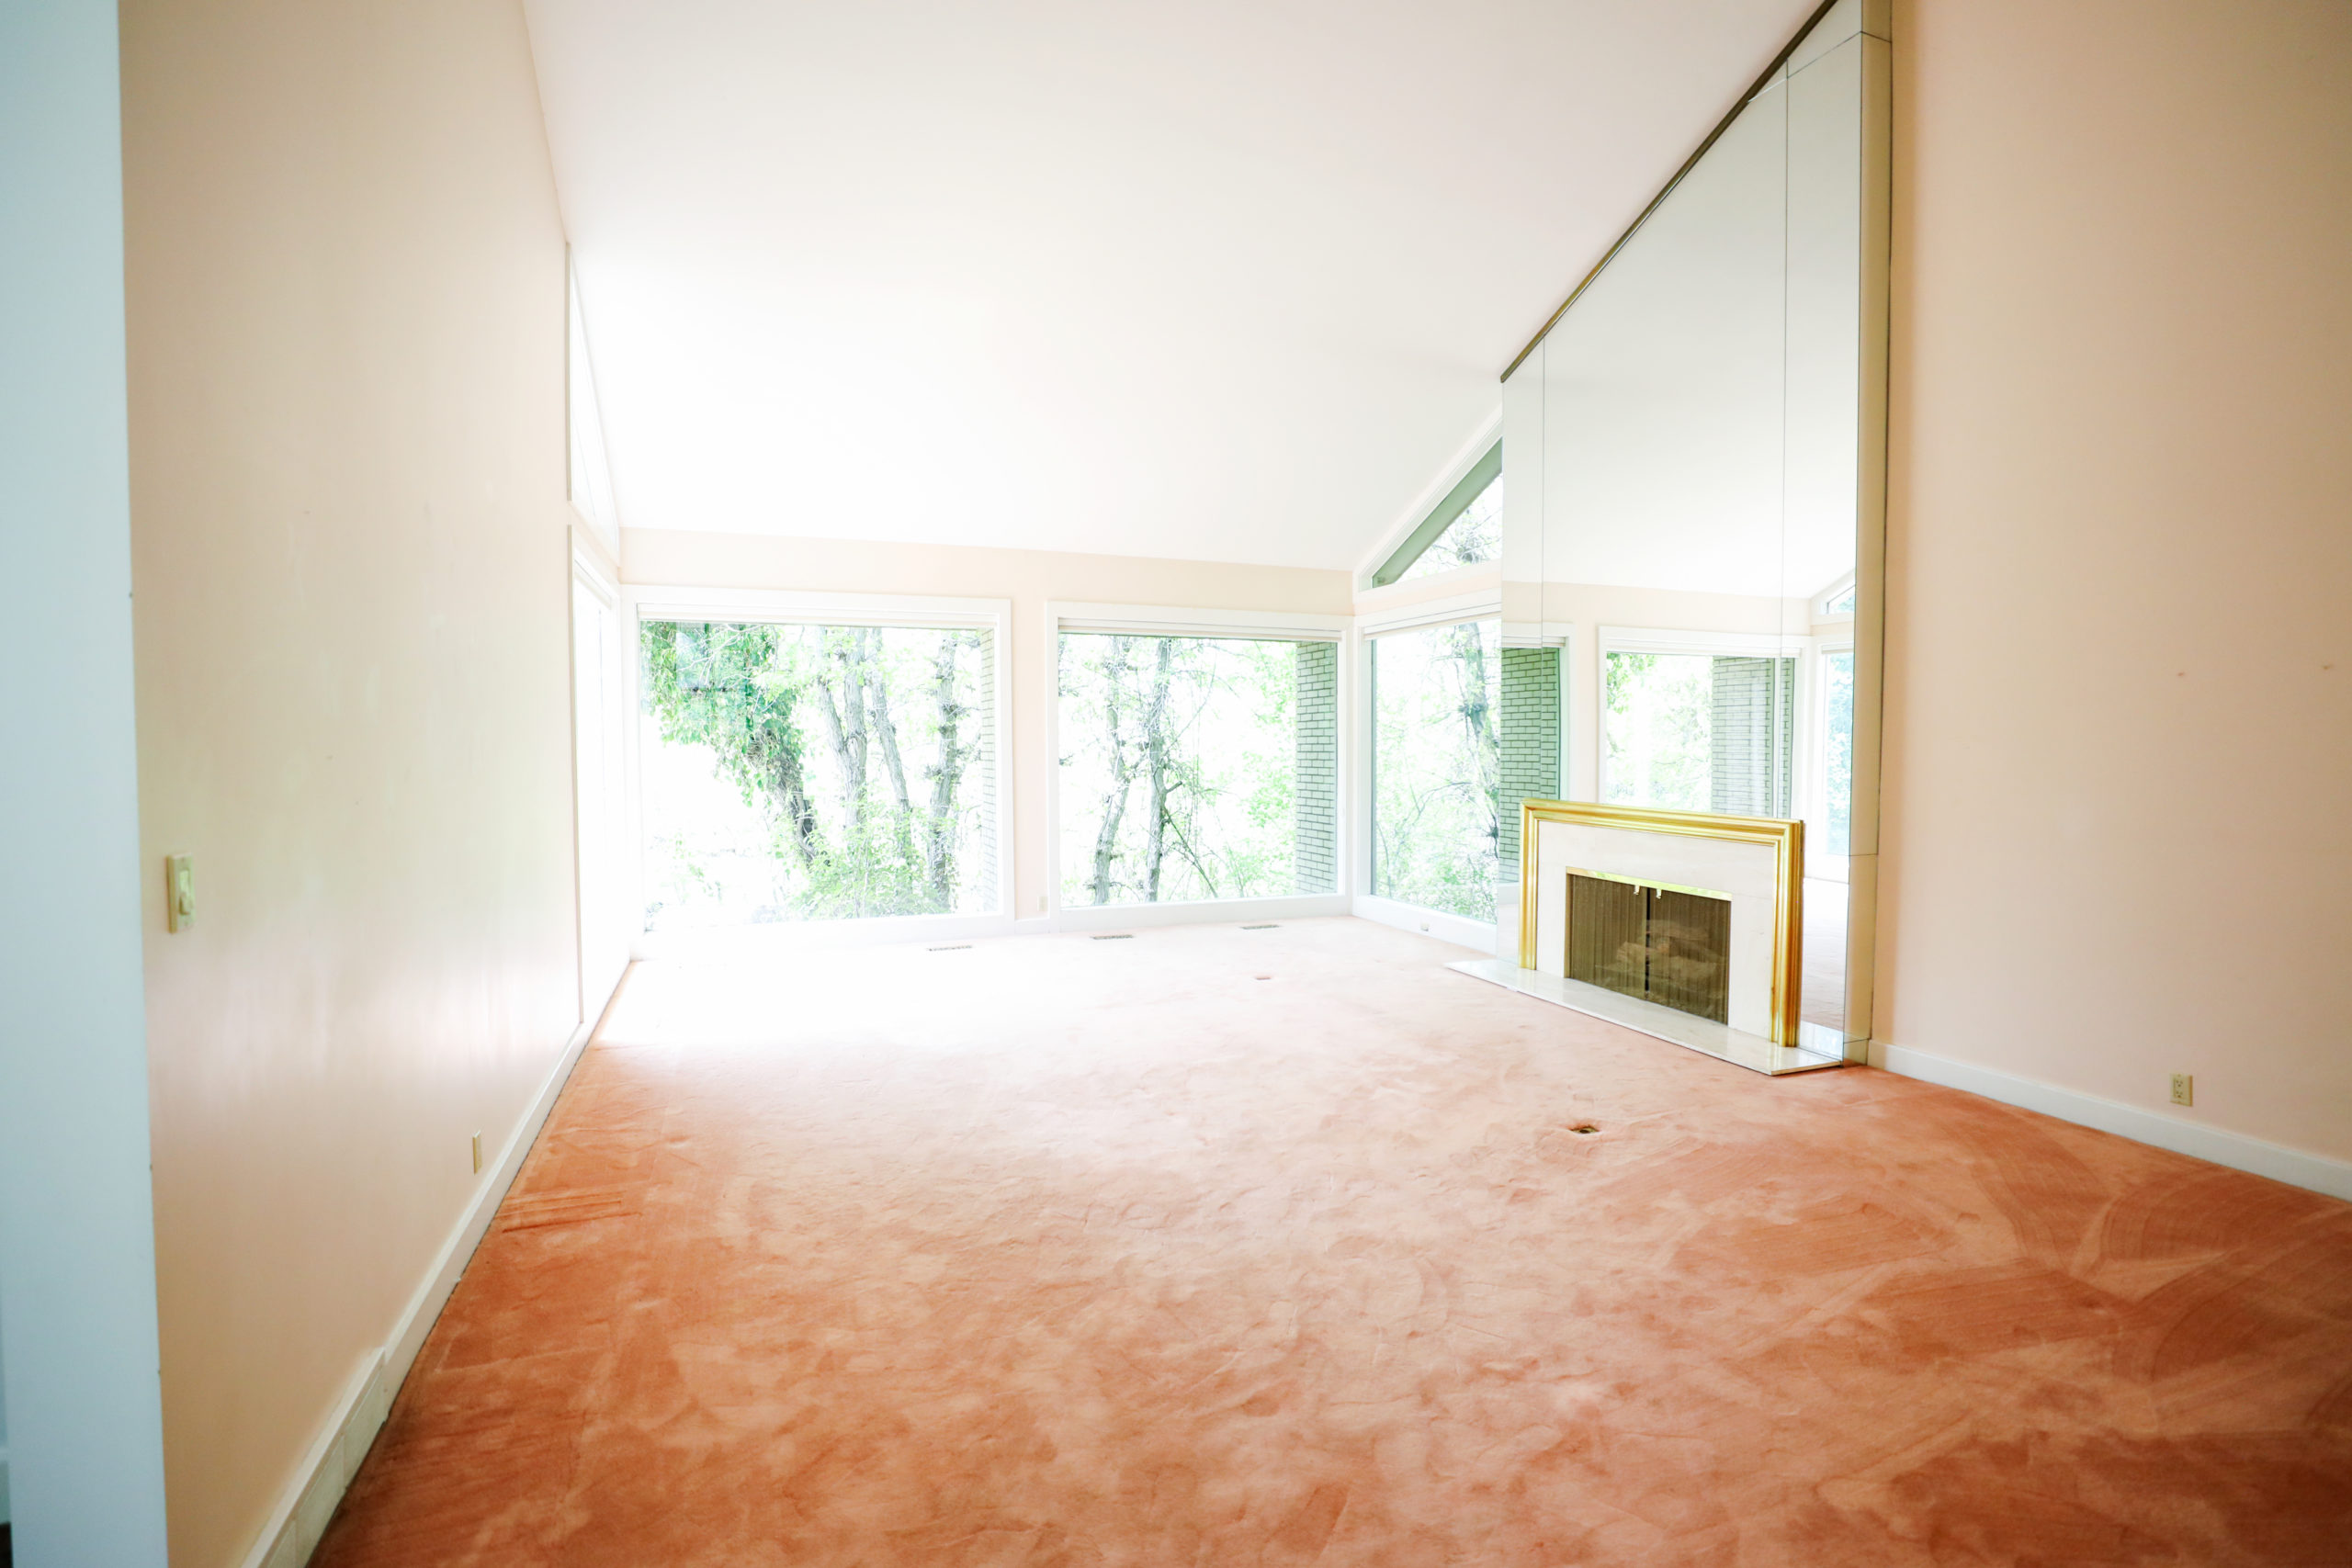
BreAnn wrote me and asked for ideas for refinishing the cabinet, and I am excited to offer some suggestions. She hopes to turn it into a classic piece fit for an “adult’s room,” in her words. Here are current photos from BreAnn of the piece:
Well BreAnn, here’s how I would DIY:
1) First, I would lightly sand out any rough spots with a fine sandpaper (220 grit or similar). You just want to make it a nice, smooth, even surface. When you’re done, give it a nice wipe down with a soft cloth to get rid of any dust.
2) Next, roll on my trusty Zinsser Primer (make sure it’s a shellac base primer). This primer is the bomb. It gives already painted/finished furniture a fresh surface and allows paint to stick to it. Without it, the paint won’t go on smoothly and won’t adhere properly.
3) After it dries, lightly sand any rough patches again, and wipe it with a soft, clean cloth.
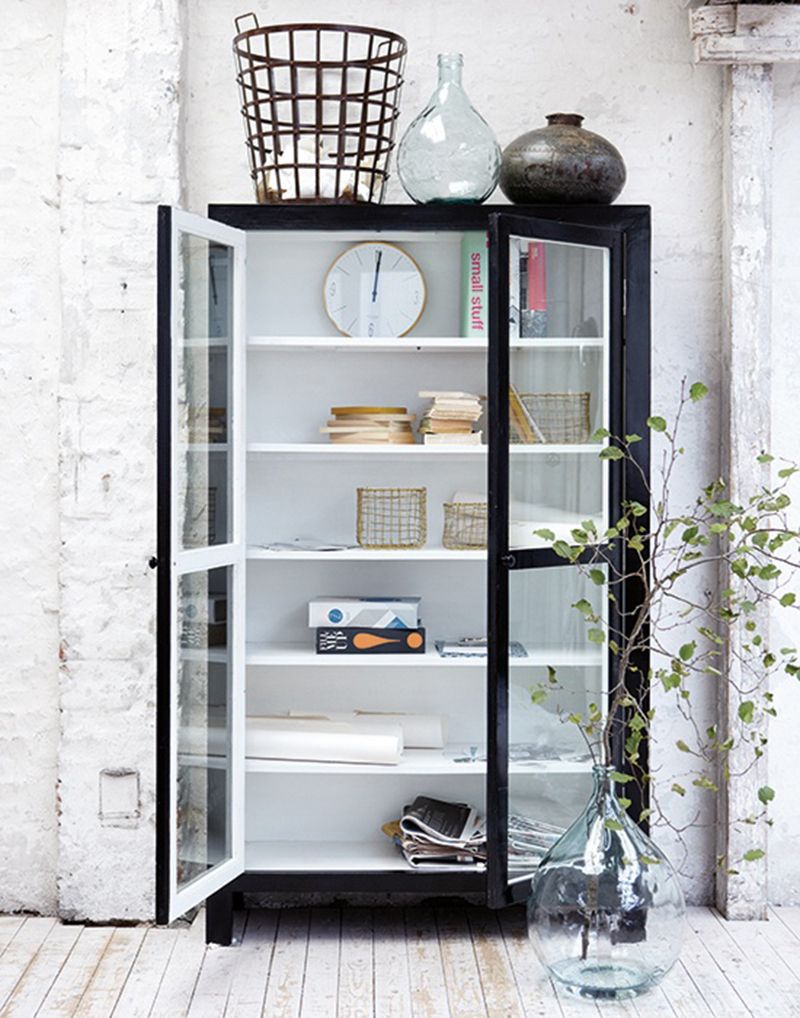
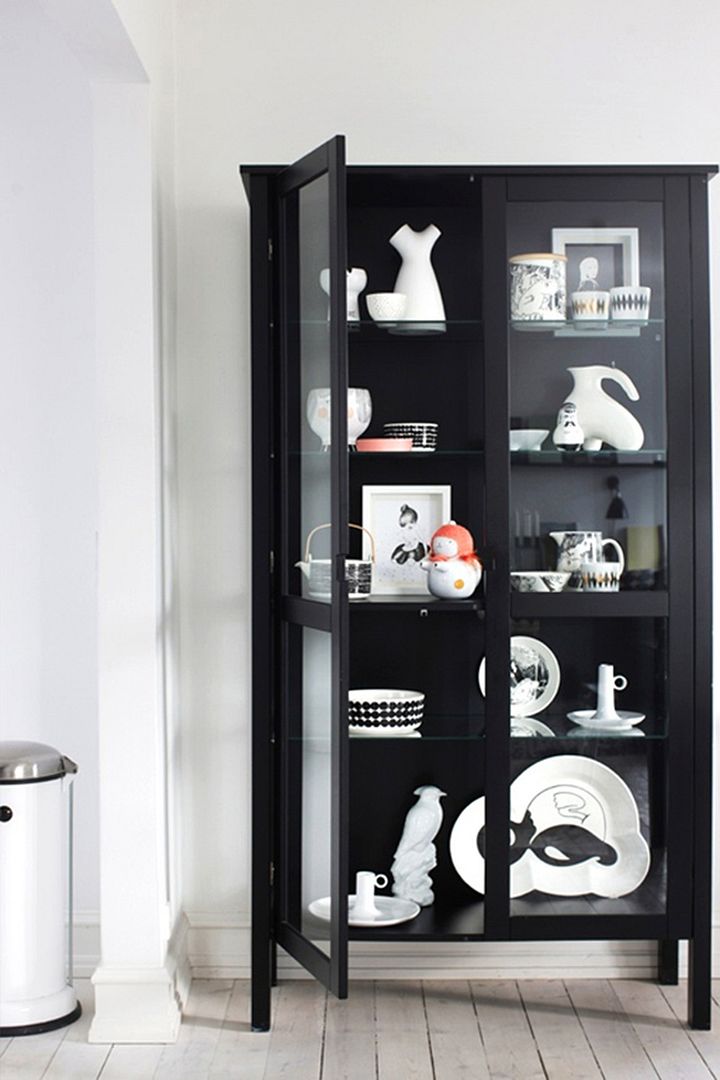
4) I would remove all the doors, carefully tape any remaining hardware, then paint the whole thing either black with white inside, or white with black inside. Black all over could be great too and be bold and clean.
 ‘
‘
Nordic Leaves

Style at Home
You could do a nice gray as well (with on the outside then white inside, or white then gray inside), but with a piece like this, I would stick with something classic, clean, timeless, and versatile. You want to create a family heirloom of sorts, not drag it back into another trend gone bad, only to have to refinish it again.
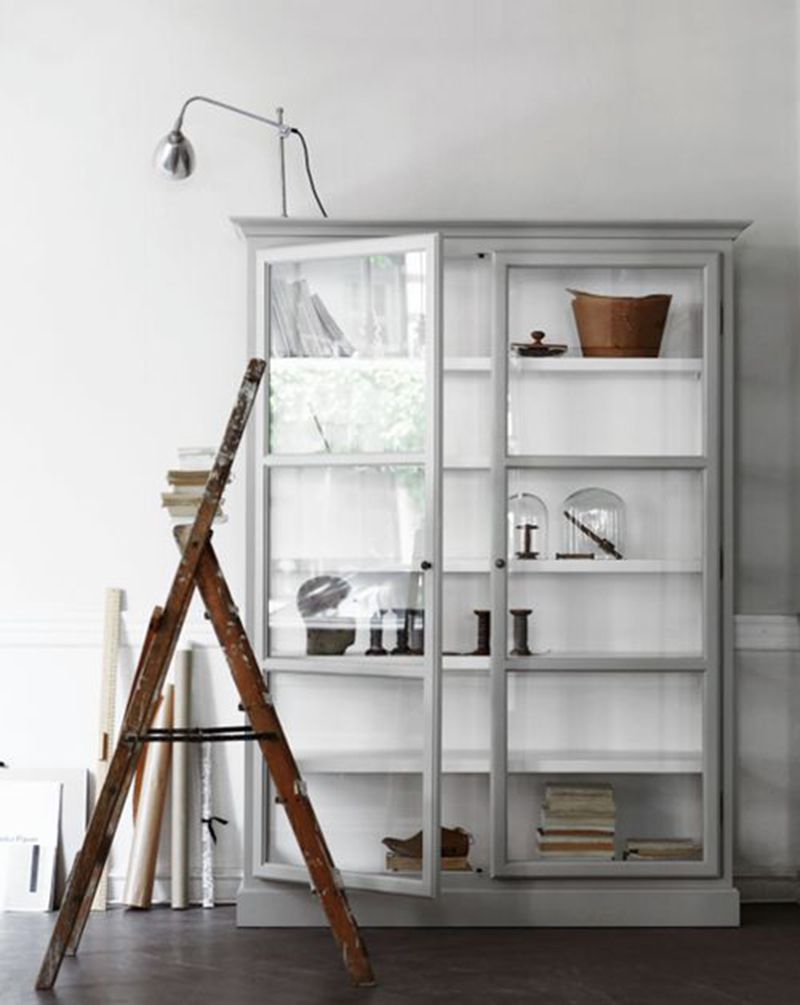
5) I would take the doors to a glass shop and have glass cut and installed on each of the doors to fill the open spots. I like the idea of having the entire door, including the little cutouts on the top, all glass. You could also just take measurements, then go off of those when cutting the glass, but if you want to be safe, take the doors in with you.
6) I have a couple different thoughts for the top. First, I love the idea of adding some substantial crown molding, but this is difficult to explain a how-to without me just doing it myself and snapping some photos. You would have to choose the crown molding, cut it to fit, miter the edges, then play around with it till you get it in a place where you could attach it with a finish nailer or brad nailer. I would fill in the nail holes with wood filler, sand those spots, and paint the molding the same color as the cabinet.
My second thought is to cover the existing top with marble contact paper. This would definitely be the most economical/easiest. Contact paper actually looks pretty great, and it’s inexpensive.
Third idea is to just paint the top the same color as the rest of it. Keep it simple.
7) I would add four legs/feet to it, to make it feel more like a substantial piece of furniture. A lot of great, inexpensive options here.
8) Finally, I would top it off with some pretty, new hardware. I think some modern yet classic gold hardware would be amazing. Because you only need two, you could splurge a little and get some quality hardware. I always love gold, but choose your favorite. I would just keep it modern, fresh and clean. You don’t want it to look too grandma style.
And there you have it! That’s what I would do if it were my piece. What would you all do?
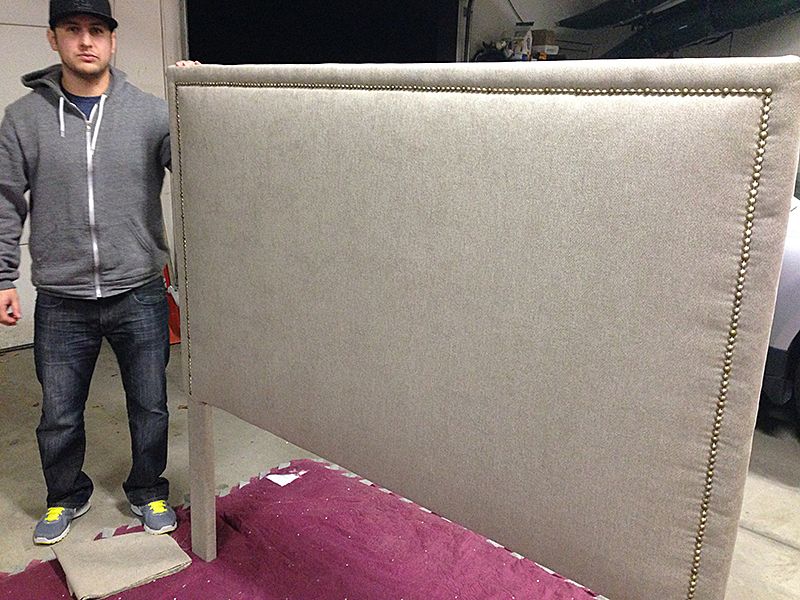
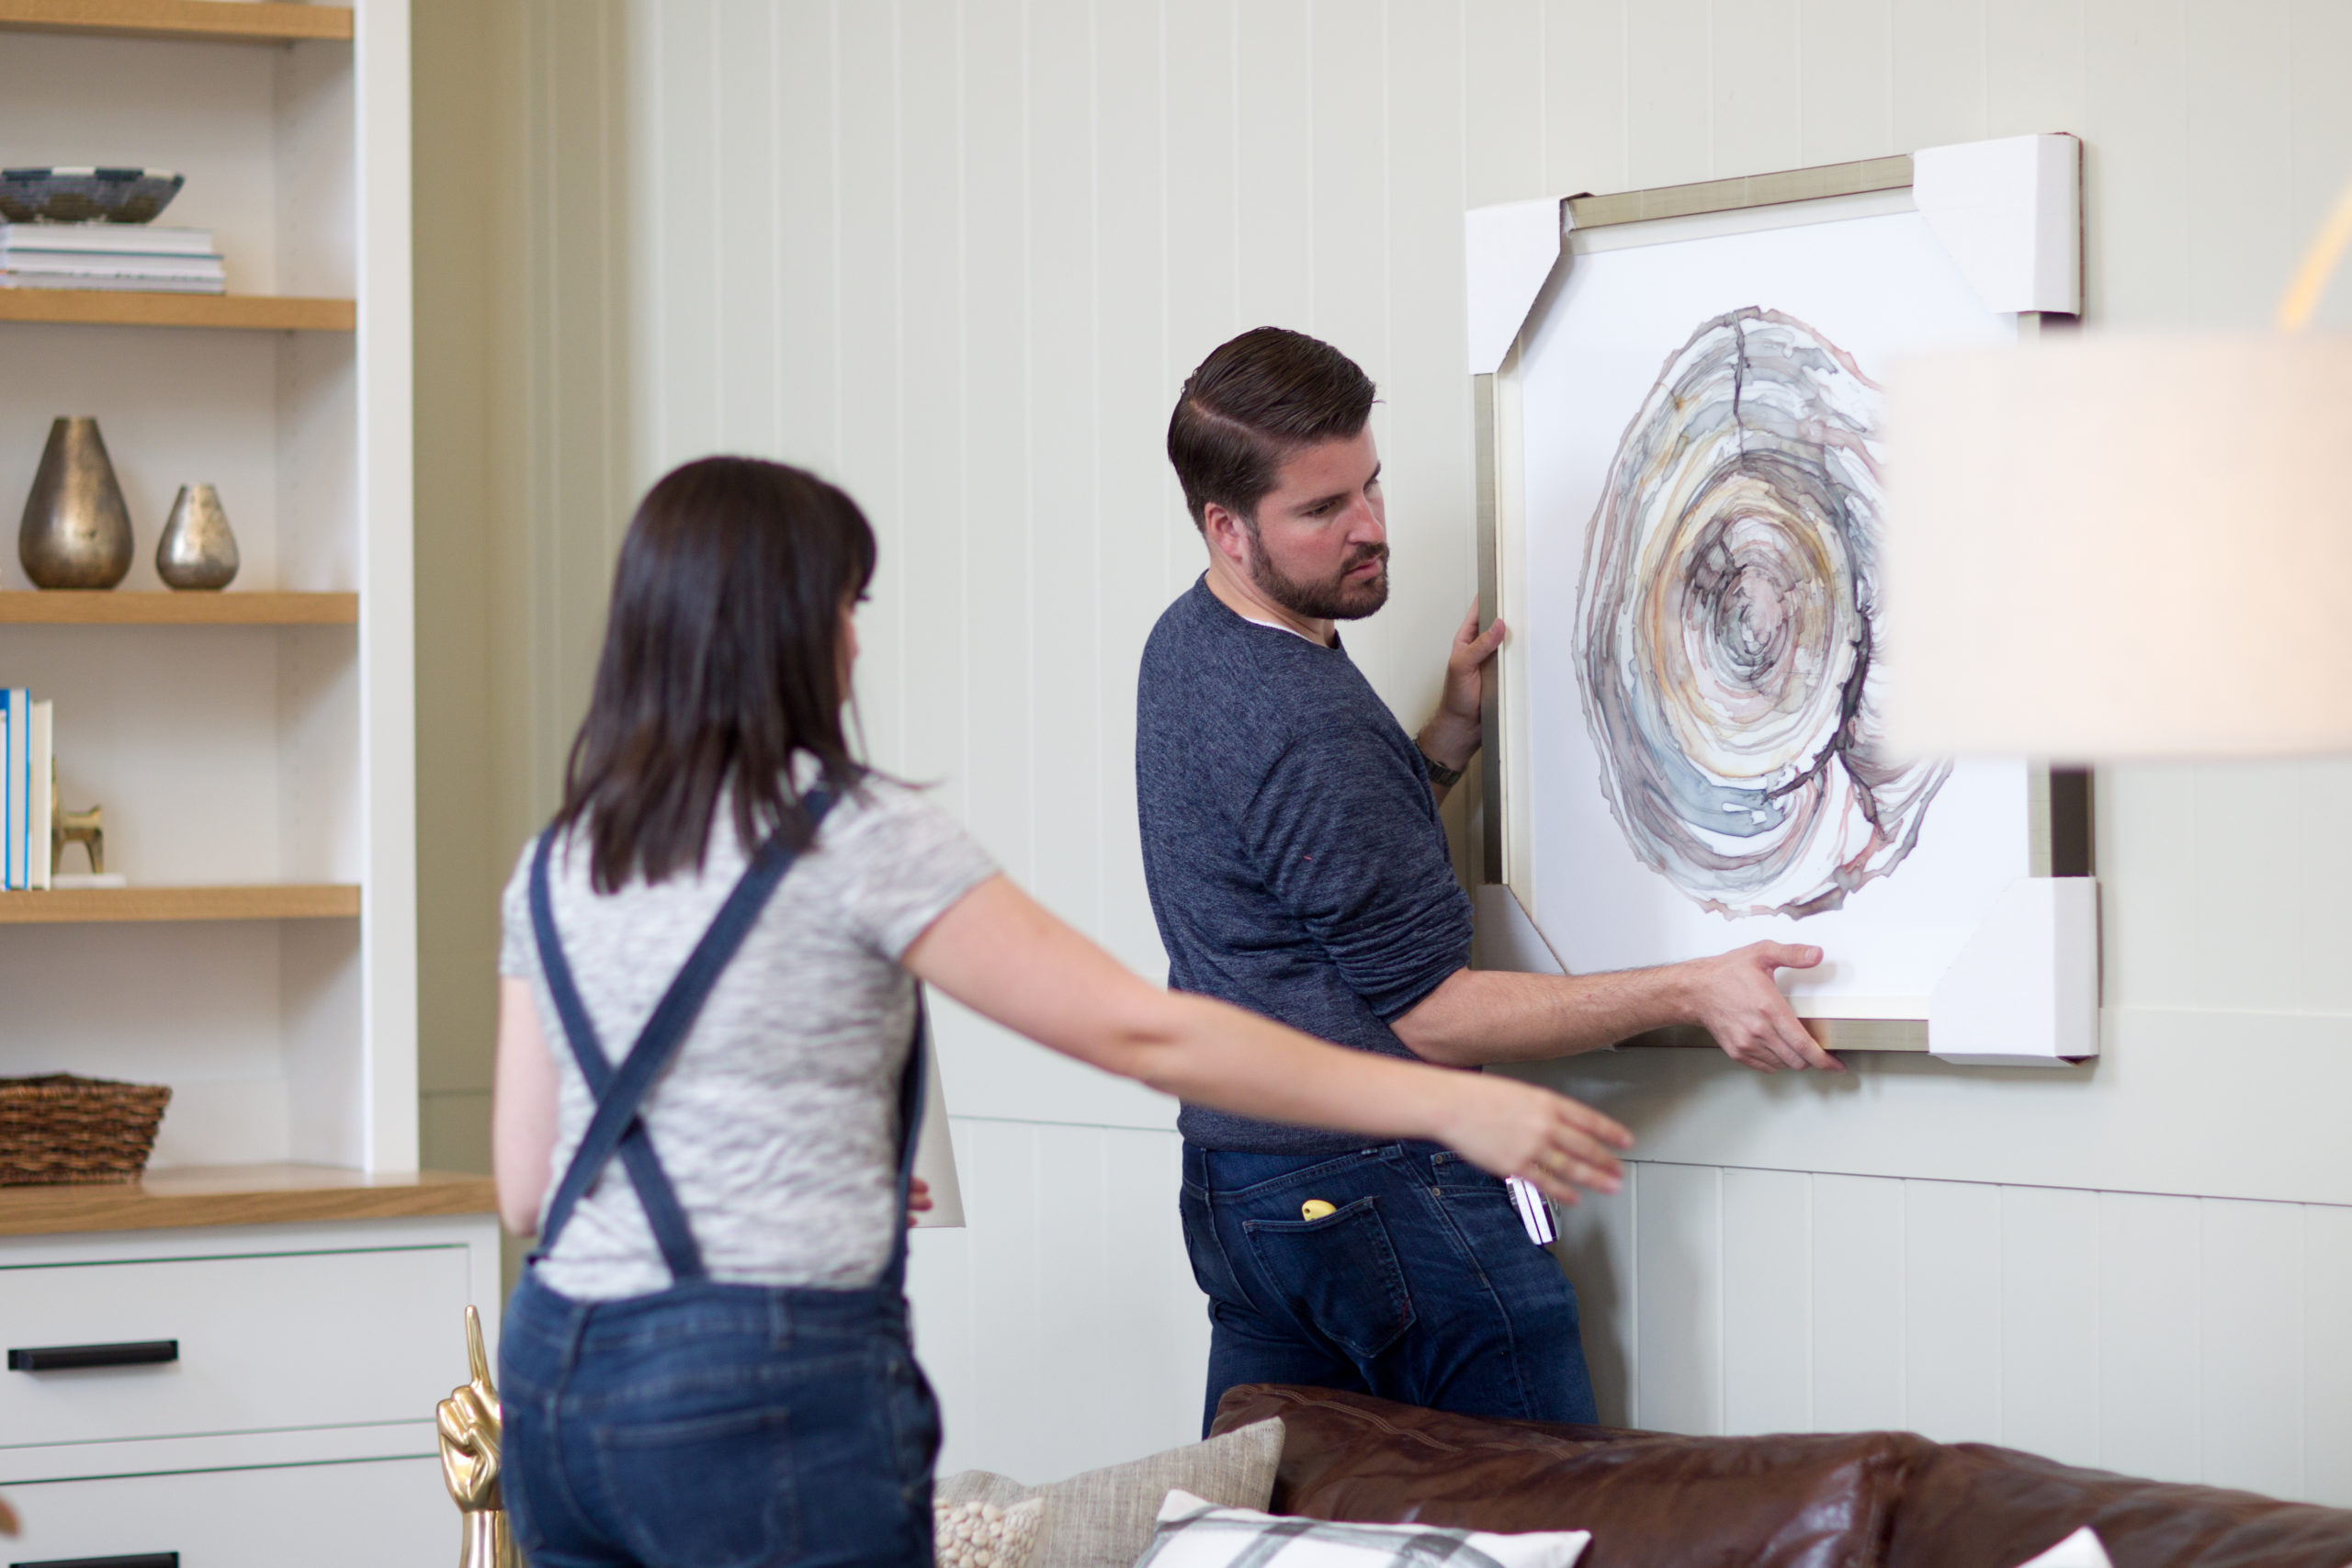
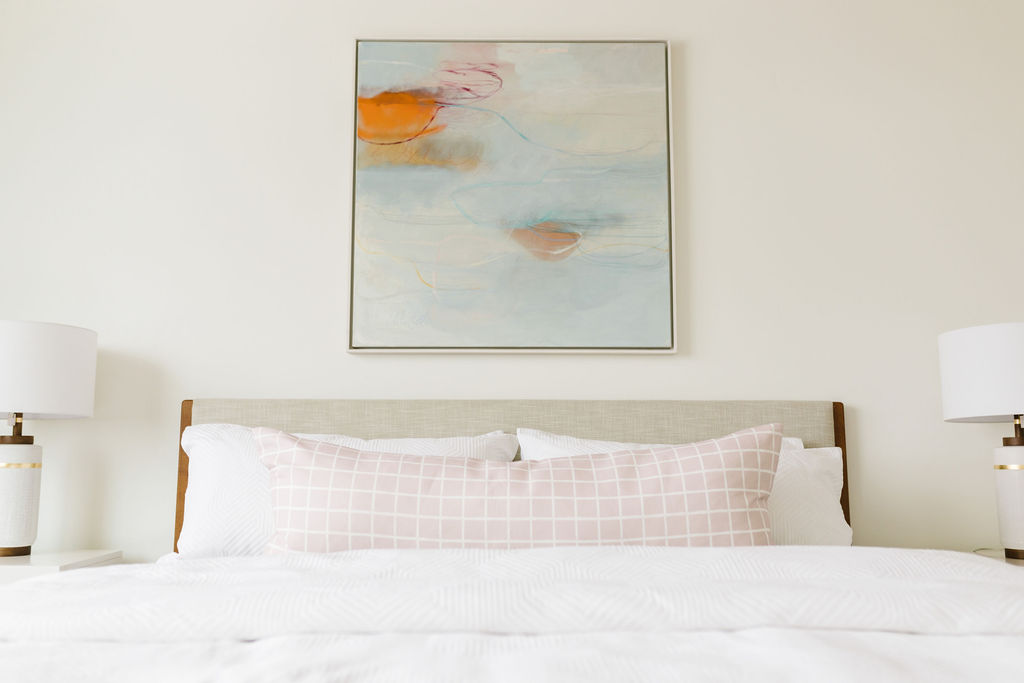
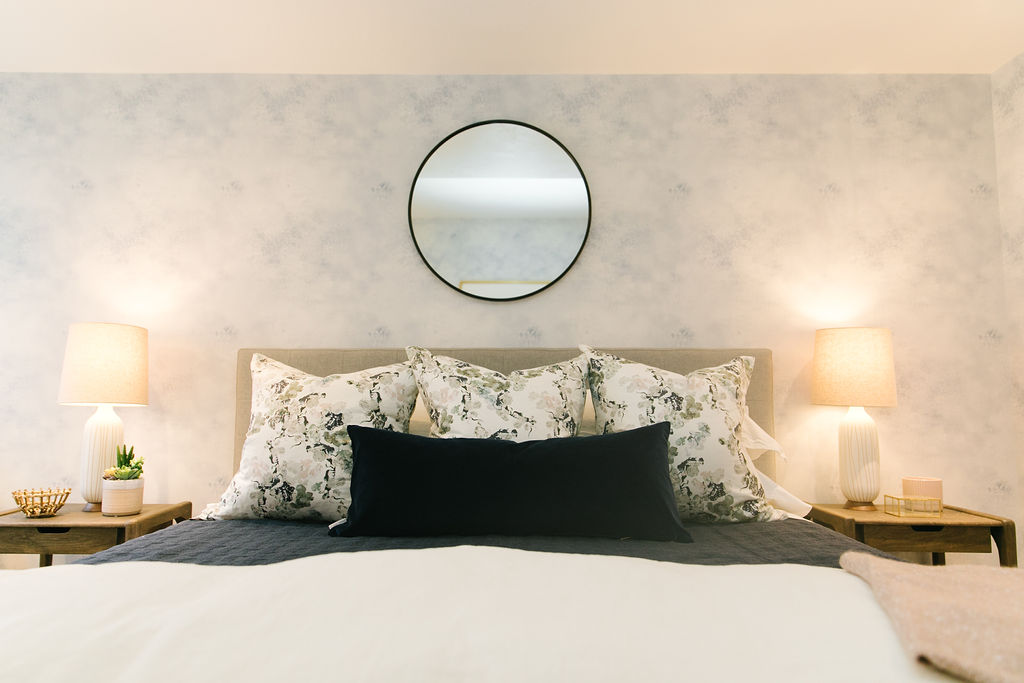
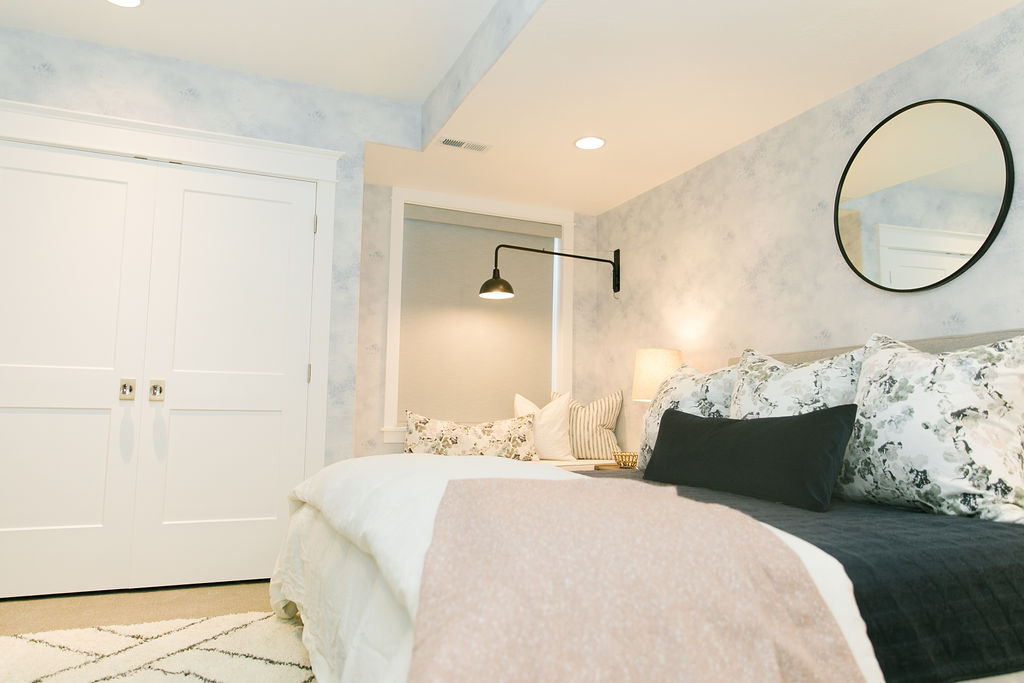
On a separate reader note, reader Hadley just sent in these photos of her headboard she and her man made using my DIY Headboard tutorial and video. It turned out so great! So glad it helped you, Hadley!
I just love hearing from readers. Makes my diy-lovin’ day.

Leave a Reply


back to top
@jenniferstagg
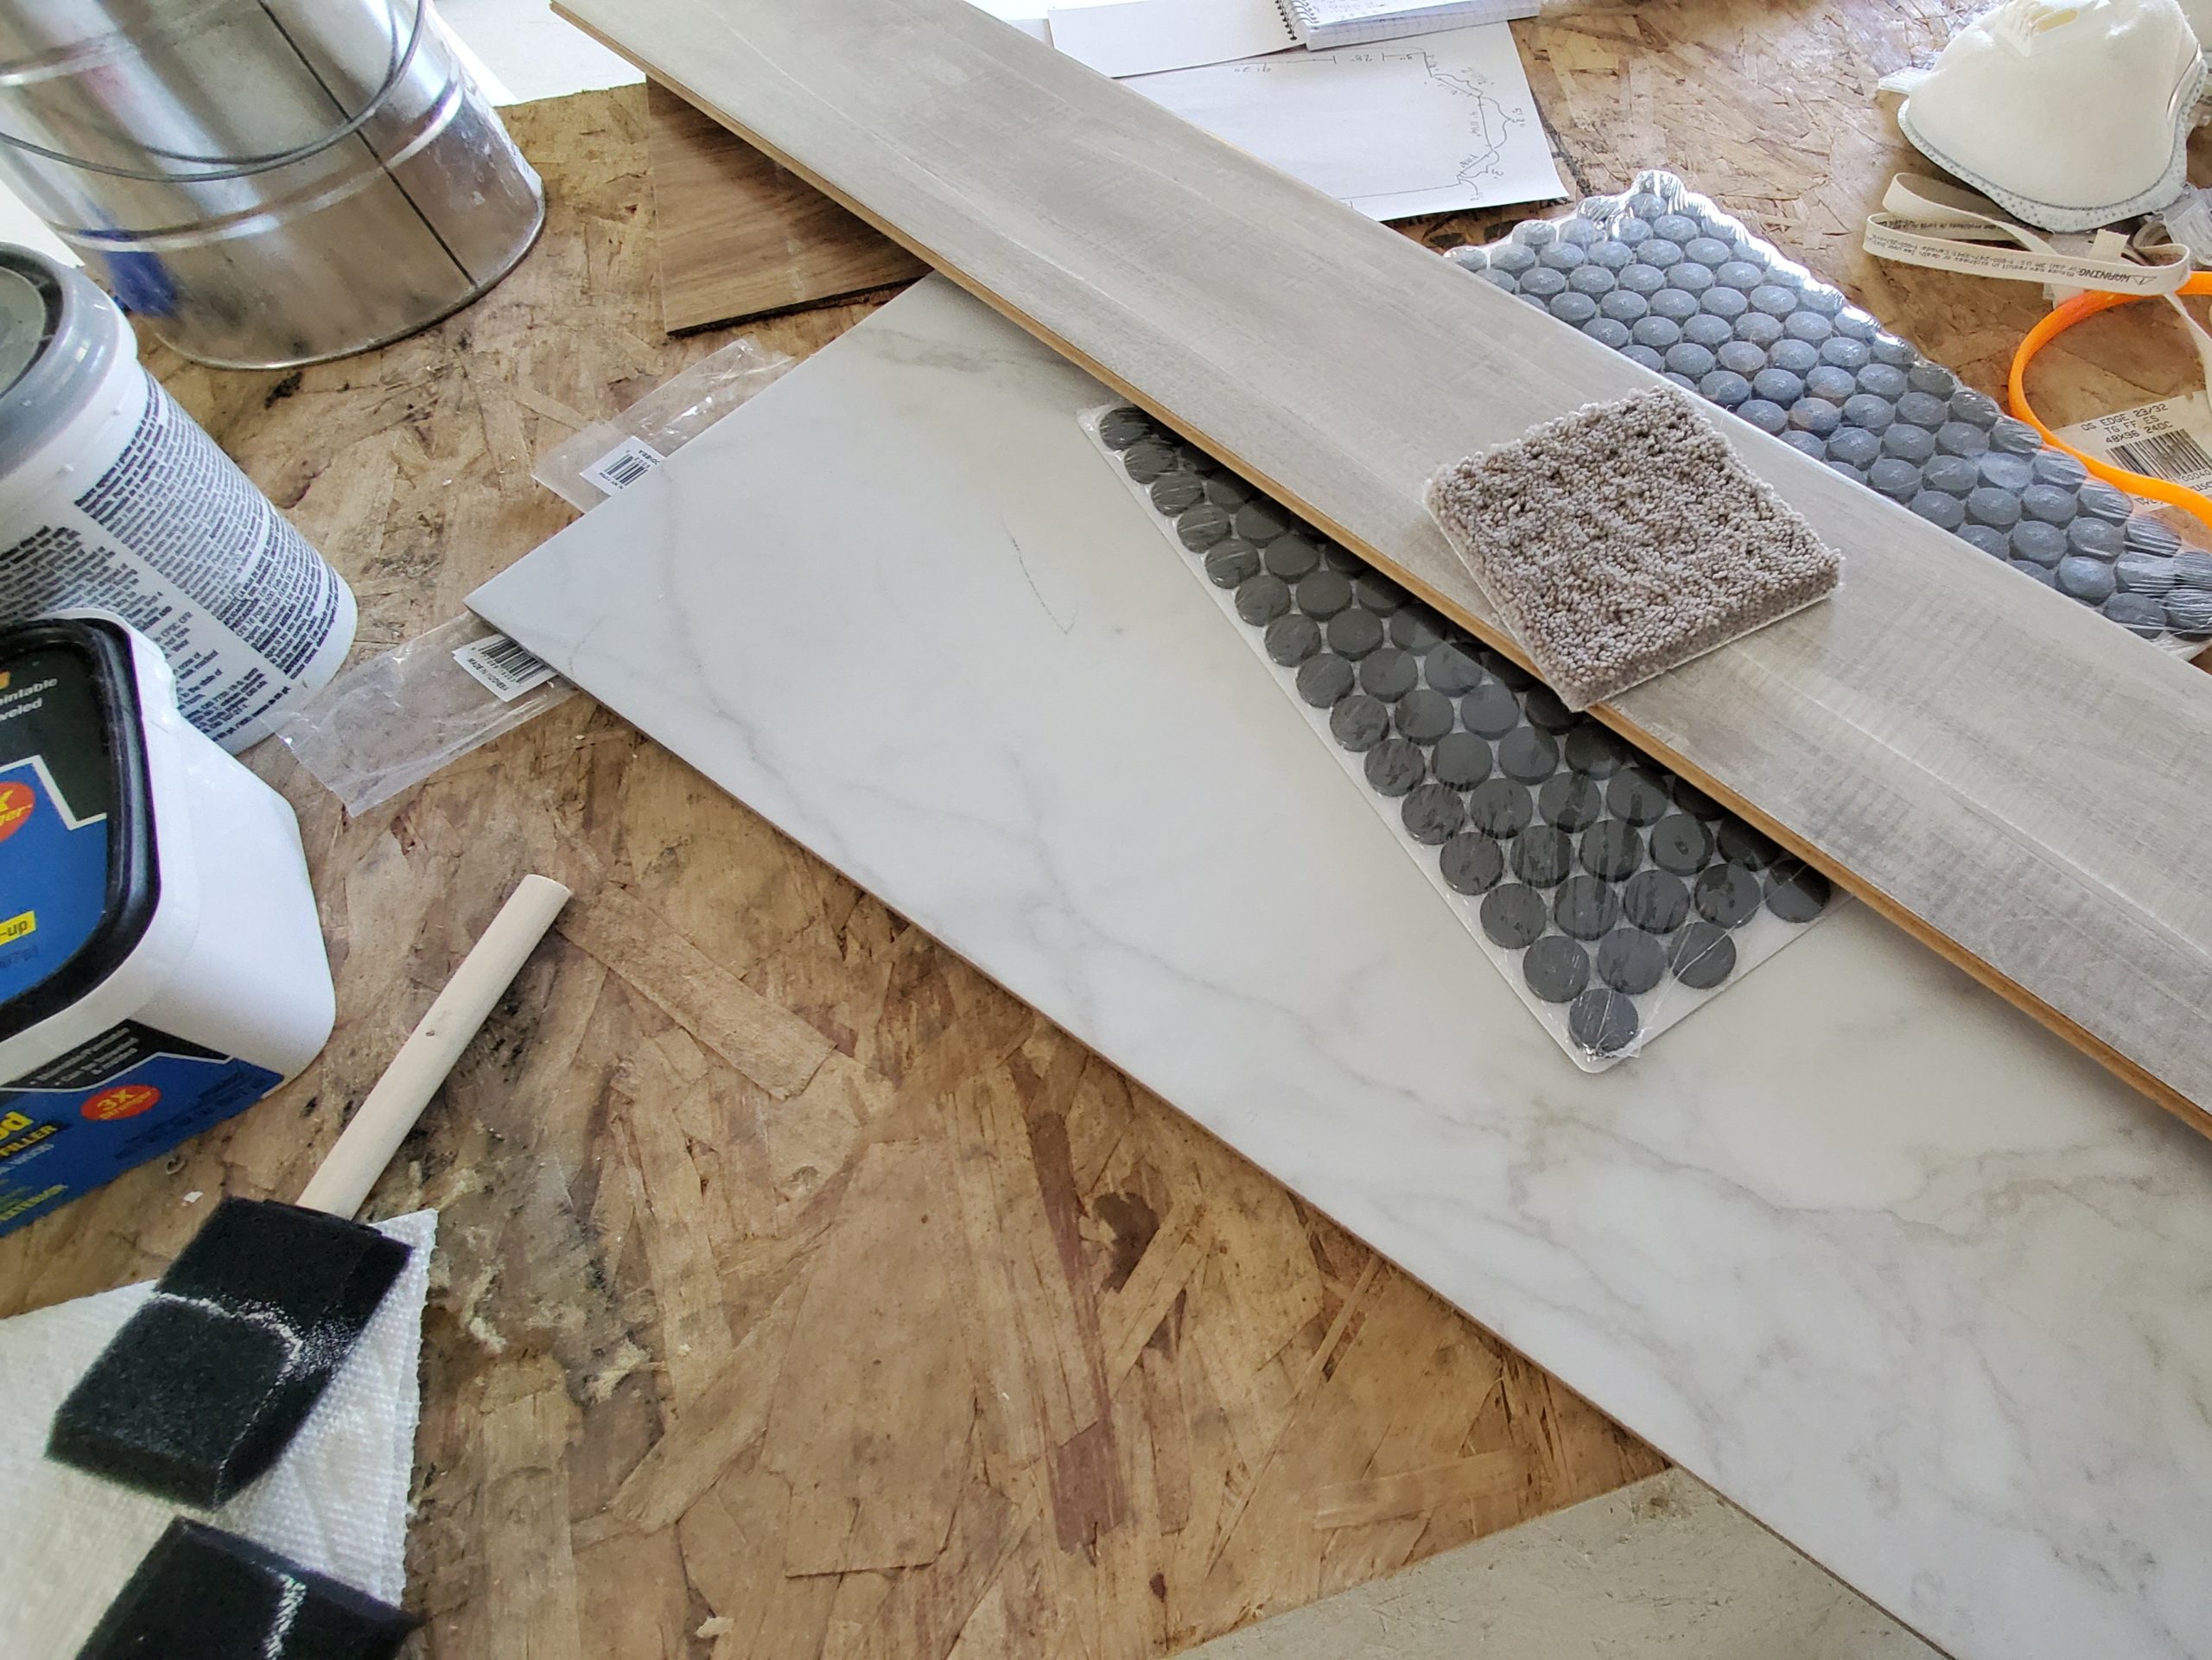
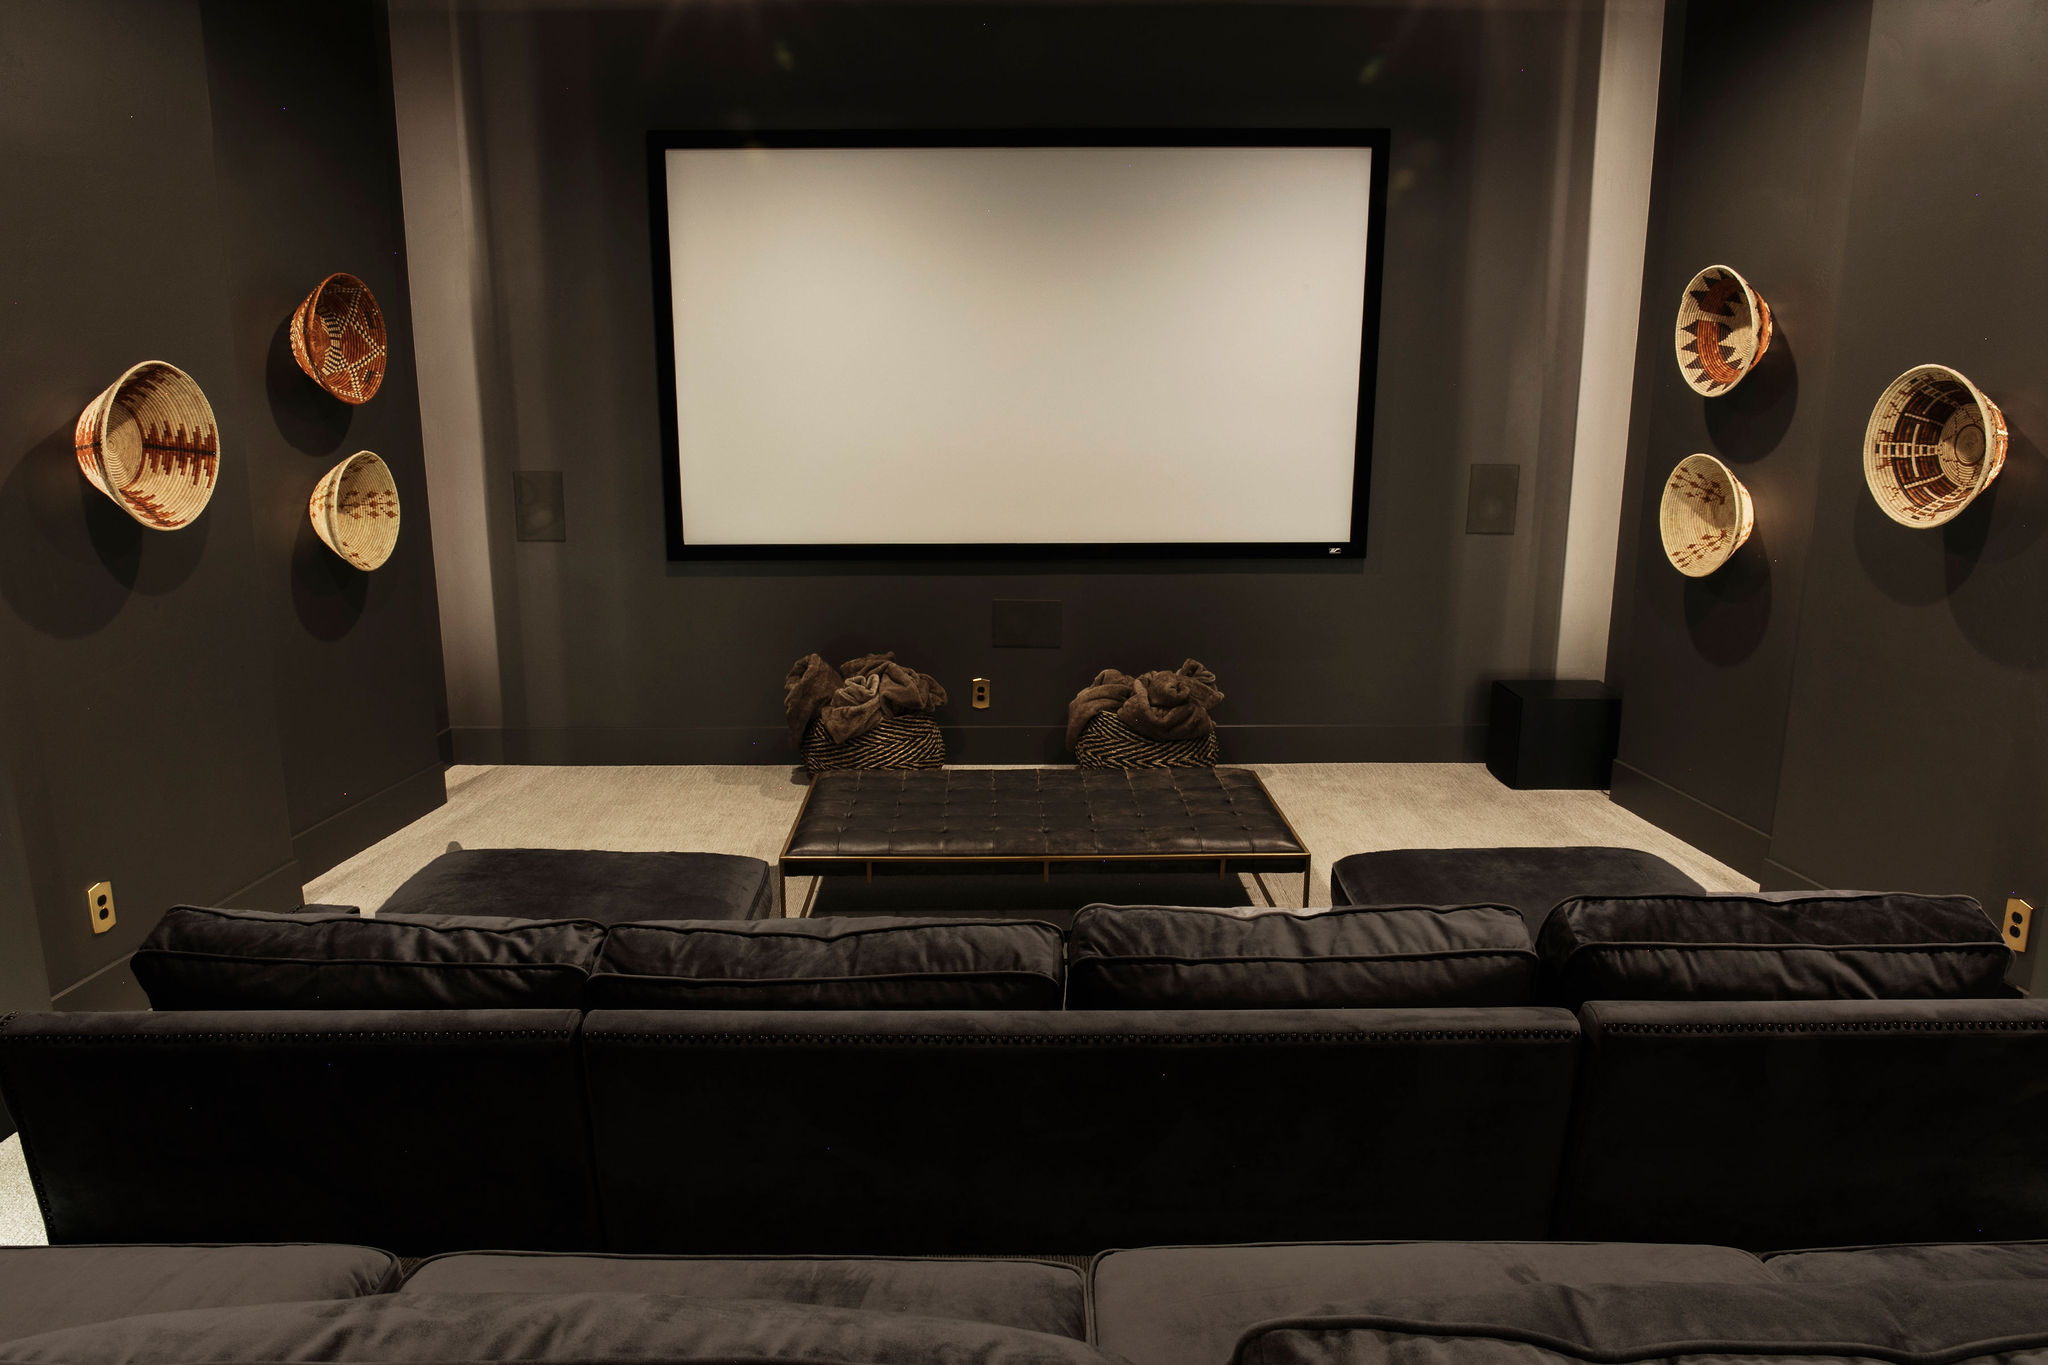
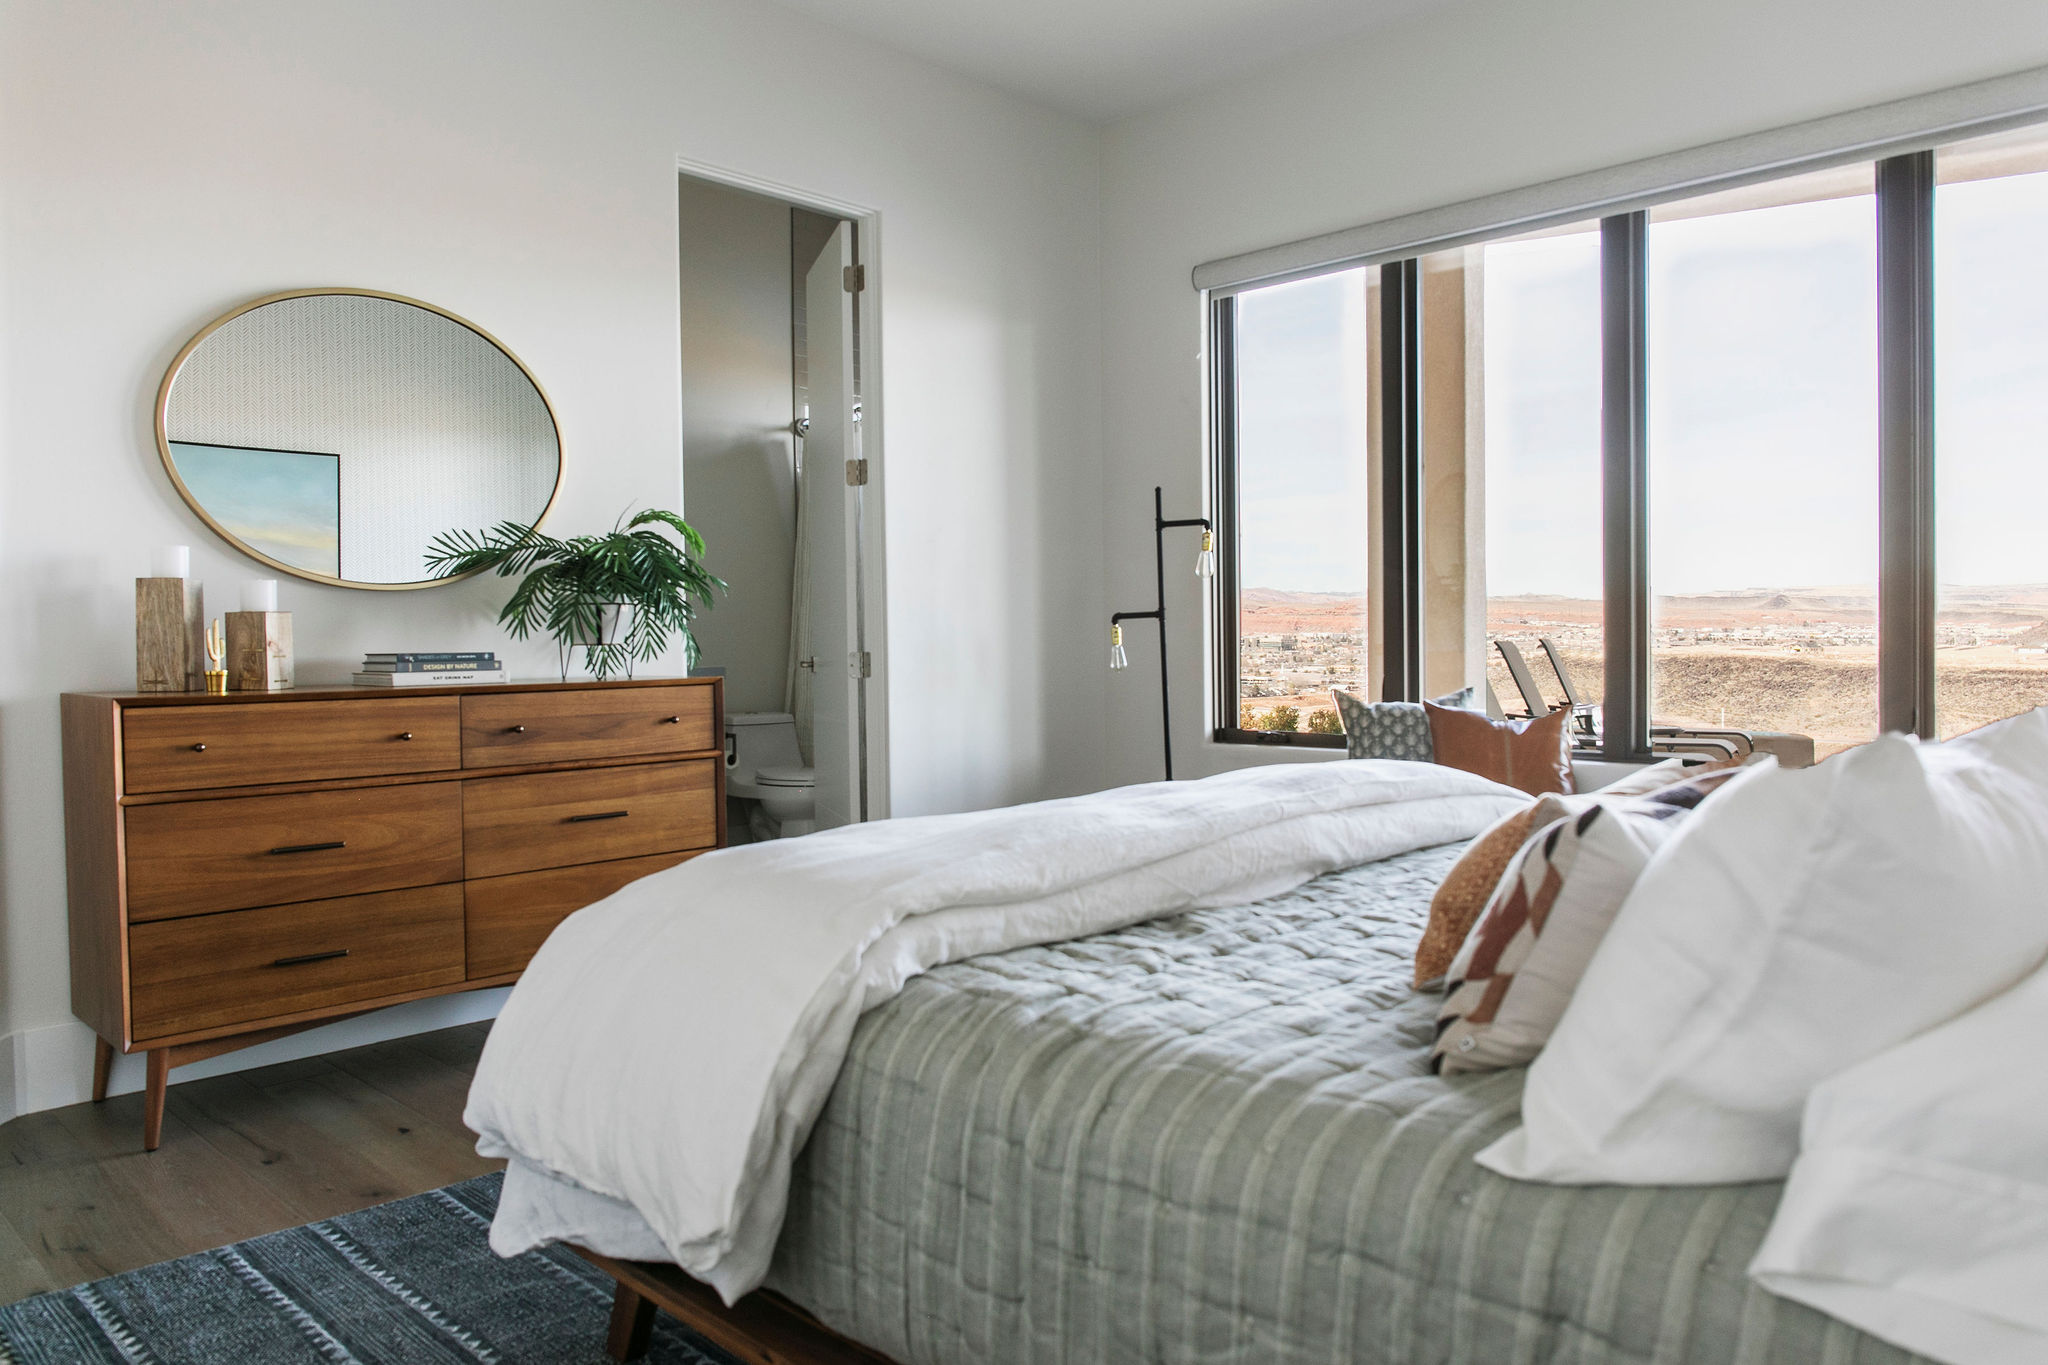
shop

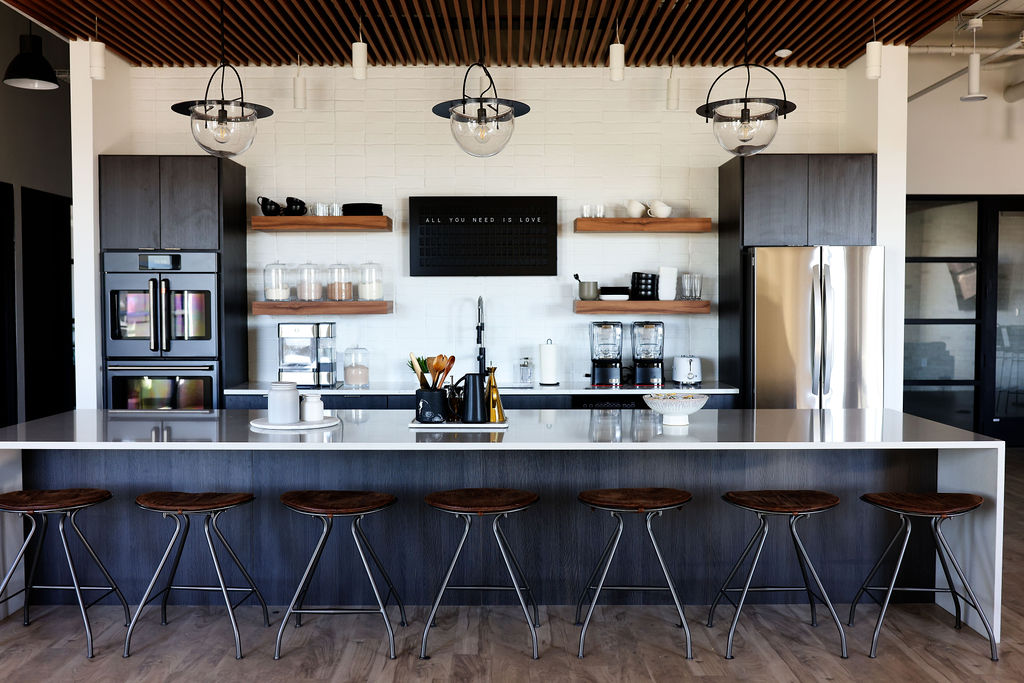
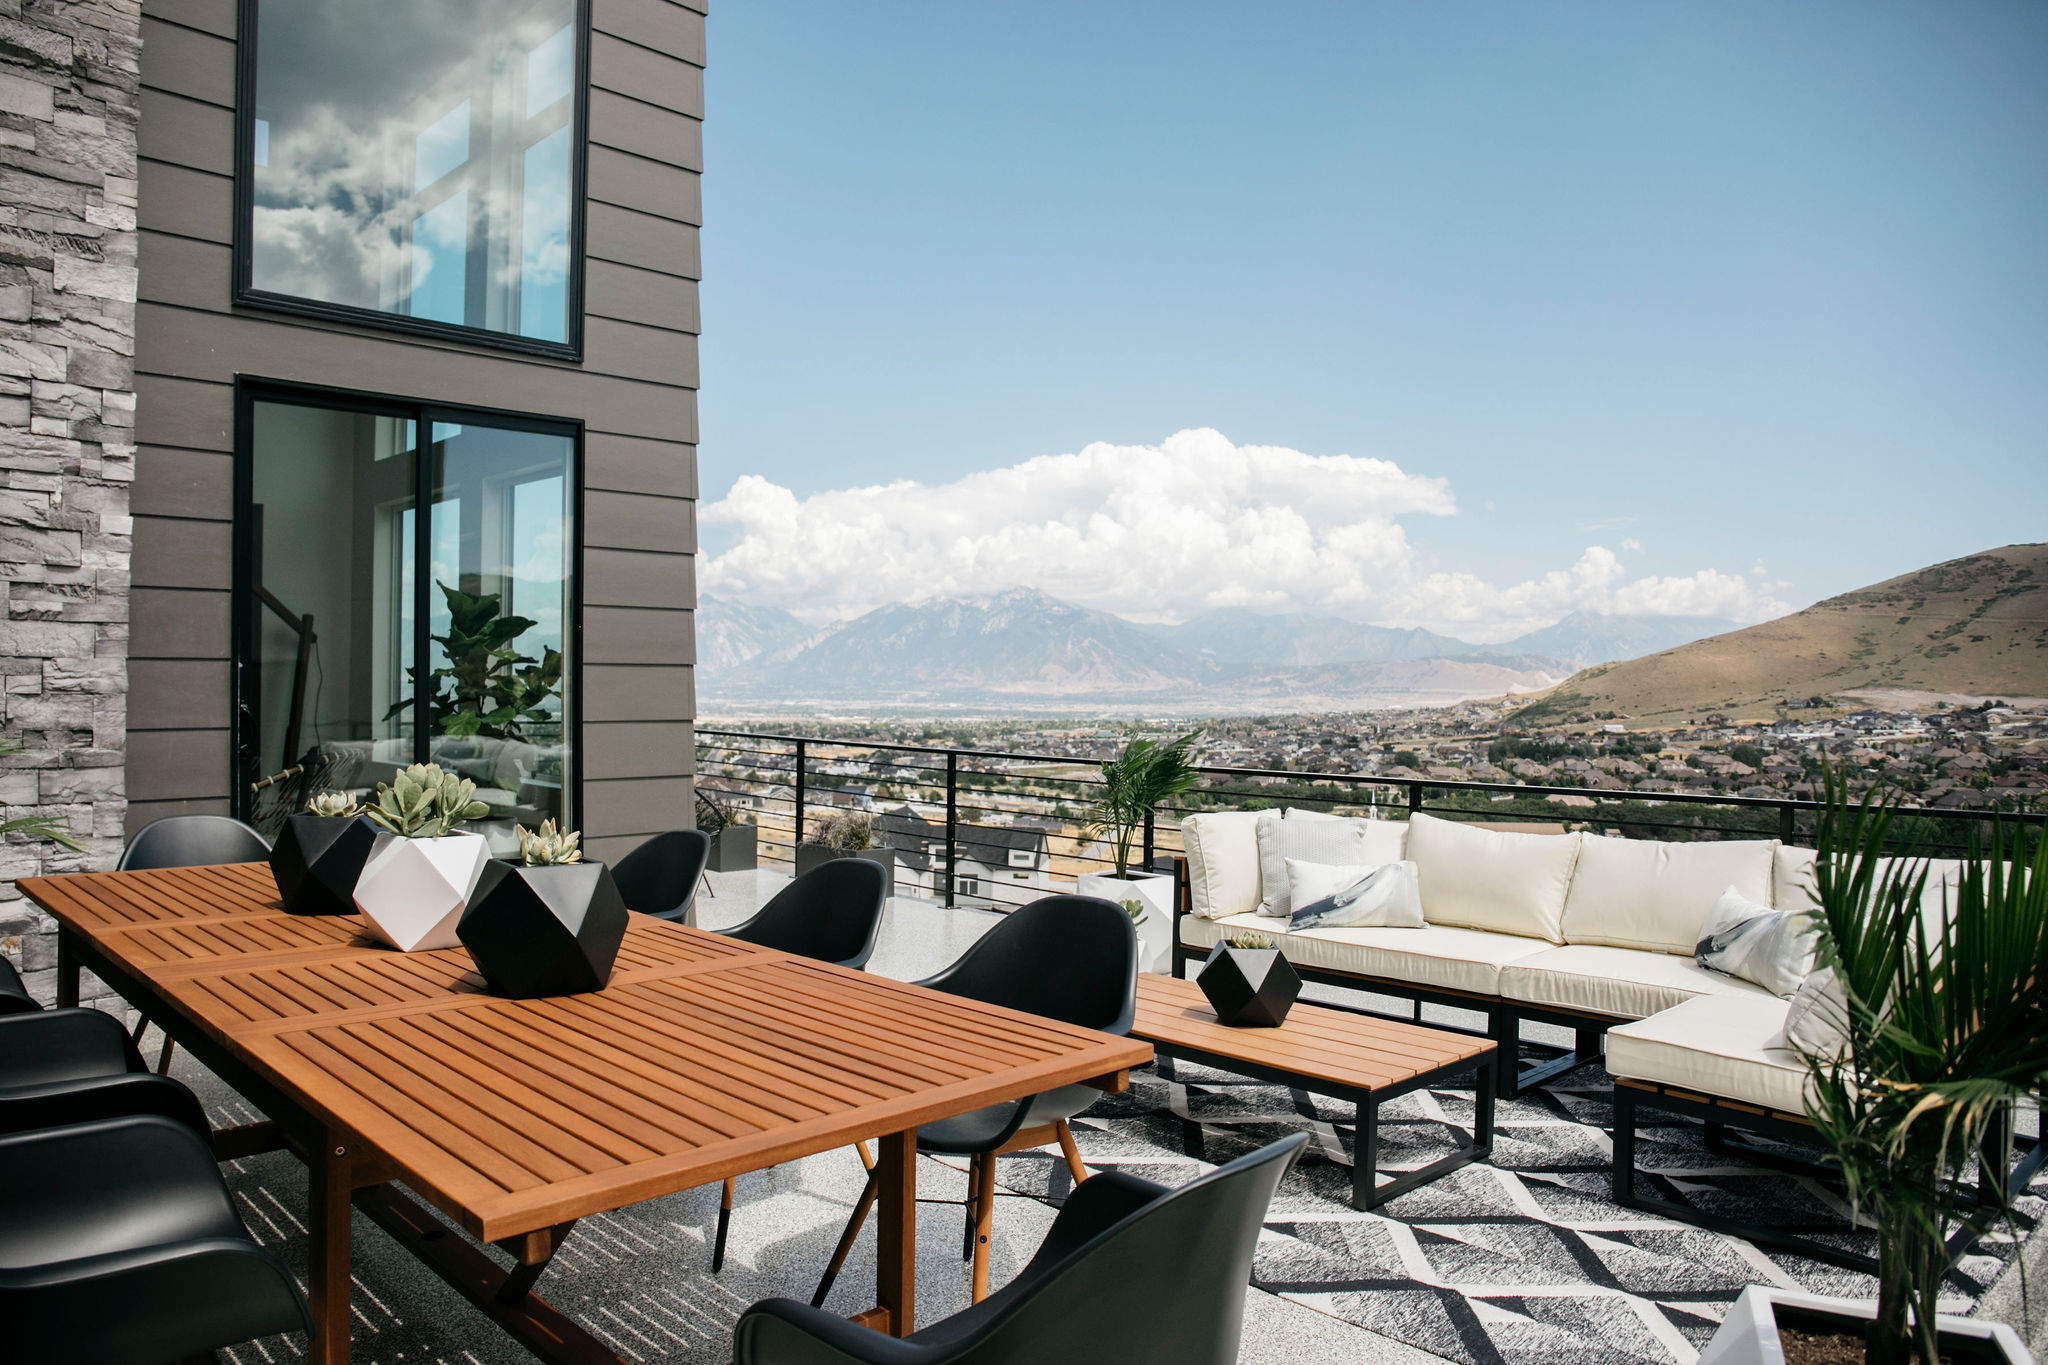
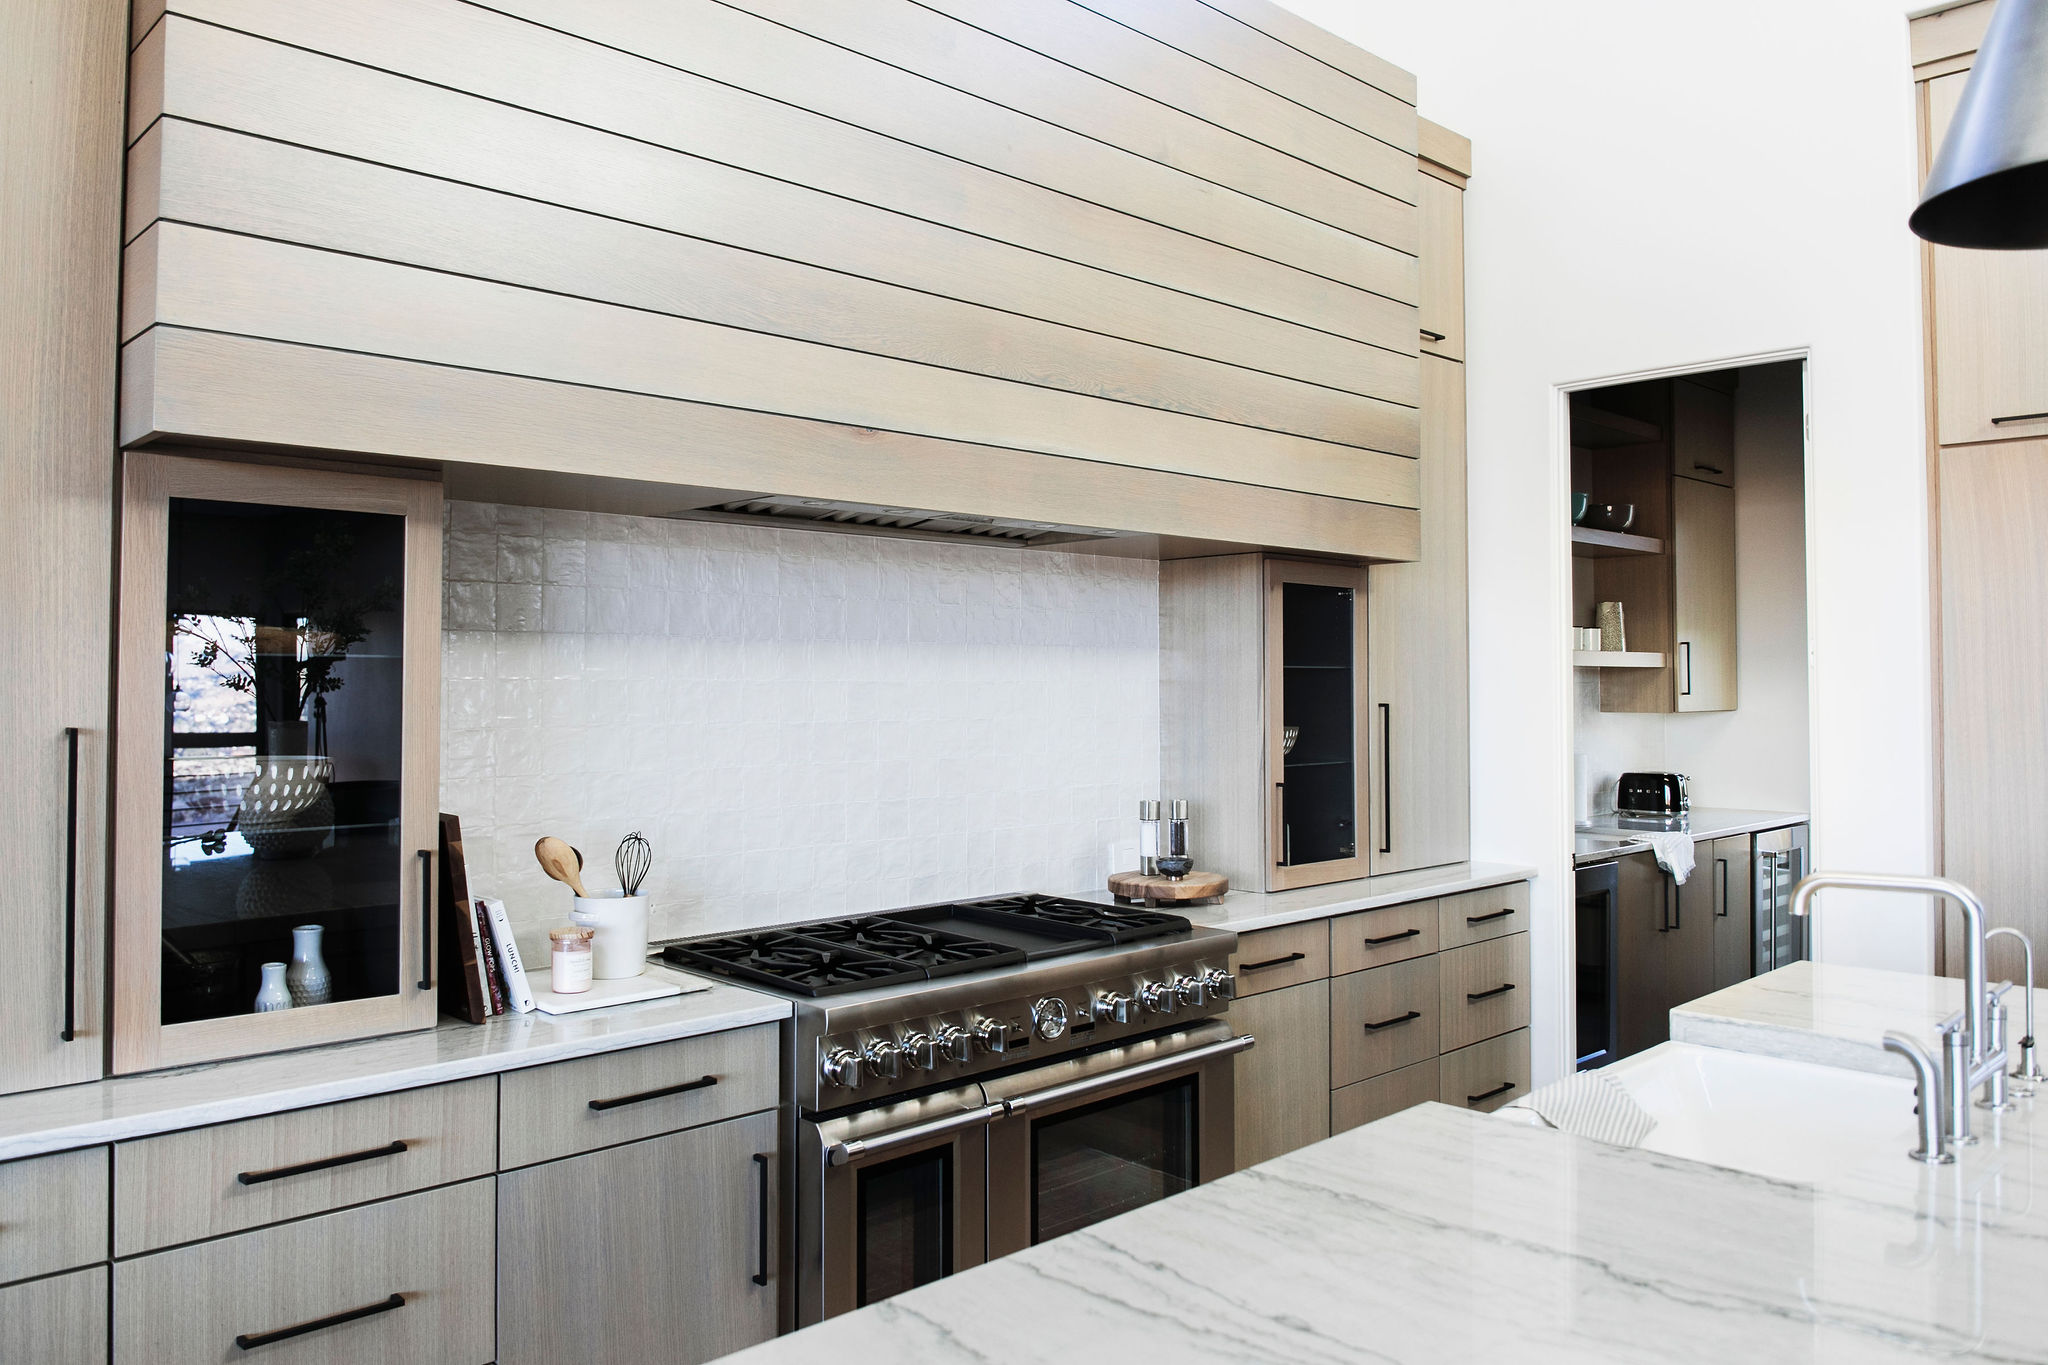
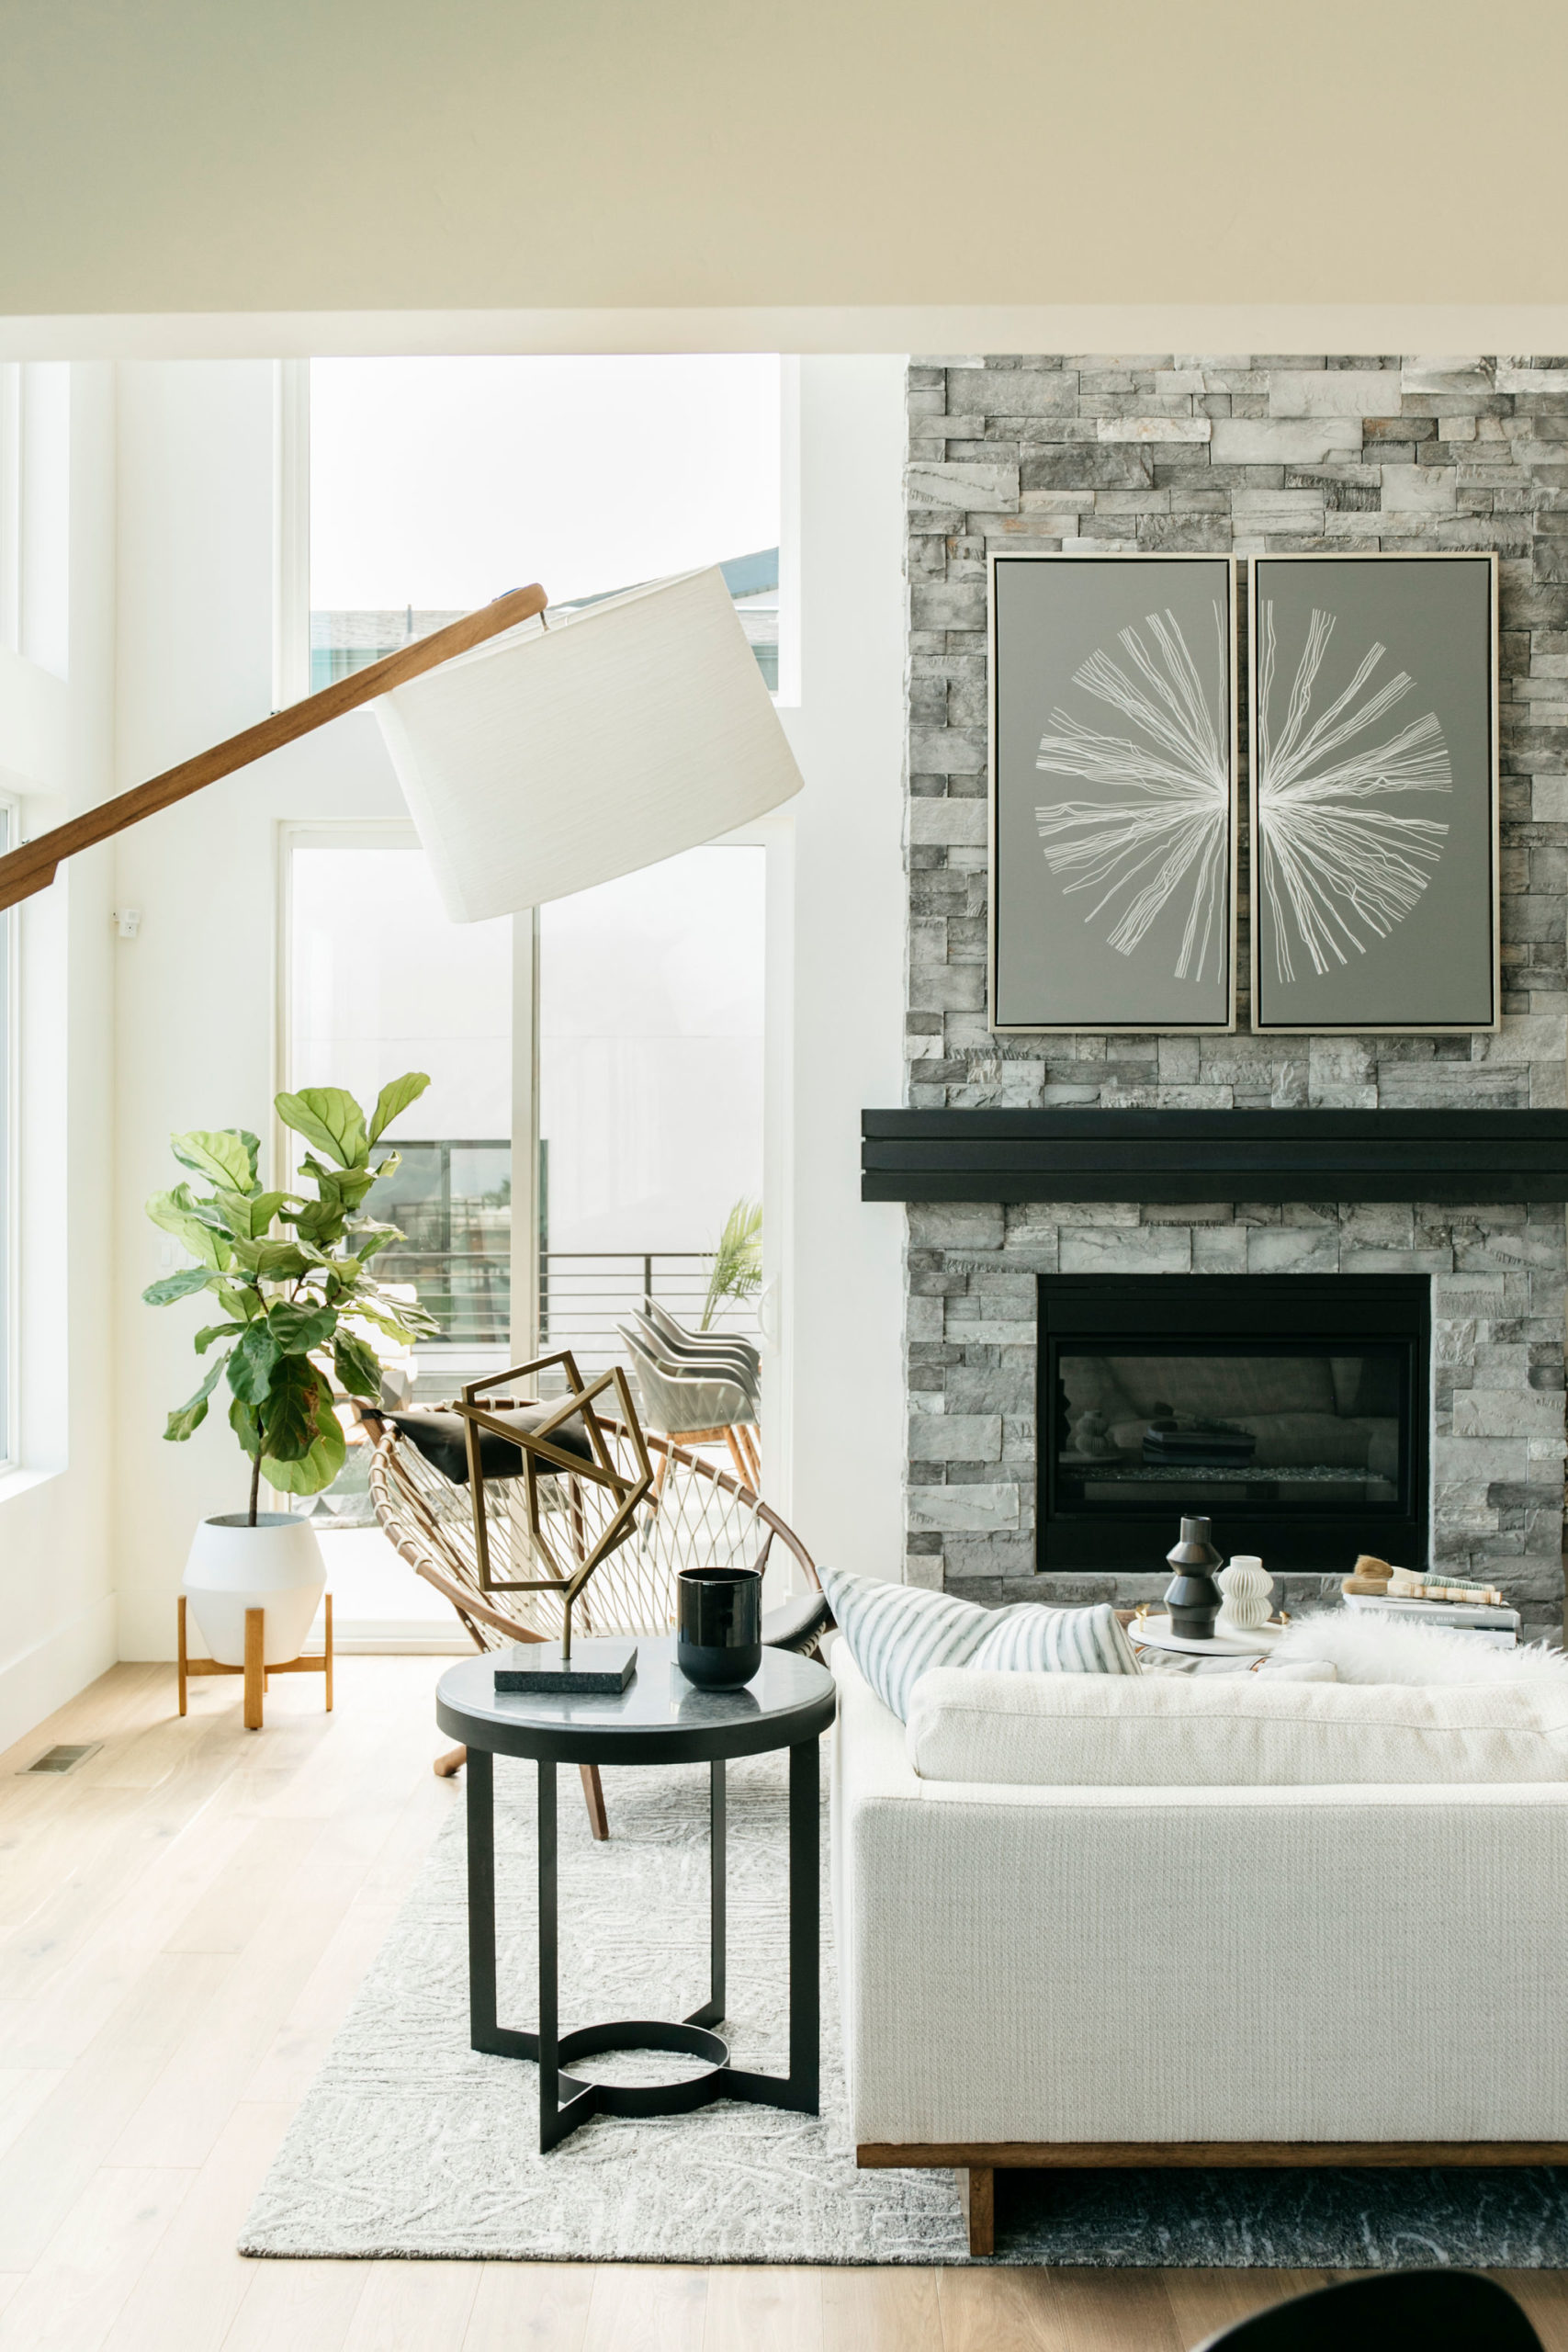
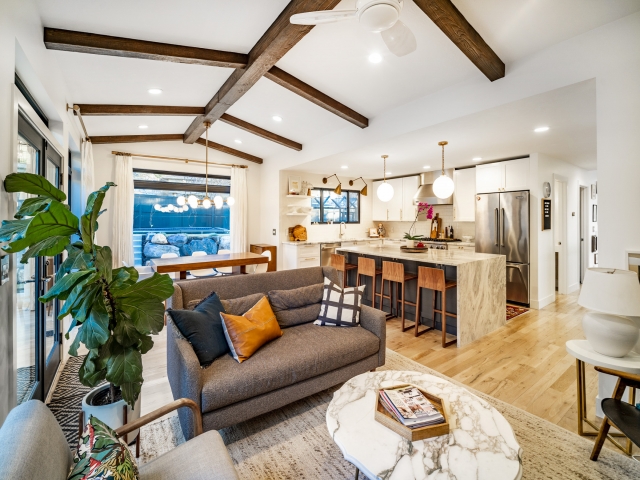
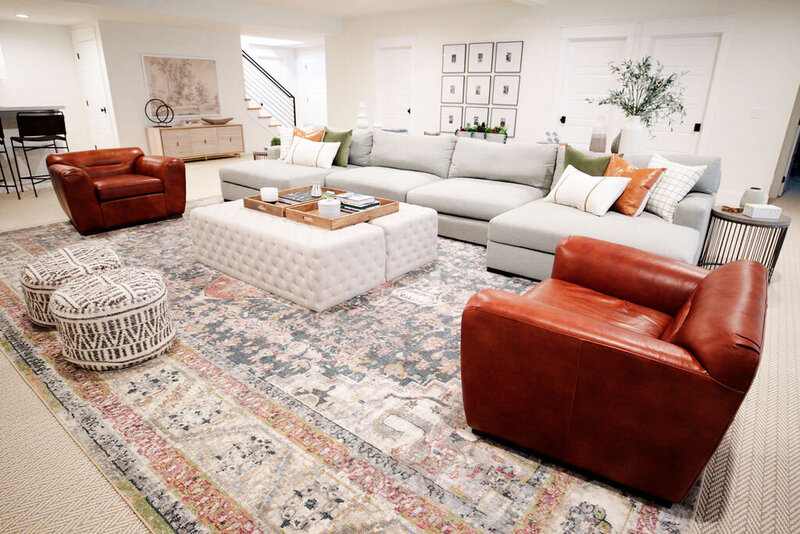
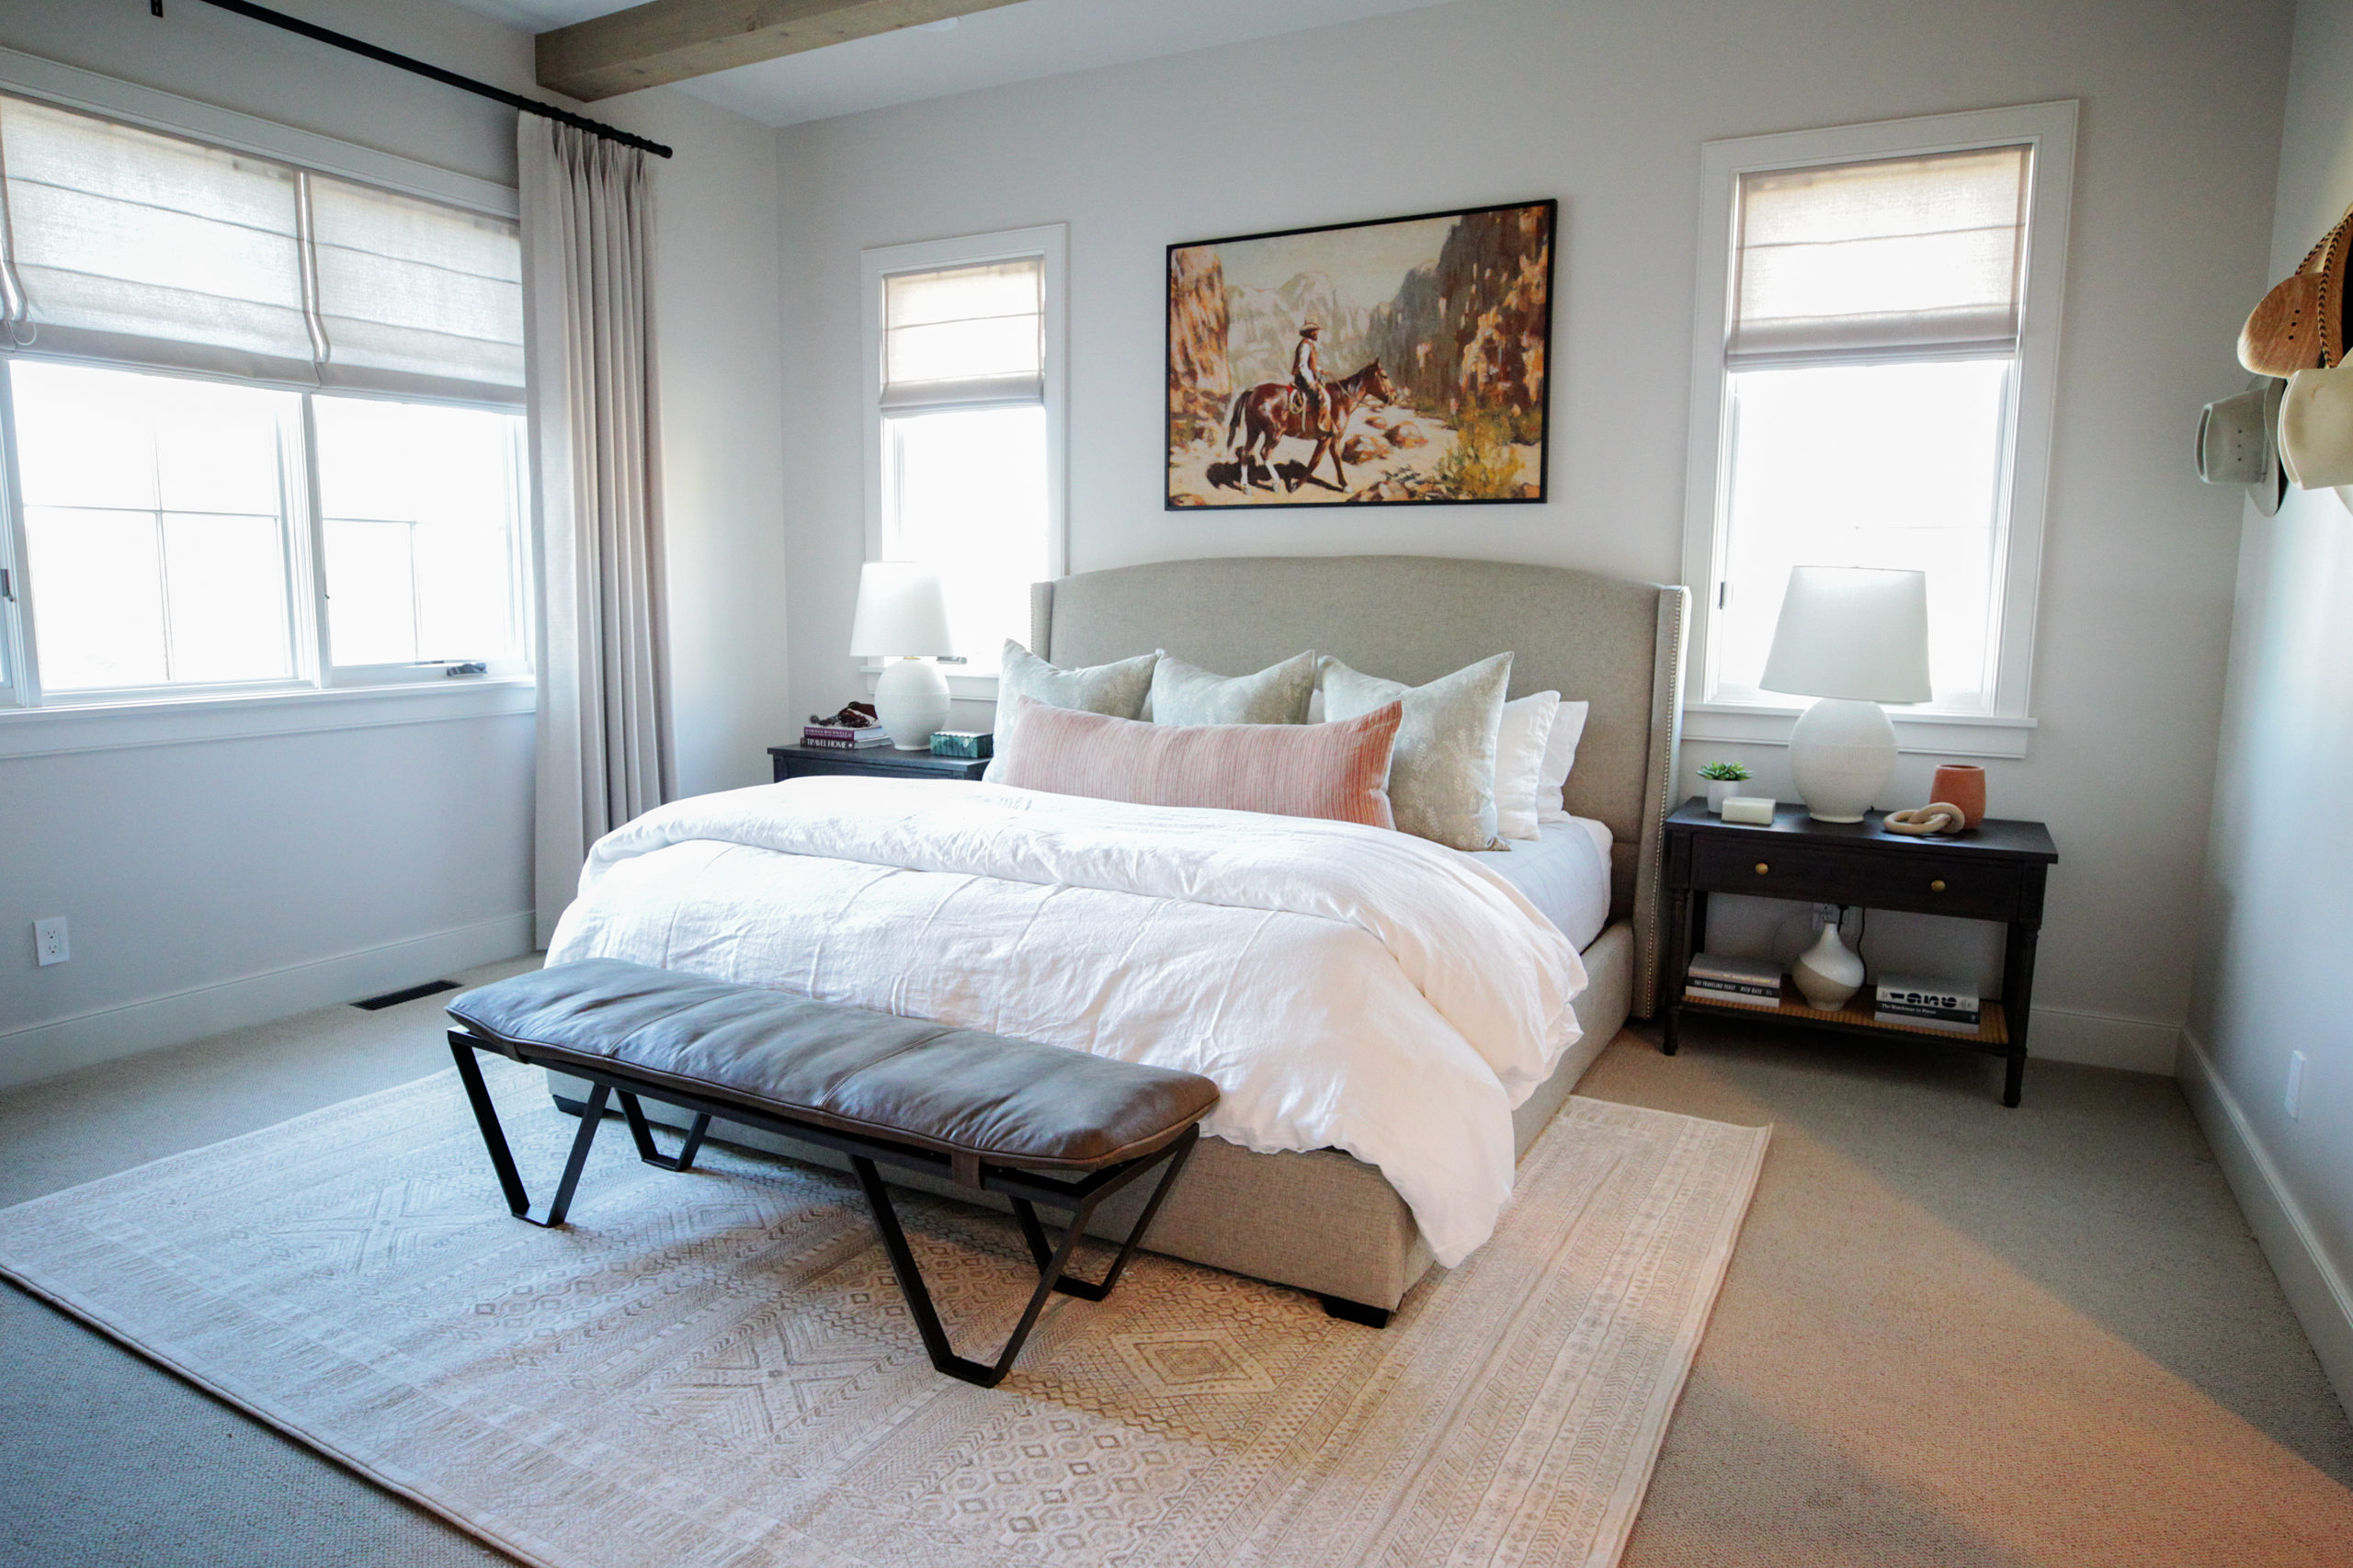
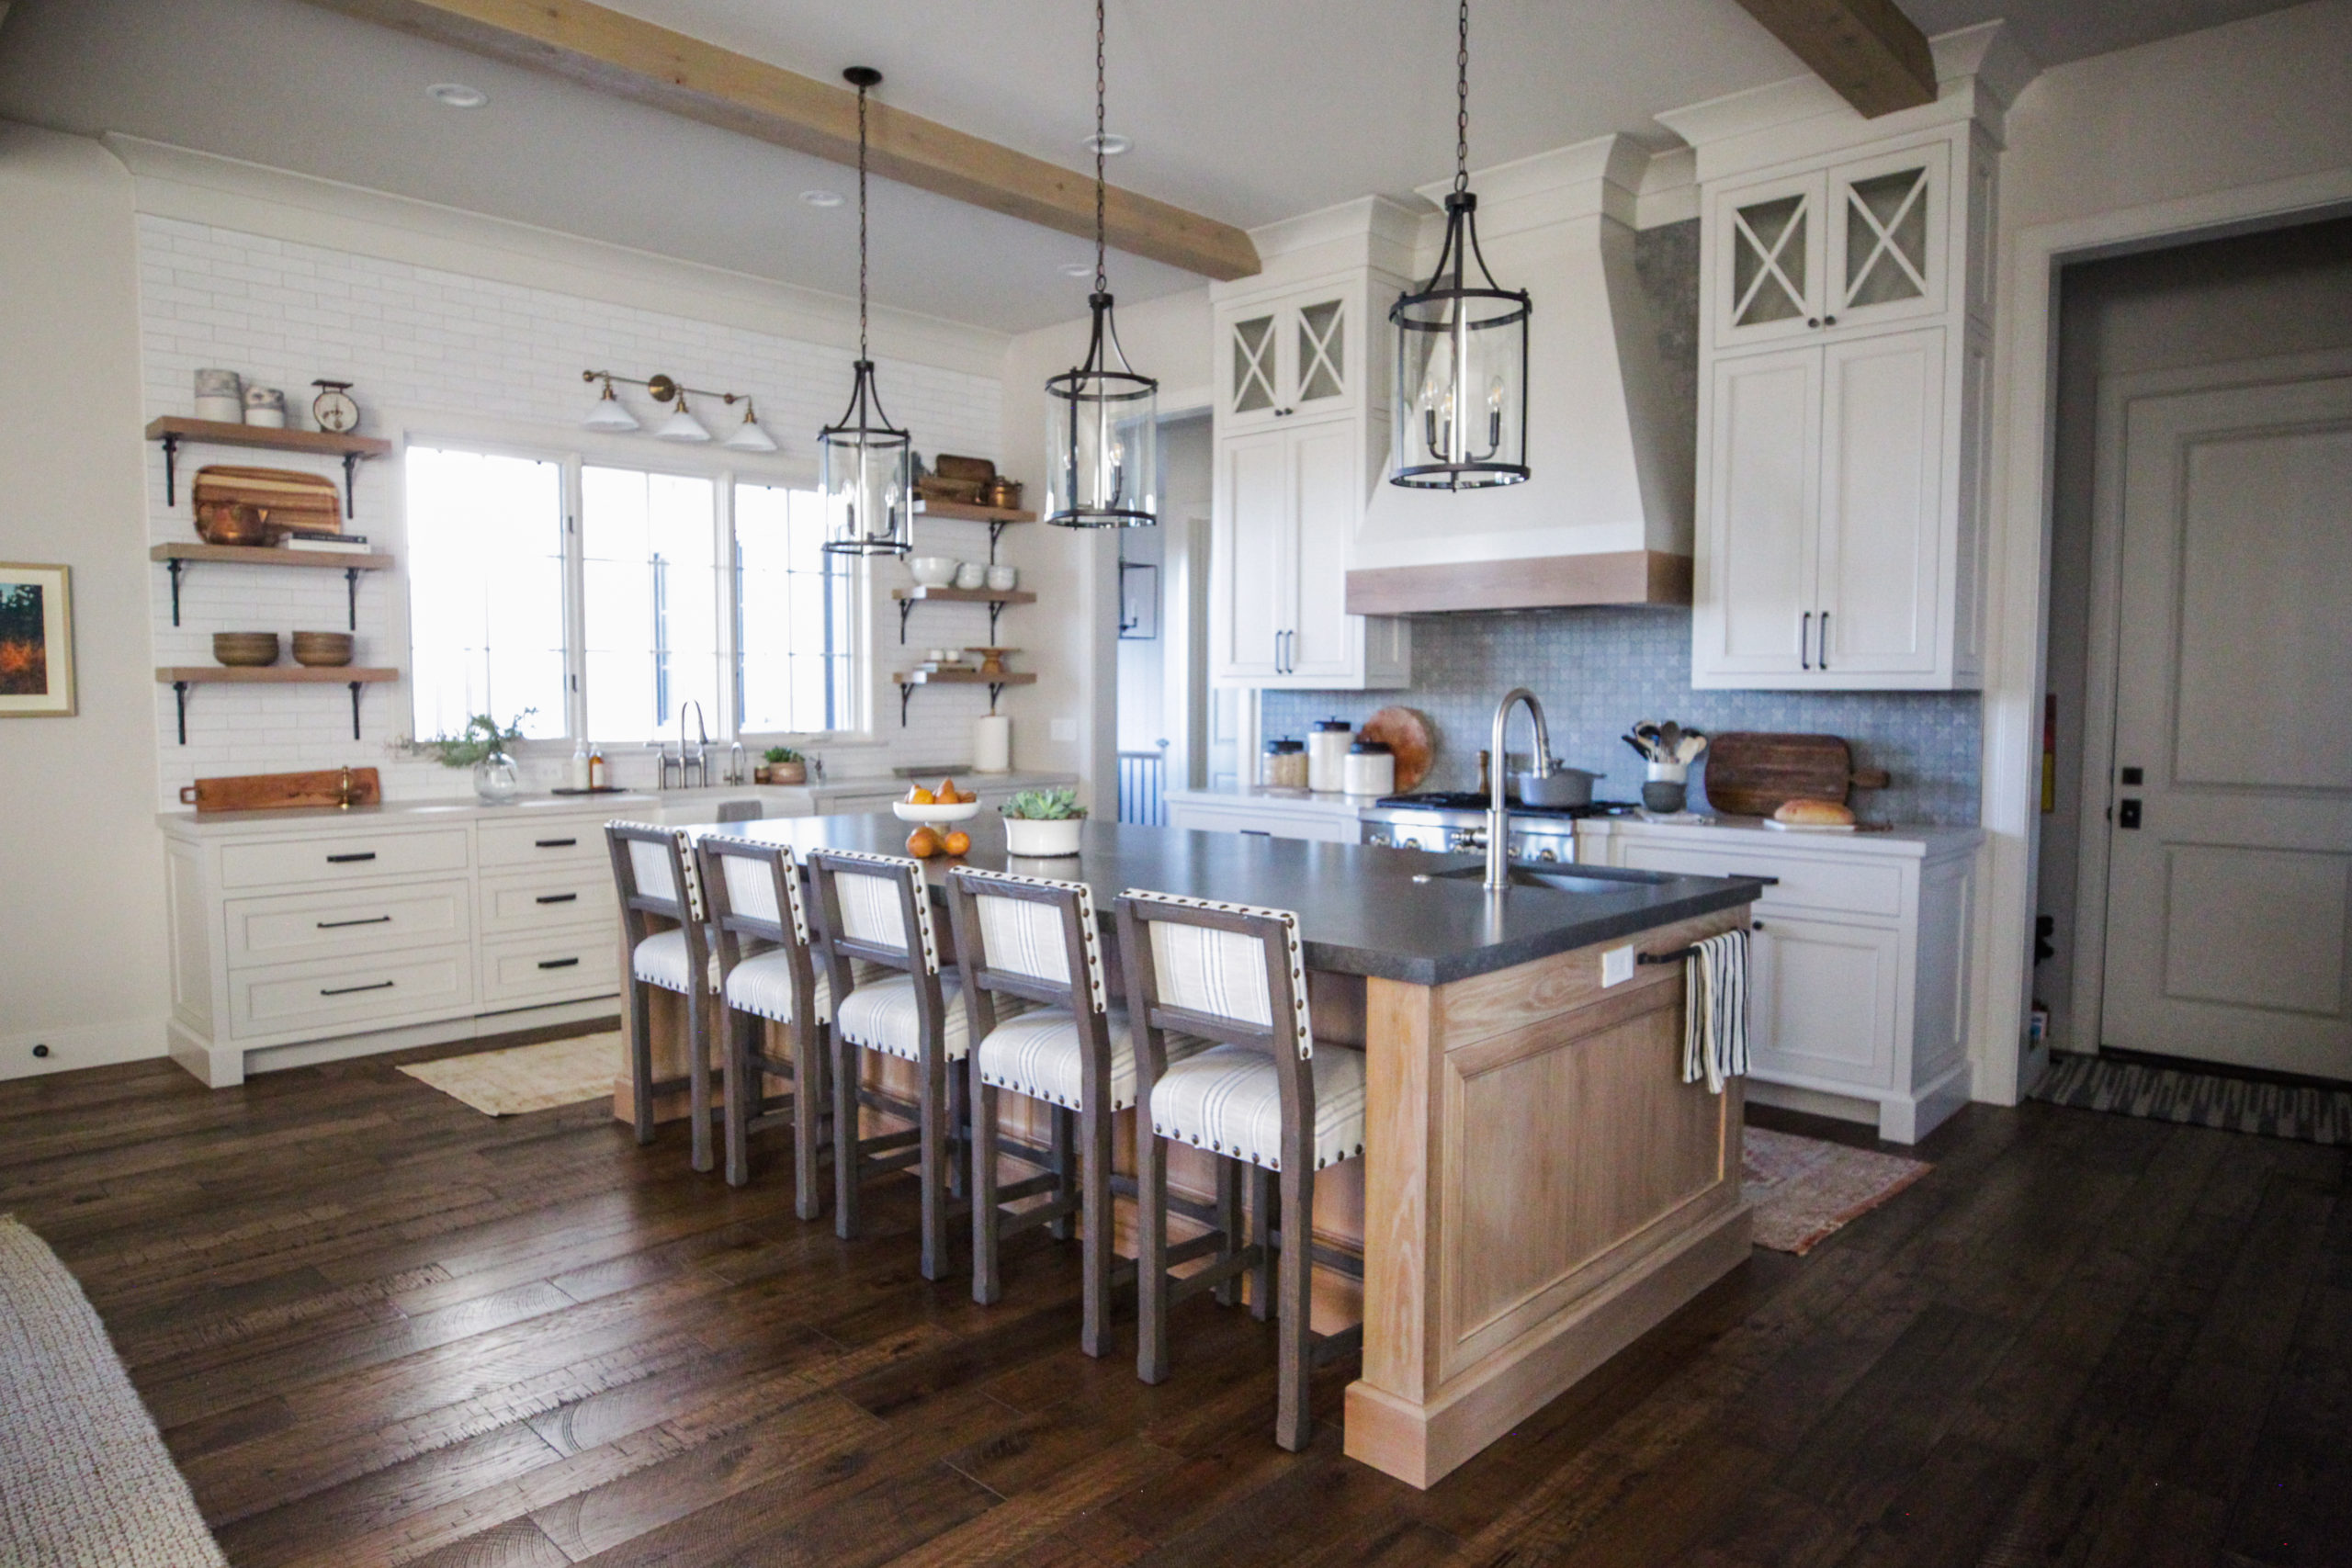
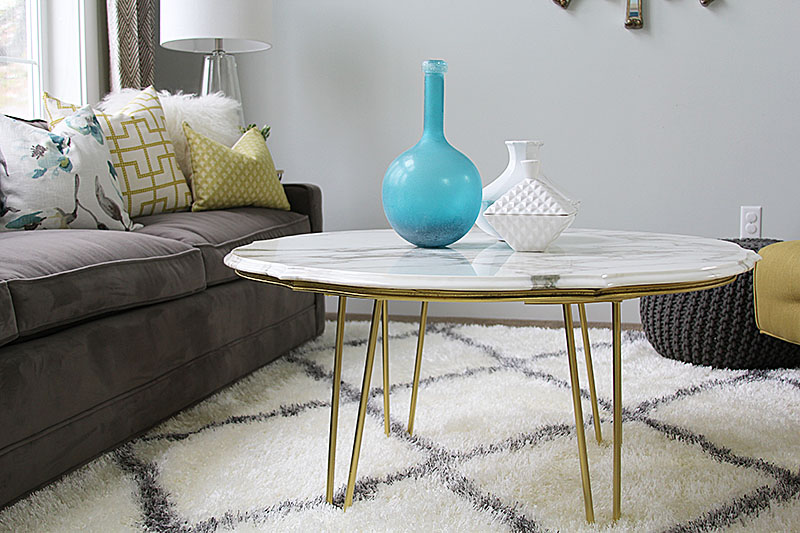
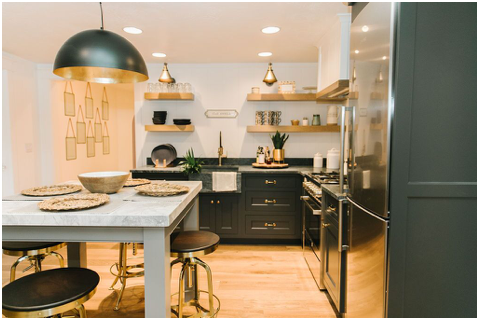
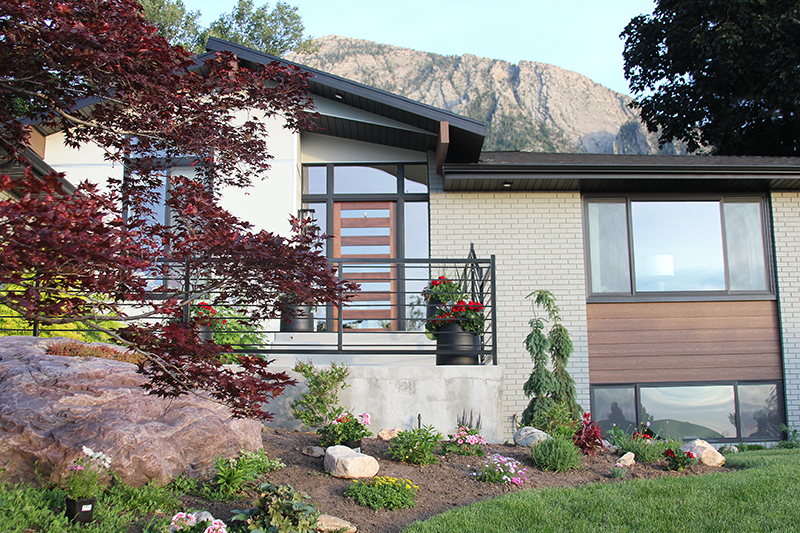
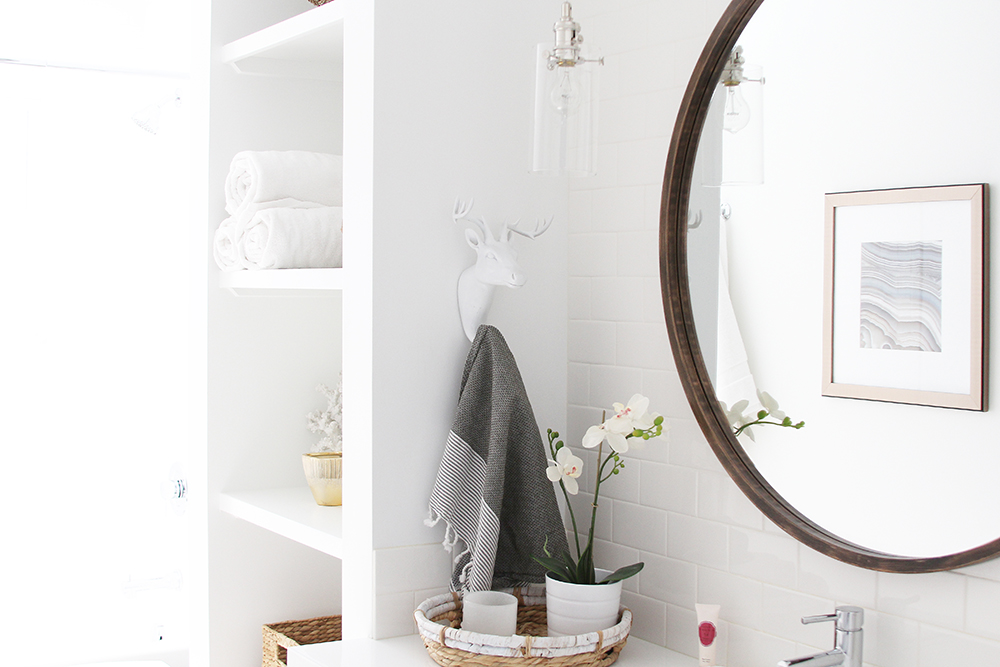
We're a full-service design firm and home furnishings shop built around the philosophy that a well-designed home should be beautiful, personal, cohesive, and complete. We think home is the most important place on the planet and when you live in a home that is perfectly you, it changes your life. Don't believe us? Stick around. We're confident we'll change your mind.
hello there!
Follow Along
@jenniferstagg
Hey, let's be friends
Exclusive projects, discounts, and extra goodies all in your inbox. And don’t worry- your email is for our eyes only.

Thank you Jen! Those are such great ideas we are buying our supplies tonight and starting tomorrow! Thanks again for your help I’ll send pictures when we are done. Hopefully by this weekend. : )