

")
")
")


DIY MAGNET CHALKBOARD
January 6, 2014
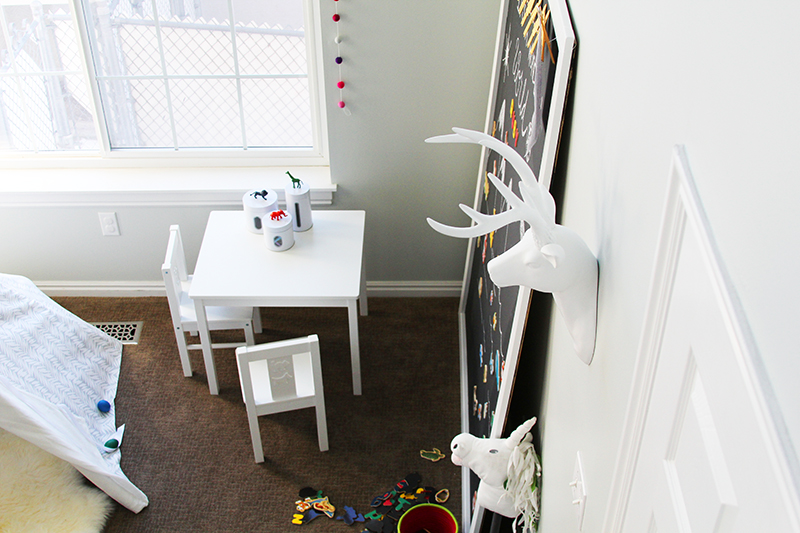
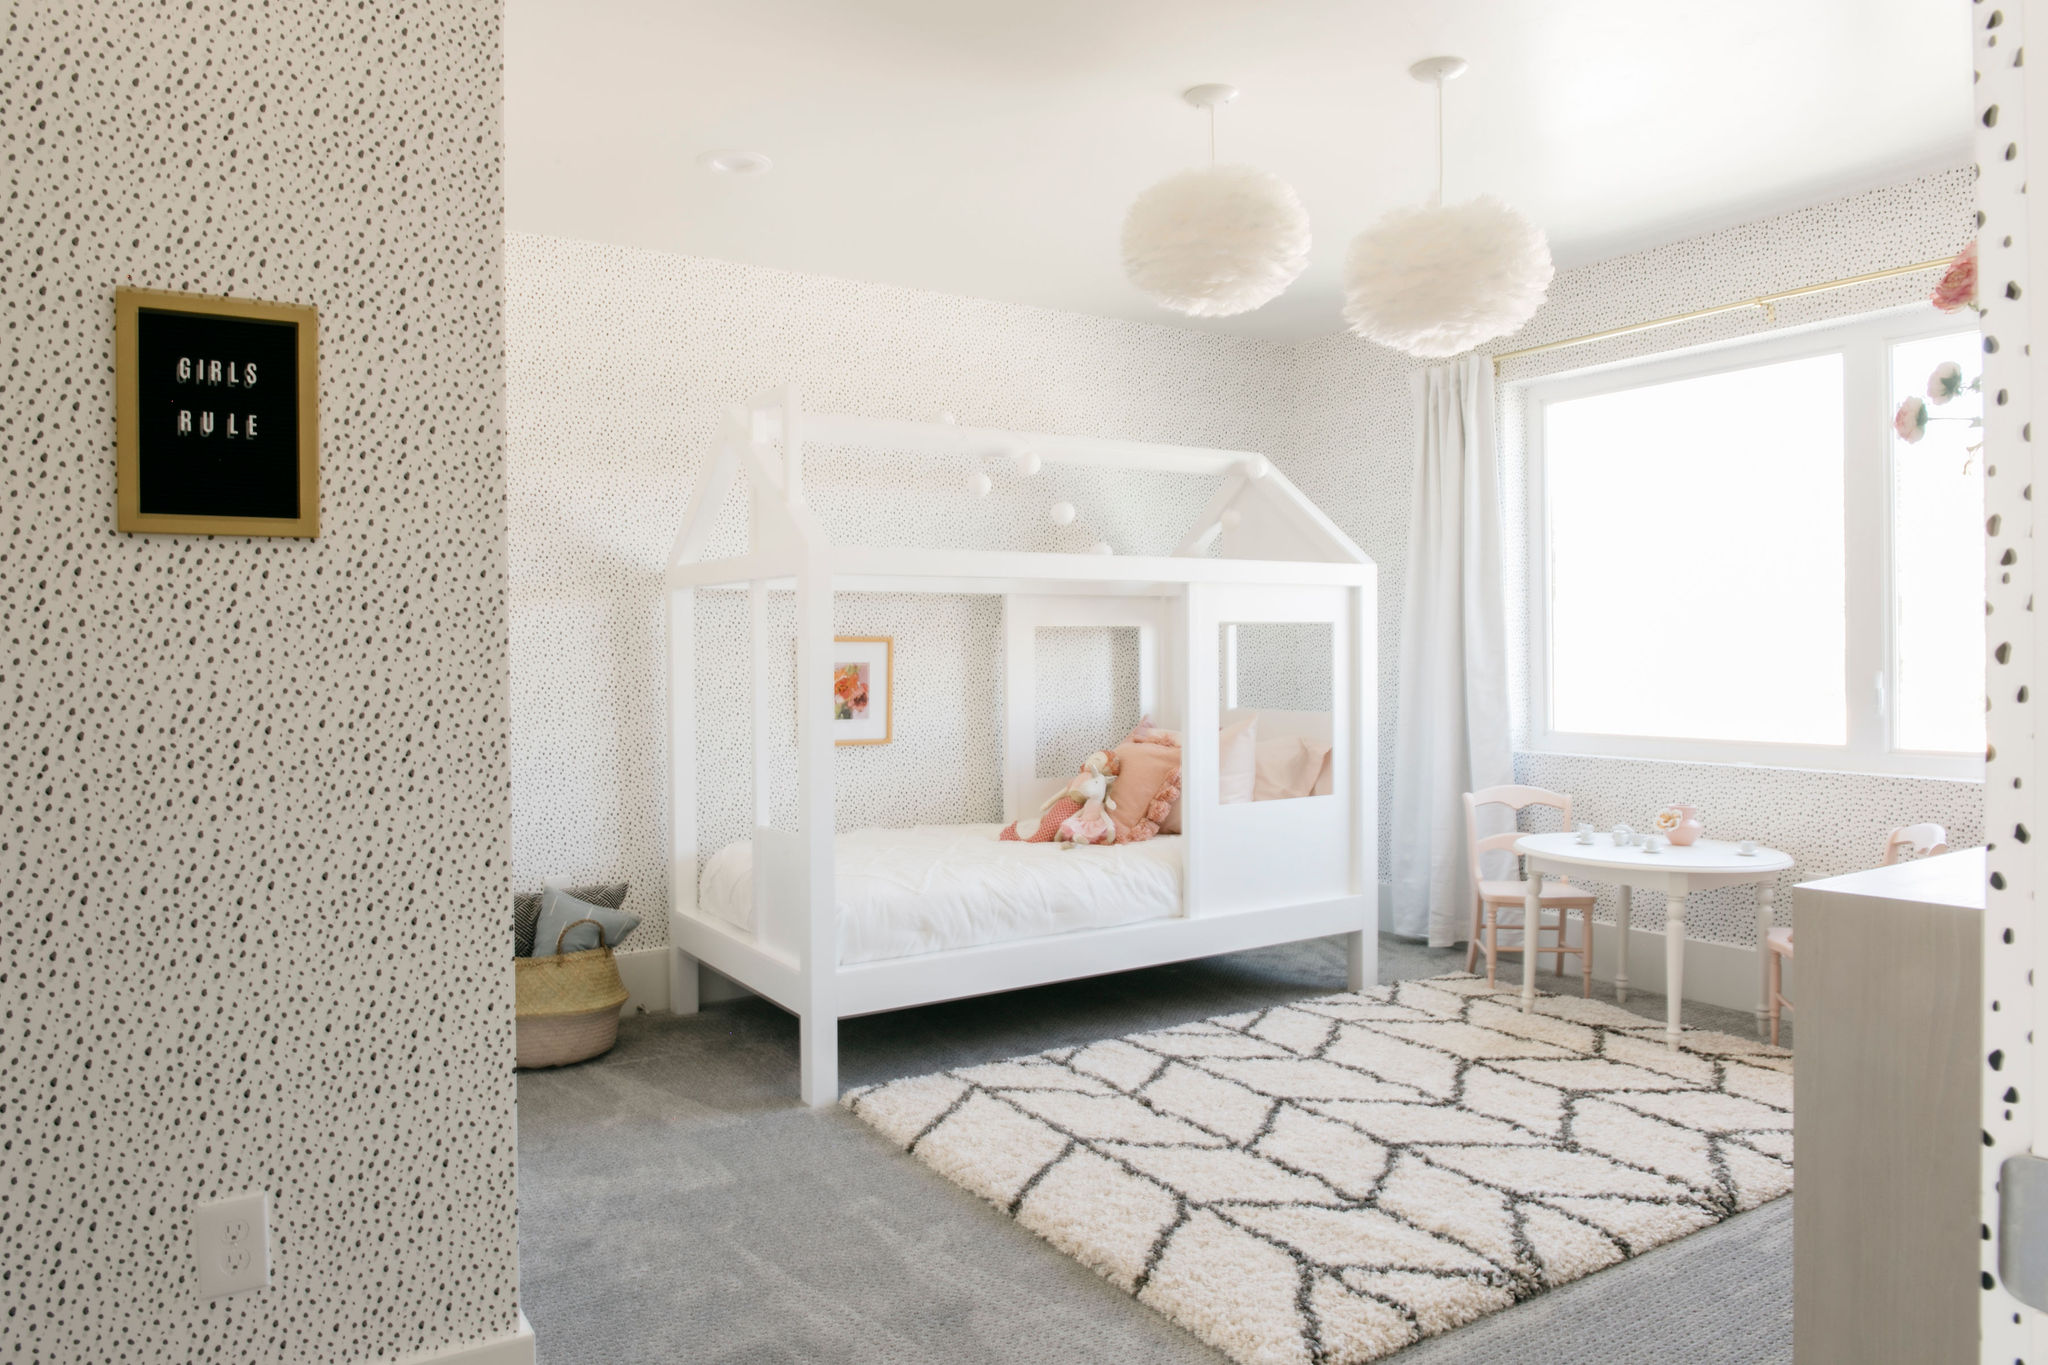
Happy Monday, friends! Today I’m launching into how I made Ruby’s playroom and sharing the first of many DIY tutorials: the DIY magnet chalkboard.
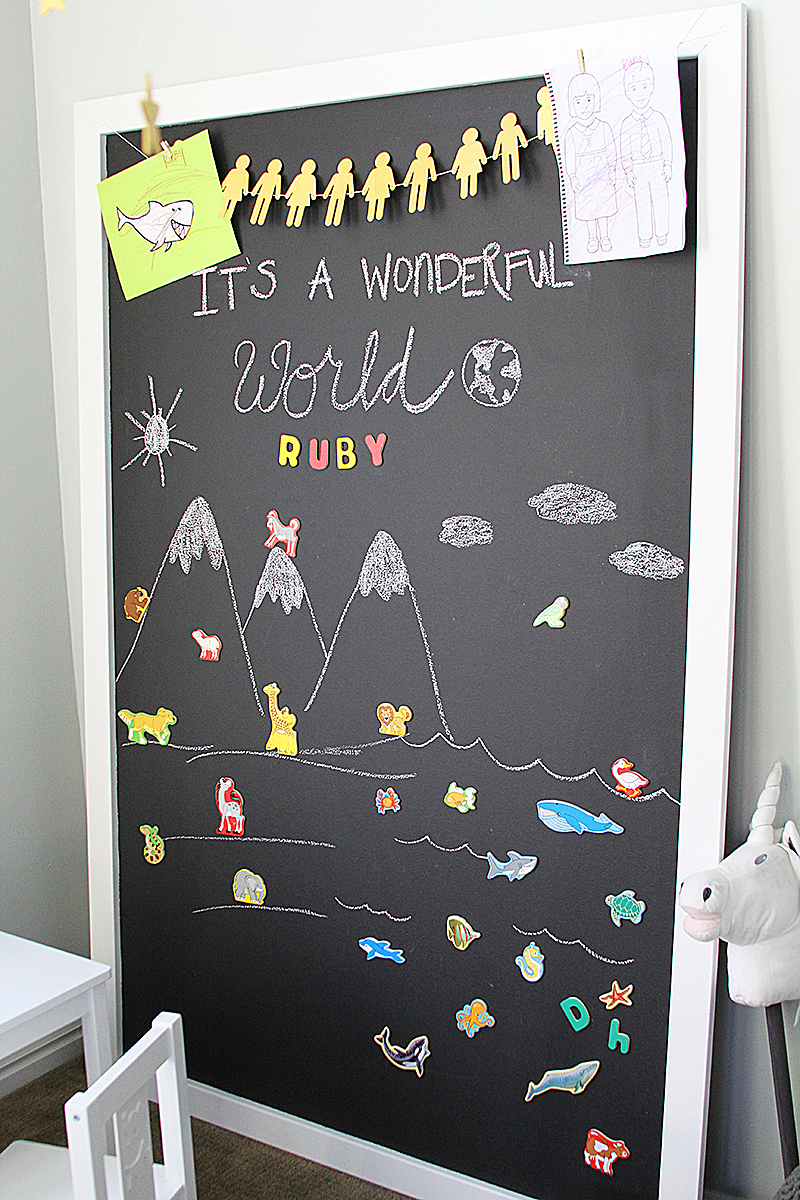
Deciding to put a chalkboard in the room was a no brainer. Not only do I love the way they look, but Ruby loves to draw. Magnets are just so darn fun for kids, so I thought I would combine the two and make it do double duty.
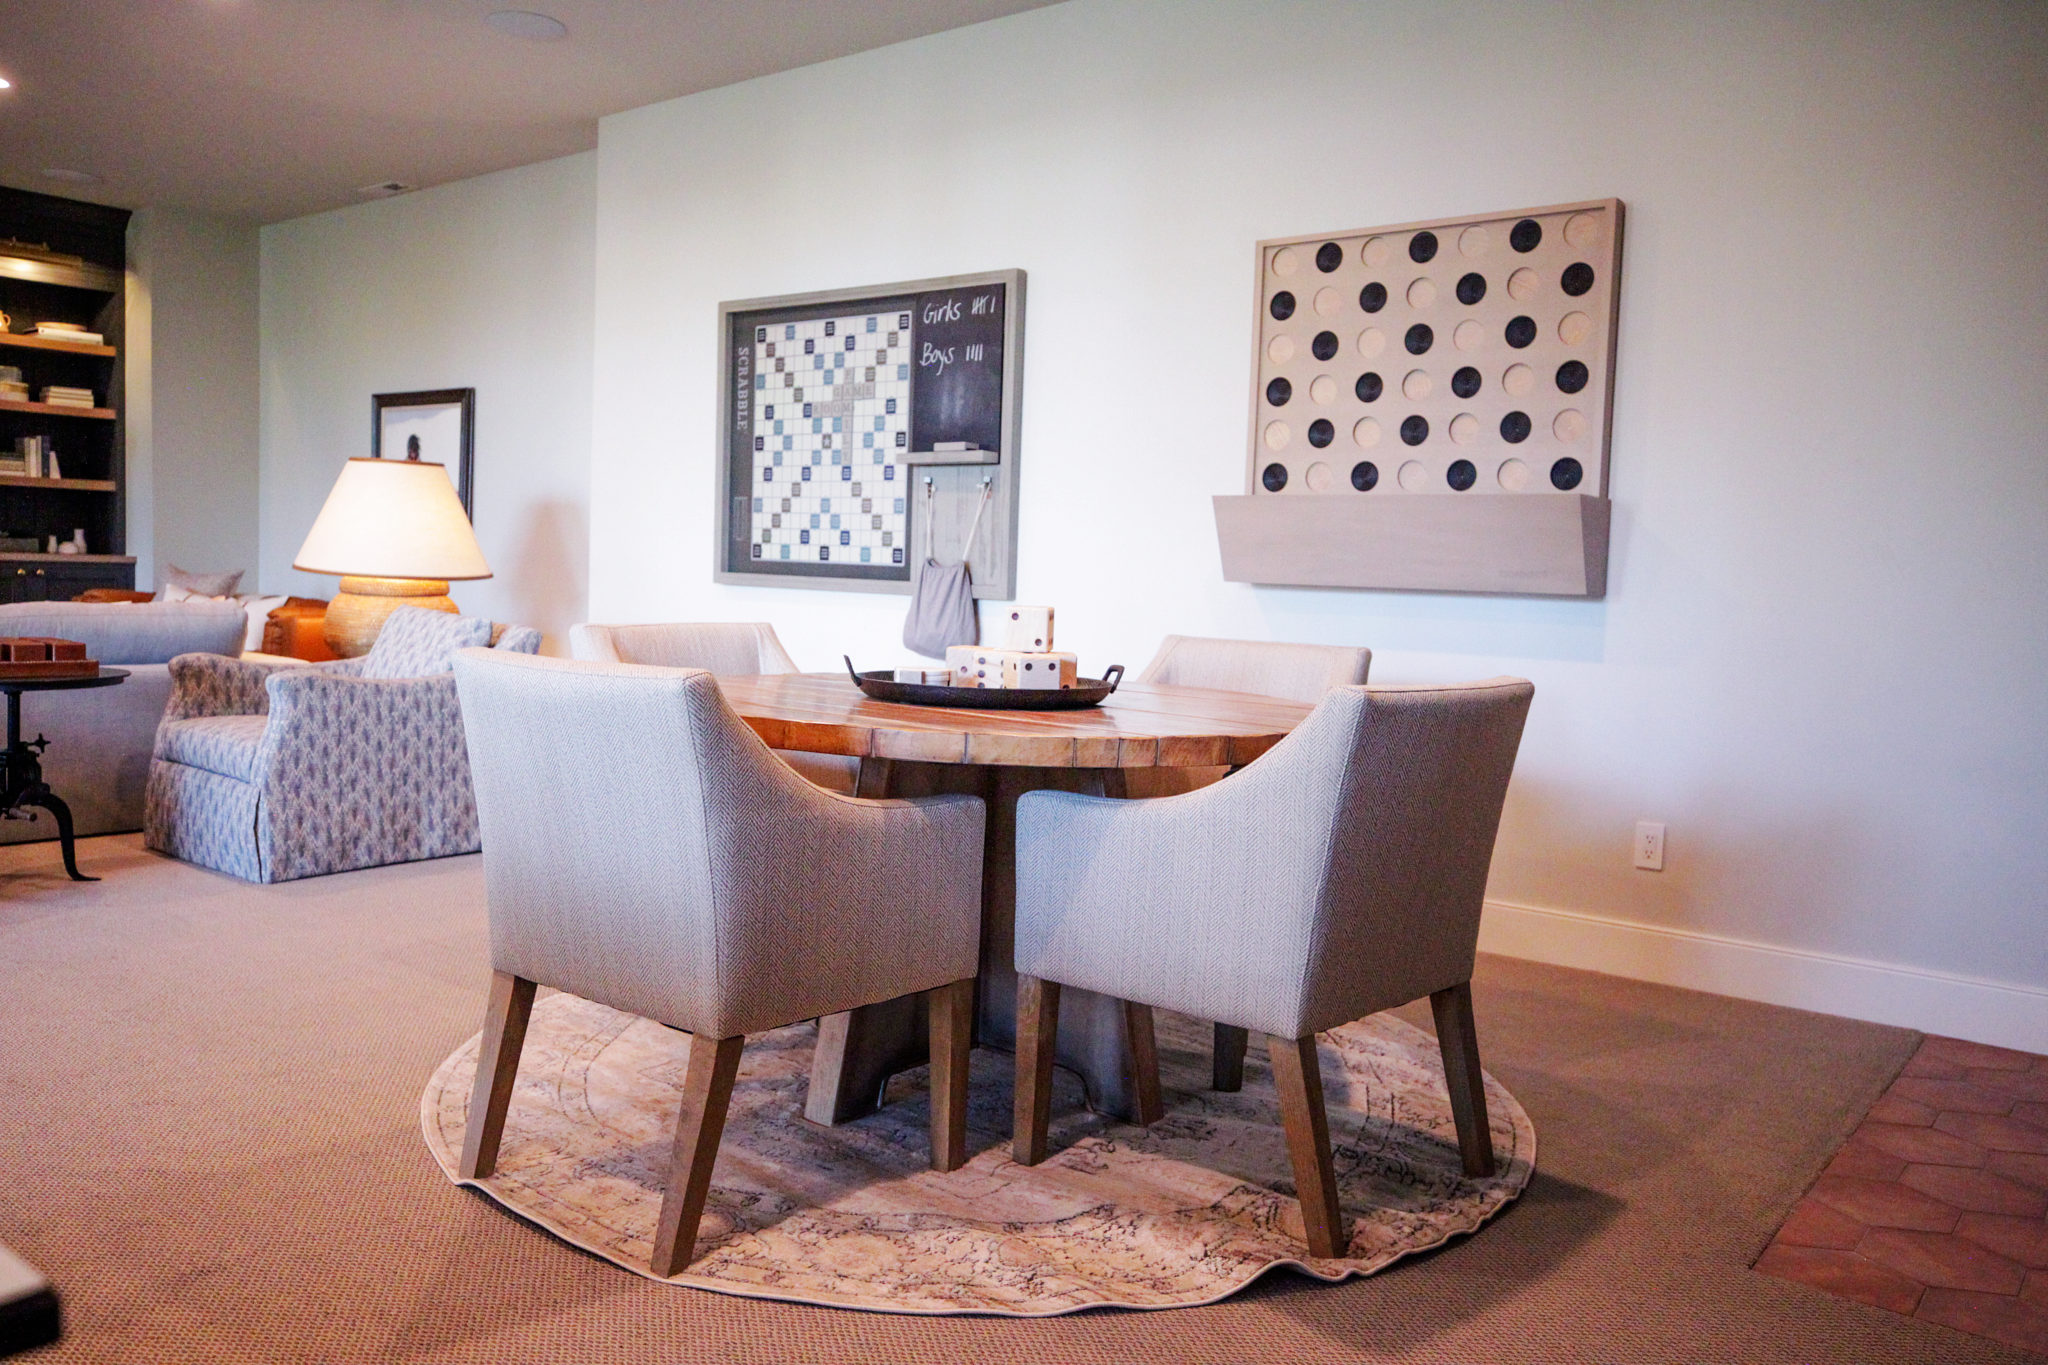
This was a pretty easy project. It does require a little patience and time, so plan ahead and allow yourself a couple of days for completion. But it is well worth it. Ruby can’t get enough of it, and every time cousins or playmates come over, it’s always where they end up playing. And if you follow me on instagram, you saw it’s also one of my favorite features of the room:) Maybe I look forward to creating different themes on the board for her. I can’t help myself!
Okay, enough of that. Let’s dig into the project! Here is what you will need.
SUPPLIES:
1 large sheet of quarter-inch board (I bought a pre-primed board with a smooth surface from my local hardware store, cut to 4 feet by 6 feet)
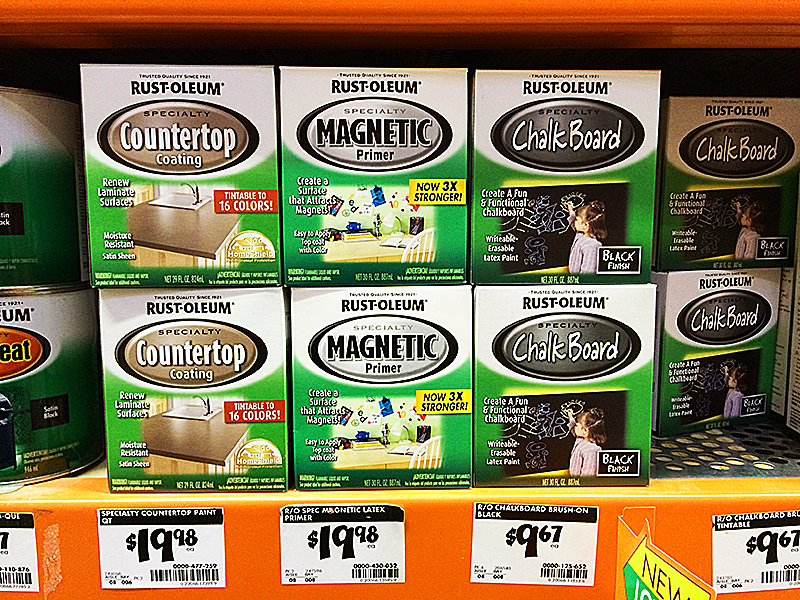
Magnetic primer
Chalkboard paint
Moulding of choice for frame
Paint of choice for moulding
Nails to attach moulding and spackling paste to cover nail holes
INSTRUCTIONS:
When I was searching for the right board to use, I knew it had to be something with an already smooth surface. OSB has a rough, uneven surface and just wouldn’t work. Then I came across this pre-primed board and thought it would be perfect.
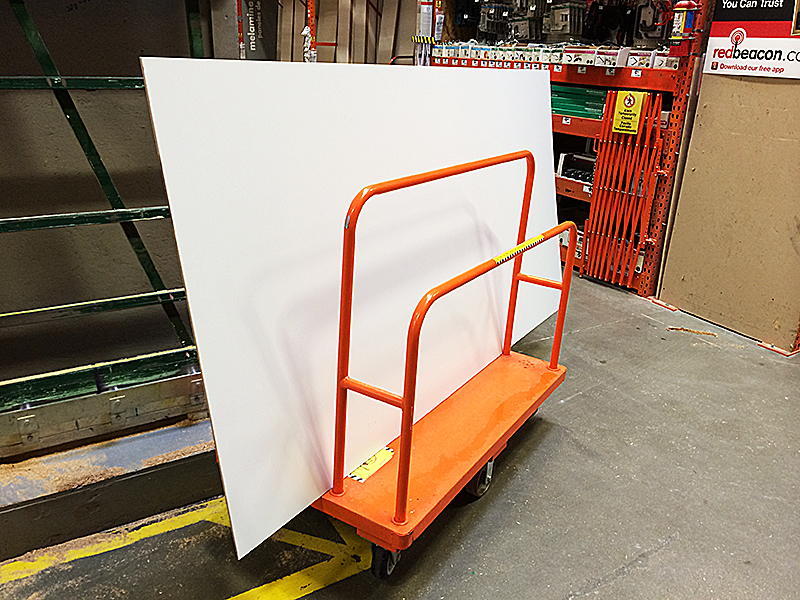
Getting it home was a real treat. It didn’t fit in our car so we tied it to the roof (bad idea number one) then Jon stuck his hand out the window to hold it in place (bad idea number two) while driving (bad idea number three) in beyond freezing temperatures (and bad idea number four). But we made it home with the board, all safe! Poor Jon’s fingers took a while to thaw and recover. I was just glad it didn’t catch the wind and take flight off the top of our car. All in the name of a good project!

I purchased the magnetic primer and the chalkboard paint at the hardware store. You can get it at most paint stores as well.
I started out by setting up saw horses in my living room where it was warm and dry. I first rolled on the magnetic primer, using a quarter-inch nap roller cover for smooth surfaces. It went smoothly and easily.
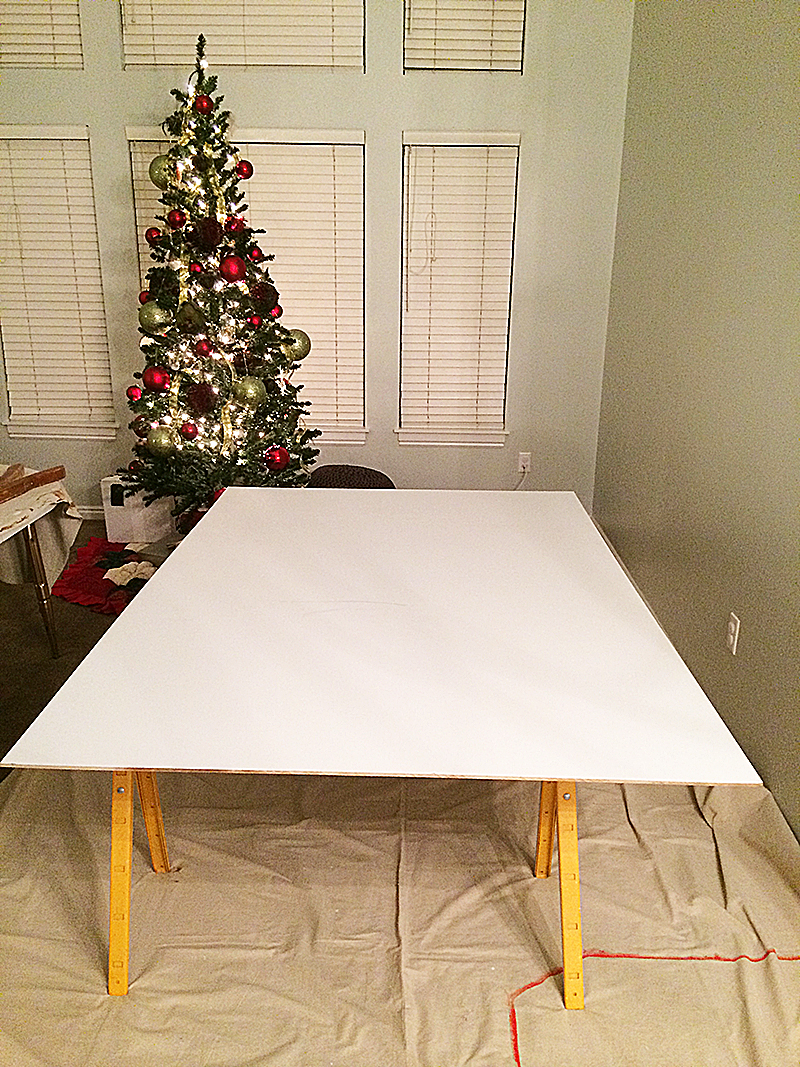
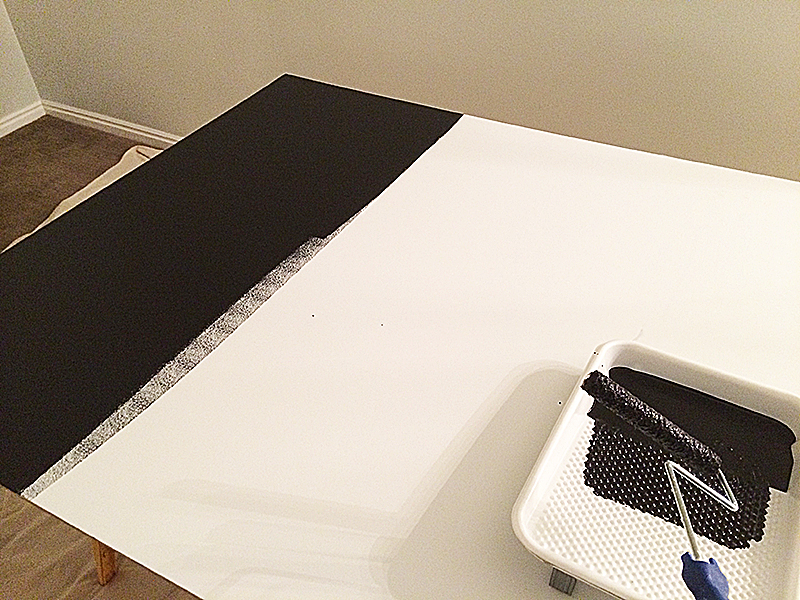
Make sure to use a roller cover you plan to throw away, and if you use a brush, use a cheap one. It’s really difficult to clean out and just not worth the effort. I put on the first coat, let it dry for about 2 hours, then put on the second coat, let it dry for 2 hours, then put on the third coat and let it dry overnight. This stuff is stinky so make sure your area is well-ventilated. You really need at least three coats for the magnetic pull to be strong enough to hold magnets in place.
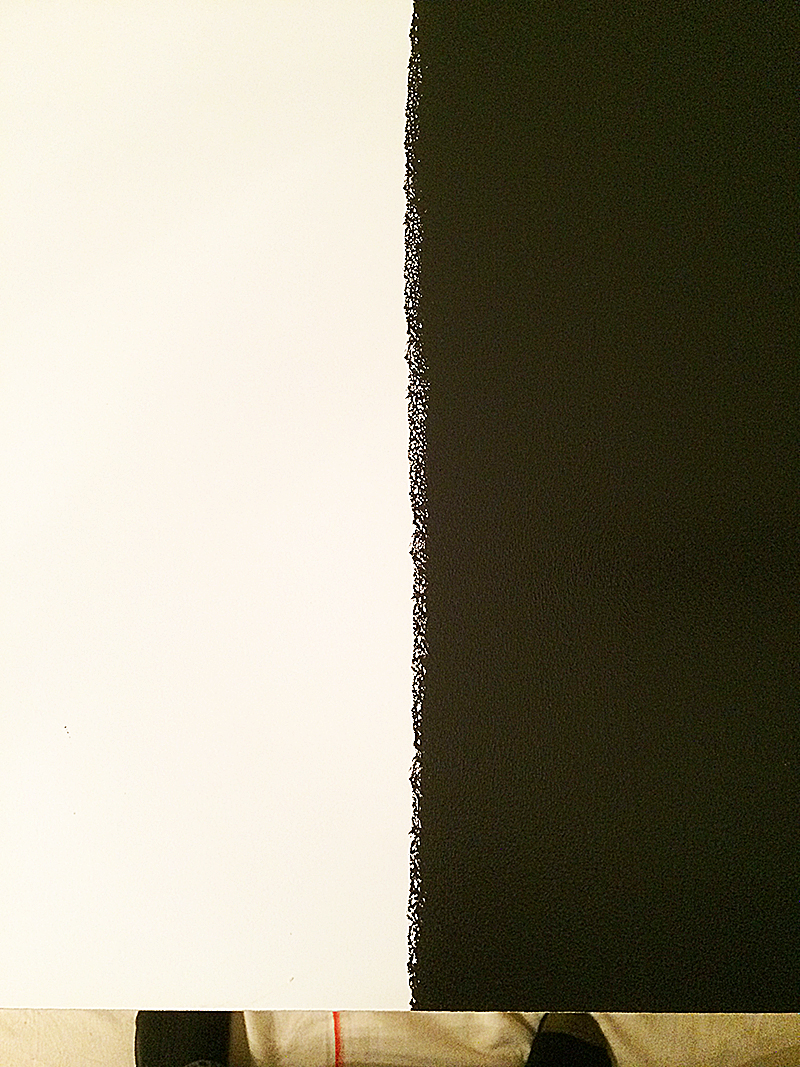
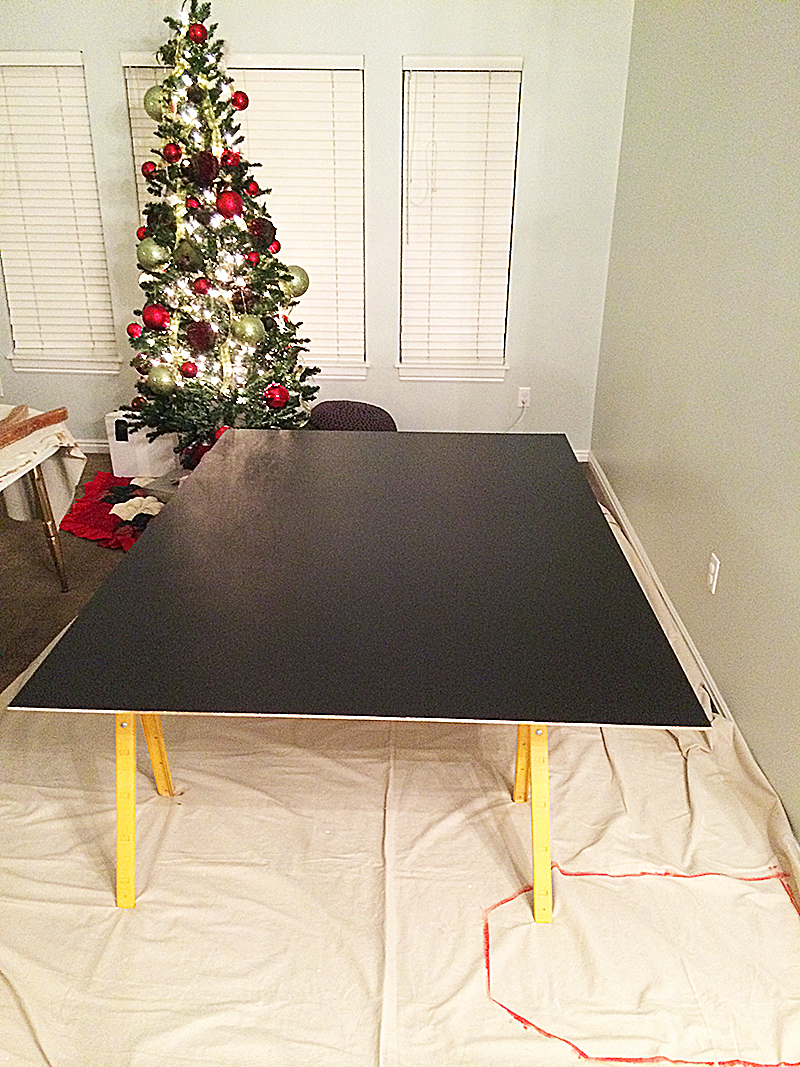
Once the primer is dry, you can start the chalkboard layers. I rolled on the first coat of chalkboard paint and let it dry for about 5 hours, then put on the second coat and let it dry overnight. With the primer, that’s 5 coats of paint people. Give yourself some time to let every layer dry completely. That is the trick to making it look professional and smooth (and also durable).
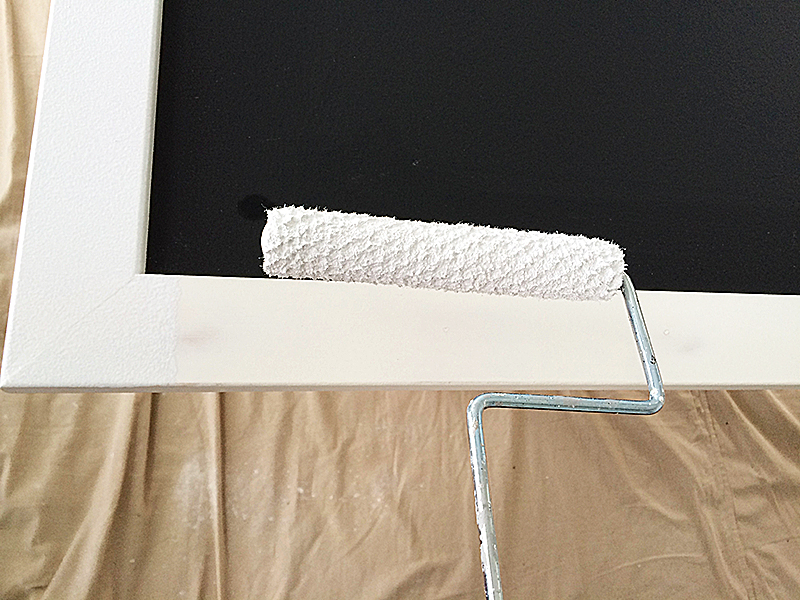
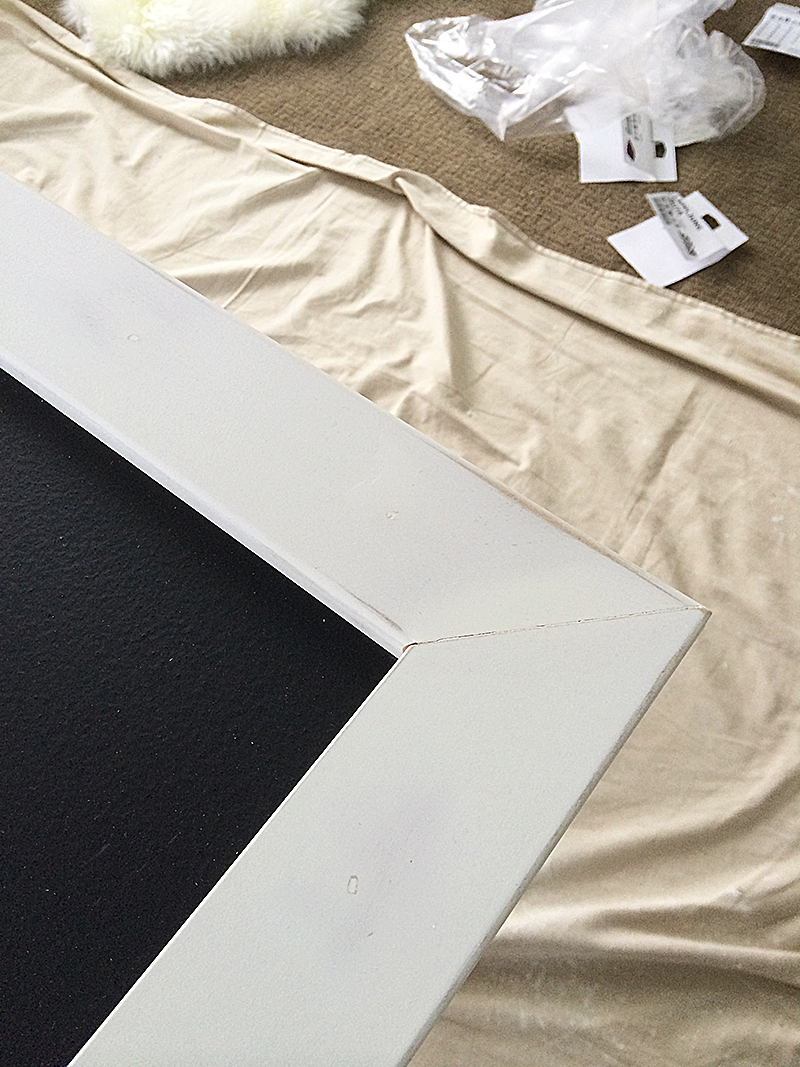
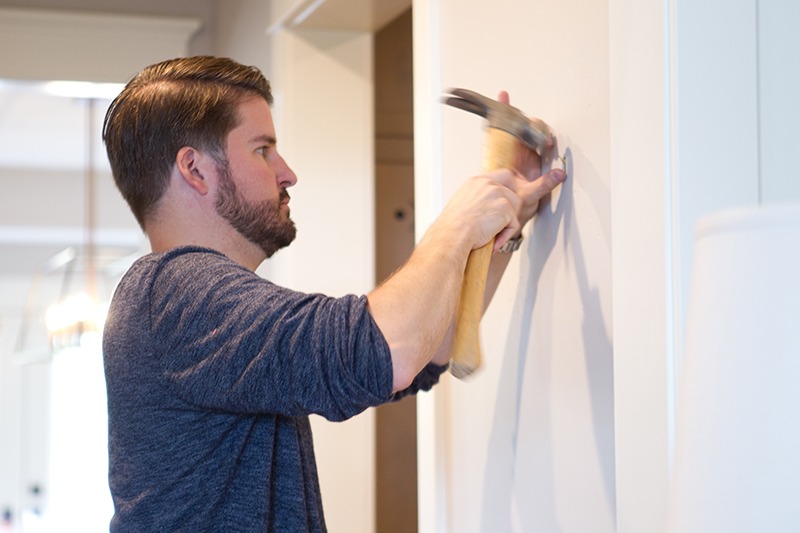
For the frame, I used pre-primed 2 inch moulding. I mitered the corners (cut the ends of the pieces at a 45 degree angle) using a chop saw. I attached the moulding to the board with a finish nailer (a nail gun) and finish nails. If you don’t want to get that heavy-duty, you could probably glue them with construction adheasive.
I covered the nail holes with some speckling paste, let it dry, then sanded it until it was smooth. Since I started with pre-primed moulding, and sanding off the speckling paste removed some of the primer, I painted a fresh coat of primer in order to start with a fully-primed surface. I taped the inside of the assembled chalkboard then brushed the edges of the moulding with a semi-gloss white paint. I then rolled the tops with the same paint. Two coats later and another night of drying, and this baby was complete.
So easy, and such a focal point in the room. We love it!
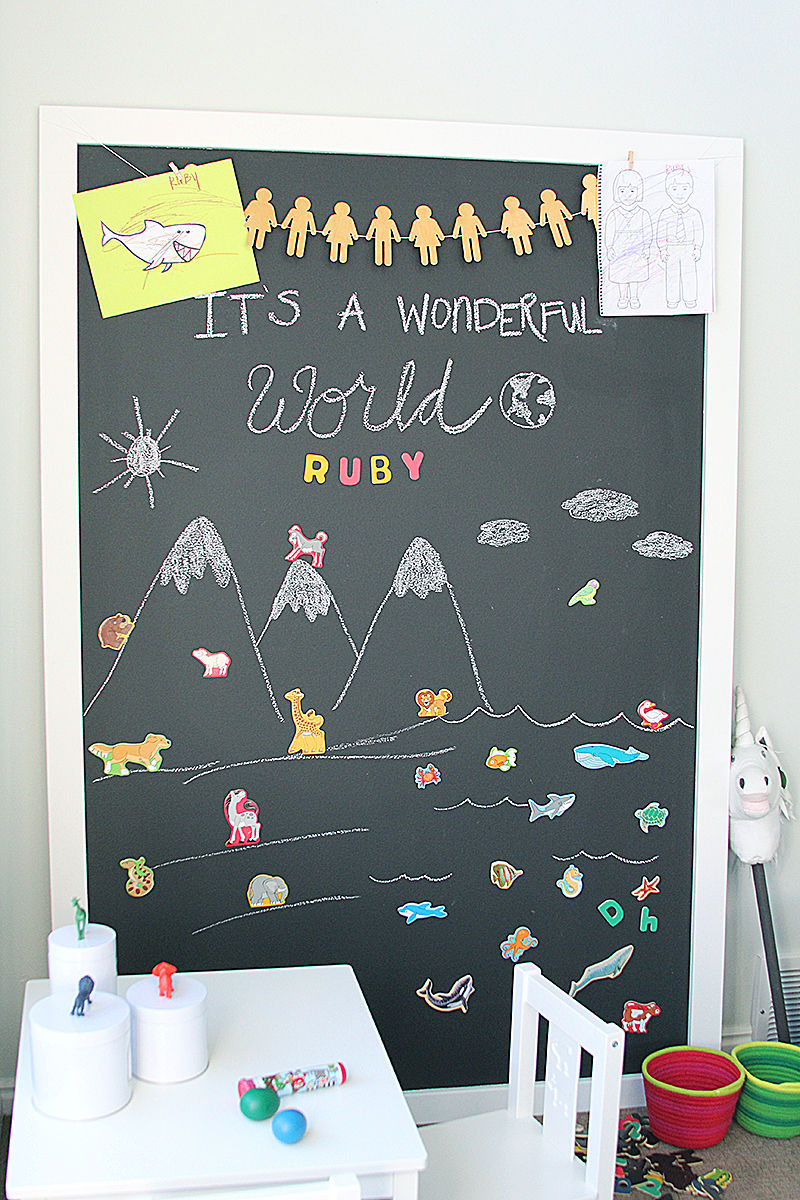
You can find those cute magnets here and here, and the rest of the room sources here.
Coming up tomorrow: those cute animal tins you see in the room on the table. One of my favorite diy’s to date.
Have a great week!

Leave a Reply


back to top
@jenniferstagg
shop

We're a full-service design firm and home furnishings shop built around the philosophy that a well-designed home should be beautiful, personal, cohesive, and complete. We think home is the most important place on the planet and when you live in a home that is perfectly you, it changes your life. Don't believe us? Stick around. We're confident we'll change your mind.
hello there!
Follow Along
@jenniferstagg
Hey, let's be friends
Exclusive projects, discounts, and extra goodies all in your inbox. And don’t worry- your email is for our eyes only.

How much did it cost to make this magnetic chalkboard? It is so cute. I want to make one for our playroom.
I’d estimate about $50 for supplies.